StaticTiming: Difference between revisions
No edit summary |
|||
| Line 4: | Line 4: | ||
Timing Belt Replacement, Cam Timing and Static Ignition Timing. | Timing Belt Replacement, Cam Timing and Static Ignition Timing. | ||
Photos courtesy of Don Doan. | Photos courtesy of Don Doan. | ||
Text courtesy of Keiran. | |||
=== Introduction === | === Introduction === | ||
Revision as of 12:29, 31 January 2011
Static Engine Timing
Fiat X1/9 1500cc Engine
Timing Belt Replacement, Cam Timing and Static Ignition Timing.
Photos courtesy of Don Doan. Text courtesy of Keiran.
Introduction
This document outlines how to replace a timing belt on a Fiat X1/9 1500cc engine. It shows how to align the crankshaft pulley, flywheel and cam pulley for correct cam timing. Finally, it shows the approximate distributor position for static ignition timing.
The photos in this guide are of a 1500cc engine with fuel injection, electronic ignition and air conditioning. Differences to a 1300cc engine are mentioned where appropriate however please double check any differences are correct as my personal experience is only with a 1500cc engine.
Some other important points to note:
- The static ignition timing of a carbureted engine is 5º BTDC.
- The static ignition timing of a fuel-injected engine is 10º BTDC.
- Ignition timing is set relative to the position of number 4 cylinder – not number 1 cylinder as on
most other manufacturer’s engines.
- The Fiat X1/9 1500cc engine is a non-interference engine whereas the 1300cc engine is not. This
means that even if the cam timing is off, the pistons and valves will not collide (or “interfere” with one another) in a 1500cc engine. Thus, replacement of the timing belt at the recommended intervals is especially important for a 1300cc engine.
- For a 1500cc engine, with the crankshaft pulley at TDC, the cam pulley should align with the
pointer on the belt guard.
- For a 1300cc engine, with the crankshaft pulley at TDC, the cam pulley should align with the
pointer on the side engine mount.
- The most accurate TDC mark for the crankshaft pulley is a line cast into the front crank seal
housing. The reference pointer may be bent or may have been removed at some stage and installed slightly off.
- The flywheel is the next best indicator of crankshaft TDC but it too was removed at some stage, it
may have been refitted 180º out.
- The photos in this guide are of a clean engine with some parts and timing marks painted to make
them easier to see. This is not the case with a normal engine. Engine Components & Terminology
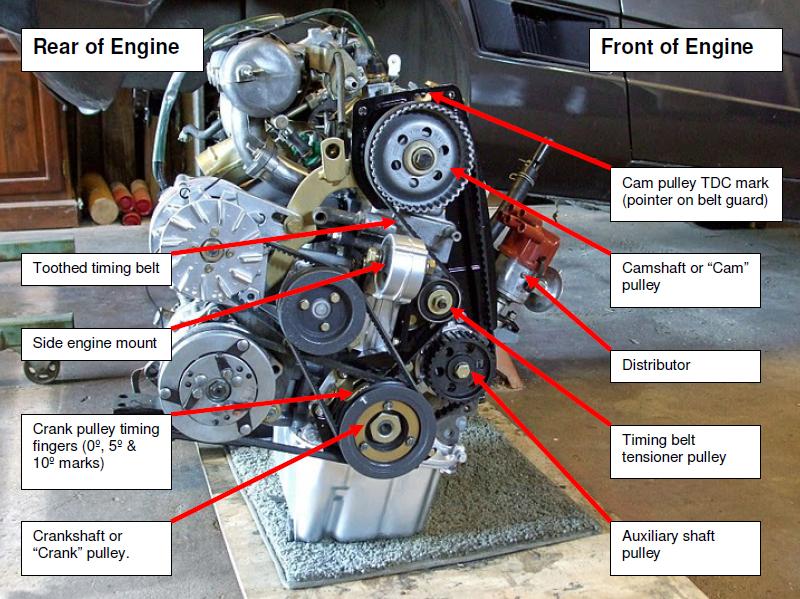
The following photo is used to identify important engine components that will be referred in this guide. Although the terms used may not be technically correct, hopefully this photo will help avoid confusion.
Crankshaft or “Crank” pulley. Camshaft or “Cam” pulley Toothed timing belt Auxiliary shaft pulley Timing belt tensioner pulley Side engine mount Crank pulley timing fingers (0º, 5º & 10º marks)
Rear of Engine Front of Engine Distributor Cam pulley TDC mark (pointer on belt guard)
Timing Belt Replacement Procedure
The following photos show how to replace the timing belt.
Before changing the timing belt, it is good practice to set the engine to TDC.
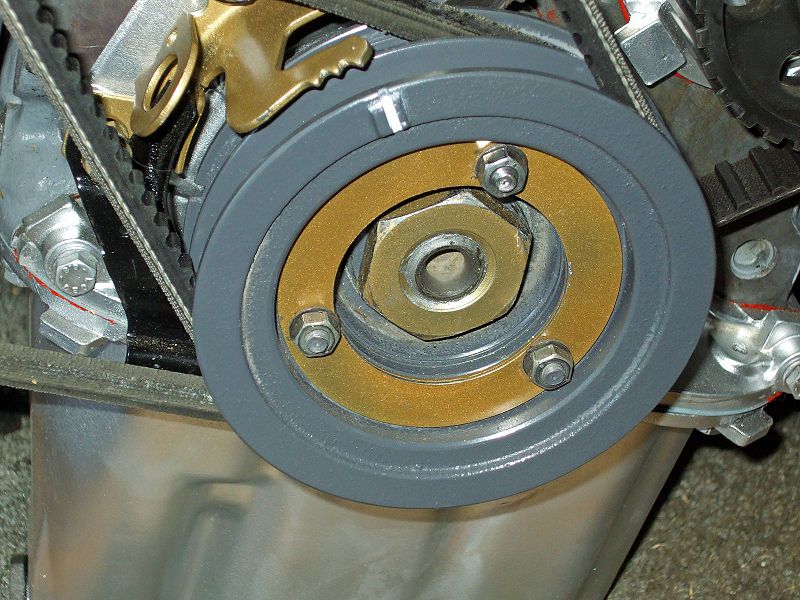
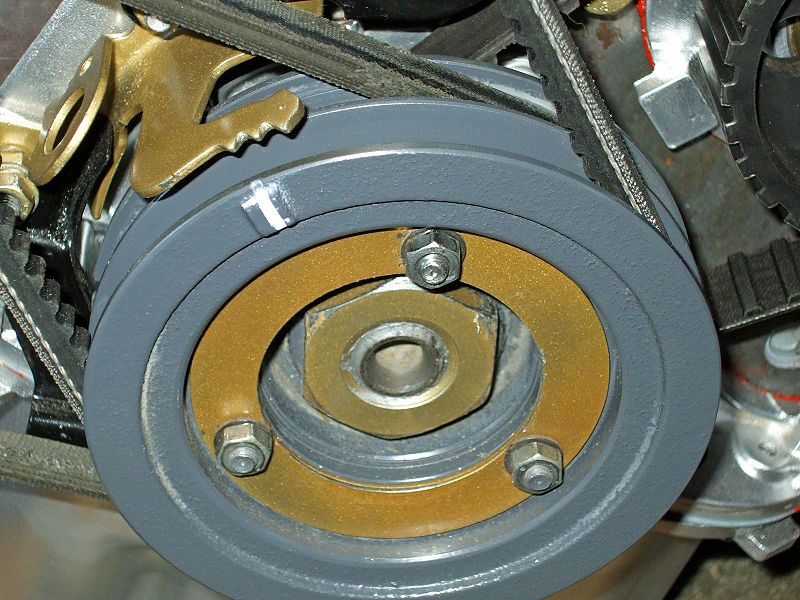
Do this by rotating the crankshaft pulley clockwise until the mark on the crank pulley is aligned with the right hand pointer on the timing finger (refer photo 2).
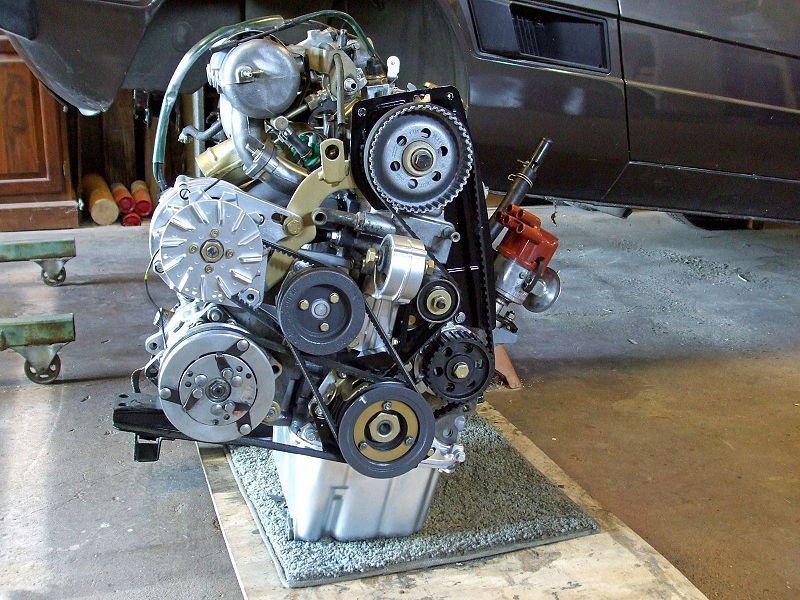
Photo 1
This is what the 1500 cc engine looks like removed from the car. First, the yellow plastic belt cover has to be removed by undoing four 10mm bolts – two at the top, one in the centre and one at the bottom.
Photo 2
1500cc engine crank pulley TDC alignment.
Photo 3
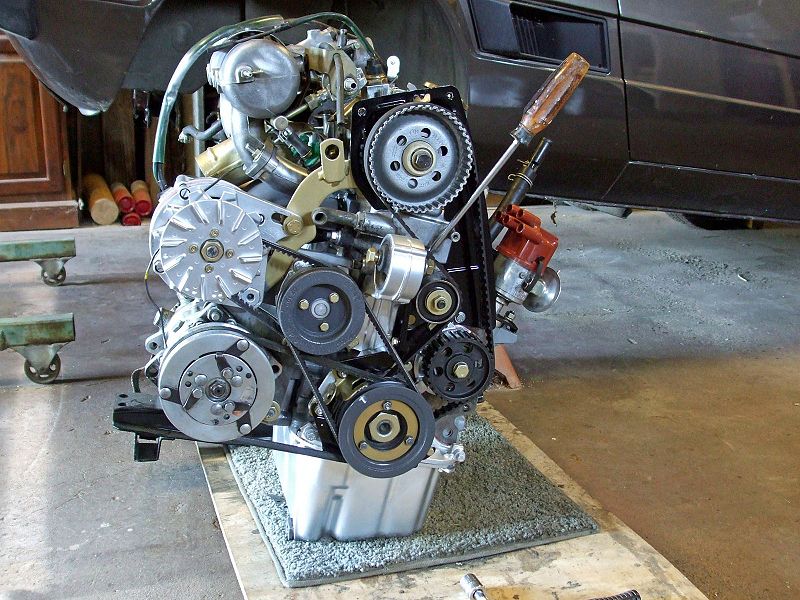
With the belt cover removed, the cam pulley, belt tensioner pulley, and auxiliary shaft pulley are all visible.
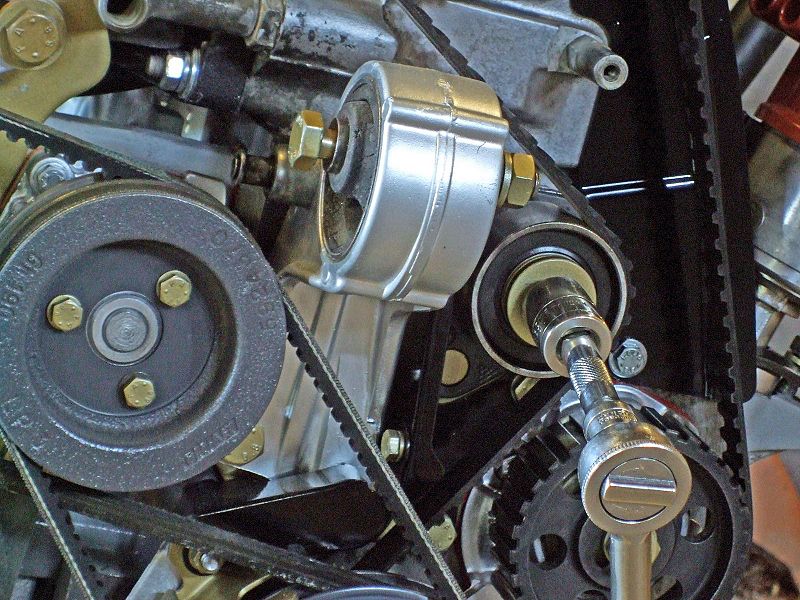
Photo 4
Using a 17mm socket, loosen the tensioner pulley nut. The tensioner pulley is situated on bracket secured by a large gold pin to the lower left of the pulley. This allows the pulley to be rotated to the left while remaining on its attaching stud. You will not have to remove this pulley to remove or change the belt - just move it to the side.
Photo 5
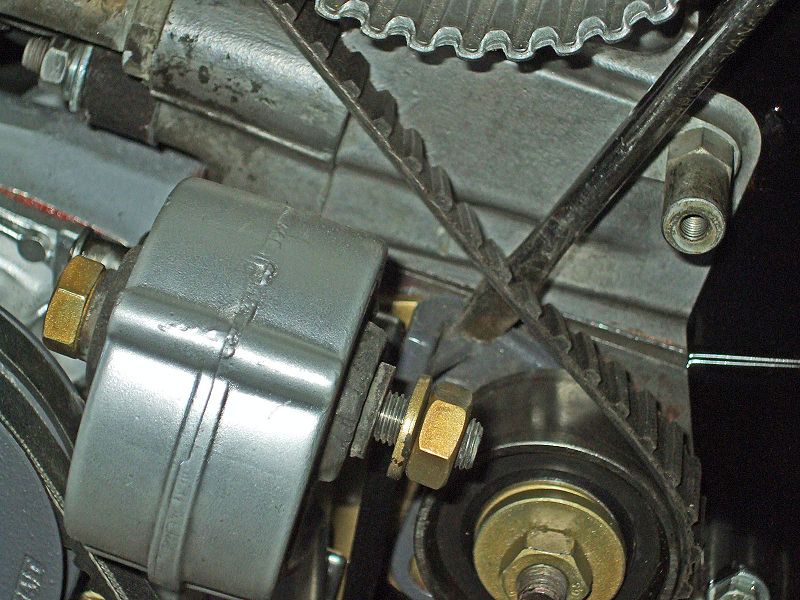
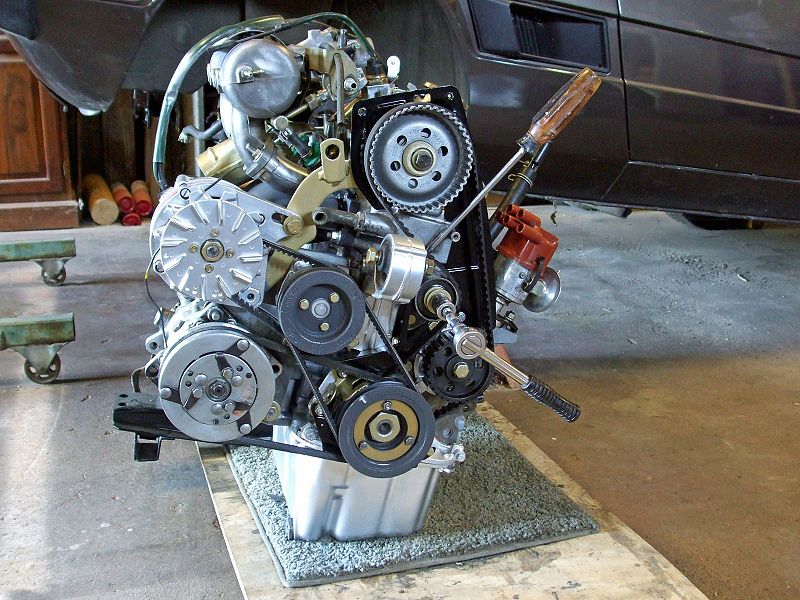
You can use a large slotted screwdriver to press against the tensioner pulley bracket, using the belt cover stand off as a fulcrum.
Photo 6
This shows the flange at the base of the tensioner pulley bracket. You need to move the tensioner pulley to the left (towards the rear of the engine) to release the tension on the timing belt.
Photo 7
With the tension on the belt released, tighten the tensioner pulley nut to keep the pulley in place while removing the timing belt.
Photo 8
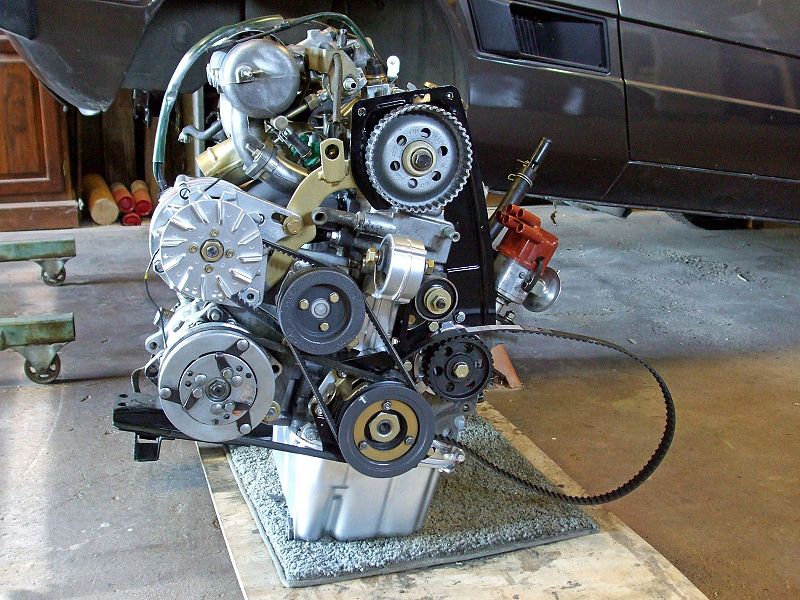
The timing belt can now be pulled off the cam pulley.
Photo 9
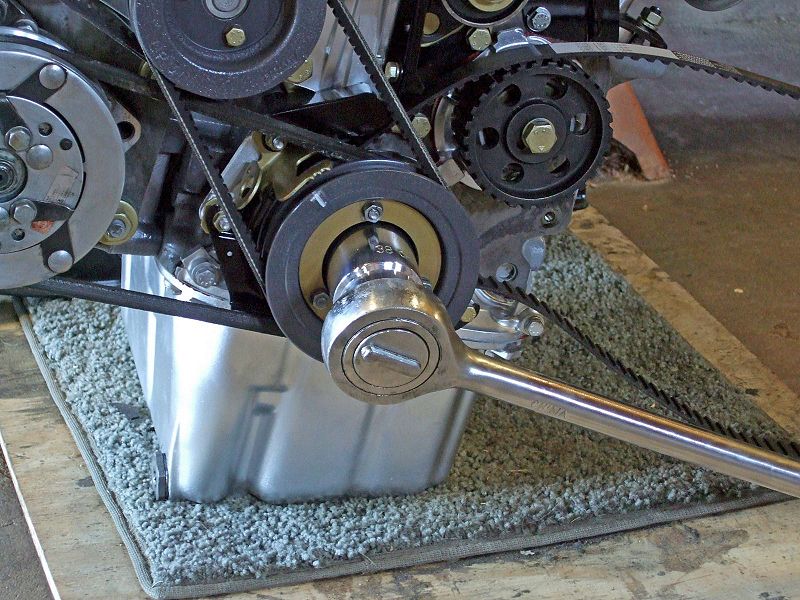
Use a 38mm socket to loosen the crankshaft nut. The timing belt is situated behind the crank pulley on the timing belt sprocket.
Photo 10
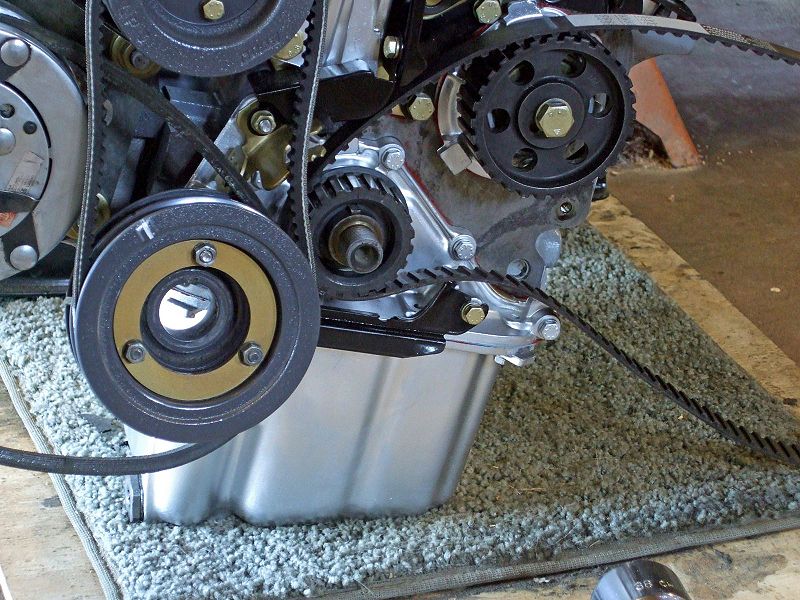
The crankshaft pulley has been slipped off the crankshaft, exposing the timing belt sprocket. The crank pulley is left hanging on the belts for the water pump, a/c compressor, and alternator.
Photo 11
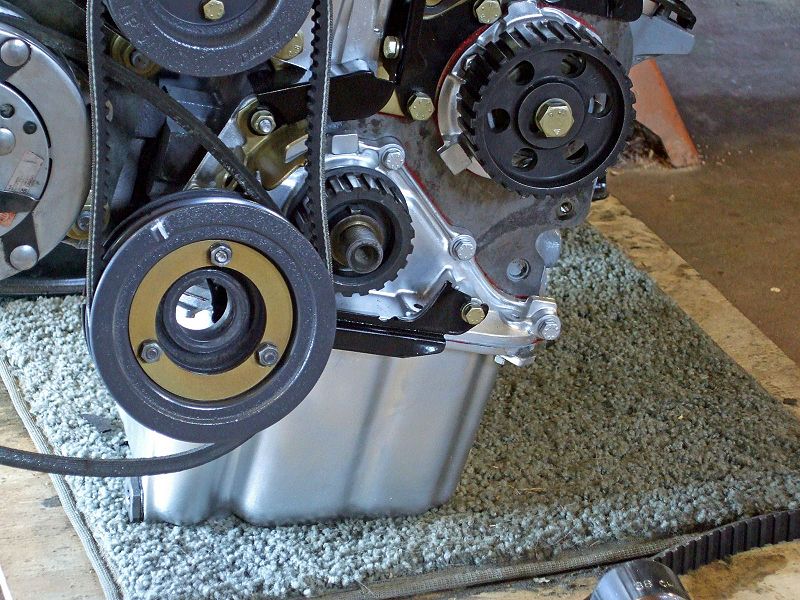
Remove the timing belt and discard.
Photo 12
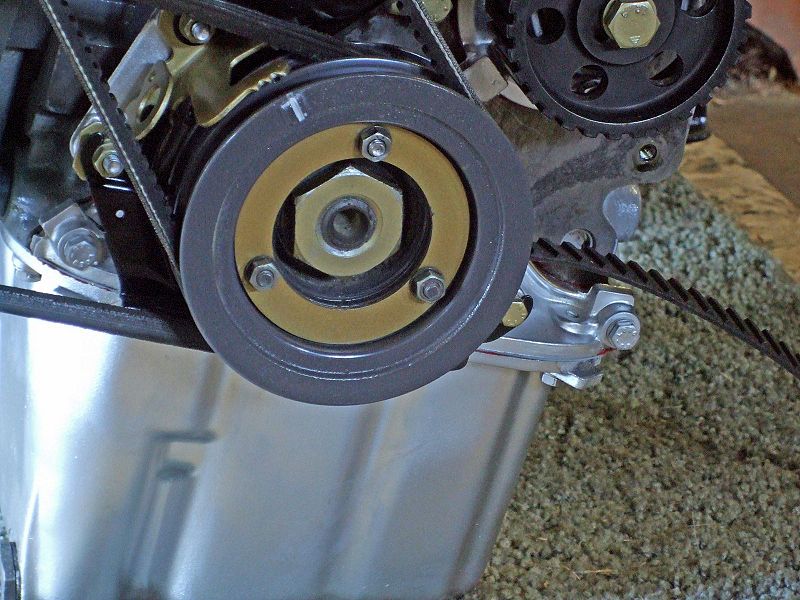
Fit a new timing belt to the sprocket, replace the crank pulley and tighten the crank pulley nut. Ensure that the crank pulley is still at TDC.
Photo 13
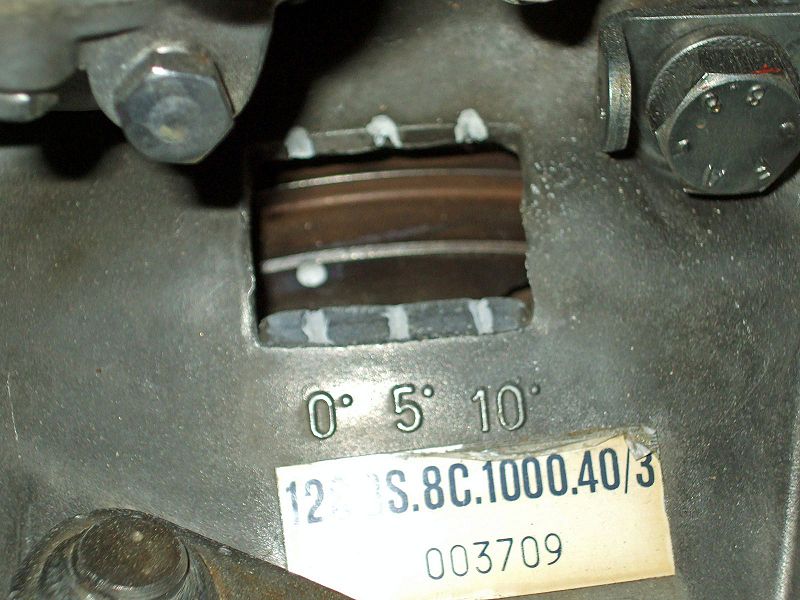
If the crank pulley is at TDC, the dimple on the flywheel (seen through the opening in the transmission bell housing on the clutch side of the engine) should be in alignment with the 0º mark on the transmission housing. Note: If your flywheel has not been installed correctly, you will not be able to see the dimple. Also, the dimple and marks shown here have been painted for contrast.
Photo 14
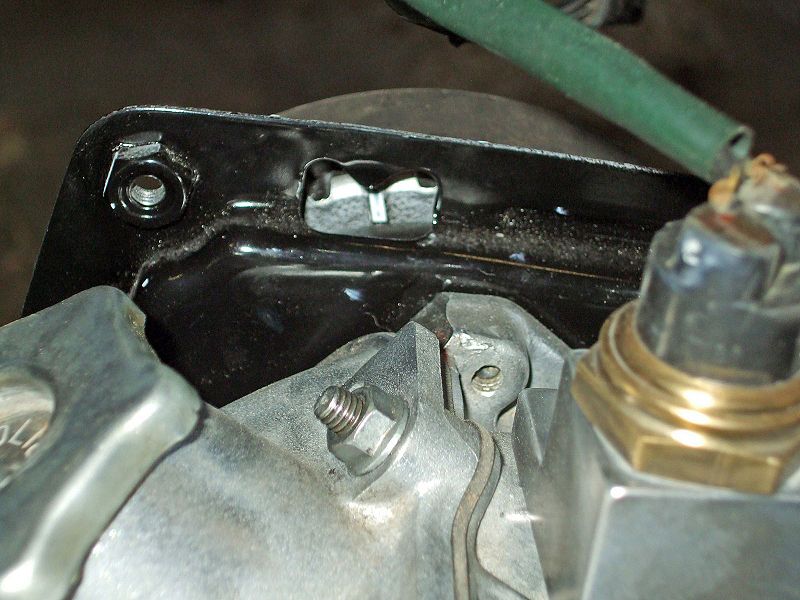
Ensure the cam pulley is aligned with the pointer on the belt guard. Note: For a 1300cc engine, the cam pulley should align with the pointer on the side engine mount.
Photo 15
With the cam and crank pulleys aligned with their TDC marks, slip the belt back into position around all pulleys (crank, auxiliary, tensioner and cam). Loosen the nut on the tensioner pulley to allow the pulley put tension on the belt. You may need to assist the pulley return to a normal position but do not unduly force it or you may over-stress the belt. Retighten the tensioner pulley nut.
Photo 16
Use the 38mm socket to rotate the crankshaft completely around two times. Repeat the tensioner pulley loosening and tightening procedure. Rotate the engine twice more stopping with the crank pulley at the TDC mark. Ensure the cam pulley is still aligned with its pointer. If all is in alignment, the cam timing is correct and the timing belt has been correctly replaced. Lastly, replace the yellow timing belt cover.
Setting the Static Ignition Timing
First, it is advisable to ensure that the timing of the crankshaft and cam pulleys line up with their respective TDC marks as shown in photos 12, 13 & 14 above. If these are correct, go through the following photos to set the static ignition timing.
Photo 17
Use a 38mm socket to rotate the crankshaft clockwise until the mark on the crank pulley is aligned with the 10º BTDC pointer on the timing finger. Note: This photo shows the crank stopped at 10º BTDC, which is the static ignition timing required for a fuel injected engine. For a carbureted engine, the crank should be set to 5º BTDC.
Photo 18
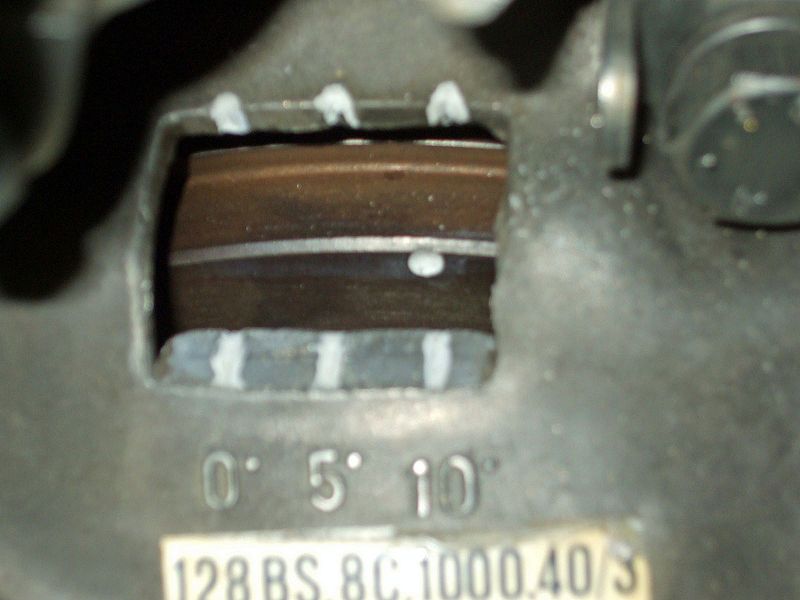
If the crankshaft has been rotated correctly and stopped on the 10º BTDC mark, the dimple on the flywheel will also be aligned with the 10º mark on the transmission housing.
Photo 19
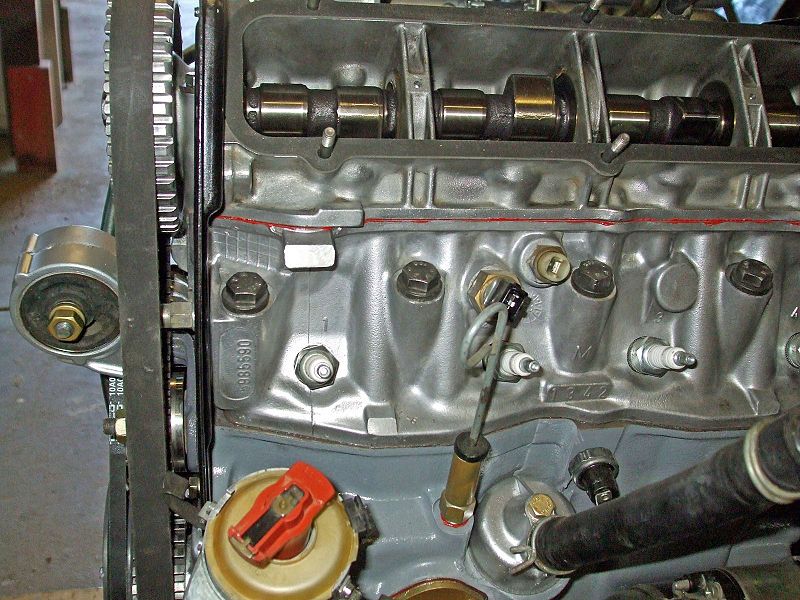
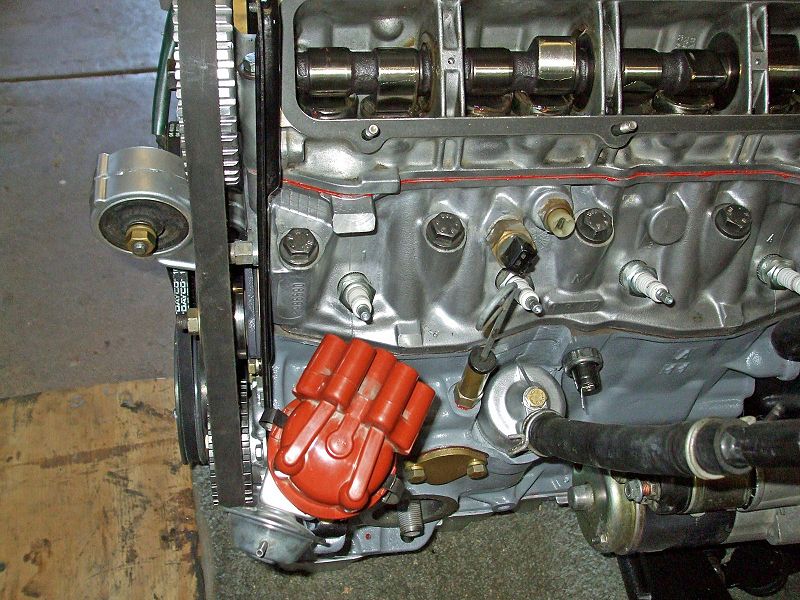
With the crankshaft pulley set to 10º BTDC, remove the distributor cap to expose the distributor's rotor. The distributor needs to be positioned so that the rotor points to the contact for #4 cylinder spark plug lead in the distributor cap
Photo 20
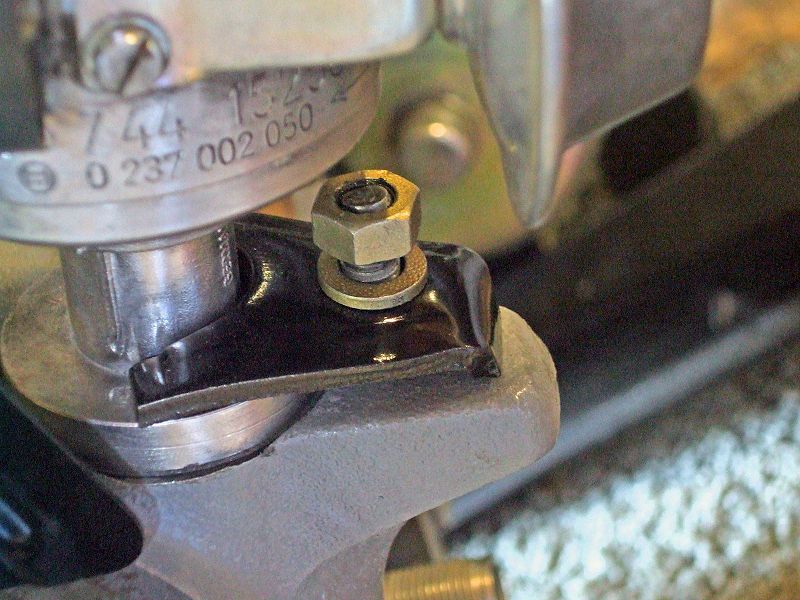
To set the required distributor position, undo the 13mm nut at the base of the distributor and remove the nut, washer and locking bracket.
Photo 21
Remove the distributor from the engine and turn the rotor until it points toward the #4 cylinder contact in the distributor cap. Refit the distributor and locking bracket and secure with the 13mm washer and nut. Replace the distributor cap.
Note: It is easier if the fingers of the distributor cap point towards #3 cylinder as this makes the placement of the spark plugs leads neater and should leave sufficient room to rotate the distributor body when dynamically setting the ignition timing.
That’s it, you’re done.
With everything else being correct, the engine should now start and you can then use a timing light to set the ignition timing exactly.
