Volvo C30 AWD Conversion

The AWD / FWD cables are differing lengths.

IMG-8754.jpg


I tried swapping the elbow covers, and the cable ends up too tight for my liking.

IMG-8753.jpg


So, I cleaned up the older harnesses and installed them. This is the AWD-specific routing

IMG-8755.jpg


IMG-8758.jpg
 
After that, I started on the wrapping up of the suspension and brake install. Found an issue when I torqued the subframe bolts to spec - the one that goes through the spring seat on the DS stripped :(

IMG-8756.jpg


I went to the machine shop, and borrowed a socket that would hold my 1/2"20 Tap, and a suitable bolt, and used a long 3/8" extension to get the tap up into the stripped M12x1.75 captive nut. That fortunately cleaned up the threads so that the American bolt threaded nicely and torqued to 90ft/lb with no feeling that it was about to give.

After that, I raised the suspension to normal ride height and torqued the trailing arm and link arms to spec. Then I put the brakes, shocks & swaybar back in.

IMG-8759.jpg


IMG-8761.jpg


Adjustable KYB's

IMG-8760.jpg


Installed new Energy Suspension 5340 1/2" bushings

IMG-8762.jpg


Exhaust inlet for muffler has to be cut & moved

IMG-8763.jpg


IMG-8764.jpg


Wrapped up again for the night

IMG-8765.jpg
 
Great progress. Bummer on the stripped hole. I would paint the bolt and the area around it a different color so you remember some day in the future that they go together. Not that I have ever mixed up a fasteners proper location or anything long after the fact.

Thanks for including us.
 
Great progress. Bummer on the stripped hole. I would paint the bolt and the area around it a different color so you remember some day in the future that they go together. Not that I have ever mixed up a fasteners proper location or anything long after the fact.

Thanks for including us.

It has a 19mm-3/4" head vs. the 15mm of everything else, shouldn't be hard to remember, in this case :D

Spent a good 7 hours on it today -

Getting the front stripped for trans removal

IMG-8772.jpg


Battery & tray out for mount & cable access

IMG-8773.jpg


Stripped left side strut/Hub/Brakes to give more room for access

IMG-8774.jpg


Right side, just undid the balljoint to pull the hub away for axle removal.

IMG-8775.jpg


Transaxle mostly disconnected

IMG-8776.jpg


Downpipe access

IMG-8777.jpg


Volvo tool for left axle removal

IMG-8778.jpg


Pops retaining clip with no drama, prying, etc.

IMG-8779.jpg


Modified underside of Trans mount to fit (previously modified) reduced height mount bracket - to raise engine/trans 3/8"

IMG-8780.jpg


IMG-8781.jpg


Transaxle out. Spec Stage III+ will be replaced with EU Focus RS setup. Can't stand the gear rattle anymore

IMG-8783.jpg


Forgot to use the spline lube when I did this couple years back

IMG-8784.jpg


Socket required for flywheel bolt removal CQ12M2

IMG-8786.jpg


Just need to clean up bay & engine block before I install the AWD transaxle

IMG-8787.jpg


Also console & door trim kit arrived - 2013 R Design version. Mine has the brushed aluminum with numerous little dents. I'll install this when I remove the interior for the wiring part of the AWD swap.

IMG-8788.jpg
 
Last edited:
Great job. Wow that is a lot of work. I presume you are also posting these great pics and commentary on a Volvo related board? This must be an interesting subject for them.

Having worked on a few different modern cars (ie post airbag, canbus, ABS etc) I never mind working on the X, there are a few difficult areas but all in all an easy car to work on.

We had rain all day yesterday with a few dry times where I was able to get a few things done towards the graduation party for our daughter today. I felt somewhat useful, but clearly nothing to hold a candle to you :(
 
Minor stuff today. Cleanup & paint on the inner fenders & frame rail where they don't apply top coat. Minor rust starting on a number of the spot welds, & I don't want that spreading.

Left side

IMG-8793.jpg


Right side

IMG-8795.jpg


IMG-8796.jpg


Drivers side inner

IMG-8794.jpg


Spacers for left side mount done

IMG-8802.jpg


IMG-8803.jpg


Installed the clutch feed pipe (Air Vent) 30786751, after removing the shock load-limiter

IMG-8804.jpg


and the slave - T/O in the AWD trans

IMG-8805.jpg


Found the M66 install support bracket I made years back to keep the correct angle for mating with the block

IMG-8797.jpg


IMG-8798.jpg


IMG-8799.jpg


It is affixed to the jack 'cup'.

IMG-8800.jpg


Also welded the crack in the outer torque mount support area

IMG-8792.jpg
 
Last edited:
Hussein’s next project will be disassembling the rest of the car to ferret out any rust evident or threatening to extend the life span of the unibody.

Mark my words...

Impressive. Your lift block looks a little the worse for wear, but it clearly works.
 
Flywheel going in - new bolts, 33ft/lbs, then 65º

IMG-8807.jpg


Disc & PP installed. New bolts. Tighten in small increments, the self adjusting mechanism can cause the fingers to cock if uneven pressure is applied.

IMG-8808.jpg


Volvo flywheel locking tool - bought this back in the early '80's.

IMG-8810.jpg


Moved reservoir to make room for transaxle

IMG-8818.jpg


About an hour of fiddling later.... definitely would have been much simpler with the subframe out. The vertical support is completely in the way of aligning the transaxle.

IMG-8812.jpg


Trans backet & lower bolts going in

IMG-8814.jpg


Top bolts going in

IMG-8813.jpg


Torque mount & bracket. (eDrive) Torque mount has to be flipped for best alignment

IMG-8815.jpg


Clutch hard line reinstalled. Will bleed it tomorrow, before the rest of the plumbing is reattached.

IMG-8816.jpg


Shifter cable bracket, cables and trans mount installed

IMG-8817.jpg


Spacers to take up gap created by raising mount

IMG-8819.jpg
 
Last edited:
Bleed the clutch after work then put the AG in. Royal PITA getting around the oil cooler hoses and installing the outer support bracket (not shown)

3/8" engine mount spacers did the trick getting clearance off the PS rack / subframe

IMG-8823.jpg


IMG-8824.jpg


Support bracket is tucked between AG and oil cooler / hoses

IMG-8827.jpg


Had to remove and trim the heat shield AG doesnt fit the K16 with the heat wrap I have installed

IMG-8825.jpg


2nd attempt did the trick

IMG-8830.jpg


Right axle in place, SEM bolt torqued, 25ft/lb then 90º

IMG-8828.jpg


IMG-8829.jpg


Hopefully get the DS and left axle/suspension back in after work tomorrow.
 
Last edited:
Not much done today driveshaft is in

IMG-8836.jpg


IMG-8835.jpg


IMG-8838.jpg


IMG-8837.jpg


IMG-8839.jpg


L & R rear tank protection panels back in - had forgotten where these went

IMG-8840.jpg


Got the left axle and strut back together.

Problem is, the AG output is locked will not turn at all. If I turn the front axles, the AG output does not move. That is a problem, since the AG is directly connected to the differential by way of the spline coupler. I will have to remove the AG again & check it. There was no evidence of damage in the oil I drained. If the pinion was stripped, it would turn easily. :(
 
Took the DS & AG back out after work. AG operates as it should when detached from the transaxle. The bad news therefore is that I incorrectly assembled something in the transaxle when I put the LSD in, and have locked the diff as a result. I'll have to drop the transaxle tomorrow after work & take it apart again.

With the AG out, I put the ring gear/main shaft in from a gutted AG, and tried to turn the diff. It will not turn.

IMG-8849.jpg


Should have it sorted out for reinstall Sat. I'm annoyed to say the least, I've done LSD's in several of these, can't believe I didn't confirm it back in Nov. when I installed it :(

Before

IMG-7408.jpg


After

IMG-7427.jpg


Looking at my pics, I'm wondering if I forgot to set the locking pawl shown here, which would result in reverse being locked, I believe. There are no Volvo flow diagrams that show the gear selectors precise layout, since they don't offer any internal parts for sale.

IMG-7410.jpg
 
Last edited:
Removed the subframe first this time, much less drama with getting the transaxle out, and only adds about 1/2 hour or so on each end

IMG-8852.jpg


I probably jinxed myself as everytime I look at this subframe I've thought about removing it to clean up the surface rust, but really didn't want to drop it for no good reason :D

IMG-8853.jpg


Trans coming back out

IMG-8856.jpg


Using my M66-specific jack support block :D

IMG-8857.jpg


anchoring point

IMG-8858.jpg


and out

IMG-8859.jpg


Split the transaxle casing, and low and behold: I never located the reverse selector pivot, so the diff was locked as a result when any gear was selected.

IMG-8860.jpg


Back in it's proper place for reassembly.

IMG-8861.jpg


Should have the whole thing back together tomorrow, with the exception of the exhaust work, and the interior wiring, so that should all be doable in the next week or so after work.
 
Cleaned up the casing again to prep for sealant. Used Hondabond, since I have it for my K24 build

IMG-8862.jpg


IMG-8864.jpg


Somehow I lost the magnet. Had to go to Home Depot & pick up a 1.5" magnet to replace it.

IMG-8863.jpg


Transaxle back in. Derusted the harness clamps & hose isolater bracket while I had it apart again

IMG-8865.jpg


Cleaned , prepped and painted the subframe

IMG-8866.jpg


IMG-8867.jpg


Subframe back in. Swaybar has to be secured before steering rack

IMG-8868.jpg


Resecure rear O2 harness to swaybar posts

IMG-8870.jpg


Axles back in , Angle drive and support bracket back in. Suspension all back together. Clutch bled.

With that all together, I started on the downpipe.

IMG-8871.jpg


Cut a couple pieces out of a section of 3" mandrel bend, had to put a little bit of a dogleg to it, to get it as far away from the front CV as possible

IMG-8873.jpg


IMG-8875.jpg


Welded it up. Hopefully it didn't move around too much in the welding process. I may need to make a cut in the rear section to get the V-Band aligned anyway, so hopefully it's all good.

IMG-8877.jpg
 
Pouring rain today, so no work outside after work. So, I started on the layout for the rearward exhaust section.

Marking out the basic angles using the AWD exhaust as template

IMG-8881.jpg


Cut those pieces, and a bunch of approx 22º sections to deal with some of the forward small doglegs, if the mandrel bends don't provide enough material.

IMG-8882.jpg


Weather should be clear tomorrow, so hopefully back under the car
 
Last edited:
Put the modded DP in to check fit. Lines up OK, but.... O2 sensor bung is way off now. I'll have to drill a hole higher up & add a bung clocked closer to 11

IMG-8894.jpg


Cut the support bracket off the stock DP to use here

IMG-8906.jpg


I'll cut off this V-Band (which is not aligned as is), and add a new flange an few inches forward to give better clearance off the driveshaft mount bracket

IMG-8912.jpg


Tacked the rear sections together, except the forward most section that will interface with a 4' straight run off the cat. I need to leave that until it's all hung to check the best angle

IMG-8908.jpg


Only had to re-cut a couple angles

IMG-8897.jpg


Good clearance off the Haldex unit & subframe

IMG-8903.jpg


Mount pin cut from AWD exhaust, will also be welded later

IMG-8909.jpg


Forward piece that will be tacked later

IMG-8905.jpg
 
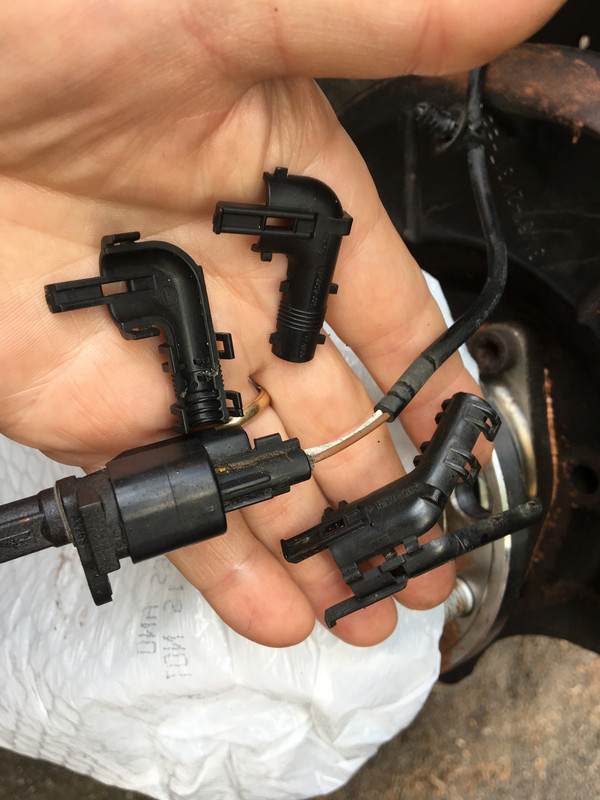
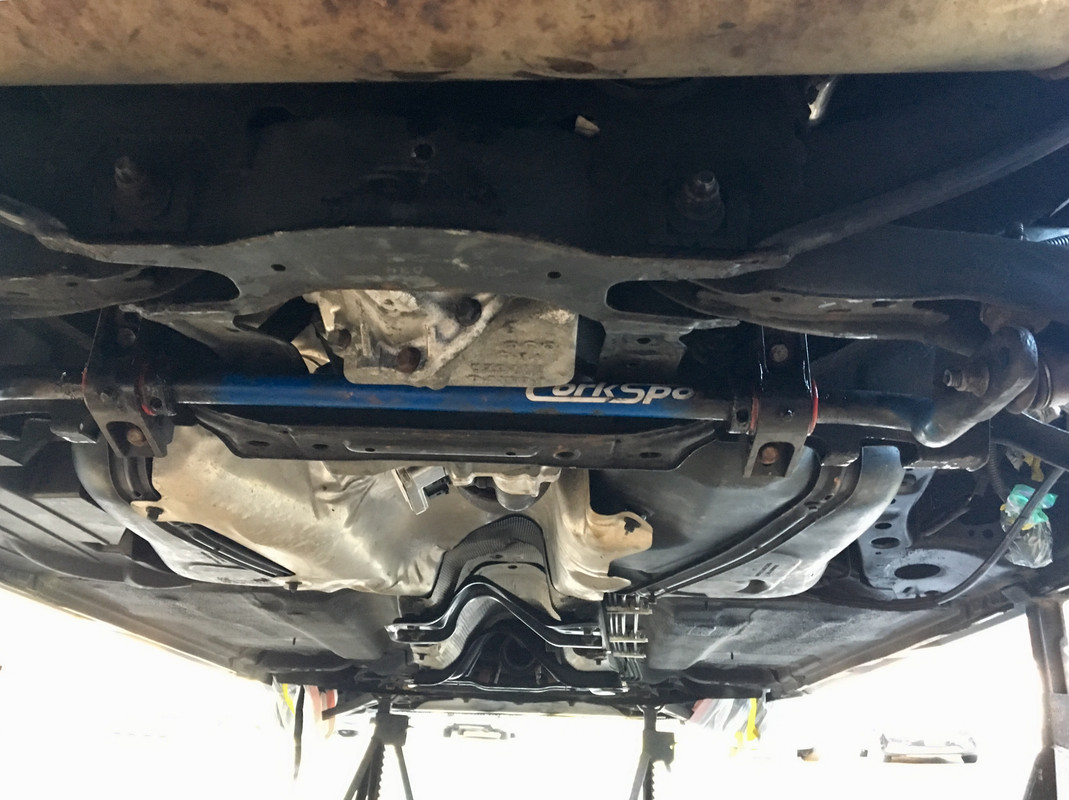
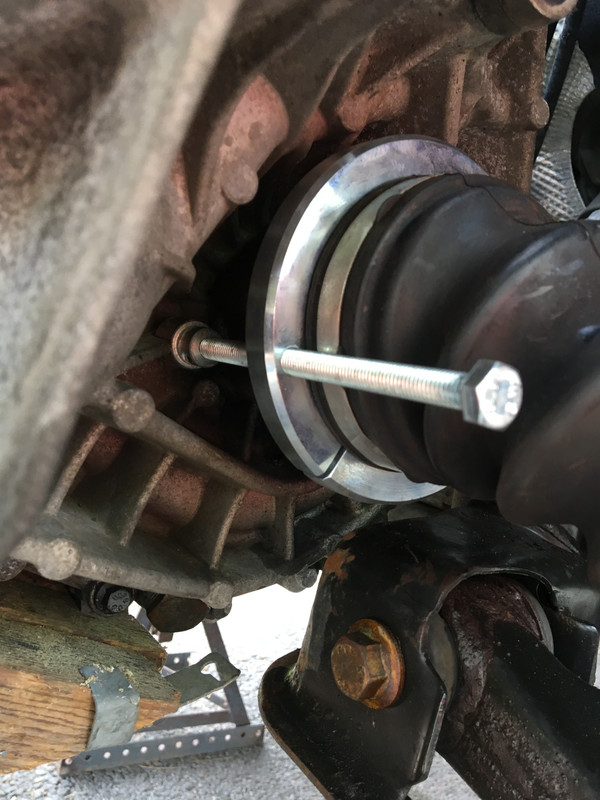
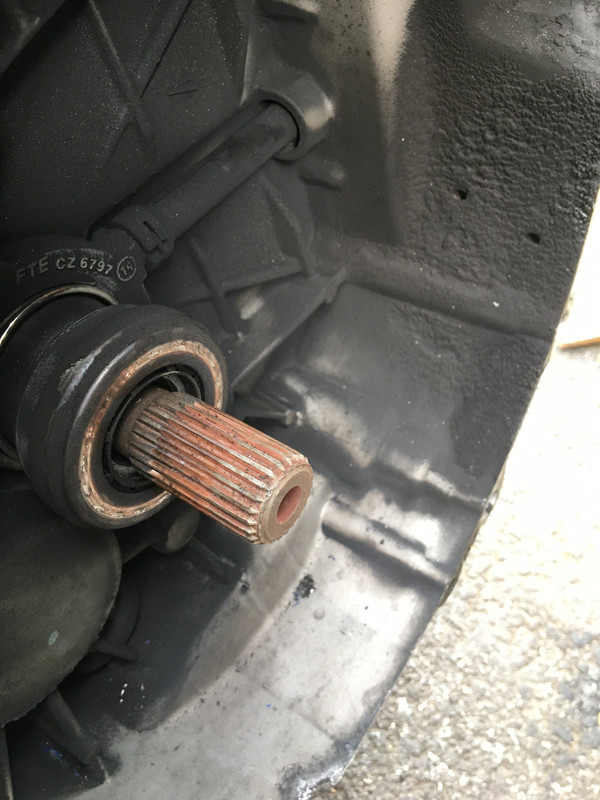
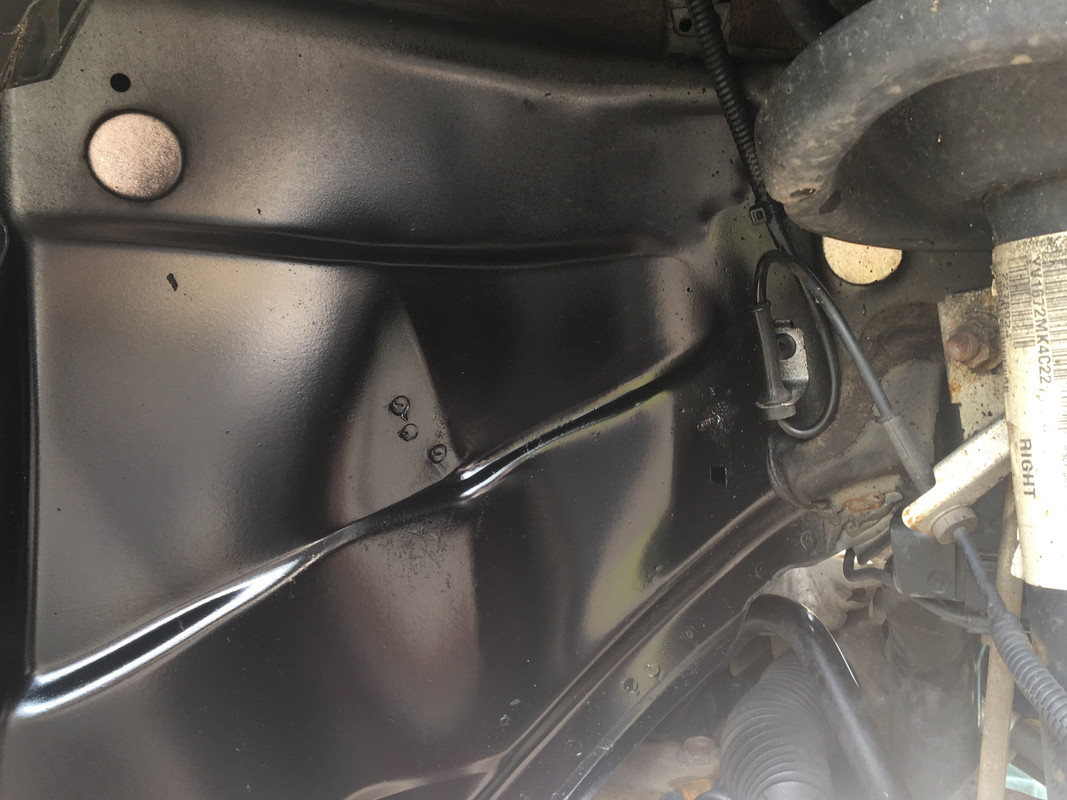
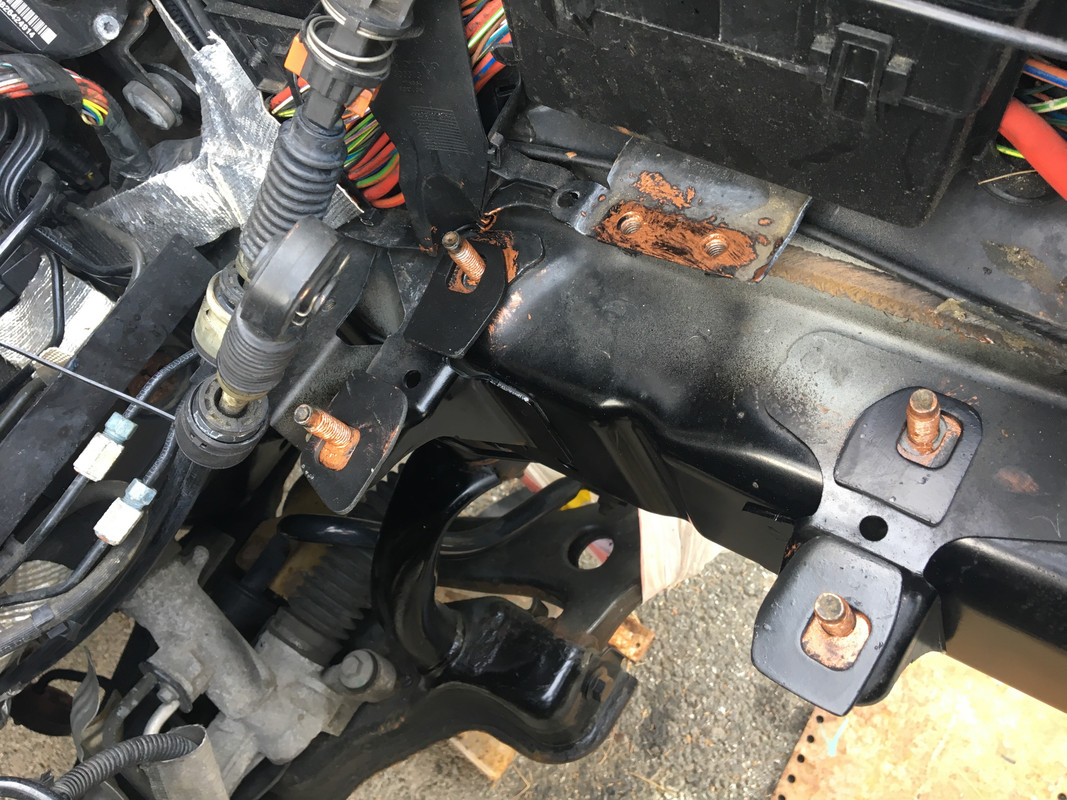
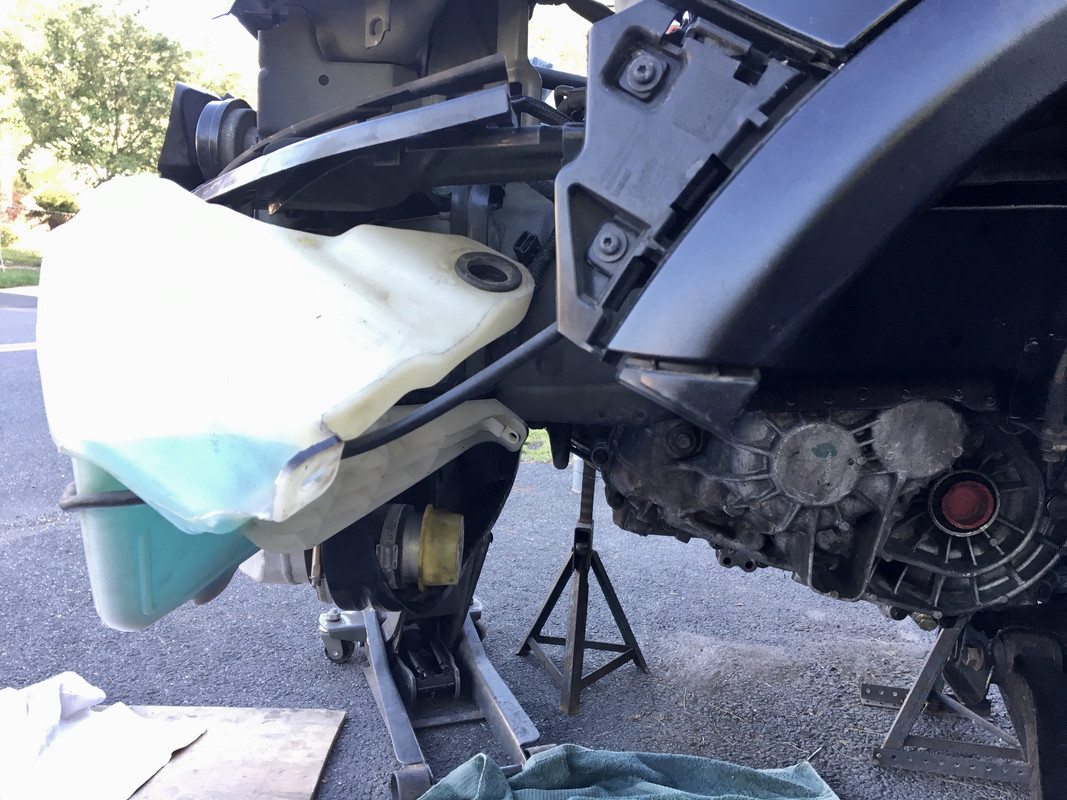
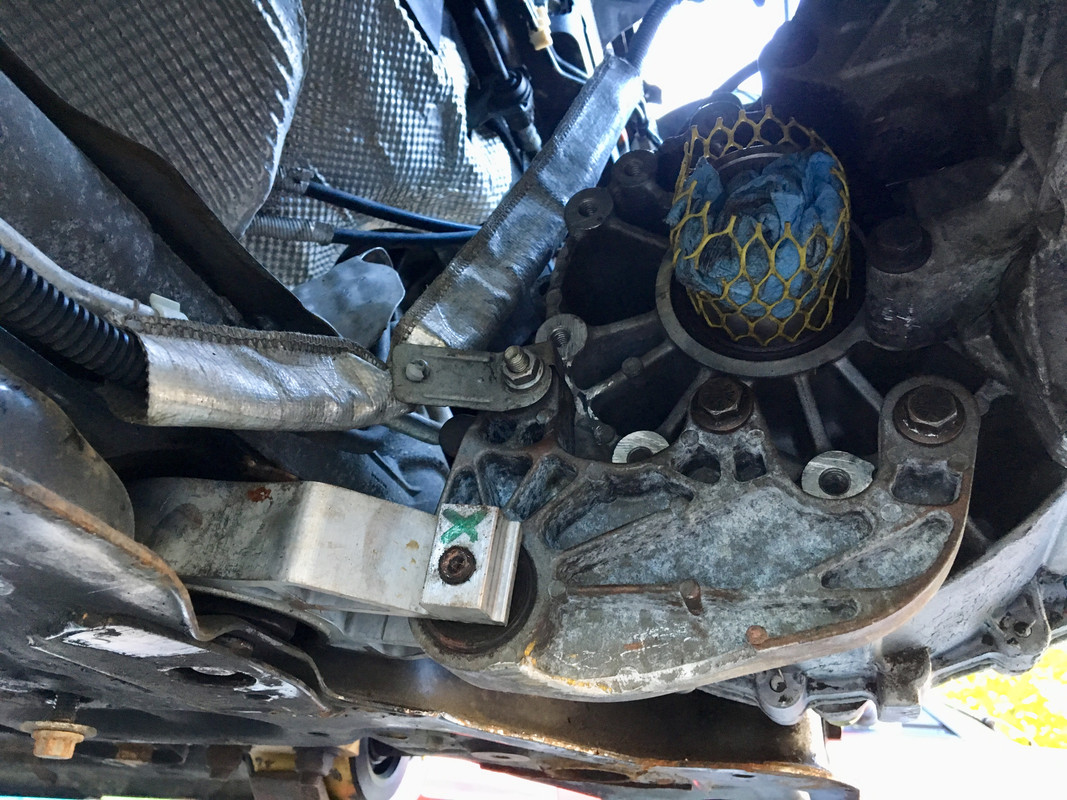
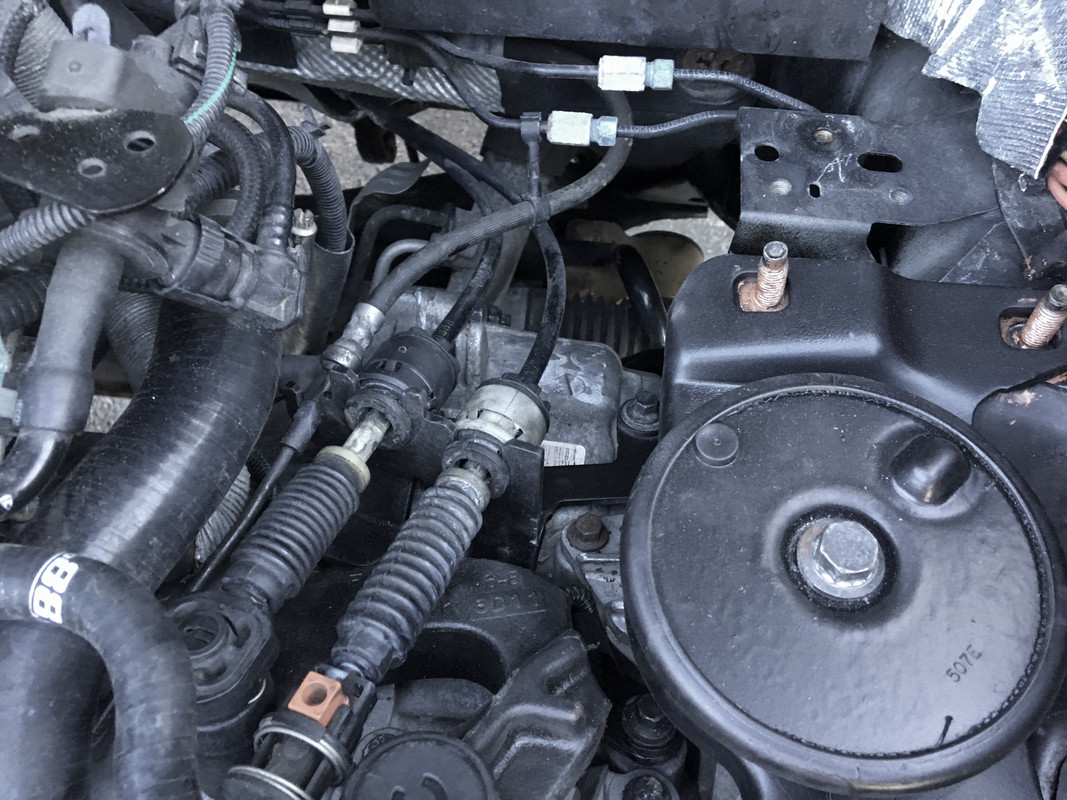
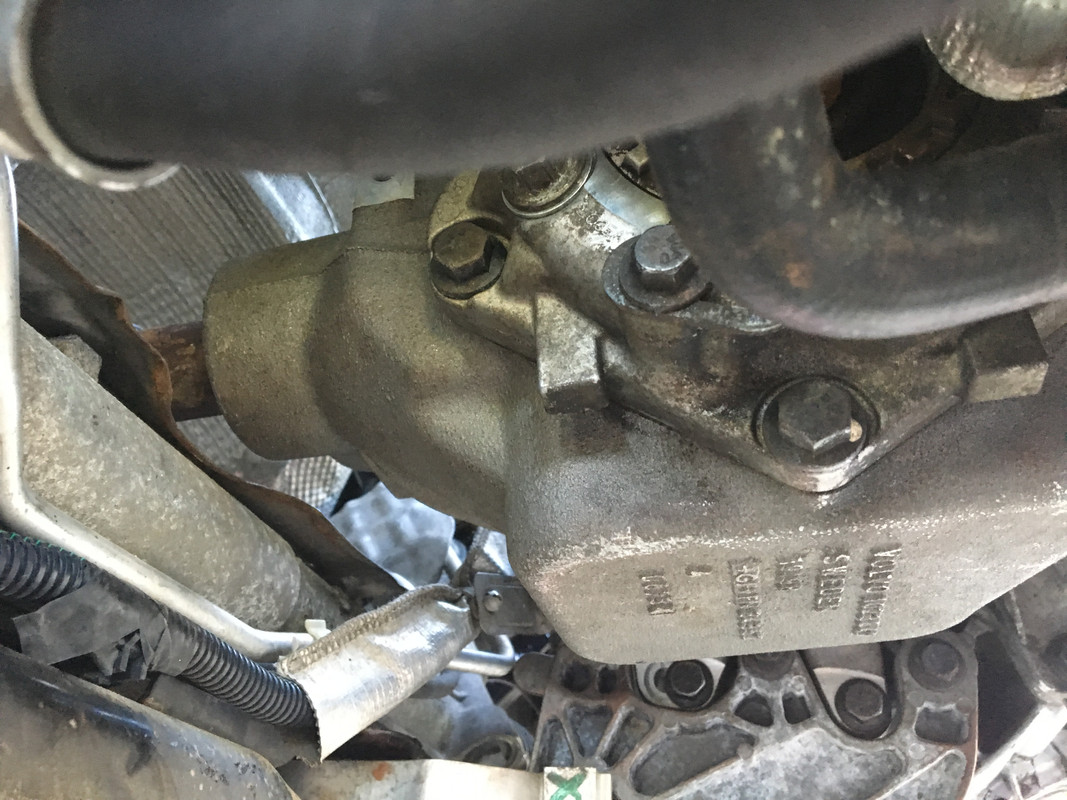
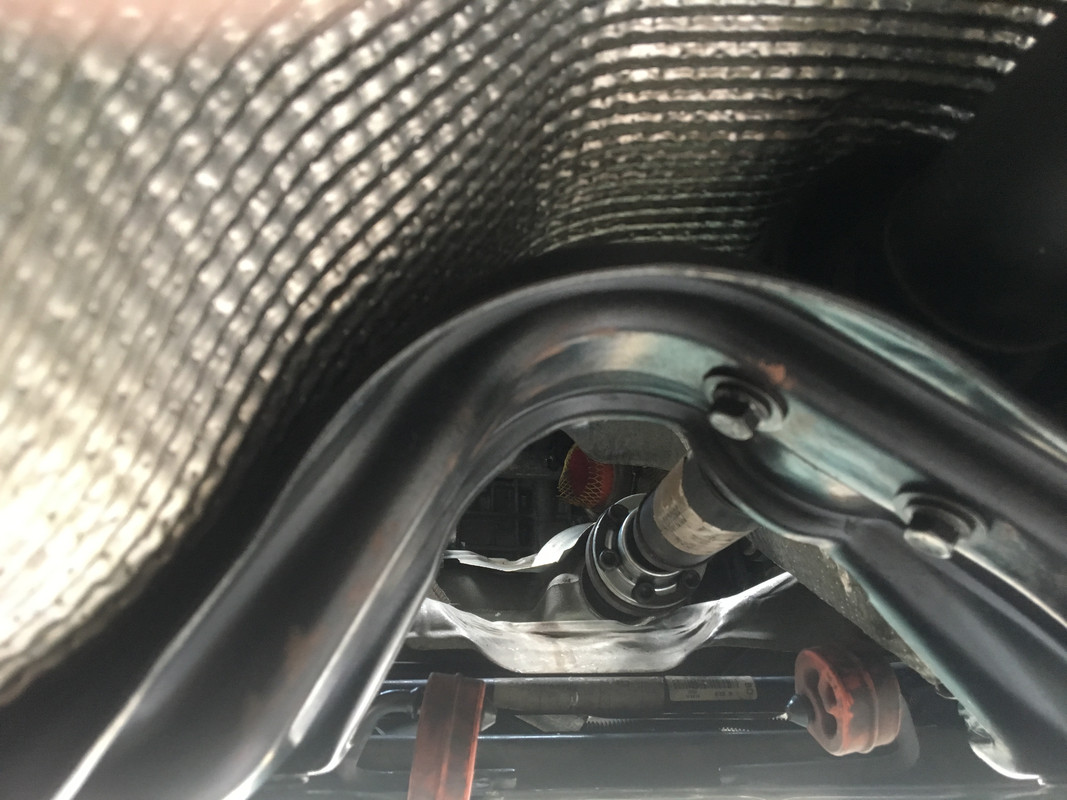
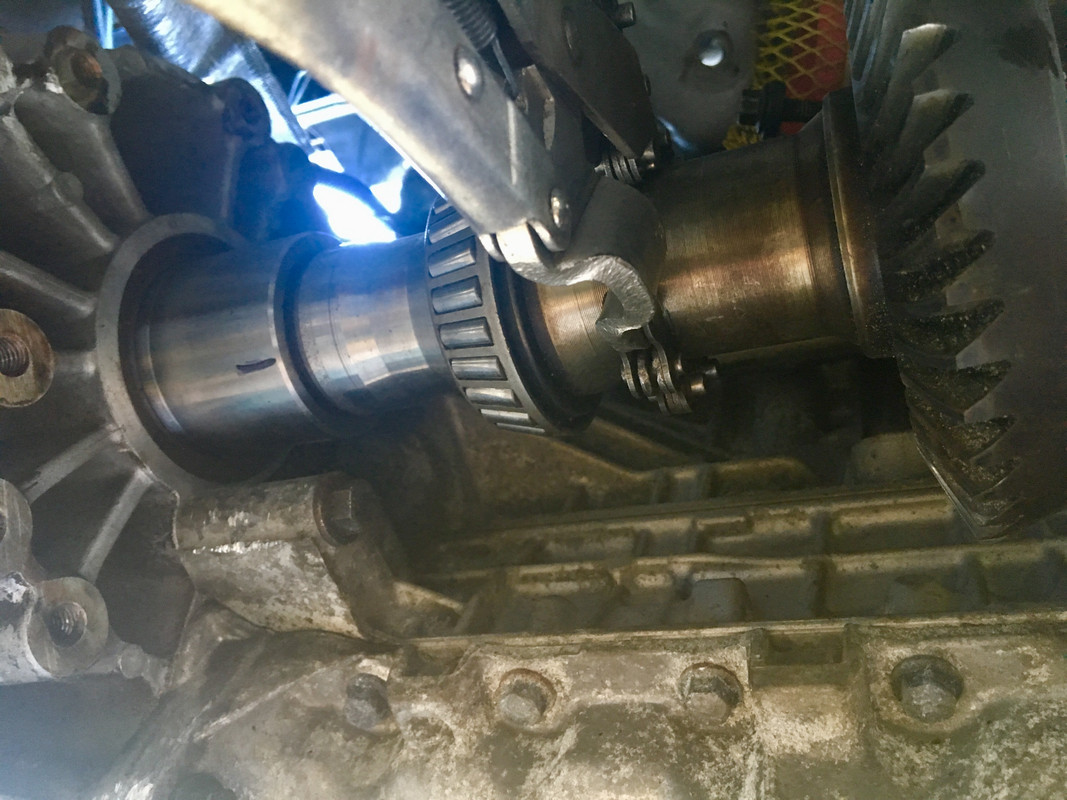
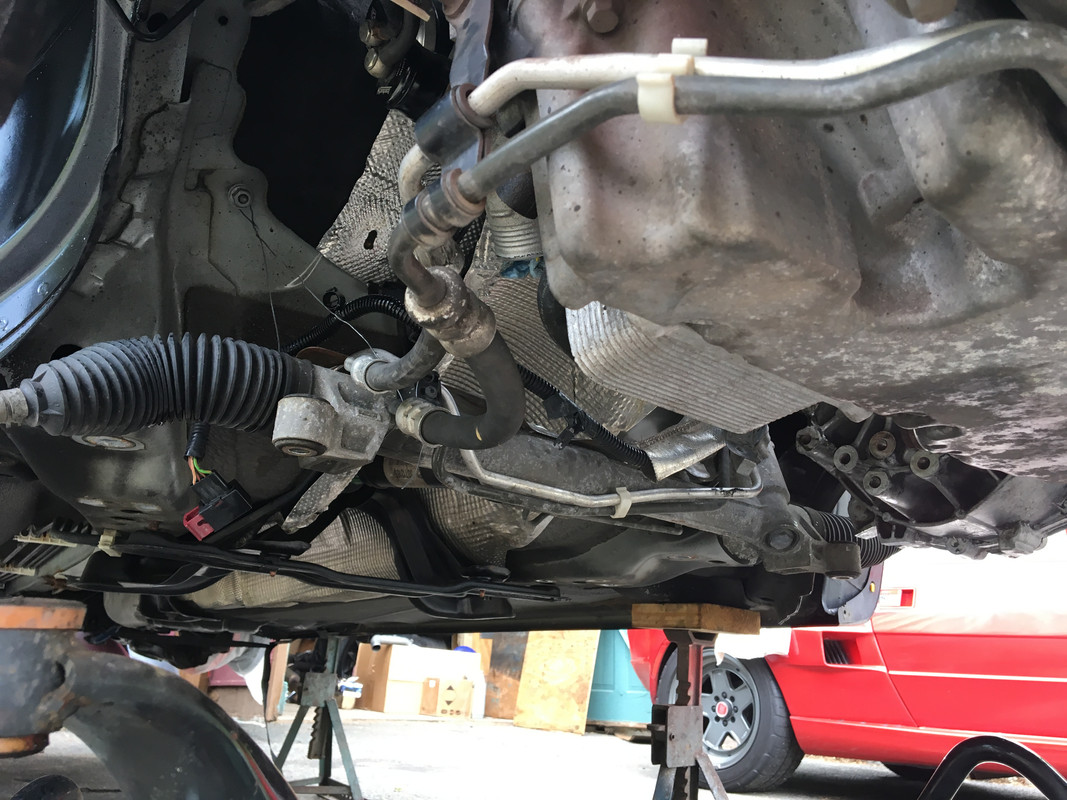
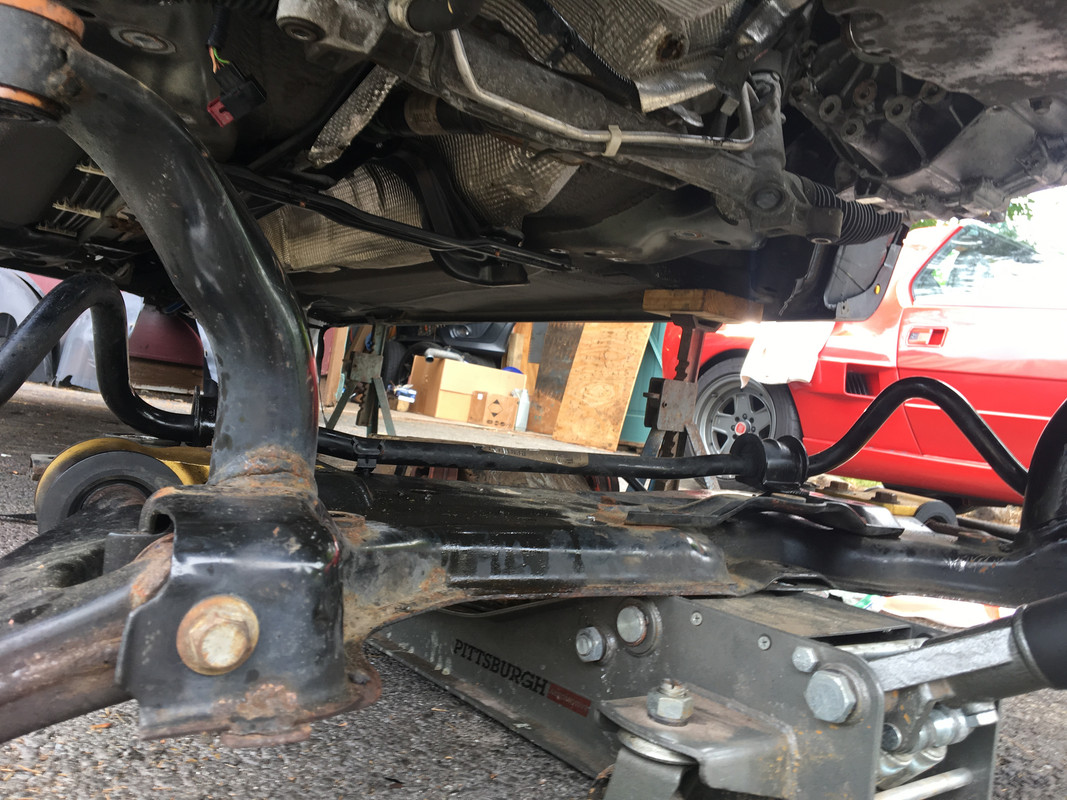
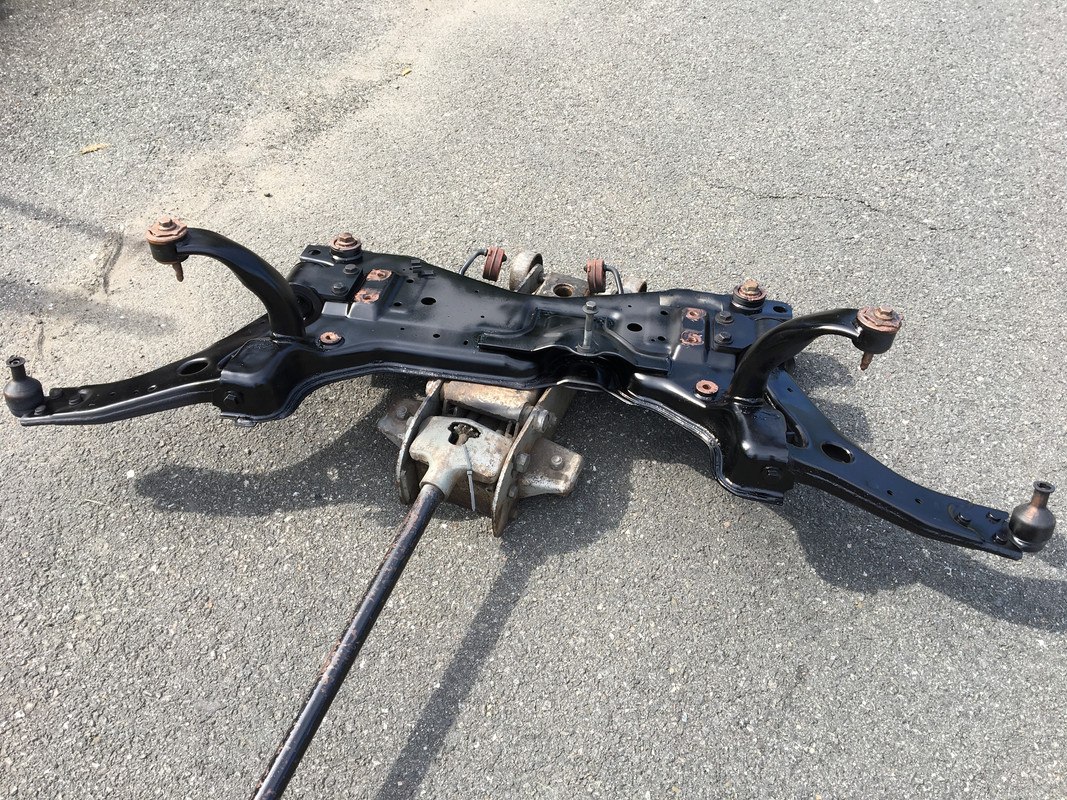
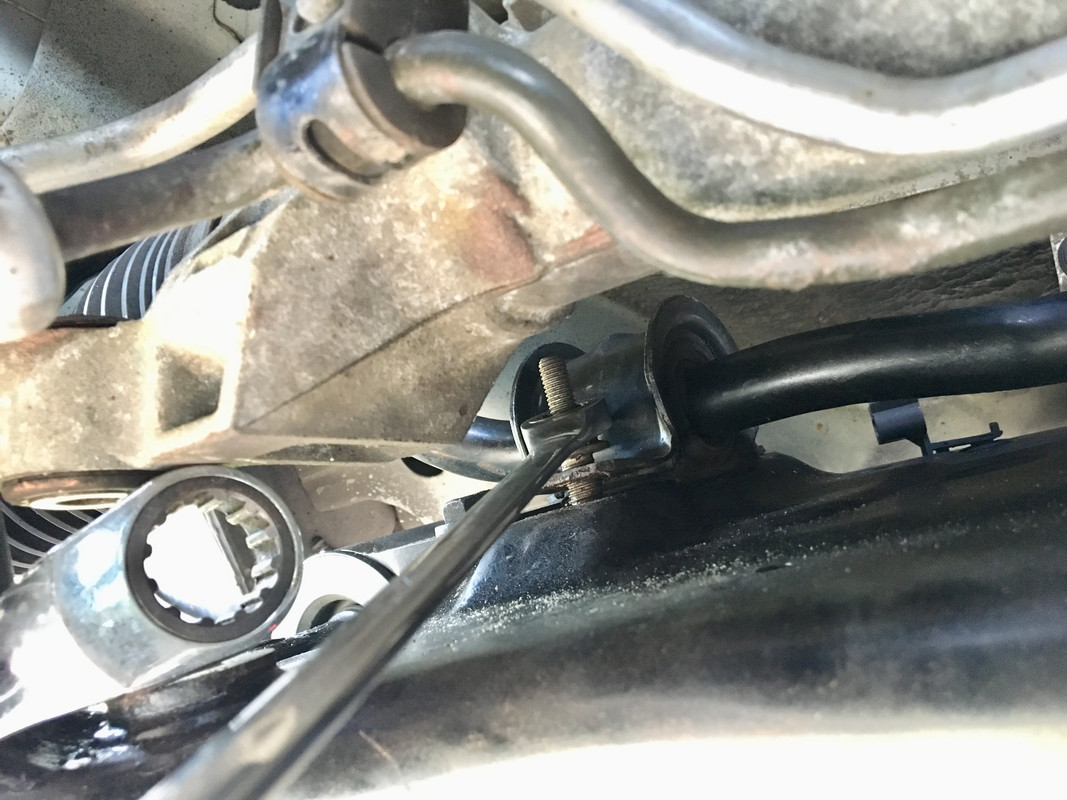
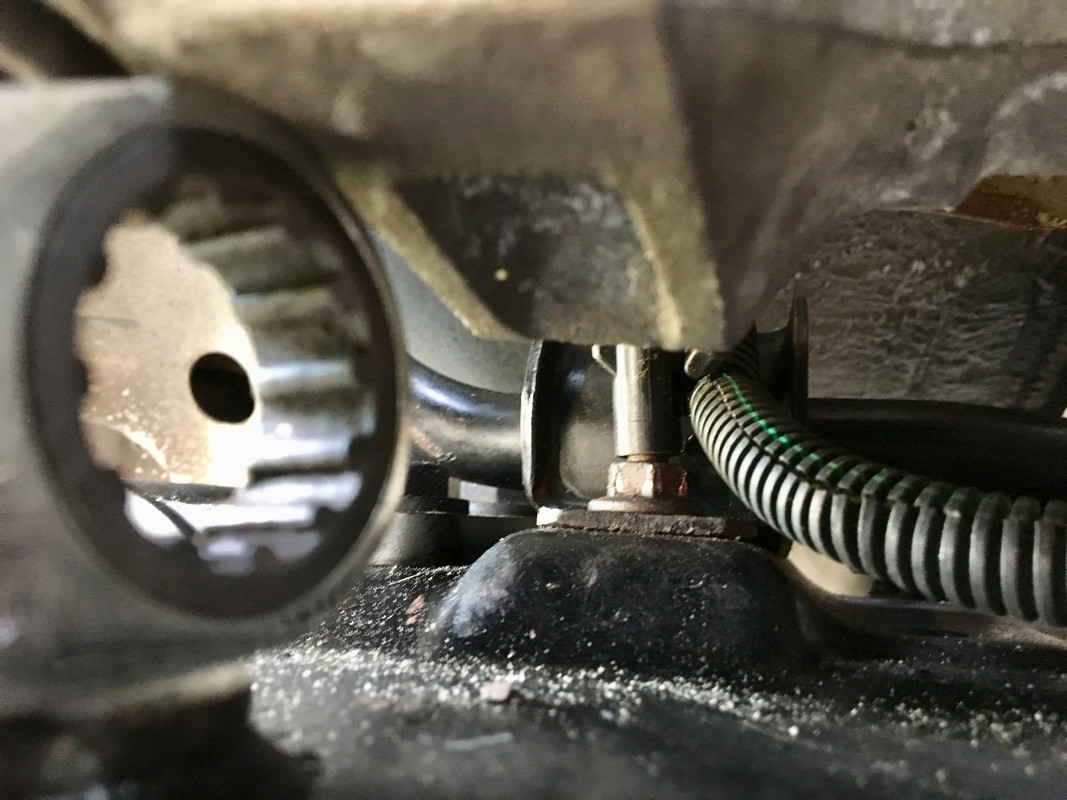
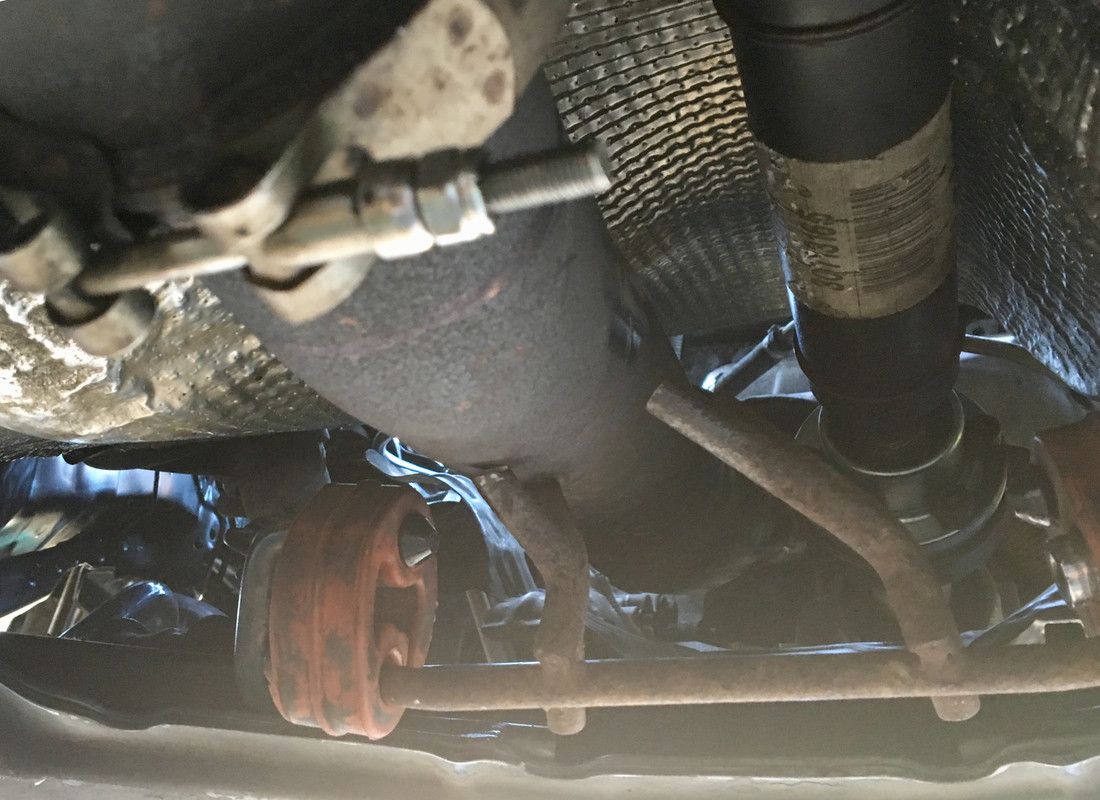
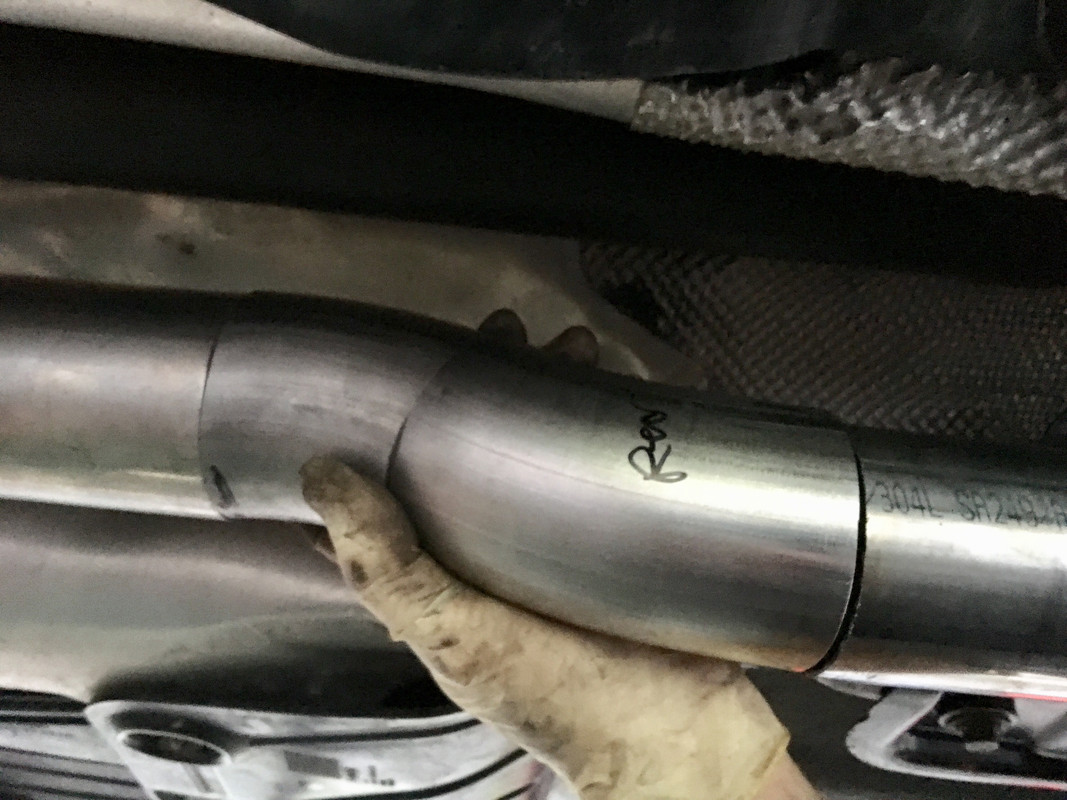
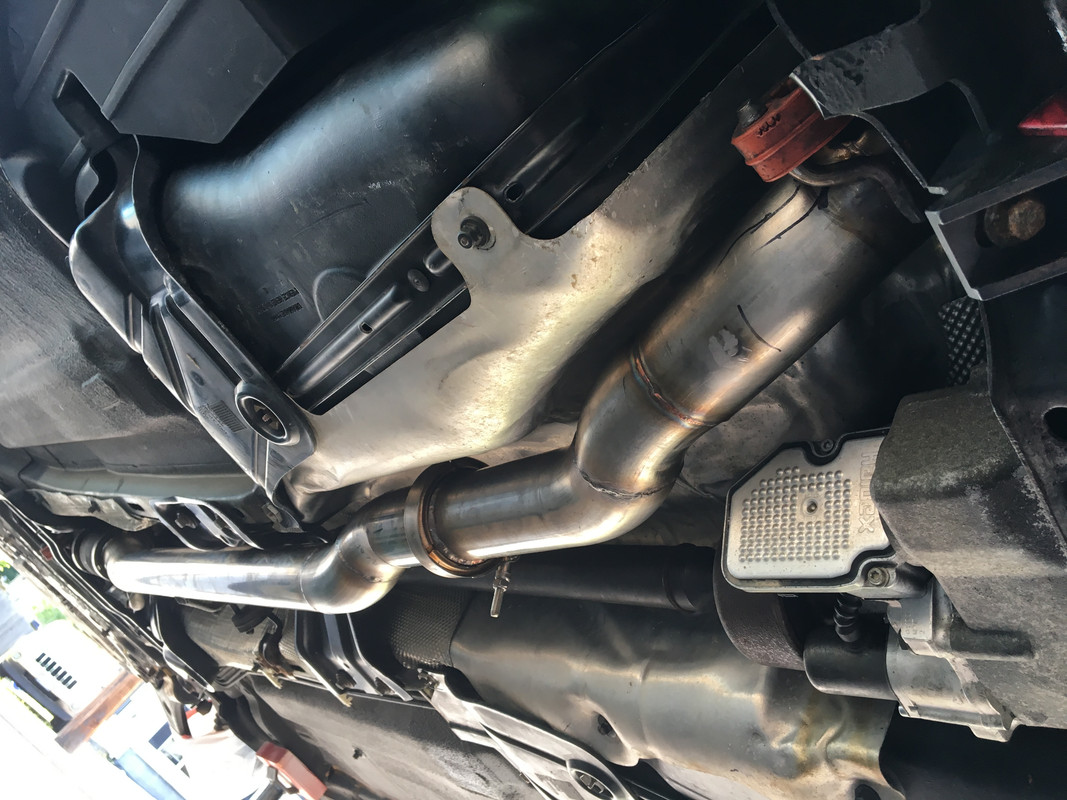
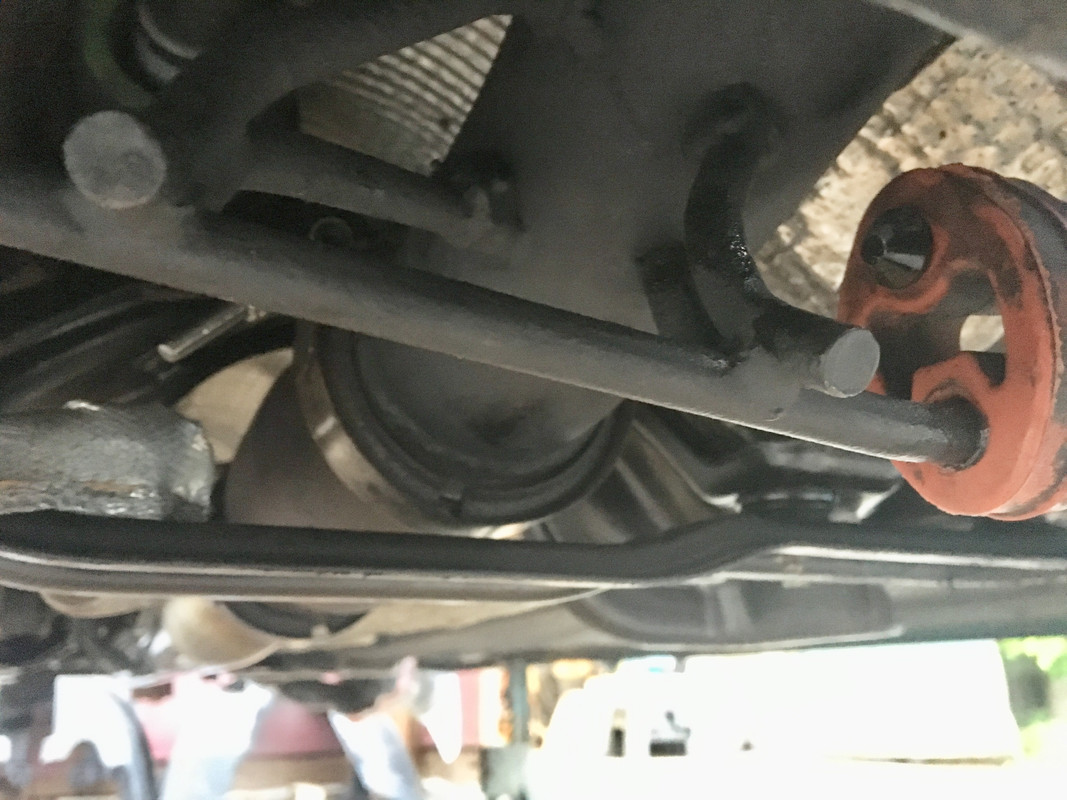
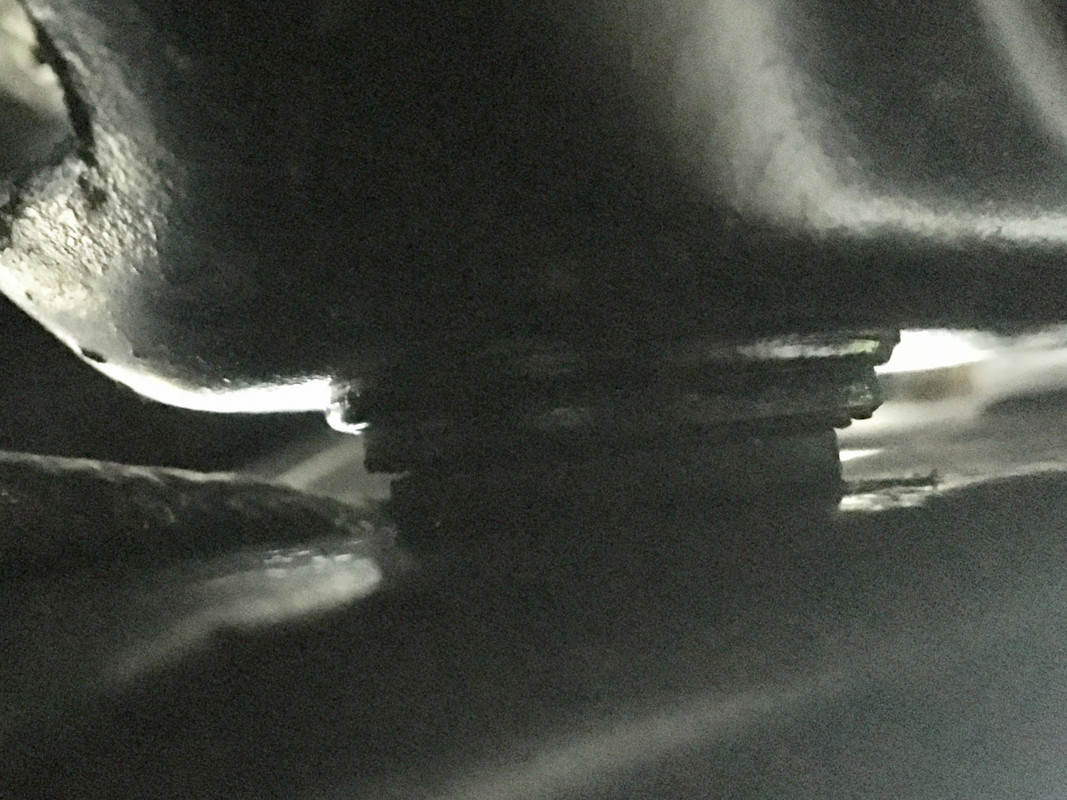
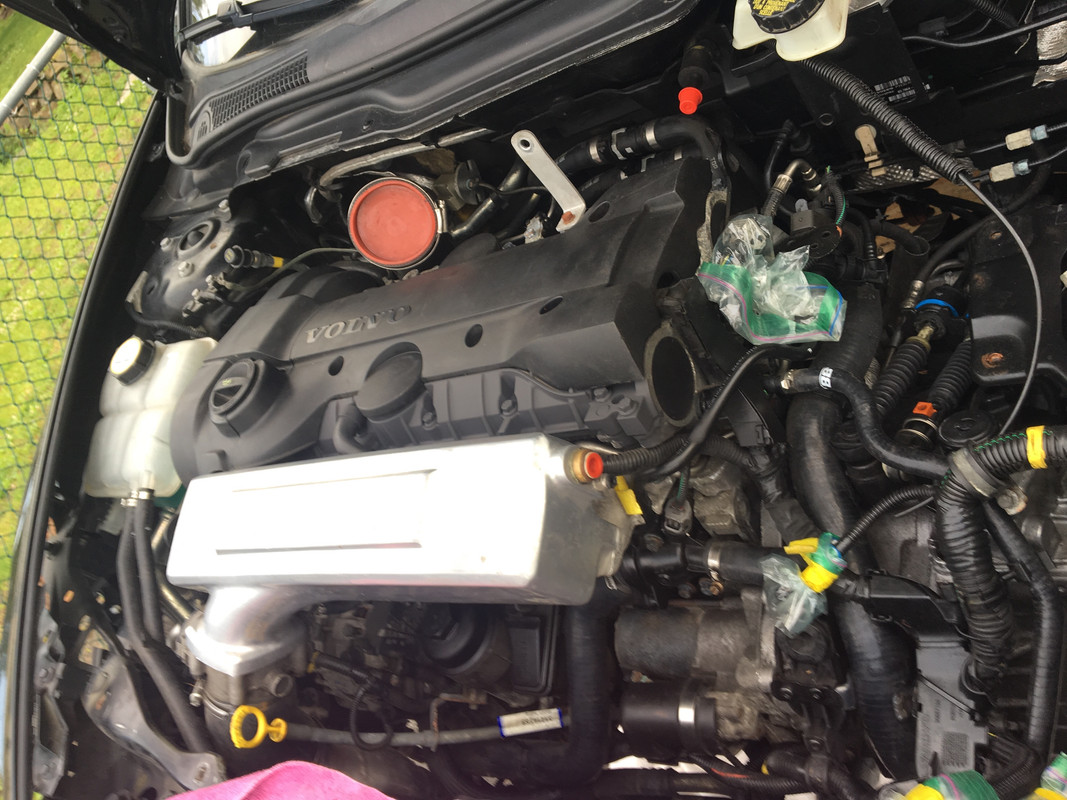
Fun after work today: spent about 5 hours futzing with the exhaust layout. Reinstalled the DP with a new flange and revised O2 bung tacked in place, approx 2" set forward of previous flange. The issue that brought up is that now the wide part of the cat is closer to the top bolt securing the DS carrier bearing to the support bracket, and the lower forward support bracket/cross brace rubbed against the V band clamp :(

After much back & forth adjusting the Vband flange and the offset of the DP hanger support pins ( to raise/lower the DP and therfore the cat) I finlay got it to where is sits nicely, and doesn't rub when jostled around as it will under acceleration. No pics of that part.

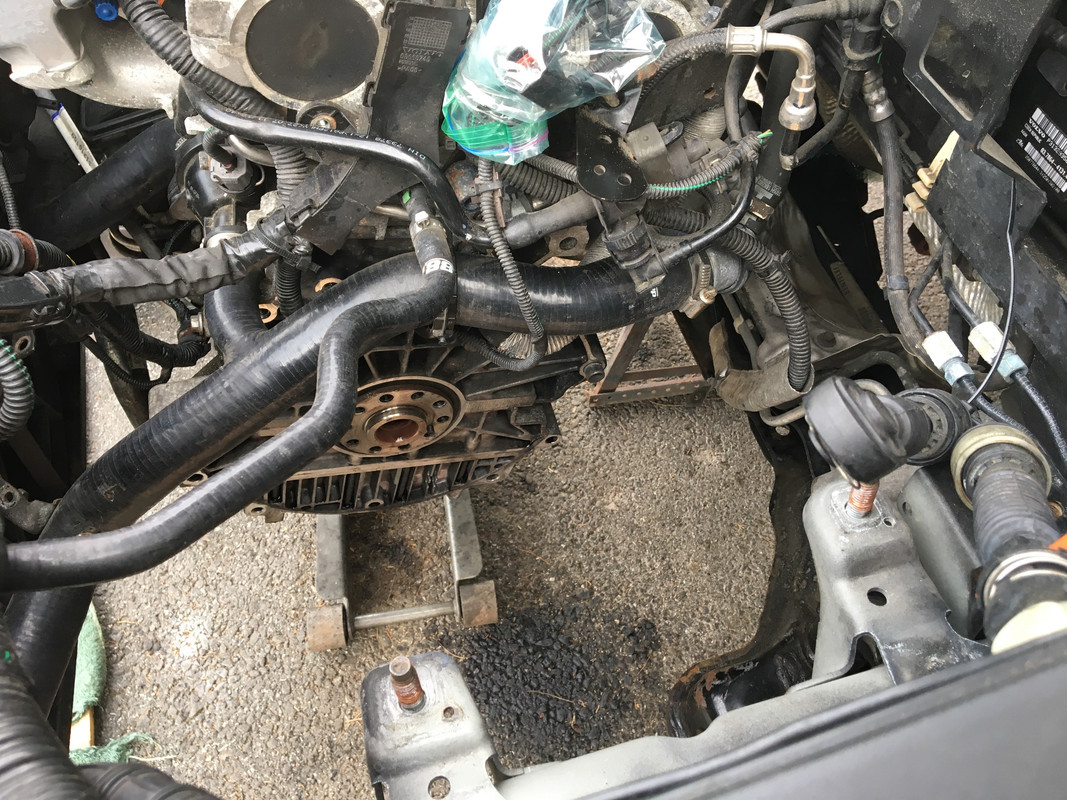
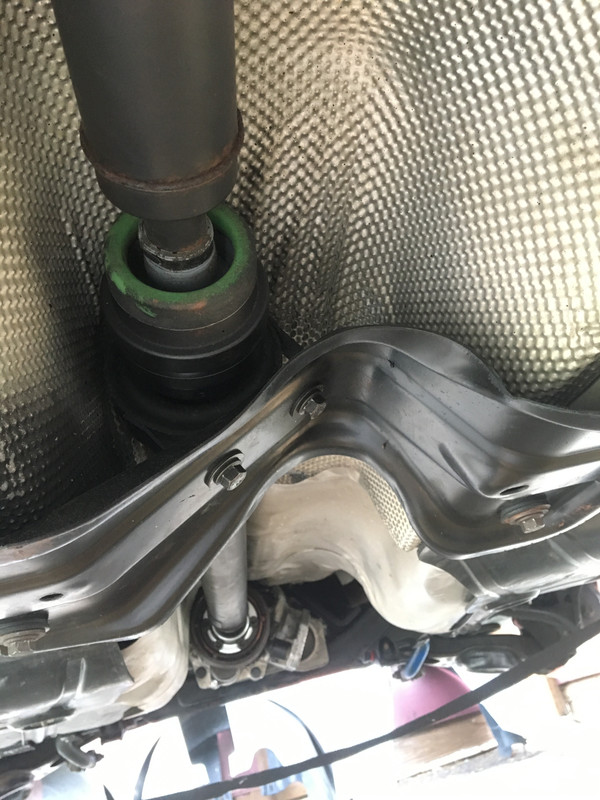
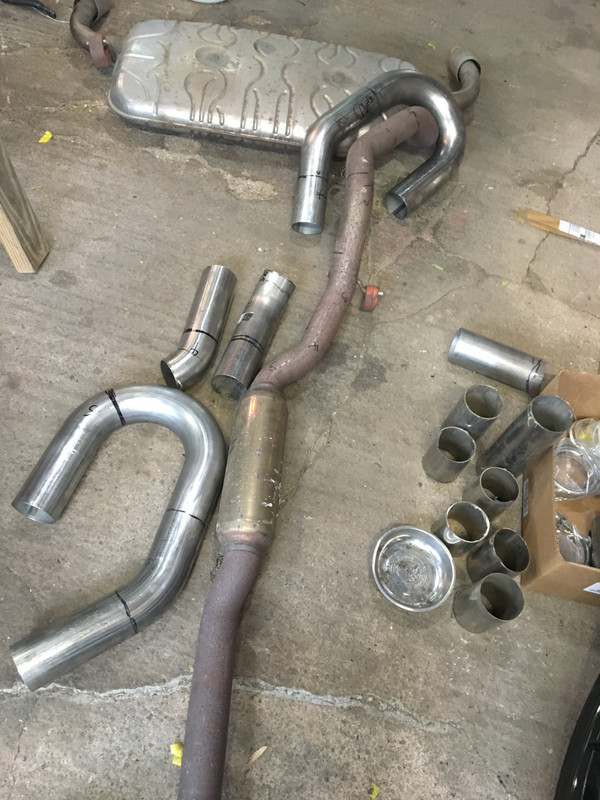
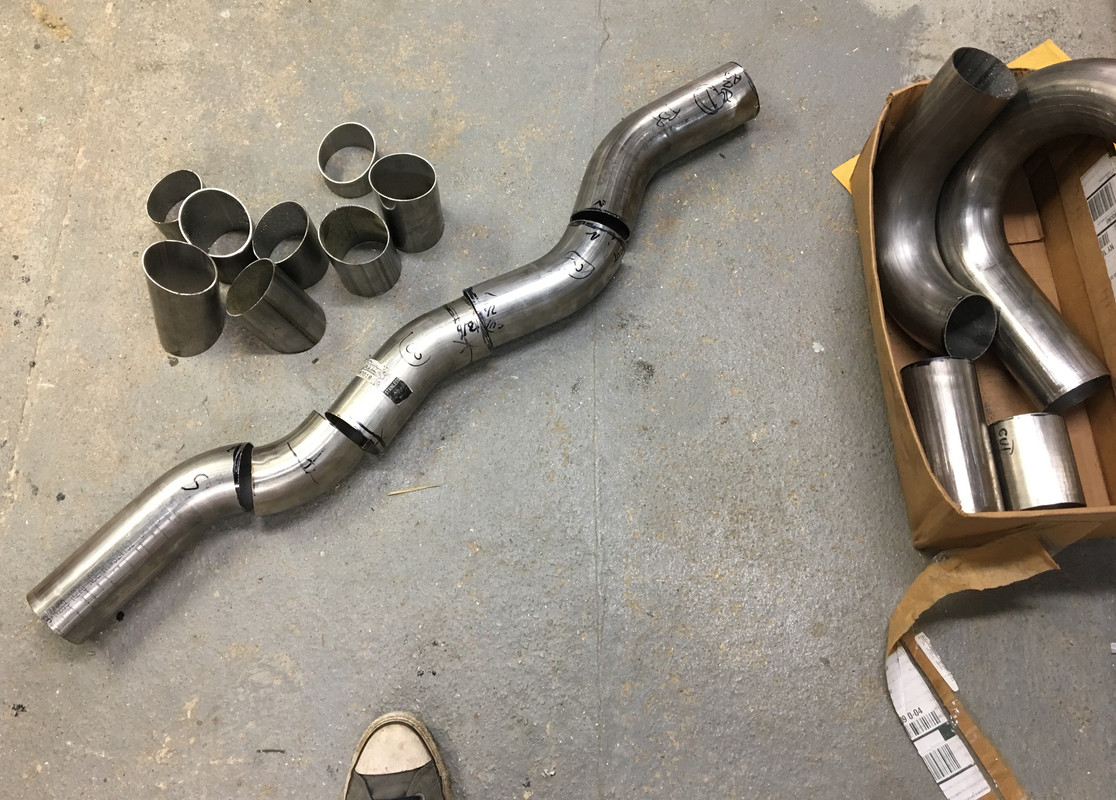
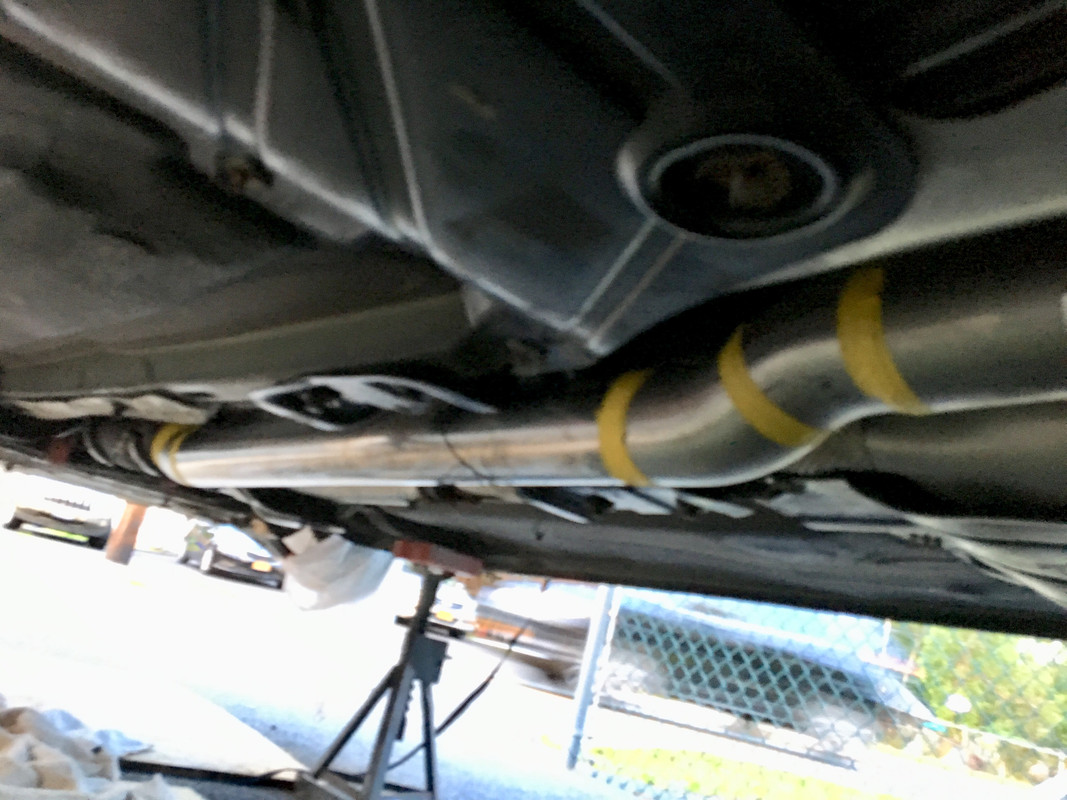
With that aligned & laid out the mid section that will go back close to the Haldex. I was hoping to use the straight 4' section, but no way to get that to align with both DS support brackets, the cat and the Haldex. So, I had to cut it & add doglegs at each end to push it down and to the right up front, and then back up & to the left in back. That took a fair amount of time. This is not fun work in the driveway.

IMG-8924.jpg


IMG-8928.jpg


It will have Vbands at each end to make it easier to align & no more gasket flange to deal with.

IMG-8929.jpg


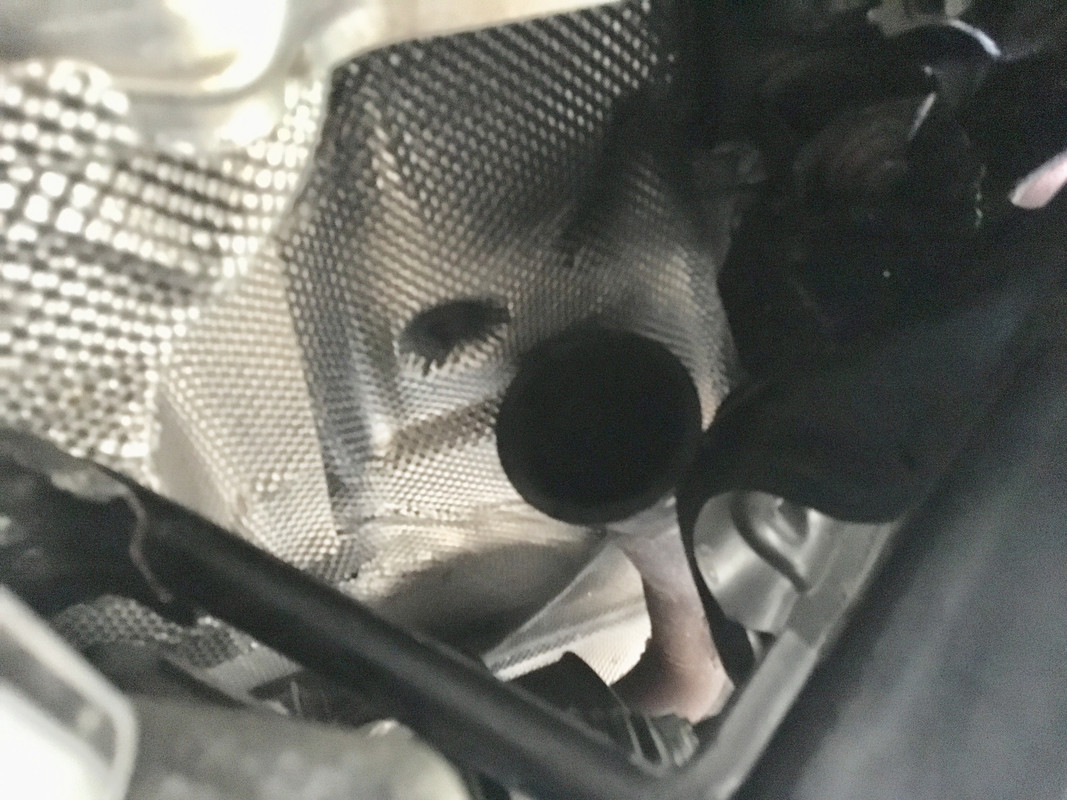
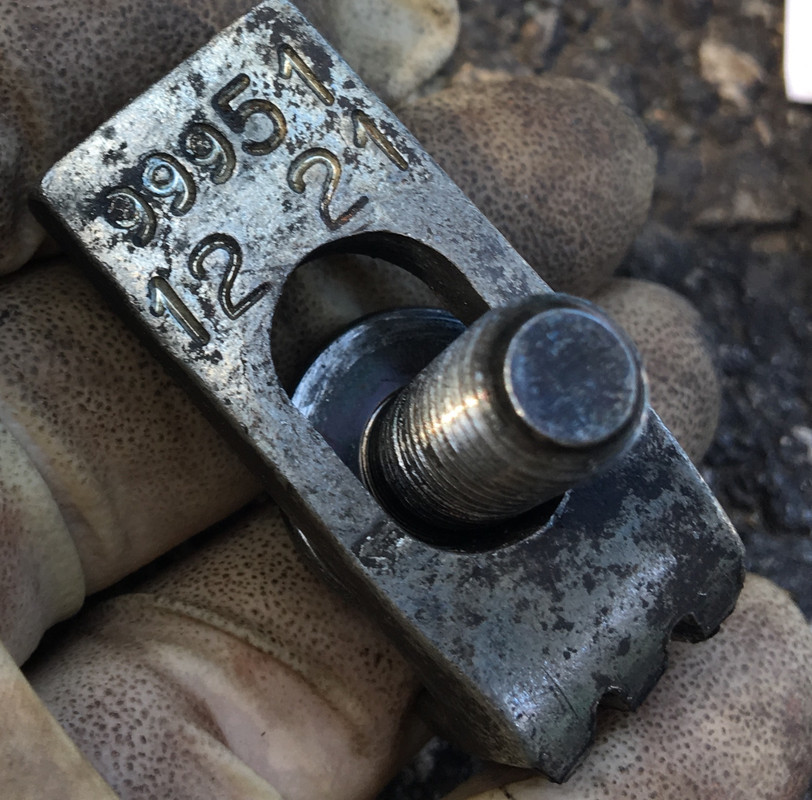
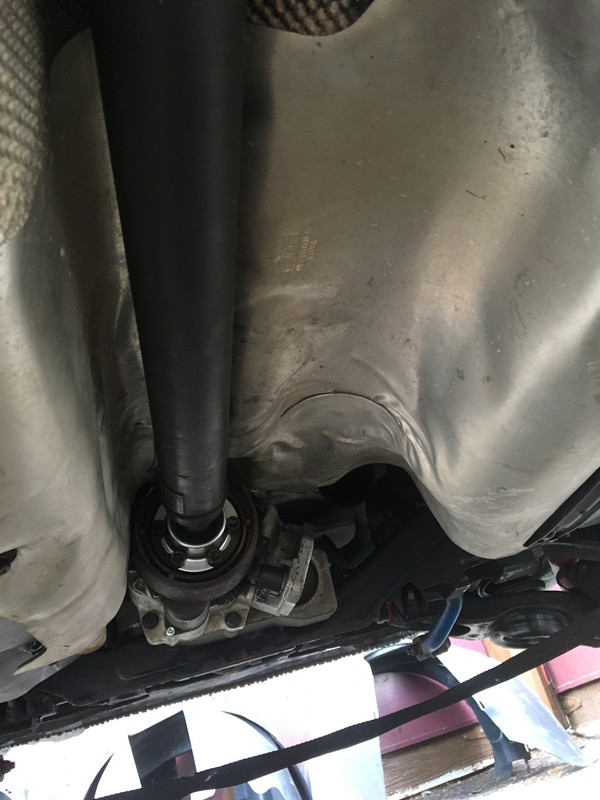
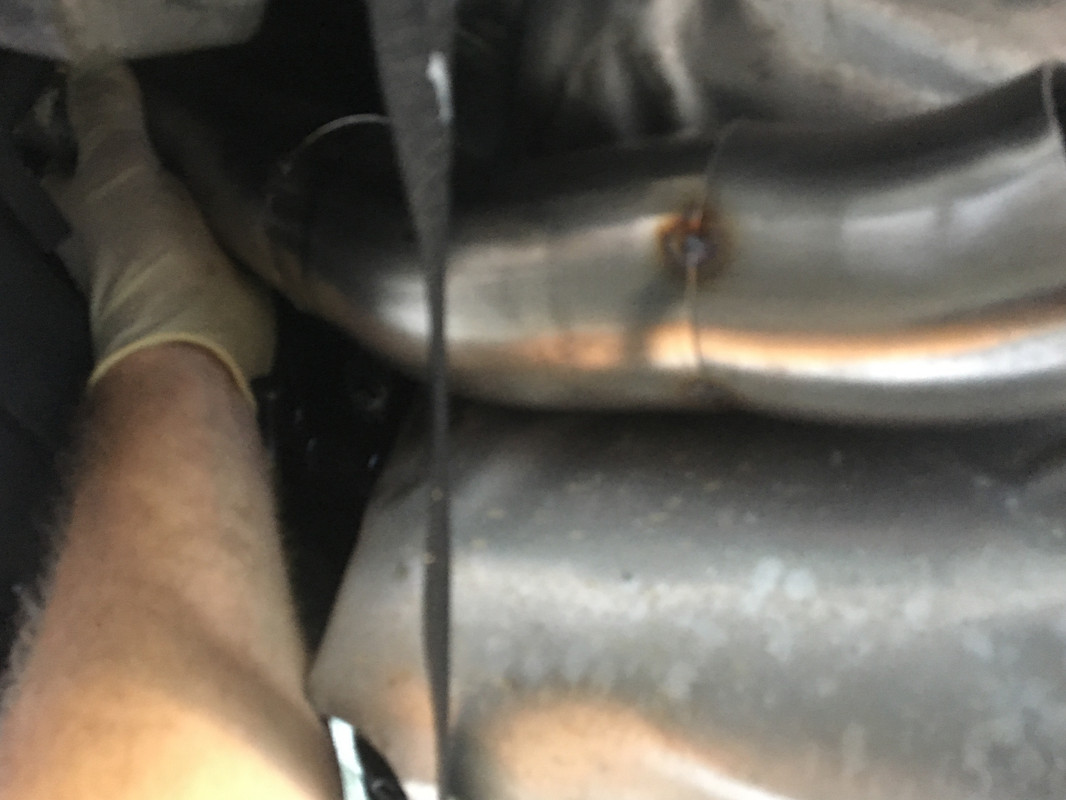
I am moving the rear O2 bung from the pipe section (where Mototec places it) to the cat body. That way, I can rotate it to get best alignment again without having to worry about the gasket flange causing an alignment issue.

I tack welded everything except the Vbands, since those can be angled several degrees relative to the piping, I'll have to reassemble the exhaust, clamp the flanges & tack them insitu, then remove & bead weld.

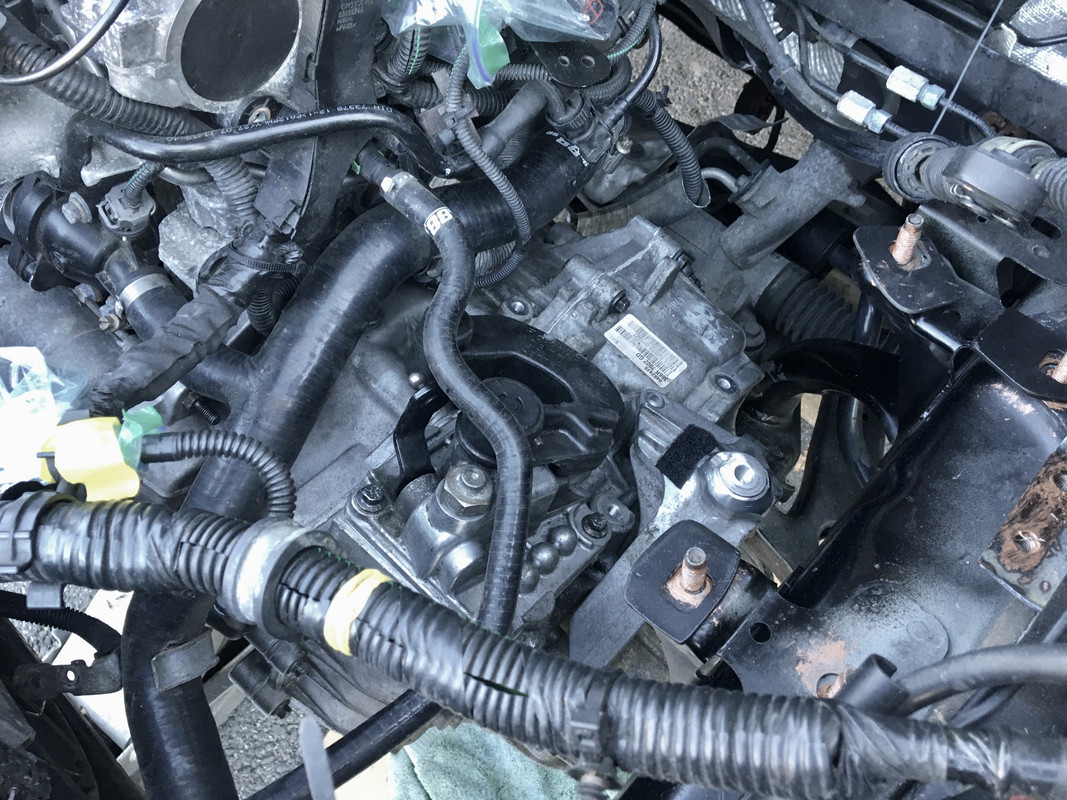
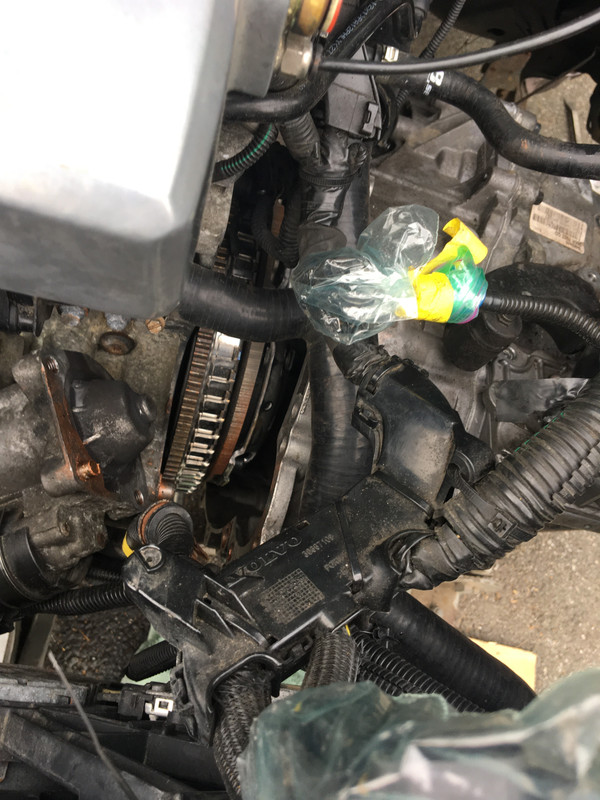
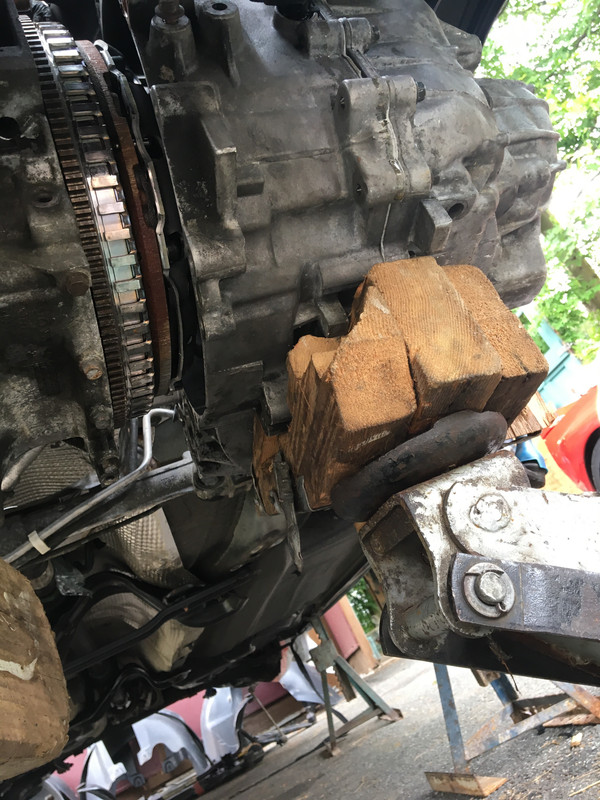
After that, I have to deal with the inlet to the C30 muffler, which is offset differently than the AWD monster muffler, and will require a fair amount of work. I already had it in & out several times today to get the rear over-subframe pipe section figured out, it also weighs a heafty amount. Not really looking forward to that part, but it is a puzzle to be solved, so that's OK.
 
Got the various sections welded today, along with the O2 bungs on the DP & Cat. Some welds OK, others messy. All depends on how clean I got the fit of the sections. Took several hours, don't know where the time goes, but it does.

IMG-8937.jpg


IMG-8938.jpg


So, tomorrow I need to reinstall these, fit the Vbands, align it all & tack the Vband flanges in place, add the hanger pegs, then take it back out & weld it up. Still have to cut & figure out the muffler connection & the dump valve.
 
Last edited:
Little bit done today - DP installed for good.

DP gasket & cone for 3" to 2.5 transition at rear muffler

IMG-8969.jpg


Tomorrow I'll get those installed & then start on the rear muffler connection. Hopefully I'll have the exhaust all laid out before the end of the day. I'm getting low on Argon, so I may run out before I'm done - they aren't open on the weekend

Mid & rear sections aligned & Vband flanges welded. Those are kind of a PITA as I found they really need to be welded with the two halves clamped - the first one I didn't & I got some distortion of the mating surface that I had to address. Having the clamp in place just makes the weld angle awkward, and it took me some time to get the flow going smoothly, so some parts are 'cleaner', others kinda lumpy. I also seem to be having issues with my helmet - it either doesn't dim enough so I can see the puddle, or it can be too dark & I can't clearly see the weld seam I need to follow. Tried playing with the sensitivity & overall value settings, seems hit or miss as to whether I get a clear view of the puddle :(

IMG-8945.jpg


IMG-8944.jpg


Tomorrow I'll get those installed & then start on the rear muffler connection. Hopefully I'll have the exhaust all laid out before the end of the day. I'm getting low on Argon, so I may run out before I'm done - they aren't open on the weekend
 
Last edited:
Nice work. You will be the envy of the C30 set. One of my coworkers has a C30 and is loving this thread.

Coming together, how much longer on this paltry little activity?

:D

Looking forward to the next project where the real re-engineering and Volvo-ication will be taking place.
 
Today I welded the last Vband flange then reinstalled the exhaust, getting everything aligned so that there is no rubbing or clearance issues. Had to play with it awhile, and tweak some of the hangers.

IMG-8946.jpg


IMG-8962.jpg


Had to add 1.25" spacers (lower washer in stack, upper is the stock mount isolater) to drop the forward driveshaft support, wasn't happy with the clearance for the Vband clamp on the Cat.

IMG-8968.jpg


IMG-8963.jpg


IMG-8965.jpg


IMG-8966.jpg


IMG-8967.jpg


After that, I started looking at how to address the rear muffler connection. It is obvious there is an alignment concern. The incoming pipe cannot be repositioned or it will interfere with the subframe.

IMG-8947.jpg


IMG-8948.jpg


Started with some leftover cuttings

IMG-8949.jpg


Back & forth with several iterations, this is what I ended up with - initial forward section, piece of mandrel bend, two pie cuts & the VIB2630 transition cone - minor further tweaking of the stock 2.5" pipe section will finish it. Ran out of Argon right about here.

IMG-8950.jpg


So, I played with the (aftermarket) Intercooler feed pipe & hoses, which I had to adjust the fit due to the Angle Drive.

Pulled the tube back out the hose connector, to clear the underside of the angle drive

IMG-8960.jpg


IMG-8959.jpg


IMG-8958.jpg


Put the belly pan on to check clearances - there is a gap, just doesn't show it well

IMG-8955.jpg


IMG-8956.jpg


After that, I changed the oil & filter, and the spark plugs (FR7N133) while it's all easy to get at.

IMG-8961.jpg


Started putting the nose panels & fender liners back together after that.
 
Last edited:
Back
Top