lookforjoe
True Classic
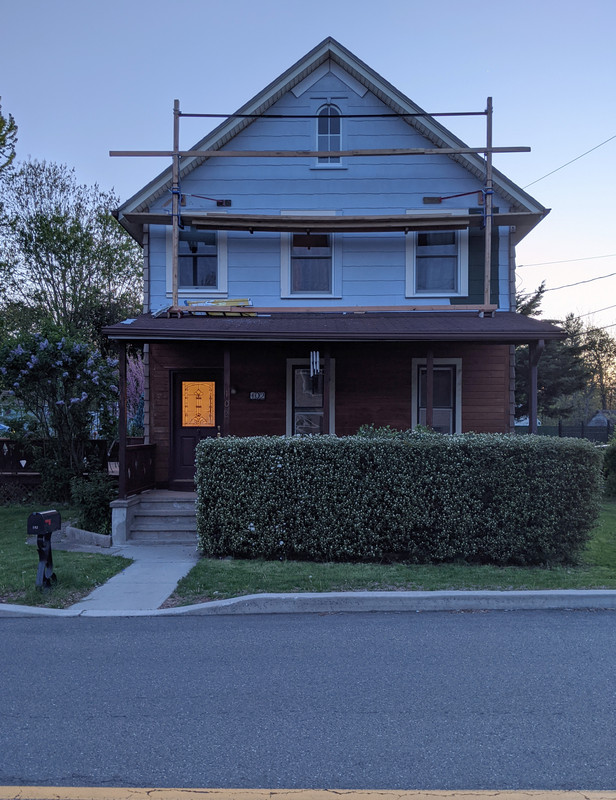
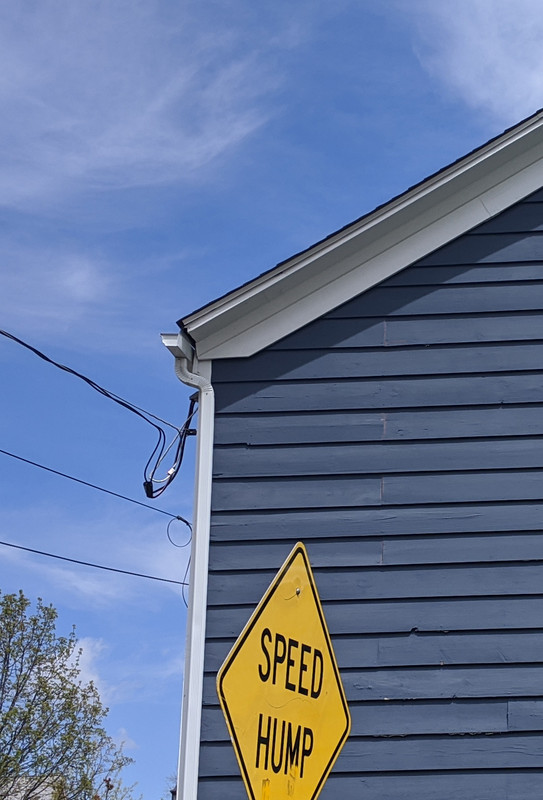
The last few weeks I've been focused mainly on removing the crappy vinyl siding on the front of the house that was installed at some point in the 80's by the PO. It's a fake 'cedar' - it didn't look so bad 20 years ago when we moved in, however we've never liked it & now it's deteriorating - especially on the front.
Started pulling off the vinyl about 3 weeks ago - the additional issue was that when they did the siding, I found they removed the casing from the 2nd floor windows & used aluminum & vinyl trim. We've always had drafts - no wonder! Under the vinyl is asbestos siding, most likely installed over the original wood in the 50's when it was popular. I found fiber-cement replacements, so I am only removing the few broken shingles. I don't have to deal with abatement doing that.
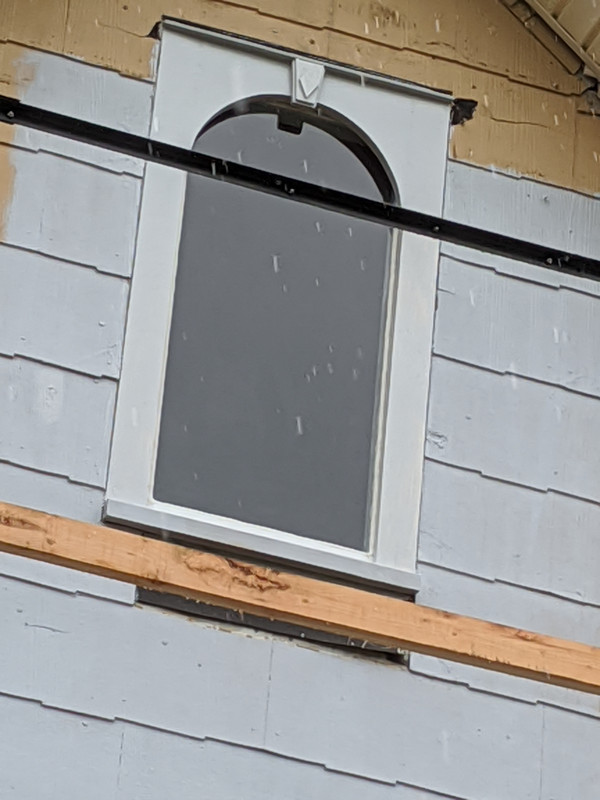
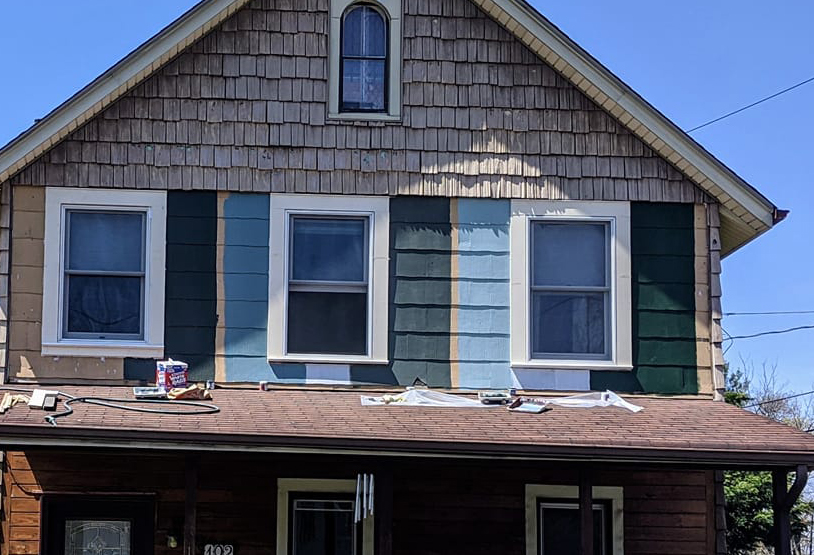
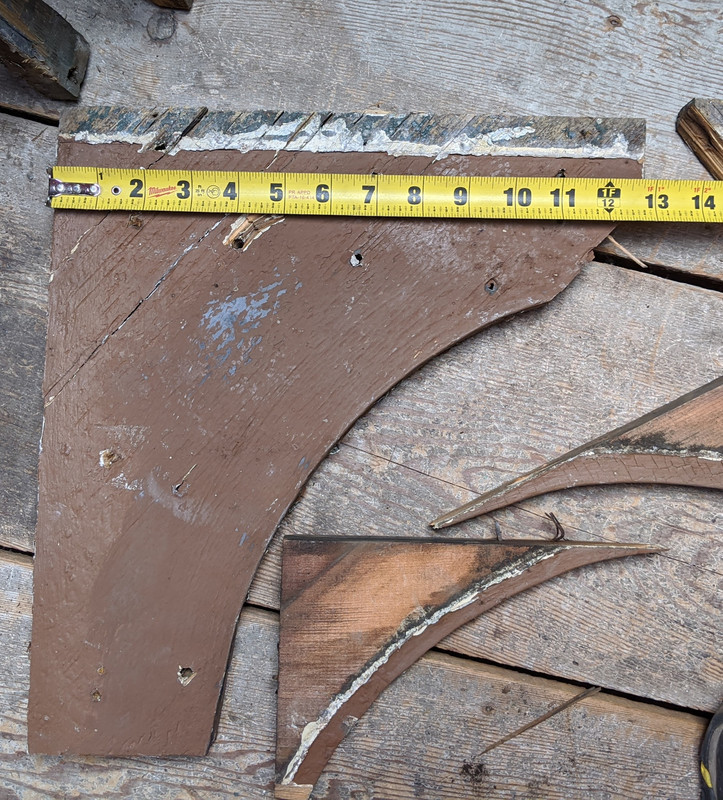
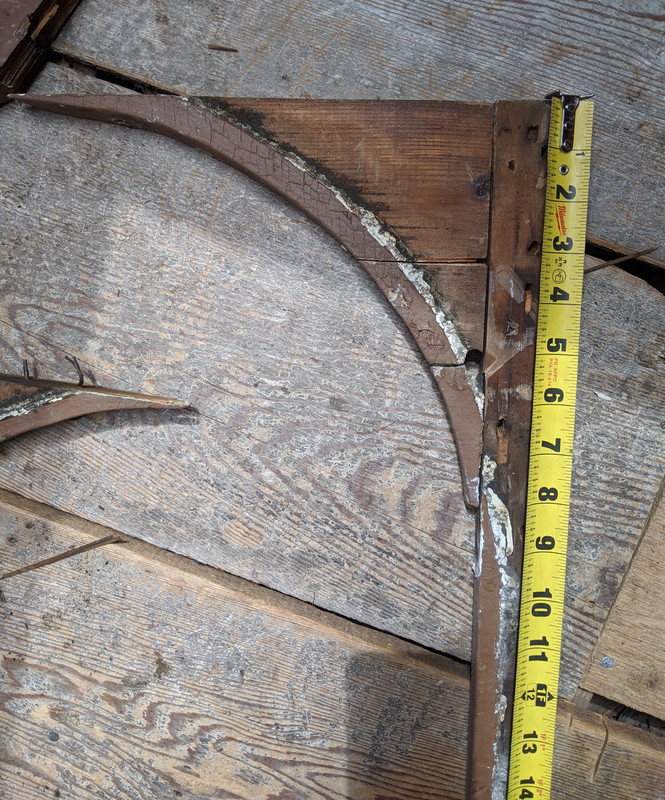
White tape around the window here; while I had case moldings, sills & drip caps cut. This was as high as I could reach, pulling off the vinyl.
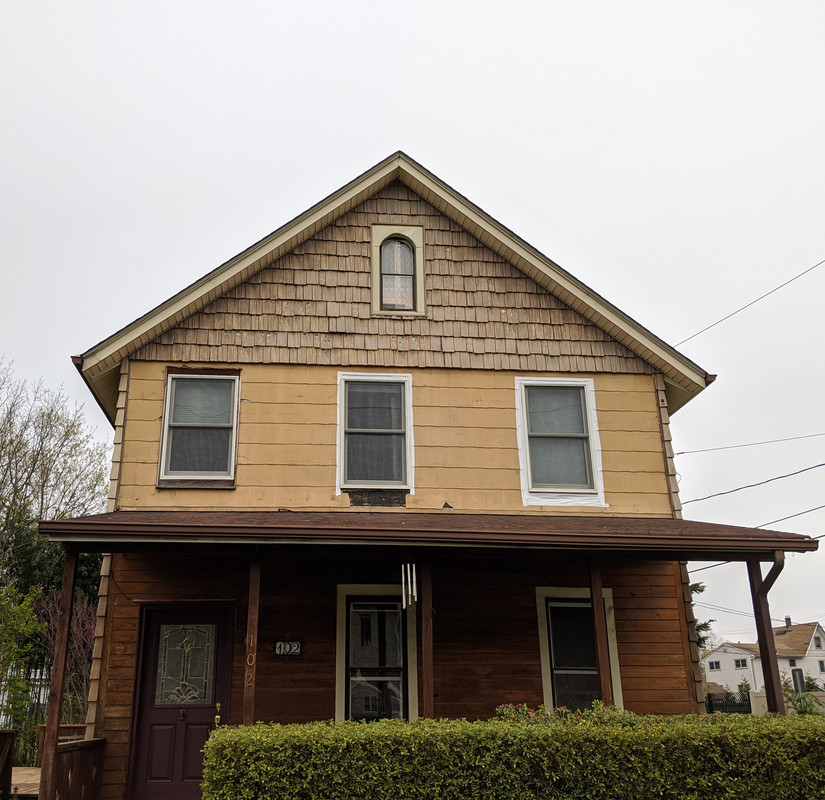
After I did the case molding, We painted stripes to figure out which color we liked best
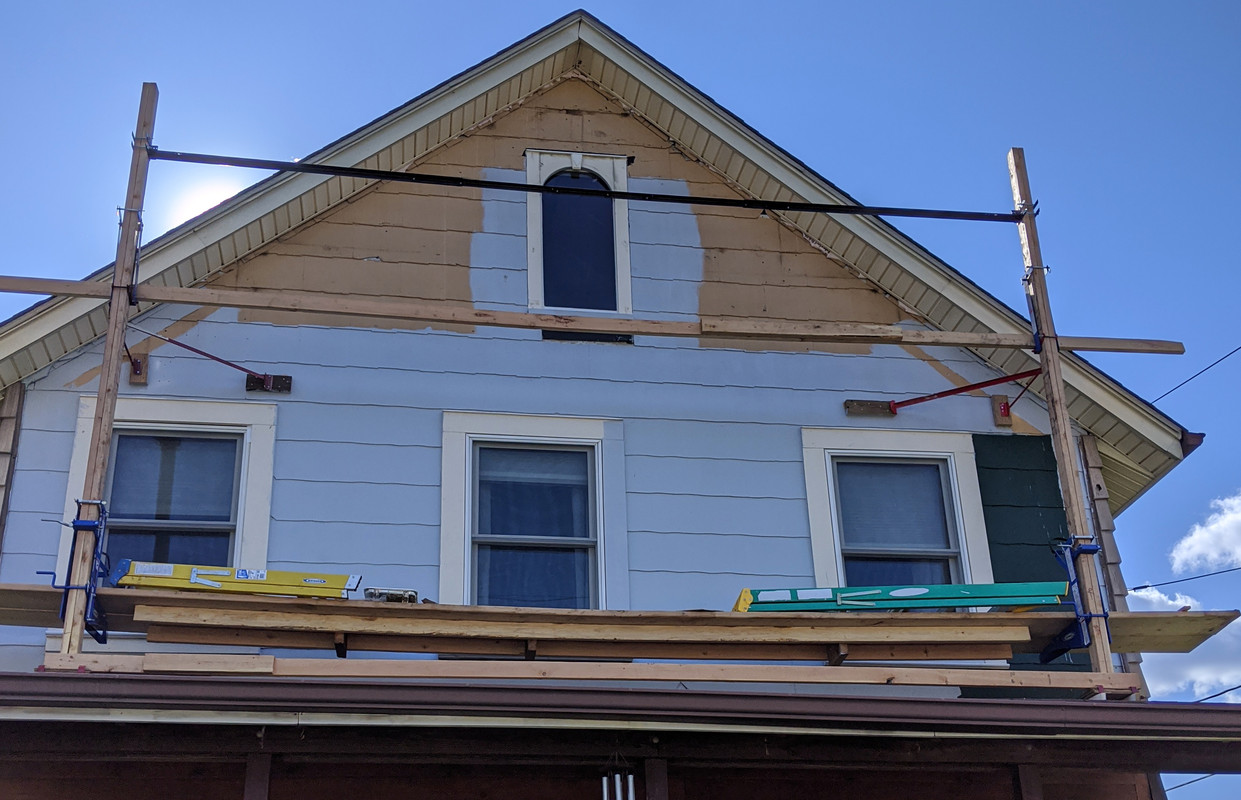
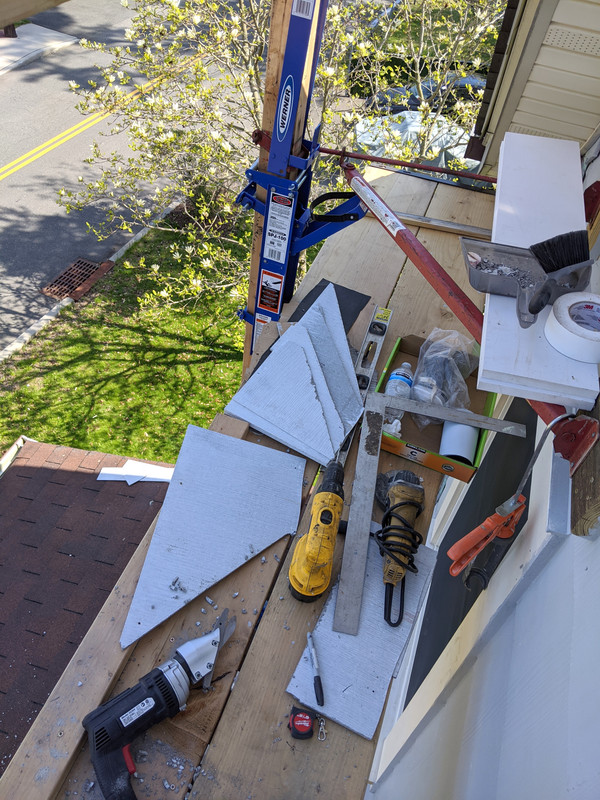
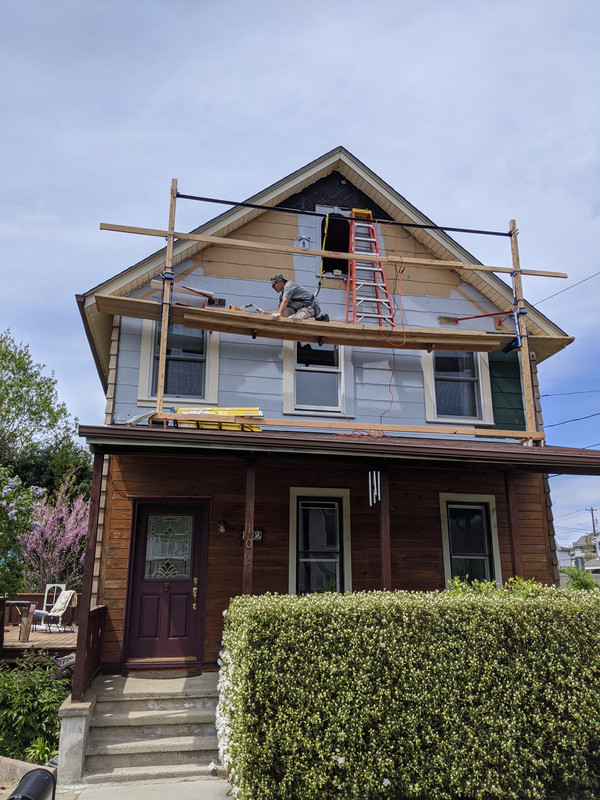
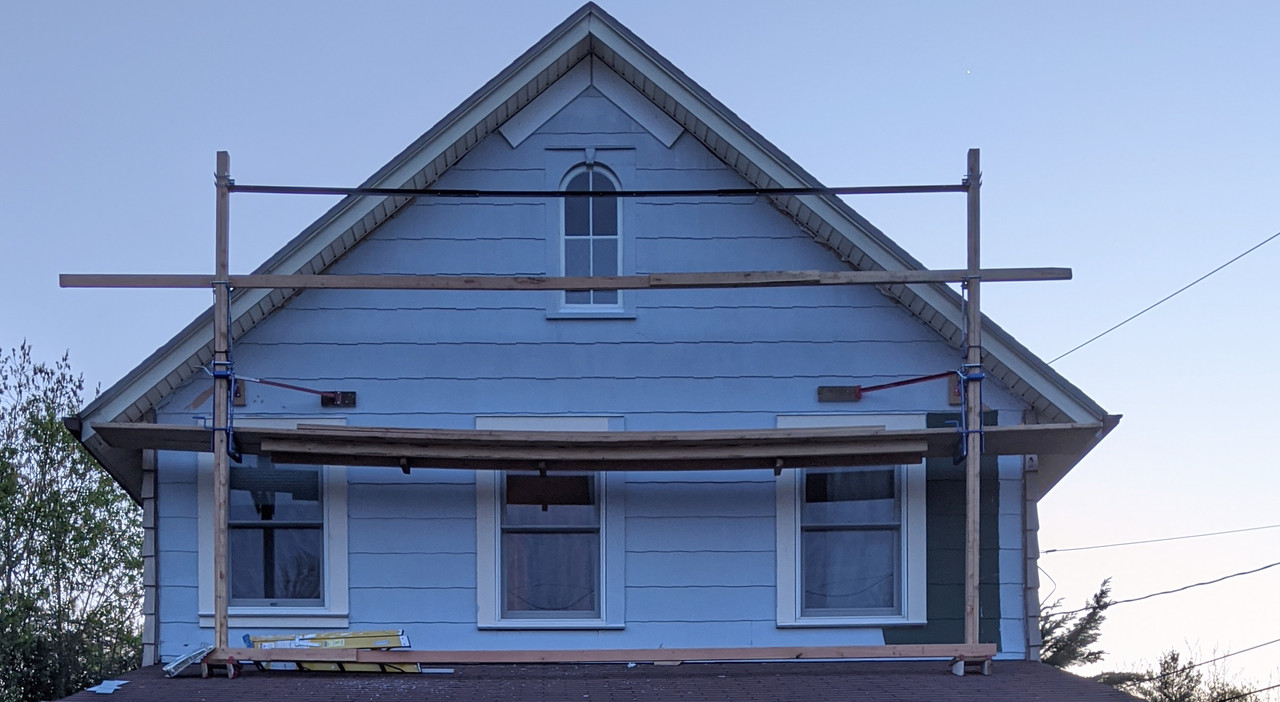
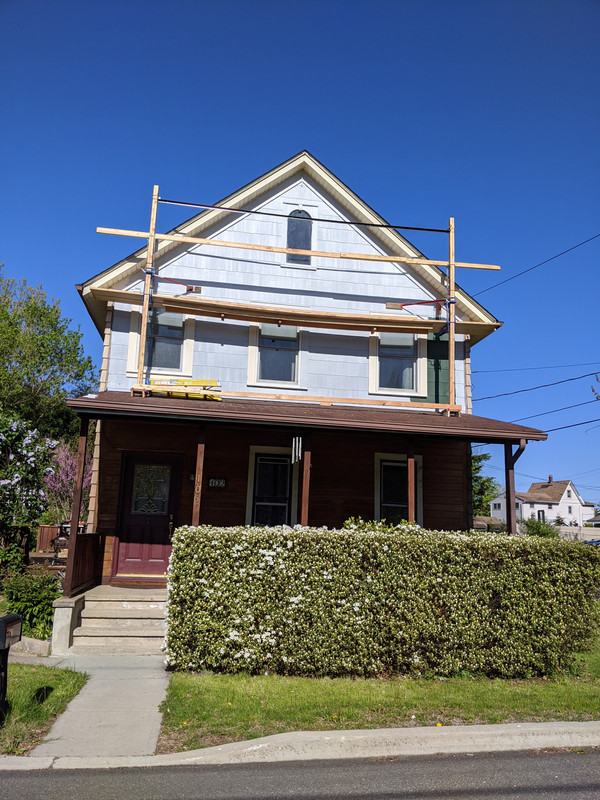
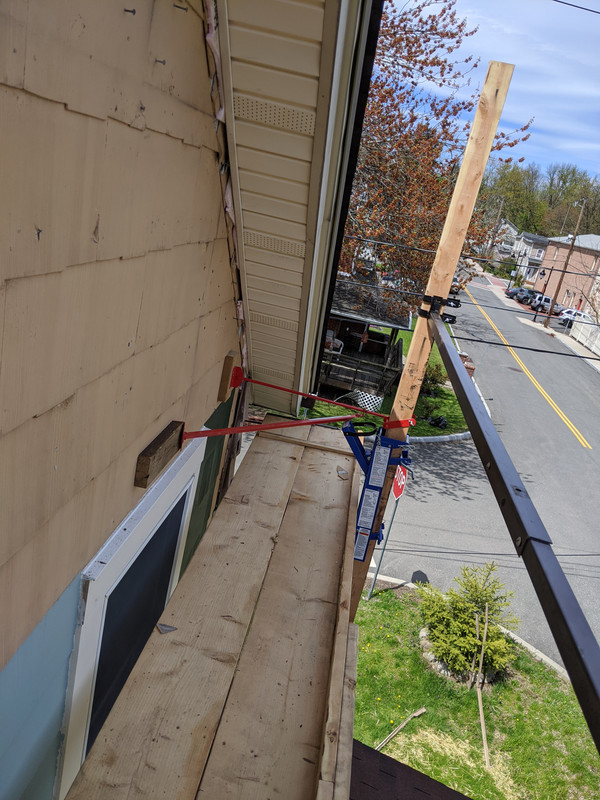
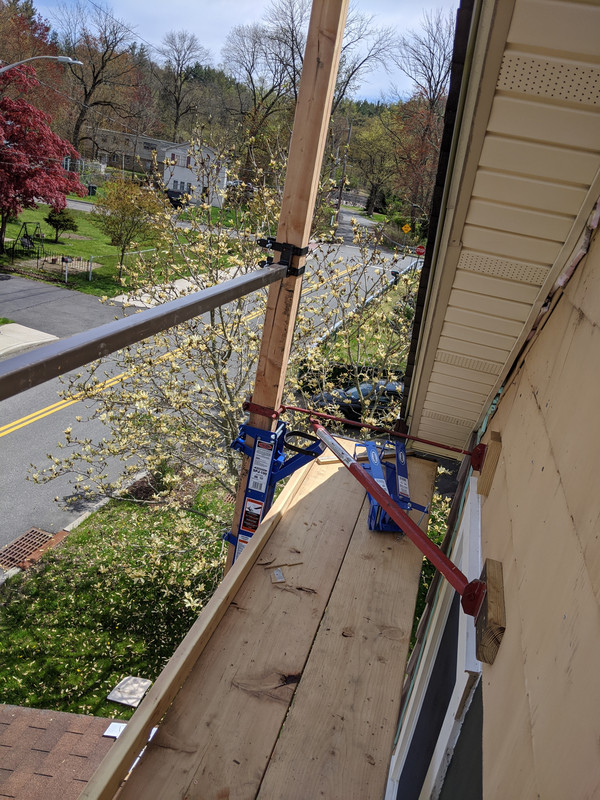
Then I erected scaffolding so I can do the upper area
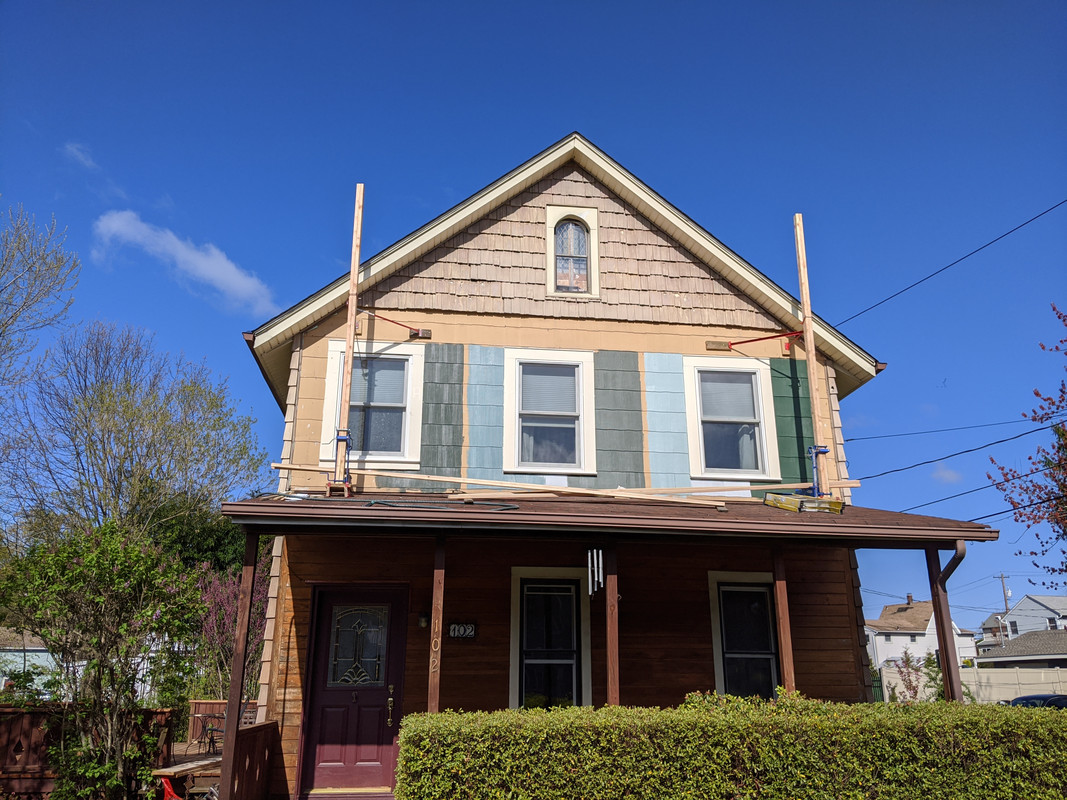
getting 24' planking up there was no joke. Not particularly keen on heights, and certainly don't want to fall from up here.
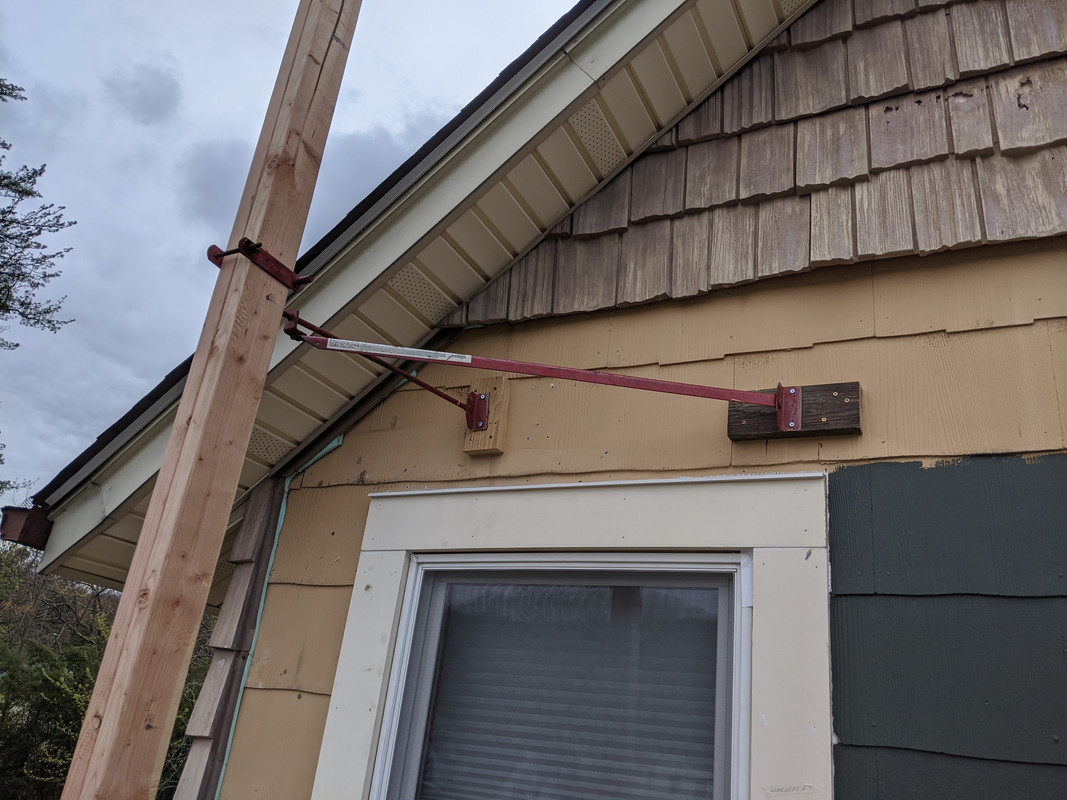
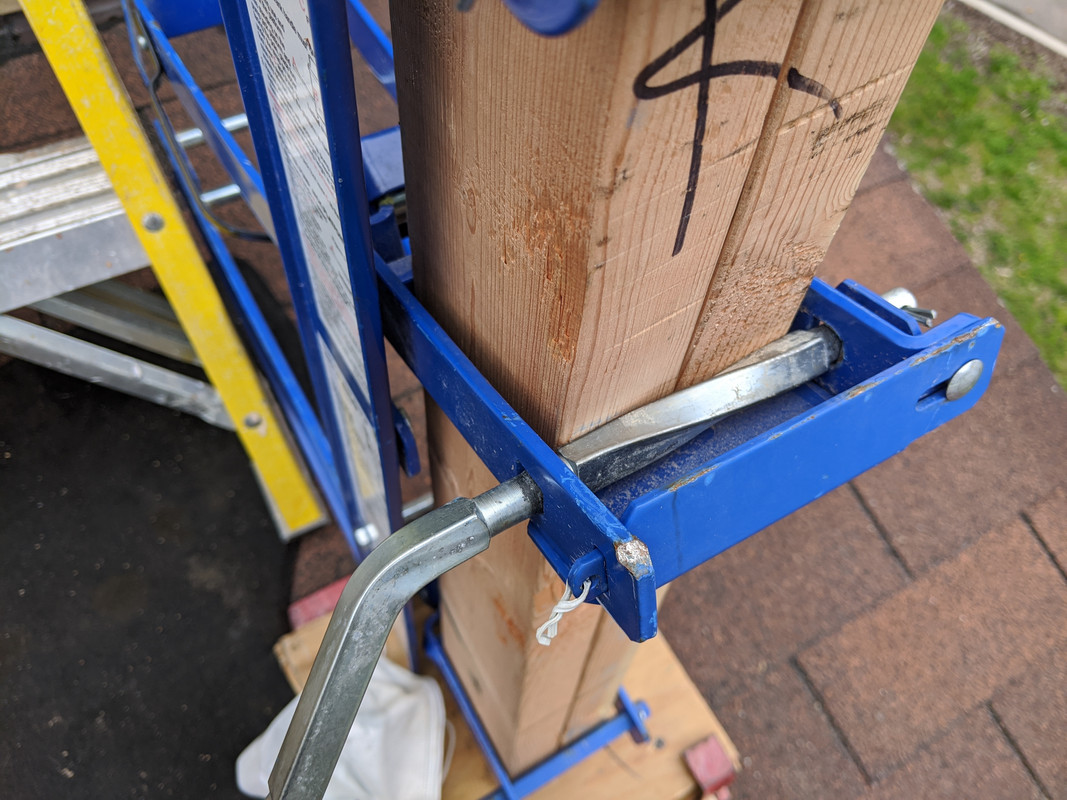
reinforced the 12x6x24 with 2x4 to reduce bowing
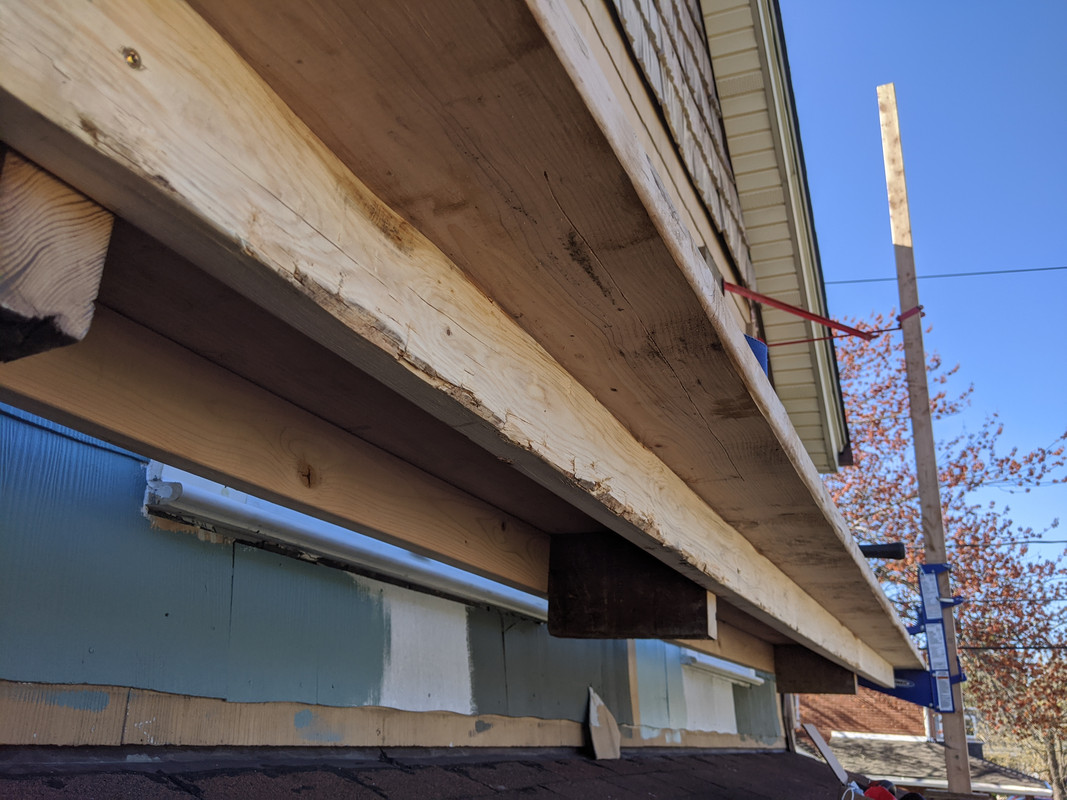
works well enough, feels very stable. I made the metal guardrail from several foldable bed frames neighbors put out on bulk pickup day I have a harness I borrowed that tethers to the rail.
Going to have 8" (7.25") trim board on the siding to take up the gap evident where the vinyl siding was removed. 6" Running trim will go over the trim board, with a diamond pattern to go with the porch & deck railings. Gonna be fun nailing 14' lengths, not.
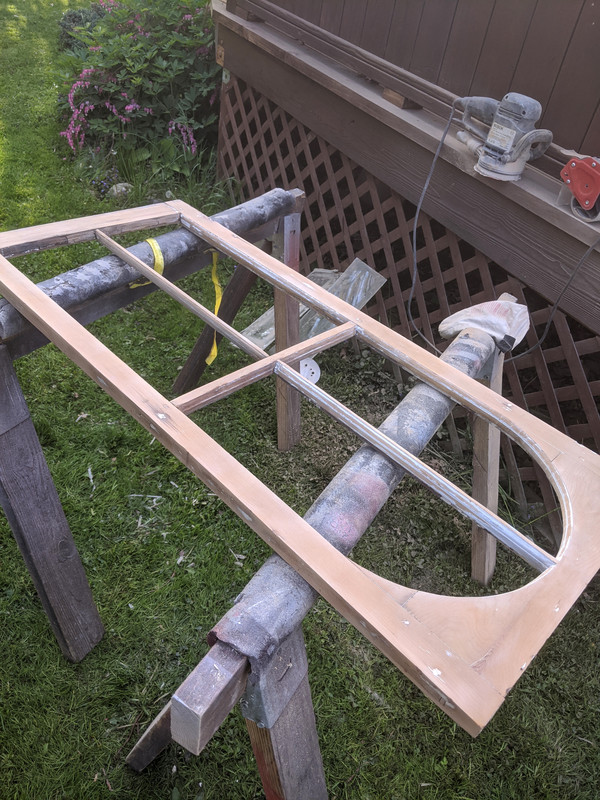
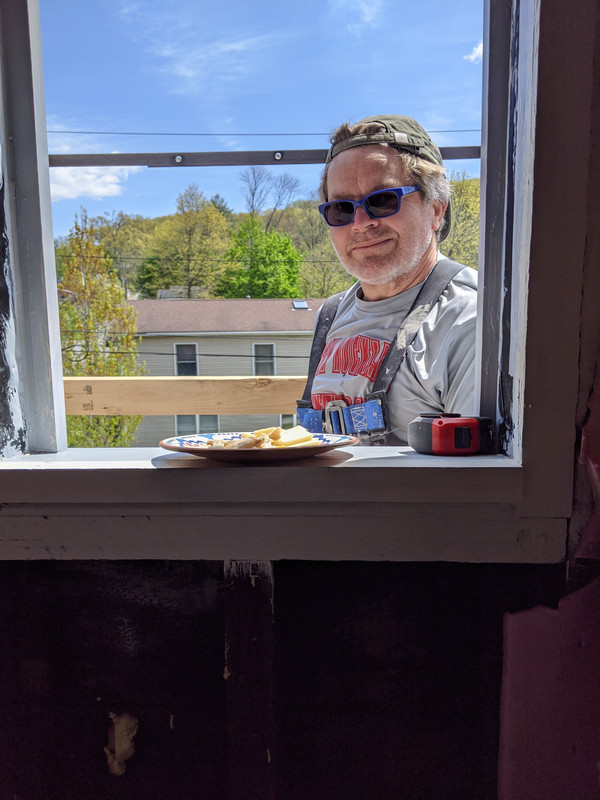
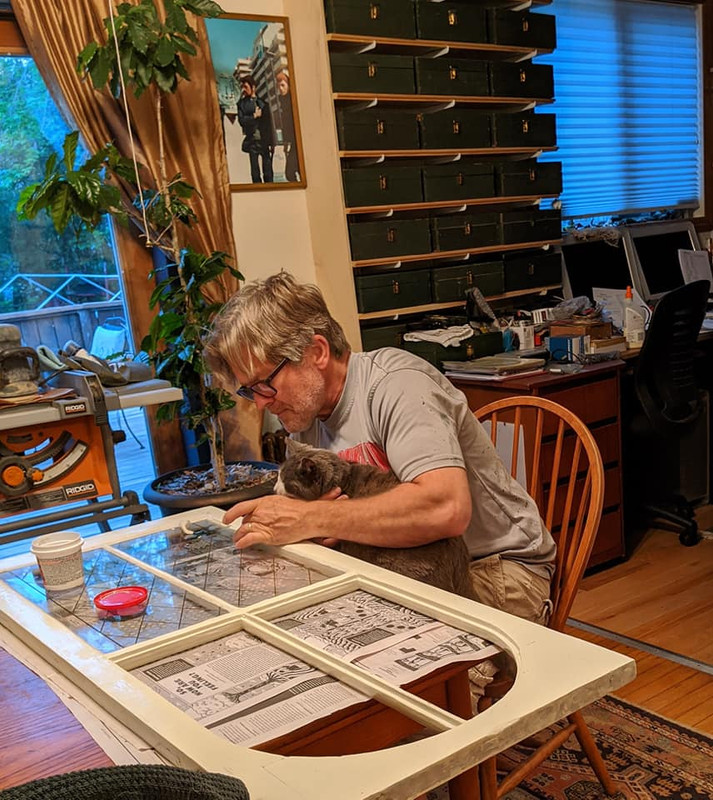
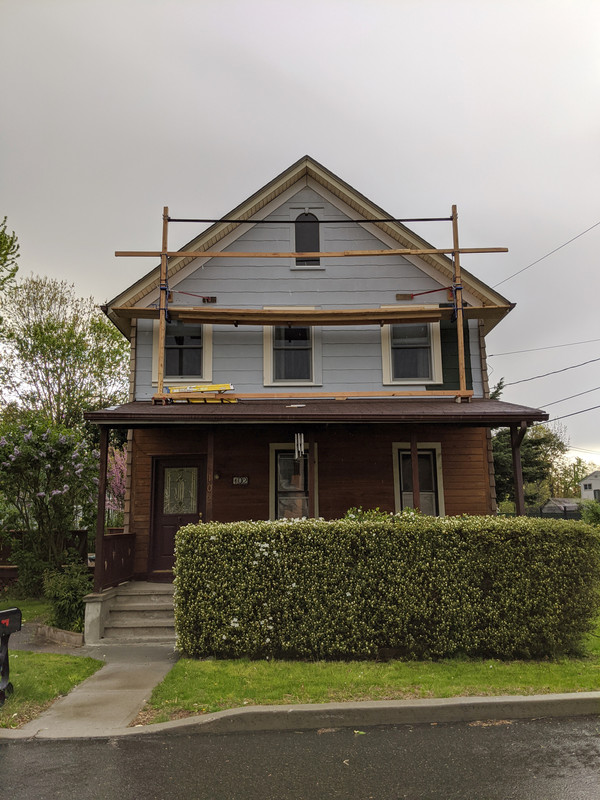
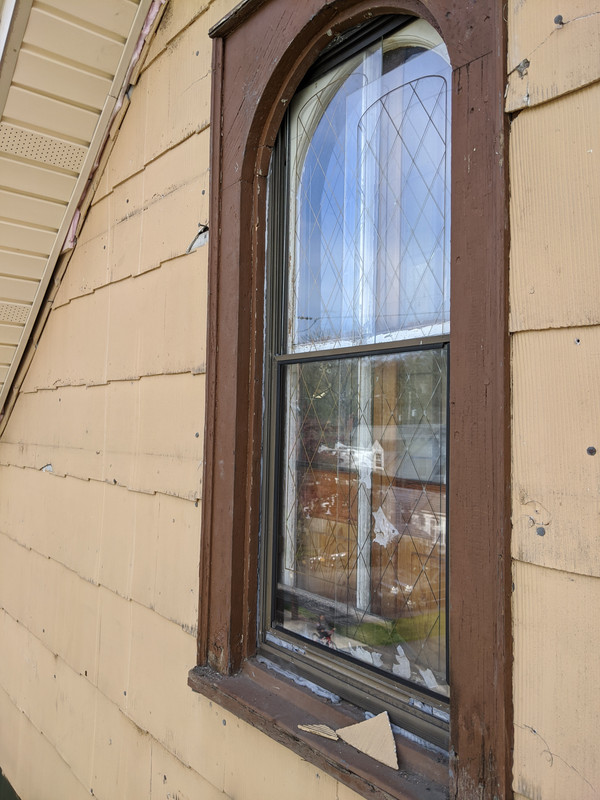
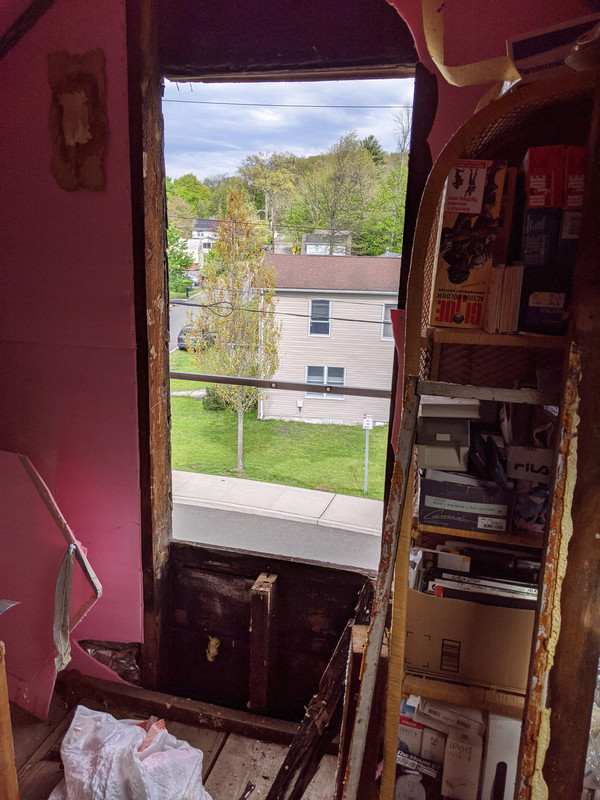
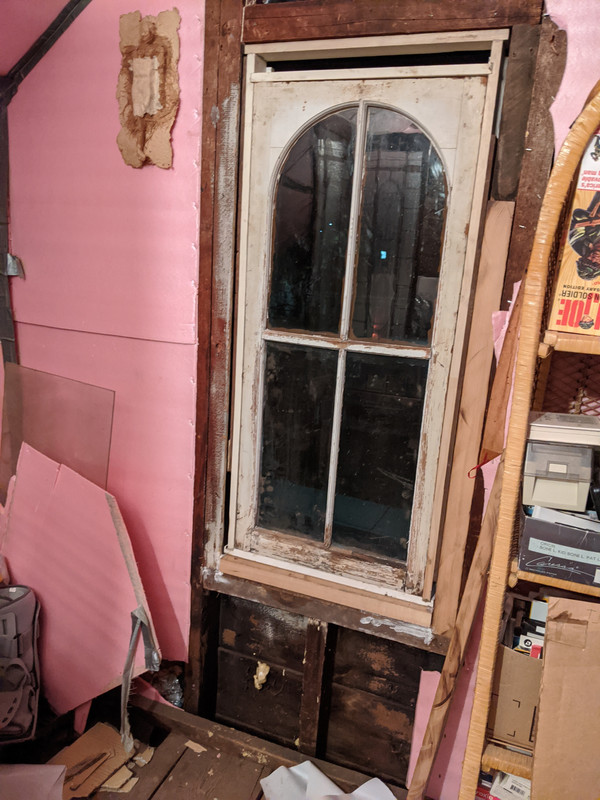
Yesterday we primed the lower section to remove the stripes - we have decided to use the dark green on the end. Today I ripped out the attic window to rebuild it
Downstairs is staying wood. It's funky, but not getting into that.

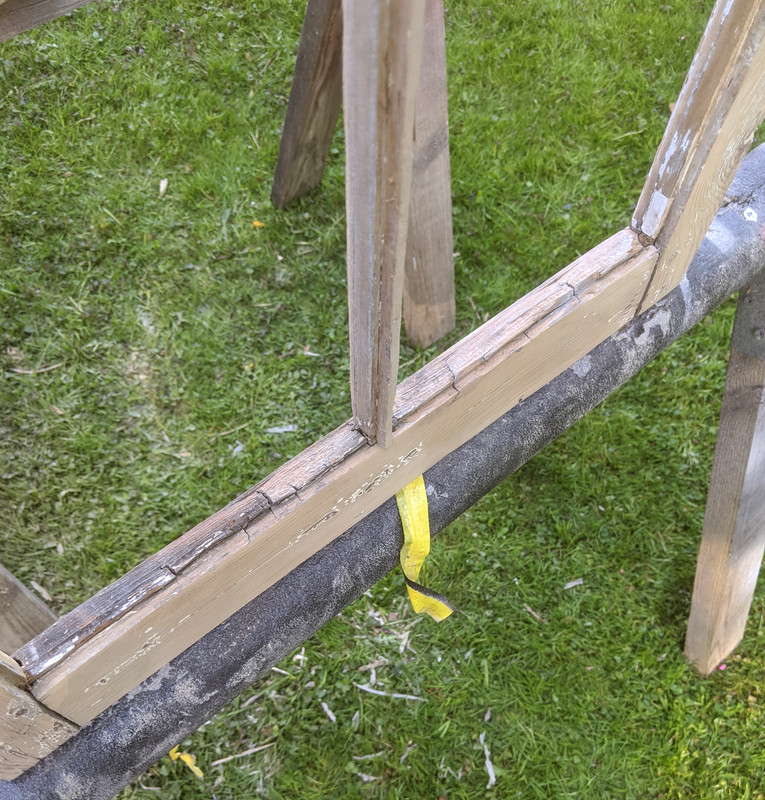
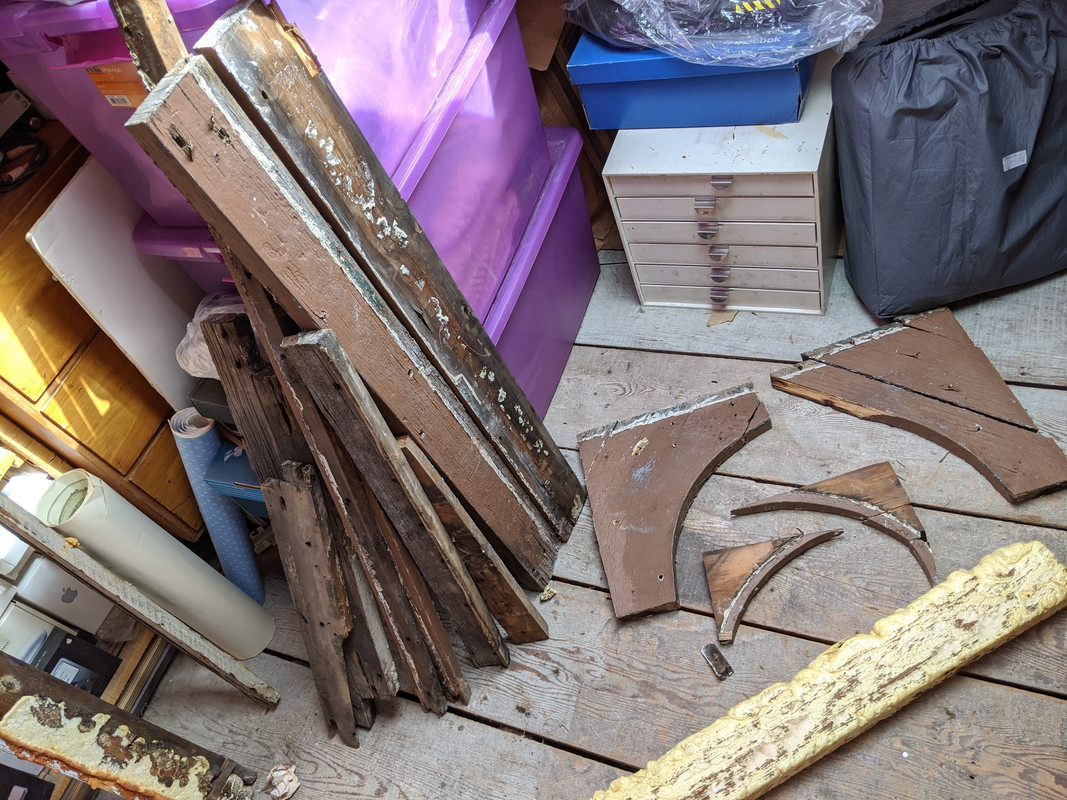
Sill & casing was rotted - just covered with aluminum trim to conceal the rot (WTF???)
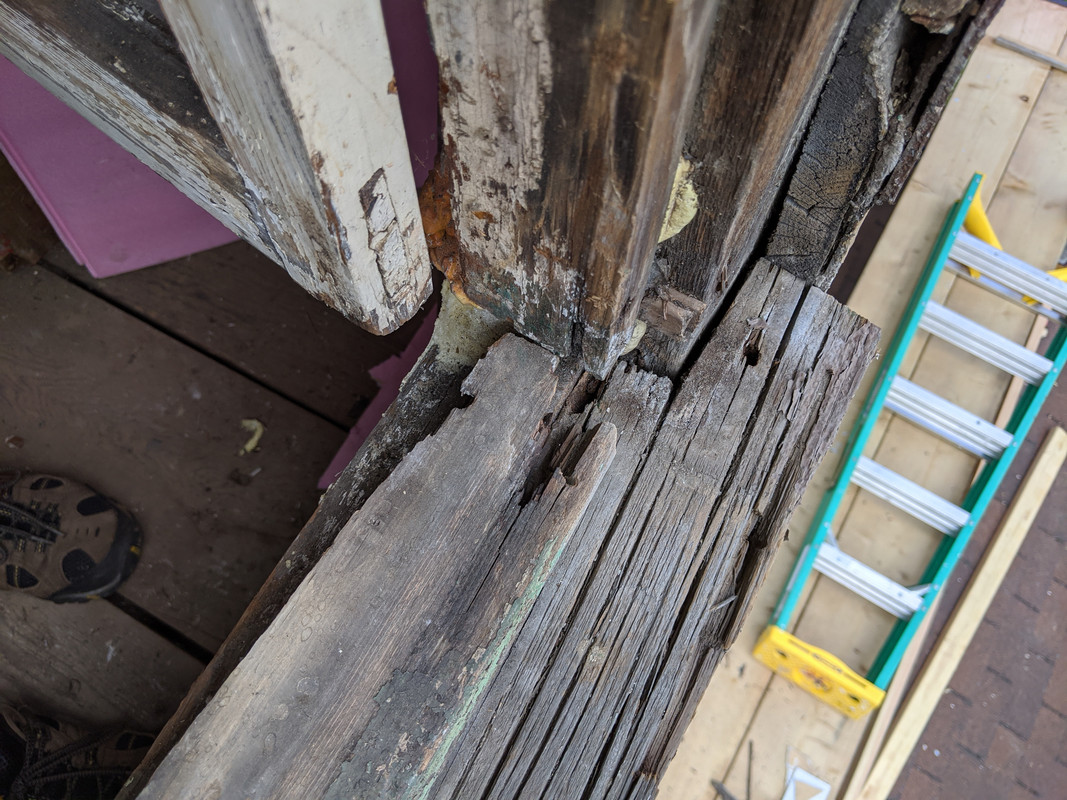

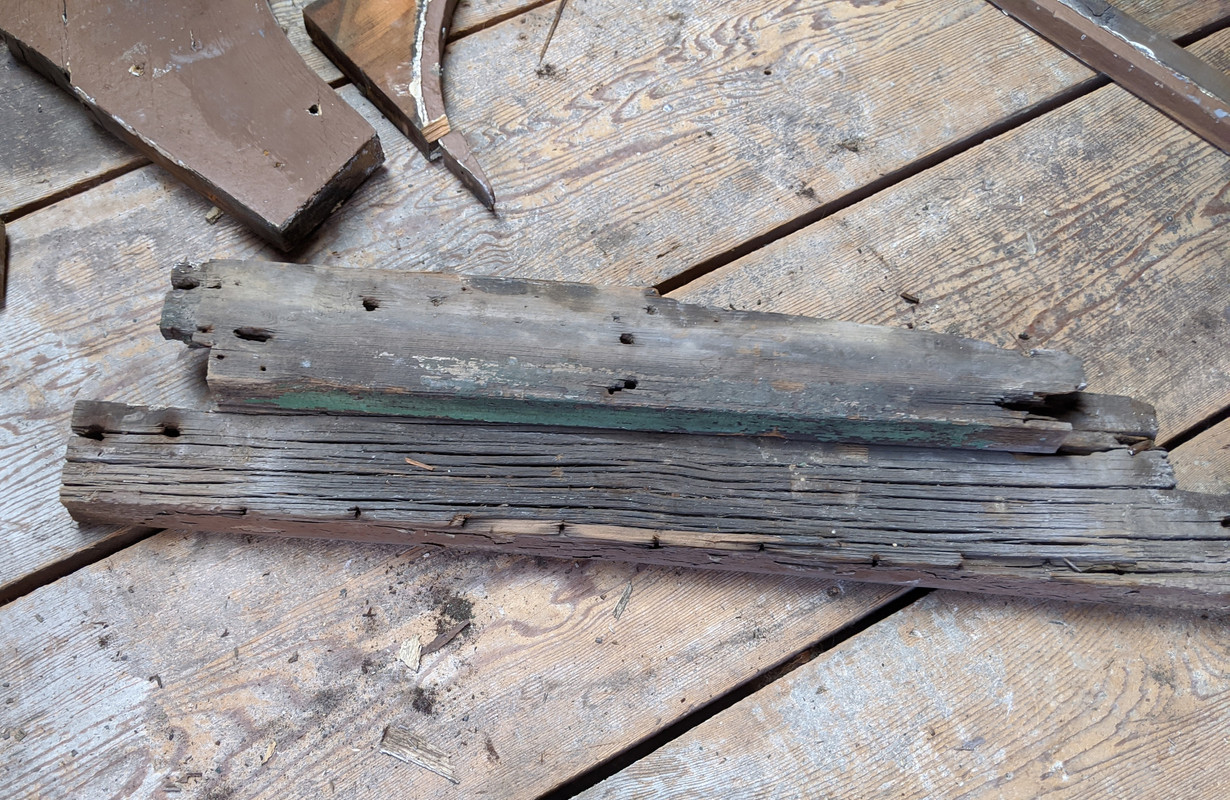
The (true) 4x6's in the rough opening were also rotted - fortunately I still had some left over pieces
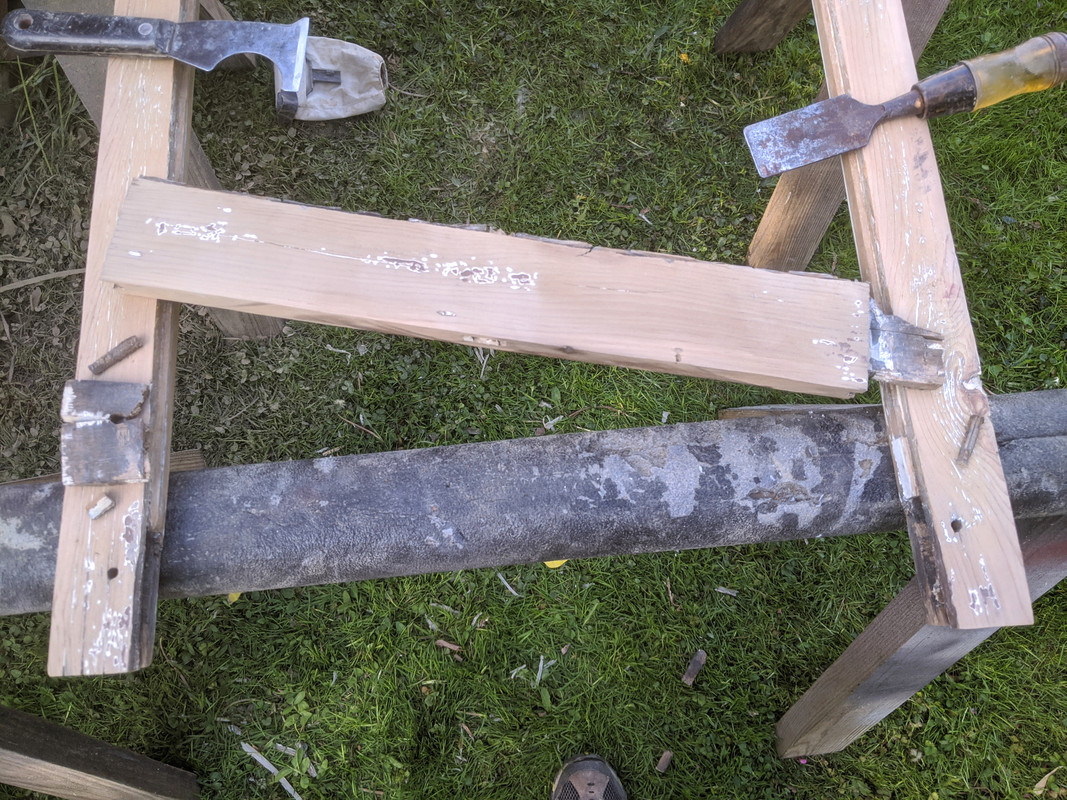
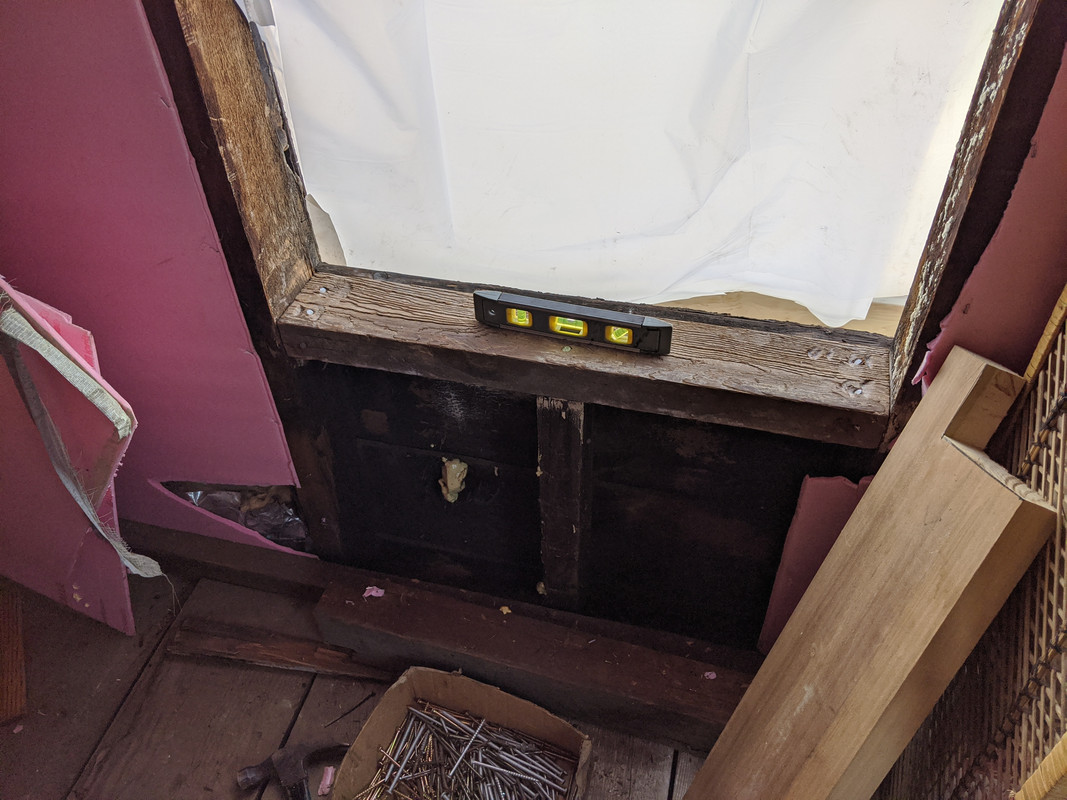
Got a piece of poplar sill (leaning to the right) - $42 for 3'(!)
also got new wood to replace all this, and the casing also
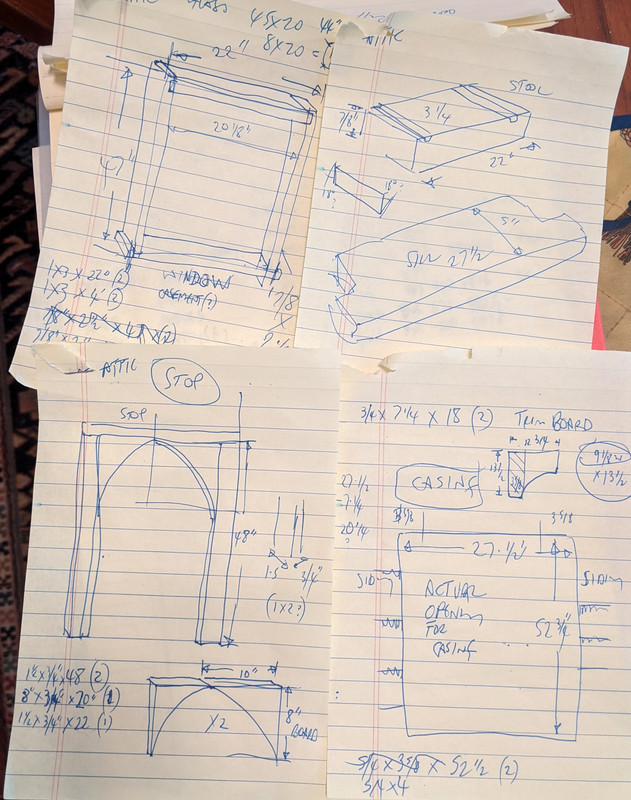
The old wood was all true 1-by - the new stuff is all actually 3/4", so I had to make a bunch of adjustments in figuring out the correct dimensions (I really hate that work)
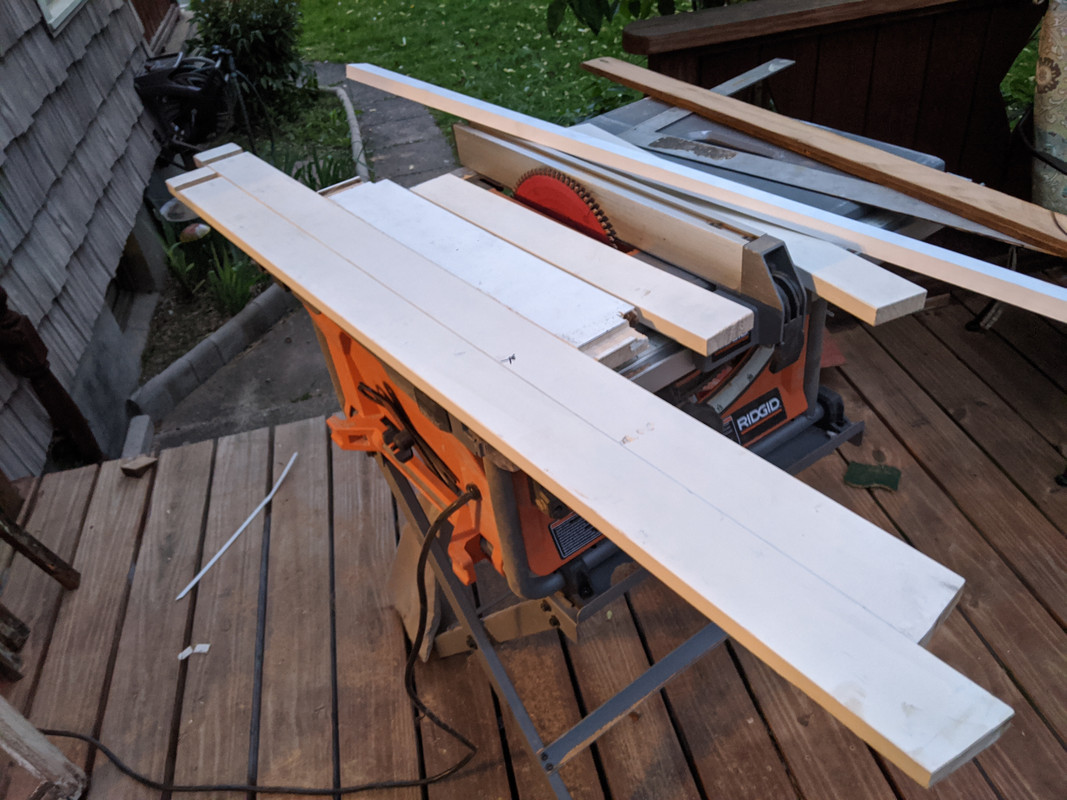
The case molding 1/4 rounds I have to cut myself - I bought a router today to do that with, hopefully that stuff done tomorrow before the rain comes back
and the inner stops also
Got the new sill & casing assembled & placed for the night - window has also to be stripped, primed , re-glazed & painted
Started pulling off the vinyl about 3 weeks ago - the additional issue was that when they did the siding, I found they removed the casing from the 2nd floor windows & used aluminum & vinyl trim. We've always had drafts - no wonder! Under the vinyl is asbestos siding, most likely installed over the original wood in the 50's when it was popular. I found fiber-cement replacements, so I am only removing the few broken shingles. I don't have to deal with abatement doing that.
White tape around the window here; while I had case moldings, sills & drip caps cut. This was as high as I could reach, pulling off the vinyl.
After I did the case molding, We painted stripes to figure out which color we liked best
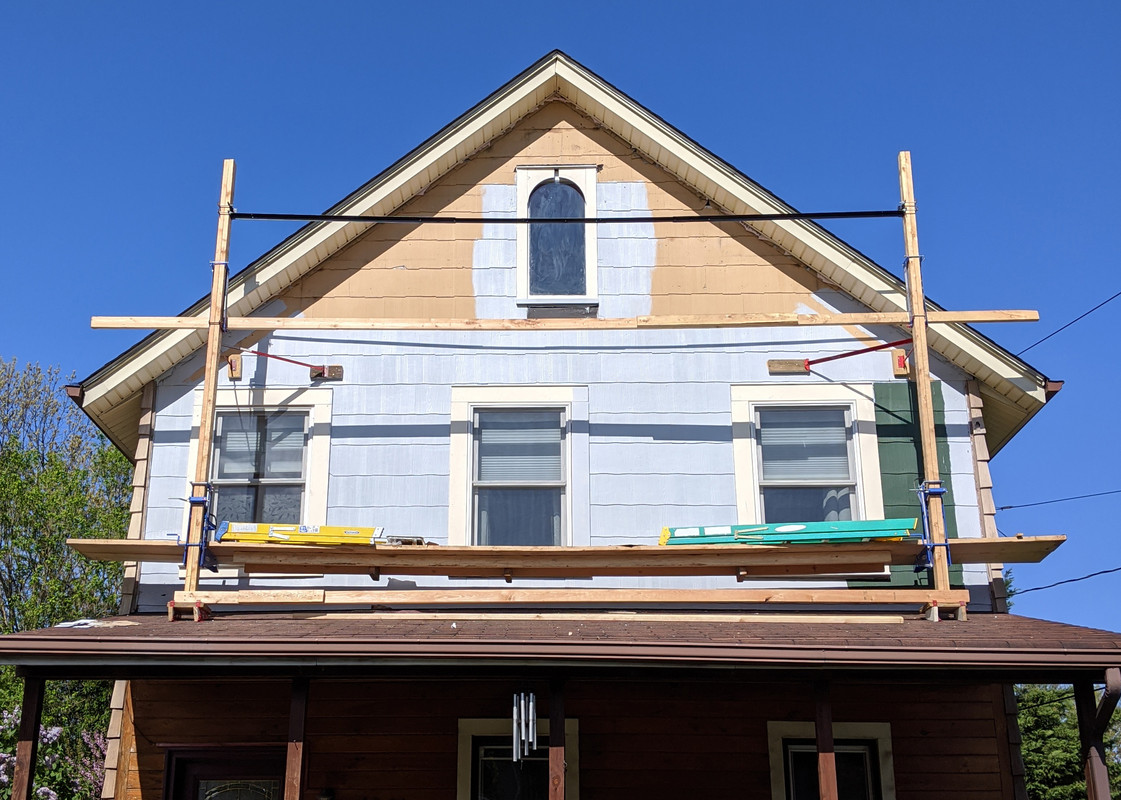
Then I erected scaffolding so I can do the upper area
getting 24' planking up there was no joke. Not particularly keen on heights, and certainly don't want to fall from up here.
reinforced the 12x6x24 with 2x4 to reduce bowing
works well enough, feels very stable. I made the metal guardrail from several foldable bed frames neighbors put out on bulk pickup day
I have a harness I borrowed that tethers to the rail.Going to have 8" (7.25") trim board on the siding to take up the gap evident where the vinyl siding was removed. 6" Running trim will go over the trim board, with a diamond pattern to go with the porch & deck railings. Gonna be fun nailing 14' lengths, not.
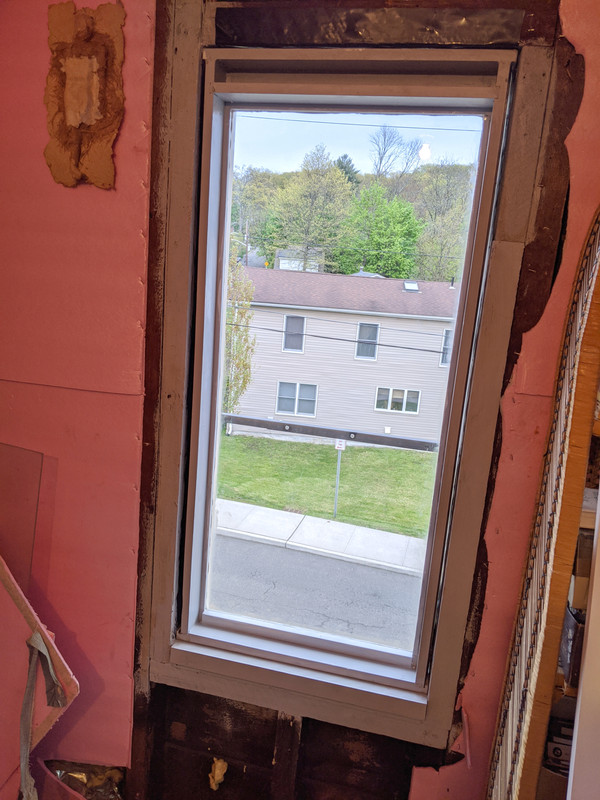
Yesterday we primed the lower section to remove the stripes - we have decided to use the dark green on the end. Today I ripped out the attic window to rebuild it
Downstairs is staying wood. It's funky, but not getting into that.
Sill & casing was rotted - just covered with aluminum trim to conceal the rot (WTF???)
The (true) 4x6's in the rough opening were also rotted - fortunately I still had some left over pieces
Got a piece of poplar sill (leaning to the right) - $42 for 3'(!)
also got new wood to replace all this, and the casing also
The old wood was all true 1-by - the new stuff is all actually 3/4", so I had to make a bunch of adjustments in figuring out the correct dimensions (I really hate that work)
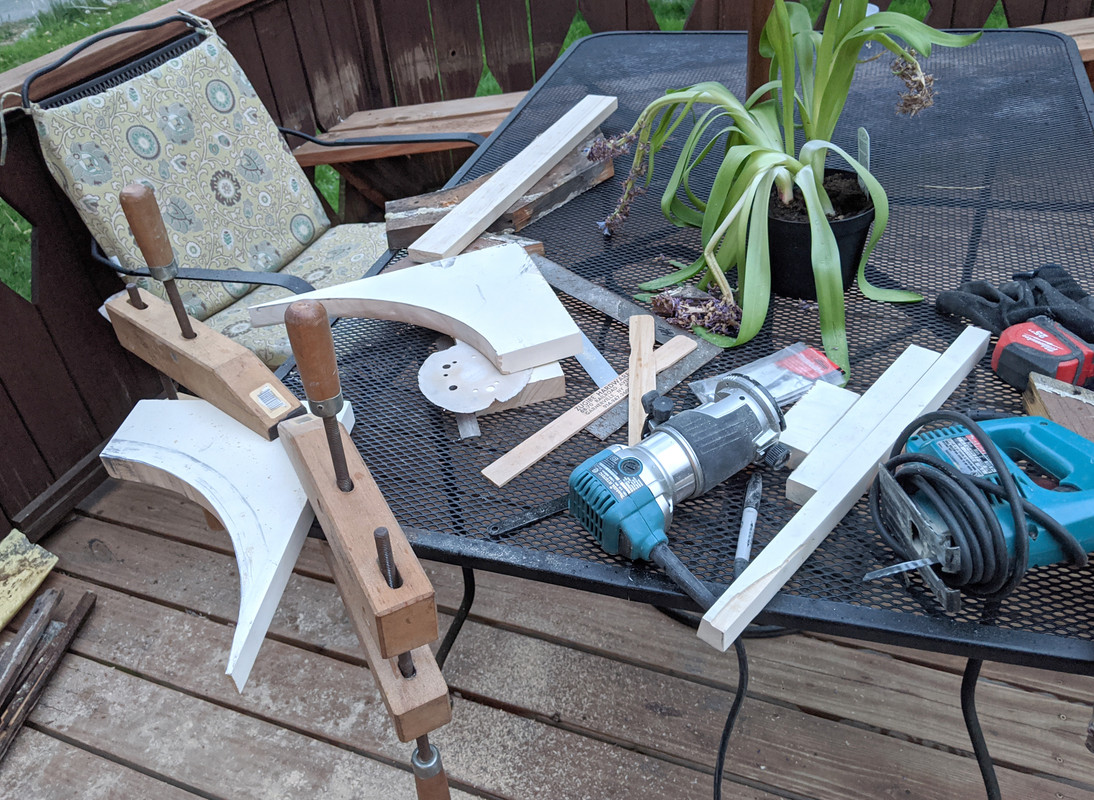
The case molding 1/4 rounds I have to cut myself - I bought a router today to do that with, hopefully that stuff done tomorrow before the rain comes back
and the inner stops also
Got the new sill & casing assembled & placed for the night - window has also to be stripped, primed , re-glazed & painted
Last edited: