What’d ya do with your X120 today?

I do plan to install AC at some point in the future. That is a different project, for right now the exchanger (evaporator? not sure what it's called) has been pulled from the blower box.

The reasons for converting it to manual were:

1. No need to mess with any vacuum lines from the engine bay, or accumulators
2. The 037 interior I am emulating has a 3-lever system, so cosmetics were definitely a factor
3. Reliability over the vacuum system

Getting the AC back in the mix will only require a switch to activate the compressor. That switch is already installed in my center console and is currently "dead".
I am a fan of the KISS approach to stuff like this. Thanks for posting
 
Hi Pete,

Thanks for sharing. Your Pictures really help. For my Scorpion I am converting to a non a/c setup. I imported a heater box and levers from a European Montecarlo. I also have to modify the top portion of the air distribution manifold as you did. . Can I ask how long was the cable you used?

Thanks
Ralph

I will see if I can get a measurement later today. I can tell you that it was longer than any of the Scorpion or X1/9 cables I had laying around, and so was the one that controlled the hot/cold door. This is because of the circuitous routing that has to take place over/around the lower heater box. So I had to find that kind of cabling, without really even knowing what it was called. I fished around on the McMaster-Carr website, and came up with part number 3790K11 on this page:

https://www.mcmaster.com/catalog/126/1332

It has 10 feet of the correct size cable with it, so it can be chopped into the lengths you need. However, this came with a braided inner cable, which didn't seem like it was up to the task, frankly. Too bendy. I searched around some more and found galvanized wire at my local Home Depot that was labelled 16 gauge and was in the right diameter range (.060 to .069 or so). But it was just conventional steel, and when bent, stayed bent. At that point, I figured out I needed spring wire. I found that at Grainger, part number 46F523:

https://www.grainger.com/product/PR...Wire-46F523?searchBar=true&searchQuery=46F523

Which worked very well. After cutting the outer cable with a cut-off wheel, I found the inner hole blocked. I think this is because the heat from the cutting melted a plastic inner liner. I used a 1/16" drill to gently clean it out and all was good.

I'll get that measurement later today, if I can, but if you go this route (and I could see no other for mine), then the exact length doesn't really matter.
 
F6A699FC-1EA2-41CE-B88B-90D9991ED66C.jpeg
C6714722-552E-48F4-9327-3DE1A4CDAC0A.jpeg
7A2643BB-0517-4882-B94C-B3EE66DCE4DA.jpeg
Today was spent disassembling the block that will eventually end up in my ‘77. Looking to go with 9.8:1 pistons, an 1800 head on the 2.0 block, oversized valves (still trying to decide this part), and 80/40 cams. Have acquired a racing header for the exhaust but still debating the intake. I have an aquatti intake manifold and twin 40 dcnf’s, but so far I keep hearing they are more of a hassle than they are worth. Anyone care to share their insights?
 
Way to go there! It's daunting to dig into a bottom end, as it's a good bit of work only to feel like you've reached the starting line. Someone always references Guy Croft and his books in such threads, and the quote that has stuck with me is "all the power is in the head". His website forum isn't nearly as cool as this one which should be visited daily, but it has a multi part series with that moniker here: http://www.guy-croft.com/viewtopic.php?f=2&t=199

Both his books and his forum will give you long-winded and painfully correct answers to questions of performance valves and aspiration, but for me this info is hard to distill into the question of "what's the best way to extract 150hp out of the top end of my of my 2.0 motor with _____ compression?" It's that answer that I'd like to bring with me to the guy I pay to do the work on my cylinder head. I accept that maybe that answer shouldn't be had free of cost, but if the information is out there (Steve C./BEEK) I'm all ears.

Dual carbs will help get the most out of the other upgrades and add much more torque than a single carb will. The DCNFs aren't too bad to tune & maintain. I can't figure out the calendar on my iPhone, but I can set the carbs on my car... Get a $40 syncrometer from Pierce Manifolds, enjoy some YouTube about it and have it done in an hour. I'm really a terrible mechanic, and if I can tune the carbs anyone can. Port match the intake to the head.

Keep posting!
 
Looks good, Dean! Don't forget I have a crank pulley for you when you need it now that the old engine is out of my car.

Some thoughts: the 4mm dome, 9.8:1 comp pistons (https://autoricambi.us/piston-set-1756-and-1995cc-9-8-1-compression-ratio/) are what I'm using on my 1.8 and I'm told by Bristow's they'll be fairly accurate to that spec with my engine and should generally do alright with 92 octane fuel we have in WA. My research and some of our vendors suggest that these pistons in a 2.0-liter engine are over 10.0:1 compression to begin with due to the lengthened stroke of that engine. Add in the 1800 head which further increases compression and you might be at a point where you're closer to 11:1 compression and really struggling with detonation on 92 octane fuel.

I briefly considered oversized valves on my engine, but you need an experienced shop, or one who is following the Guy Croft book to the word. Otherwise you could spend a lot of money and potentially end up with no change or even worse performance. I didn't feel confident the cost/benefit was going to be there for me, or that I knew anyone that could really do the work properly with guaranteed results in our local area. Better safe than sorry, was my final thought.

As far as the dual Weber DCNFs, a properly rebuilt set that's set up correctly by someone who knows what they're doing (like Chad, it appears! Way to go, Chad!) shouldn't need to be touched after they're dialed in. I have several books on Weber tuning that I occasionally try to comprehend -- they make excellent bedtime reading! :D

According to Guy Croft, you 
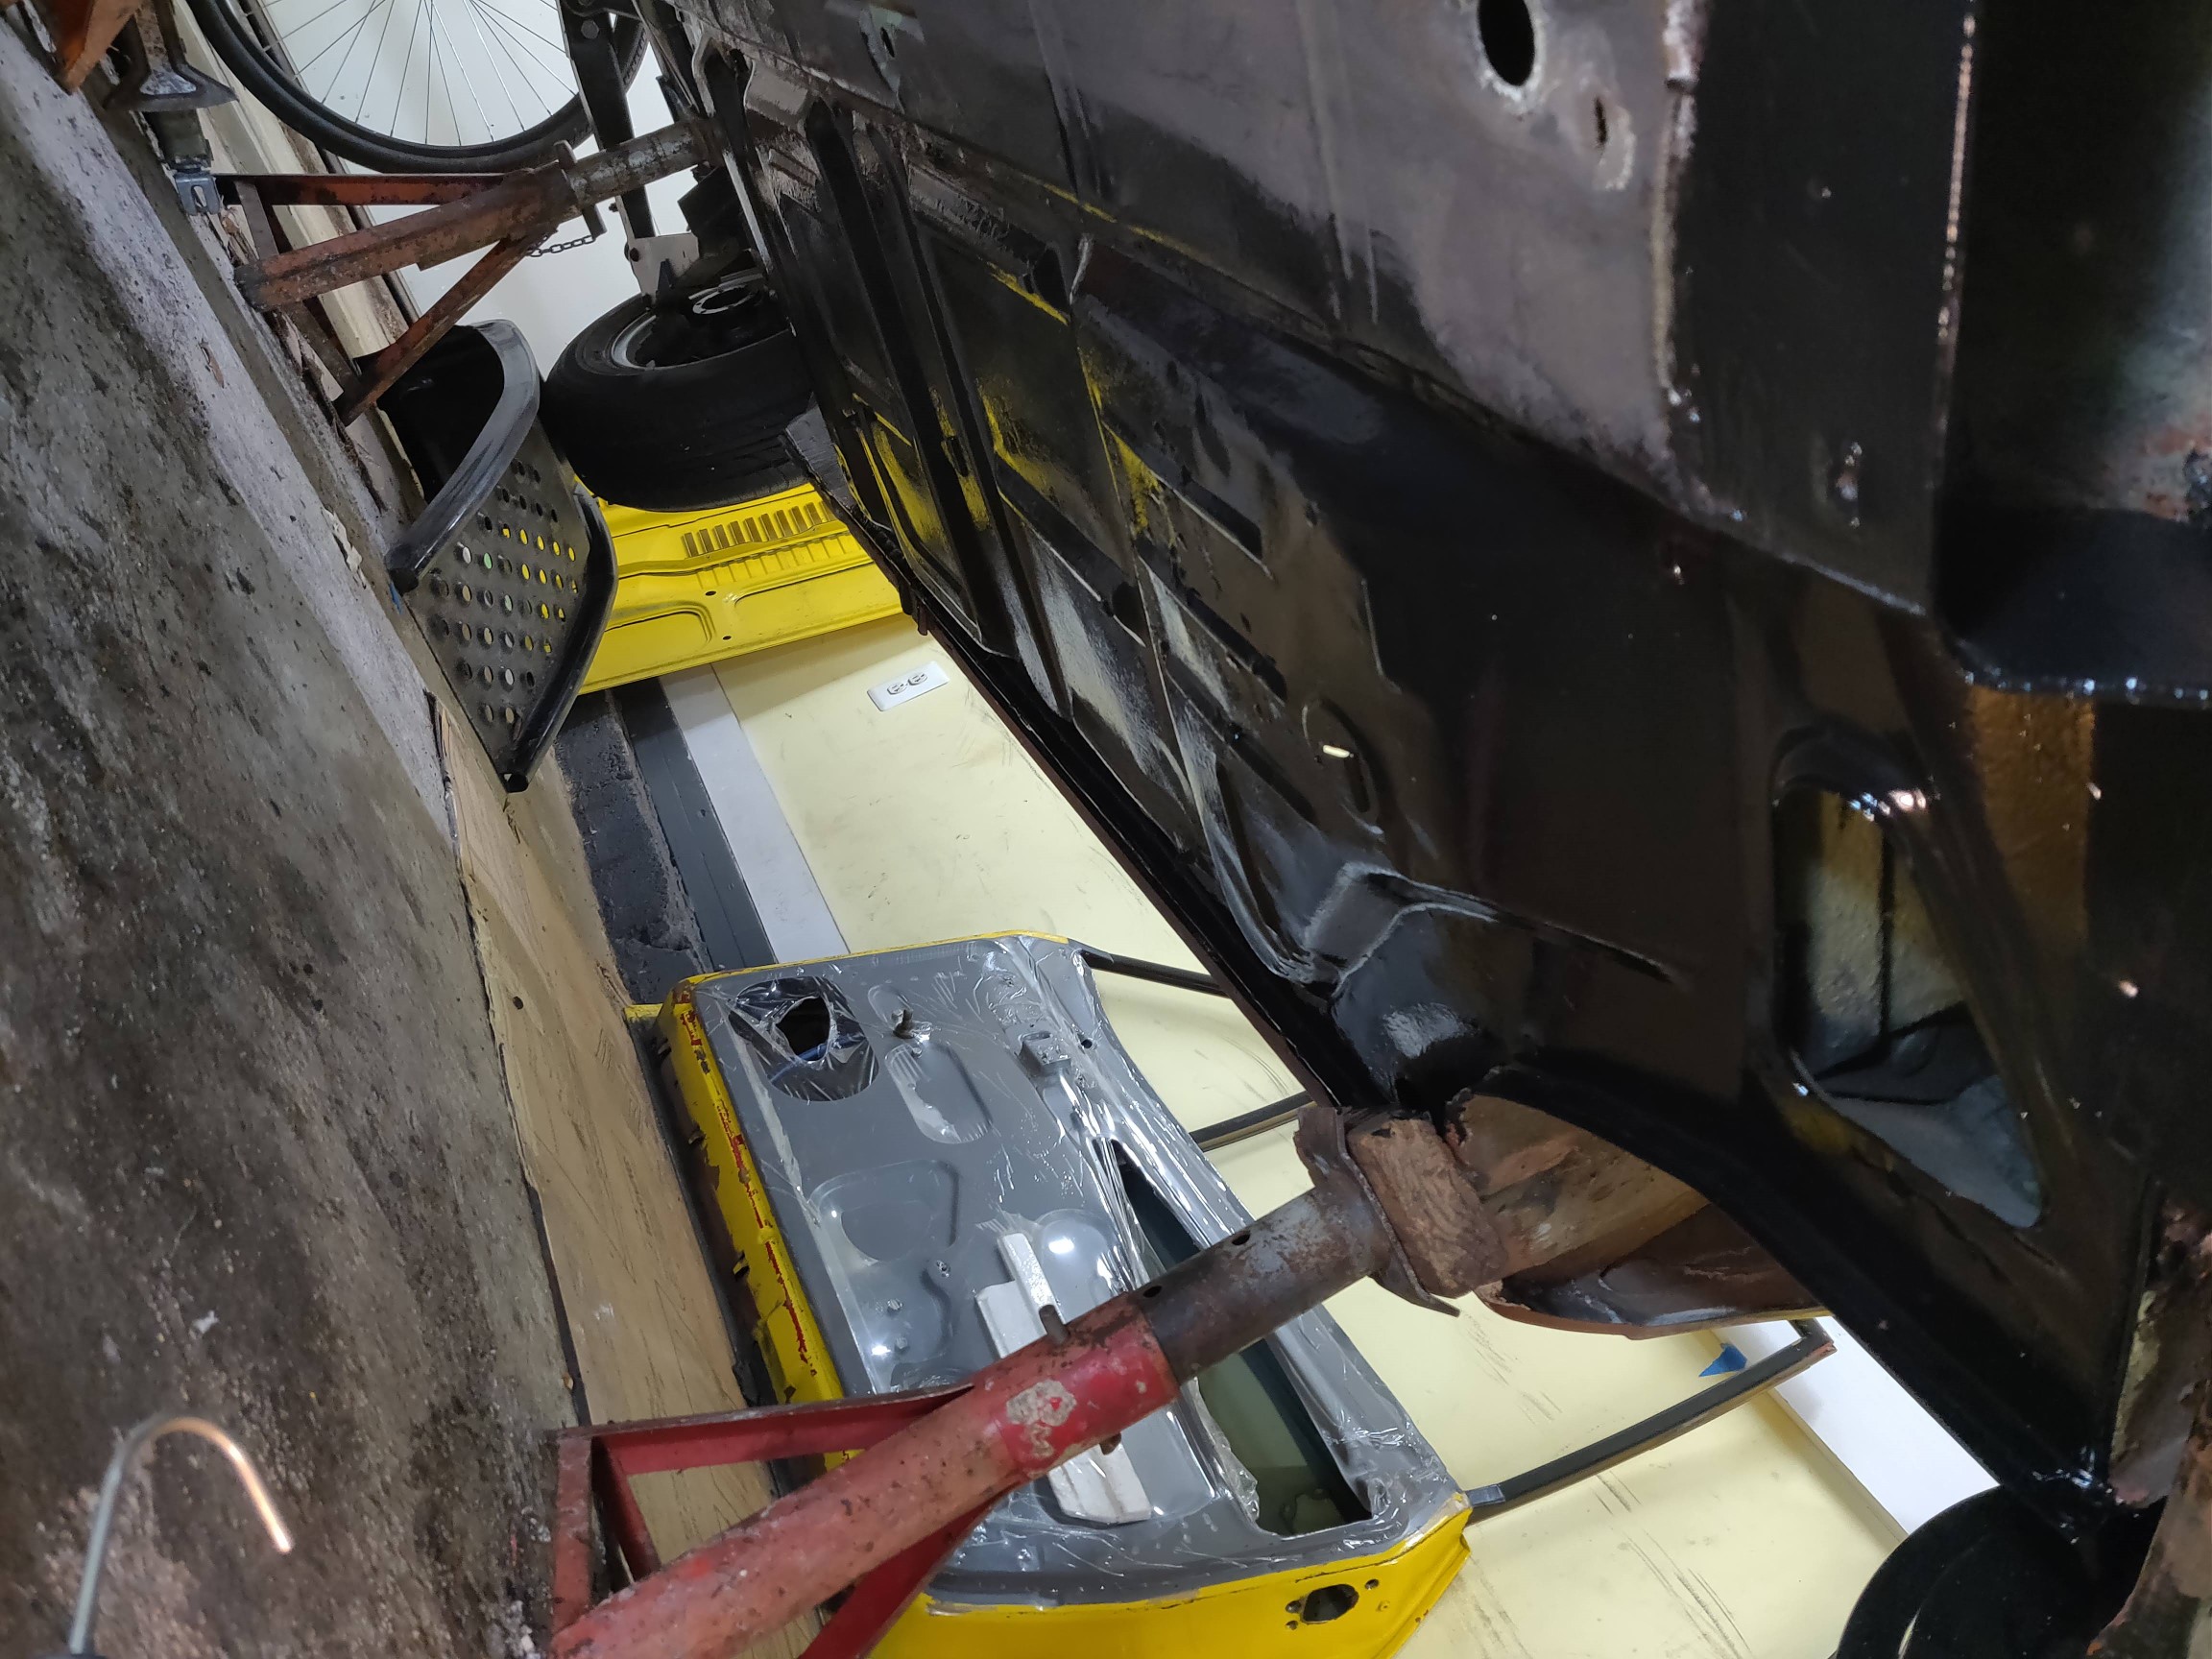
will need a cold air box to prevent detonation since the engine compartment gets pretty warm. I am likely going to have something custom built in metal that seals off the carbs, but connects to the stock air filter canister in the rear left corner of the engine bay. The Monte Hospital sells a fiberglass airbox specifically for DCNF 40s, but according to Croft it does cost a few horsepower due to the restricted height that allows it to fit under the closed hood. Because the 2.0 block is taller, there may be less space to work with necessitating something closer to the TMH design which was developed for the Montecarlo.

Good luck and Chris at Bristow's should be able to talk about some options when you're ready, whether or not you go with them in the end. Or the owner of Ralli-Round. I ended up buying some unnecessary parts for my project, so my advice is to speak with your builder before doing all your shopping. I also may have some parts you'll need because of this -- a full set of brass valve guides and new valve springs, for example. Csaba at Autoricambi is also great to talk to, especially about compression.

I think 9.8:1 compression, dual carbs, cams, and more efficient exhaust should have you at close to 150 hp on a 2.0-liter engine as it is.

Whew, long post. Good luck!
 
Are you going to do the 037 door pulls?

Door pulls got finished today. I started with the stock parts, which are in 2 pieces, the upper door handle cover, and the door pull/armrest. The armrest was deleted, and the door pull was epoxied to the upper cover. The angle of the door pull is somewhat different than stock, so the bottom of the door pull clears the roll cage. The two parts, now one, were then wrapped in fiberglass.

IMG_2570.JPG


Various putty epoxies were used to fill areas that needed more volume. Then the same lightweight body filler that was used on the dash and center console was applied.

IMG_2568.JPG


Repeat for other side...

IMG_2572.JPG


Added a 1/4" nut in the higher location for the bottom of the pull. The original landing point is the nut in the cage a few inches below and slightly to the right.

IMG_2573.JPG


Painted and installed.

IMG_2581.JPG


IMG_2583.JPG


Ignore the long bolt, that's just to see if the hole for the bolt is pointing at the right location. I need to get some allen key bolts for these, and they're done.
 
Door pulls got finished today. I started with the stock parts, which are in 2 pieces, the upper door handle cover, and the door pull/armrest. The armrest was deleted, and the door pull was epoxied to the upper cover. The angle of the door pull is somewhat different than stock, so the bottom of the door pull clears the roll cage. The two parts, now one, were then wrapped in fiberglass.

View attachment 29352

Various putty epoxies were used to fill areas that needed more volume. Then the same lightweight body filler that was used on the dash and center console was applied.

View attachment 29353

Repeat for other side...

View attachment 29354

Added a 1/4" nut in the higher location for the bottom of the pull. The original landing point is the nut in the cage a few inches below and slightly to the right.

View attachment 29356

Painted and installed.

View attachment 29357

View attachment 29358

Ignore the long bolt, that's just to see if the hole for the bolt is pointing at the right location. I need to get some allen key bolts for these, and they're done.
Looks really good, Pete
 
Got this Monza quad tip exhaust from Lanciahf for a gift of a price (so much thanks for that) and he packed it very thoughtfully.

These are good exhausts, but they’re known for rusting quickly. This one had a consistent surface rust, but no pitting and no holes. Cleaned up really well with the angle grinder wire brush, a lot of phosphoric acid-based rust killer inside & out, some POR-15 paint and some VHT valve cover paint. Went the extra mile & gave it yellow tips & stripes like oem.
B57E0538-F897-46FF-A96D-E9364065CC9D.jpeg
EB89511C-FC4E-49B7-BEAC-6B7752457471.jpeg
684B33D2-B2F1-46B9-A183-152A8A6BB38B.jpeg
0628EEBE-DC93-49CC-AB37-5D18B7C56CF2.jpeg
8560034B-6873-4CBC-B2E5-7351ED159512.jpeg
41048657-7723-461A-8962-64267605FFB4.jpeg
4064C681-A11E-45EB-A7BF-08E73C0708C8.jpeg
3E38F81D-523E-4272-AC2F-6214569E53A7.jpeg
16B8E97F-3BE6-44D2-ABB7-2E77ADEE69E8.jpeg
EE32C4FF-8025-4365-B1BE-A5268D1DDEEE.jpeg
3FECD0C4-F04A-4CE0-8E8B-76848A3AAF23.jpeg
DD579545-6248-4CC1-9AA0-72ECDF982132.jpeg


I also applied a high temp clear to the tips to keep them from rusting.
It should last a while, looking forward to seeing it on the car at some point. This is a rare piece, never seen a Monza for our cars before. Rare parts are kind of a thing for me, maybe a weakness.
 
Today? More like the past month. While under the car I discovered a crack about an inch long in the floor pan under the drivers seat. I figured no biggie, take the seat out, pull back the carpet and weld up the crack. Well to my horror my lovely rust free California Scorpion was full of rust in the floor pan.

I guess the carpets got wet and water just sat there having no place to go and rust started to form. So I wire brushed the floor using a 4" wire brush attached to an angle grinder. A couple of places the rust created holes, largest maybe a 1/8 of inch. So I proceeded to clean and etch the floor. In my life I have never see a floor so banged up. Dents and divots everywhere. Then looking at the floor I thought I better remove the under coating and see if there are any nasty surprises. So armed with my butane torch and putty knife and wire wheel I removed all the undercoating except for the tunnel. No surprises other than my 1/8 holes grew to about the size of a dime. Argh.

I welded up the holes, two coats of primer and two coats of rustoleum, Why no POR 15? Well I figured if the next owner wants to replace the floor pan removing paint is a lot easier than POR15. Rust free means so many different things to people......

Yes Yes my head kept saying you should have bought Marks, but noooooo I wanted a flying buttress car...

4.jpg

1.jpg

2.jpg

11.jpg

12.jpg

13.jpg

12.jpg

13.jpg

24.jpg

35.jpg

36.jpg
 
To really add insult to injury While underneath scrapping away I noticed tiny cracks by the front arm radius mounts. Damn it the dreaded Scorpion front trunk floor cracks. So more Scraping, cutting , Welding, lots of welding,

I boxed in the area and tied the front and rear bulkheads together. I really didn't want to but the radius arm mounts on a scorpion are just hanging in air. Mind you these cracks were no where as bad as my old Scorp. Please be kind on my welding , I'm a novice at best and spend most of my time grinding.

6.jpg

9.jpg

10.jpg


21.jpg

22.jpg


26.jpg

29.jpg

30.jpg


38.jpg

39.jpg

40.jpg


42.jpg

43.jpg
 
Last edited:
Today I sprayed 3 cans of Eastwood Automotive rust encapsulator in the frame rails, cross member and any where I found a hole. PS it is much easier to weld with Lowe's Lincoln wire than Eastwood wire using my Eastwood welder???
 
Got this Monza quad tip exhaust from Lanciahf for a gift of a price (so much thanks for that) and he packed it very thoughtfully.

These are good exhausts, but they’re known for rusting quickly. This one had a consistent surface rust, but no pitting and no holes. Cleaned up really well with the angle grinder wire brush, a lot of phosphoric acid-based rust killer inside & out, some POR-15 paint and some VHT valve cover paint. Went the extra mile & gave it yellow tips & stripes like oem. View attachment 30981 View attachment 30982 View attachment 30983 View attachment 30984 View attachment 30985 View attachment 30986 View attachment 30987 View attachment 30988 View attachment 30989 View attachment 30990 View attachment 30991 View attachment 30992

I also applied a high temp clear to the tips to keep them from rusting.
It should last a while, looking forward to seeing it on the car at some point. This is a rare piece, never seen a Monza for our cars before. Rare parts are kind of a thing for me, maybe a weakness.

I also did the same on my Ansa exhaust (but the outside line was red and the inners orange). I could tell you the inside paint turned black in no time. It was worth it... for the pics. But next time, I wouldn't bother painting inside the tips.
 
I’d say that’s some nice work you did.

To really add insult to injury While underneath scrapping away I noticed tiny cracks by the front arm radius mounts. Damn it the dreaded Scorpion front trunk floor cracks. So more Scraping, cutting , Welding, lots of welding,

I boxed in the area and tied the front and rear bulkheads together. I really didn't want to but the radius arm mounts on a scorpion are just hanging in air. Mind you these cracks were no where as bad as my old Scorp. Please be kind on my welding , I'm a novice at best and spend most of my time grinding.

6.jpg

9.jpg

10.jpg


21.jpg

22.jpg


26.jpg

29.jpg

30.jpg


38.jpg

39.jpg

40.jpg
 
Indeed, some nice thorough work there. By the by, I am going to harvest that driver side lower hinge for you. Apologizes for the tardiness...
 
Back
Top