Dallara & K24: Recovering From OffRoad Experience

I would find it hard to believe you would have time to work on a second or third X in parallel with your current car.
I'm allowed two " silly" cars and I think a third if its in project status and no tags or insurance. At least that's my understanding.

I could in theory work on a third car. I'm actually working on 2 currently, since the AWD mods are not finalized. Also, once I'm done with all the current house repair work / siding, etc.. I would have more time available :)
 
Thinking about how to deal with the water pipe cover. I revisited Darwoodius's post - I think I will work along his lines - in that I will leave the vertical walls, since mine aren't rusty - and just cut off the horizontal 'cap'. Then I can make a bolt on "U" cover that laps the stock vertical walls. The forward end will need to be a little more elaborate, since the tunnel cover tore off the floor at the leading edges.

refresher:
IMG-20200502-174203.jpg
 
Last edited:
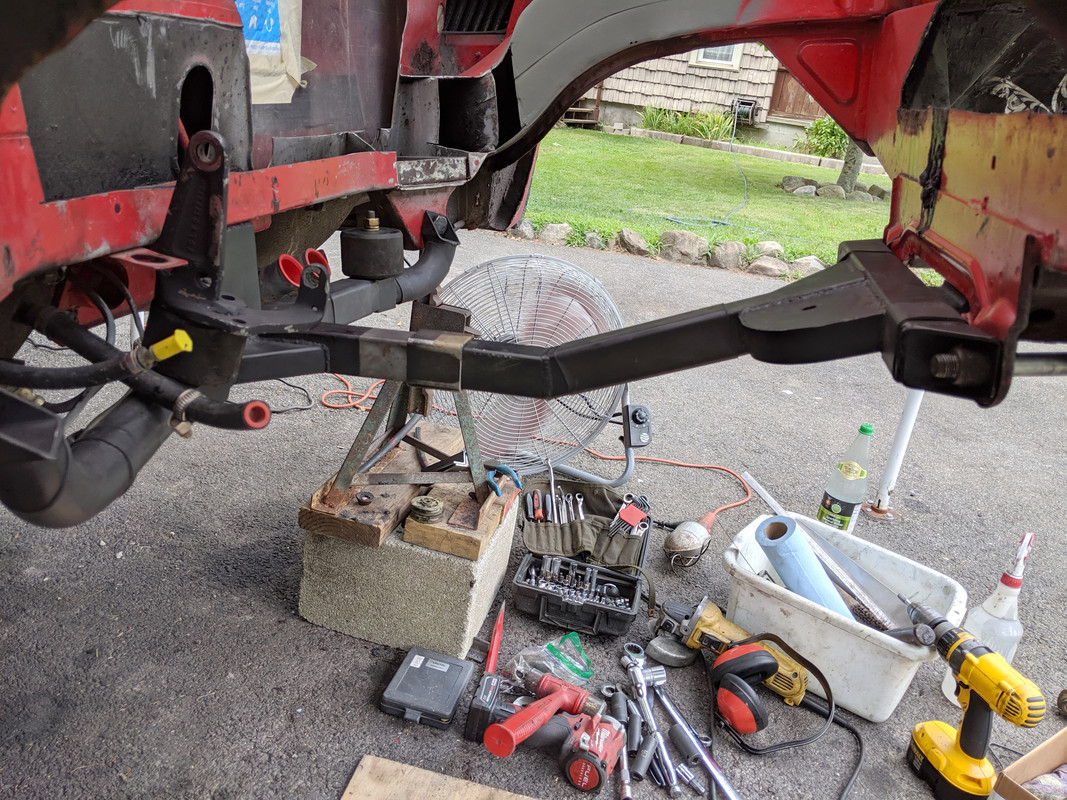
Finally a day without rain in the forecast. I was able to get the damaged subframe off after some cutting to access the frame bolts.

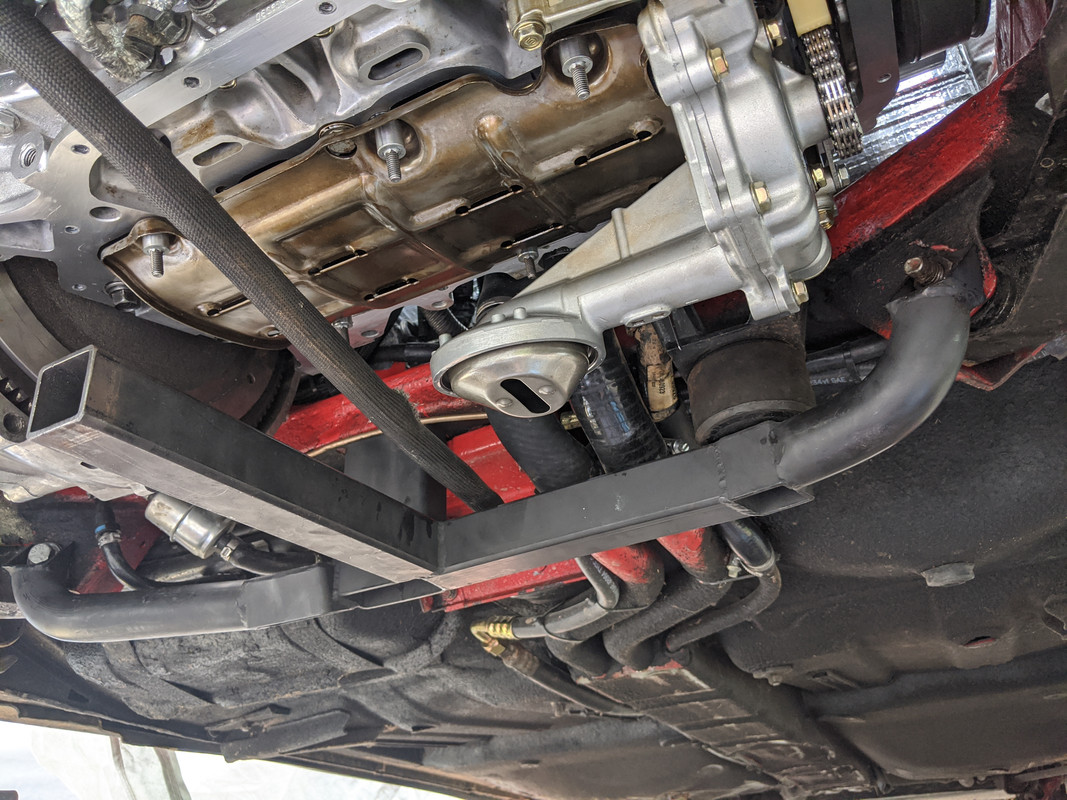
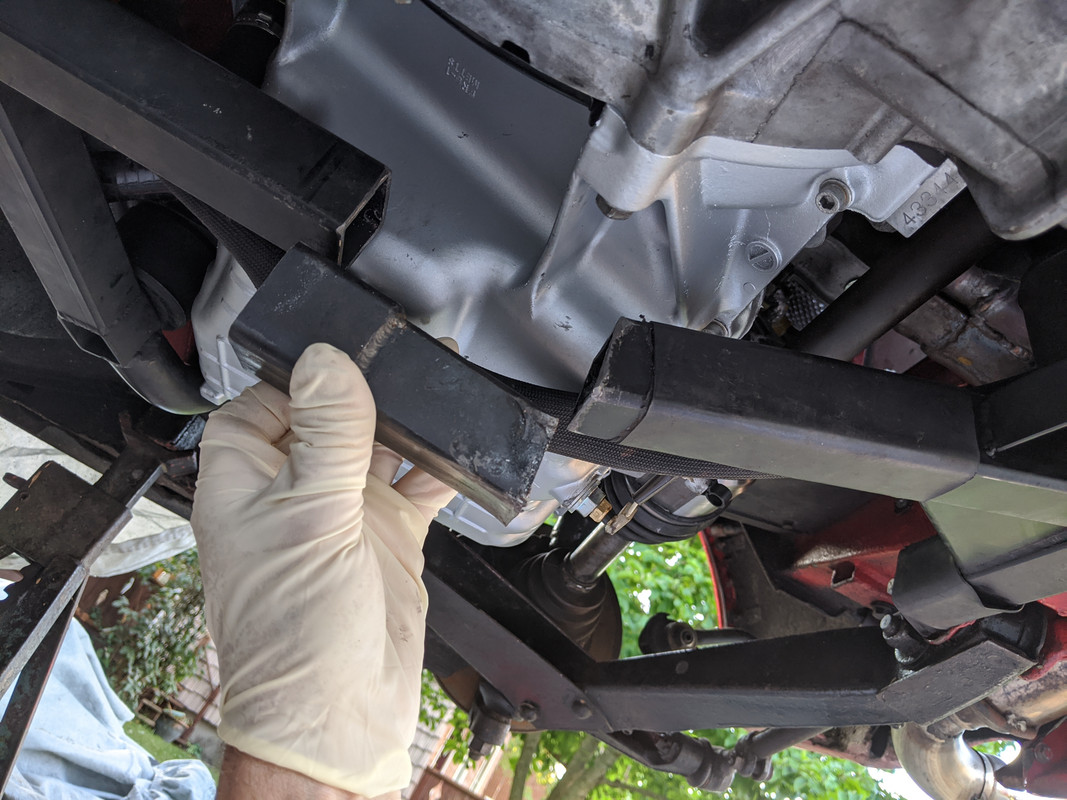
Before I dropped it, I had to make support brackets to attach to the engine support brace. Left side bolts to one of the M12 bosses.

IMG-20200712-163144.jpg


right side bolts to the torque mount bracket

IMG-20200712-193228.jpg


IMG-20200712-192309.jpg


That ended up taking a fair amount of time, with several distractions.

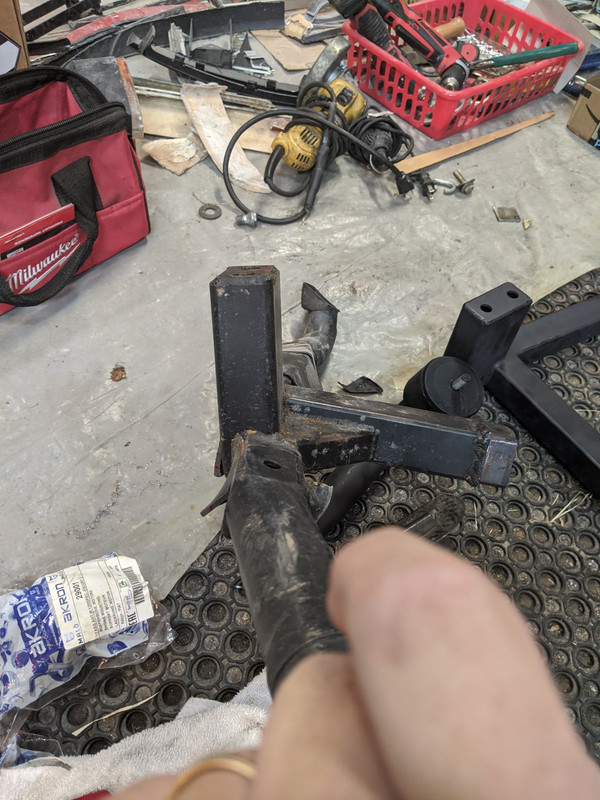
Once I felt confident the car was properly supported, and the drivetrain was unlikely to drop on me, I got the subframe out

IMG-20200712-192317.jpg


IMG-20200712-192259.jpg


Close up of damage / comparison - web is missing from new one, I've emailed Matt about that

IMG-20200712-192304.jpg


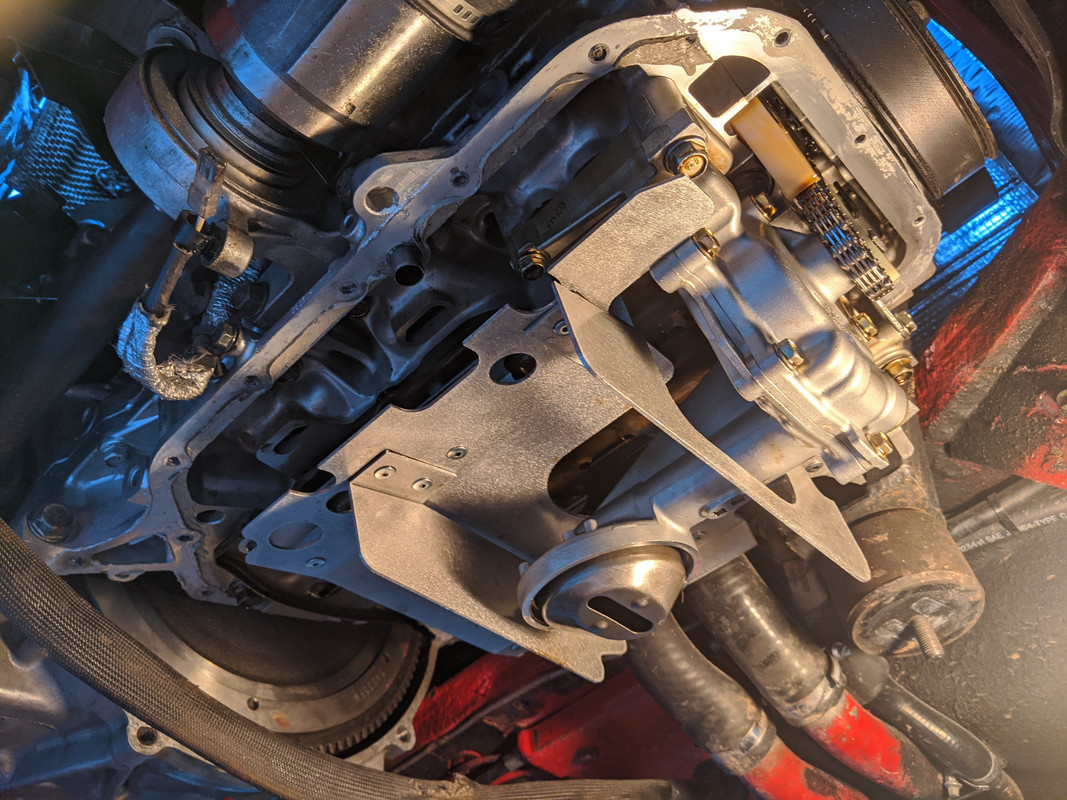
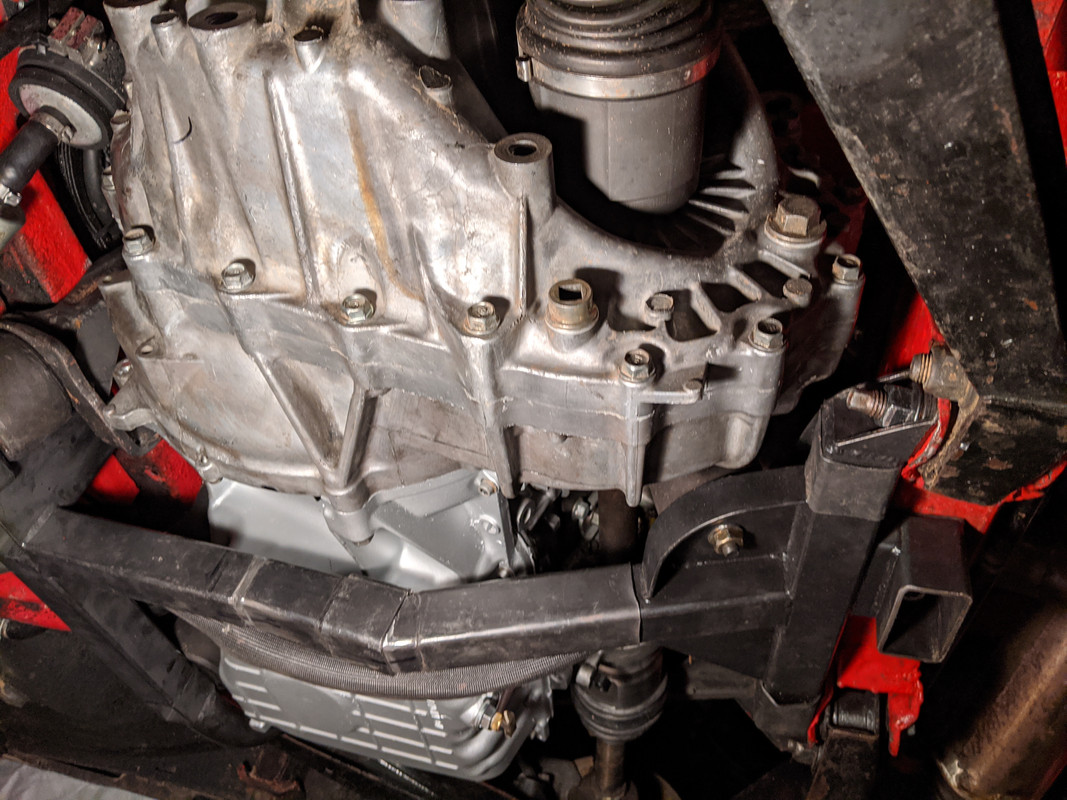
After that, I got the old pan removed. Everything looks OK inside at least

IMG-20200712-200612.jpg


Hopefully, tomorrow I will clean the block & get the replacement pan on .

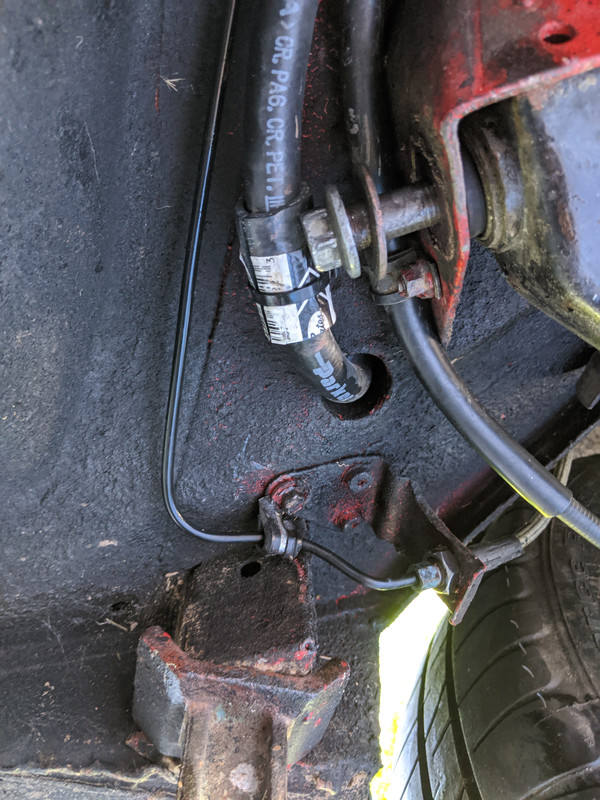
Found several additional issues to address.

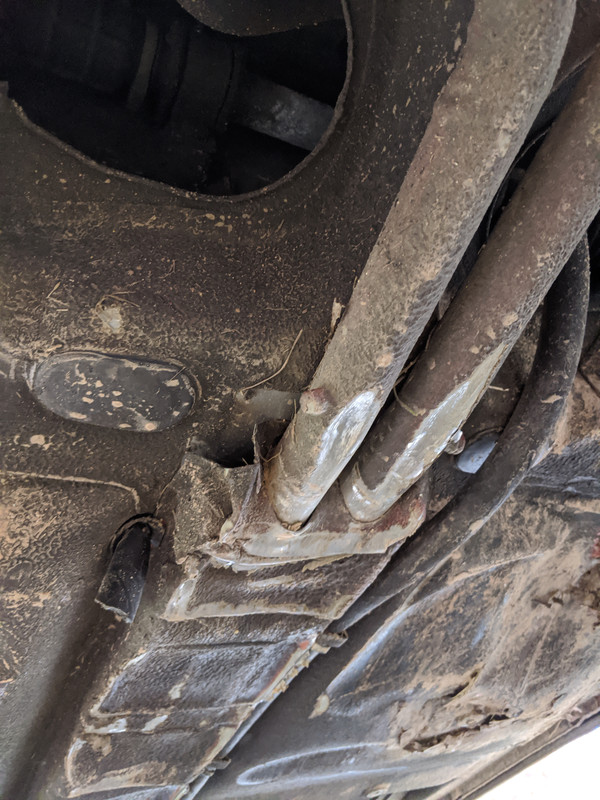
Left rear brake line crsuhed

IMG-20200712-202527.jpg


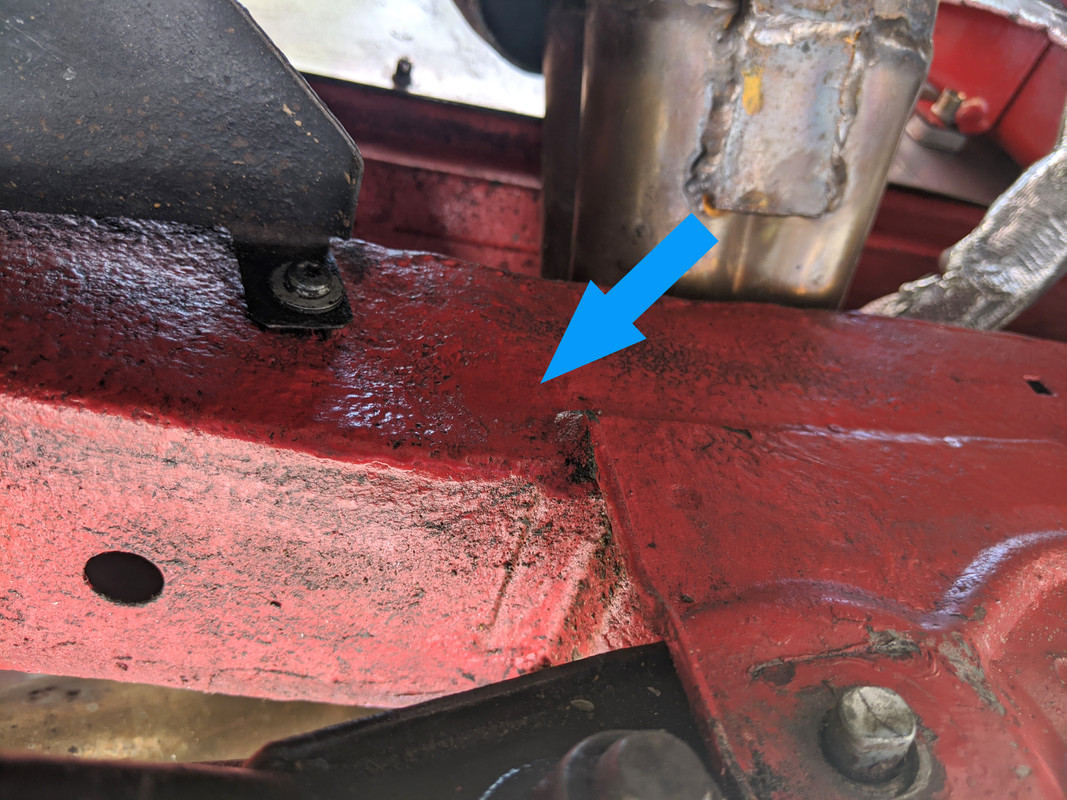
center frame mount deformed. This shouldn't be that difficult to pull out - I'll bolt up the new subframe to this and use that to lever the panel back out.
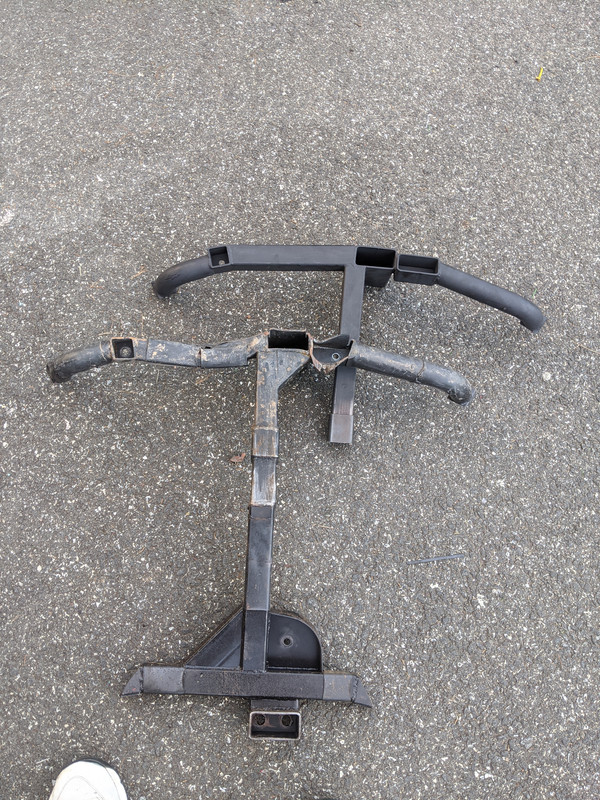
IMG-20200712-202540.jpg


(EDIT) inside:

IMG-20190905-175629.jpg


The vertical stanchion should be perpendicular to the center leg

IMG-20200712-205207.jpg


The center leg also buckled - that I should be able to repair

IMG-20200712-205100.jpg


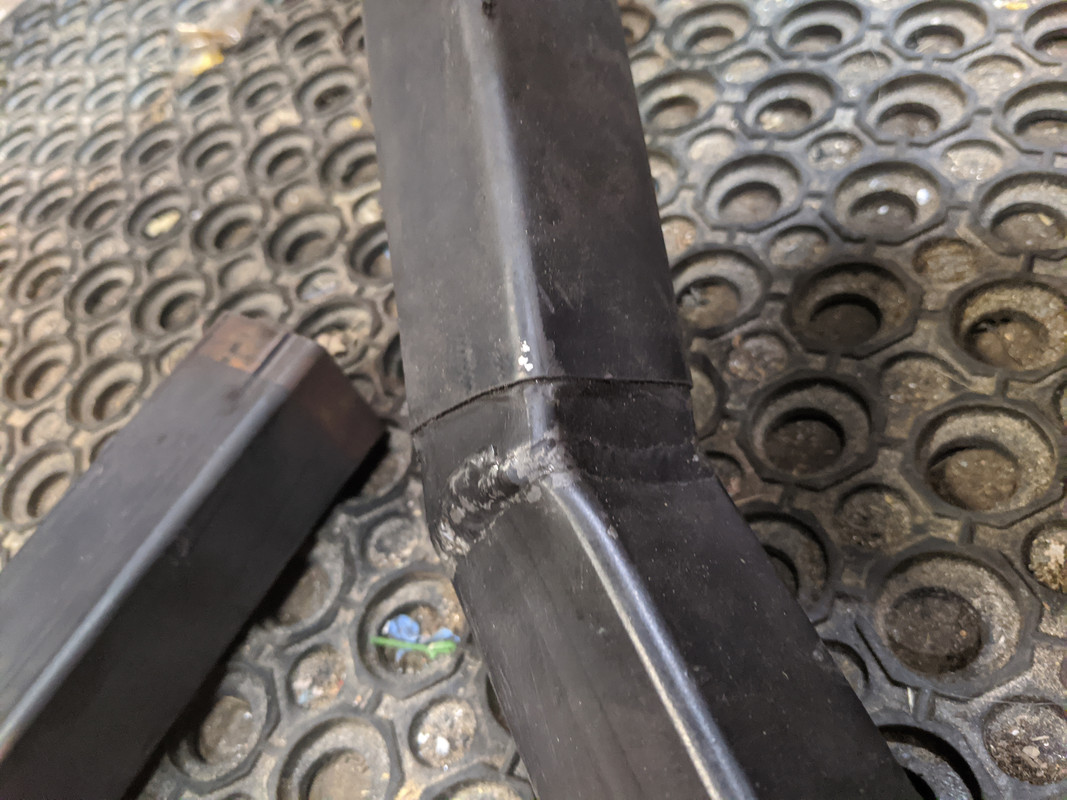
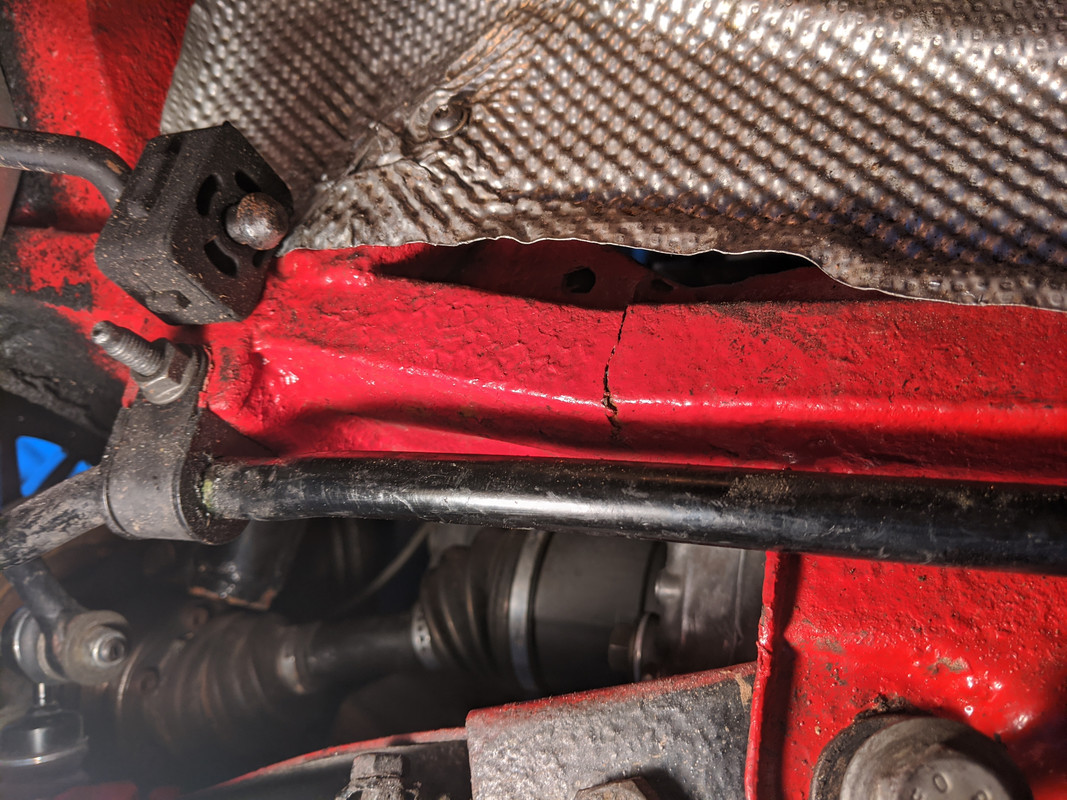
rear crossmember brace cracked on the left. Don't see other deformations in that area to account for my weld cracking. I guess once the drivetrain is out, I will be looking all over for signs of damage.

IMG-20200712-202552.jpg


EDIT: on the forward side of this crossmember, above and to the outer edges of the welded suspension carrier, there appears (to me) to be indentations in the upper cross panel - which based on my earlier pic below, must be from deformation. I hope I can still get it aligned within spec when all is said & done :(

IMG_20190816_175810.jpg


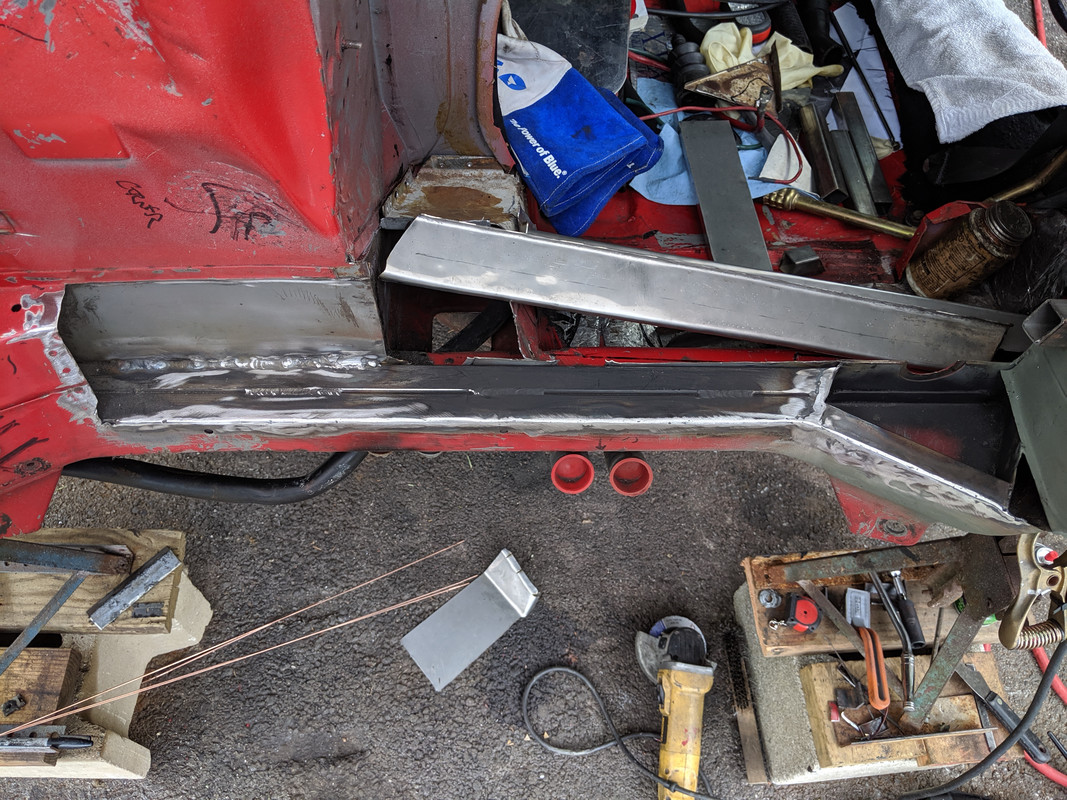
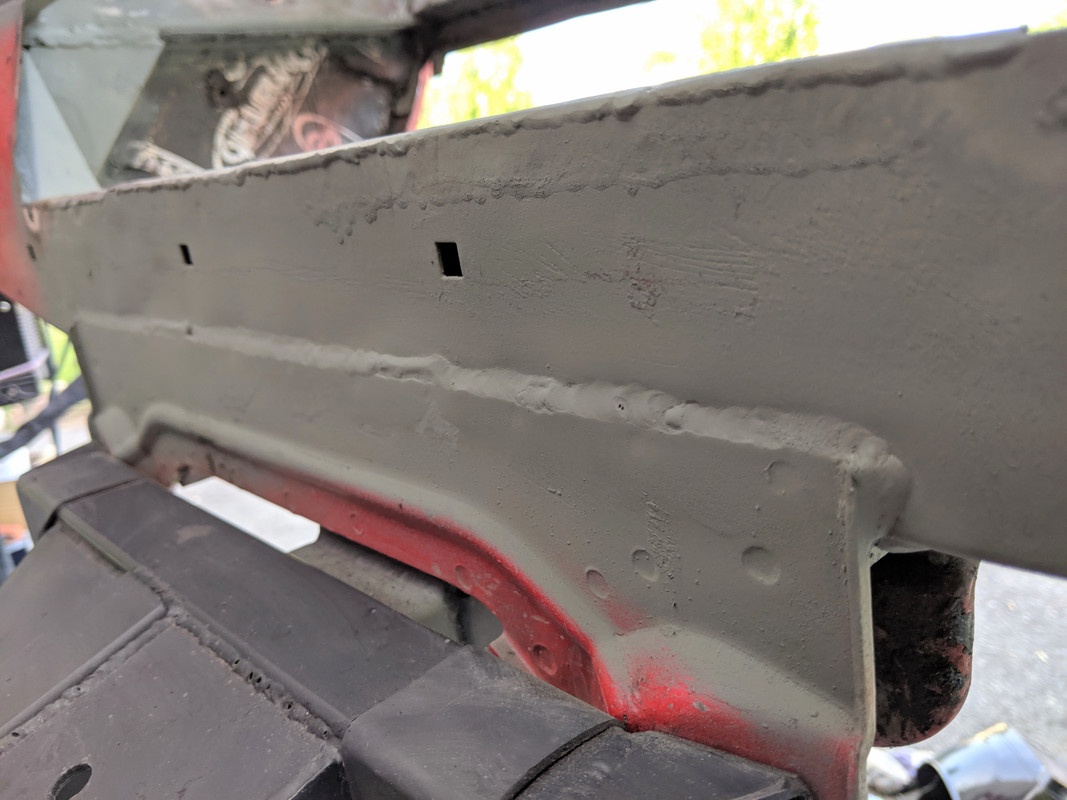
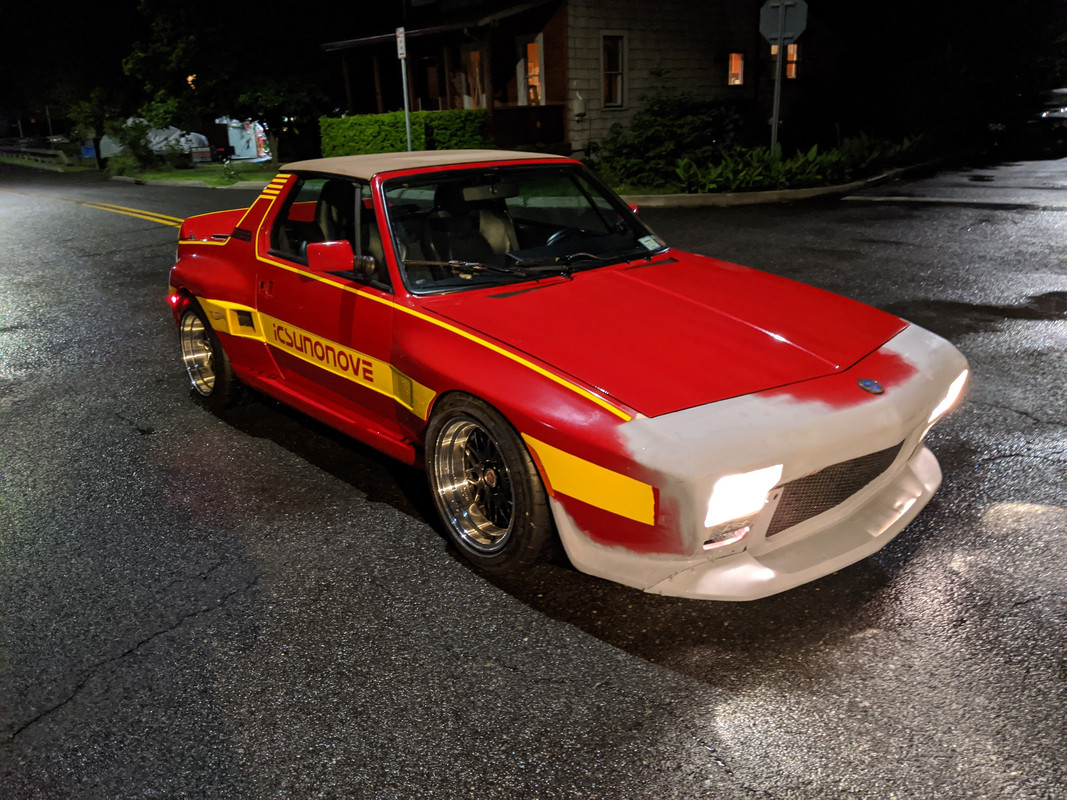
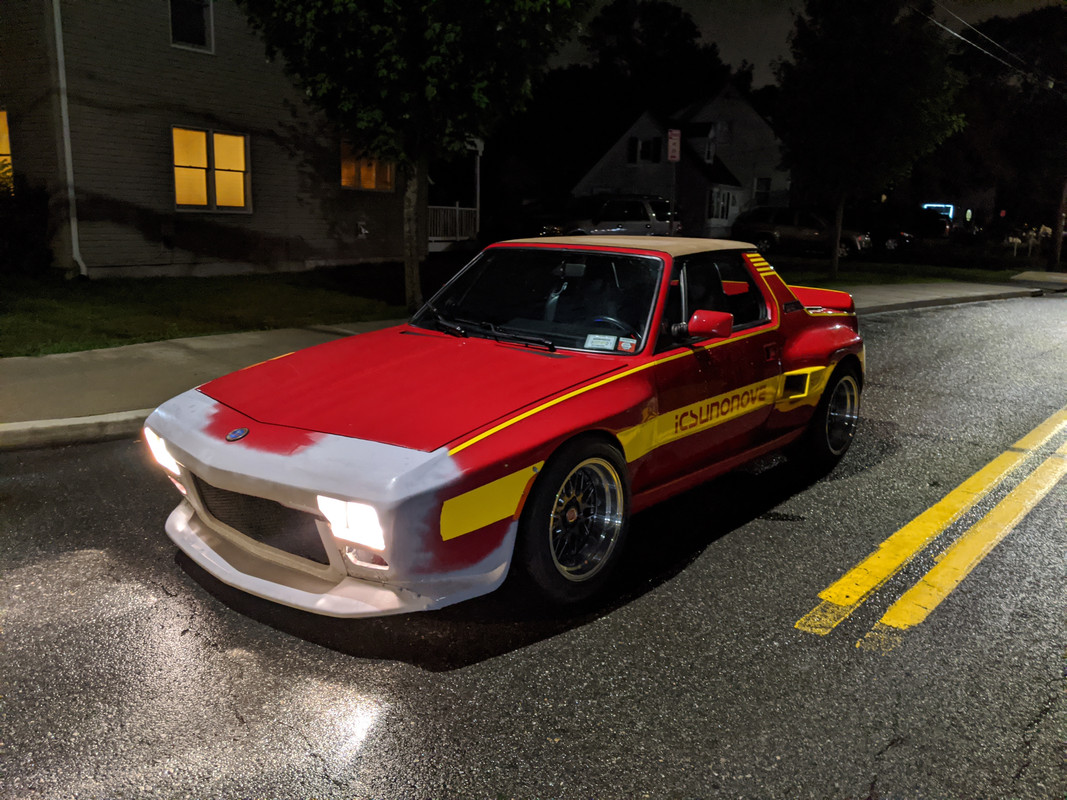
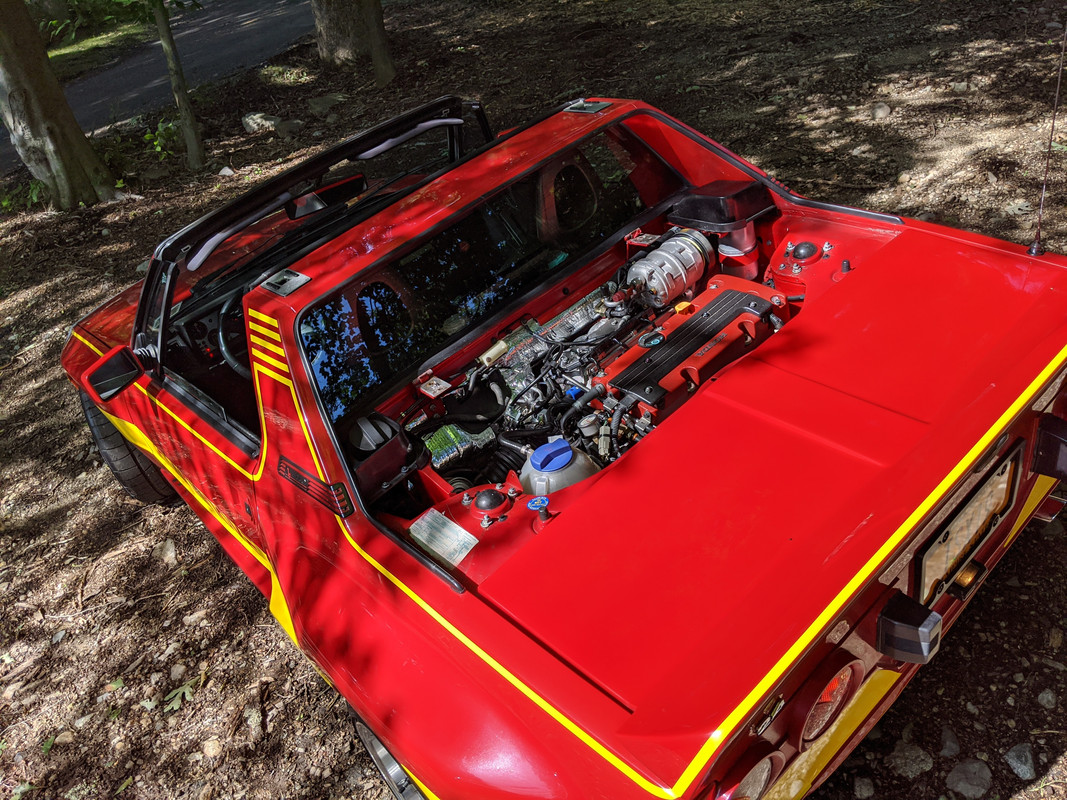
How it should look (again) once I'm done

IMG-20190814-142640.jpg
 
Last edited:
To me, the crack in the cross member looks more like a stress fracture that happens over a long period, rather than accident damage?
 
To me, the crack in the cross member looks more like a stress fracture that happens over a long period, rather than accident damage?

Nah, that's not the original crossmember, it's box section that I added in three parts, that crack is where the weld is

IMG-20190813-181313.jpg


Before I installed the replacement oil pan, I fitted the new subframe section, and used a 4 ft 3/4 breaker bar to lever the deformed panel back into proper position. Fairly uneventful, thankfully.

IMG-20200713-121021.jpg


IMG-20200713-111641.jpg


These are the two areas in the rear crosmember, forward side that show evidence of deformation - hard to photograph. It's not bad, but still...

IMG-20200713-103143.jpg


IMG-20200713-103154.jpg


After that, I cleaned & painted the oil pan & made the replacement right side brake line; Fiat flare one end, Volvo flare the other

IMG-20200713-154424.jpg


Hondabond on pan, then install

VID-20200713-162354-LS-exported-233-1594692764688.jpg


IMG-20200713-164240.jpg


new brake line fitted

IMG-20200713-172701.jpg


Shaped it on the left to get it well away from the left forward mount

IMG-20200713-172705.jpg


Fitted the rear section after cutting off the buckled section

IMG-20200713-195036.jpg


all set to weld tomorrow - just going to tack it & do the final seam welds after I take the drivetrain back out

IMG-20200713-212332.jpg


IMG-20200713-212341.jpg
 
Dang all of that must have made a heck of a lot of noise. That is a lot of moved metal.
 
Dang all of that must have made a heck of a lot of noise. That is a lot of moved metal.

When it happened? It was so fast, I didn't really notice.

Today I welded the underside & sides of the subframe junction. After that, I spent about 5 hours on a friends Volvo V50, doing a tune up, brakes and the right axle, which turned into a **** show. Anyway, I left that alone around 5 & torqued the control arms at ride height, bled the brakes, put the back wheels back on, and futzed with the nose a bit. I put some primer on it, just to get a sense of the overall flow. After that I dropped the car back to the ground (pouring rain at that point). That process takes awhile as I have to drop it in stages.

Still much work to do on the nose & undercarriage, however I'm going to drive it for a bit first :)

IMG-20200714-213741.jpg


IMG-20200714-213735.jpg


IMG-20200714-213633.jpg


IMG-20200714-213728.jpg


IMG-20200714-213722.jpg
 
Did I miss the apprehension between installing the pan and starting the engine?

I take it the Vtec started right up with no problems and sang like before?
 
Did I miss the apprehension between installing the pan and starting the engine?

I take it the Vtec started right up with no problems and sang like before?

You did - it was uneventful. I read a large number of Honda posts where ppl ripped holes in the aluminum pan, so I came to a place of acceptance as to the health of the engine. Oil pressure is good, oil temps are good. Still drop the drivetrain to change the head gasket & finish welding the subframe, then move on to the floor pan & center tunnel damage...\\

Took it up to Harriman State Park today to go swimming & pick up my wife from her Summer Camp reunion

Front end does not feel as planted without the front sway bar

IMG-20200715-162828.jpg


IMG-20200715-162423.jpg


IMG-20200715-162343.jpg


IMG-20200715-162322.jpg


EDIT: Breakneck Pond

IMG_20200716_092646.jpg
 
Last edited:
You did - it was uneventful. I read a large number of Honda posts where ppl ripped holes in the aluminum pan, so I came to a place of acceptance as to the health of the engine. Oil pressure is good, oil temps are good. Still drop the drivetrain to change the head gasket & finish welding the subframe, then move on to the floor pan & center tunnel damage...\\

Took it up to Harriman State Park today to go swimming & pick up my wife from her Summer Camp reunion

Front end does not feel as planted without the front sway bar
I got my first driving lesson in the parking lot of Harriman State Park . I was 12 years old and got to drive a 55 Ford wagon with 3 on the tree and a 272 ci V8 with dual exhausts. We used to go up there to go swimming.
 
I got my first driving lesson in the parking lot of Harriman State Park . I was 12 years old and got to drive a 55 Ford wagon with 3 on the tree and a 272 ci V8 with dual exhausts. We used to go up there to go swimming.

Nice! Any chance you remember which lake it was at? There are 31 in the park :D The large ones are Welch, Sebago, Tiorati and Silvermine. Also Anthony Wayne - that one has a very large parking lot
 
Nice! Any chance you remember which lake it was at? There are 31 in the park :D The large ones are Welch, Sebago, Tiorati and Silvermine. Also Anthony Wayne - that one has a very large parking lot
Don't remember the name of the lakes (it was early 60s), but we also went to Anthony Wayne. I recall them having a really large pool there. An yes, I also got to practice driving in that huge parking lot.
 
Your car has a very butch look with the primered front end. Are you making a plexiglass cover for the motor to show it off?
I envy you, my wife won't even ride in my stock Miata let alone my X.
 
Your car has a very butch look with the primered front end. Are you making a plexiglass cover for the motor to show it off?
I envy you, my wife won't even ride in my stock Miata let alone my X.

I have the stock cover with integrated fan that I was planning on using. I do like the idea of a transparent cover though :D Not sure what would withstand the heat. I think that would be a worthwhile project - maybe with a snorkel involved? :D
 
Yes, and the snorkel would be transparent too! I don't think Al made any of those.
On one of my spiders I considered running it without a hood. On a test run it was fun to watch the cams whirring about, throttle linkage moving and the engine rocking on acceleration.
 
Hussein, Happy to hear the start up was uneventful!

Great lesson for everyone here, in the event of a mishap turn the engine off, so an inspection can be made.
 
I have driven the car a few times in the past couple weeks, and the jerky throttle/tip in lurch is back. I ordered a smaller TB & new TPS to replace the 80mm setup. I will weld a new flange on the plenum , and shift the offset so that I can access the TPS this time. I cut the neck & flange off an Accord intake to use for this purpose. I may still need to mount it upside down as pictured with IACV on top.

IMG-20200805-091847.jpg
 
Temps down into the 80's, so I spent some hours figuring out the headlamp recesses & the verticals that will secure the spoiler uprights. After much deliberation since I put this aside, I decided to make an inner "frame" that will get merged to the outer surface

right side test fit


IMG-20200827-164224.jpg


and left

IMG-20200827-181837.jpg


bonded.

IMG-20200827-181850.jpg


IMG-20200827-181842.jpg


IMG-20200827-181826.jpg


Tomorrow hopefully I'll get some fibreglass & filler in the larger voids, some skim on lower area to smooth it out.
 
Last edited:
Back
Top