A Couple of K20 Items That Make It Easier

jimmyx

True Classic
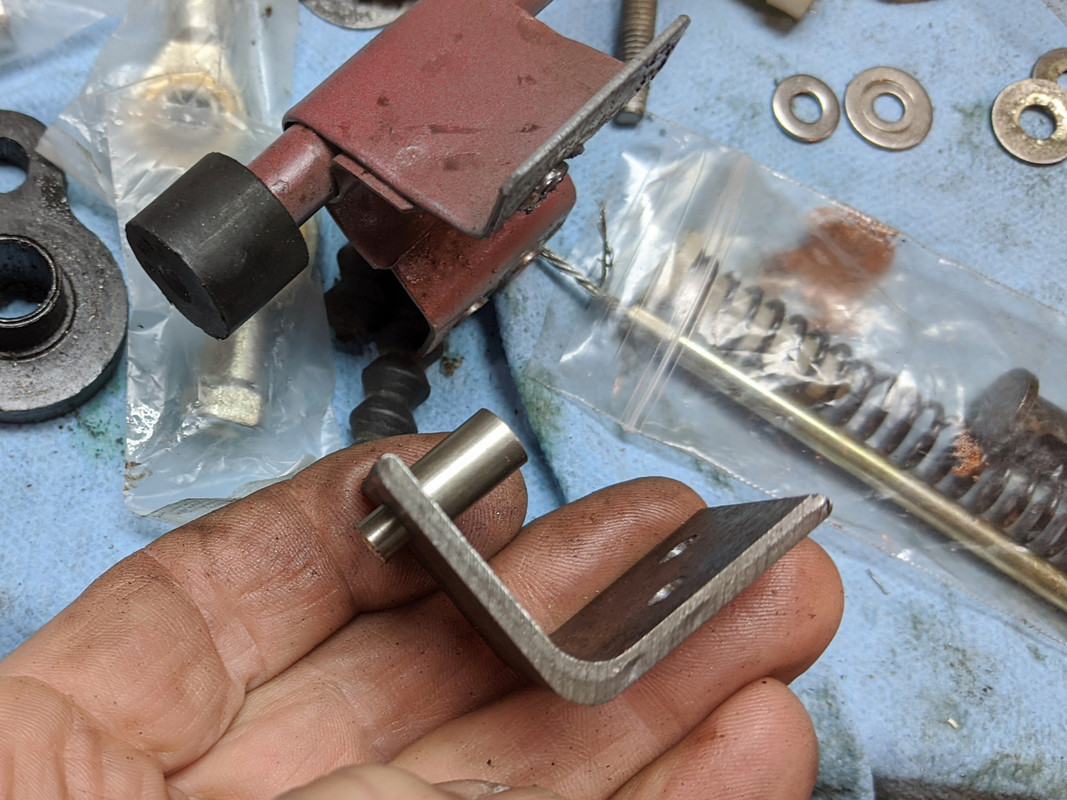
This cable stop requires the TB bobbin drilled a hair larger, but makes for a clean installation. Old ratty cable is my retainer so I don't loose it- this thing is SMALL and pricy for what it is.

IMG_2759.jpg


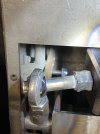
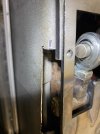
Quick disconnect makes it simple to keep your stock spring setup. Ensuring the pedal assembly moves throughout it's full range with nothing more than gravity and a high quality cable are key for smooth operation.

IMG_2648.jpg

IMG_2649.jpg
 
Nice. It is really great when folks share some of the little things which make the car better and the job easier.
 
Not sure if this is helpful at all, but I'll throw it out there. I went in a little different direction in mocking up the exhaust. The rear trunk for this build really served no purpose so in order to attempt limiting drone I didn't want to stuff 10 lbs. of exhaust into a 5 lb. bag. It created enough room to lengthen the run a little and use wide, sweeping bends with the extra space. Jury is out on if it will accomplish the goal but I think it's worth a shot. We'll have to wait for results but will report back if this every sees the road again!

IMG_3047.jpg


The secondary concern was the header. To get the system tucked under a trunk floor the header is cut, angled, and butt welded to the flange. I just flipped the header over when I first cut it and was right where I needed it to be, albeit upside down, and the runners fit back inside the flange as well. I had to tack the runners to the flange in a couple of spots and then beat them into the final oval configuration working through the flange opening. I used a new flange, but I bolted the smooth side of the cut flange to it for a heat sink. The assembly was clamped to a welding table with adjustable rails to further absorb heat and thankfully I squeaked by with no flange warp. I left the original down pipe flange on the header as it became the mounting surface for a brace that runs to the block just above the R/S axle shaft extension. Even with a flexible coupling and a stout mounting system for the entire exhaust, applying some pressure around different areas has me convinced a cracked header is not a matter of if, but when without bracing it.

IMG_3001 (1).jpg


IMG_3007.jpg


Don't have to worry about rain in So-Cal so the rain tray is gone, the opening between the trunk and engine compartment remains open, and the area where the license plate and plate lighting resides was replaced with stainless mesh. The car will never see any inclement weather, but for that occasional wash, magnetic sign material comes in 24"x36" that fits the flat '74 engine cover perfectly (won't work on the later curved covers).

Most aspects of this swap have been covered multiple times, so I'll try and limit posting only where I went in a slightly different direction. For anyone contemplating the swap in the future, this is my advice; start with a PERFECT car. Most of us have started with a POS that needs everything. If you have the means and the skills, the actual swap using the MWB kit can be accomplished very quickly. The reason these end up taking years instead of a couple of months is the entire car need to be restored in addition to the swap. Seems like costly advice? Trust me, paying a premium for a car that needs nothing will save you many thousands of dollars in the end, and you'll be driving and laughing at those of us that are still at it.
 
I LOVE that throttle cable quick release! That would have saved me MANY HOURS of futzing to make my setup work - definitely not going to redo it now, but for anyone starting on this, yours is absolutely the way to go, IMO.

The bigger problem (IMO) with that aftermarket header is that the runner ID is smaller than stock, and the collector is shite :D - I know many use it & have good performance - I'm just convinced you can get more with a better collector & maximize the runner ID

I agree that the header is essentially a pile, but it all boils down to time/money vs. gain. The design of any "shorty" header is a compromise, and a poor one at that; even more so with a $50 ebay item. The length of the runners have a much greater impact than the diameter of the runner. Runners on the smaller side are usually more beneficial in the rpm range the average street car is driven. Larger runners (within reason) will come into their own at WOT. Doubtful either will make much difference on a "shorty" anyway. The optimal result comes from a well designed long tube header. Not that simple with the packaging issues in an X and costly in terms of time and money. Chasing another 4-10 hp and a few ft. pounds of torque at WOT on a built 1500 might be worth the effort, but not so much with a K20 IMHO. As you know, these swaps have a voracious appetite swallowing time and cash at a rapid rate, so I try to pick my battles carefully. I may revisit this in the future, but for now I'm just thrilled that exhaust gasses will leave the ports and end up at the tailpipe.
 
Couple of things that might be helpful, but not just K20 related......

The first is a Docu-Clip or Clam Clip. Fiat uses this clip for things like the rubber seals around the headlight motor doors and the center radiator support. They work unbelievably well for temporarily holding vinyl in place when redoing pillars. They are reusable so a box should last forever.


IMG_3068.jpg


The second is how body shops mange to remove doors, hoods, etc. for painting and not scratch everything up when putting it back together and dealing with adjustments? I asked a body guy I know and he said it's simple. All the panel alignments and gaps are set prior to paint. All the hinges get two 1/8" holes drilled through the hinge into the mounting sheet metal before the component is removed. After painting they use two 1/8" punches to line up the holes and reinstall the hinge bolts.
 
What is the purpose of the spring behind the throttle pedal lever? Neither my '74 nor the '76 have this spring. (I still need to take 2" out of the pedal lever)

PXL_20210119_223507539.jpg
 
What is the purpose of the spring behind the throttle pedal lever? Neither my '74 nor the '76 have this spring. (I still need to take 2" out of the pedal lever)

View attachment 41574
Rudimentary "shock absorber". If you run out of cable before you hit the throttle stop you have a little fudge factor so you're hopefully not overstressing the cable. Not really required if you install your cable and locate a positive pedal stop where it reaches WOT. The pedal you have is what you should have on a carb equipped car. The pedal assembly I used on my '74 is from a later FI model that used a "tensioned" cable.
 
Hey @Mark Olson - you could probably heat and bend the end of your early pedal and get it to the called for 2" shorter setup making it work like the later model pedals.
 
When mocking up the electronics in the spare tire well, I didn't want to have to get in there every time I wanted to have a laptop directly connected to the K-Tuner. I found this bulkhead connector for basically no money and was really surprised at the quality. I thought the body was plastic, but it is made of metal. Delivery from Hong Kong arrived faster than some stateside vendors.


IMG_2548.jpg
IMG_2543.jpg
 
When mocking up the electronics in the spare tire well, I didn't want to have to get in there every time I wanted to have a laptop directly connected to the K-Tuner. I found this bulkhead connector for basically no money and was really surprised at the quality. I thought the body was plastic, but it is made of metal. Delivery from Hong Kong arrived faster than some stateside vendors.


Nice! I just ran an Apple female-female USB extension cord from the trunk r/s through to the spare well & have it near the OBDII port (USB not shown) - I may get one of those & put it above the OBDII - that way I'm covered (in terms of not having loose cables that could be yanked on).

IMG-20200118-152446.jpg
 
Always helpful to see what other K20 fans are up to. This is a good read and might be helpful to someone even though it's a brand x swap (pun intended).
 

Attachments

  • K Miata Manual.pdf
    3.6 MB · Views: 152
So, I have an interference problem with the MWB shifter assembly and wondering if any other K20 / K24 swappers here have removed the throttle cable "steel sleeve" and just ran a flex sleeve cable the entire distance, pedal to throttle body? I've circled in the pic what is hitting one of the shifter cable linkage arms. If I remove this welded tab, and bend the tube over, the throttle cable will rub inside the steel tube, which I am guessing is bad. Is there another solution? I've not found anything here that talks about this cable tube.

Thanks!!
IMG_2890D.jpg
 
I had the same issue. I just cut through the top of that welded bracket and then bent the tube down a little so it cleared the shifter. No issues with the throttle cable.
 
OK, I am looking at the directions now and it only mentions removing the spot welds that hold the cable tube and slide it backwards about 10in. But the interference I have with the shifter is at 19in. from the front of the tube.
Moving the front down lower to match up with the 2in. removed from the pedal linkage makes sense. Thanks Hussein, I’ll dig back thru your older posts, I didn’t find that earlier today. I’ll figure if removing it or bending down makes sense for me.
Pics attached of interference issue. But sounds like it won’t be there for long!!
Thanks guys, much appreciated.
 

Attachments

  • 92C2264C-65CA-4897-86A3-E0CB558AA7B4.jpeg
    92C2264C-65CA-4897-86A3-E0CB558AA7B4.jpeg
    202.1 KB · Views: 131
  • EBDBAAA6-D269-40A7-A3F5-10C84A18A87B.jpeg
    EBDBAAA6-D269-40A7-A3F5-10C84A18A87B.jpeg
    184.1 KB · Views: 123
OK, I am looking at the directions now and it only mentions removing the spot welds that hold the cable tube and slide it backwards about 10in. But the interference I have with the shifter is at 19in. from the front of the tube.
Moving the front down lower to match up with the 2in. removed from the pedal linkage makes sense. Thanks Hussein, I’ll dig back thru your older posts, I didn’t find that earlier today. I’ll figure if removing it or bending down makes sense for me.
Pics attached of interference issue. But sounds like it won’t be there for long!!
Thanks guys, much appreciated.
For what it's worth, mine was removed. Could have been relocated reward but what purpose is the tube serving? The new cable runs in an outer housing and is secured by a fabricated stop behind the pedal and terminates at the throttle body. If you are concerned that the cable might "snake around" in the tunnel, you can install a clip or two around the outer housing right through the parking brake opening. I was planning to clip mine, but after the install it wasn't needed.
 
Back
Top