lookforjoe
True Classic
Forgot to post this here:

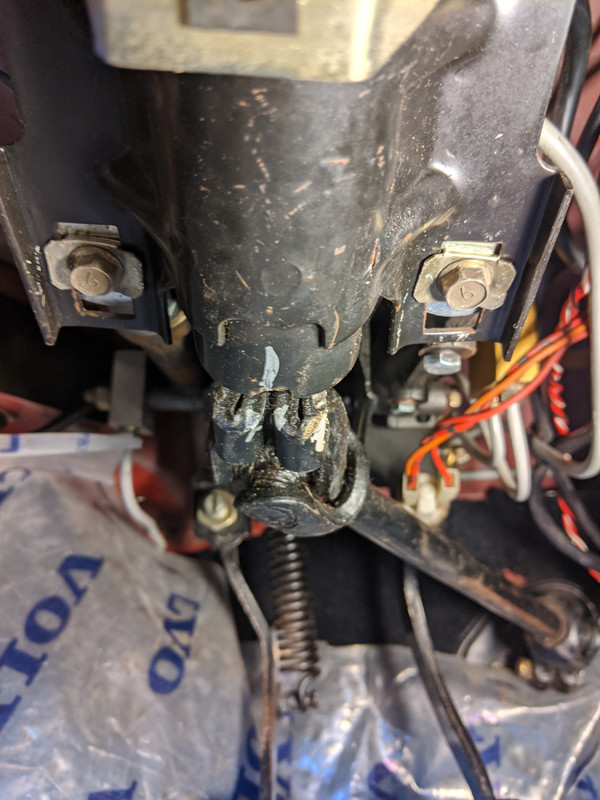
Welded the shaft to the clutch pedal, then put the pedal assembly together, set to center on the bias bar.

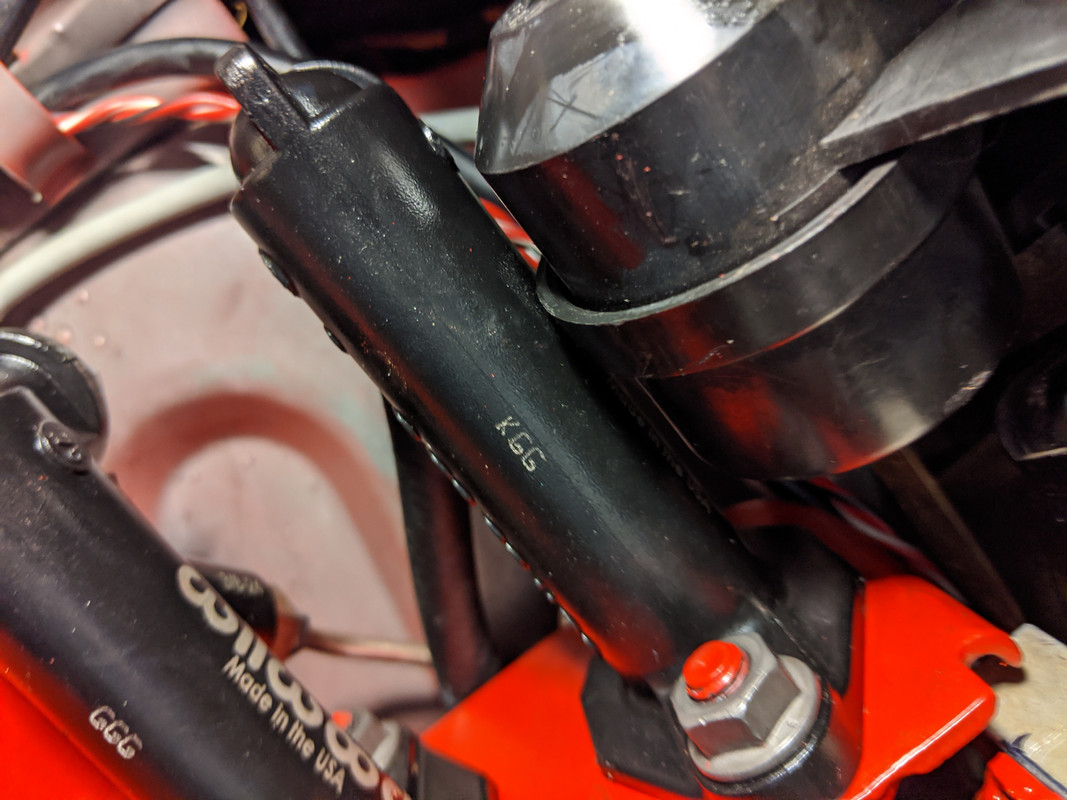
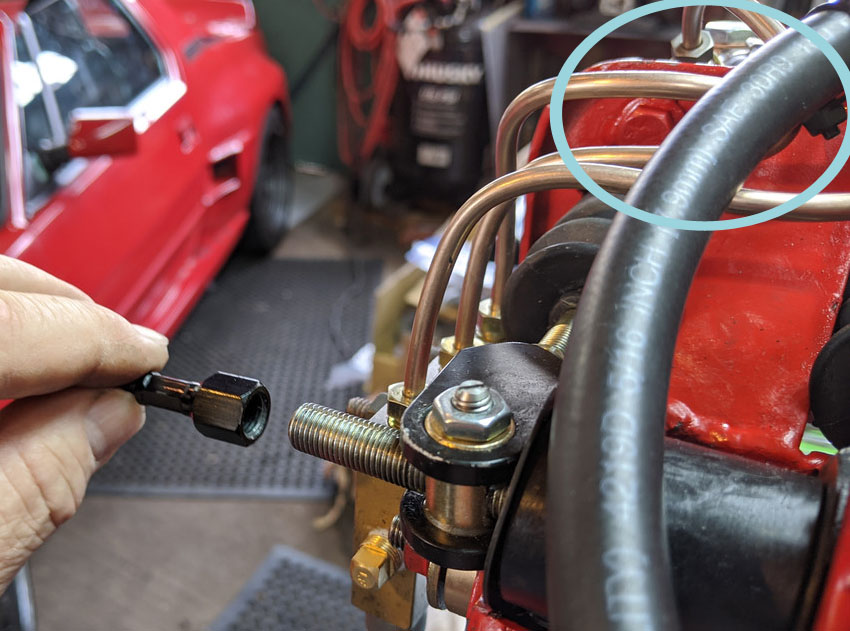
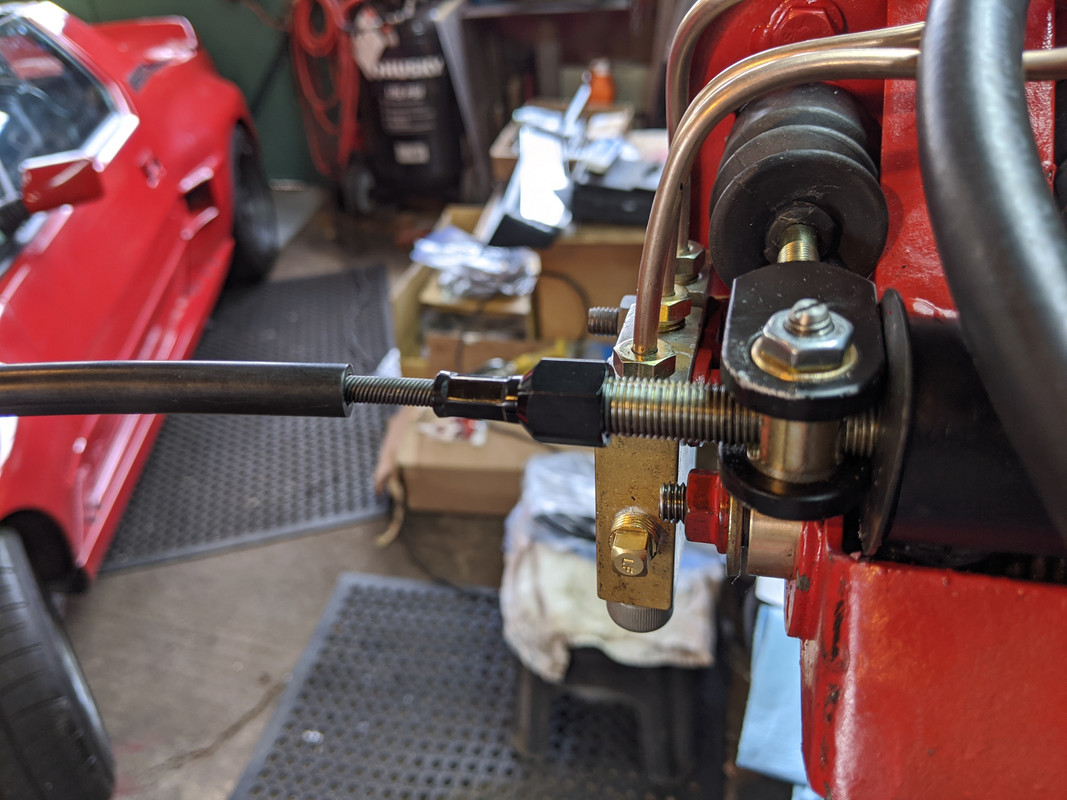
Remote adjuster cable attaches here:
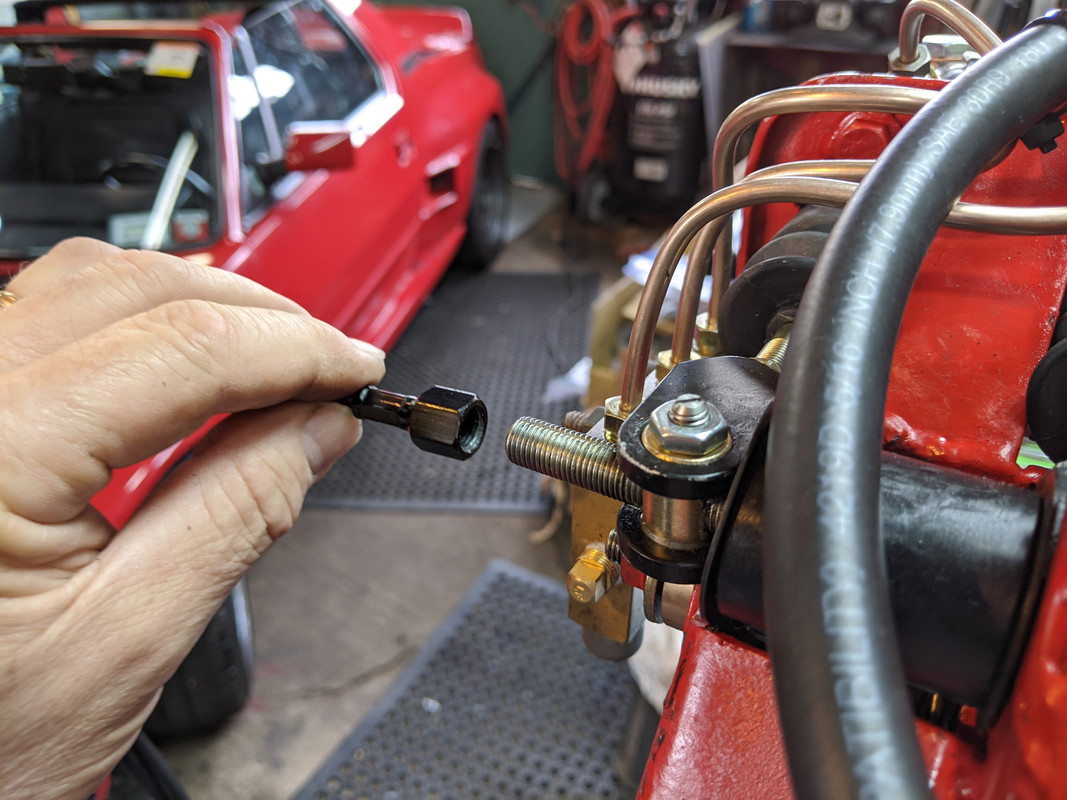
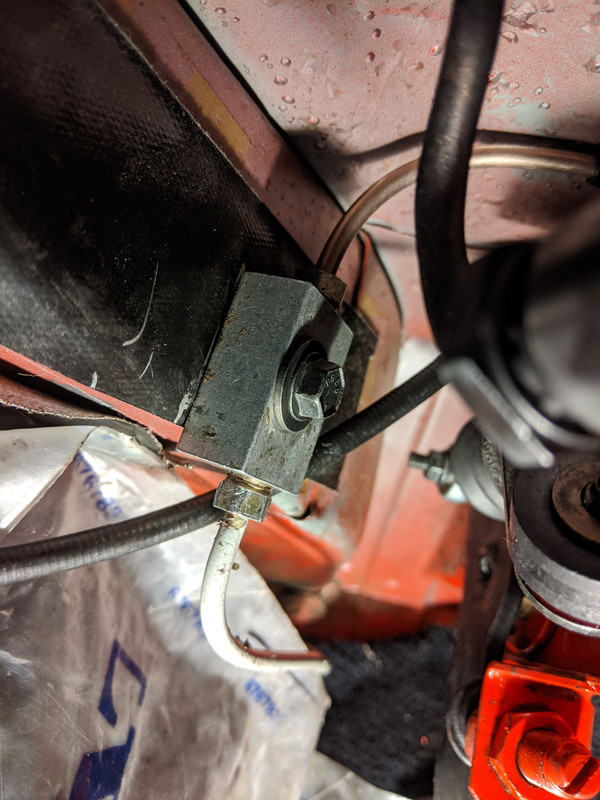
Getting a smooth arc for the cable may be an issue with the heater casing
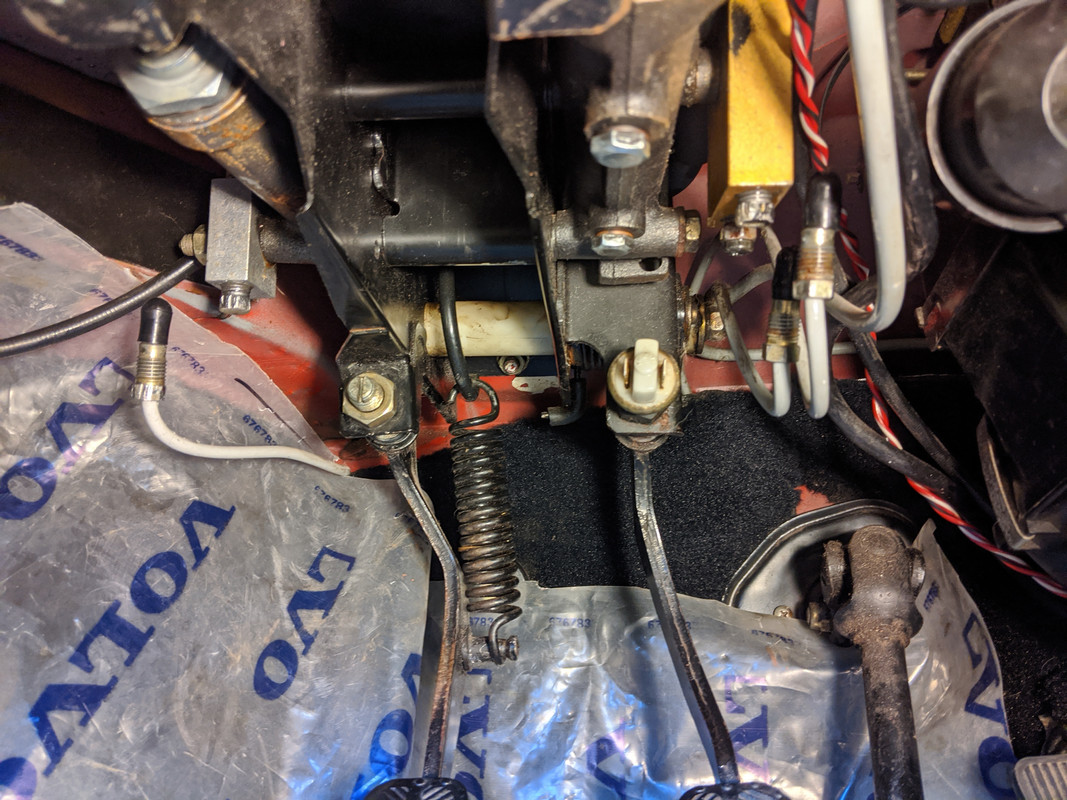
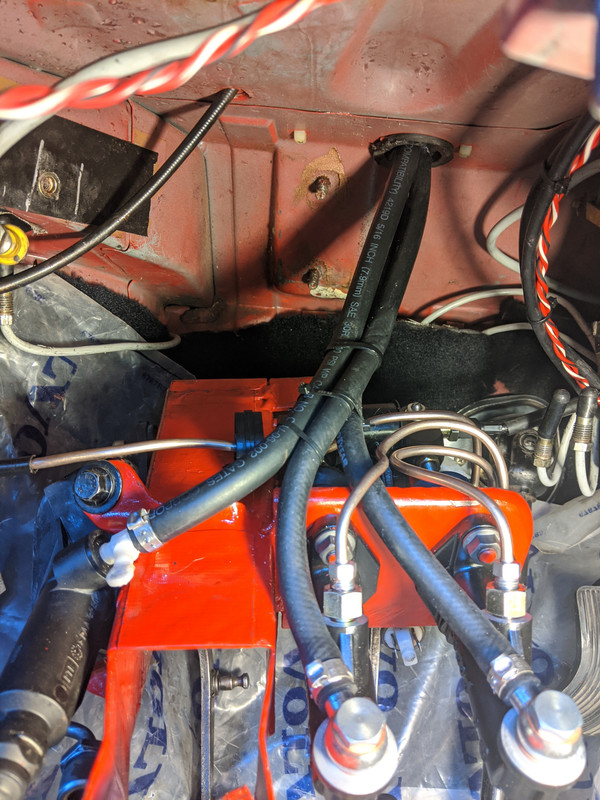
Now I have the front brakes in, I figure it's time to move on this. Problem is, I'm pretty sure the whole thing is too wide for the space. I used the photos in the Swedish guy's pic album as my guide - this is the only one of it in place...

What is evident is that it is right up against the heater box, not a problem I was thinking, I made mine so that it pretty much matches the overall width of the bias box he used. The problem is, my AC box has an external diaphragm mounted in exactly that area, which gives me a 2-3" clearance issue

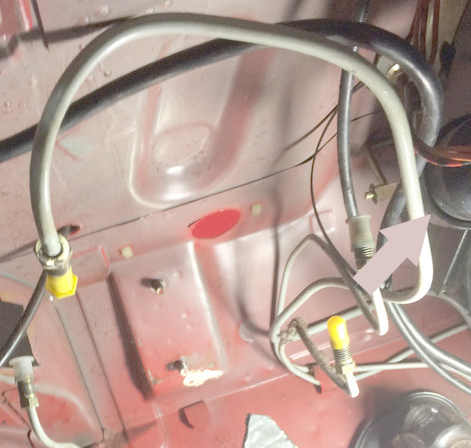
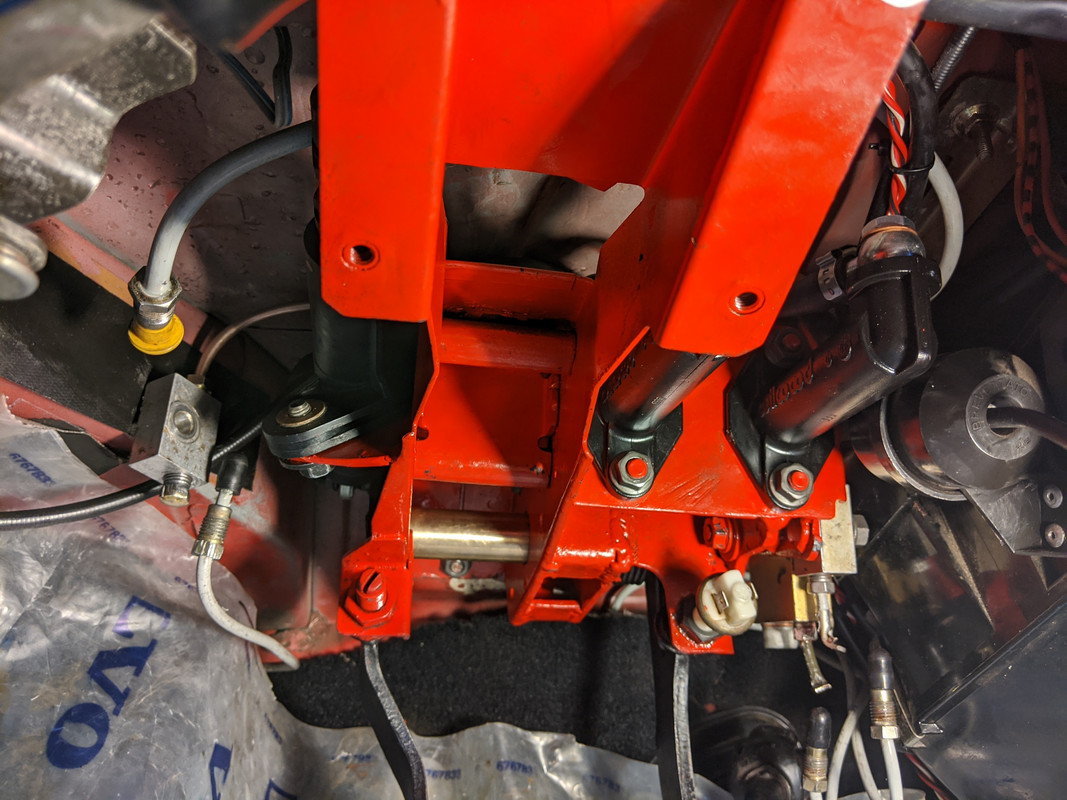
EDIT: Larry's pic:
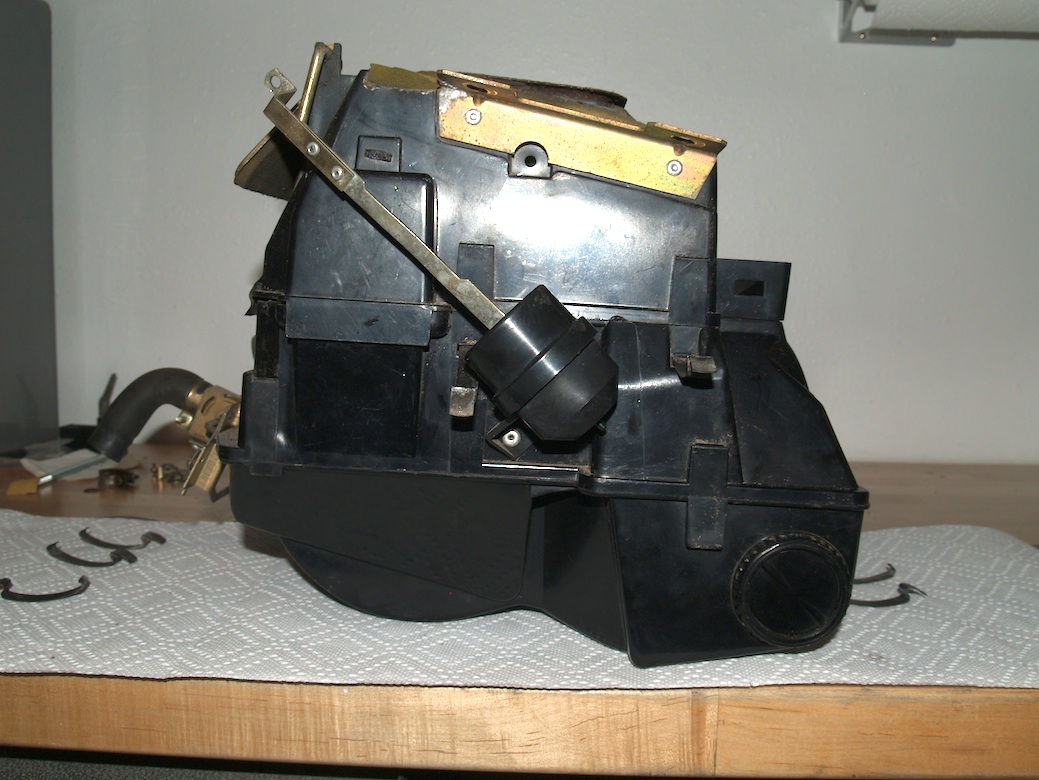
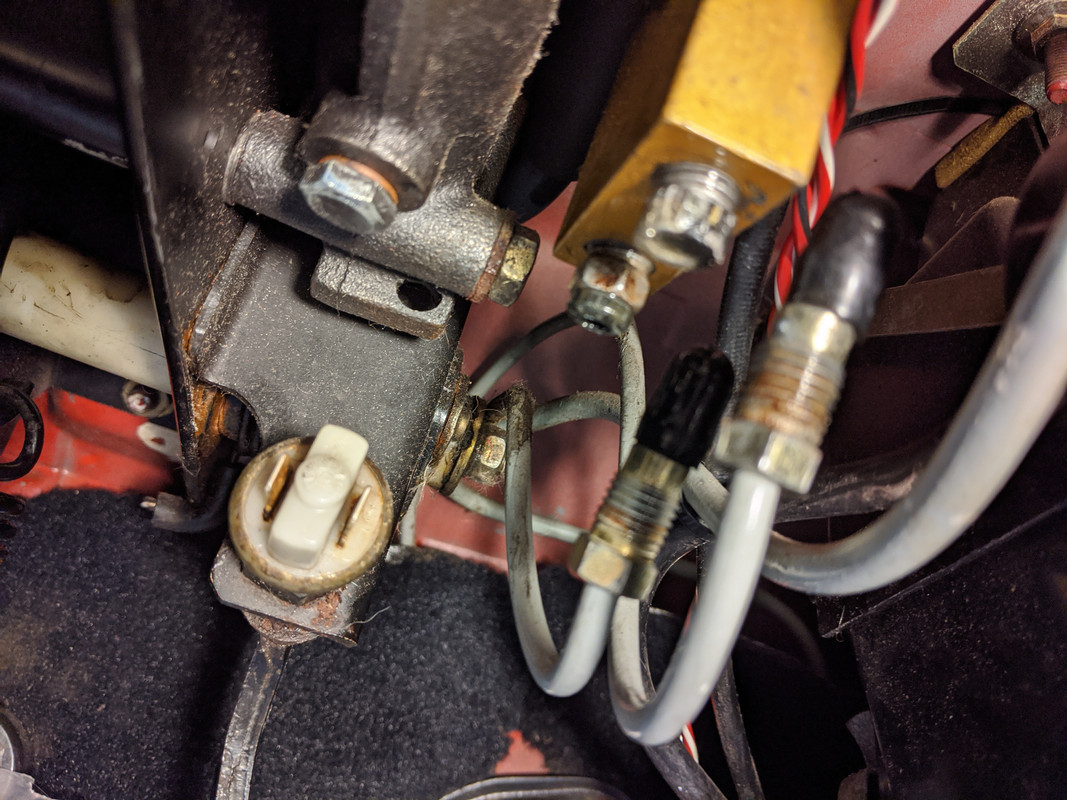
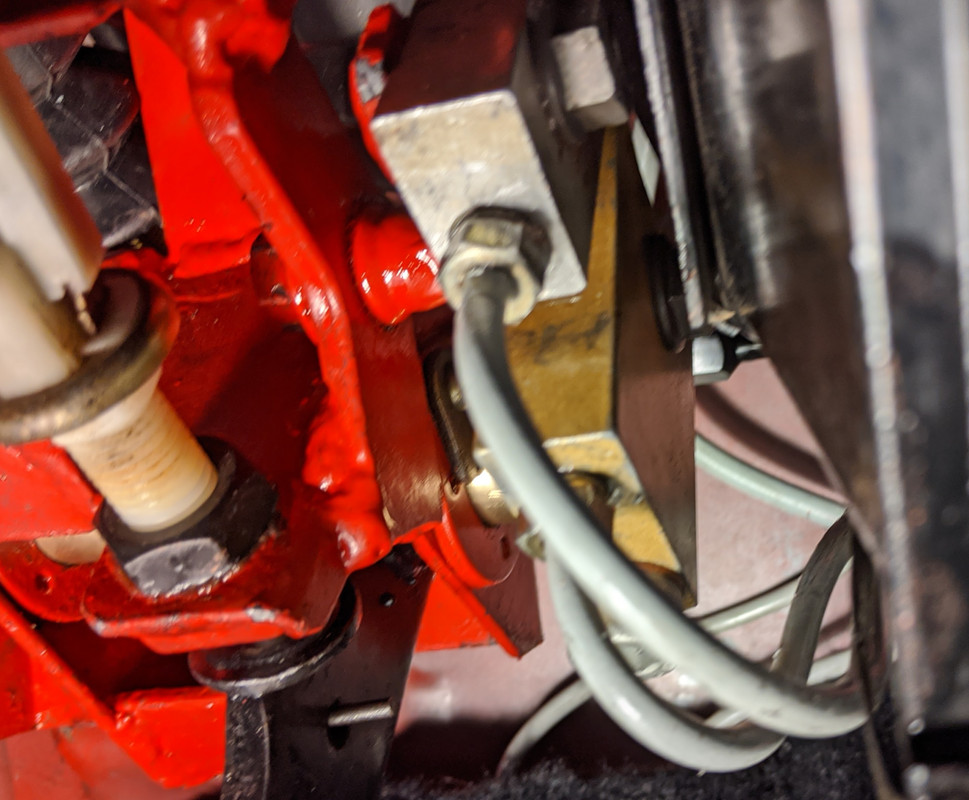
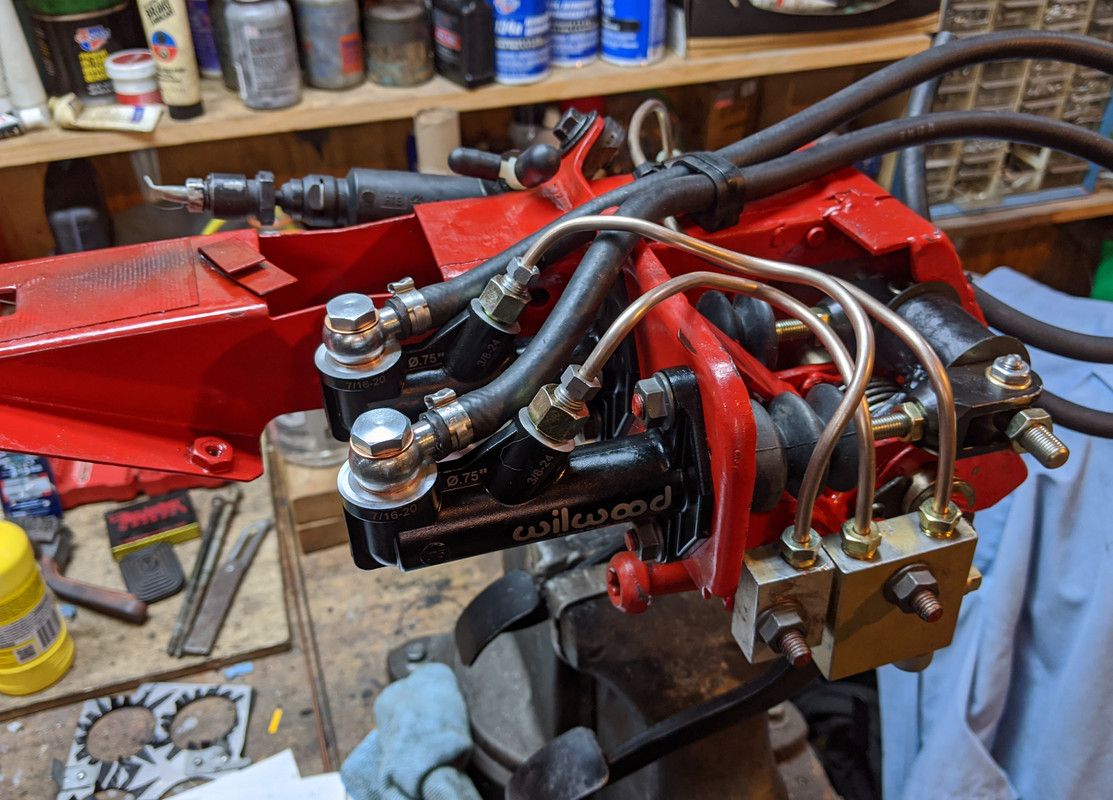
Maybe I can just drill out the rivet & pivot the valve up & rearward...
I'm hoping I can move the brake line junctions I made around to clear it, however I may have to remake the lines and move the junctions elsewhere. Pretty sure the physical pedal bracket offset is not an issue.
Welded the shaft to the clutch pedal, then put the pedal assembly together, set to center on the bias bar.
Remote adjuster cable attaches here:
Getting a smooth arc for the cable may be an issue with the heater casing
Now I have the front brakes in, I figure it's time to move on this. Problem is, I'm pretty sure the whole thing is too wide for the space. I used the photos in the Swedish guy's pic album as my guide - this is the only one of it in place...
What is evident is that it is right up against the heater box, not a problem I was thinking, I made mine so that it pretty much matches the overall width of the bias box he used. The problem is, my AC box has an external diaphragm mounted in exactly that area, which gives me a 2-3" clearance issue
EDIT: Larry's pic:
Maybe I can just drill out the rivet & pivot the valve up & rearward...
I'm hoping I can move the brake line junctions I made around to clear it, however I may have to remake the lines and move the junctions elsewhere. Pretty sure the physical pedal bracket offset is not an issue.
Last edited:
") I like this approach over mounting the masters in the frunk. Nicely done. Are the new shaft and bushing from a machine shop or did you make them? They look really good.
I like this approach over mounting the masters in the frunk. Nicely done. Are the new shaft and bushing from a machine shop or did you make them? They look really good.