Big Thanks to Bob Brown You will want to see this. Lots of Pics

jjay911

True Classic
Ok So the plan was for Bob to come out for a few days to help me swap a wiring harness... Well both of us had this Hectic schedule so It would have to be a weekend... Yes Easter weekend to be exact..:shh:

Note: Please do not ask how much this cost:jedi:Because Bob said he is not for hire:italia:... It was about 30 percent more than first anticipated... Plus There were a few gotchas. Remember We converted a 74 X into an 86 X and were able to get everything to work....:eek:

I must first off tell you that I now know how to re wire a car but with the added note that only if everything is labeled....:italia:

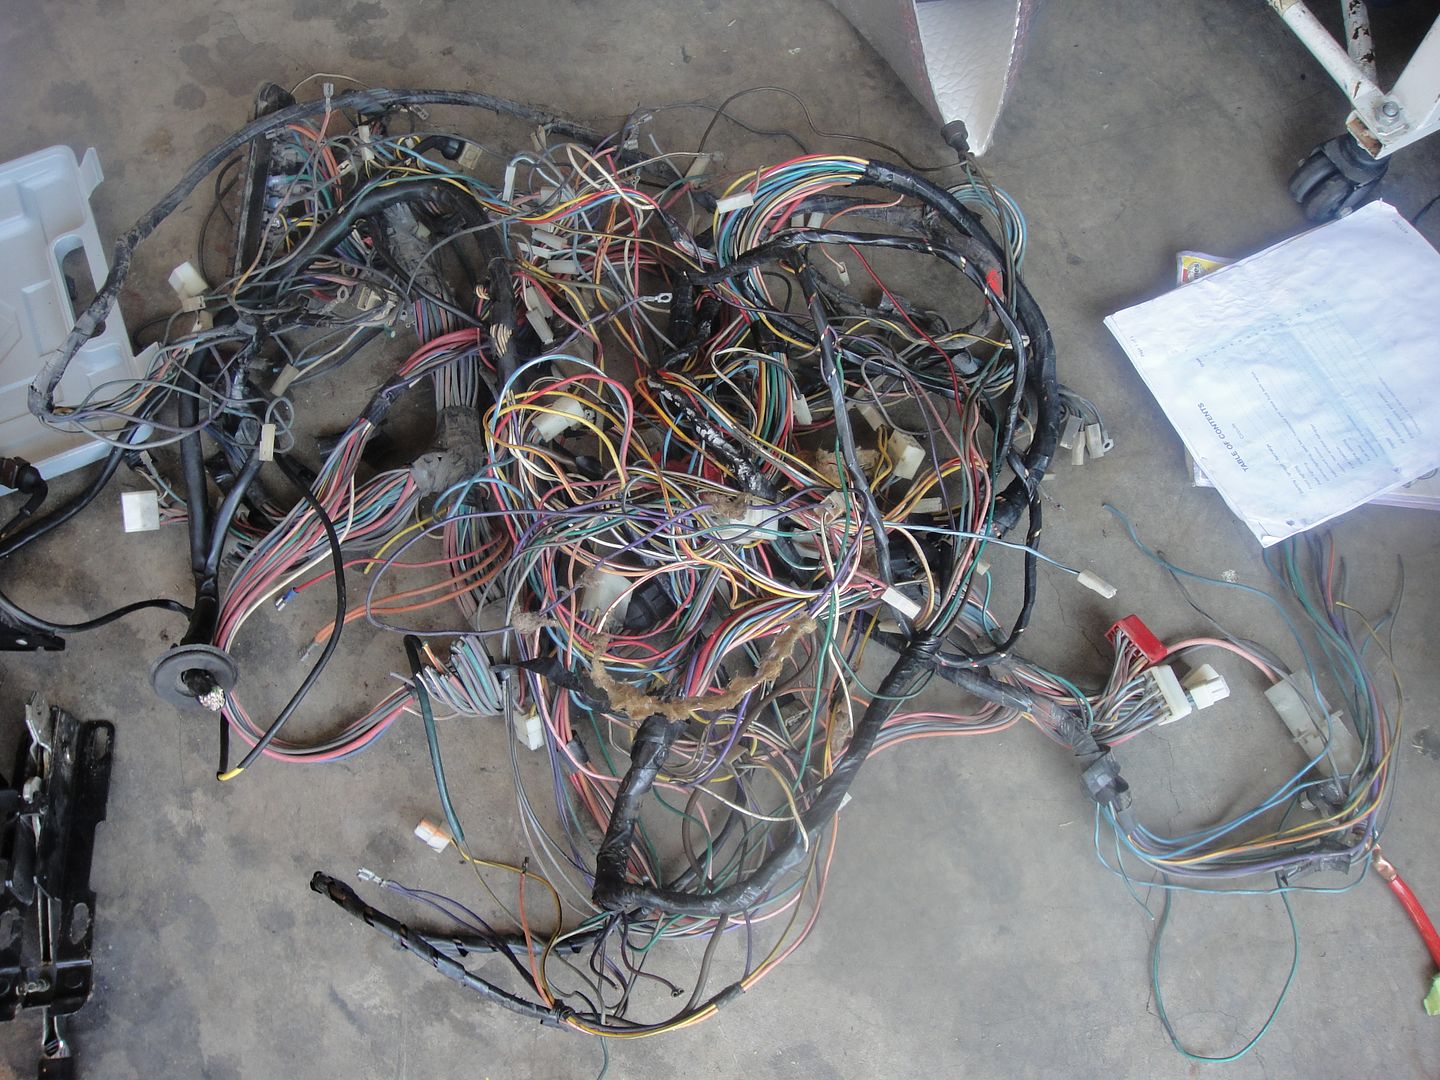
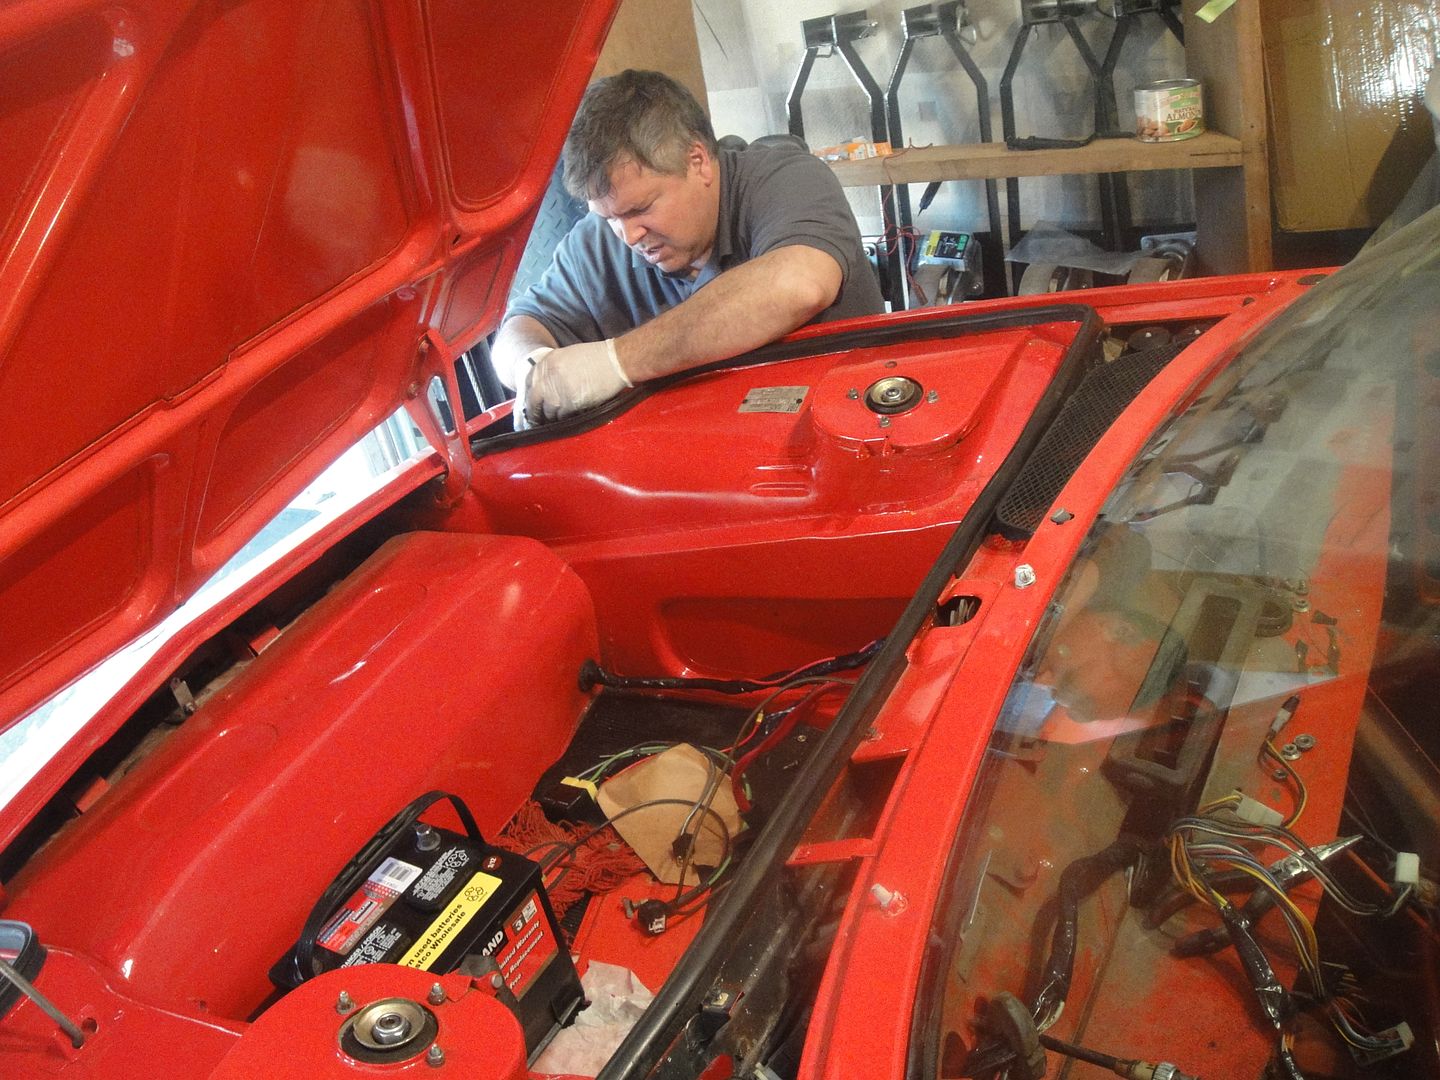
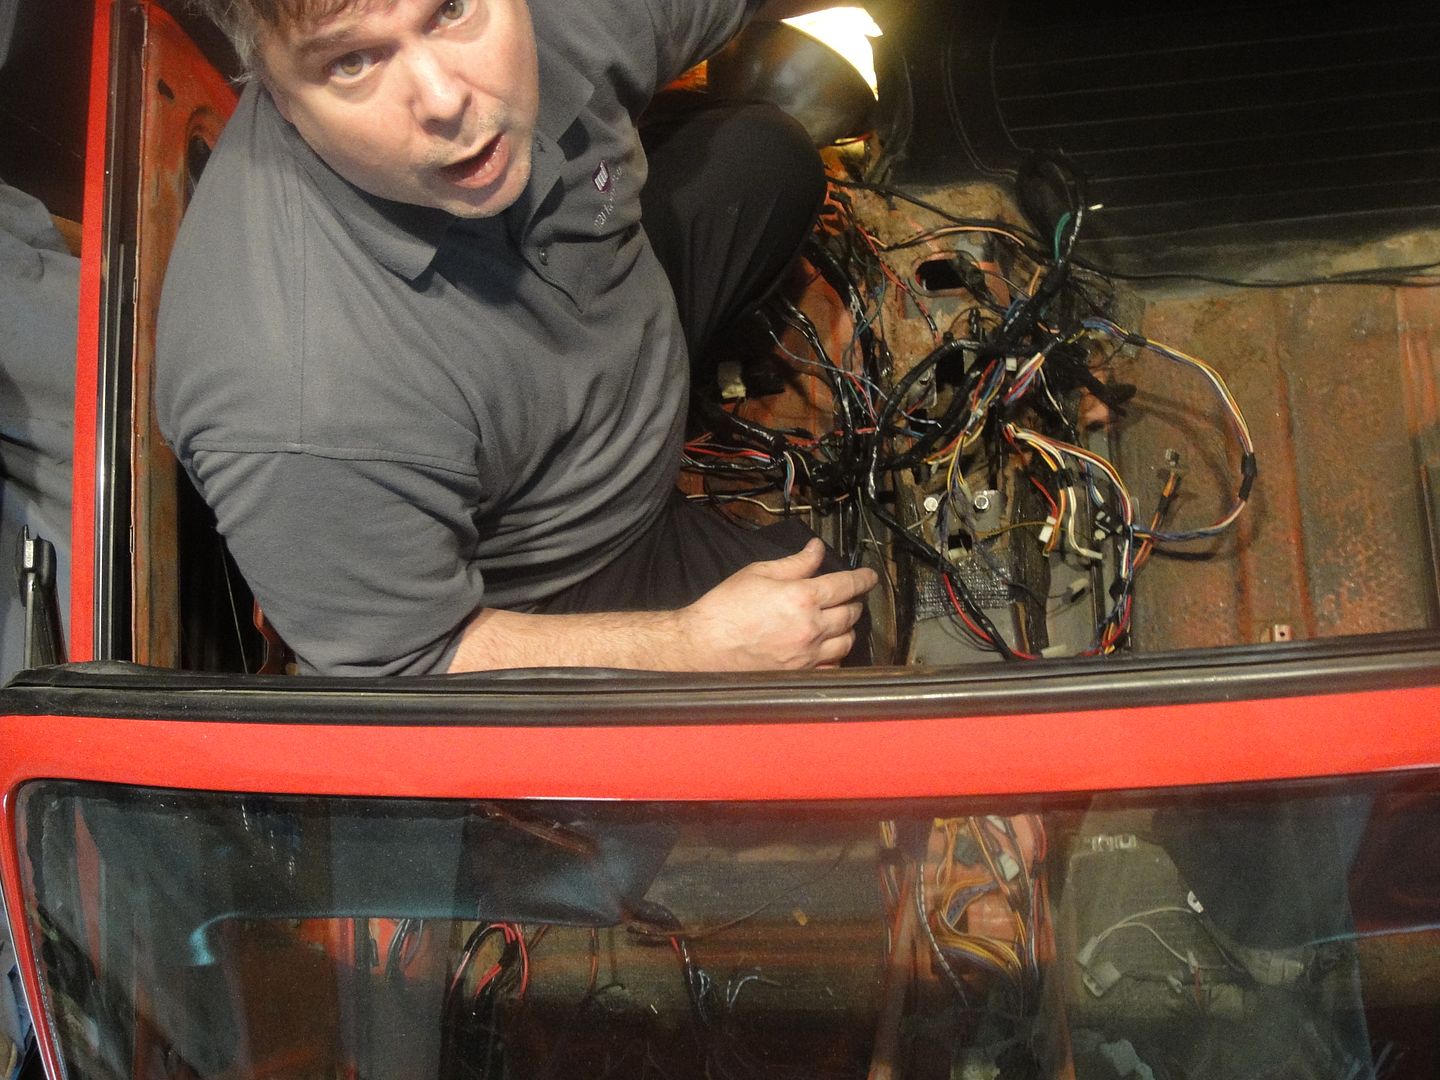
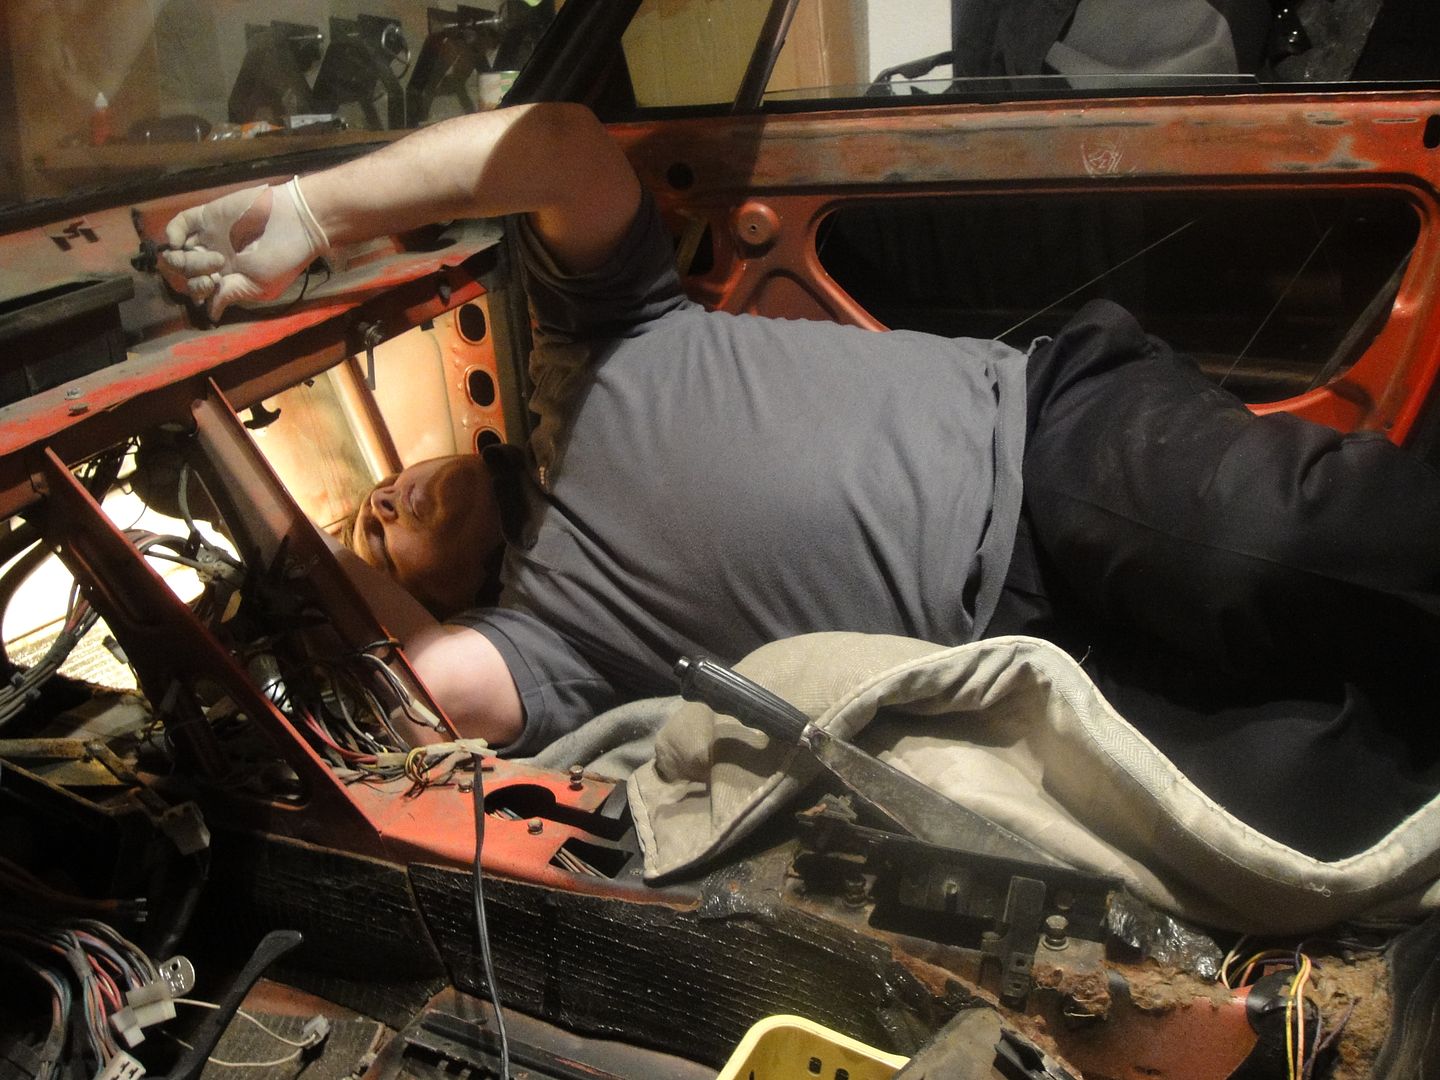
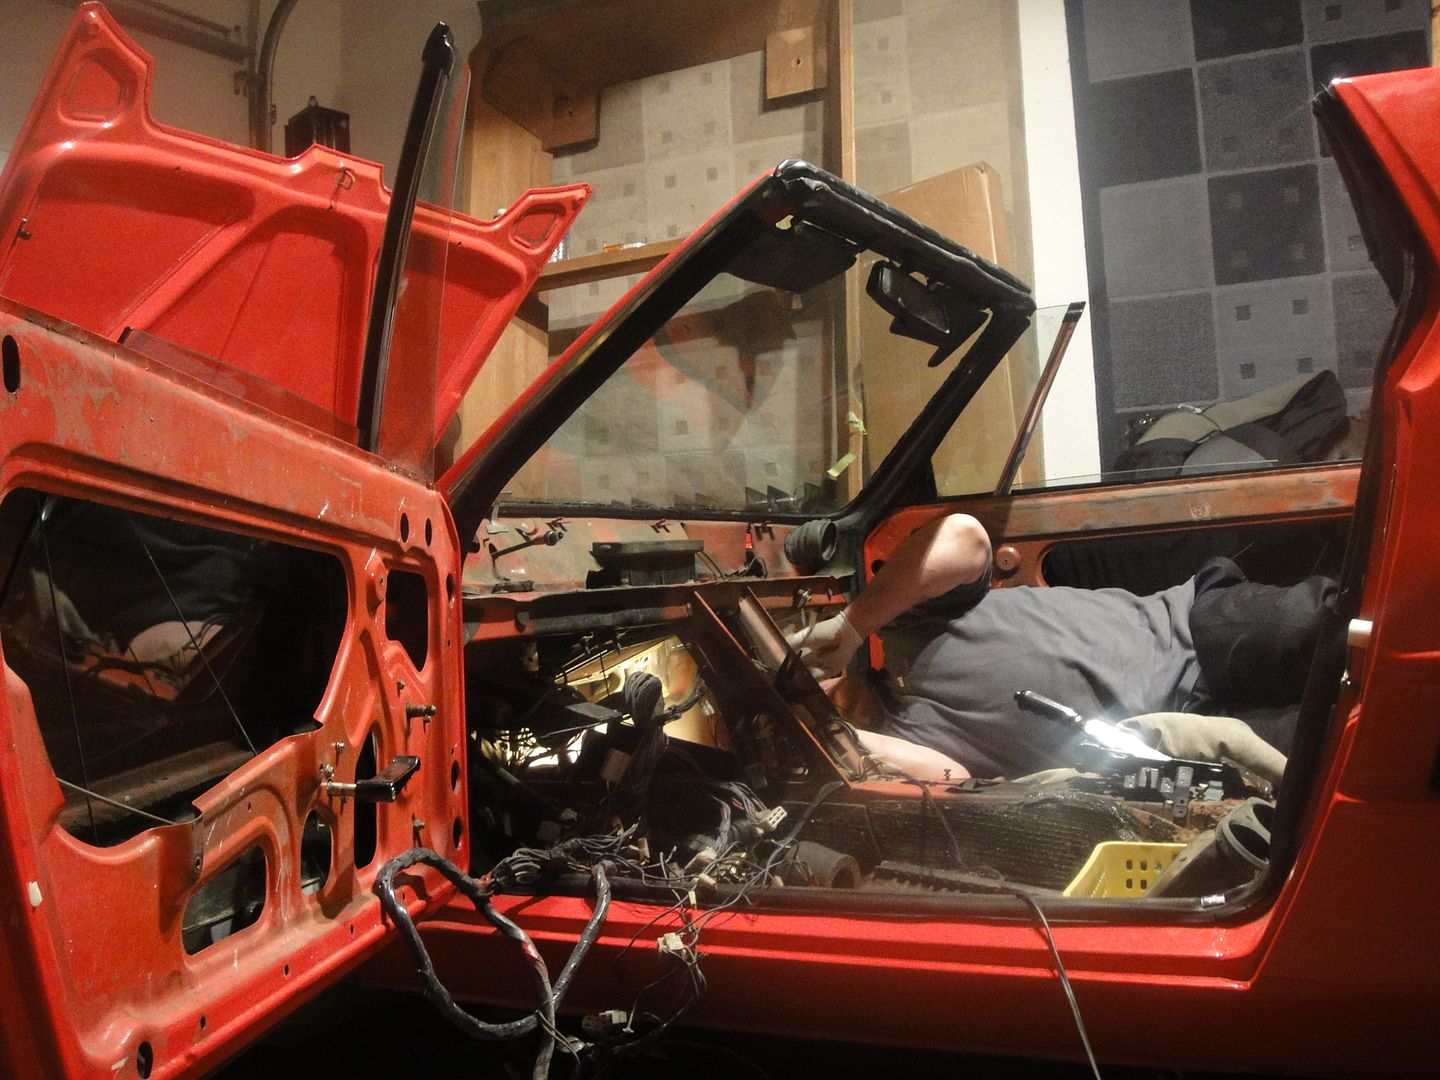
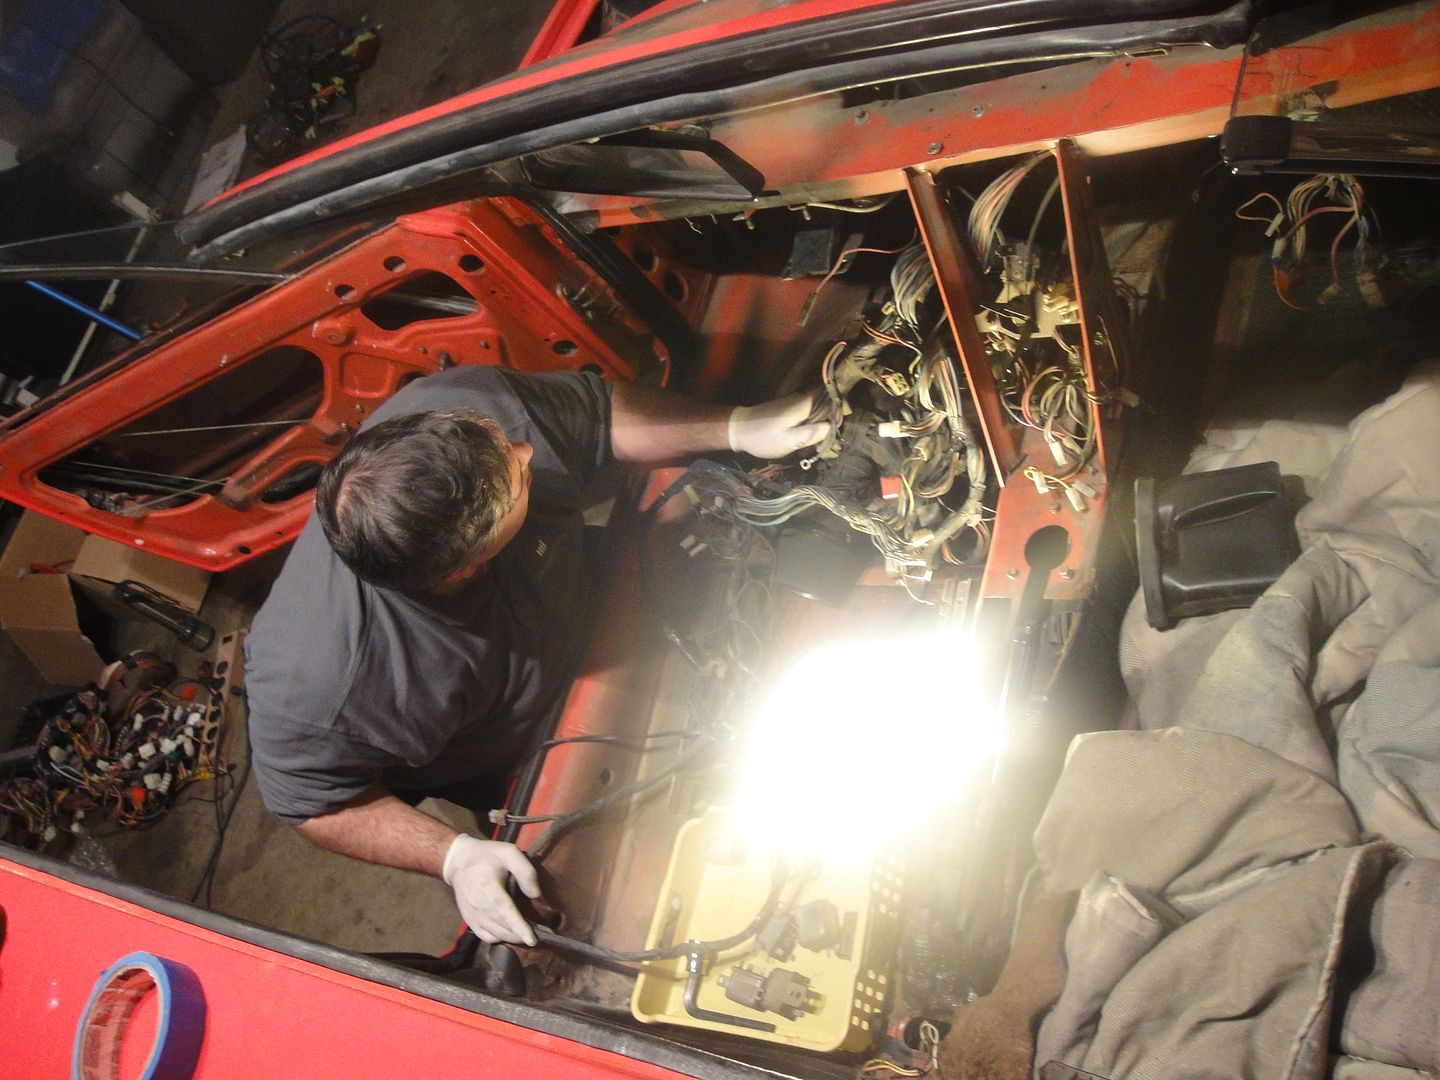
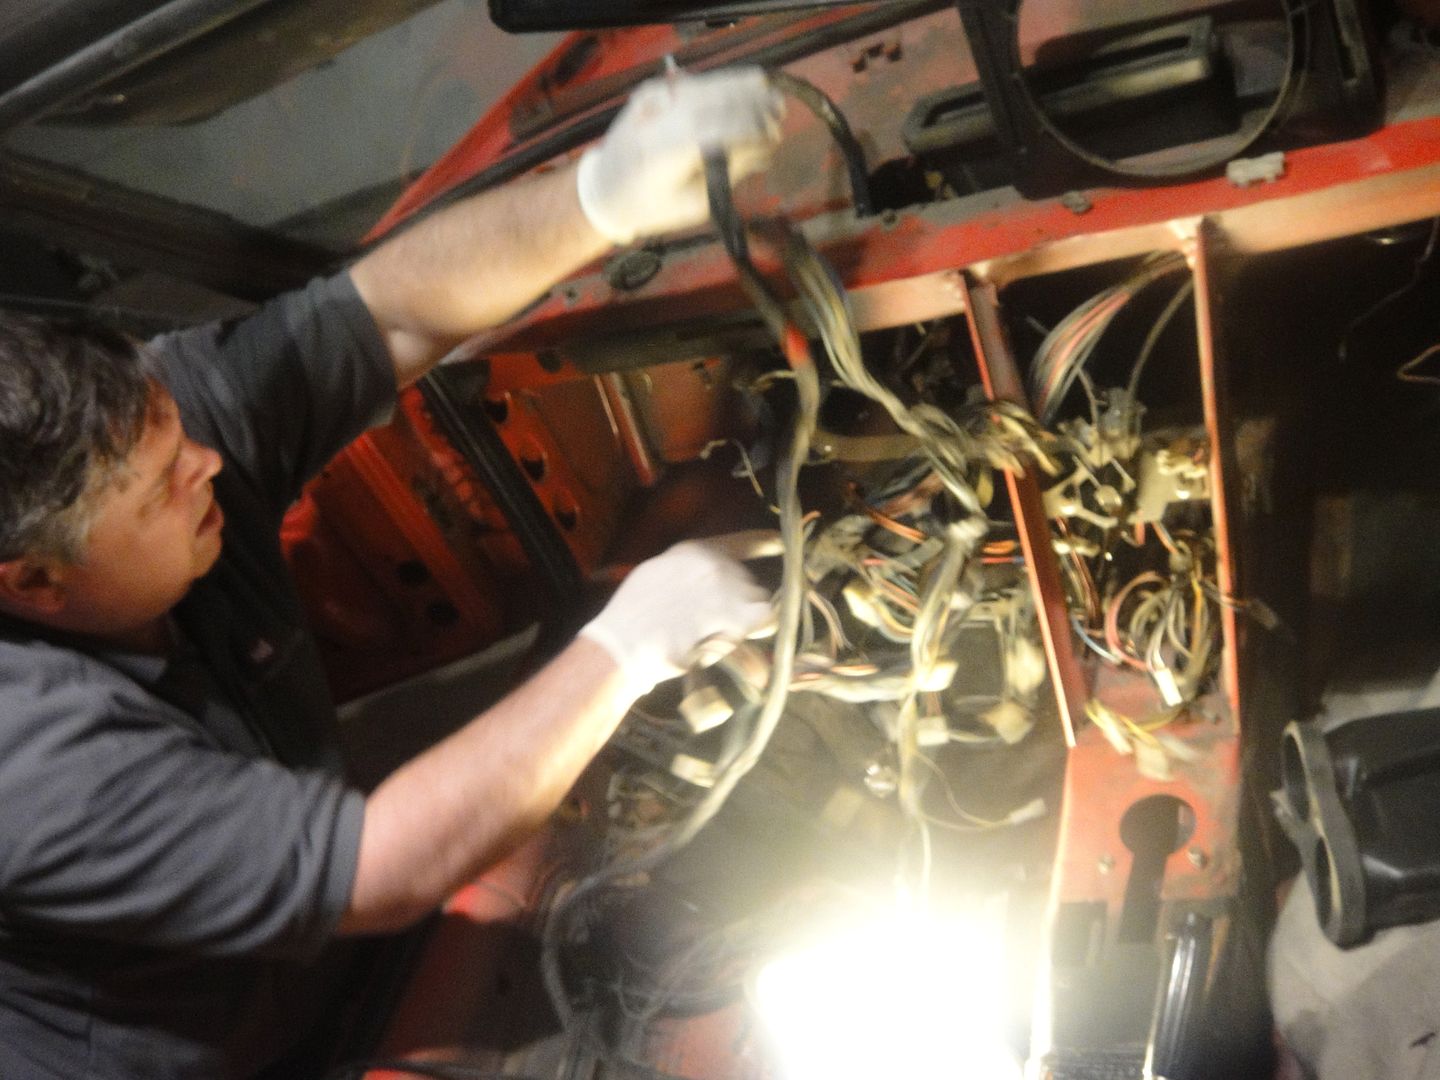
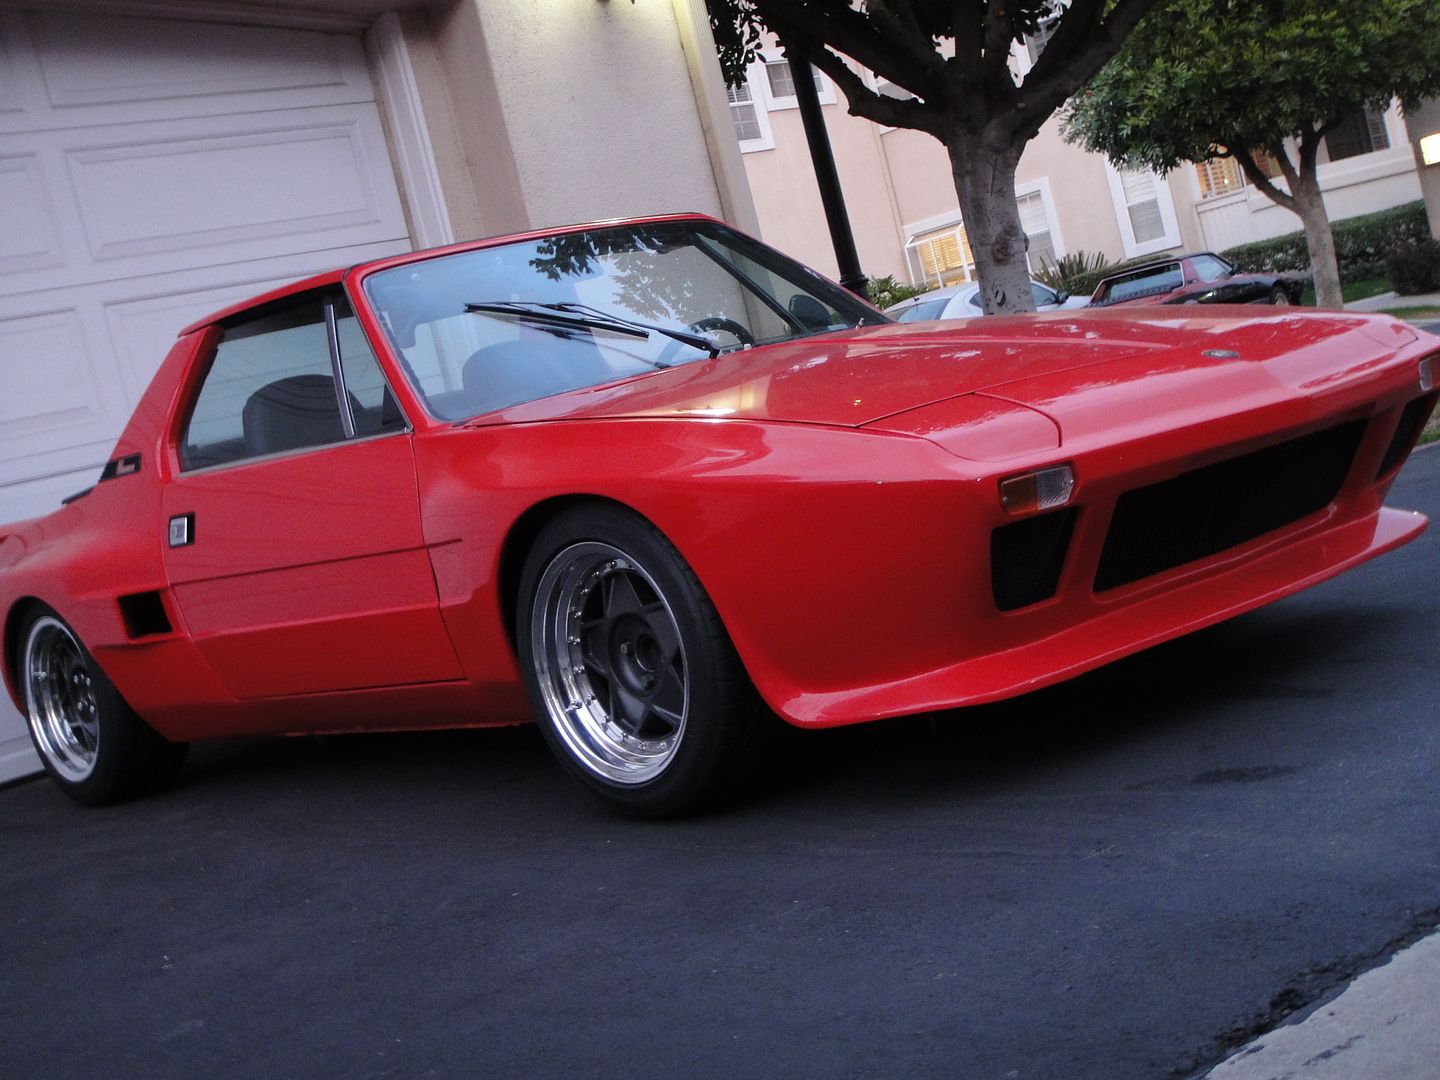
Here are some pics starting out with the spaghetti that came out and some pics of the process. I also took about 9 hours of video but that will be up to Bob to edit and make into something special much later on. After about 40 hours of combined time from Bob preparing the harness to Us striping the old one and installing the new one including his Brown wire mod and Head Light Mod it was done. everything works....

enjoy the pics....

DSC01668.jpg

DSC01661.jpg

DSC01660.jpg

DSC01659.jpg

DSC01657.jpg

DSC01656.jpg

DSC01652.jpg

DSC01649.jpg

DSC01646.jpg

DSC01623.jpg

DSC01618.jpg

DSC01615.jpg

DSC01610.jpg

DSC00416.jpg
 
Bob

Bob...a little of your Brown magic please. Your trip would include a stay in a lovely ocean/intercoastal condo!!!

Just putting it out there....
 
This looks great but I have a question. I see in the pictures that the brown wire is being soldered onto the positive battery cable. But why use the old cruddy battery clamp (terminal)? Why not just cut the cables and install a new terminal with the added wire included? I was thinking on using one like this:

battteryterminal.jpg


Also, has anyone gone to a more modern side terminal type battery and done away with the battery cover?
 
Last edited:
Ron, you do have a point there, BUT...

NEVER... and I must repeat, NEVER say the word "CUT" in front of Bob Brown...
 
Battery terminal

Wow, what a huge job. Nicely done Mr. Brown!

I'm not sure if this was part of Ron's point about the 'brown wire mod' with the old cable/terminal, but I have a related question.
I see that Bob soldered the wire directly to the terminal. Assuming that terminal is made of lead, is a certain type of solder required to be compatible with it? I know there are different types of solder for different applications. And I know that 'welding' two different metals sometimes requires different processes. So does soldering a copper wire to a lead terminal require something special to yield a lasting connection? Almost seems like the gun would not get that big lug of lead hot enough to 'melt' the solder onto it. But you did it.
Just wondering, as I've never tried soldering anything other than two wires together (and not always successfully :sad:).
Thanks.
 
Rudy made his usual appearance...:whistle::clap::eek:

[ame="http://www.youtube.com/watch?v=uFteIxqGP3g"]Garage Cam - YouTube[/ame]
 
Hey Bob

If you want to spend some fun time in the Mountains of TN, let me know. ;-)

What all did you do to Jay's car?
 
Awful

These terminals a terrible. The wire corrodes under the clamp after a while. I've bought many used cars over the years with these clamps, eventually every one of them had starting problems because of the corrosion.

The best "repair connector" I've used was basically a short (4"?) battery cable with a butt connector you screwed the original wire into. Then, a plastic cover went over the butt connector. That was reliable, probably because the connection was kept far enough away from the battery acid fumes.

This looks great but I have a question. I see in the pictures that the brown wire is being soldered onto the positive battery cable. But why use the old cruddy battery clamp (terminal)? Why not just cut the cables and install a new terminal with the added wire included? I was thinking on using one like this:

battteryterminal.jpg


Also, has anyone gone to a more modern side terminal type battery and done away with the battery cover?
 
OMG!!

JJ - I didn't realize you took that many photos. I thought it was all in the web cam.

That video shows my initial contact of the battery lead after we just got to the stage of prep'ing the car to start (crank actually) for the first time. I was testing to ensure zero current was being drawn from the battery.

Regarding the BBWM I was soldering to the battery lead, I pre-cut a groove in the top of the pos. battery lead that would accomodate a 10Ga wire. I tinned the wire and asked JJ to pre-heat the terminal with a small torch. we got the terminal hot, but not too hot as to melt it. Then I used a soldering gun (not the type I like, but it worked OK) to flow 60/40 solder into the pre-cut groove with the tinned 10Ga wire sitting inside. Made a neat job and very secure like the connections molded into the battery terminal. FYI - That battery lead looked like factory new when we started. (and finished!) That's why we stuck with it. The original battery lead (and wire to the starter) was removed from the car and replaces with the one shown.

This was a COMPLETE harness change from on old 1974 electrical harness to a late model (ATC style) fuse block. This was a "head to toe" replacement, so all wires for the AC, power window, Fuel injection, electric fuel pump, door card wires (etc!) were installed too. AC stuff is unused, but if 2RE decides to install them later on, he can.
Out with the old car wiring harness, in with the new. That's what we did.

I will not be doing this again anytime soon. :mallet: We did this job like we were running a marathon, as I had only 2 days to do it in.

The good part: EVERYTHING worked out of the gate. There were no issues with anything. No alterations, no issues anywhere. This harness was installed as if it were a late model X with NO CUT CONNECTIONS ANYWHERE to accommodate the install. I did however spend 2 days prior to visiting JJ to repair the harness to original condition, and this did require wires to be spliced together professionally. (I solder and use double-heat shrink)

The sad part: (for me) I could not test a running engine because it wasn't ready for test, but I did verify a working fuel system and working ignition system, so JJ should be able to complete the assembly and get her crankin'. (Hey JJ, remind me to send you the Allison Auto Ignition setup instructions)

Rudy and wife showed up just in time for the initial test. (as you can see by the video in the thread above)

Outside of all, JJ's wife Mary was an incredible host and their daughter is as cute as a button. It was a great trip all around.

But I must say again that I'll not be doing this again any time soon...:pimp:
 
Last edited:
Bob,

A West Coast tour is in order. You could start down near JJ, stop by Santa Cruz and visit Chris O, stop by Stephen in HMB and put his LED light cluster in, make a visit at my pad (while I have it) party down and do some much needed electrical work, shoot up and see Mark in Shingle Springs, then make your way up to your many pals in OR and WA.

I would make it worth your while and even take you to Thunderhill Raceway for some free track time in my X or your choice of our Miata racers...

:)
 
Yes, I have seen those before. That should work good too.

These terminals a terrible. The wire corrodes under the clamp after a while. I've bought many used cars over the years with these clamps, eventually every one of them had starting problems because of the corrosion.

The best "repair connector" I've used was basically a short (4"?) battery cable with a butt connector you screwed the original wire into. Then, a plastic cover went over the butt connector. That was reliable, probably because the connection was kept far enough away from the battery acid fumes.
 
This was a COMPLETE harness change from on old 1974 electrical harness to a late model (ATC style) fuse block. This was a "head to toe" replacement, so all the AC, power window, Fuel injection, electric fuel pump, door card wires (etc!) were installed too. AC stuff is unused, but if 2RE decides to install them later on, he can.
Out with the old car wiring harness, in with the new. That's what we did.

The good part: EVERYTHING worked out of the gate. There were no issues with anything. No alterations, no issues anywhere. This harness was installed as if it were a late model X with NO CUT CONNECTIONS ANYWHERE to accommodate the install. I did however spend 2 days prior to visiting JJ to repair the harness to original condition, and this did require wires to be spliced together professionally. (I solder and use double-heat shrink) :pimp:

Bob.. I'm so happy that you did this job :worship:
I'm sure the value of the Dallara is even greater now with this to show for :clap:

Bob & Jeff to you both :grouphug:

Can't wait to see it when ALL is back toghether again and on the ship.
PS. Don't forget the HRE caps JJ.
 
I was at my local auto parts store a few weeks ago and saw a battery terminal with several large guage cables built into it (if I remember correctly, there were some with two or three cables). Each cable had a connector in the end to receive a cable/wire from the vehicle. Looked like a pretty good option.

I don't see any like this online, so I'll take a photo next time I'm there...

These terminals a terrible. The wire corrodes under the clamp after a while. I've bought many used cars over the years with these clamps, eventually every one of them had starting problems because of the corrosion.

The best "repair connector" I've used was basically a short (4"?) battery cable with a butt connector you screwed the original wire into. Then, a plastic cover went over the butt connector. That was reliable, probably because the connection was kept far enough away from the battery acid fumes.
 
Steve is correct

Those "open clamp" style battery connectors usually work for a short time, mainly because of oxidation of the copper underneath the clamp.

The best type replacements create an "oxygen seal" of sorts to prevent oxidation from occurring.

An example of a good battery connector is HERE:
But the price reflects what you get. (usually)
 
Ya a lot of the video is pretty funny. The camera was on a loop so it only caught Saturdays work. About 9 hours or approximately 780 one minute videos... Including about a half hour of nothing during lunch. I am actually wearing a black shirt and the car is Red not Pink. It gets distorted in the low light of night.....:)
 
Hadn't thought about using one of those; you make a good point there. Just have to make sure all the wires will fit in the opening.

Those "open clamp" style battery connectors usually work for a short time, mainly because of oxidation of the copper underneath the clamp.

The best type replacements create an "oxygen seal" of sorts to prevent oxidation from occurring.

An example of a good battery connector is HERE:
But the price reflects what you get. (usually)
 
Battery terminal

Bob, thanks for the additional details on how you soldered the brown wire to the terminal.

Geekdaddy, I know exactly what you are talking about. I was thinking the same thing when I read this thread. The ones I'm referring to are a complete cable / terminal replacement, so you get a new cable with the extra wires already attached at the terminal. I've seen those available with one, two, or three extra wires coming off the terminal in addition to the main cable. The extras are about 10 gauge, but vary (when more than one, sometimes the others are smaller). To my knowledge these cables are replacements for lots of American vehicles that come with this set-up. The extra wires have splice connectors on their ends, which can be soldered or crimped to your wires (i.e. the brown wire mod, etc). This would give you a high quality terminal, with factory secured extra wires, and a heavy duty cable.

Another option to add extra wires to the battery terminal comes from the custom stereo world. They offer replacement terminals designed to add additional large-gauge wires to power amps, etc. Usually they are gold plated and some have a high capacity fuse for the positive side's extra lead.
 
Back
Top