lookforjoe
True Classic
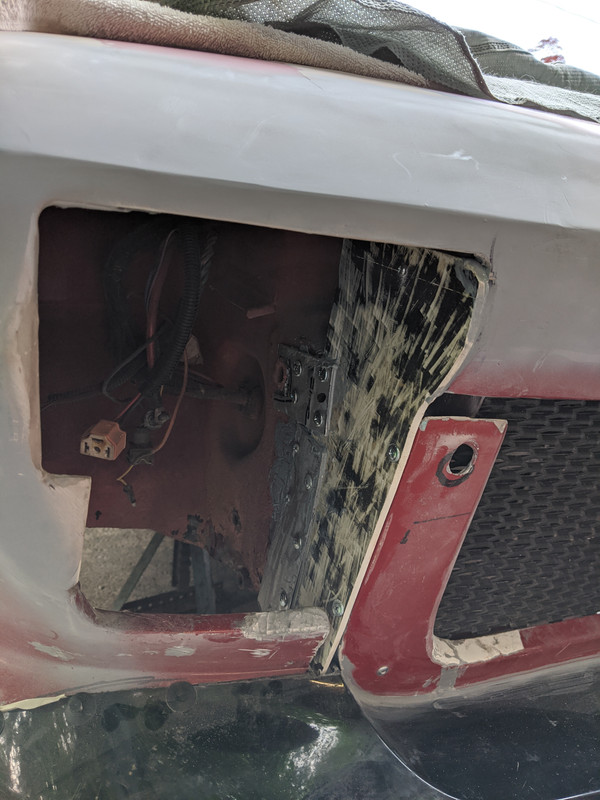
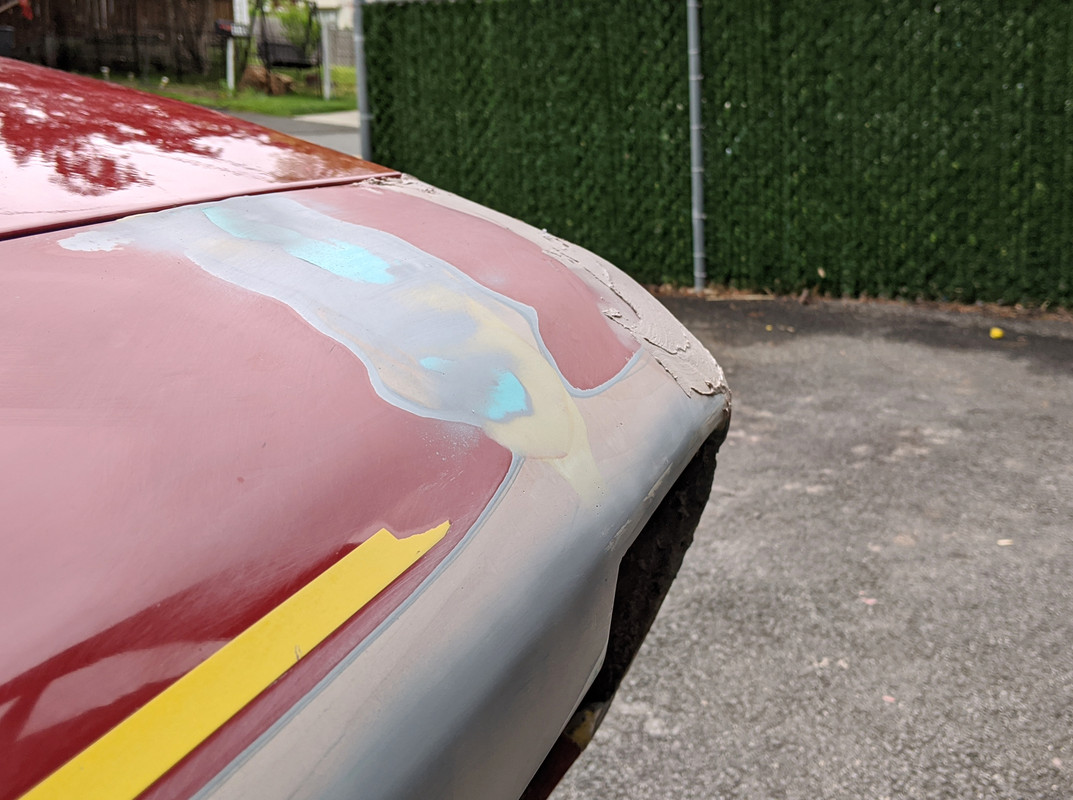
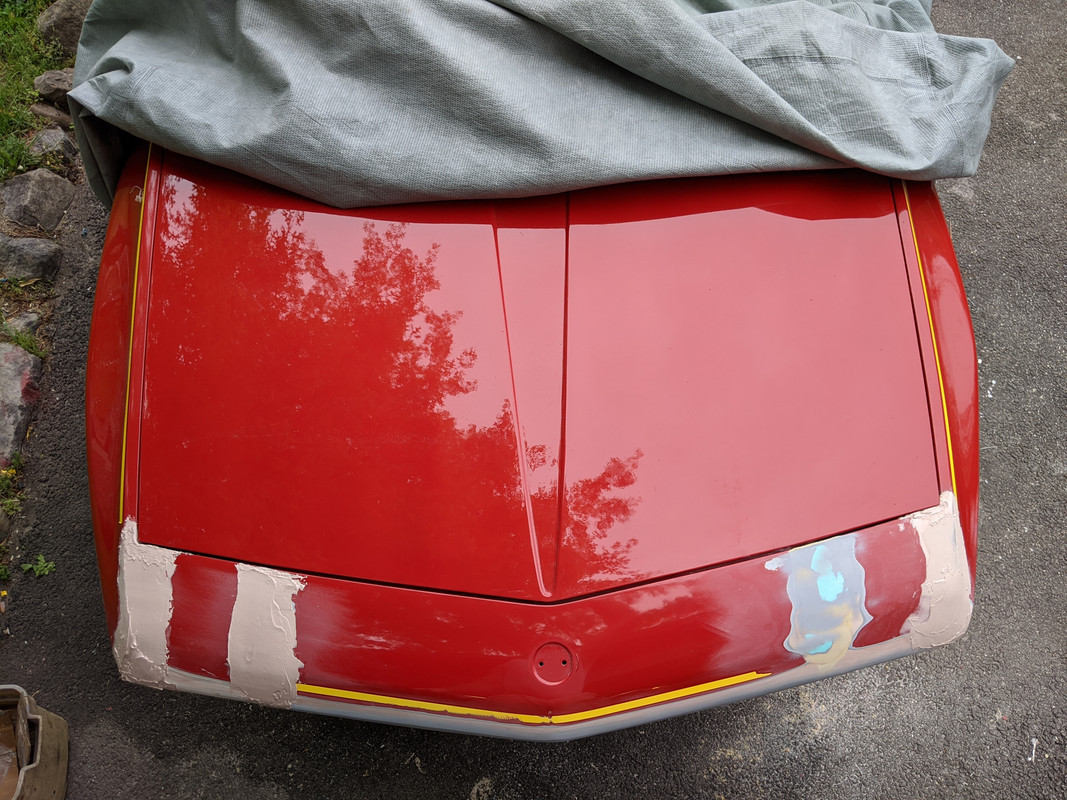
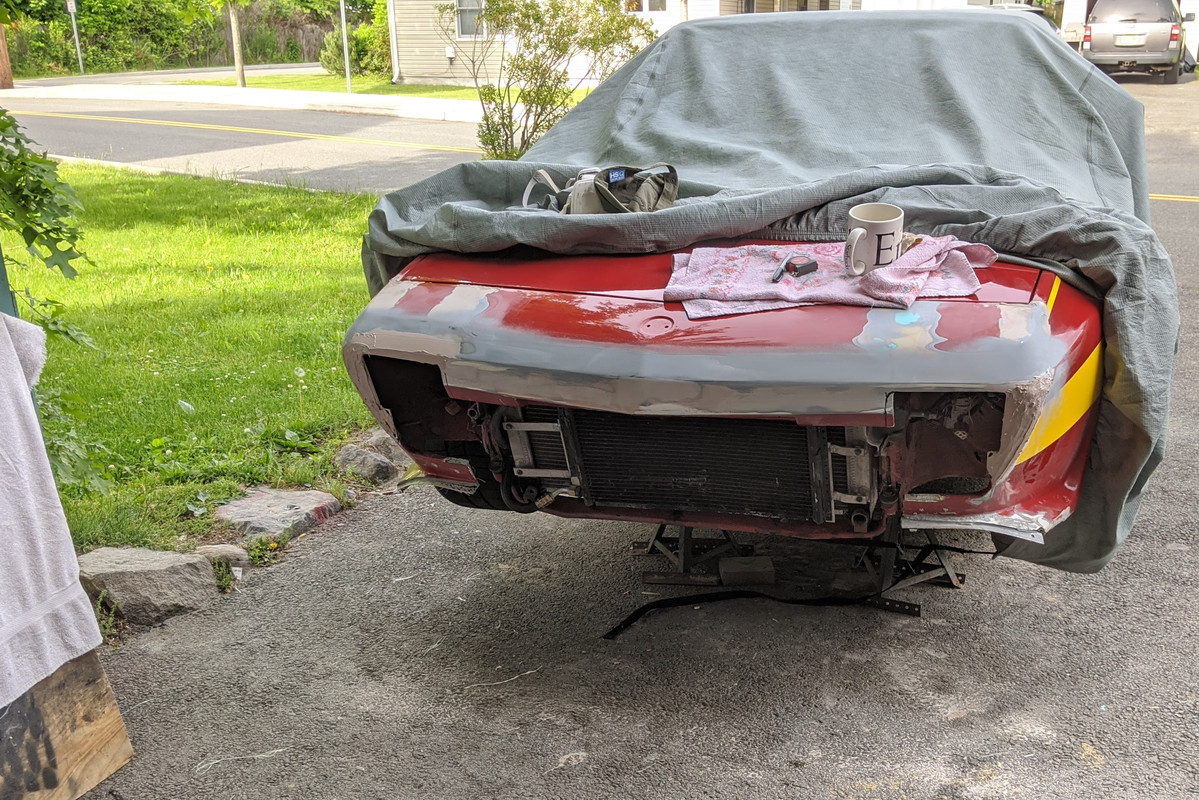
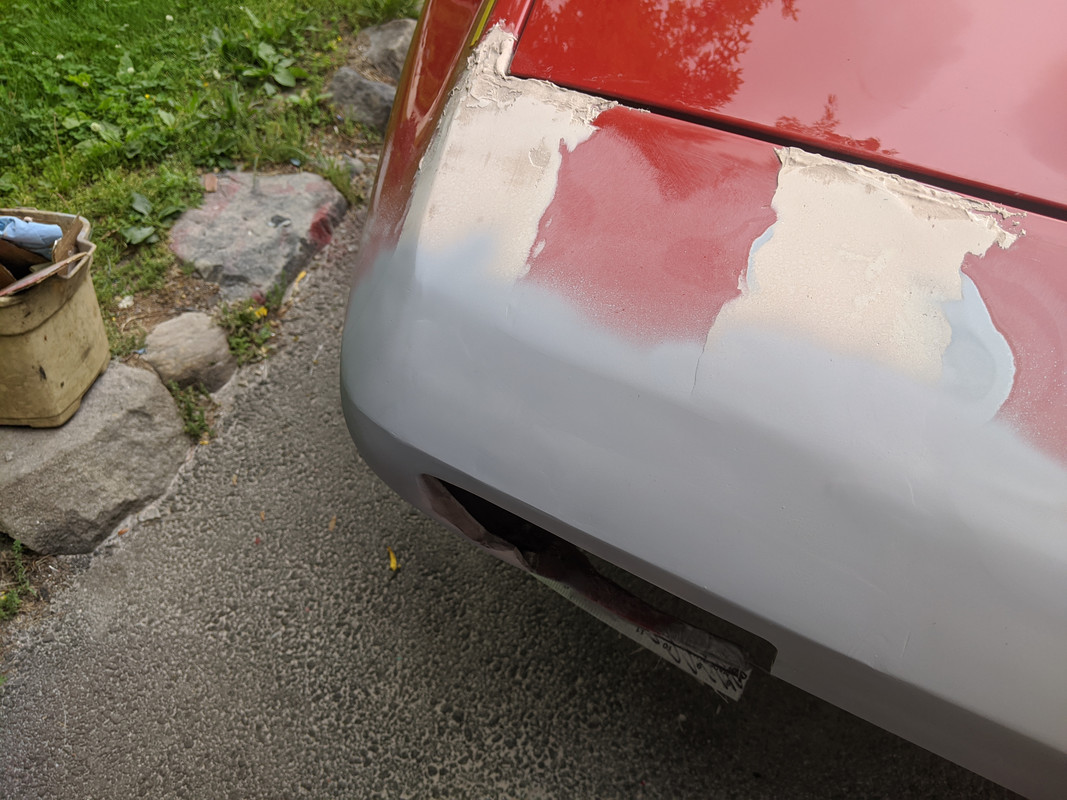
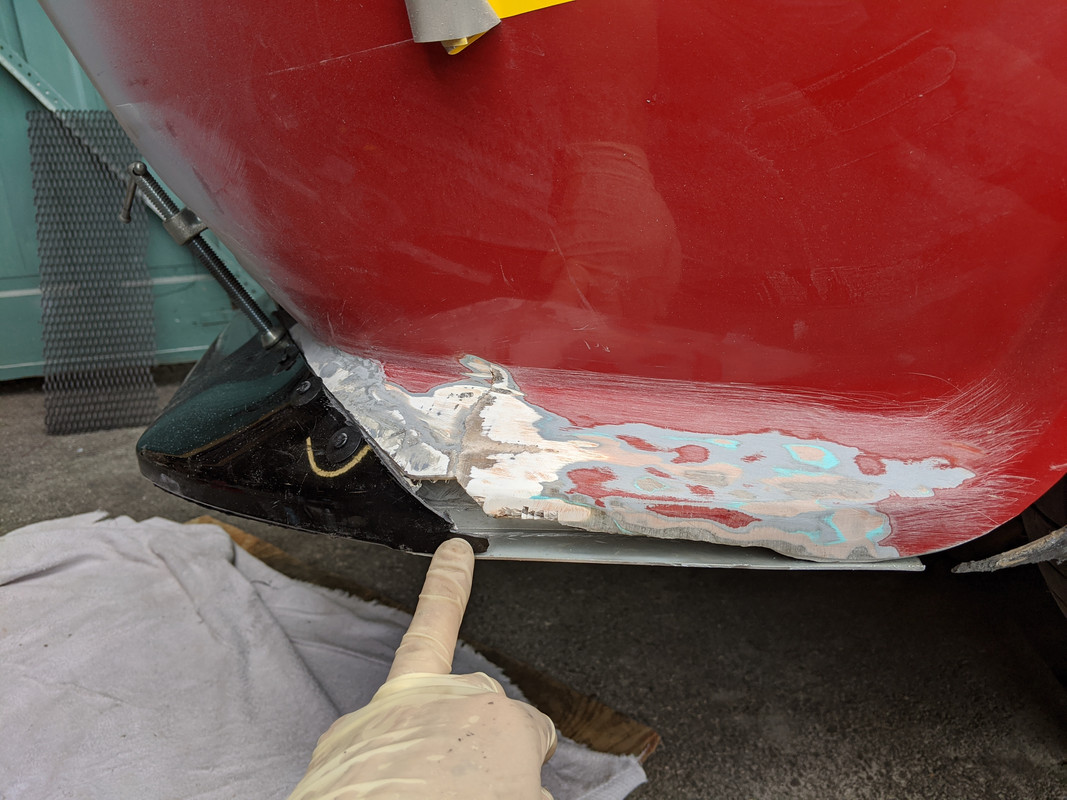
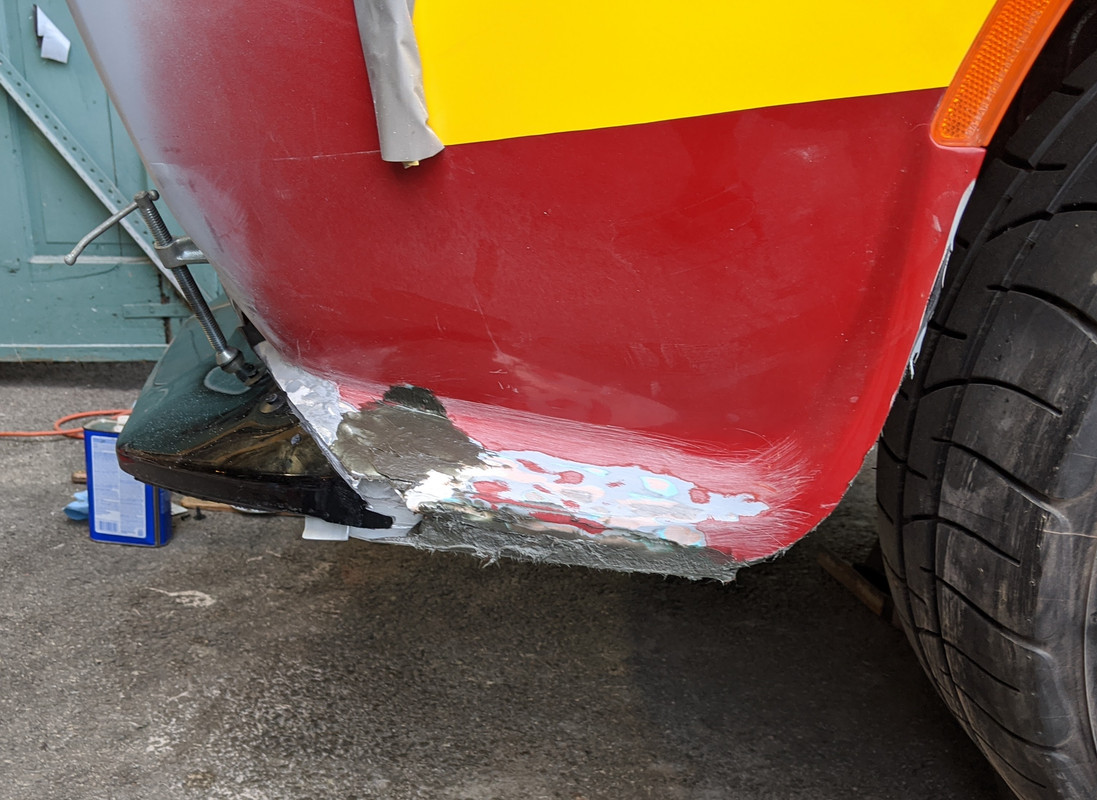
Got some filler on the exposed metal before the rains came in
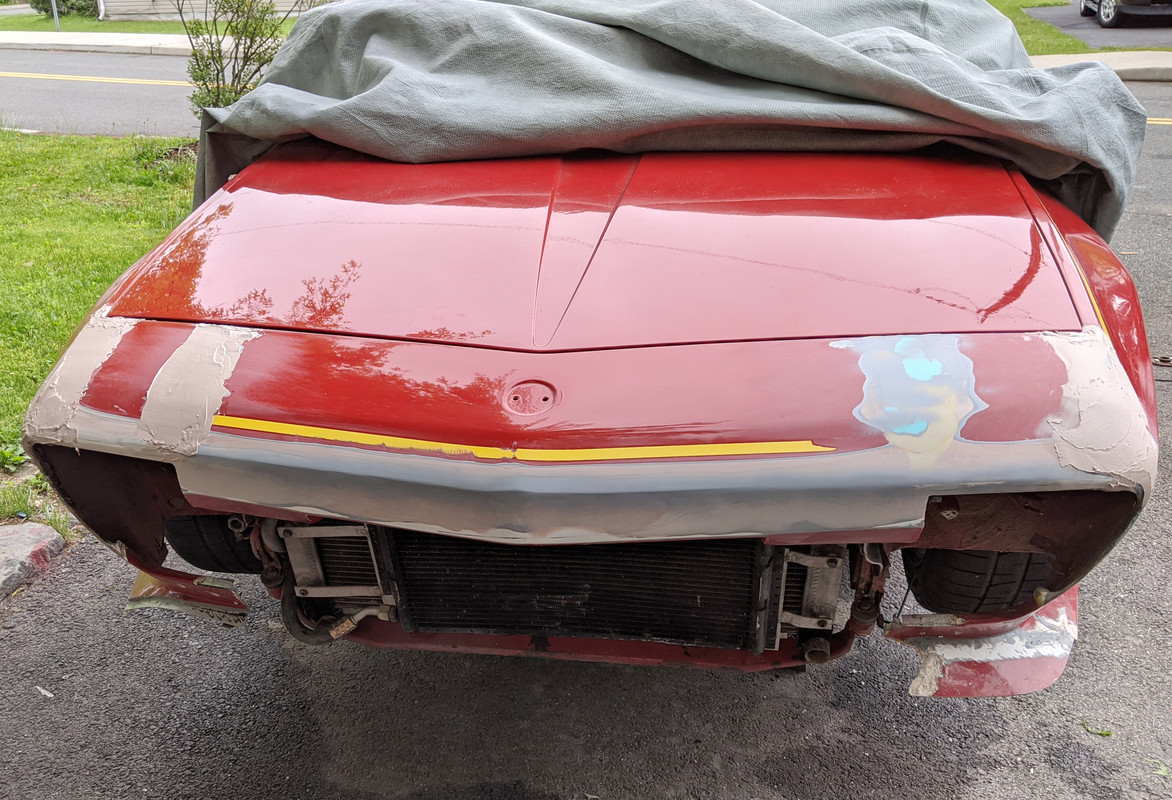
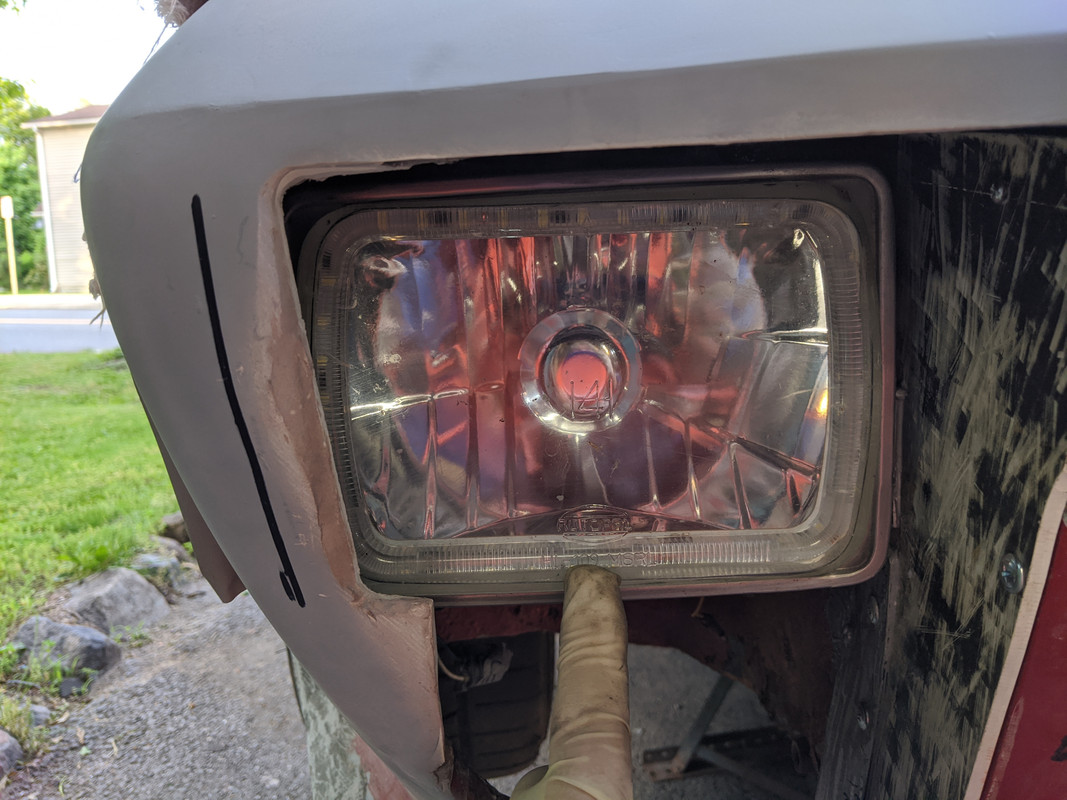
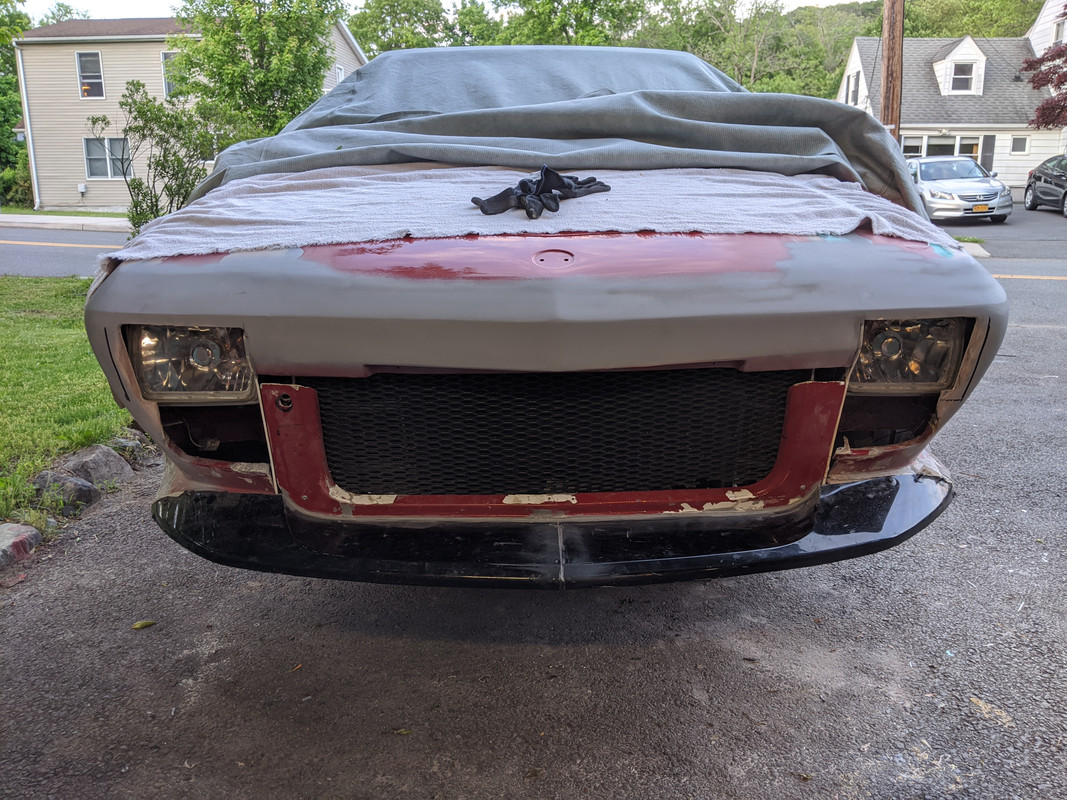
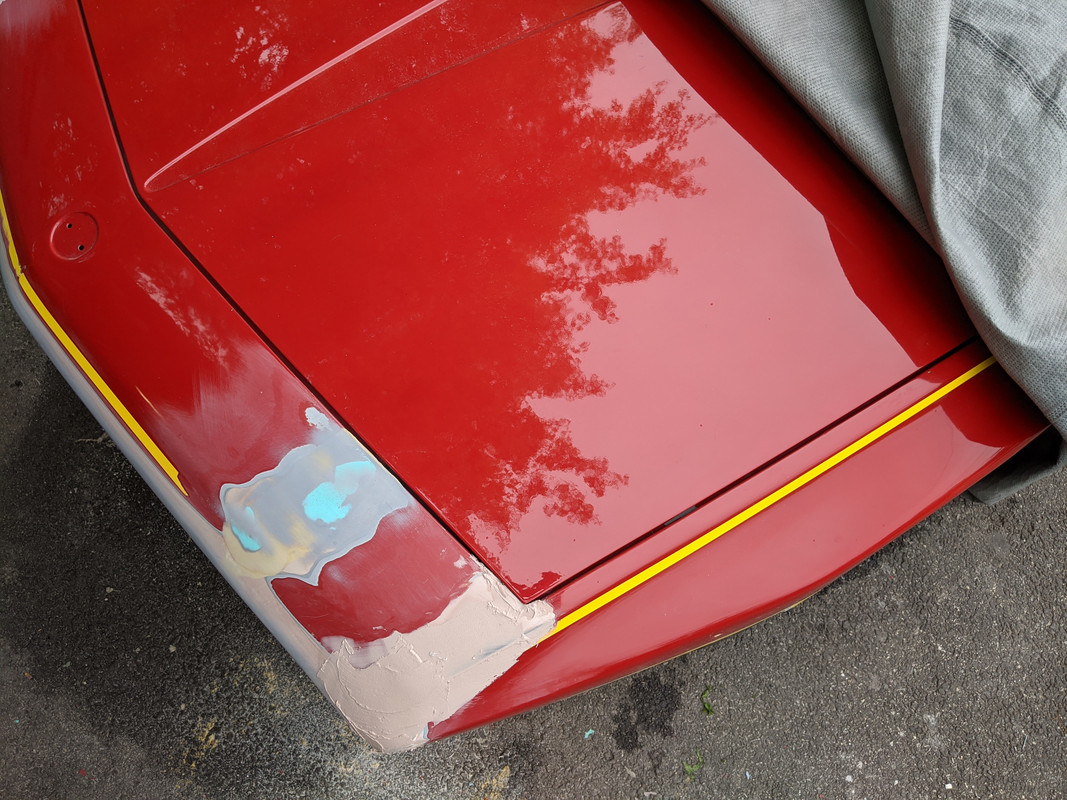
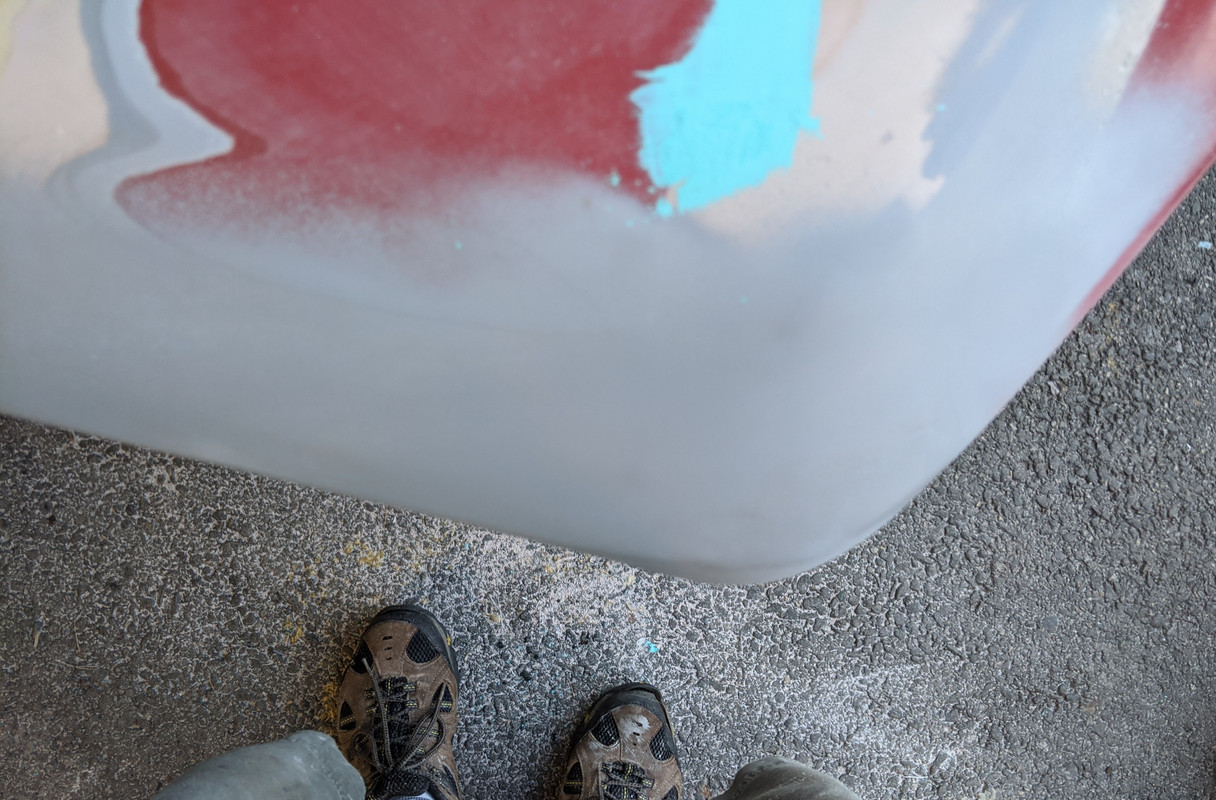
trying to get the corners right - looking at it from as many vantage points as possible
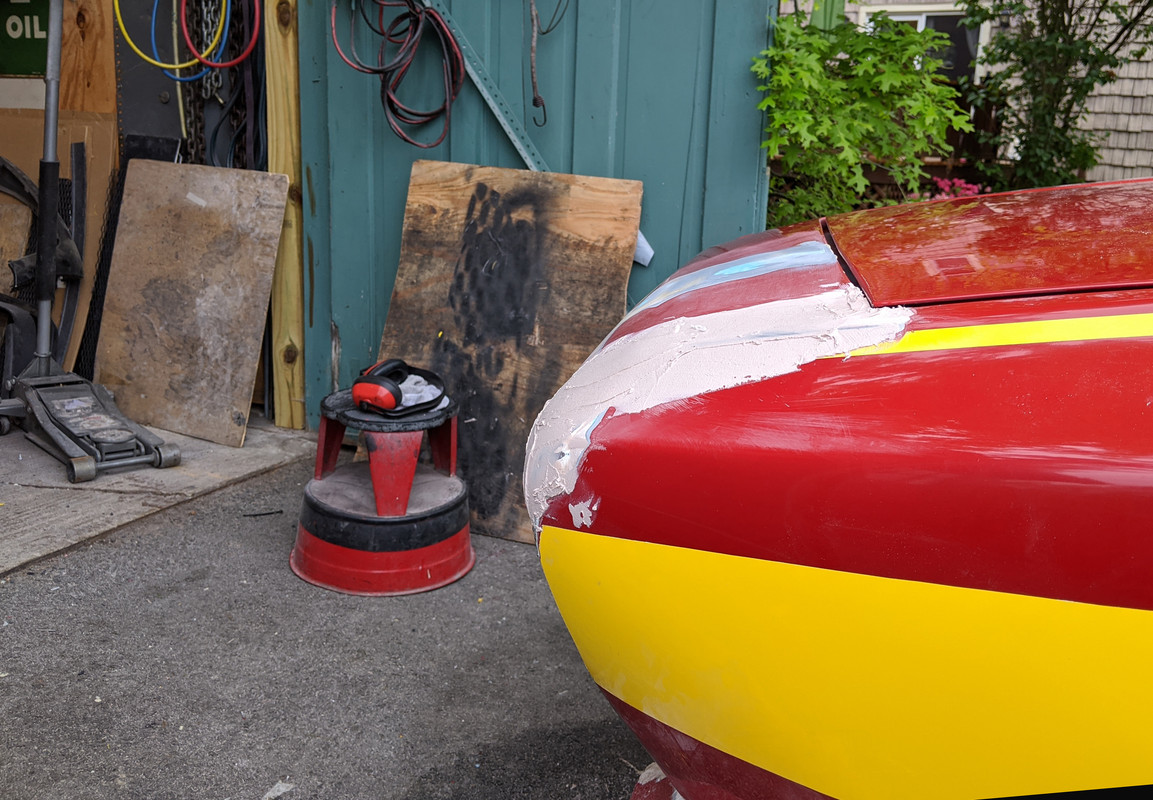
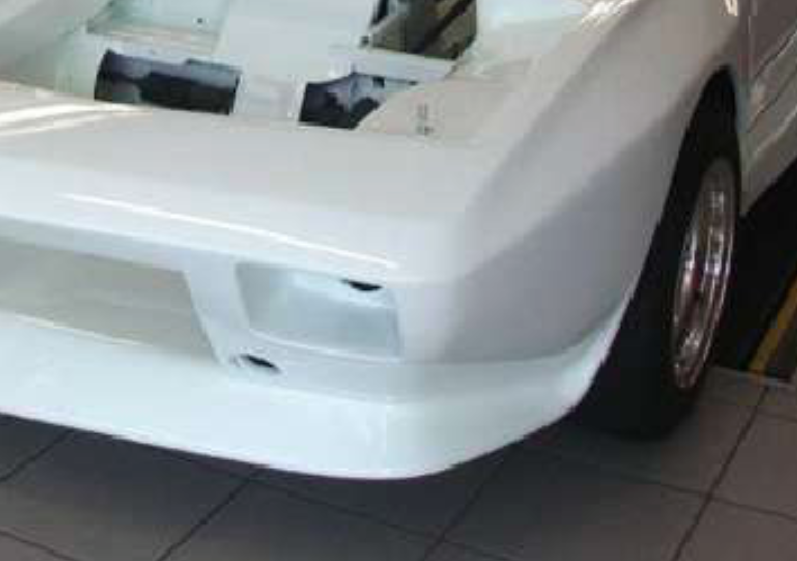
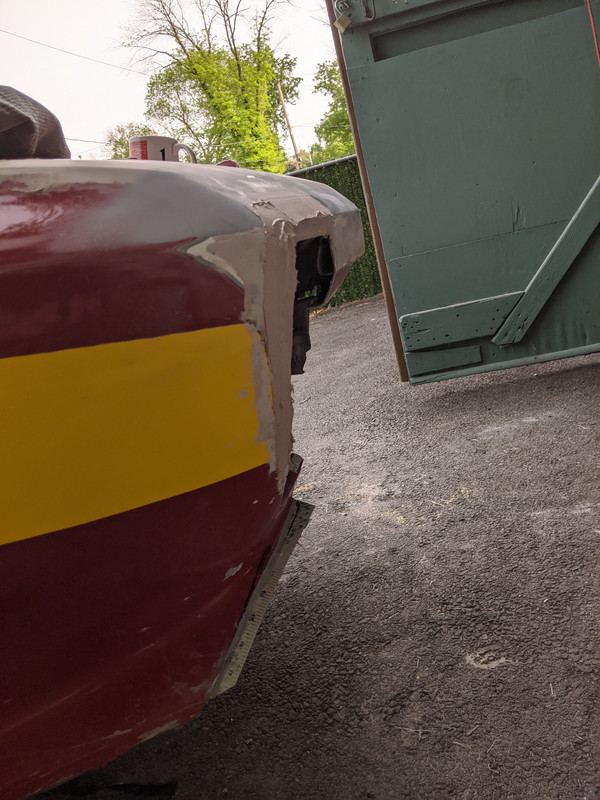
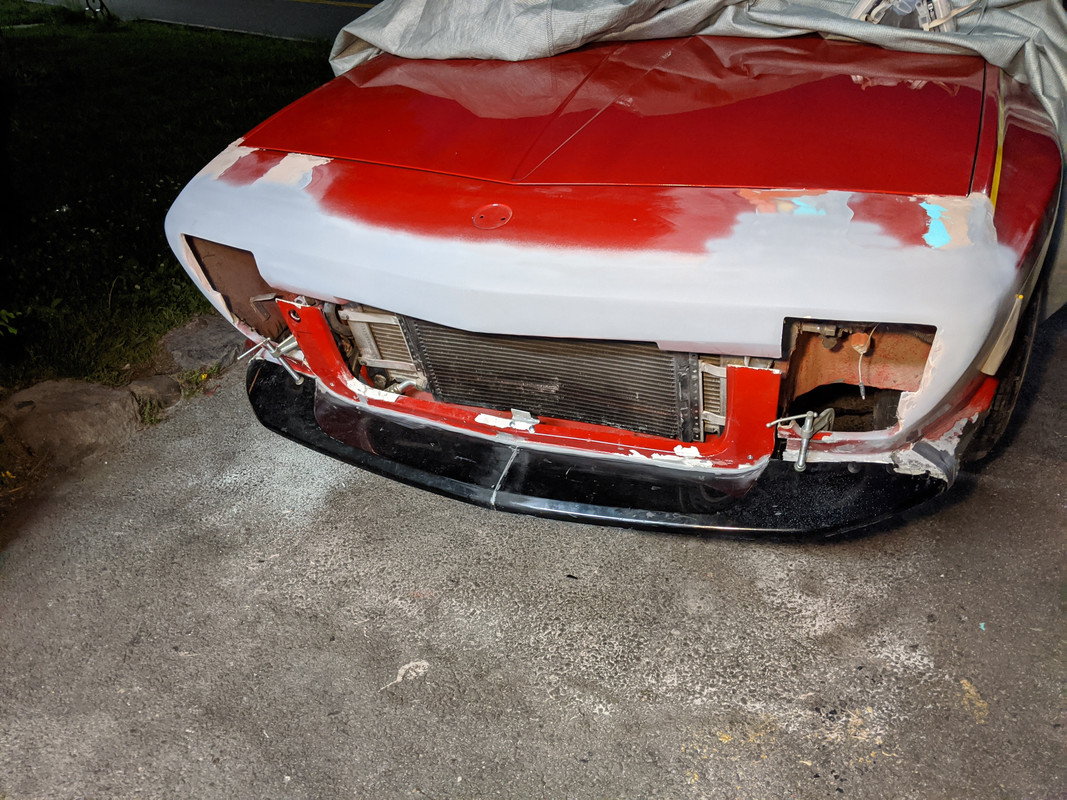
nose transition to vertcial is too soft - I need to get a crisper edge back

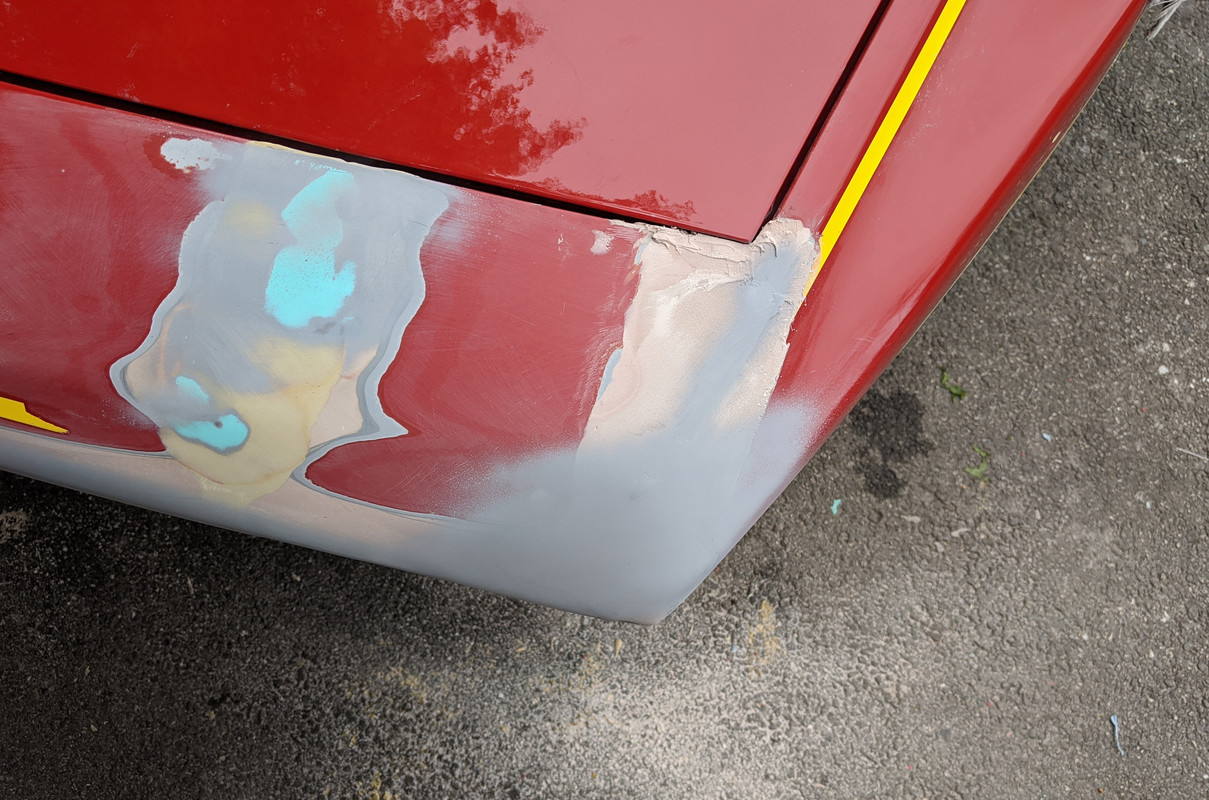
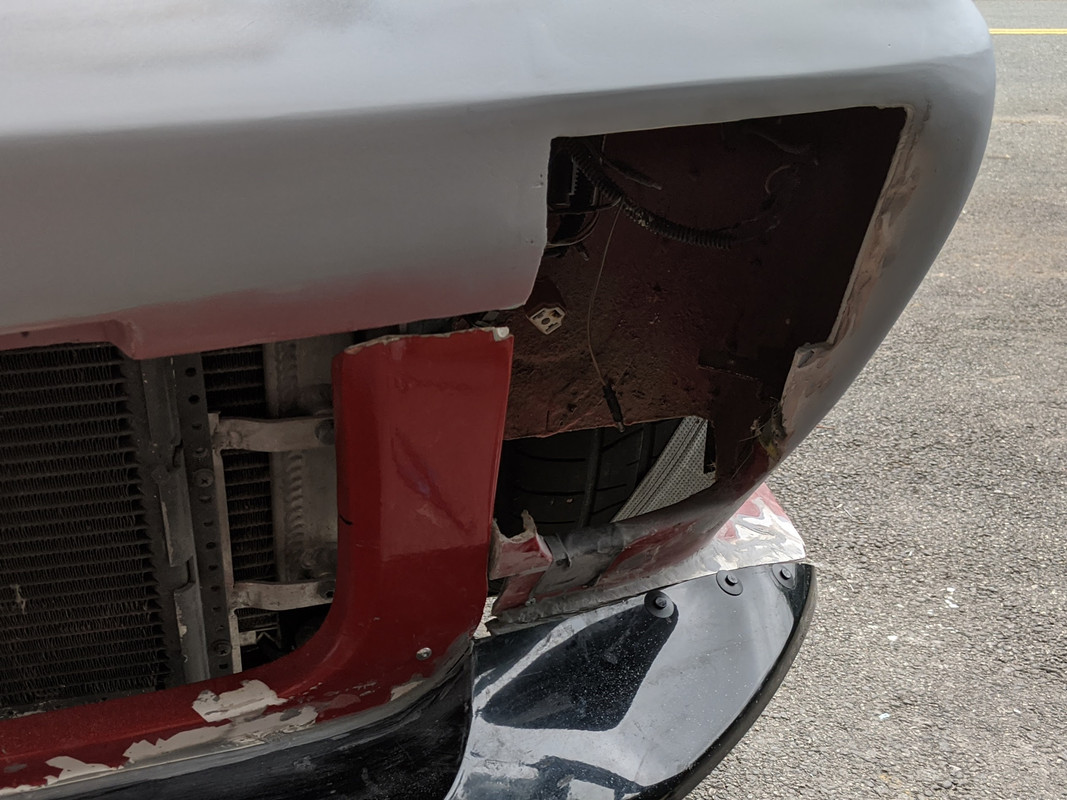
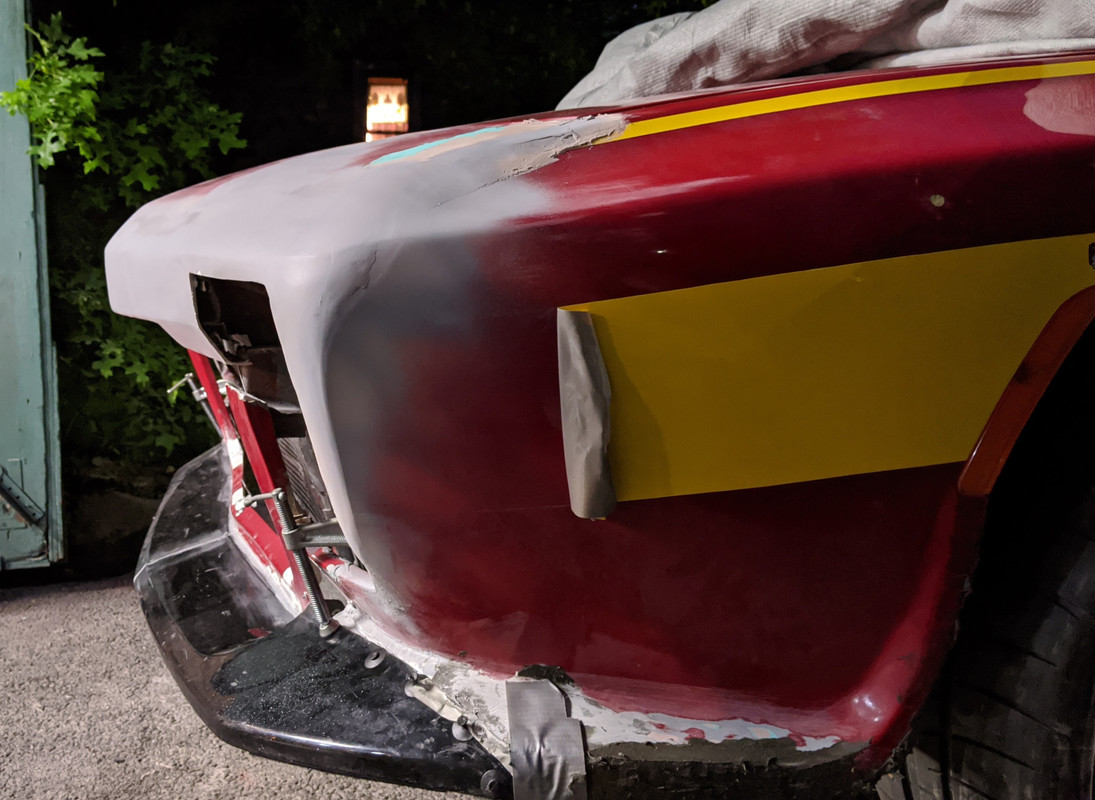
looks too pointy in the corner still, from this angle anyway.....

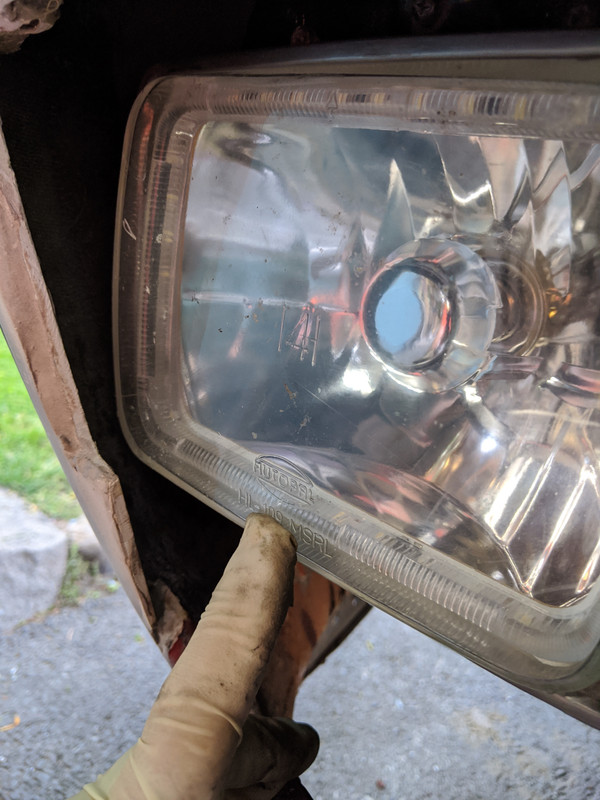
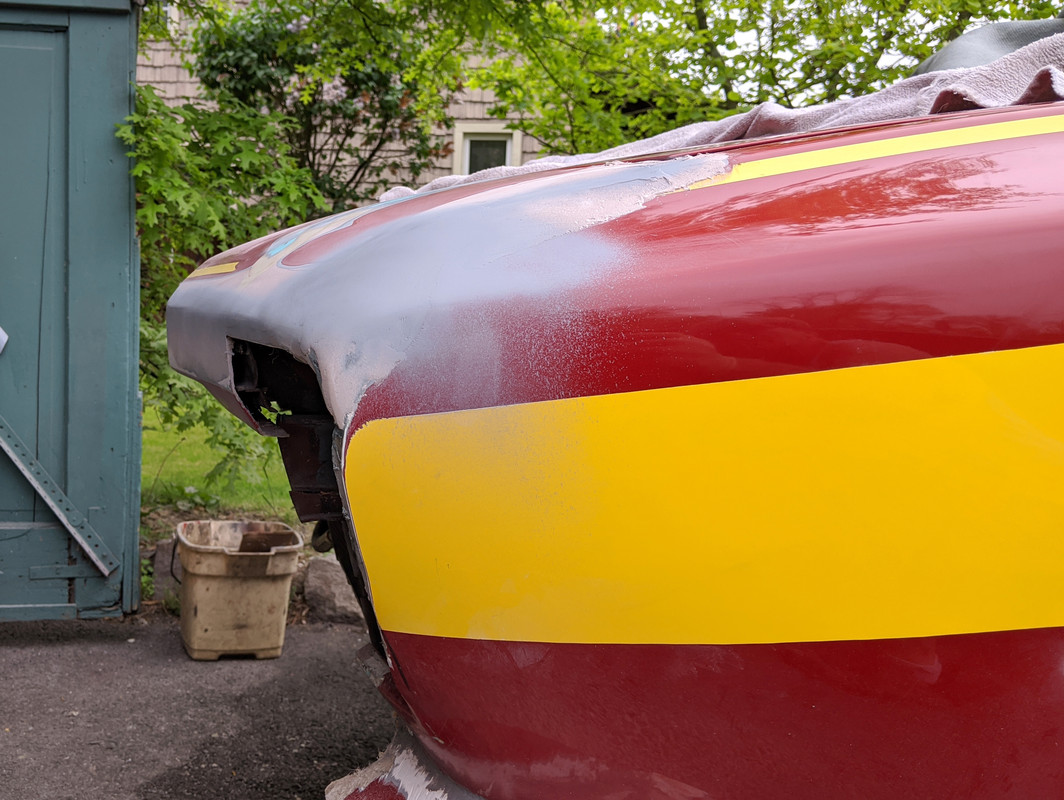
Looks like do-do from this angle
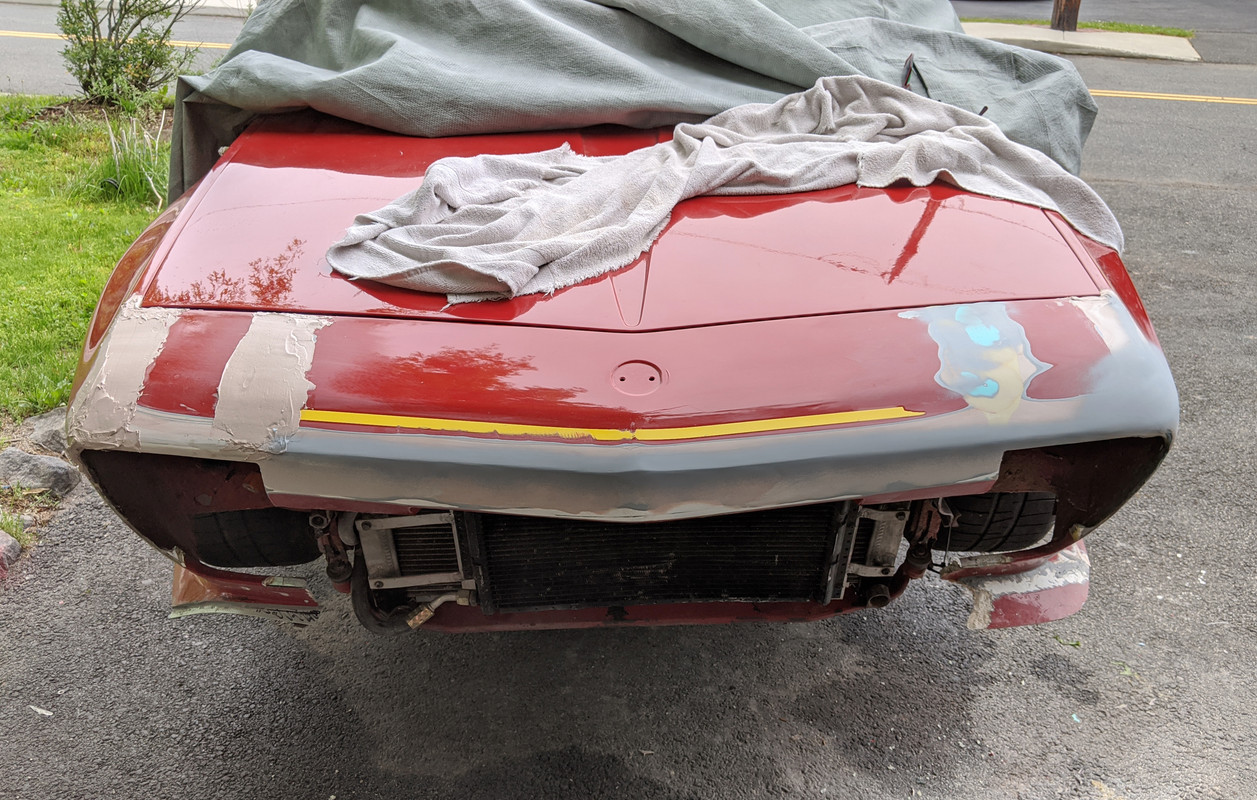
Need to add some material in from the outer fender edge, to start to get some flow into the front panel. That should help round it out
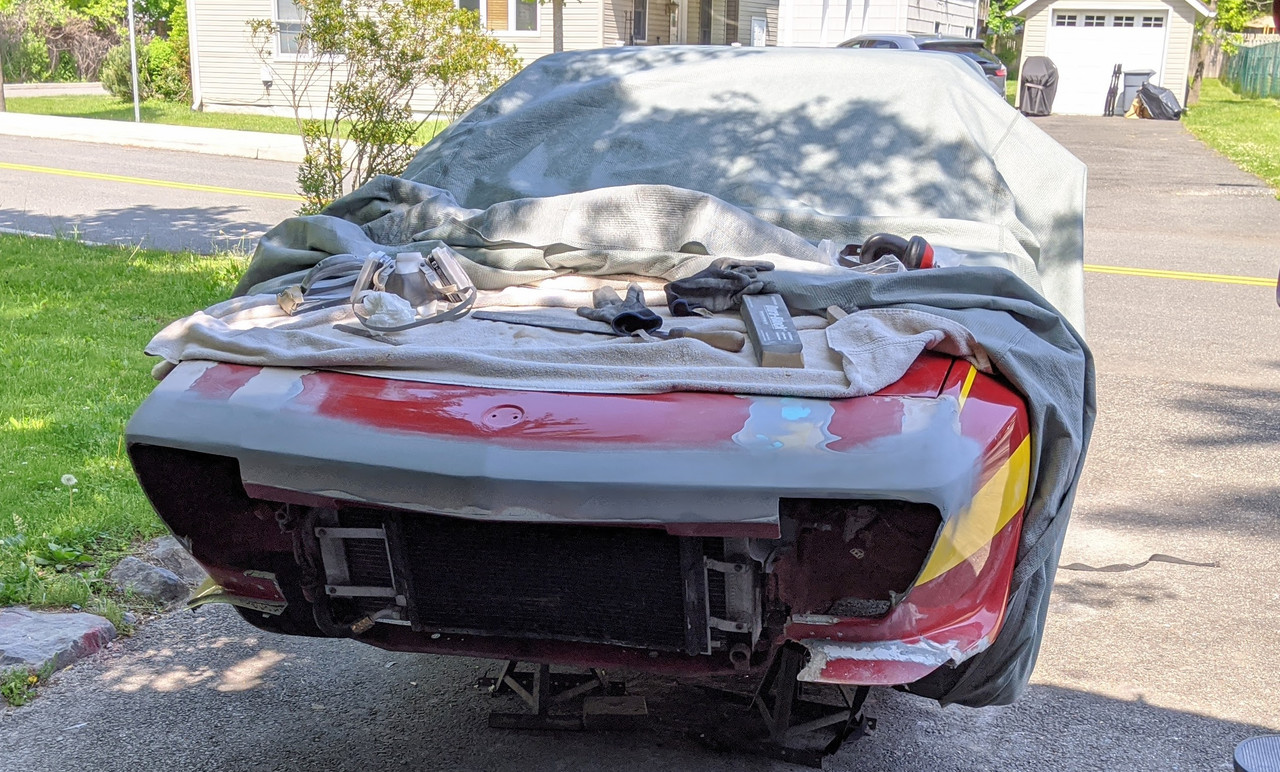
With the primer on to cover the exposed sheet metal ridge line, it is obvious there is also a wobble in the ridge at the peak to resolve

trying to get the corners right - looking at it from as many vantage points as possible
nose transition to vertcial is too soft - I need to get a crisper edge back
looks too pointy in the corner still, from this angle anyway.....
Looks like do-do from this angle
Need to add some material in from the outer fender edge, to start to get some flow into the front panel. That should help round it out
With the primer on to cover the exposed sheet metal ridge line, it is obvious there is also a wobble in the ridge at the peak to resolve
Last edited:


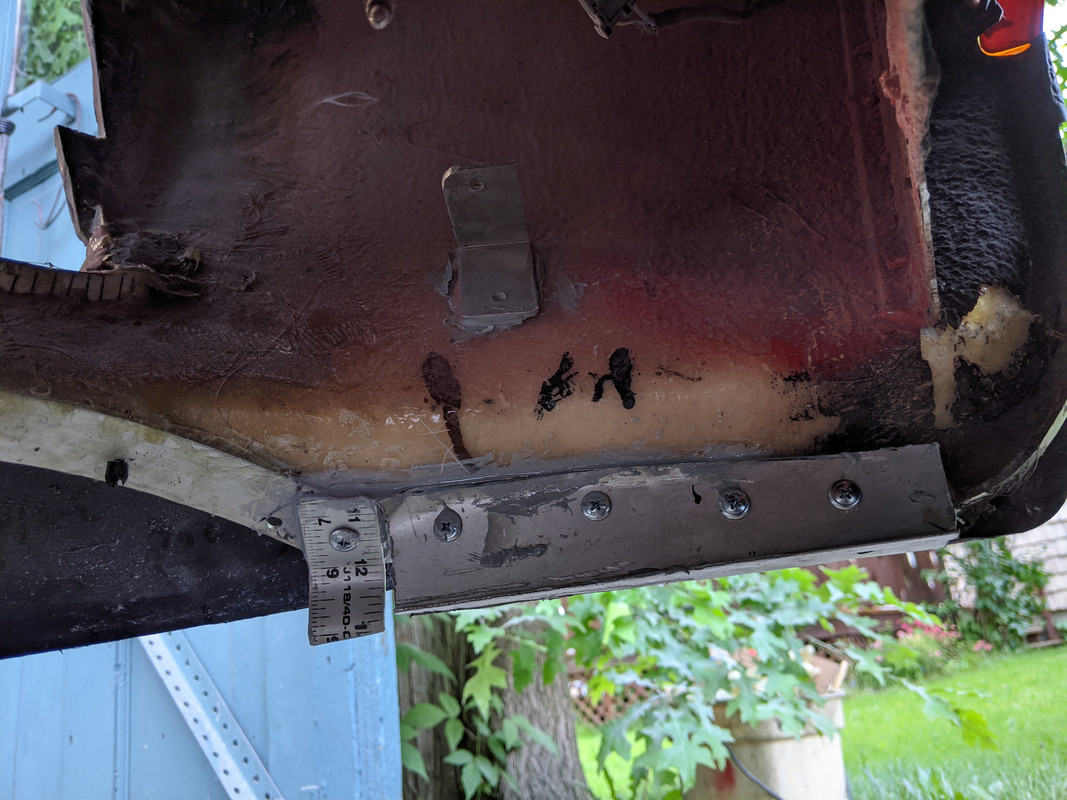


 Correction, it does ship to Canada but for a huge amount. It’ll be $120 Canadian. Is it worth it? I want to use it to replace the metal screen from the rear valence to the bumper to accommodate for my muffler...