"Dog-bone" [engine torque strut] rebuild...updated with new content

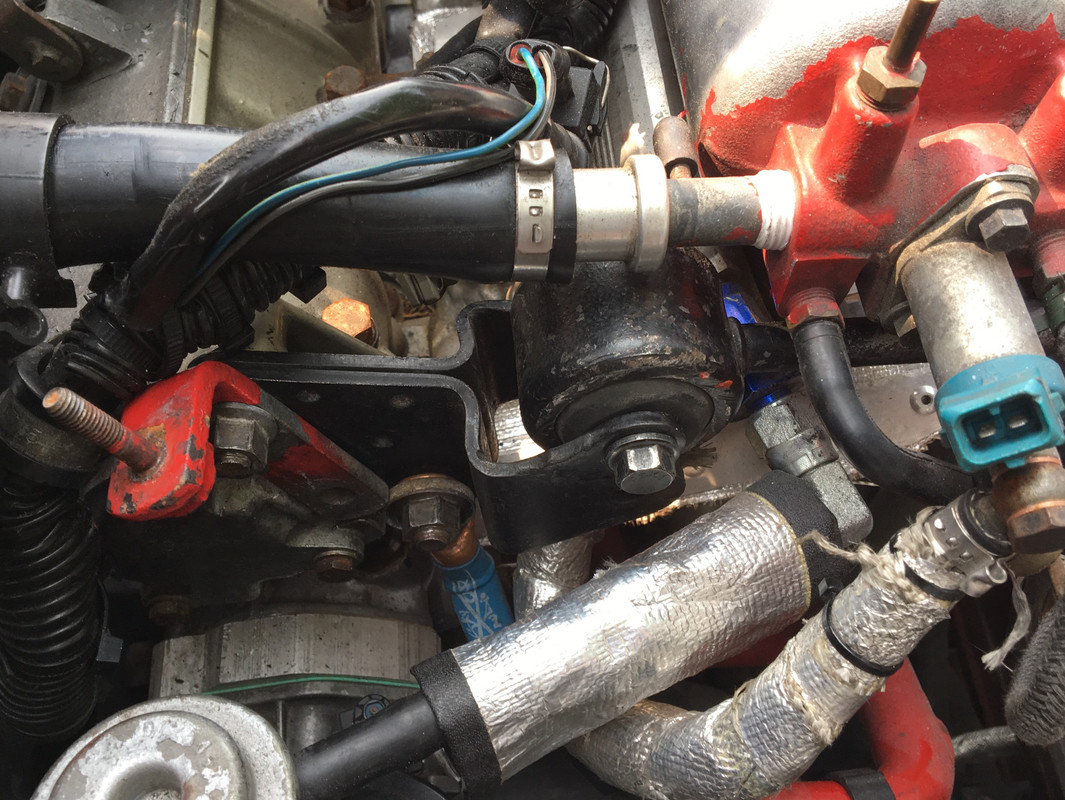
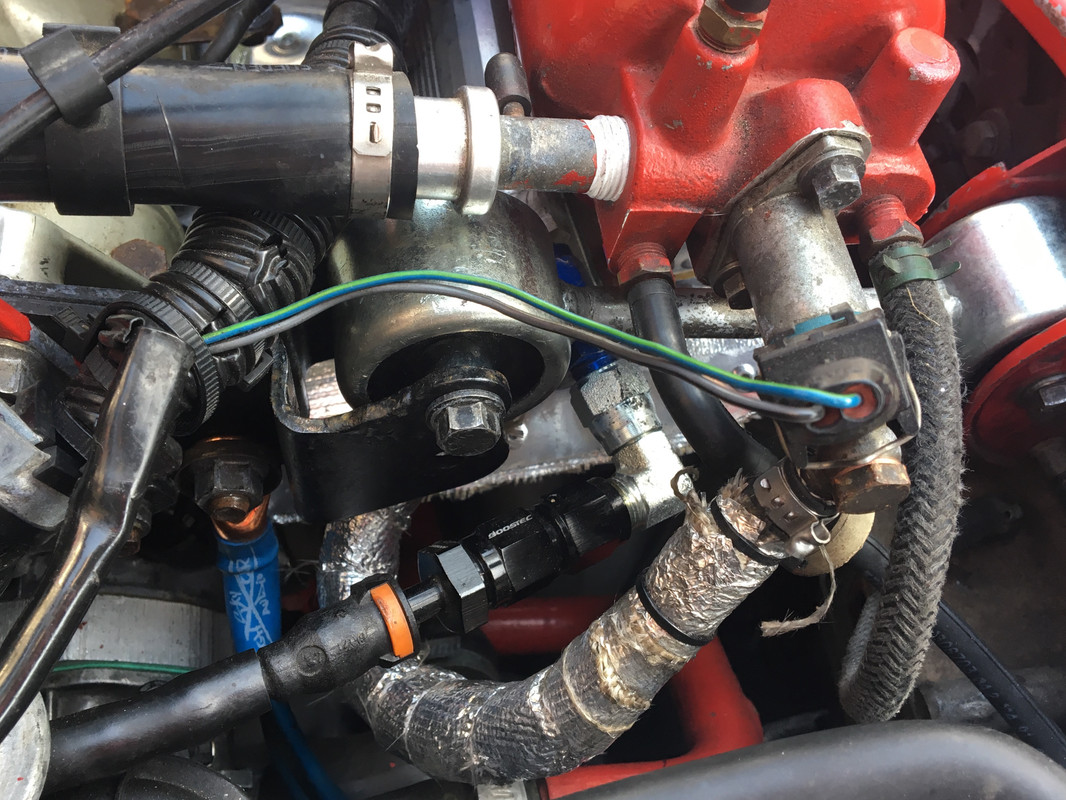
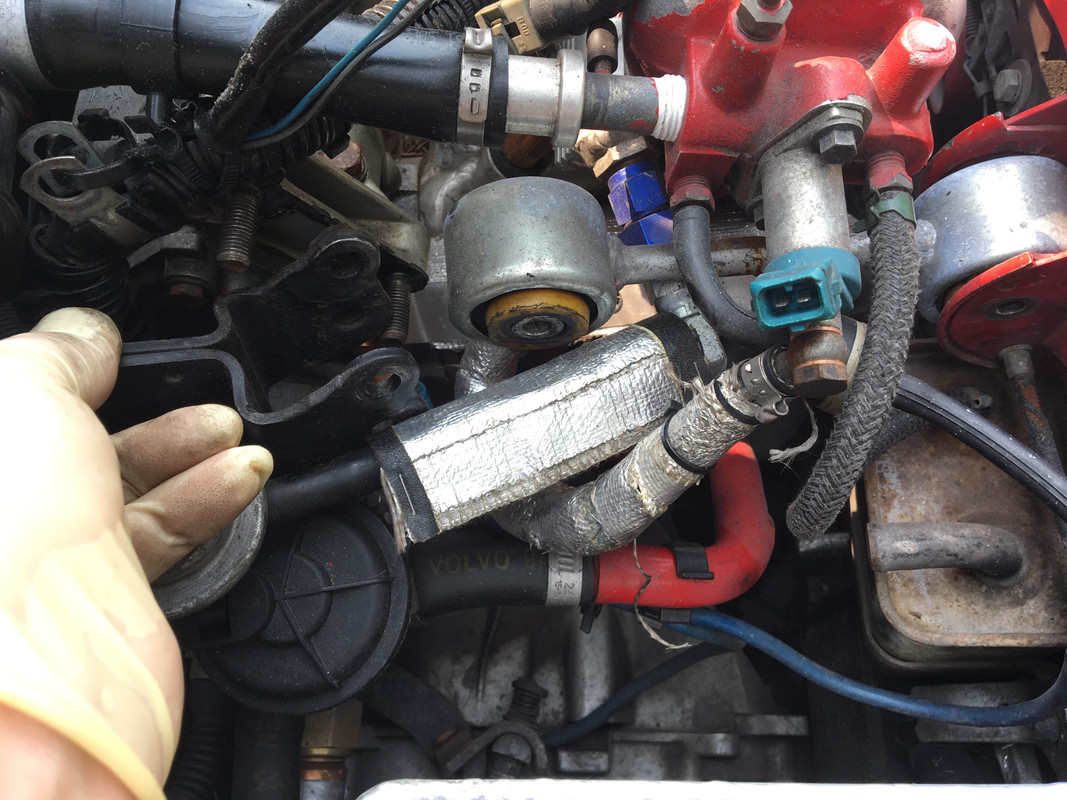
The two brackets are definitely not close to aligned. If I had paid closer attention to this previously, I would have fabricated a revised bracket for the head that provided proper alignment. As it stands, I’m not sure I now have clearance from my fuel rail, etc., to allow for 1/4” - 1/2” lateral repositioning of the bracket ears.
5_F131_B2_C-0_CFA-4_EAA-_AF2_D-47_E068093_A78.jpg


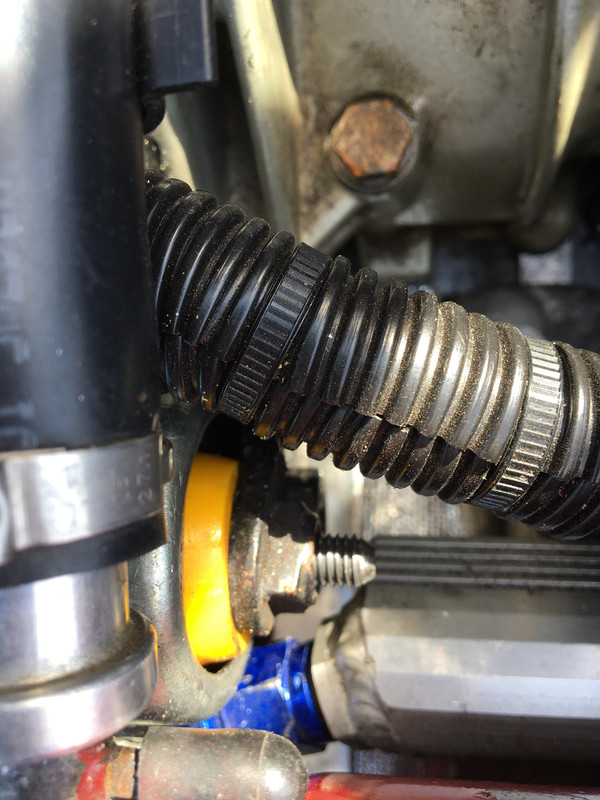
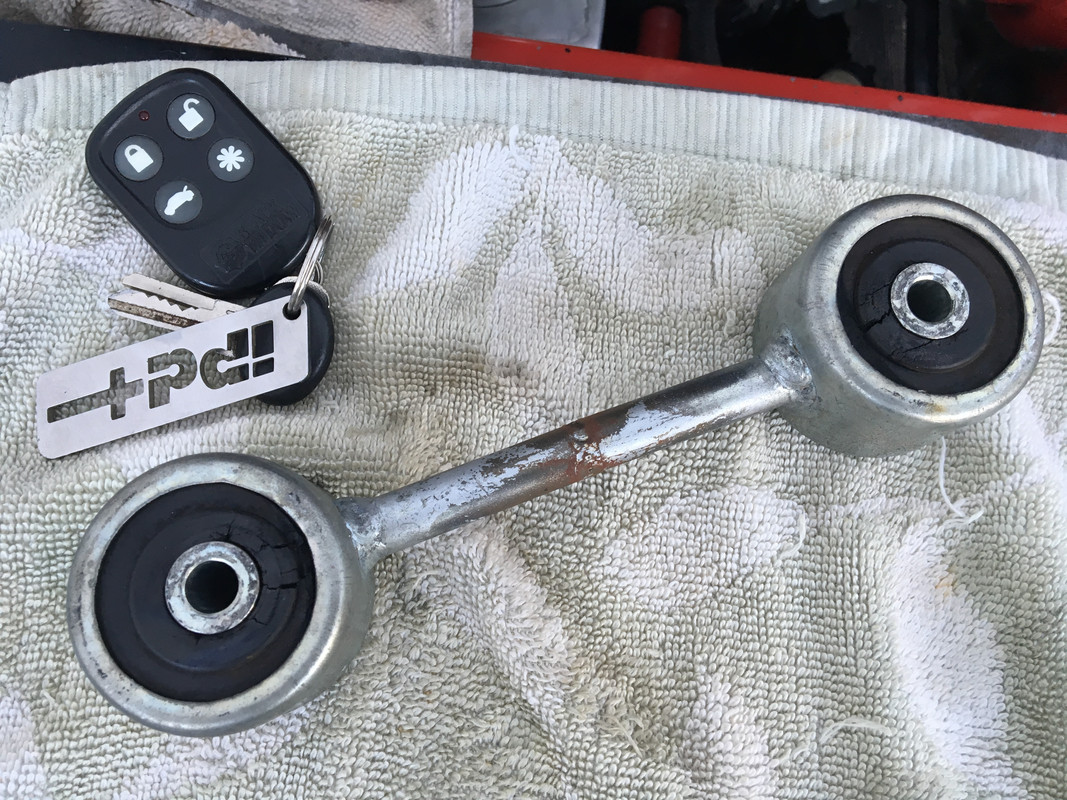
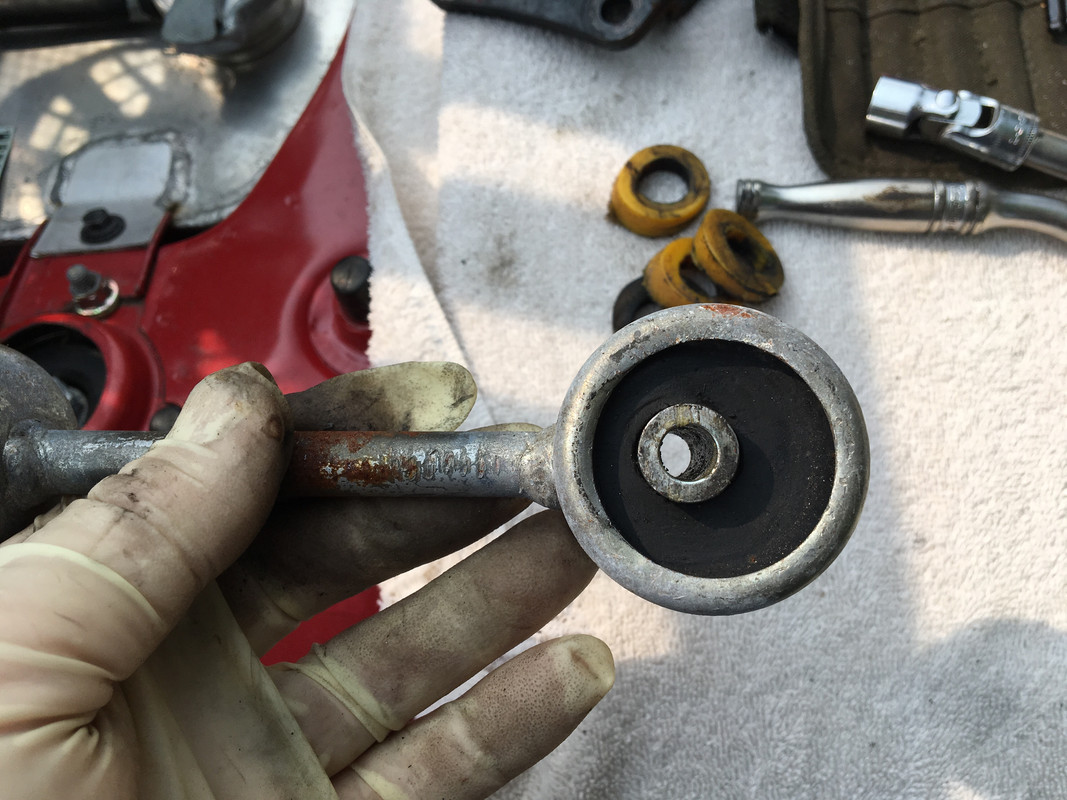
I removed it one more time and cut a sway bar link bush (Volvo 1205991, used since the 70’s) in half to use for centering the bush. I think the best approach is to fill the hub with an additional slice of another bush, but my aftermarket dog bones are both damaged somewhat in the lip area from the inserting and removal of the various style bushes I have now tried. I need to press the bushes from my original Fiat dog bone to try that approach. With it filled entirely, one can add thin washers to take up the residual gap between the sleeve and the bush.

9_C1_A24_A3-35_C7-4_DF9-_BF57-209_EA579_A389.jpg
 
Had to revise mine. Since the engine bracket is offset relative to the body bracket (why???) the soft

I have had solid mounts on my car, that do an excellent job except for transmitting a lot of vibration. I had drilled the lateral link (dog bone) out for 1/2 inch bolts for hime ends on the new link.

I am making to stiff mounts. I have cast the transmission mount and snail mount in urethane. I used Jeff's technique for the dog bone. I made 1 1/8 inch bushings and pressed them into a 1 inch hole in the bushings. They expanded to fill the entire housing on the dog bone, so there should be no lateral shifting. They are extremely stiff.


DSC_0218.jpg


DSC_0221.jpg


I will do a post on casting the transmission mount later.

Paul Davock
 
The 90* option is a good one and would just require a some new sheet metal at the engine. Just.

I was thinking one might cut it apart and reweld the parts to be parallel.
 
Looks good - be interesting to hear how they feel. That extra compression of the rubber will reduce its damping ability, but has to be better than the rigid mount you were using.

The damping the rubber provides with the stock sleeve feels great to me - it’s just a question of determining the ideal securement. Time and miles will tell whether these bushes are suitable long term solutions.
 
The 90* option is a good one and would just require a some new sheet metal at the engine. Just.

I was thinking one might cut it apart and reweld the parts to be parallel.

I would say that if one were going to all that work, it would be worth looking at the torque mounts that are a little more discerning - the typical Volvo setup uses a larger vertical mount softer bush on the engine side to damp the low load vibrations, and then a stiffer horizontal mount bush at the firewall to take up the heavier load movements.

More room to play with this on carb’d setups I’d imagine.
 
I worked on my dogbone over the weekend. I used a small block of wood to clamp the new bushing flat and drilled with a wood 11/16 bit. No walking issues and alignment to the naked eye. I then used a rotary sanding bit to clean up the burs and chunks. We were having trouble pressing in the bushing to the metal mount. I went against what I said I would do and did not clean up the stamped edges. The edges were cutting into the rubber when trying to rotate the bushing. With no luck with vice and screwdrivers, my friend took it to his place to use his press. Updates TBD.

dogbone_mods.jpg
 
Easiest to squish & push the bush in sideways, then rotate into place. Use plenty of silicone spray or lube of your choice. Not going to be easier with a press. If you try & push it in 'square' you will likely just tear up the bush.
 
I really like your use of a wood bit for drilling the rubber, did it cut through easily and cleanly? I used a standard metal bit, which worked but the wood bit might be better.

Like Huss said, pinch the rubber flat first with a vice or clamp, then push it in sideways...see the photos I posted earlier in this thread. I've done two of them that way; the first time was a bit of a struggle because I was trying to turn it square before it was all the way inside the metal housing and without lube, the second time it was extremely easy and quick. Sounds like you are having more difficulty than you should be, so review this thread and see if something different comes to mind.
 
The wood bit did work and the "shavings" came out as dust. I drilled very slowly but after the wood bit and the quick sanding to clean up the hole, we found no evidence of the hole cracking or ripping. My one negative about the use of wood bits is that mine were the cheapest bits I could find when purchasing. The tolerances werent the best and you can see the slight wobble at the bit head.

Also tonight or tomorrow, at the friends house we will try the press and or push out, clean up the stamped edges, and start over.
 
I put the dogbone in today (Dr.Jeff revision) - on mine it takes a little fiddling to get it out past the various obstacles -
Volvo-bushed one coming out:
23_B30448-_AA4_E-4_EFF-8869-_FB2_A833_C9_FCD.jpg


Replacement in -

6924_FF27-63_BB-4458-9053-_FE685_BF7_F801.jpg


The change in vibration level was immediate - just starting the engine I could feel the reduction in the transmitted levels of engine vibration. I'm much happier with the damping this bushing provides. The only thing to see is how well the bushings hold up over time. These softer ones, if anything like the Vicks-supplied version, may well split within a few months of constant use (To their credit they did give me a replacement for this at no charge, however the replacement split in just a few hundred miles of use, like the original purchased item).

Vick auto example:

IMG_3574.jpg


Unfortunately these bushings don't hold up. I've had increasing thunks under load recently, and checked the mount. I could easily move the motor more than an inch without effort. Pulled the dogbone.

IMG-8767.jpg


IMG-8768.jpg


IMG-8769.jpg


Put my Volvo-bushed one back in. Feels great on the road & under load, but not happy with the vibration transmitted at idle :( I'll have to look for alternatives (again).

IMG-8770.jpg
 
Well that really sucks. They appeared to be more durable that that. I purchased several of these rubber inserts to try for various applications. I have two of the dog bones made up with them but have not assembled either car to try them out, so no feedback to offer. One thing I can say is I noticed a wide variance in the rubber compound between them, depending where I bought them (different manufacturers). Some are much softer than others. That could make some difference.

Huss, remind me what the yellow bits are.
 
Just had another thought about these rubber inserts. On one of my X's a previous owner had replaced the front suspension trailing link (brake torque trailing arm thing) bushings with the same rubber mounts. I do not know how long they had been there but they are actually harder than any of the new ones due to ageing, so they must have been in place awhile. And they held up very well. No sign of failure. That application places the load from flat side to flat side of the rubber, not across the diameter like on the dog bone. So perhaps they work better in that orientation (which is how they are used in their original application as engine mounts).
 
Just had another thought about these rubber inserts. On one of my X's a previous owner had replaced the front suspension trailing link (brake torque trailing arm thing) bushings with the same rubber mounts. I do not know how long they had been there but they are actually harder than any of the new ones due to ageing, so they must have been in place awhile. And they held up very well. No sign of failure. That application places the load from flat side to flat side of the rubber, not across the diameter like on the dog bone. So perhaps they work better in that orientation (which is how they are used in their original application as engine mounts).

Makes sense. The load is transferred through the bulk of the material, vs. 1/2 (or less of ) it's OD in our usage.
 
Back in the old days on Xweb v1.0 Mike S replaced his dogbone with a mountain bike shock. I can't find any of the pictures anymore, as all the links are dead. It looked something like this shock. It was adjustable in length and tension. Maybe BobbyB can check with Mike and see if it worked out or not?
 
replaced his dogbone with a mountain bike shock
I remember a thread about that. I tend to think it might be a little too 'forgiving' in one direction and not enough in the other. Maybe if it were a double shock of some sort, with springs going both directions.
 
Back
Top