79X19
True Classic
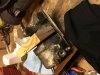
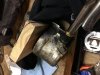
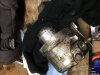
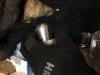
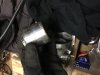
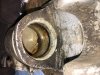
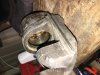
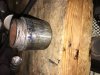
I am in the midst of rebuilding the front calipers on my '81 X. I need to remove the pistons in order to replace the seals and I am at an impasse due to the banjo bolts. I have seen numerous YouTube videos on the subject some recommending compressed air and others the grease gun method to put pressure on the pistons to force them out. In either case I have to seal off the area where the banjo bolt secures the hose to the caliper. I cant seam to find a standard bolt to screw into this area of the caliper so I can force the pistons out by grease gun (that is the method I will use). I have an entire bin of old metric fasteners taken from my parts X but not one of them fits! If anyone has a solution that I'm not thinking of please let me know. Or if you know where I can get a bolt to fit this purpose Id appreciate a recommendation. Thanks!
I checked through the forum and didn't find a thread on the rebuilding of the front calipers.
If anyone has a solution that I'm not thinking of please let me know. Or if you know where I can get a bolt to fit this purpose Id appreciate a recommendation. Thanks!I checked through the forum and didn't find a thread on the rebuilding of the front calipers.