ng_randolph
Bjorn H
My front grille had gotten a bit tattered over the years; Three of the six tabs at the bottom of the grille were broken off, the vertical supports were fractured in several places and a few pieces were missing. I have spent the past few weeks getting the grille back in shape.
The grille is made from ABS which is an easy material to work with. I started with the tabs for the air dam. The sole remaining tab received bracing cut from a sheet of 1/8” thick ABS from McMaster (part number 8586K161). I used black ABS cement to bond the pieces together; plumbers use this for black ABS drain pipes. I used this for all the fractured vertical supports as well.
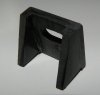
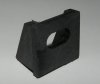
For the three missing tabs I made replacements from the same sheet of ABS:
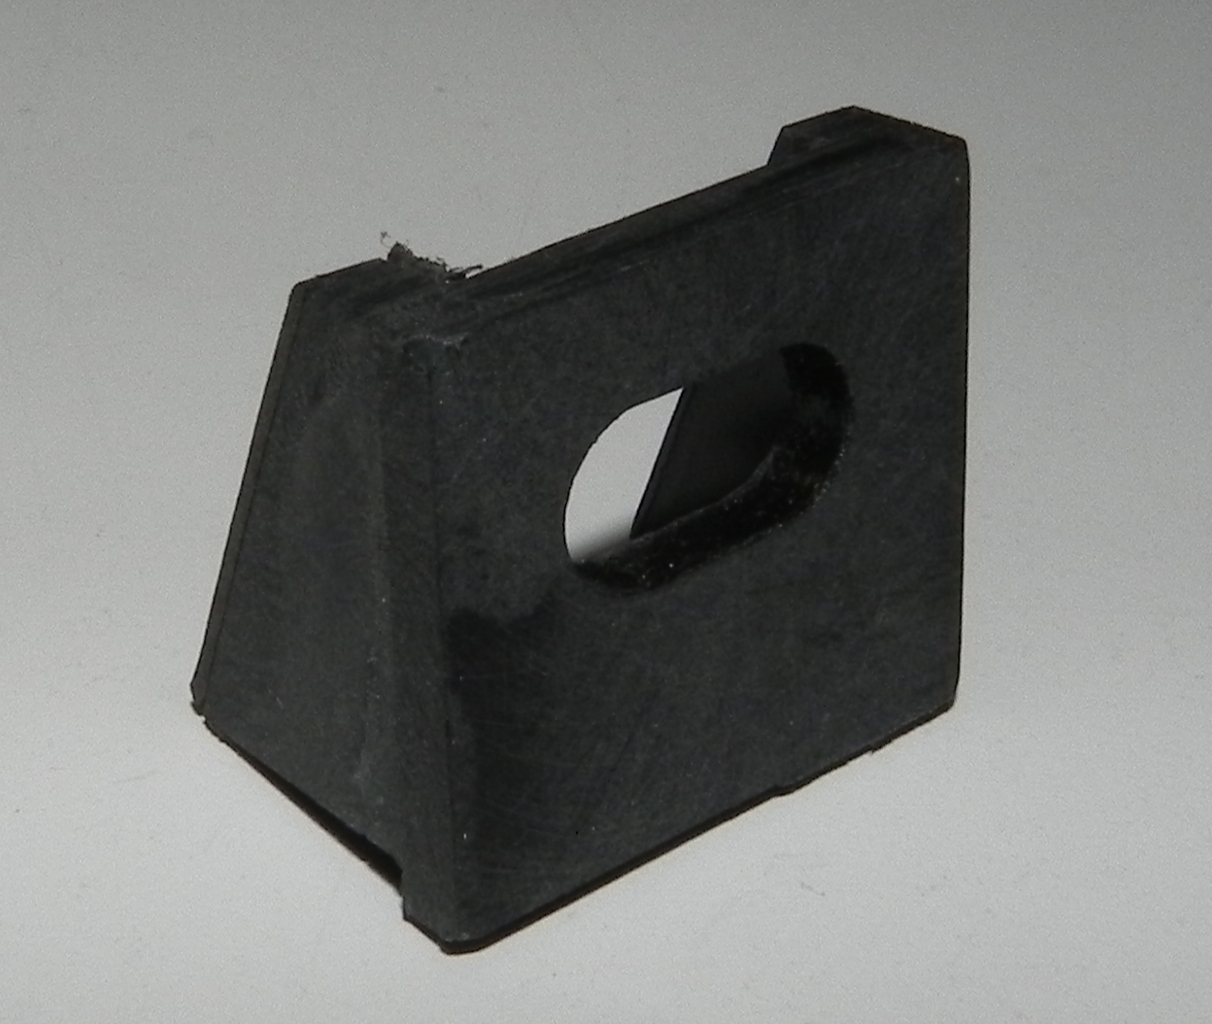

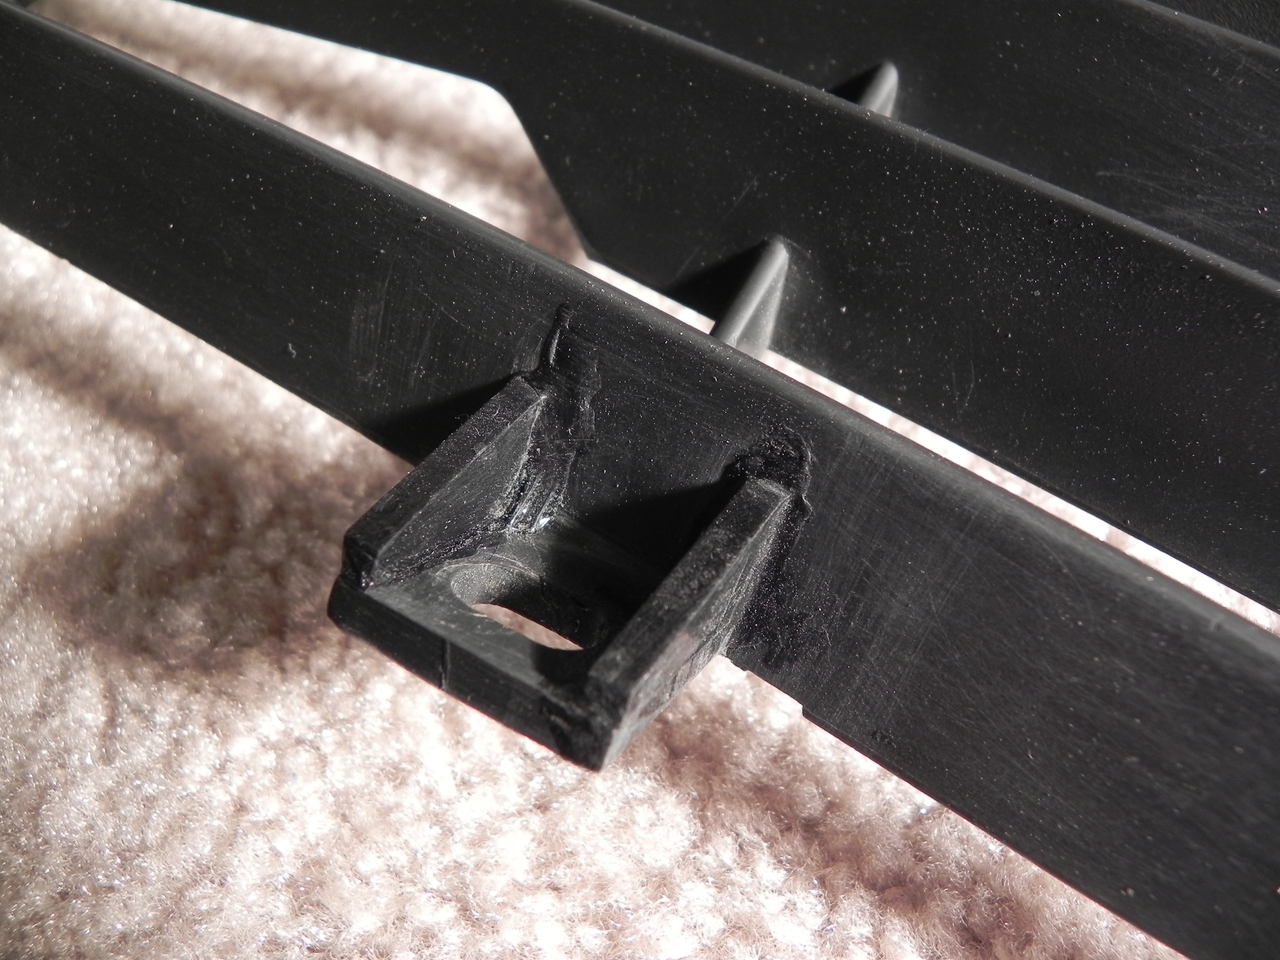
The braces were cut to the right size, but I left foot of the tab a bit long. I shaped the tab to the contour of the bottom of the grille before mounting the tabs. The ABS cement cures fairly glossy so I matted it down with a Scotch-Brite pad.


The tabs at either end that mount the grille to the elephant ears were both intact and I left them alone.
About 5” at the end of one of the horizontal slats had broken off and I cut a replacement from 1/8” ABS. It took a bit of sanding and filing to make it fit and look right. More ABS cement to hold it in place. I made this as a straight piece, should have curved the leading edge to match the original. It is quite subtle and I won’t be losing sleep over it.

Three sections of the vertical support were missing as well, replacements from ABS sheet stuck on with ABS cement.

One mounting ear on the air dam was broken off and the PO had put it back on with black tie wraps. Perfectly workable, but I wanted to try gluing it back together. The air dam is not ABS; my guess is that it is polyurethane. I used an acrylic epoxy (Devcon Plastic Welder – 3500 psi strength) for the air dam. Acrylic epoxies stink something fierce, much worse than regular epoxies. Good ventilation is key.


You can see the hole the PO drilled for the tie wrap. After the first glue joint cured I added a bit of woven fiberglass reinforcement on both sides.

And finally a coat of satin black Rustoleum.

Three of the 4 tabs on the air dam had been drilled out for tie wraps. I filled the holes with epoxy and drilled them to the right size.

The original screws were long gone, so I used #10 sheet metal screws from McMaster. 5/8” long in black oxide stainless steel (part number 90356A287). Washers were black oxide stainless as well, part number 90618A500. The air dam had gotten a bit warped over the years (who hasn’t?) and it took some force to get it to mate with the bottom of the grille. I heated it up for hours on end with my halogen work light set to 250 W to get it to relax into shape. I used aluminum foil to shield the grille from the heat and to reflect heat back onto the air dam. I moved the lamp from side to side to heat the entire air dam. I heated it for about 8 hours over two evenings, checking frequently to make sure nothing got too hot.

After it all cooled down I removed the screws holding the air dam to the grille to see if the air dam had changed shape. The middle sagged about ½”, better than I had hoped for. I put the screw back in and have been driving the car about 20 miles since. At some point I will probably buy a sheet metal reproduction air dam from Henk or Obert.
The grille is made from ABS which is an easy material to work with. I started with the tabs for the air dam. The sole remaining tab received bracing cut from a sheet of 1/8” thick ABS from McMaster (part number 8586K161). I used black ABS cement to bond the pieces together; plumbers use this for black ABS drain pipes. I used this for all the fractured vertical supports as well.
For the three missing tabs I made replacements from the same sheet of ABS:
The braces were cut to the right size, but I left foot of the tab a bit long. I shaped the tab to the contour of the bottom of the grille before mounting the tabs. The ABS cement cures fairly glossy so I matted it down with a Scotch-Brite pad.
The tabs at either end that mount the grille to the elephant ears were both intact and I left them alone.
About 5” at the end of one of the horizontal slats had broken off and I cut a replacement from 1/8” ABS. It took a bit of sanding and filing to make it fit and look right. More ABS cement to hold it in place. I made this as a straight piece, should have curved the leading edge to match the original. It is quite subtle and I won’t be losing sleep over it.
Three sections of the vertical support were missing as well, replacements from ABS sheet stuck on with ABS cement.
One mounting ear on the air dam was broken off and the PO had put it back on with black tie wraps. Perfectly workable, but I wanted to try gluing it back together. The air dam is not ABS; my guess is that it is polyurethane. I used an acrylic epoxy (Devcon Plastic Welder – 3500 psi strength) for the air dam. Acrylic epoxies stink something fierce, much worse than regular epoxies. Good ventilation is key.
You can see the hole the PO drilled for the tie wrap. After the first glue joint cured I added a bit of woven fiberglass reinforcement on both sides.
And finally a coat of satin black Rustoleum.
Three of the 4 tabs on the air dam had been drilled out for tie wraps. I filled the holes with epoxy and drilled them to the right size.
The original screws were long gone, so I used #10 sheet metal screws from McMaster. 5/8” long in black oxide stainless steel (part number 90356A287). Washers were black oxide stainless as well, part number 90618A500. The air dam had gotten a bit warped over the years (who hasn’t?) and it took some force to get it to mate with the bottom of the grille. I heated it up for hours on end with my halogen work light set to 250 W to get it to relax into shape. I used aluminum foil to shield the grille from the heat and to reflect heat back onto the air dam. I moved the lamp from side to side to heat the entire air dam. I heated it for about 8 hours over two evenings, checking frequently to make sure nothing got too hot.
After it all cooled down I removed the screws holding the air dam to the grille to see if the air dam had changed shape. The middle sagged about ½”, better than I had hoped for. I put the screw back in and have been driving the car about 20 miles since. At some point I will probably buy a sheet metal reproduction air dam from Henk or Obert.
Last edited:
 c::sun: