Dr.Jeff
True Classic
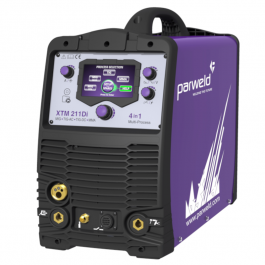
I definitely see your point. For anyone looking to get both MIG and TIG capabilities, it's too bad the multiprocess units aren't more affordable.I prefer to separate into two machines (as stated above.) On the TIG side, I can make suggestions from $1000 to $2000. For MIG machines, I can make recommendations from $600 to $1800.
Since I already have a MIG I'd only be interested in a TIG. However I'm not sure if the investment (even at $1000 that's significant) would be warranted for my personal situation. I certainly would have done it many years ago, when I still could have got my use out of it over all the builds I've done. However back then they were outrageously priced so I couldn't. At this point in life I'm getting close to being finished with build cars.

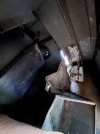
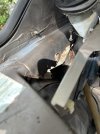
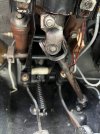
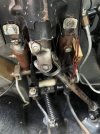
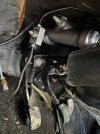
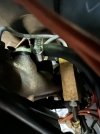
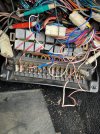
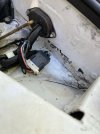
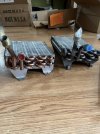
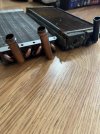
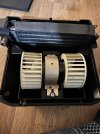
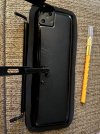
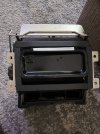
 the second was the passenger headlight motor. Then today I wanted to look into the blower motor for the a/c, and lo and behold the rat's nest that I found. Some days you just decide to step in it instead of accidentally stepping in it.