Melted Piston.

So a question in regards to your ground shims.
Are you putting the ground face down into the bucket or facing up towards the cam? If facing up towards the cam, it would seem that the hardened face and surface preparation would be lost and more likely to cause the problem you suffered recently with the galling of the existing parts.
Sorry to see the recent damage and that some of it was the fault of a less than ideal part. Happy it wasn't the fault of the knock sensor and the engine management.

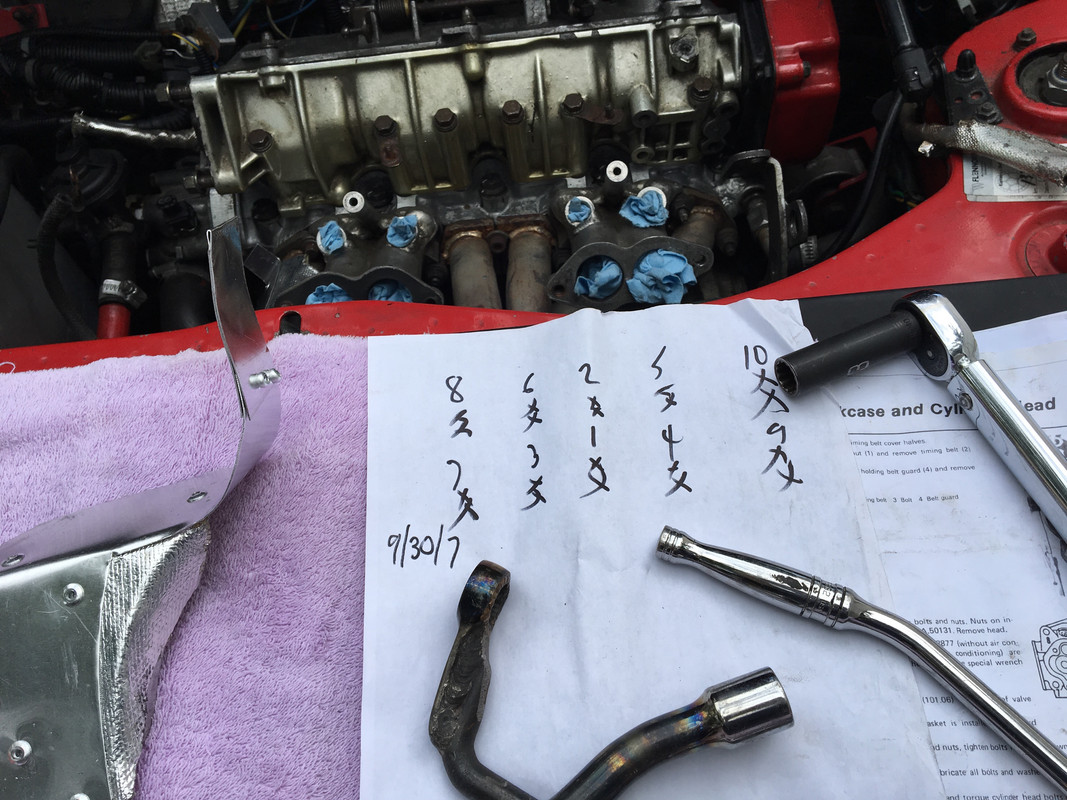
When I went back to the machine shop, they stated unequivocally that the shim would not fail from being ground, the process is to remove .0005-.001" in a cut, which takes several passes. He is adamant that the hardness of the shim is unaffected in this process. They have used this process since the '80's to modify shims. Typically he will reduce valve stem height as preferred path, simply because it is more practical, and that is the process he followed when the main head work was performed for the original build.

He is convinced the cam wear is due to oil quality, since the shims/buckets are in an oil bath. It can't be an oil pressure issue as the cam journals are clean with no galling. I dunno. I cut the shims myself after he showed me how to operate the mill stone.

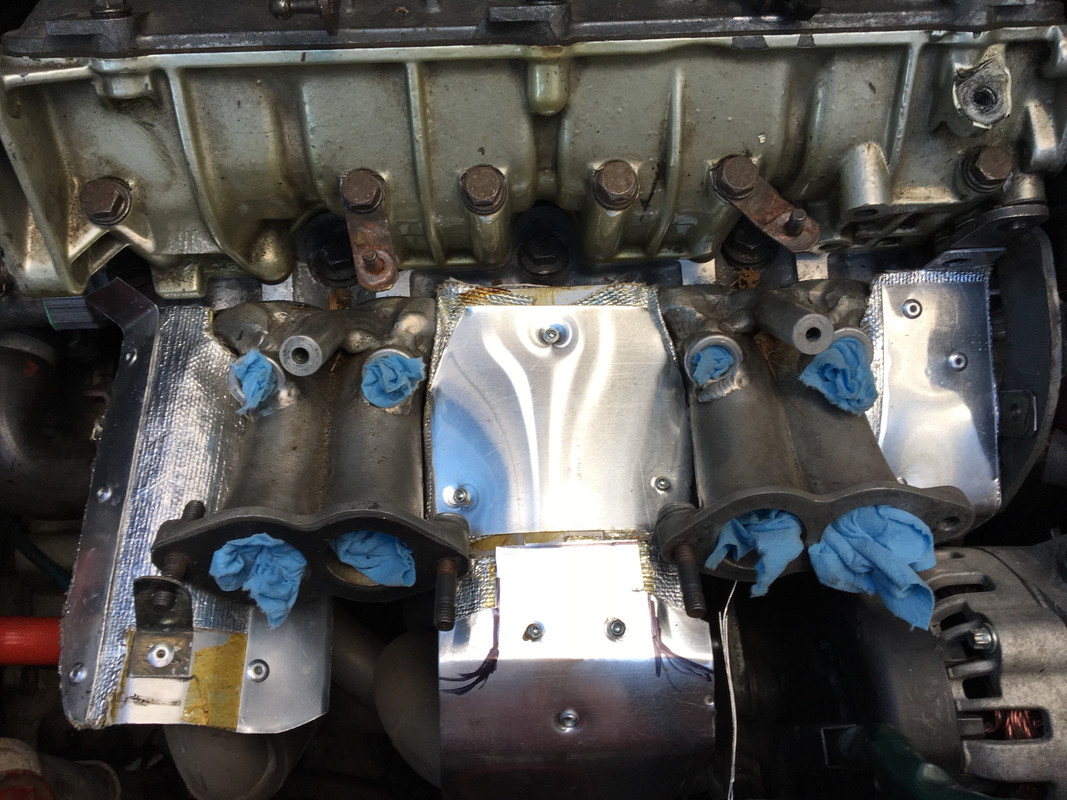
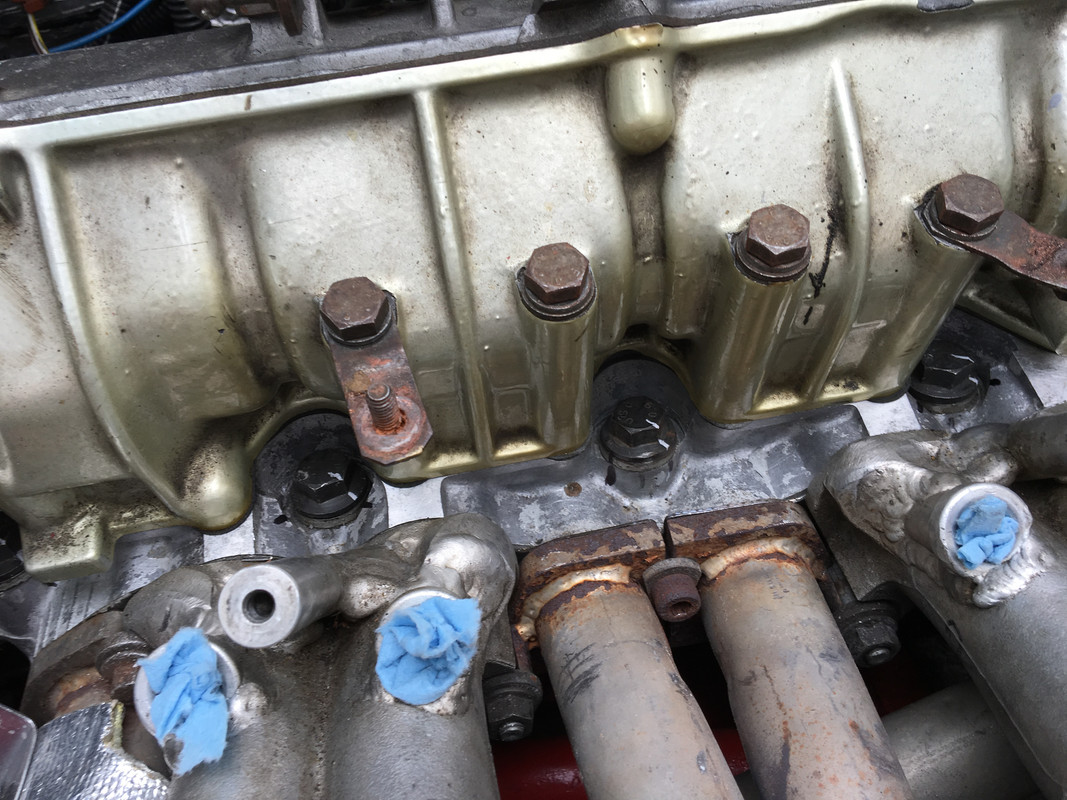
The engine runs much smoother through the warmup phase with the 223 cam vs. the 231 - I had altogether forgotten that the spec of the 231 cam indicates poor (and low) idle when cold. I was assuming it was an EFI problem. Nice to see that gone now. I will have to monitor the valve clearances on a regular basis - now I think about it, I had cold/idle engine noises that I could not isolate, it was obviously the shim bucket flapping in the breeze due to the excess clearance - amazing it ran as well as it did considering those 3 valves would not have been opening close to spec.
 
About 80 miles since repair. Had a funky issue that felt like ignition cutout during acceleration - kind of a 'blip' or 'fart' around 4-5K depending on load. Couldn't figure out what could have caused it based on what I replaced after the HG failure, then I remembered I installed WR7DP's in place of the WR7DC's I had in prior. Swapped them out today for new WR7DC+'s and the problem is gone - engine winds up cleanly to 6K+ with narry a hiccup. Odd that the Platinums don't play nicely with the Wasted Spark EZK116 mod.
 
Odd that the Platinums don't play nicely with the Wasted Spark EZK116 mod.
Be careful Hussein, this is getting dangerously close to starting one of those "which spark plug is best" debates. And that's a rabbit hole you don't want to go down! :)

Otherwise it is holding up well so far?
 
On Sunday I drove to Newark Airport to pickup my son at noon, and drove up to Boscobel for the Hudson Valley Shakespeare Festival performance of 12th Night in the evening. About 140 miles. Running smoothly so far. I guess I'll go around 500 miles & then do the retorque - that should be by the end of the month.

Been busy with rebuilding my deck (PO didn't make proper footings or the correct number & spacing of joists), redoing part of the pathway to the back of the house. Hopefully wrap that up early next week so I can get back to the bodywork on the X1/9.
 
About 800 miles since HG replacement. Retorquing the head tomorrow, so I removed the plenum, etc., in preparation for the retorque. Had to rework the heat shields, as the DEI heat wrap was not staying attached. I sandwiched it with an additional layer of thin aluminum sheet.

IMG_3582.jpg
 
Last edited:
Was that DEI material the 'self-adhesive' type with the peal-and-stick backing? If so, I've wondered how well it holds up and stays 'stuck'. One of their reps told me I could just stick it directly to the under-carriage above the muffler/exhaust, but I doubted it would hold. Your feedback on it is helpful.
 
Was that DEI material the 'self-adhesive' type with the peal-and-stick backing? If so, I've wondered how well it holds up and stays 'stuck'. One of their reps told me I could just stick it directly to the under-carriage above the muffler/exhaust, but I doubted it would hold. Your feedback on it is helpful.

Yes it is. Doesn't stay stuck worth a damn over time (except to itself). I have used it in anumber of applications, and the adhesive film cannot withstand the heat in an engine bay, which kinda defeats the purpose...
 
Last edited:
Did the retorque today (135k on clock) - always stresses me as I almost expect a bolt to snap - given my luck :D

Marked all the head bolts

IMG_3584.jpg


My homemade tools (stage 1, 60º, done)

IMG_3587.jpg


Using a 3/4 breaker bar - makes it easier to get a smooth controlled pull

IMG_3586.jpg


2nd round; 30º for a 90º total - Done!

IMG_3588.jpg


Added an additional flap (cannot be rigid & fit in place with runners and alternator installed) to deflect heat from the alternator - I have noticed voltage output is definitely impacted by engine bay temps - with the cooler weather (60ish) in the 6 AM drive to work, the voltage stays up around 14.3v. On the drive home, with temps in the 80's, it is closer to 13.5v

IMG_3589.jpg
 
Last edited:
Definitely a process.

Which alternator is that now? By my last count you are on number 3 I think. Does this one pick up air from in front or in back? Any chance of making another cover for the back of the alternator?
 
Definitely a process.

Which alternator is that now? By my last count you are on number 3 I think. Does this one pick up air from in front or in back? Any chance of making another cover for the back of the alternator?

Yes, this is the 3rd - GM alternator with 'sense' field. I assume it's normal fore/aft pull. I was thinking about adding a small puller fan to the rear cover to pull more air through. May be fine with the extra shield. With the previous heat shield (Volvo parts) I didn't have this issue, but that was unweildy at best.
 
Did the retorque today - always stresses me as I almost expect a bolt to snap - given my luck :D

Marked all the head bolts

IMG_3584.jpg


X19_0214.jpg

My homemade tools (stage 1, 60º, done)

IMG_3587.jpg


Using a 3/4 breaker bar - makes it easier to get a smooth controlled pull

IMG_3586.jpg


2nd round, 30º, 90º total - Done!

IMG_3588.jpg


Added an additional flap (cannot be rigid & fit in place with runners and alternator installed) to deflect heat from the alternator - I have noticed voltage output is definitely impacted by engine bay temps - with the cooler weather (60ish) in the 6 AM drive to work, the voltage stays up around 14.3v. On the drive home, with temps in the 80's, it is closer to 13.5v

IMG_3589.jpg

The reference sheet says there are two different procedures, #1 is for the pre-delivery inspection/maintenance interval and #2 is for after removing the cylinder head. But the one page posted only covers procedure #1.....what is procedure #2 that applies to cylinder head removal, and can you post that page or pages?
 
The reference sheet says there are two different procedures, #1 is for the pre-delivery inspection/maintenance interval and #2 is for after removing the cylinder head. But the one page posted only covers procedure #1.....what is procedure #2 that applies to cylinder head removal, and can you post that page or pages?

Yeah, it's convulted wording for sure - that is the Fiat Service Bulletin I got from C.Obert. This procedure applies to the retorque of the replacement (Fiat style, non-TTY) head bolts he sells.

X19_0214.jpg


Procedure 2 would be the normal 3 (or 4, can't recall) stage torque process followed when initially installing a new head gasket, as outlined in the service manual (you can see the page tucked under in one of my pics, I referenced it for the torque sequence).

X1_9_Page_101.01.png


Interesting that this (retorque) procedure does NOT specify loosening the bolt & retorquing to original value, as others have described.

The Elring head bolts (M10 column) follow this process also:

X19_0271.jpg
 
Last edited:
Back
Top