kmead
Old enough to know better
Drove the car a few miles just to see how the coolant temps settle, check for leaks, and see how the new final drive and offset shifter feel.
And?

Drove the car a few miles just to see how the coolant temps settle, check for leaks, and see how the new final drive and offset shifter feel.
And?
 I do need to get it aligned - not happy with the handling over uneven roadways (which is most NY roads).
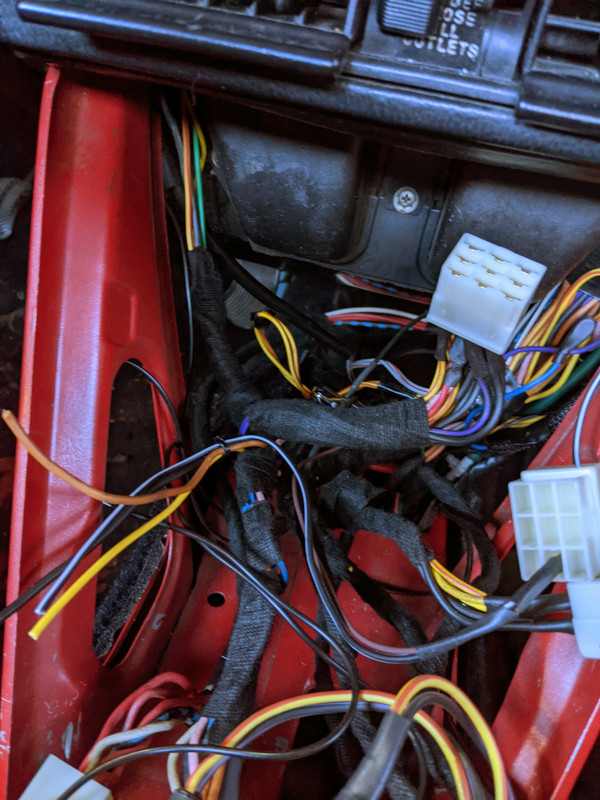
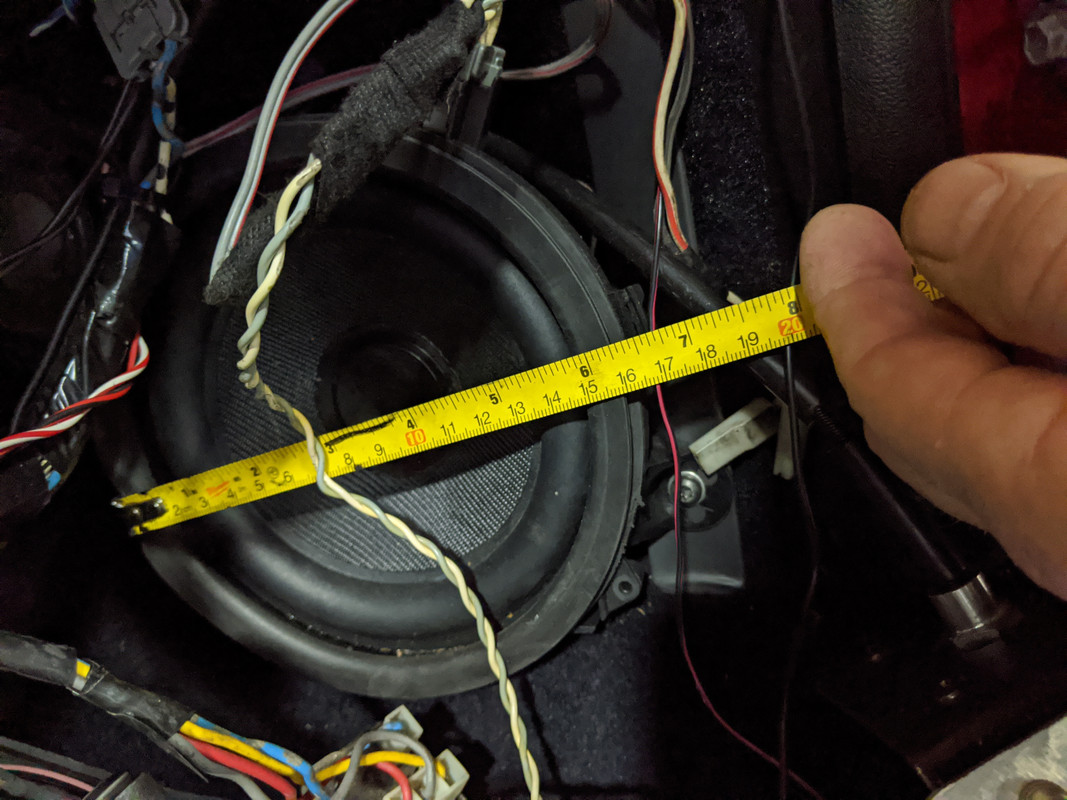
Do you have enclosures for those speakers? They usually sound much better if the back of the speaker is isolated from the front.
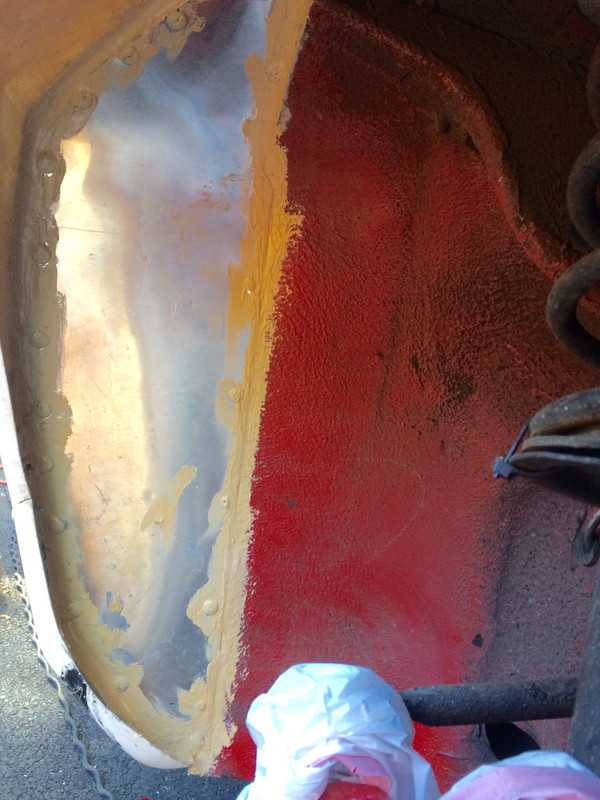
I cut a hole in the sheet metal large enough to get the magnet through and used particle board between the carpet and sheet metal to add a bit more depth.
how do they work Hussein, why are they needed?
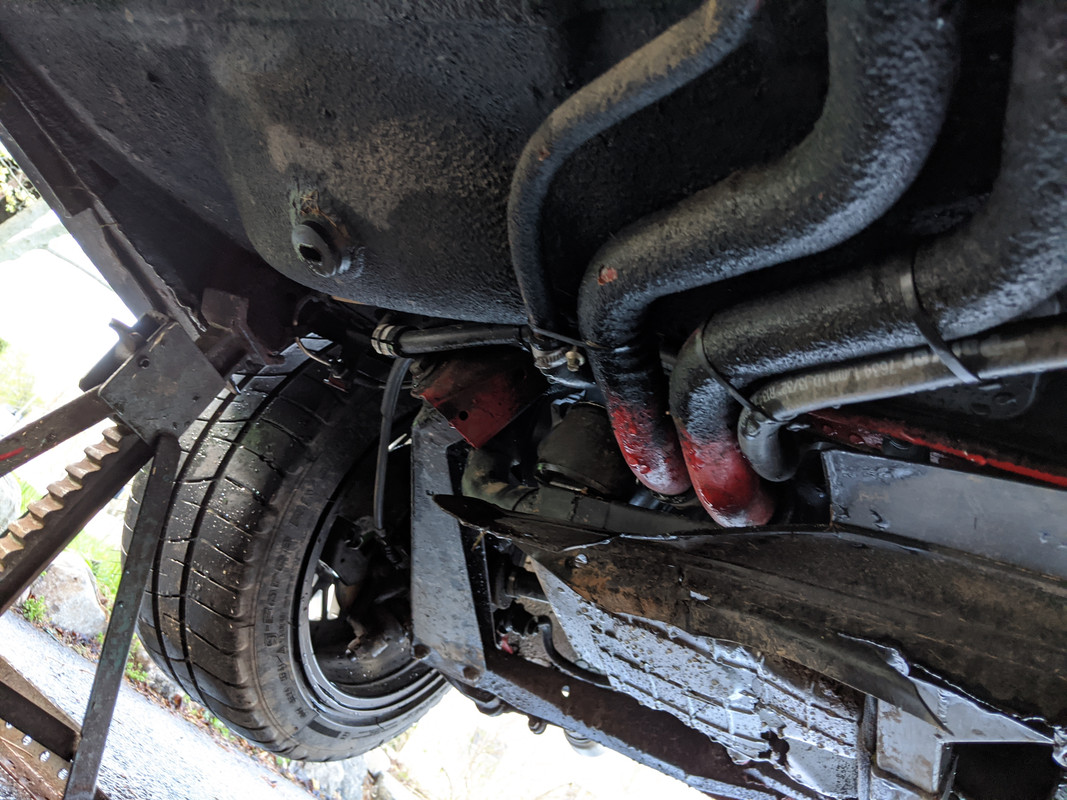
I am so watching this thread. I almost did the same thing for the same reason. the driveshaftshop (where I got my shafts) said I am ok at the angle I am at, but ot me it seems too far when unloaded.Put the limiter (EMPI 12") straps in today. 7/16-20 seat belt bolts used to retain them to the control arms where I had the sway bar end links mounted previously. Top bolted through the support web, with a second skin added on the inside, cut from the parts car.
EDIT: they are needed to prevent stressing the Honda CV's when the control arms are not attached to the struts for servicing. With stock struts they would be needed just to prevent damage in normal operation.
View attachment 39483View attachment 39484View attachment 39485View attachment 39486
I am so watching this thread. I almost did the same thing for the same reason. the driveshaftshop (where I got my shafts) said I am ok at the angle I am at, but ot me it seems too far when unloaded.
There is no water passage in that outer area in the rain? I didn't think that was a dry area.
It's not dry - it's somewhat part of the wheel well, although there is a plastic piece to keep water from getting in there.
I'd direct you to @Rodger 's really good solution.
Sound system install
As part of my K20 build, I wanted to have a nice sound system. As most of you know, the stock tiny rear shelf speakers are pretty weak. I wanted to figure out how to install front and rear speakers, as well as a subwoofer. I have seen several installs of front speakers in the door panels, but...xwebforums.com
It is a very clever solution. I think I'd omit the "foam blanket" as it would trap moisture. For Rodger it probably doesn't matter as I think he had his inner fender / wheel wells lined with 'Rhino Liner' but the concept is great: 4" speakers with covers. All replaceable. If your speakers crap out, just replace 'em!
I'm doing the same. Radio/music etc not that important when driving in my opinion. This is NOT a commuter car for me so the radio doesn't matter as much. Nice on a road trip tho.