lookforjoe
True Classic
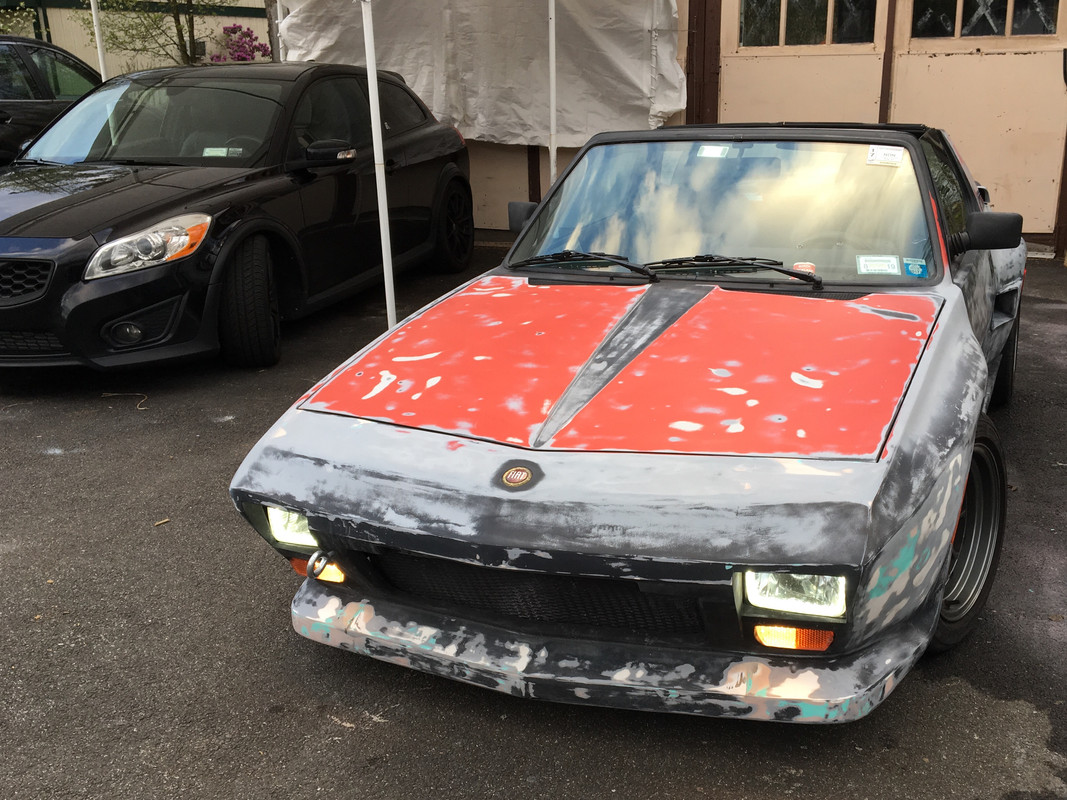
That's a Batmobile right there if I ever saw one.")
That's funny - I stopped at the station I used to work out of on occasion & that's exactly how one of the tech's described it

That's a Batmobile right there if I ever saw one.
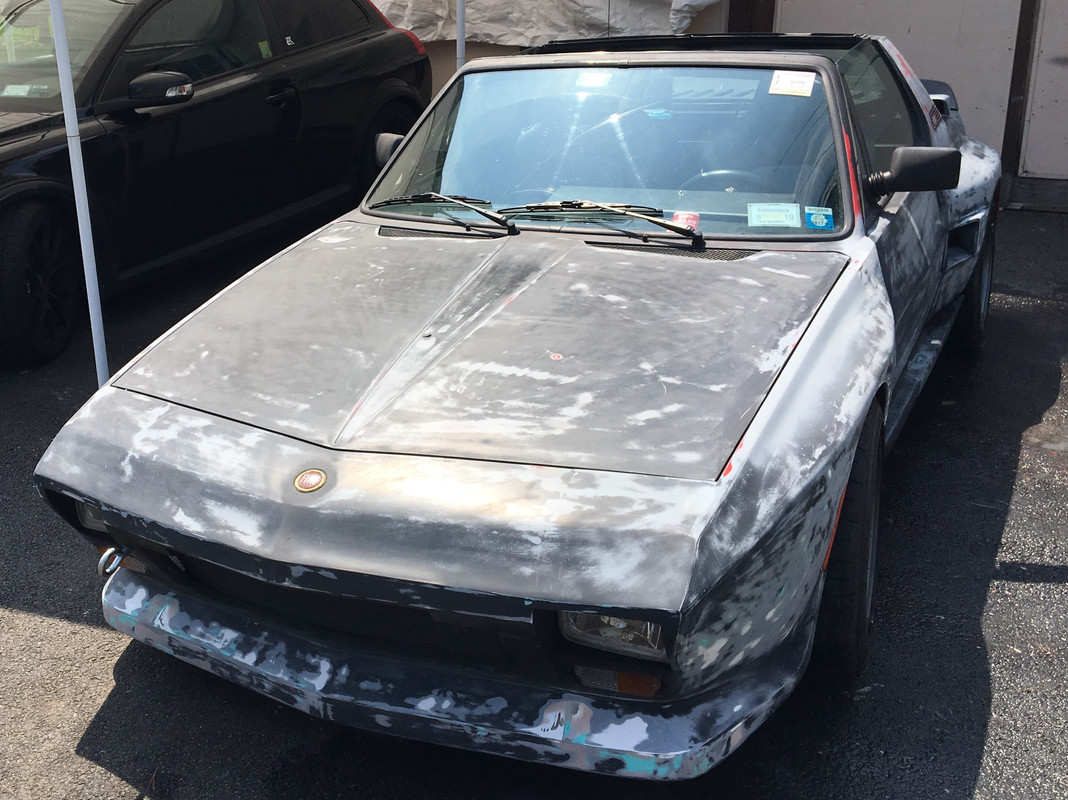
I was looking at the images pretty carefully, I can easily say you have done a great job. Details look consistent, surfaces are true and so far as I can see with limited imagery the curves are fair (not fair in terms of work but fair in terms of continuity which means they are correct/right/pleasing). Really nice job. As my friend Scott Stickle would say, I am suitably impressed
I would love to see it in person but I can't get away to Carlisle, despite it having been on my list for a very long time.
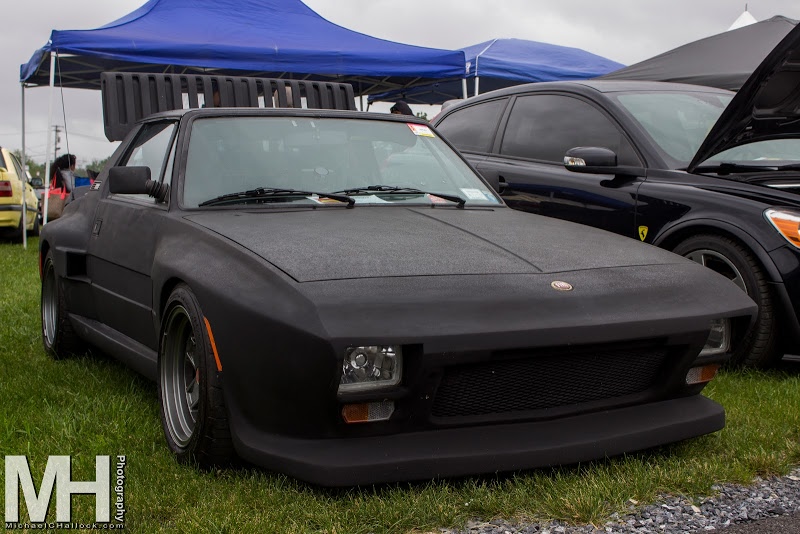
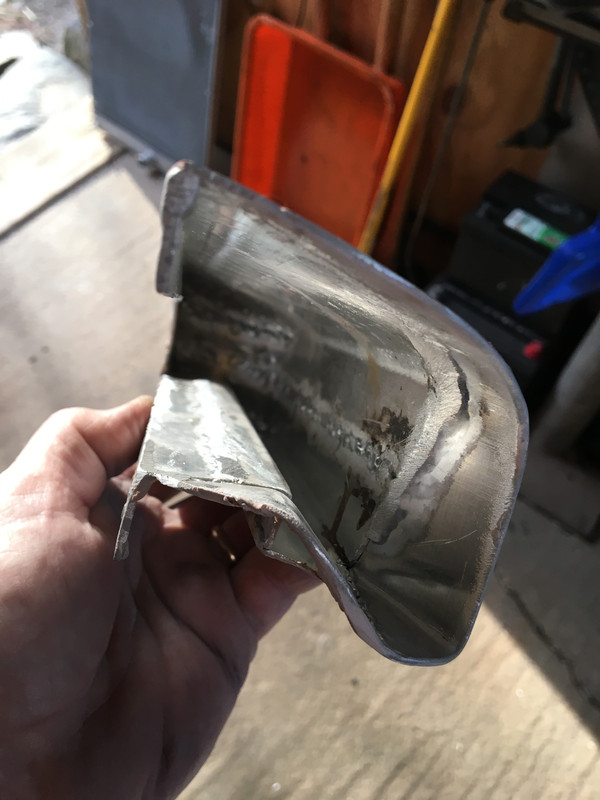
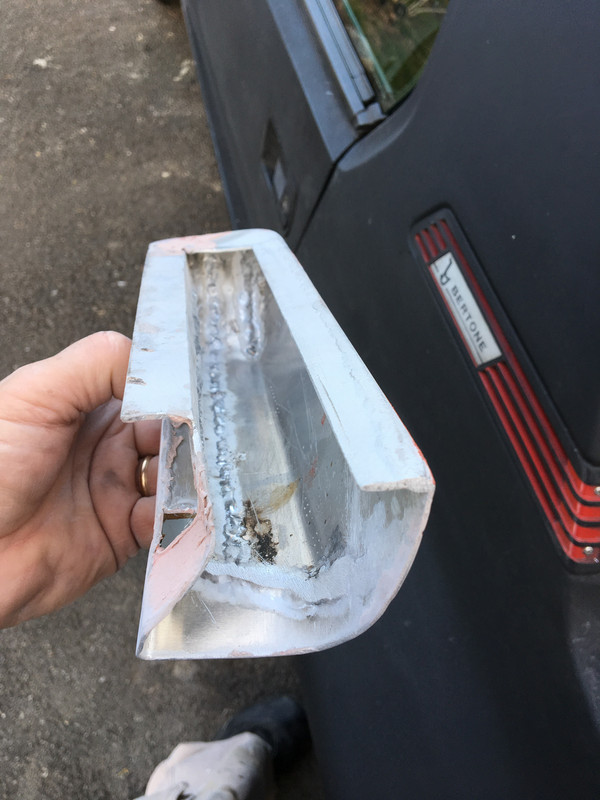
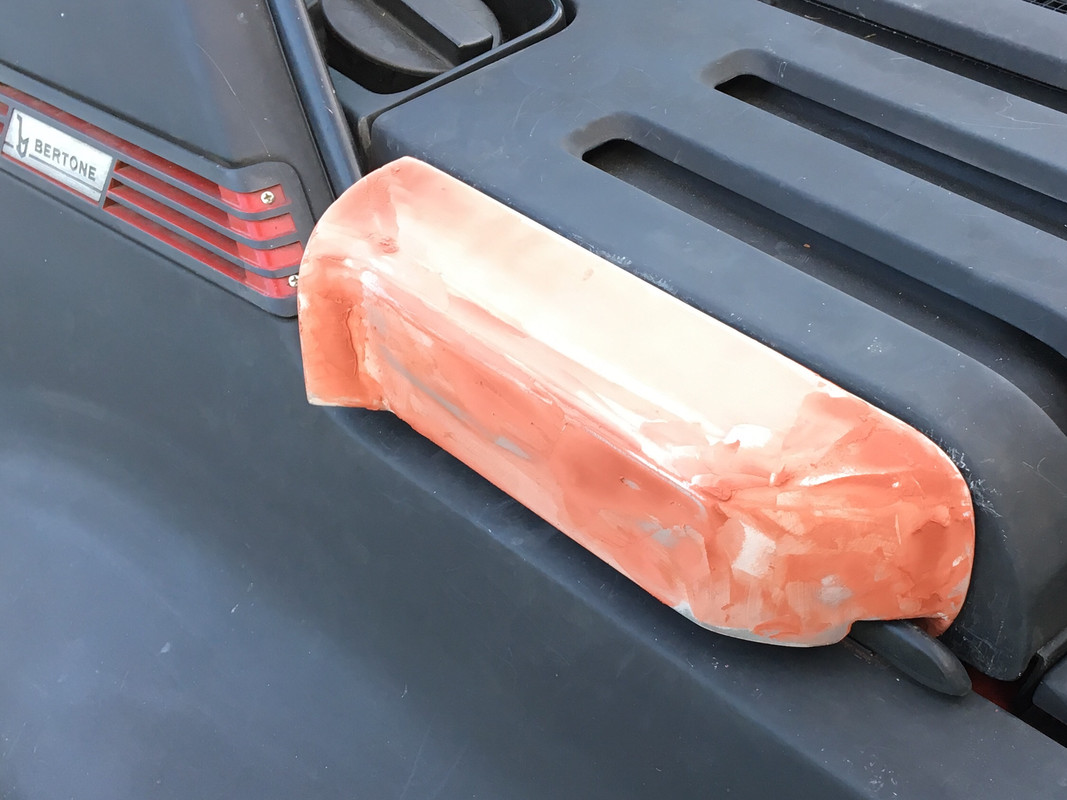
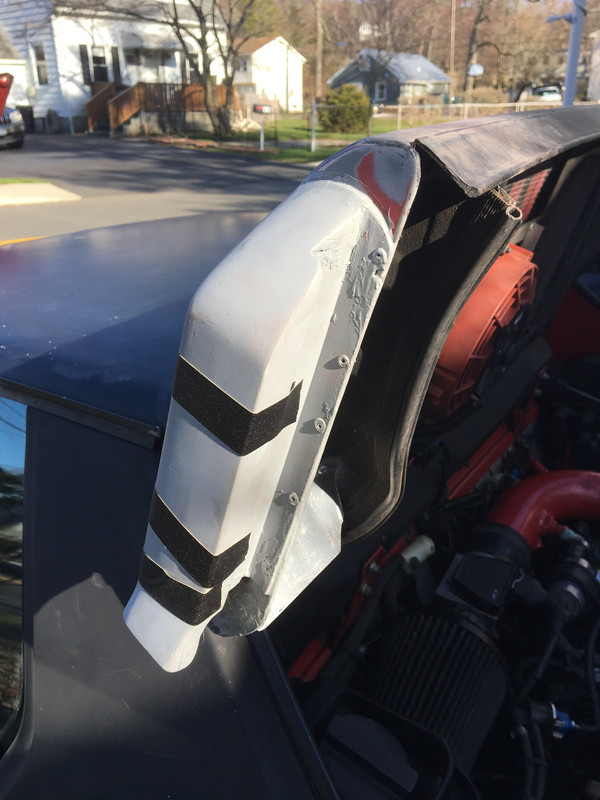
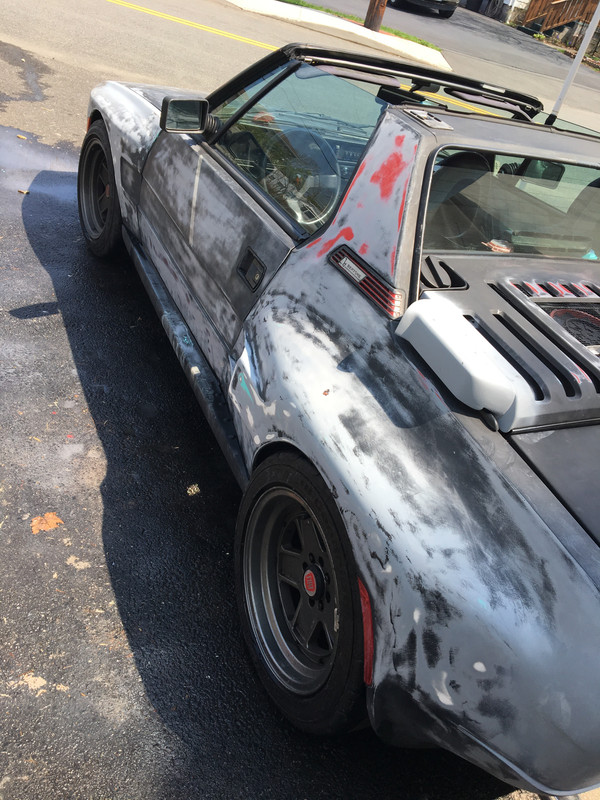
Nice aluminum fabrication work. Looks even better than what I imagined from the mock-up, and I liked that.
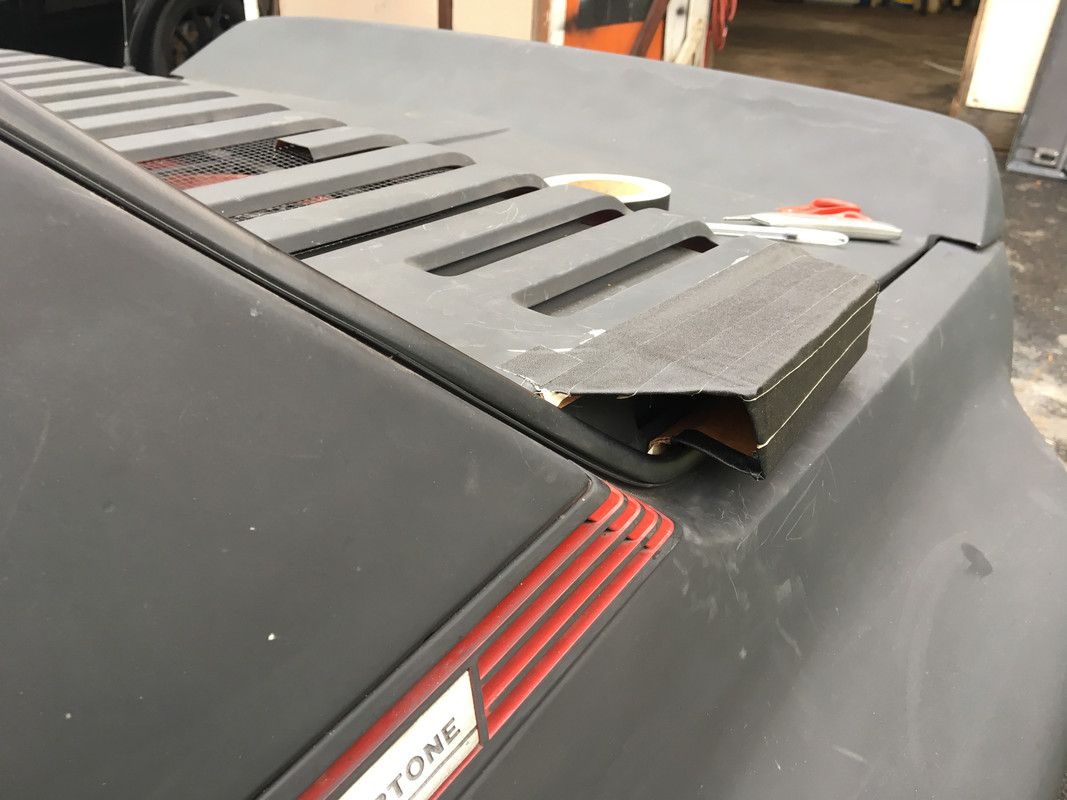
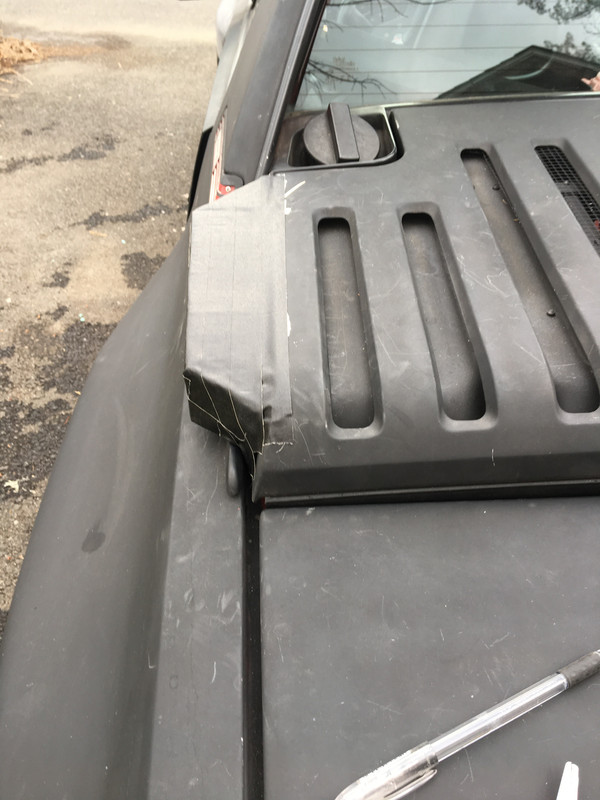
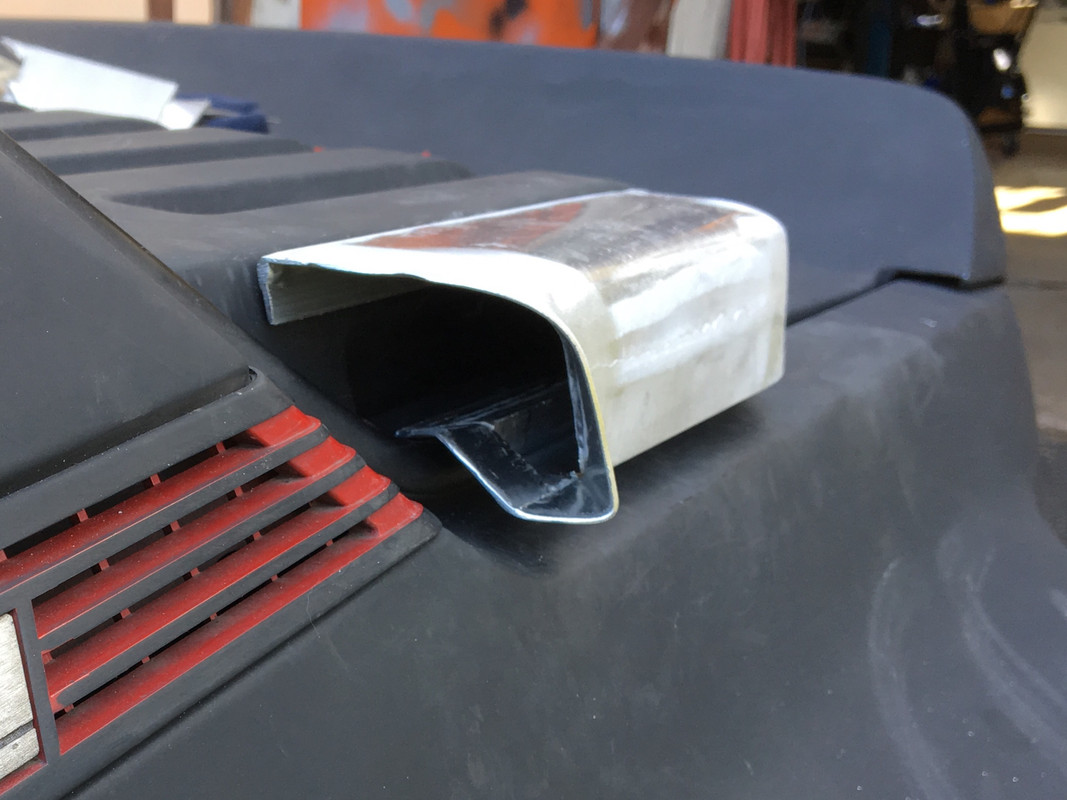
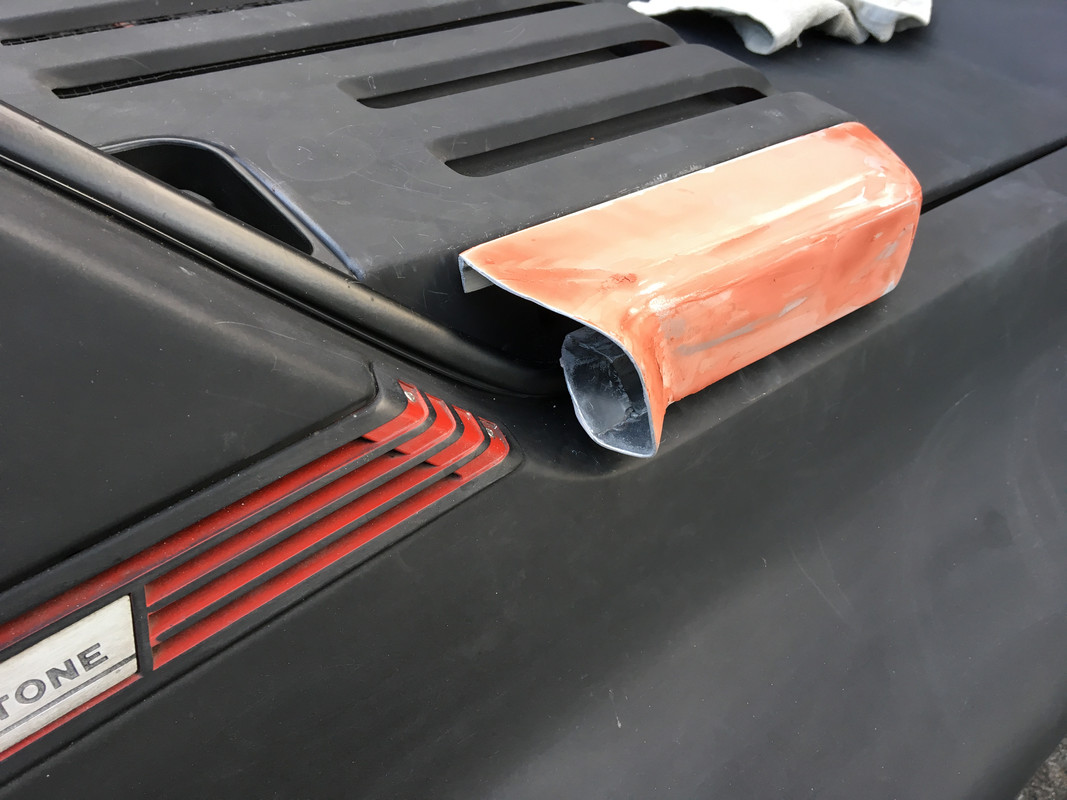
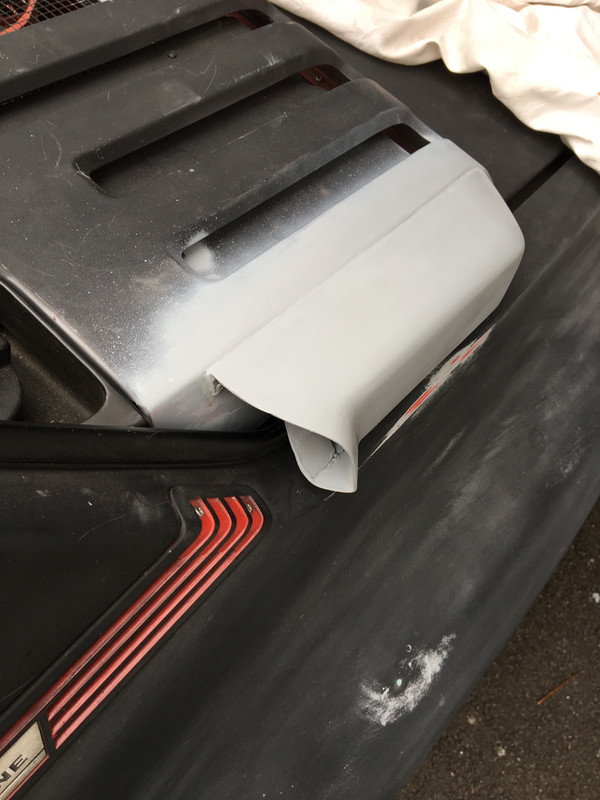
Depending how much air it collects, would it benefit from opening-up this hole?
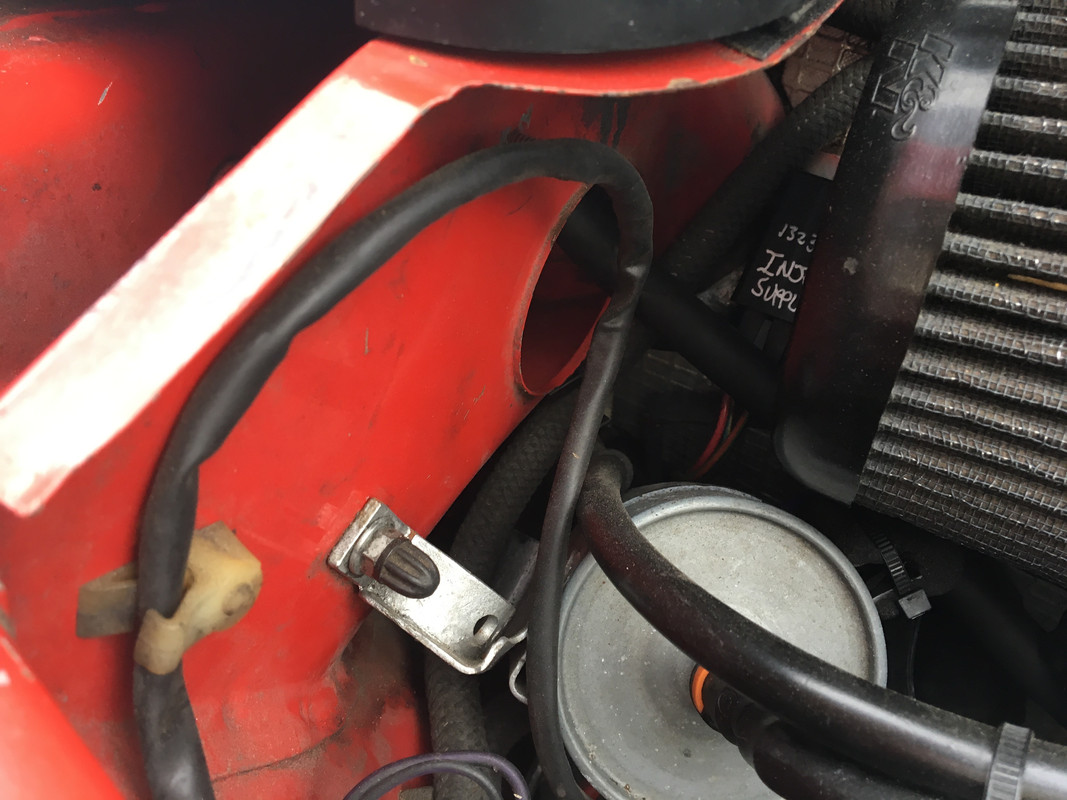
View attachment 10576
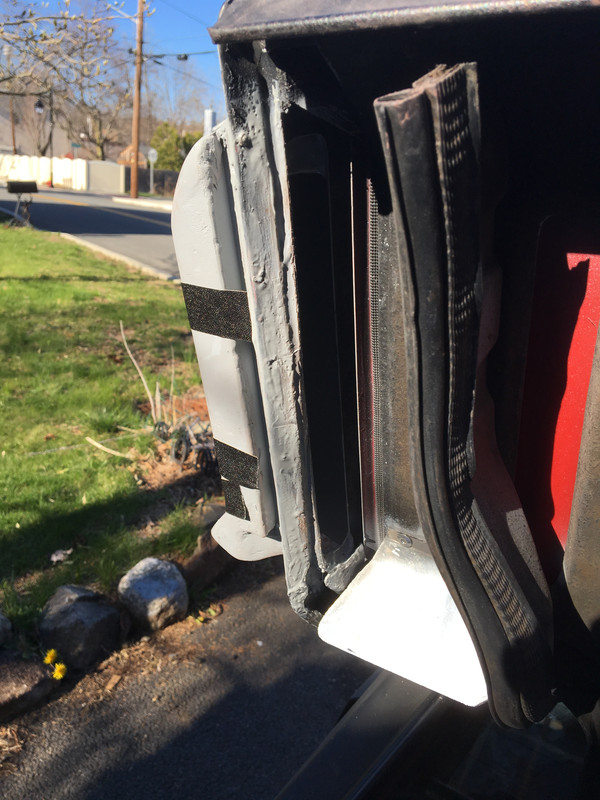
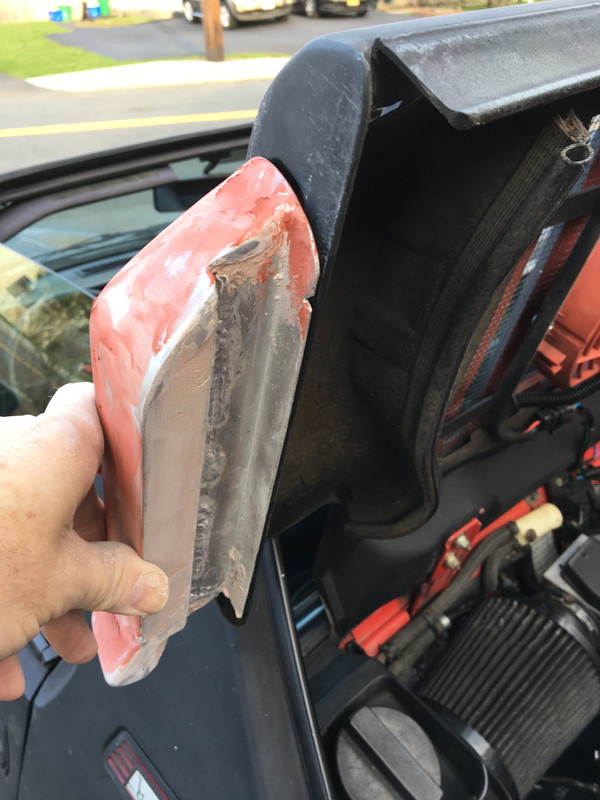
I have an idea but you may not want to hear it as it would require more work but it would allow you to dump air onto the air filter
I was thinking in terms of reducing any resistance to the movement of the air, therefore allowing the best possible volume of flow. Compare the scoop's intake opening surface area with the round hole's surface area, that might help determine if it will help to open it more.I’m considering opening it up, but given it’s already as large as the filter end entrance, I’m not sure that is worth the effort.
It really can't hurt anything to have it, so why not. It should offer SOME benefit, and it looks good. Nuff said.I have no practical data to support my suppositions regarding whether this will actually feed additional air to any meaningful degree

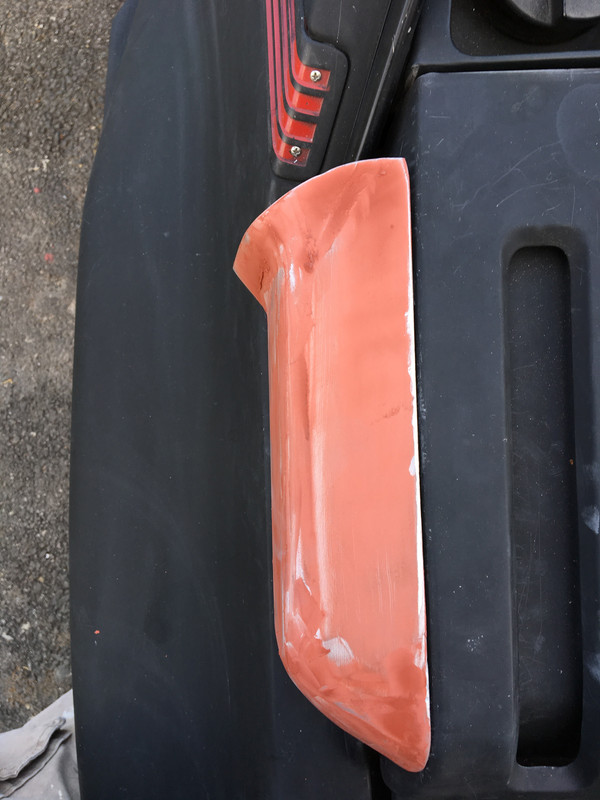
Gotta say I hate sanding. Guess I'm too ADHD.
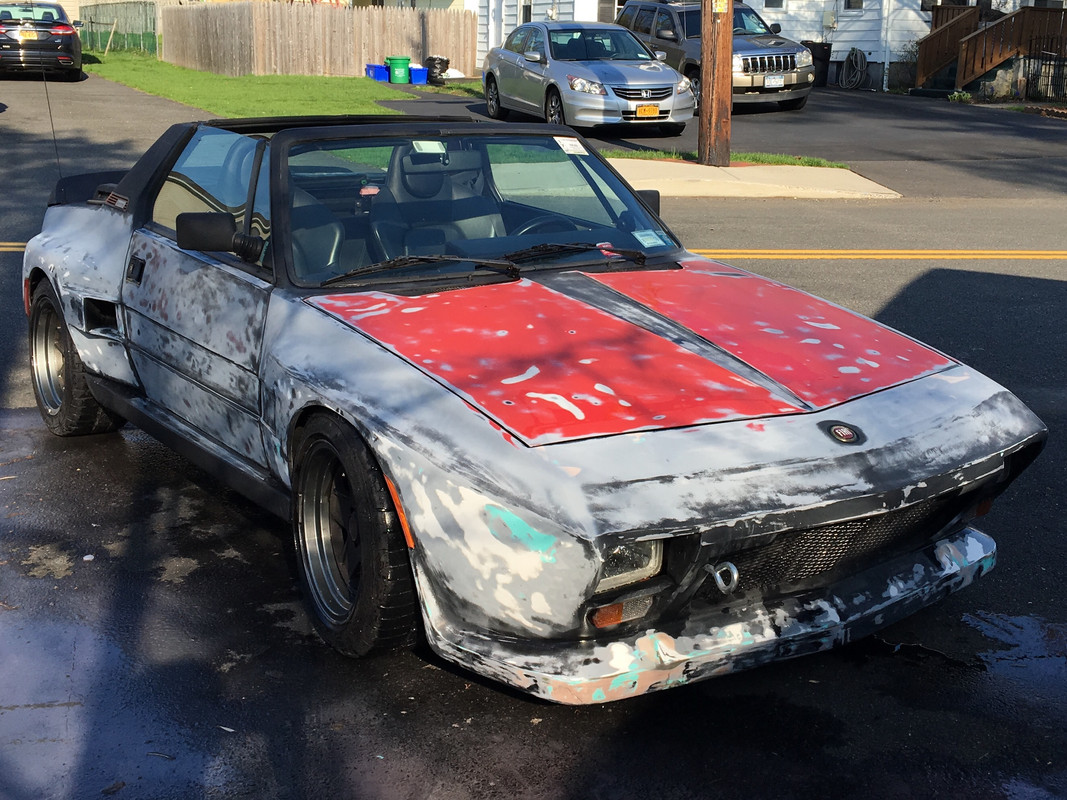
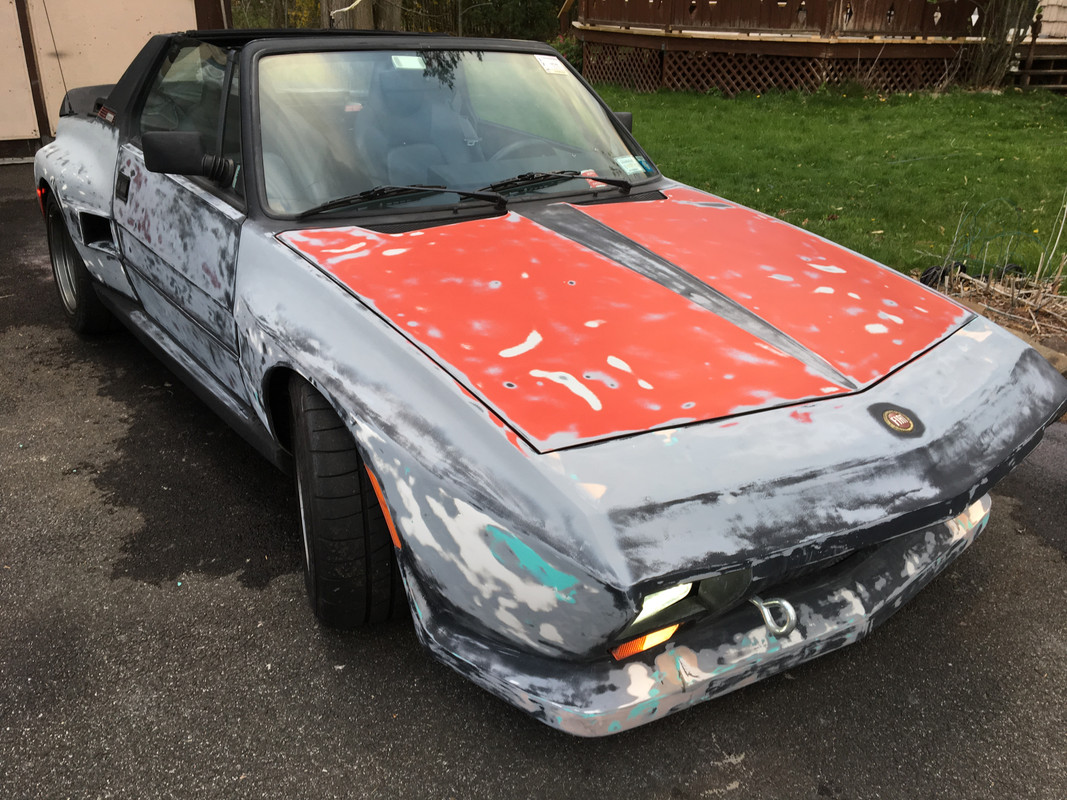
Hope I'm agreeing with you when I say I wasn't a fan of the flat black either. I don't recall if you mentioned what the color will be?