Preparing For Dallara Body Kit

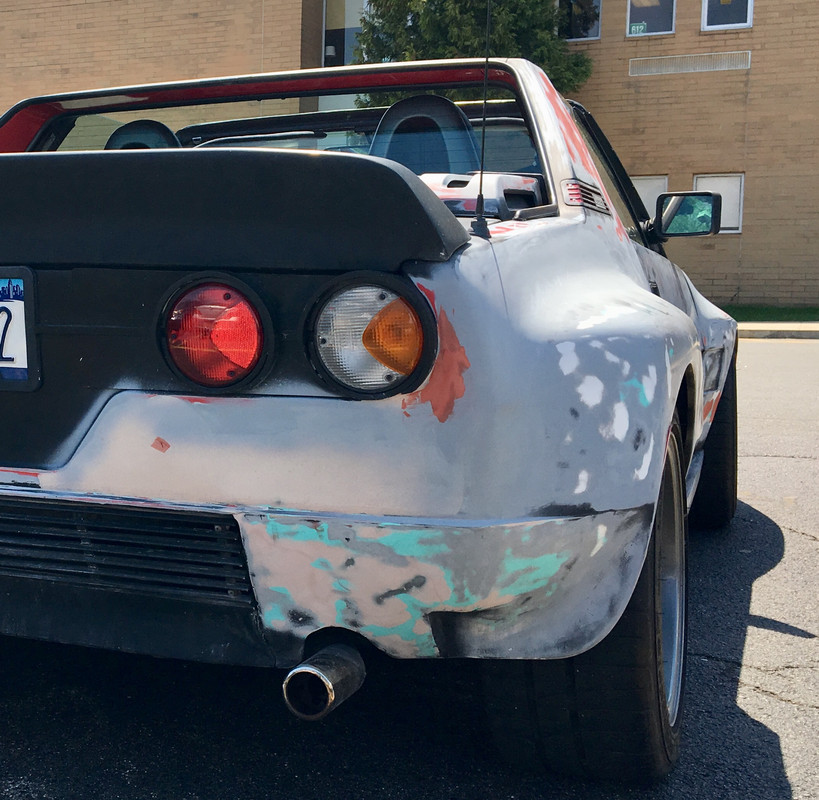
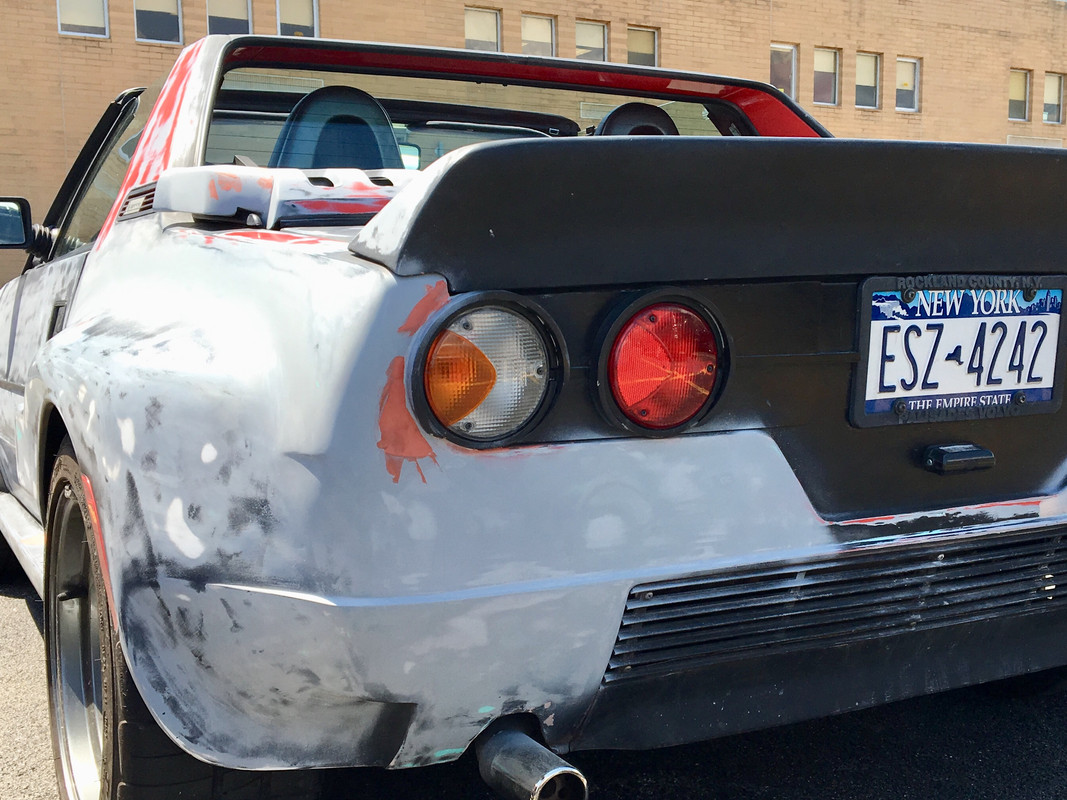
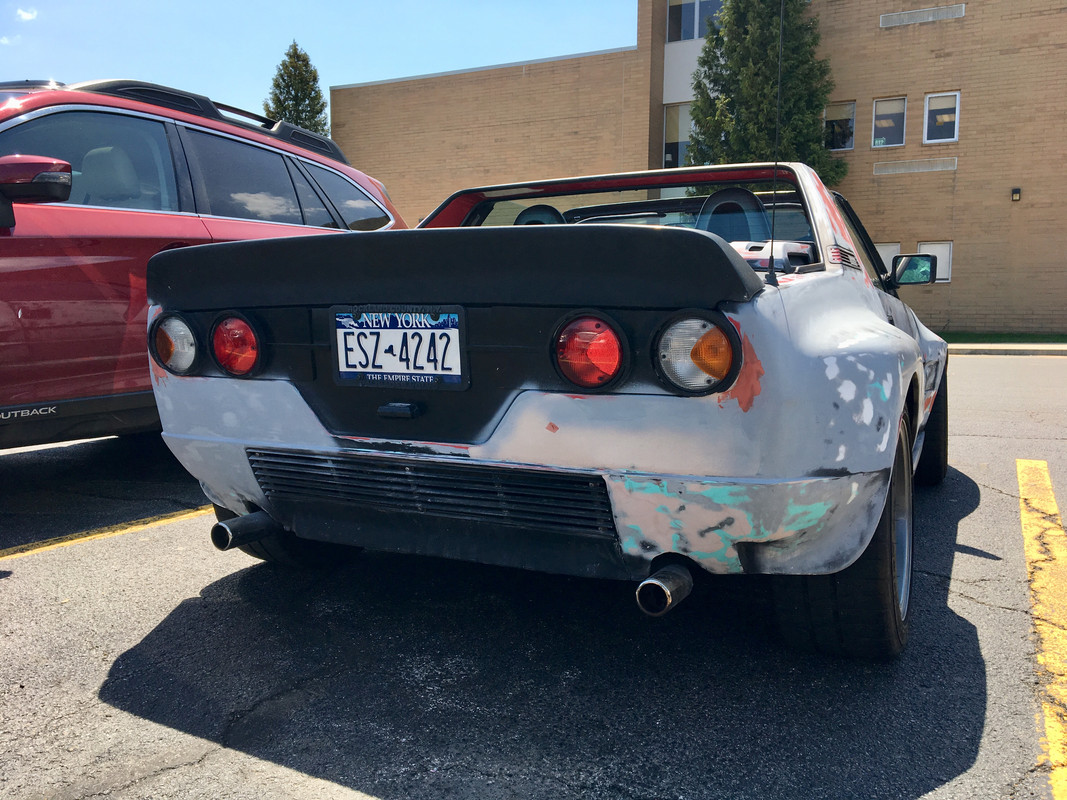
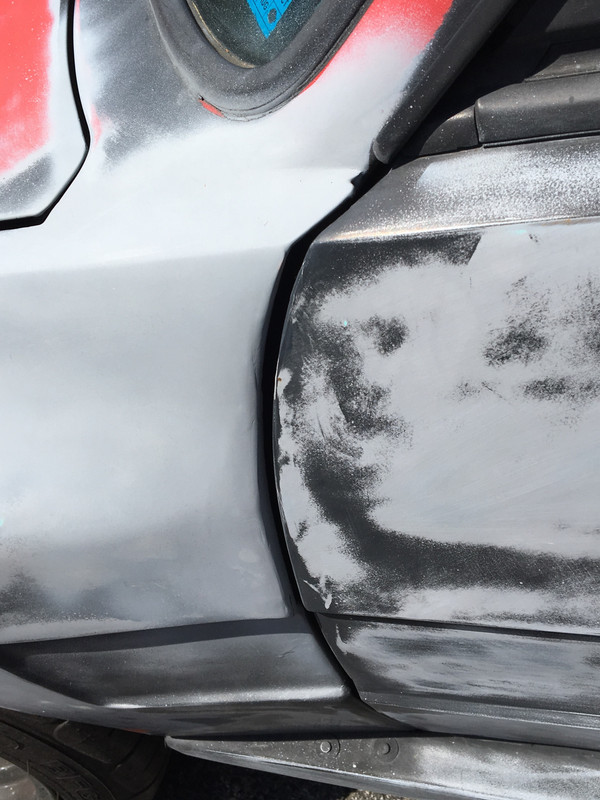
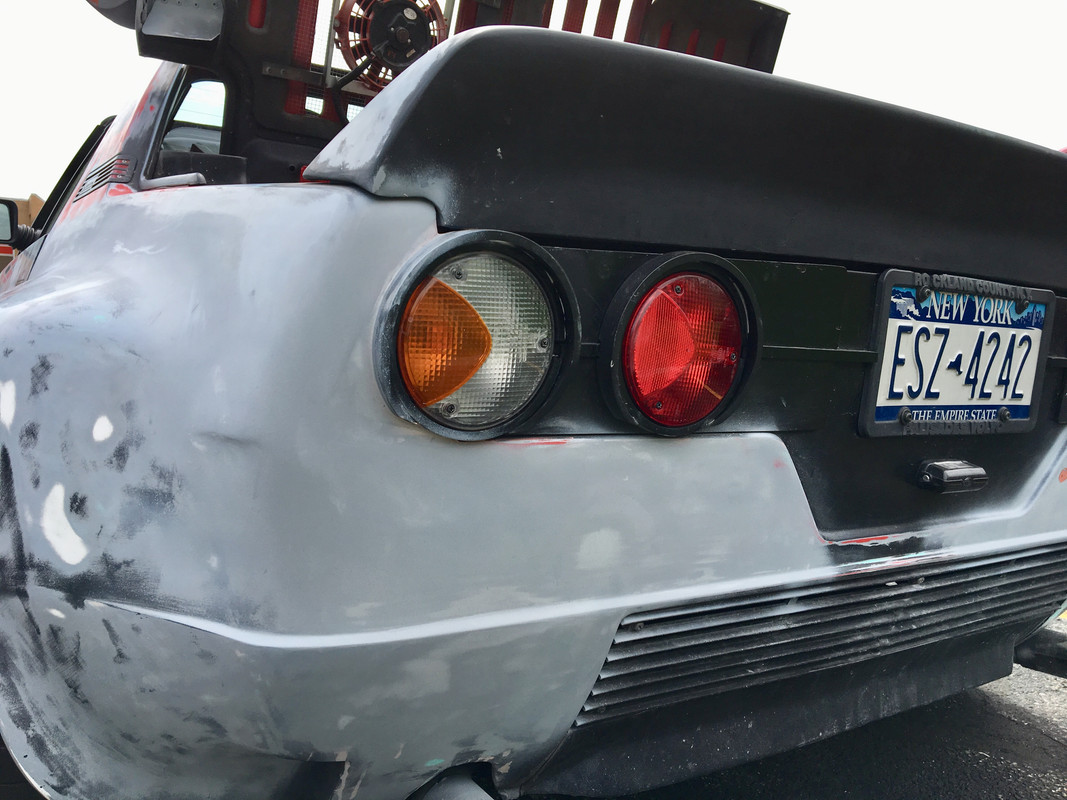
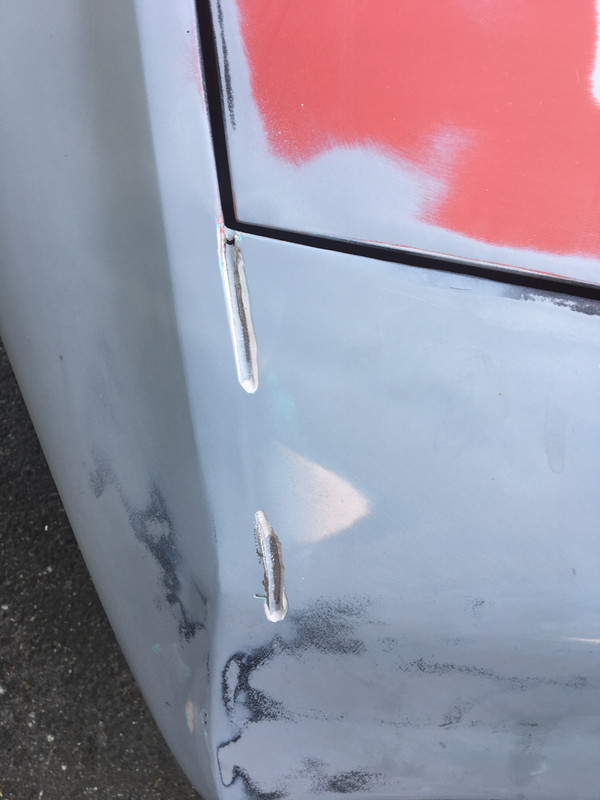
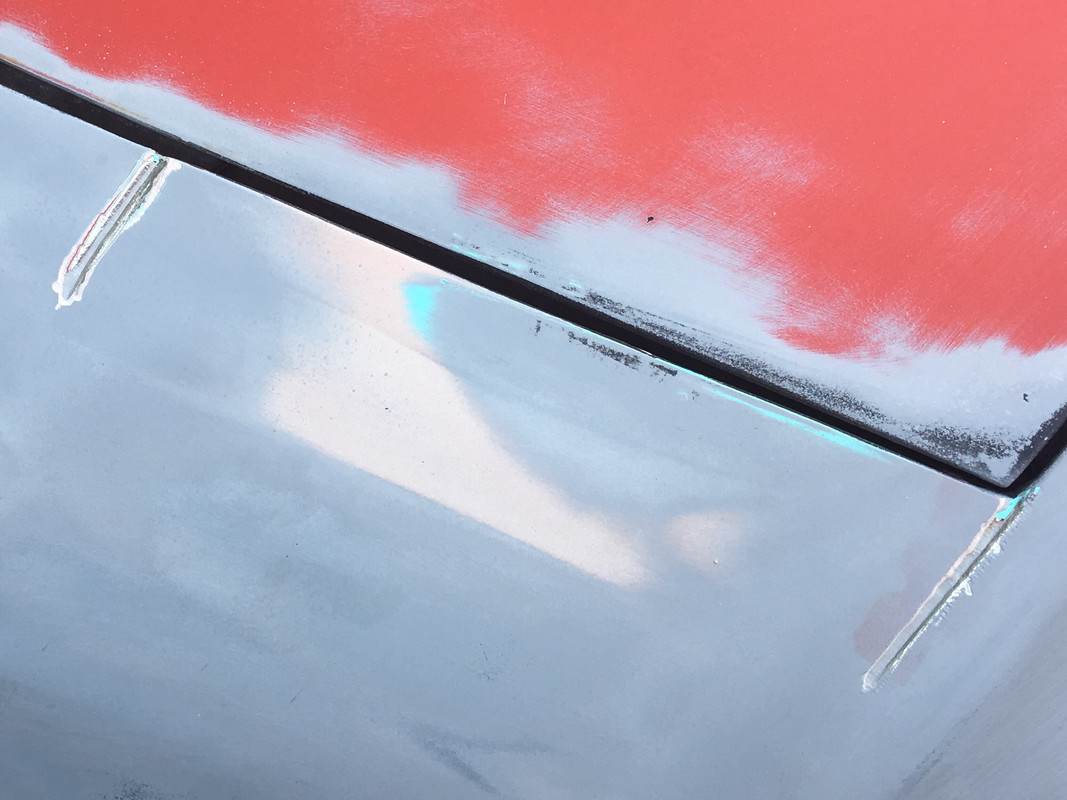
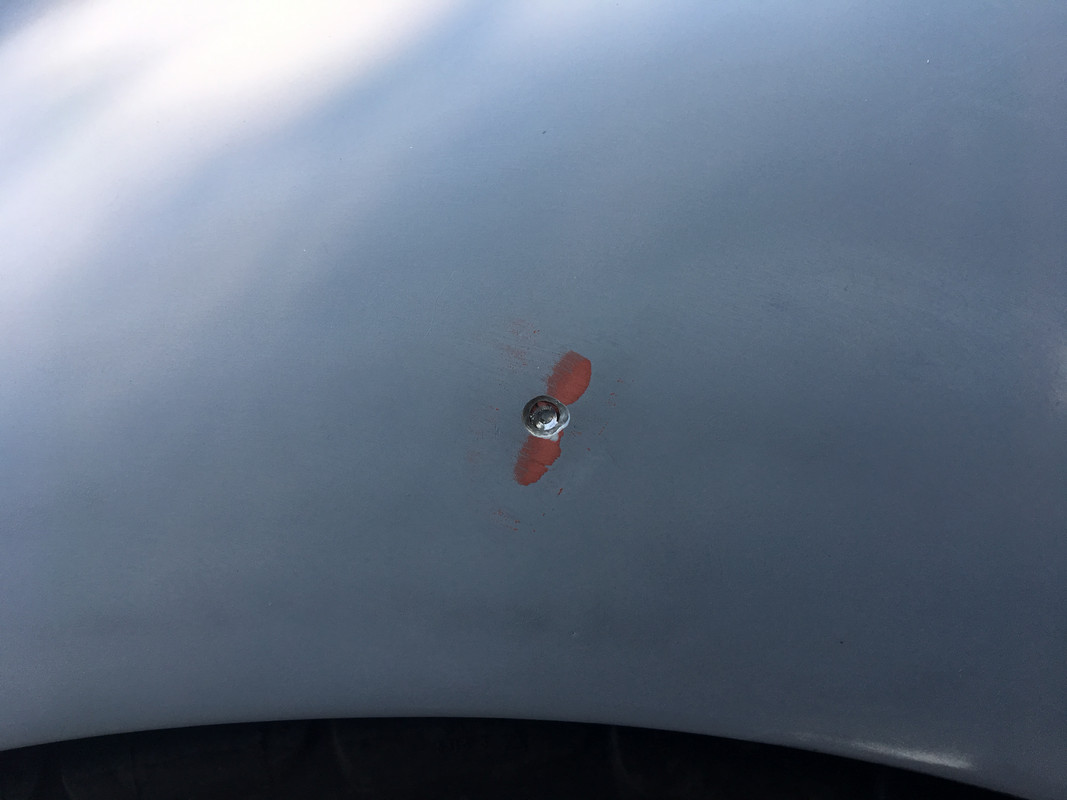
Nice. I don't care for the original color on the one I'm restoring, a light blue metallic with a silvery tint. Although its still the original paint, it is too far oxidized and depleted to rescue. Plus I'm doing some mild body modifications so a repaint will be necessary. I'm considering a silver with a blue-ish tint that might allow me to avoid changing the color in the engine bay, trunks, etc. That would certainly be a lot easier than doing a complete color change. Not sure if it will work, but I don't like leaving those areas unpainted in a obvious different color. One option might be to do a quick black cover-up of them.
 
One advantage of waiting is that all the shrinkage of the various materials will have happened so when you sand it is unlikely that things will sink or shrink further giving you a better surface.
 
Jeff - I would say you will be unhappy if you paint the bay/frunk black- or any color that isn’t close to the rest of he body. Volvo used a very nice light blue metallic in the ‘80’s - early 90’s.... :)

Tony, thanks for the compliment - I did get featured in several in-house Volvo Parts Division videos back in the early ‘80’s, since I was so passionate about them :D

Karl - I would assume you are correct - I have a couple minor seam cracks where I did the pop up conceal that became present not long after the work was done, 1 1/2 years ago now - they haven’t worsened since, so I’m hoping once I address those, the rest of the prep will go pretty smoothly.
 
Worked for a little bit on the air guides for the new side scoop

Two guides in lid

3_F228693-2_A46-4_B07-81_EC-313_F25264662.jpg


Two sections that comprise the lower guide in the side well. Secured to the gas filler trim. Forward/upper section:

9230_FE32-9784-4598-_AAE9-84_D787_ACA4_F7.jpg


Lower (rearward section) left gaps for water to drain into lower cavity. Had to be sectioned, or no way to install or remove without first removing the filler trim. Not going that route, since this has to be readily removable to service the drain

256380_E3-_C7_F8-494_B-833_D-69923_CDC80_C2.jpg
 
Did the Ricardo Borja door stop strut cap install :D N313-561 (or Stanley 81-9037) is the part number for a pair.


9977_D03_A-48_E4-4597-_BAC4-_BC3_DD868_FC70.jpg


They fit very well - snug fit nestled about 1/2” into the sheet metal lip opening.

CFE78_B2_F-2_DA9-4_DEB-8083-_A9_A30_A1_A6_CFB.jpg
 
Last edited:
WOW!
I bet you actually read the instructions first, huh!
(HA!)

No instructions required:D

Ricardo did a superb job of locating these - profile looks good , and with a quick spritz of a Matt flexible paint, they look perfect. Since they also lack the inner lip of the original there is nothing to get eaten away at as the mounts wear & the safety washer starts to go sideways in the hole.
 
Chipping away at the various imperfections in the bodywork:

Cut back and filled the corners of the tail panel where the lights used to run out into the quarter. That design element makes no sense with my setup. Main filler work done, just need to work the surface imperfections

19_D1_ADB1-_D2_DE-464_C-_B6_AF-_D2389_ED86_BC0.jpg


A3777_C3_E-27_D0-4_BCE-9_BED-288392_F99885.jpg


1562_EB9_B-5_E6_D-4243-_A273-59113_B5_FAE17.jpg


The top rear front fender into door area has been bugging me - besides the minor surface details, the cut and angle where the fiberglass panel meets the original sheet metal edge is uneven and soft (and too shallow to level out going forward):

F272_A1_FA-_F4_D3-4_AE3-_BA5_A-9_C0_A80_E51854.jpg


I cut this back today and used a little filler to build up that lip for a smoother line with the door skin. I’ll add pic tomorrow. Still needs more though. Other niggling details to resolve, and upper sill repairs needed before final prime.
 
Last edited:
They look, how to say it, somewhat enhanced? Rather pneumatic with a very youthful roundness even in repose.

Nice job, are these hollow on the backside and just sit down in the steel cup or?

No comment on first remarks :D
Hollow form. They come with a plastic insert with double stick tape for intended use.
 
They look, how to say it, somewhat enhanced? Rather pneumatic with a very youthful roundness even in repose.

Nice job, are these hollow on the backside and just sit down in the steel cup or?

Yeah Karl, as Hussein said... these are door handle stops made to stick on the wall and prevent doorknobs from making holes in drywall. I use regular bottom stops but have added these when they have failed. HA!

I usually add a bit of silicone cement to mine and glue them to the top of the strut rods and washers. You can also cut open the backside and squish them over the rod and washer and tuck it under the sheet metal as well. It finishes off the sheet metal for a clean look. I use (guess what?) Duplicolor Flat Black Fabric and Vinyl spray...
 
Had to cut back seams to exposed metal in the nose - there were stress cracks from the original bonding that I could not fill.

5_EC0_F5_C6-3411-4_F24-92_B0-_D80_F4732212_C.jpg


CF814_D78-_C1_F1-4705-8_E51-76362_D0_C9613.jpg


..and a rivet joint in each rear fender...

77_DCFC42-_A893-44_CE-_A29_C-_F9170_F6_B5368.jpg


106_EDB06-_AF8_F-4_BC1-8_C80-_D7_B148_CC45_DD.jpg


Filled with the Lord Fusor epoxy

B28_D64_DE-30_FF-4798-87_E7-09_A7315_E9_F79.jpg


then (24 hrs later) filed,

6396_F010-9_E0_F-4_E47-9_C91-529_EE24_A214_C.jpg


sanded, spot puttied & primed (not shown). See how those hold up after a few days on the bad roads around here.
9086_CA98-9_C7_B-4_CB5-91_B4-_A1682_D357153.jpg
 
Last edited:
I woulda taken it back to the jerk who messed it up the first time...

HA!

Hey... when are we gonna see some COLOR on this ride?
 
Nice work on getting the last little details wrapped up.

The gap is inconsistent on the door, which may not be fixable. Have you considered deciding on which area is your “gap” and then using a rigid sheet material of that thickness placed in the gap as a dam to work the filler up to?

A propylene sheet plastic should serve or wrapping a different material the desired thickness in plastic wrap should serve as a release agent for the filler.

Not a criticism, just a suggestion as to how to get a to a solution. I know this is a hard problem to solve appropriately.
 
This vertical gap? That bothers me. What you’re looking at in terms of edges is all the original metal - I haven’t added any material. I’ve tried tweaking the hinge adjustment but nothing changes the vertical gap in a meaningful way - this door is not original to the car. Don’t recall if it was as bad with the original. I can use cardboard as a gap setter if need be. I do need to address it. It’s that area at the top that bothers me the mo st

F7330_B1_C-0_F5_D-4_DCC-_ADB2-3_C8_E63541957.jpg
 
Last edited:
Back
Top