kmead
Old enough to know better
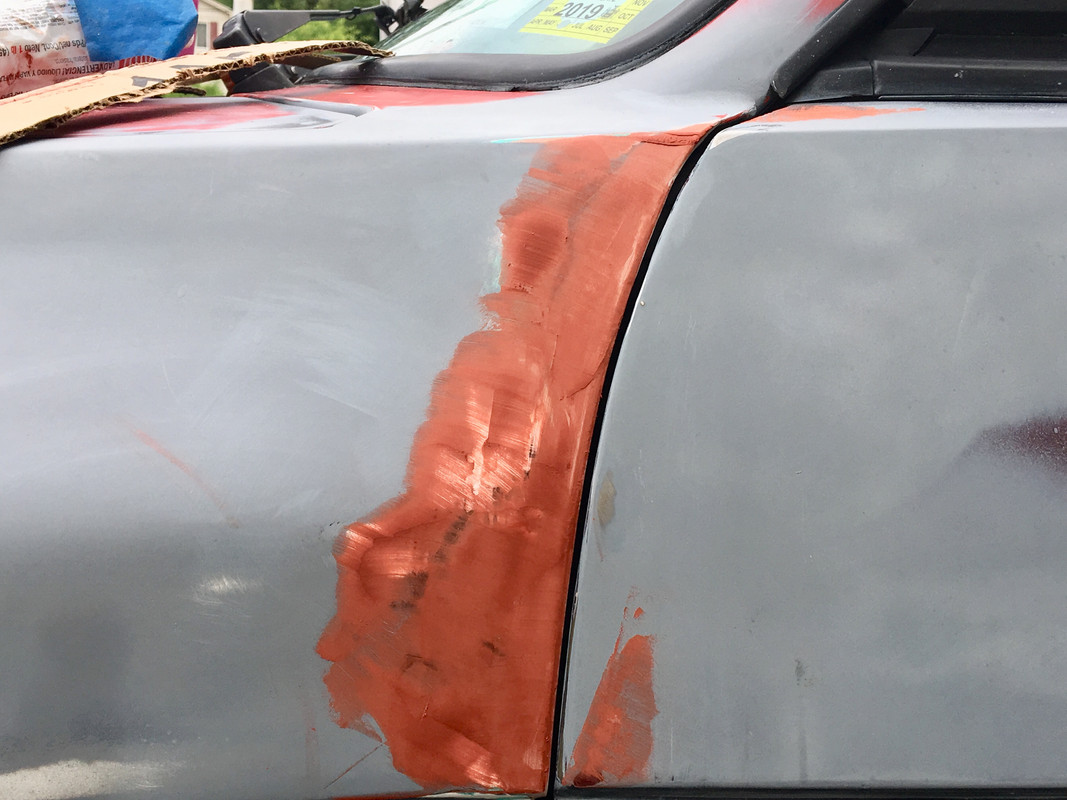
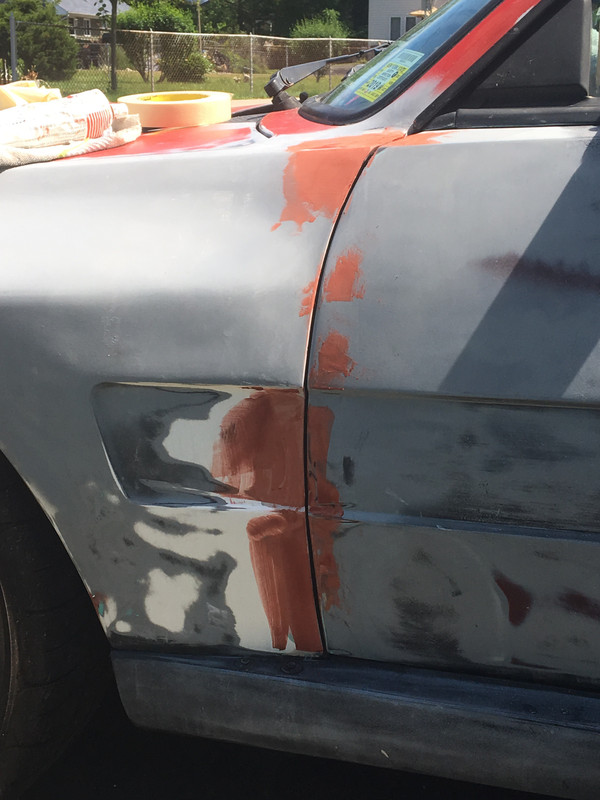
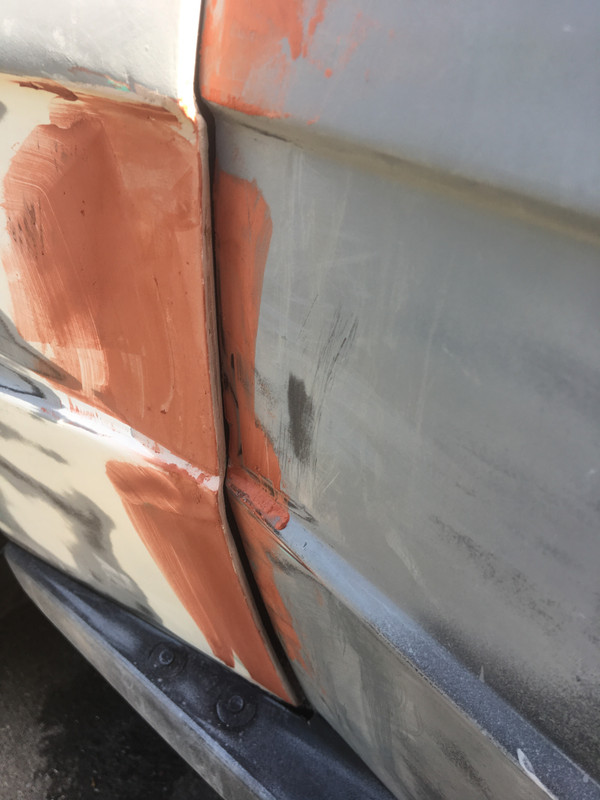
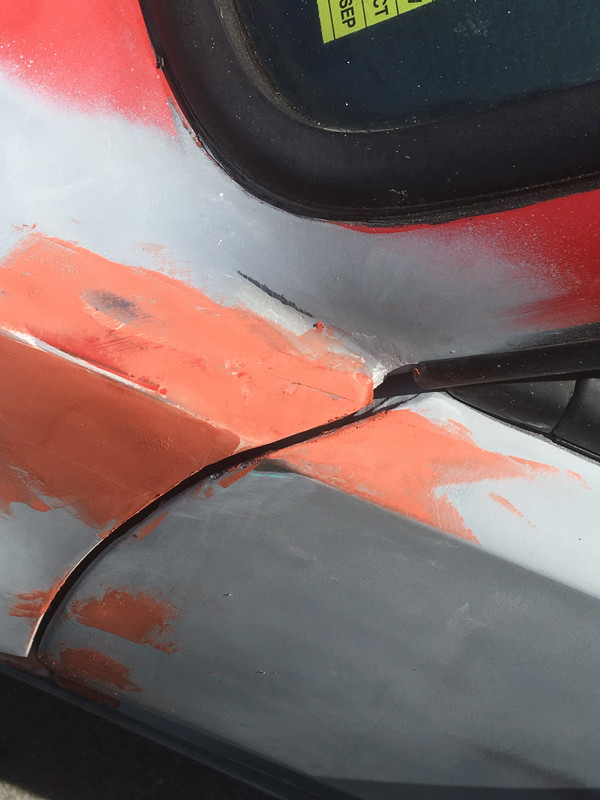
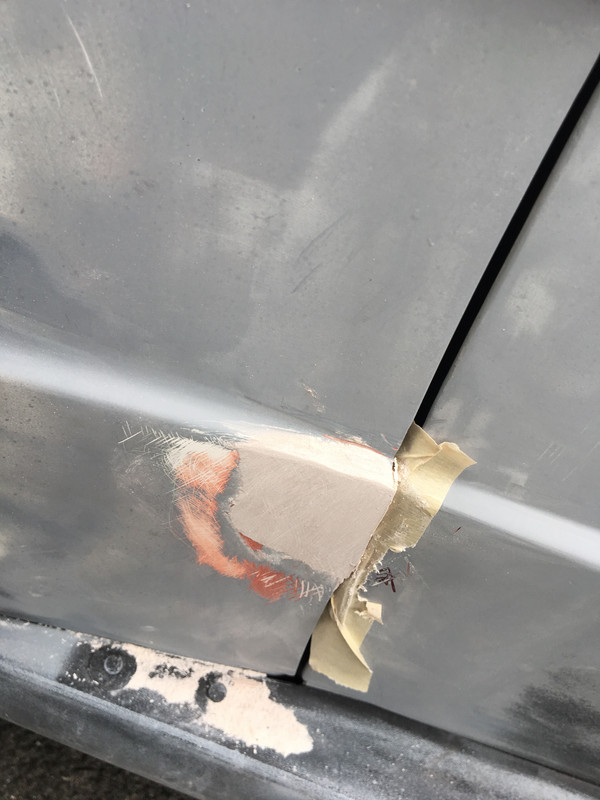
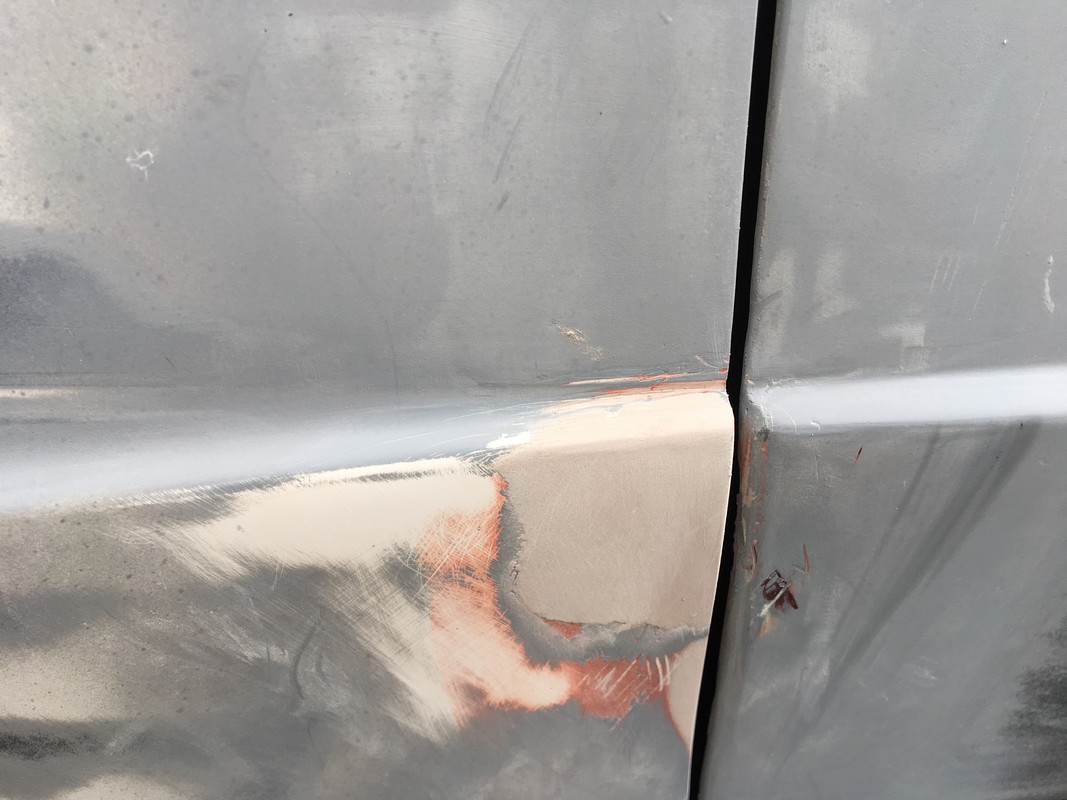
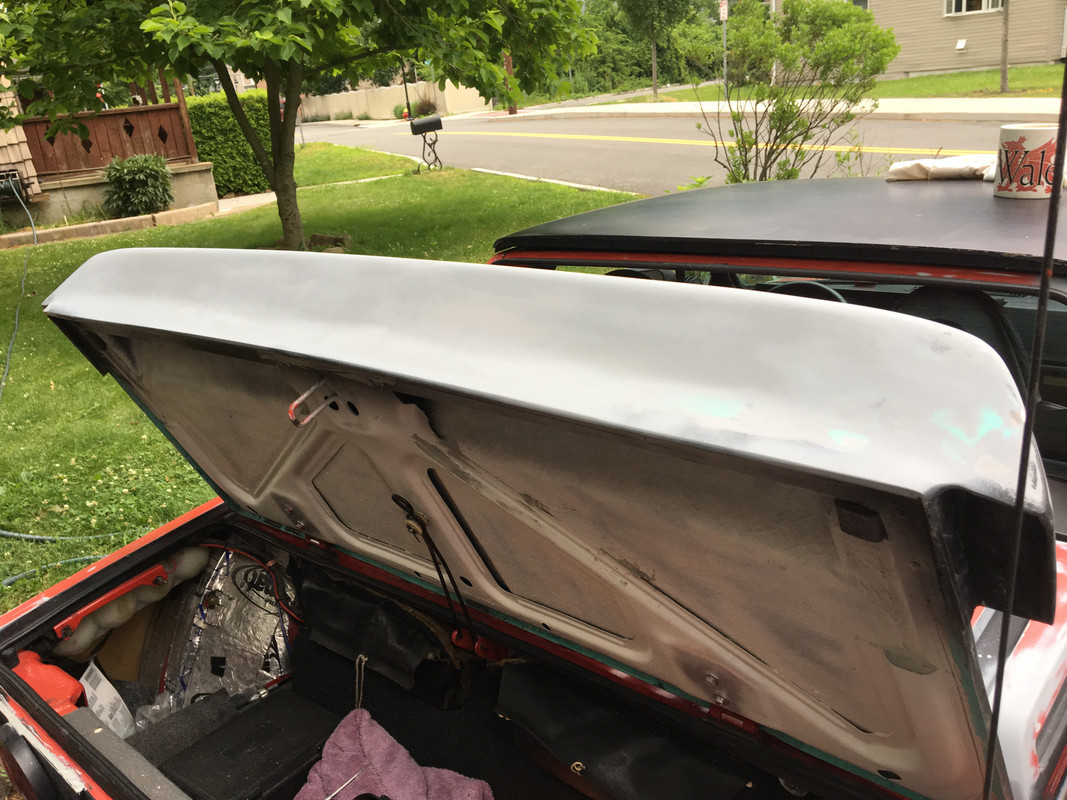
This vertical gap? That bothers me. What you’re looking at in terms of edges is all the original metal - I haven’t added any material. I’ve tried tweaking the hinge adjustment but nothing changes the vertical gap - this door is not original to the car. Don’t recall if it was as bad with the original.

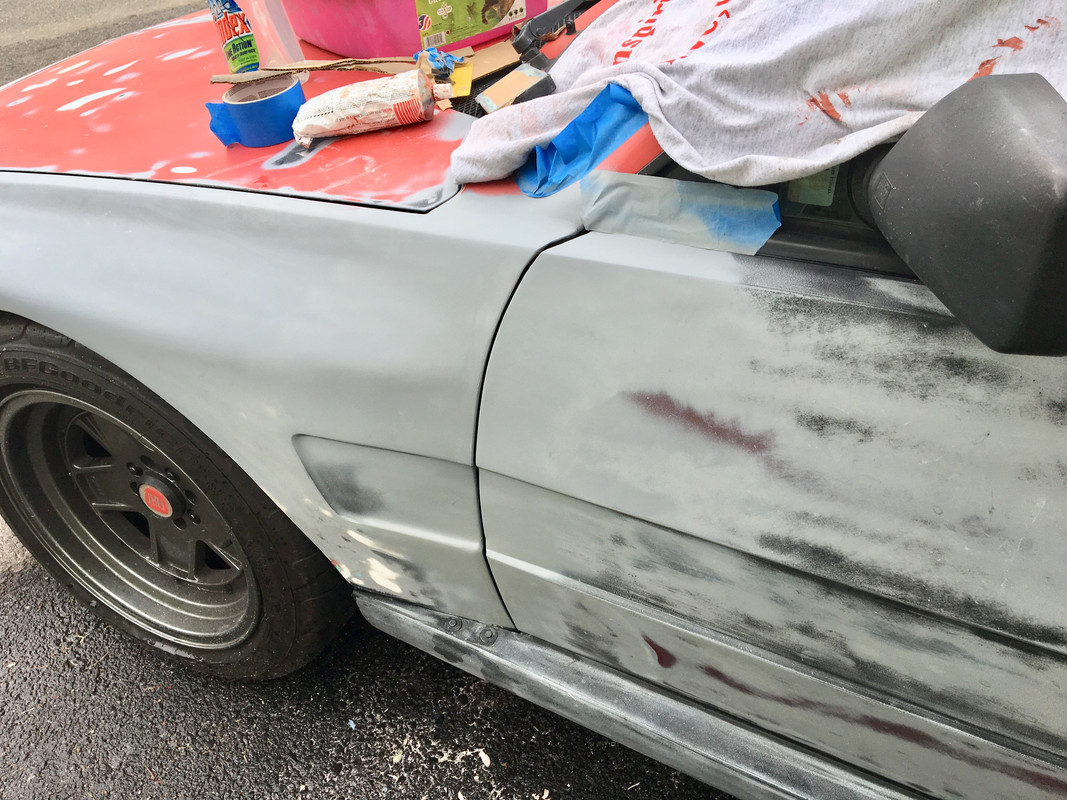
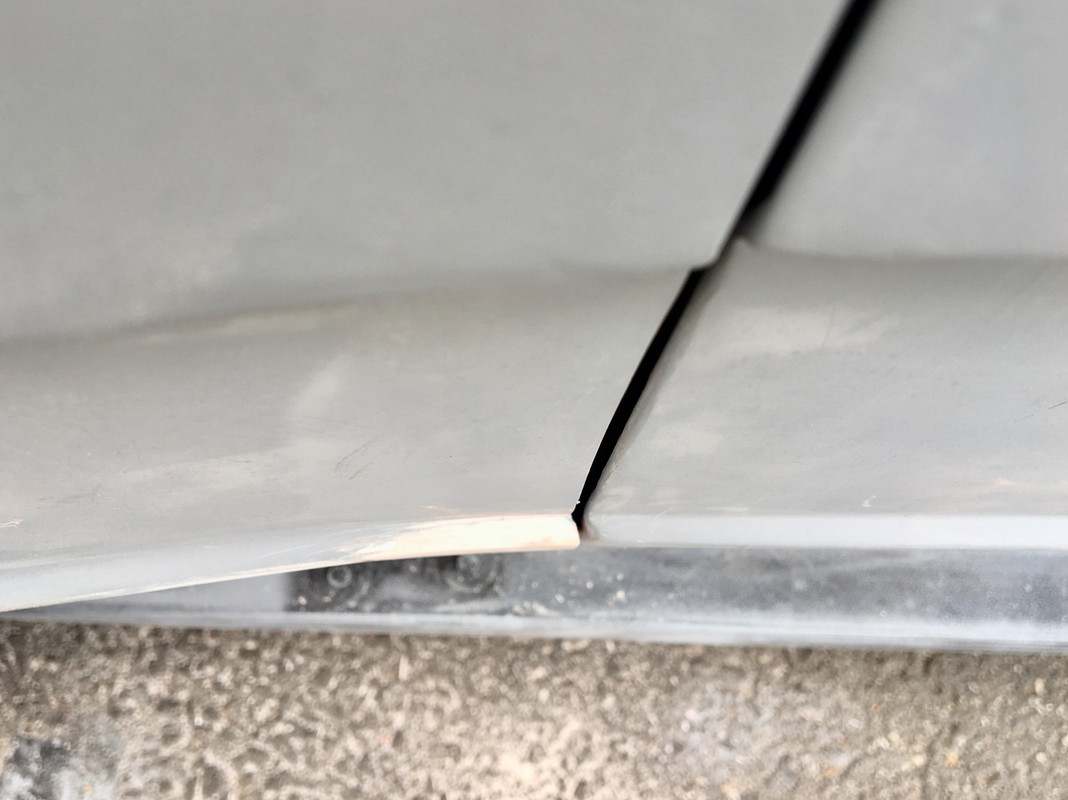
As the door has a hard line which you can work off of, I would keep the door as it is and work the bodywork to it, if it is possible.
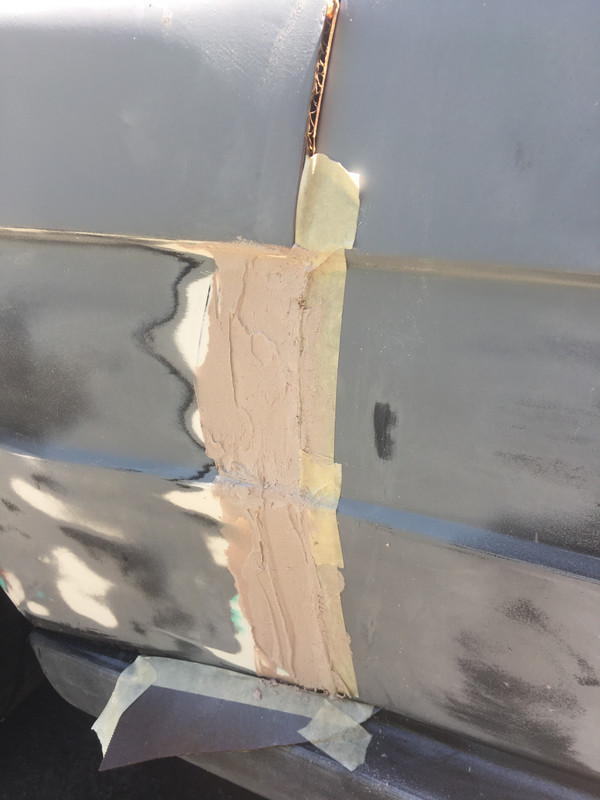
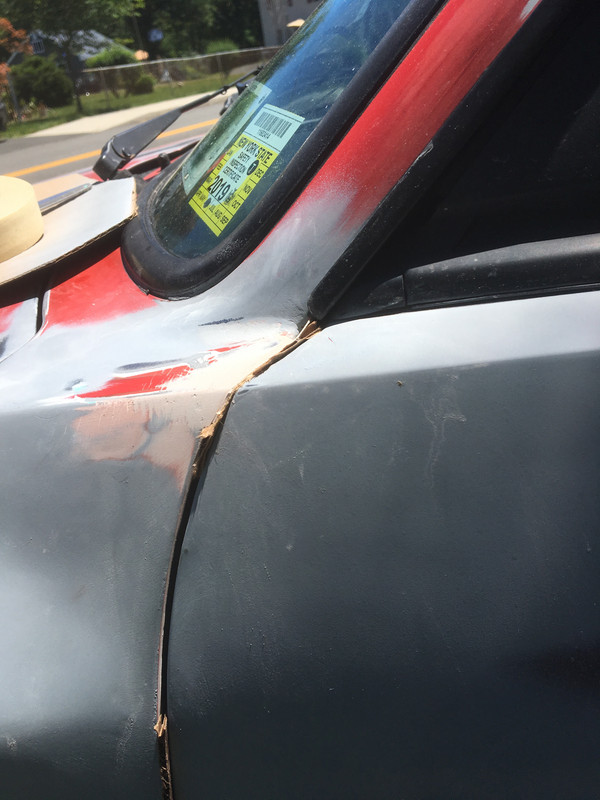
It just looks to me that the glass parts have an inconsistent edge that could be built up to give a consistent gap/reveal.