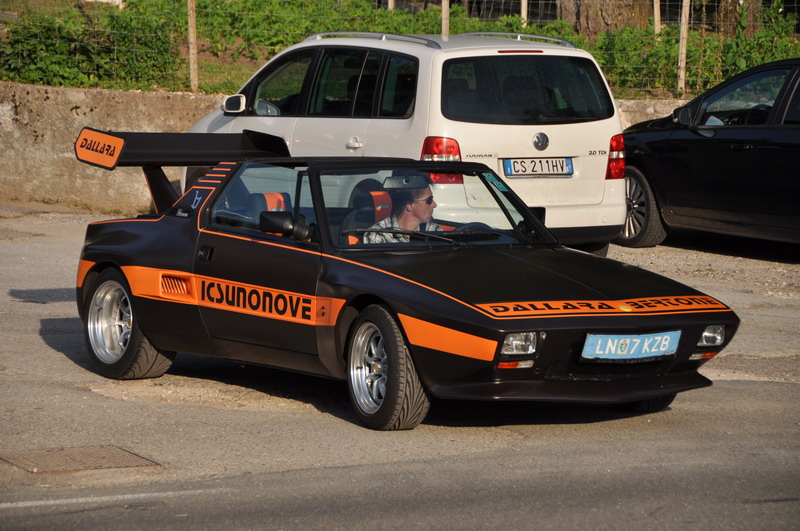
Preparing For Dallara Body Kit

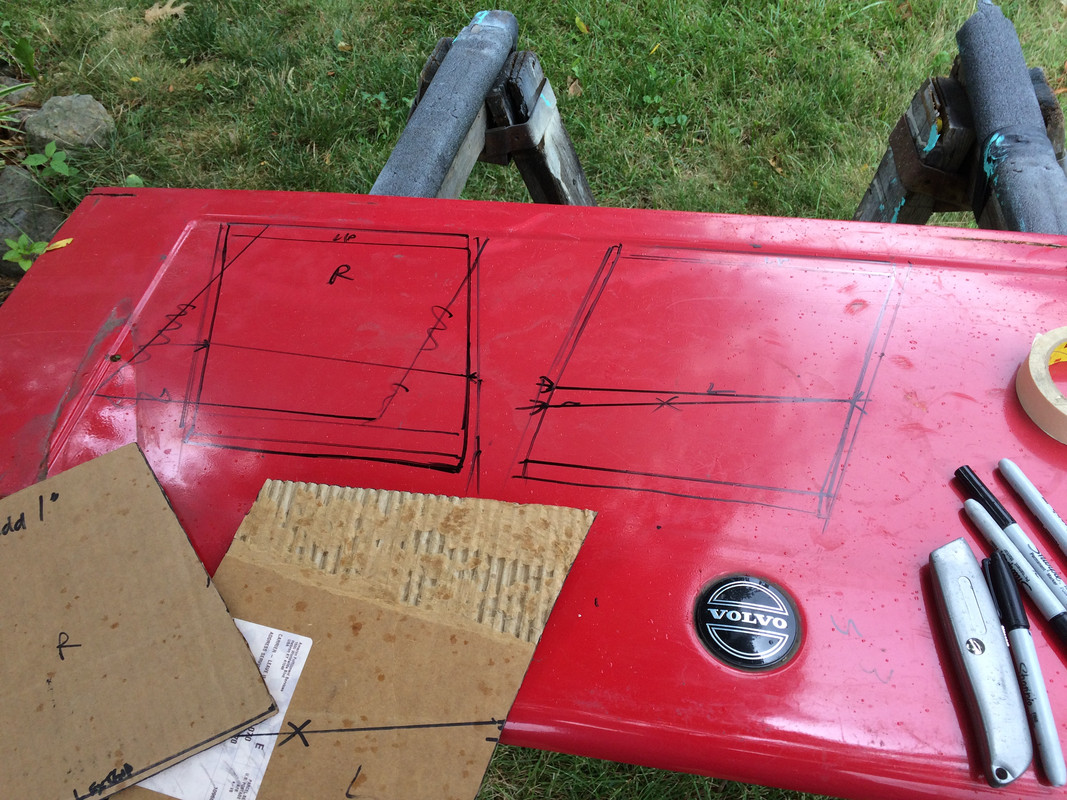
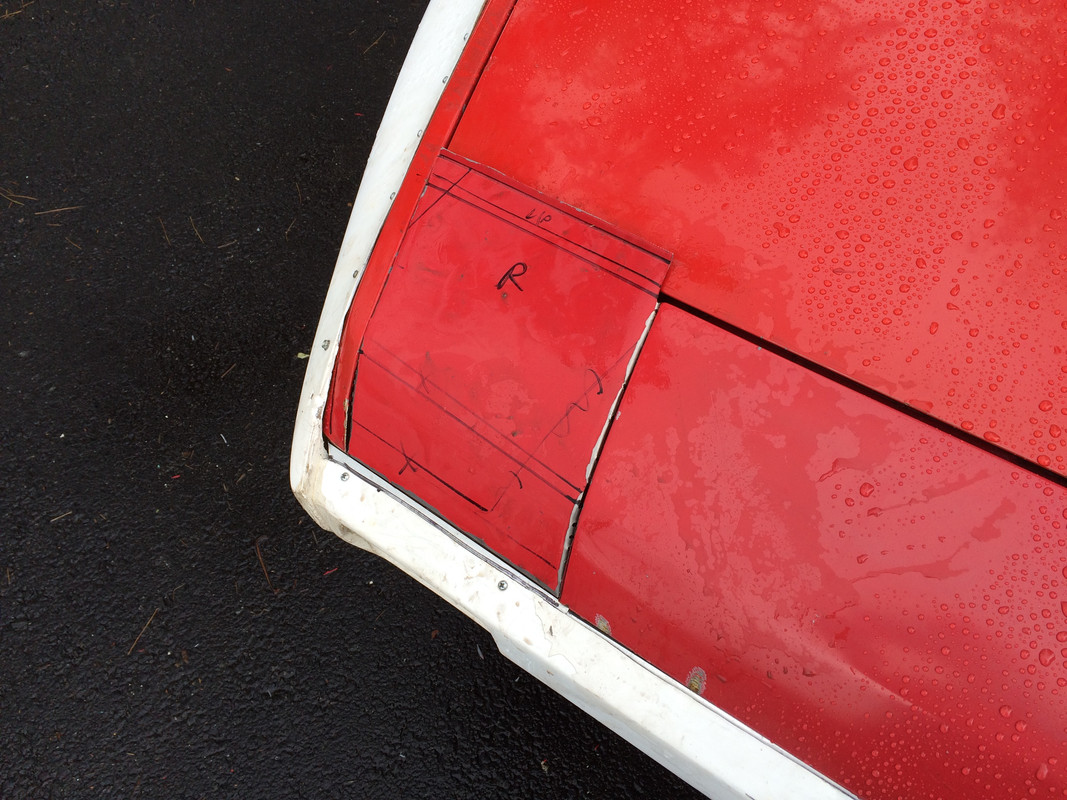
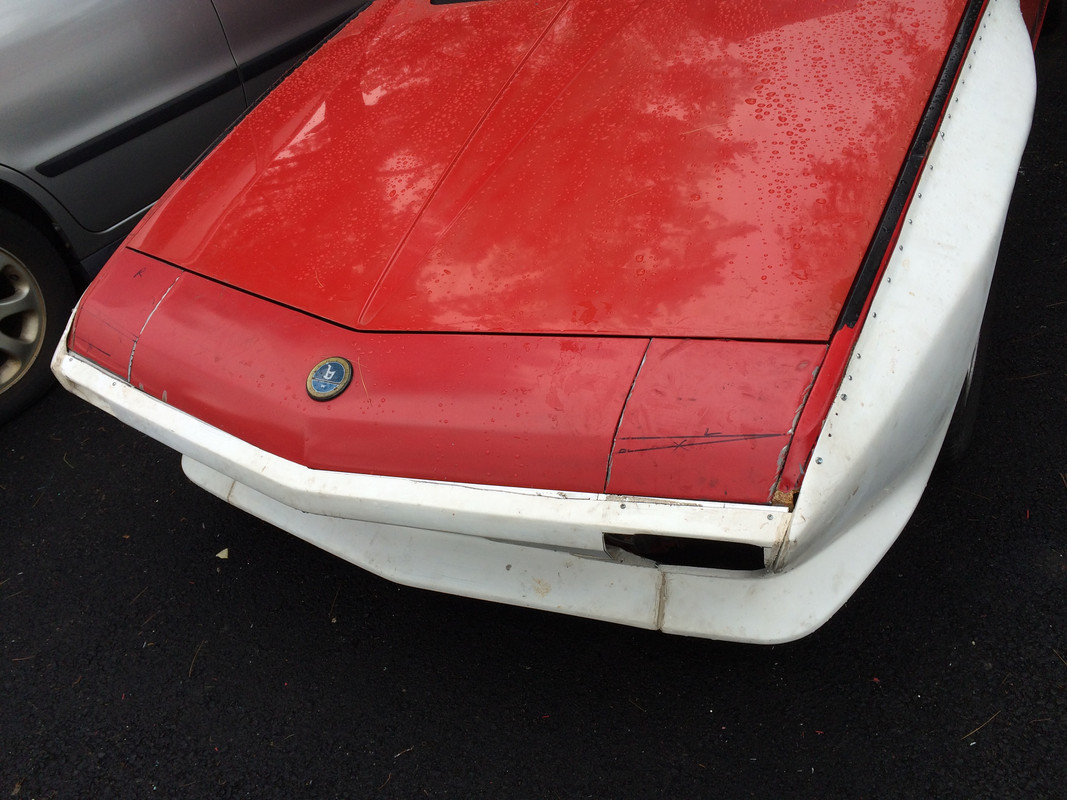
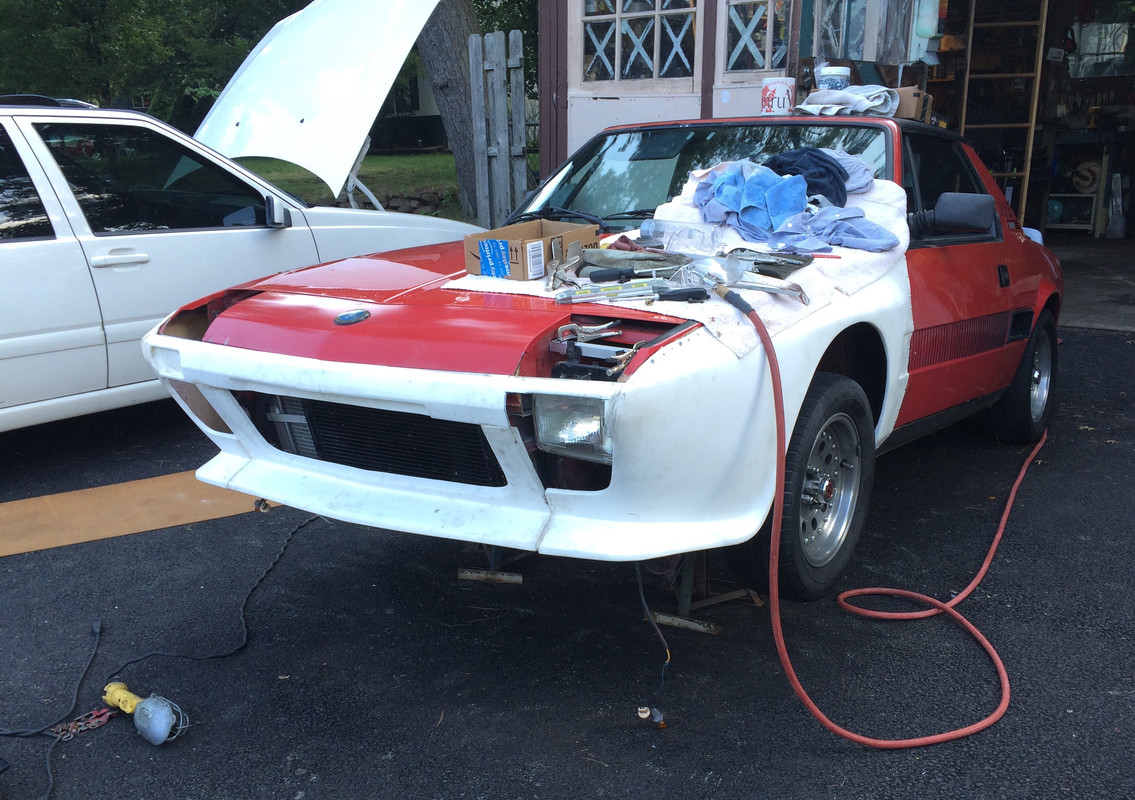
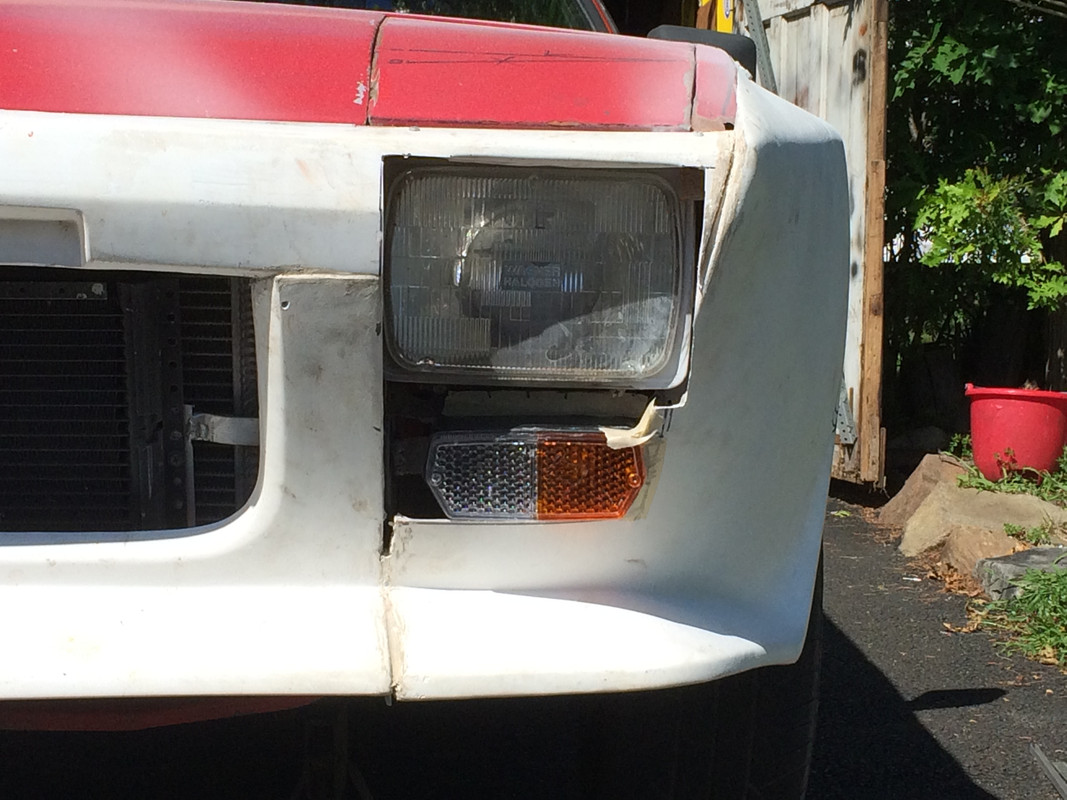
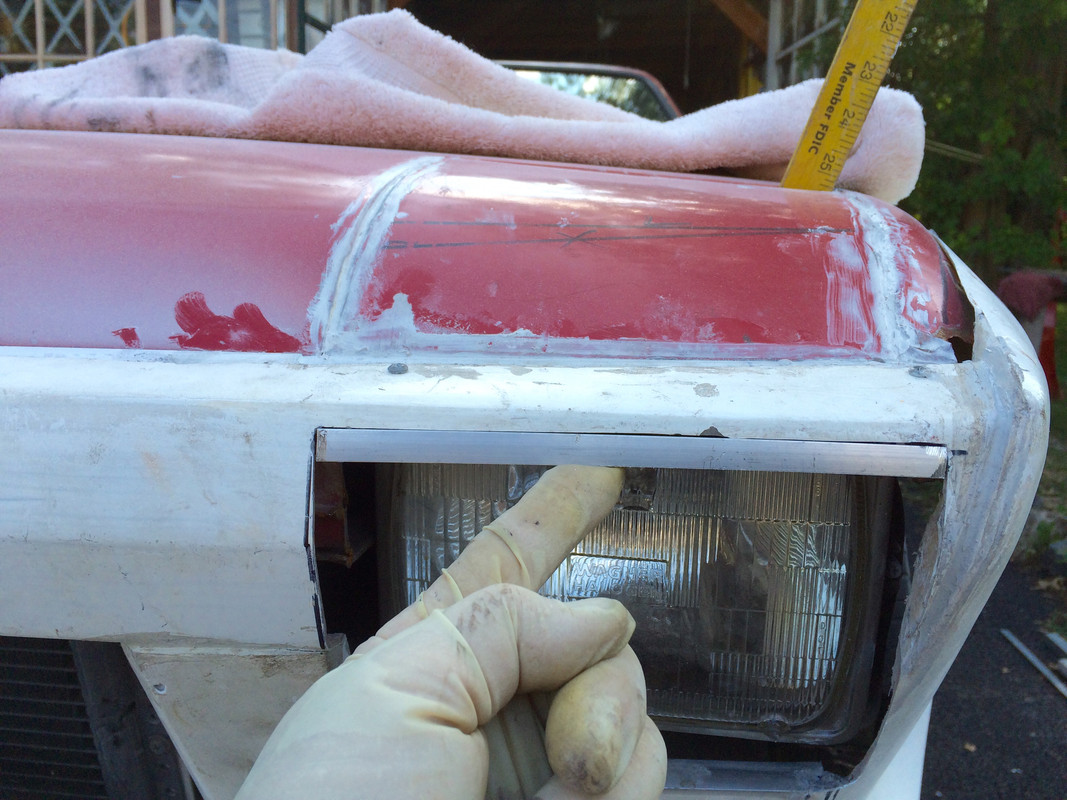
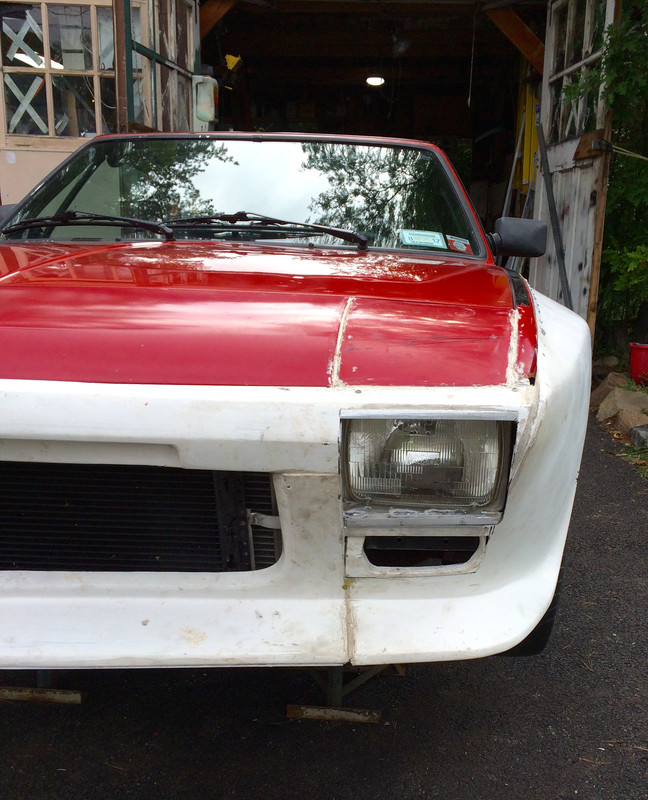
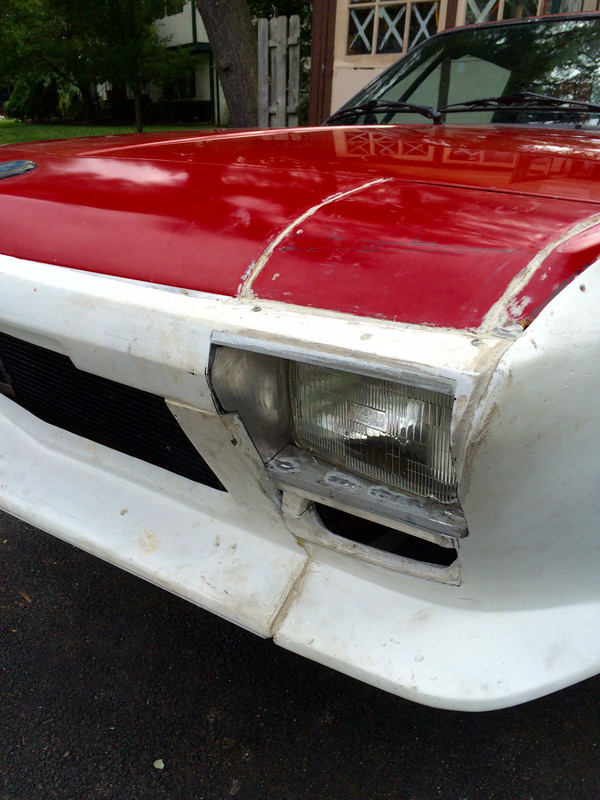
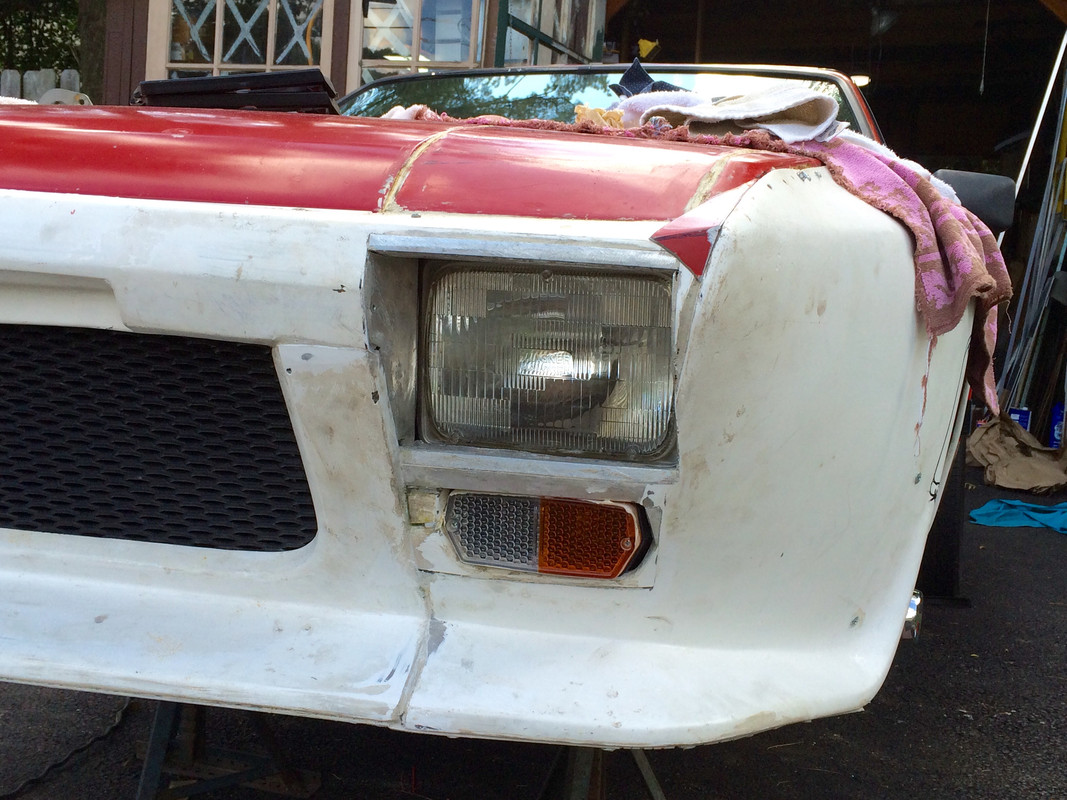
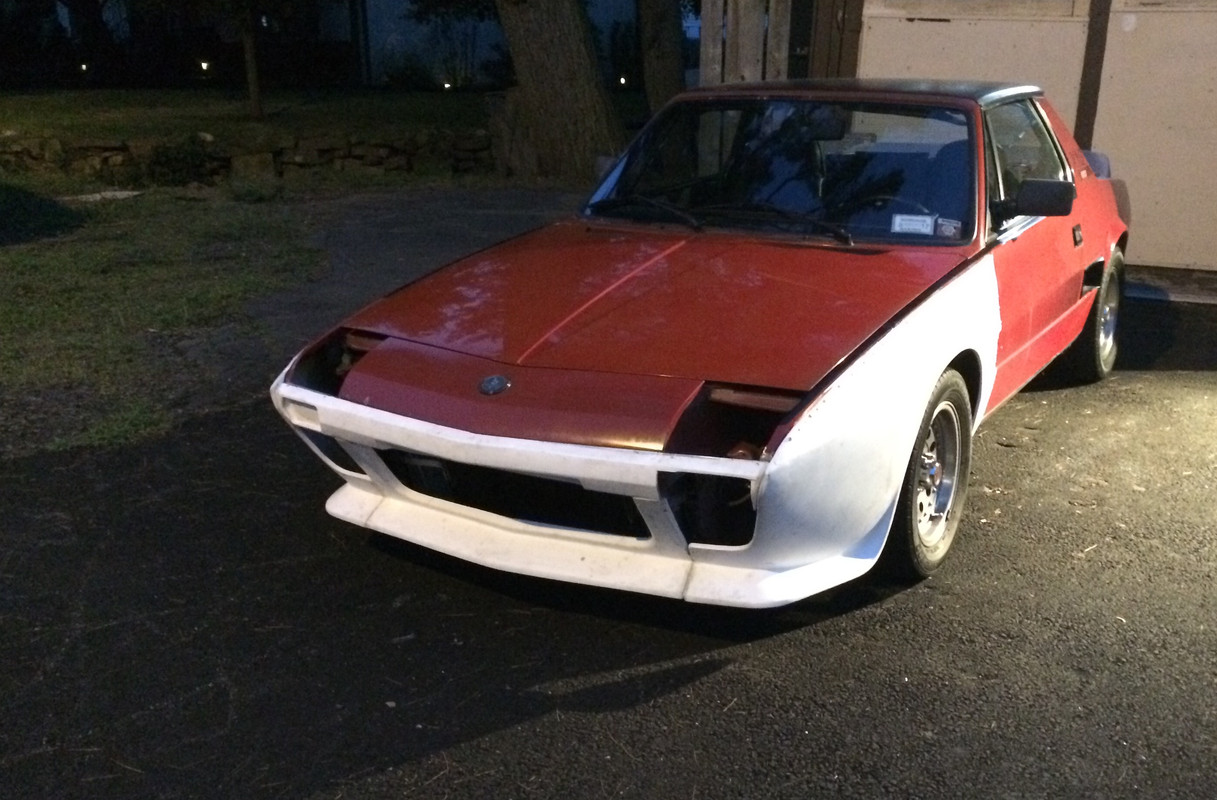
Quick photoshop job to look at headlamp cutout placement

EDIT: Link to ProtoTipo / Dallara style headlamp conversions

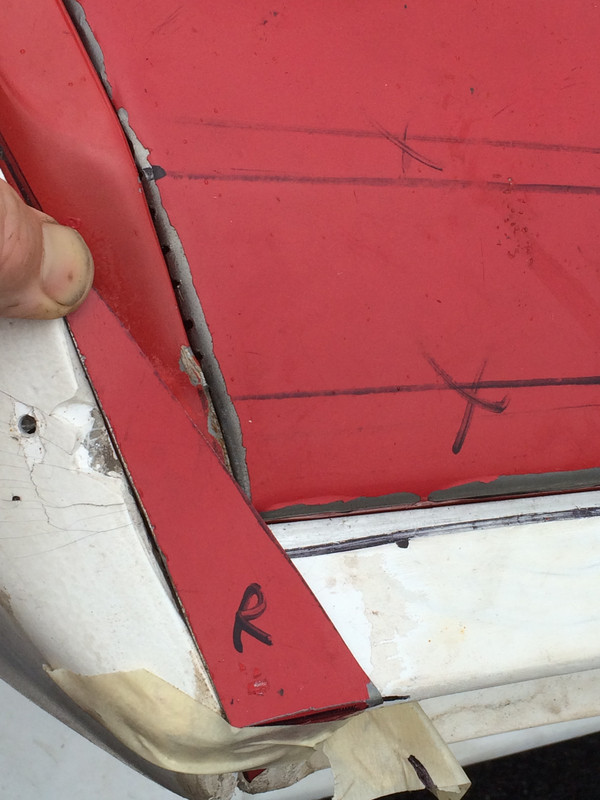
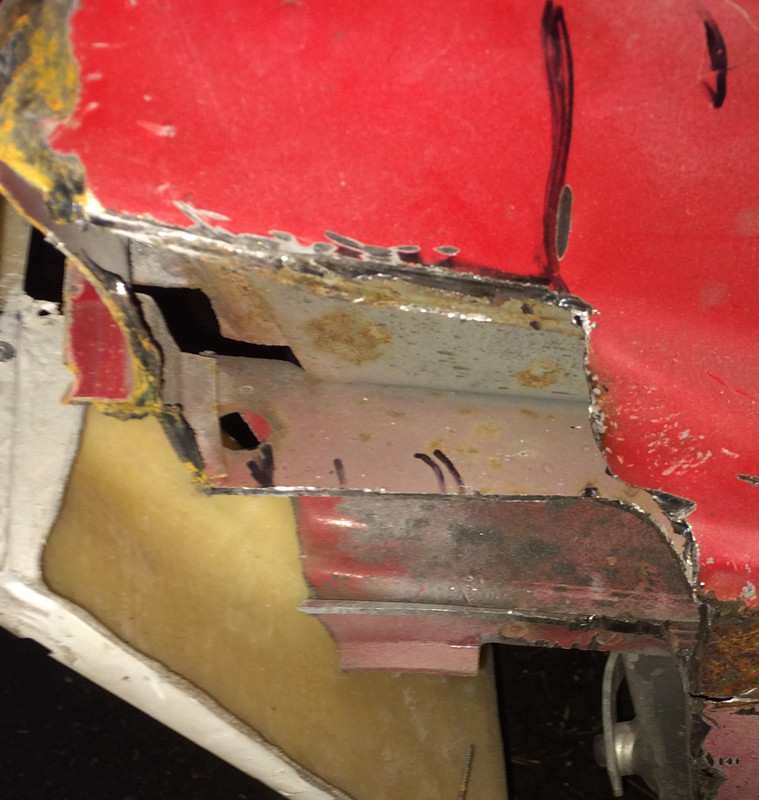
left side would be cut at the top of the directional cutout, right side along the centerline of the cutout.

A058A196-435D-4BEE-BB02-76D27F85A291_zps0ocvkm6u.jpg


EDIT: Maxmods' Dallara - discussion of nose treatment follows

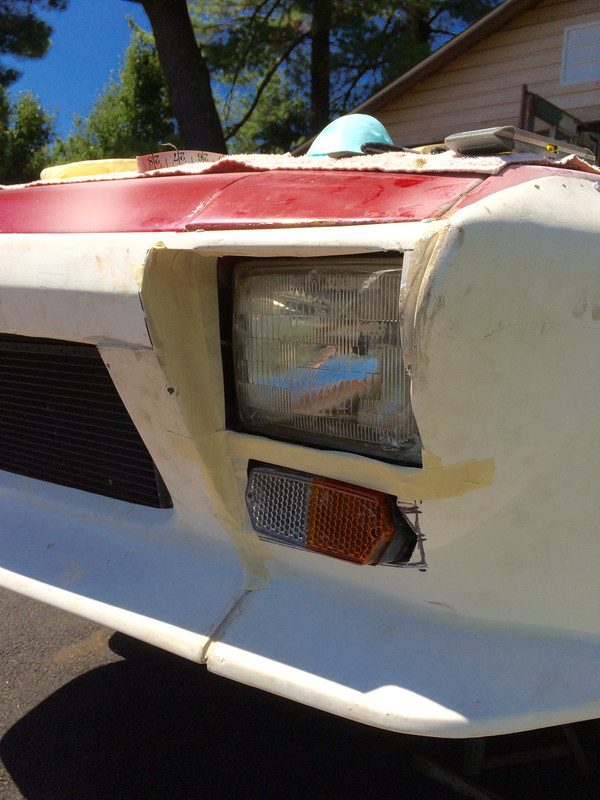
sub-zeroil's Dallara


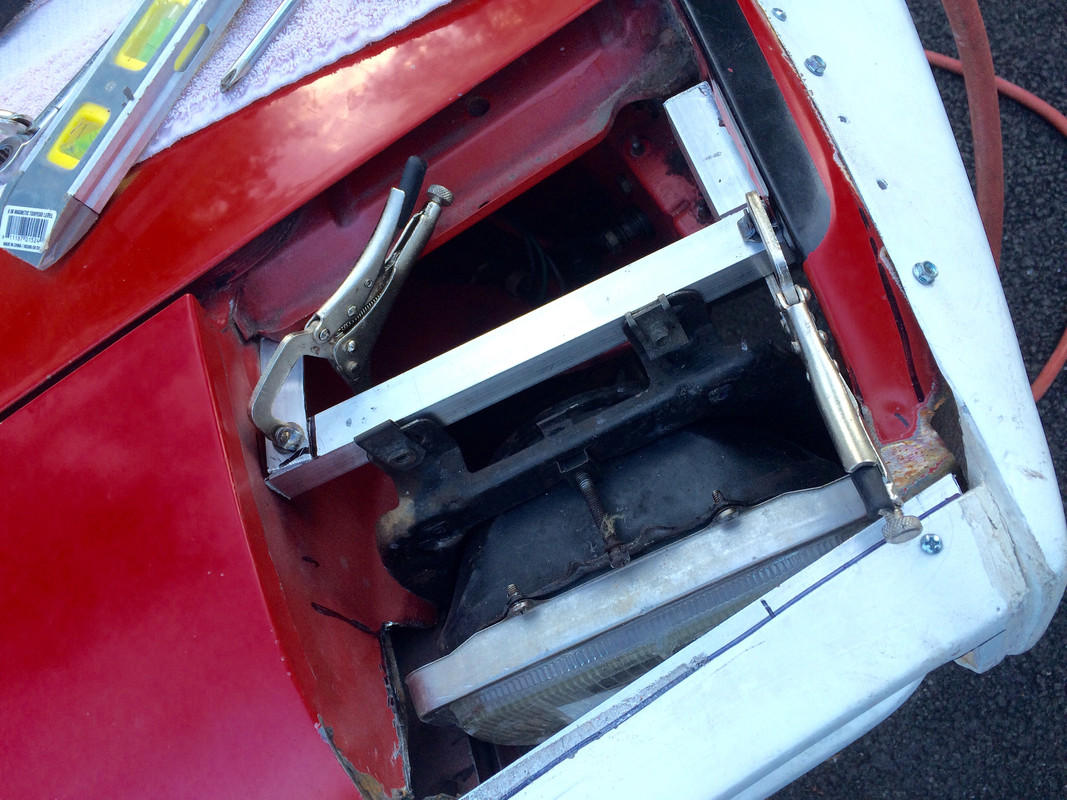
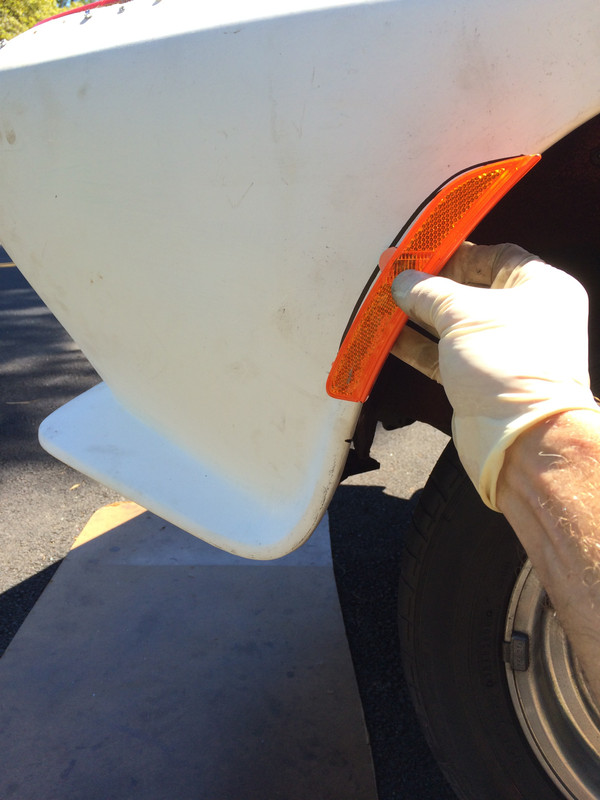
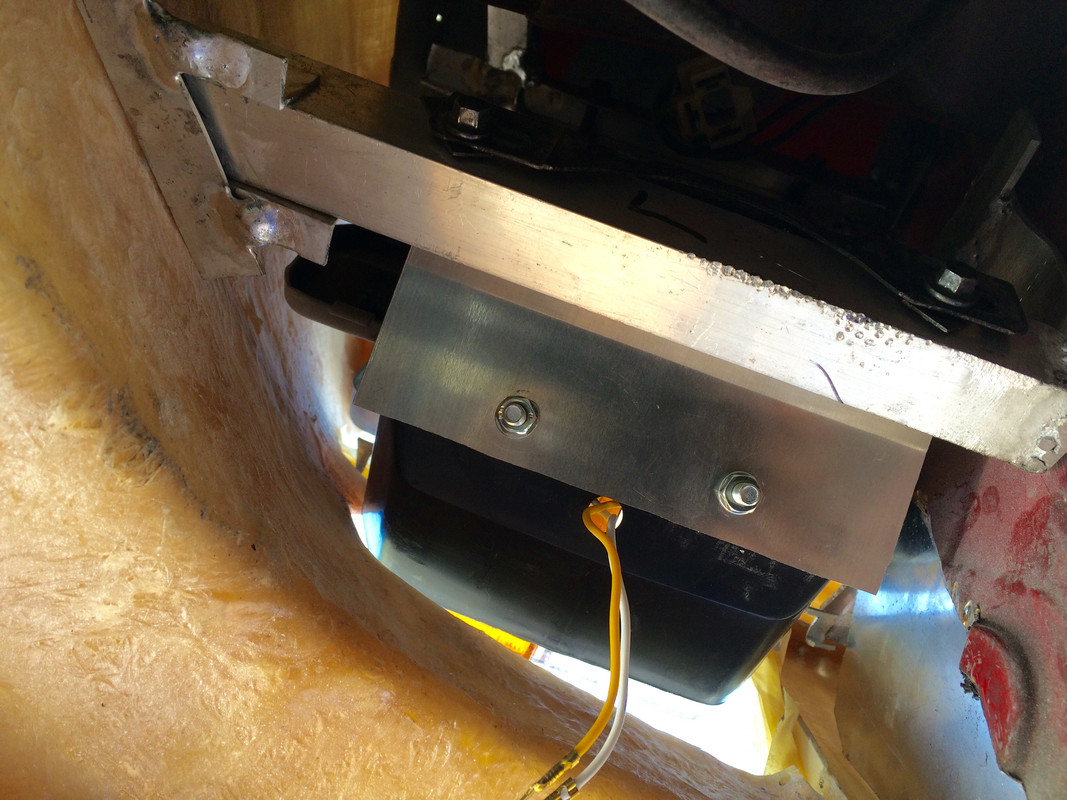
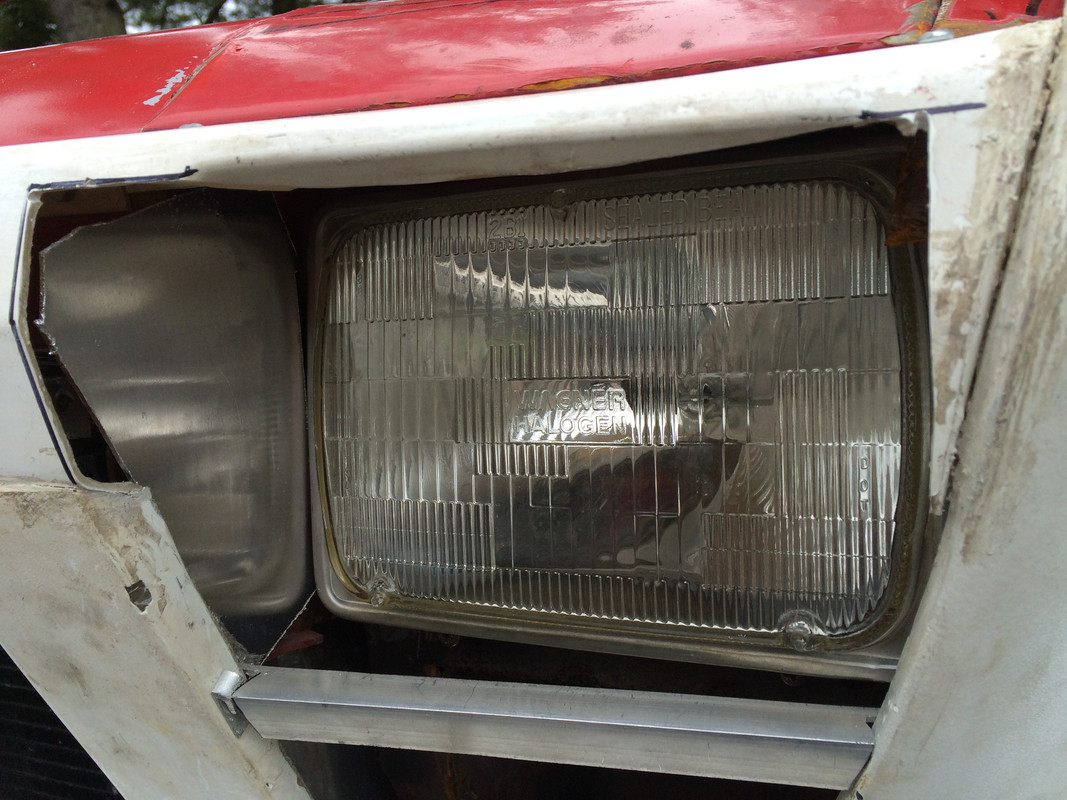
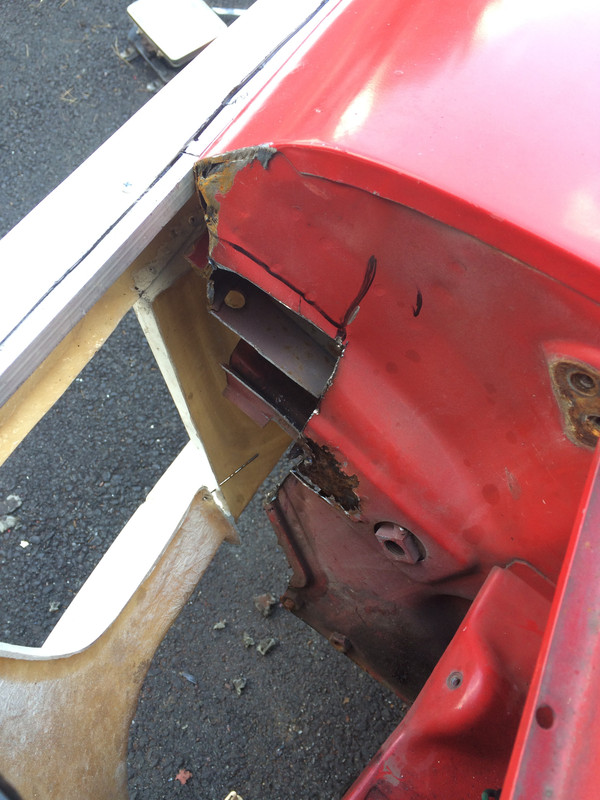
( OT from Maxmods' thread) - what was used for the headlamp surrounds on yours?

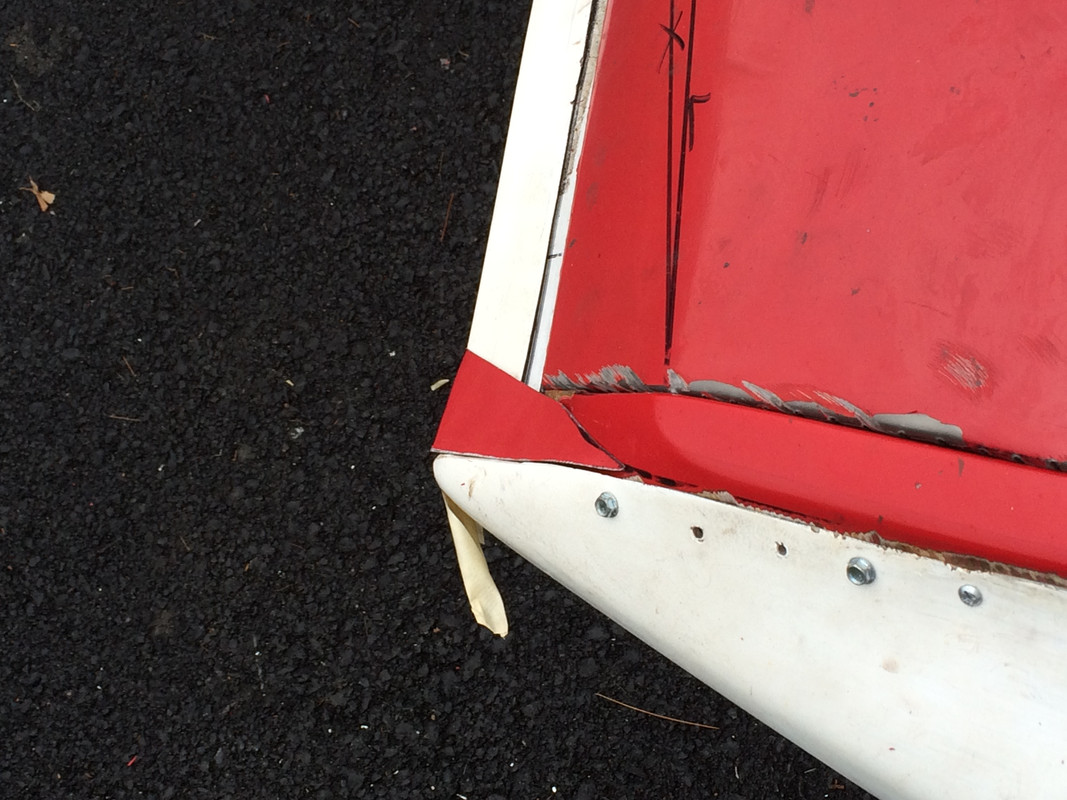
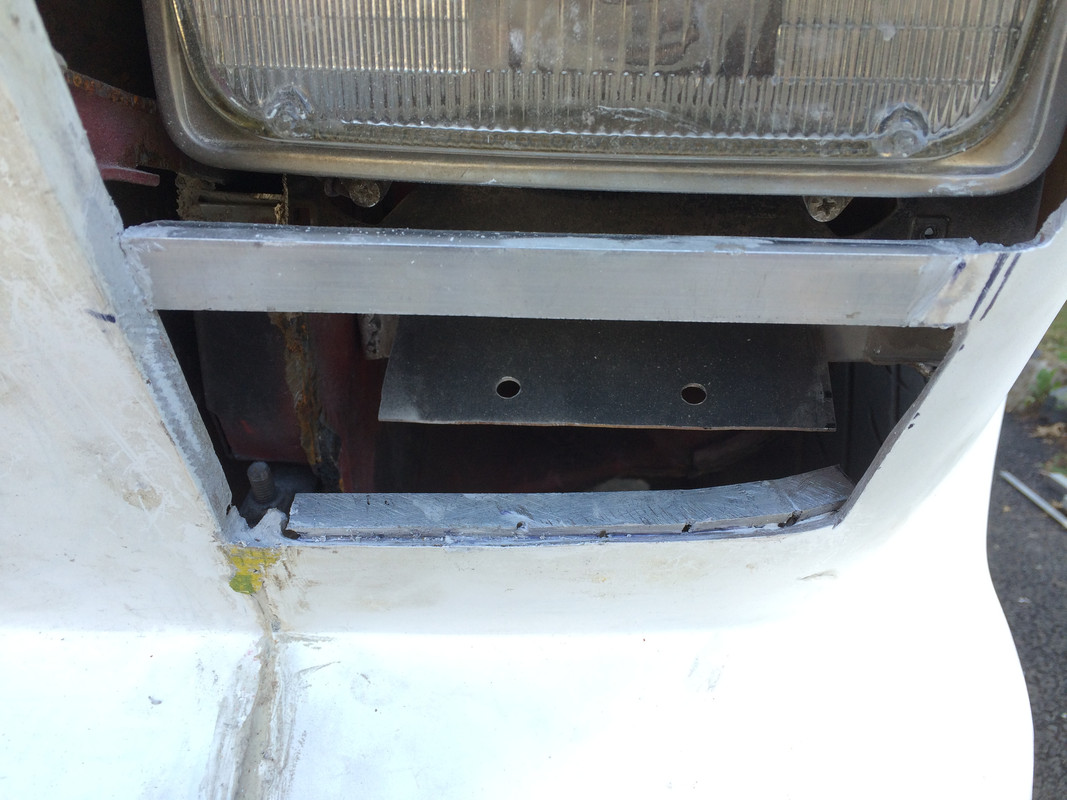
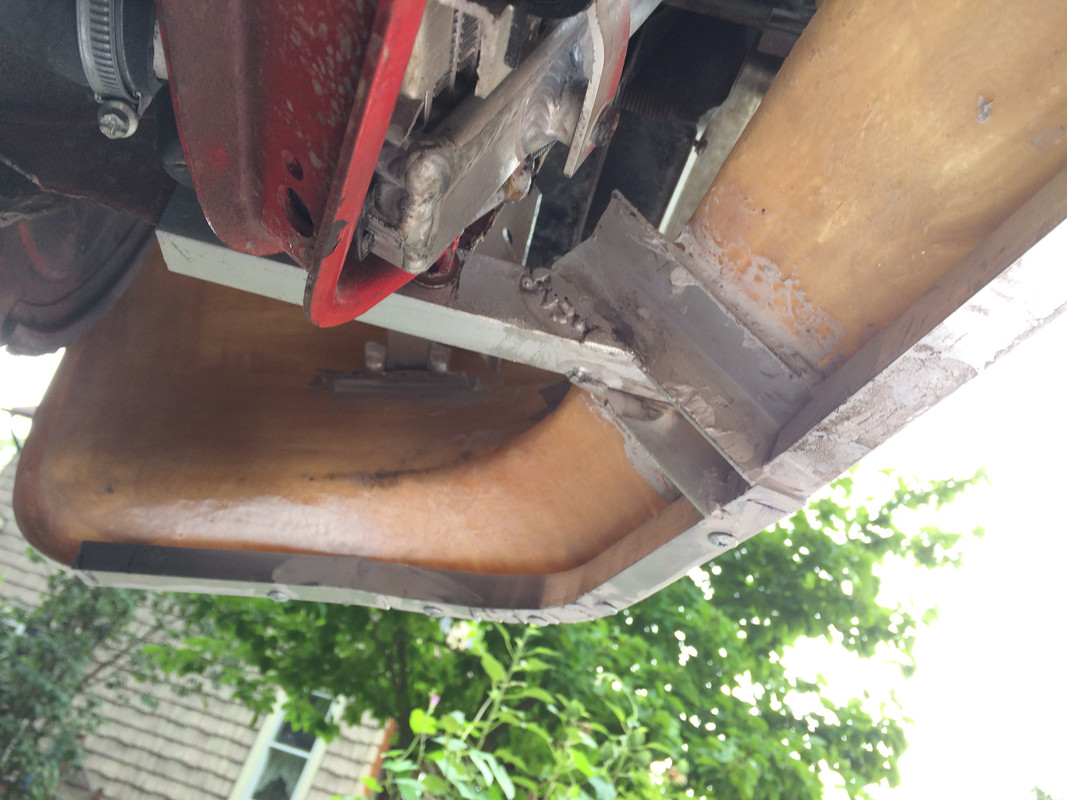
my kit is the one from fibercar its with front bumper i had to cut the front end of the car still i had crazy gaps and then i just made the fenders hook up to the front bumper and then made it pup out , so its one unit , now for the work to be easy for you
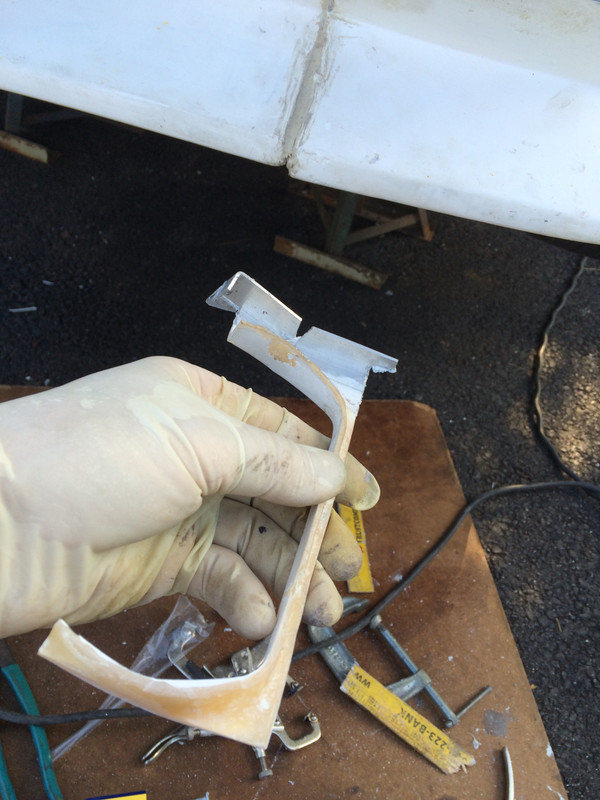
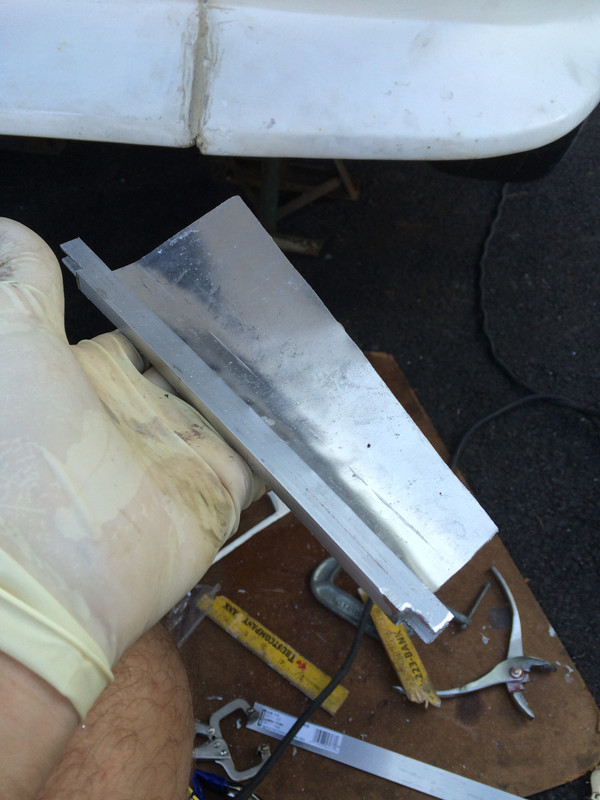
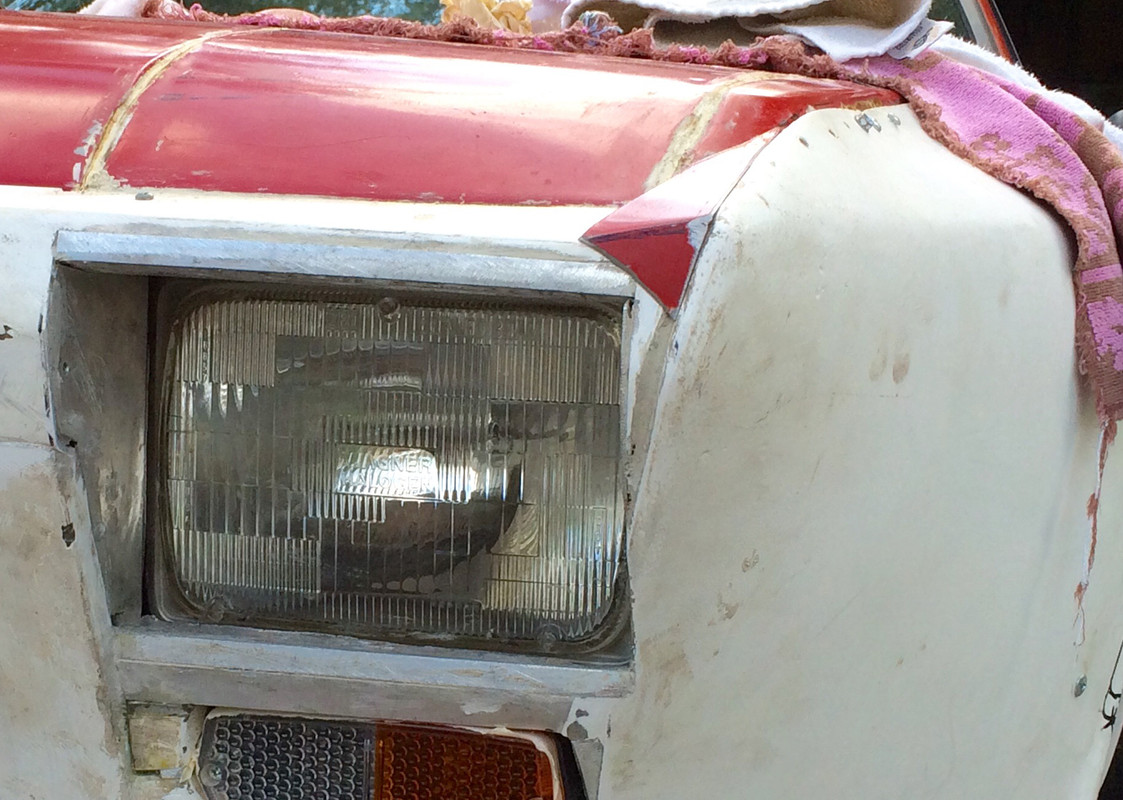
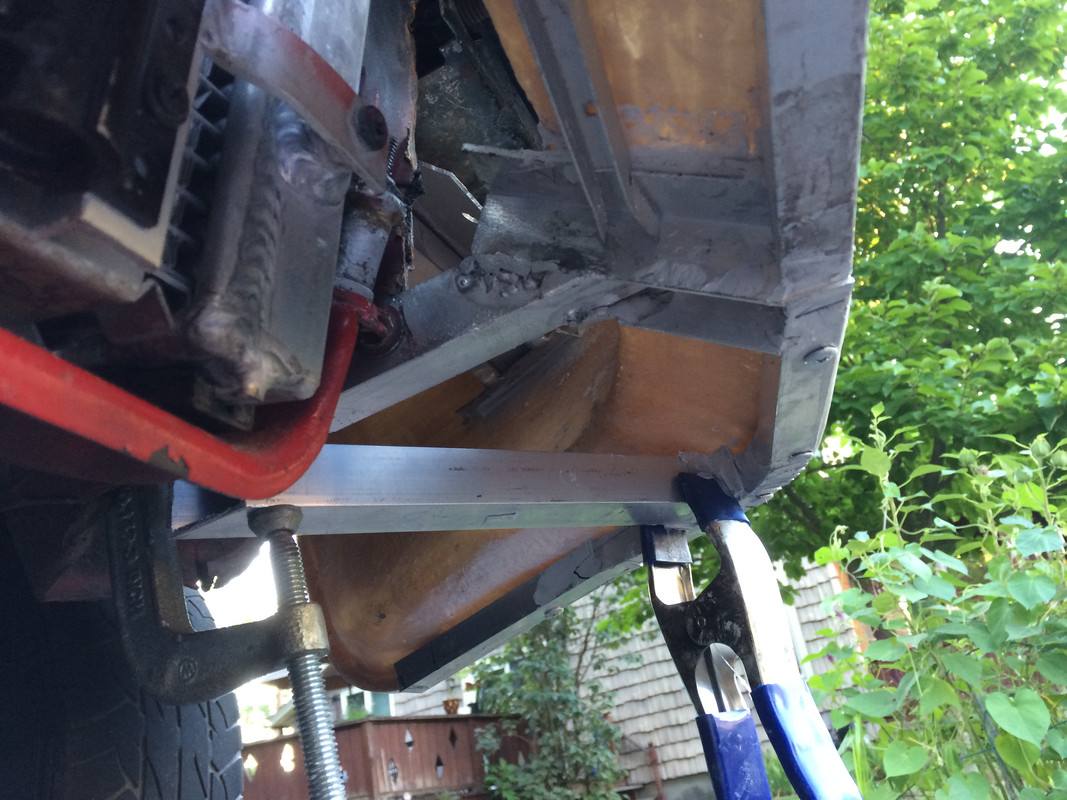
get a set of (1/8" Cleco Fasteners ) its much better then drywall screws
and you can play with it to get the best resolut in your case you need to glass the gap over and work it out !


Thanks for the tips. I've just been using self tapping sheet metal screws. I'll look into the Cleco fasteners.

Worked on the 6052 (from Ford Bronco) headlamp install today, when the rain let off.

DallaraHeadlamp00041.jpg


Had to cut away sections of the frame rail to bring the headlamp into proper alignment.

first cuts

Dallara_Headlamp00043.jpg


pretty much done.

Dallara_Headlamp00027.jpg


Will have to clean up the sectioned areas.

Bracket to retain the upper headlamp housing mount. Utilizing the M6 mounting points for the stock pod pivot arms. Will have to make something for the base also. Will weld the bracket together.

Dallara_Headlamp00000.jpg


Once the nose is closed off, the only way to service the headlamps will be by dropping the unit down & out. There will be no room to remove the bulb housing once the nose / fender / spoiler is closed in.

I'll have to make removable panels for the underside of the lower forward section (between backside of spoiler and the forward inner wheel arch panel).

DallaraHeadlamp00022.jpg


Checked car rest height, had to move the car - right side sits 1/2" lower than left - measured from hubcap center to fender arch. Thankfully I can adjust for that when the coilovers go in.

DallaraNose00076b.jpg
 
Last edited:
Hussein... I was responding to what Mikey wrote here:

"...mine, long gone now:censored:, got towed away from a friends after he moved without telling me so I could come and get it."

Some friend, huh! Does that make sense now?
 
"...mine, long gone now:censored:, got towed away from a friends after he moved without telling me so I could come and get it."
Some friend, huh! Does that make sense now?

Sorry, must be missing something - how do tires help?

Worked on the headlamp pod delete panels today - cut from my old trunk lid :)

DallaraHeadlamp00035.jpg


right

DallaraNose00044.jpg


left

DallaraNose00044a.jpg


cut small tie plates to take care of the awkward junction of fender tip & nose

DallaraNose00053a.jpg


DallaraNose00053.jpg


DallaraNose00053b.jpg


When the rain eventually stops this week I'll finish the headlamp supports & bond those pod covers

Dallara_Nose00087.jpg
 
Last edited:
Hussein... You do GREAT work...

This project involves so many DIFFERENT materials and a FORCED ASSOCIATION between them all.

Glass, Tin, Metal, and Bondo just to name a few.

That's why I said in a different post that it is now TIME to POP some front and rear MOLDS (clips) off a completed car.
 
Thank you, Tony & Karl :)

Been working on a P1800 the past couple days, just getting back to my project.

Figuring out the lower headlamp housing support. Has to be removable, to allow the housing to be dropped in the event the glass housing needs replacement.

Dallara_Headlamp00022.jpg


side markers will go here (Chrysler 200). Rears will be Fiat 500 version.

DallaraFrontFender00037.jpg
 
Last edited:
Interesting that you are:

a. Keeping side markers

b. Not using round ones like early Fiats (and Chryslers)

I like your choice, conformal and clean. Do these use a integral LEDs or do they still use a separate bulb?

Nice tie in to the present and a subtle custom look.
 
Interesting that you are:

a. Keeping side markers
b. Not using round ones like early Fiats (and Chryslers)

I like your choice, conformal and clean. Do these use a integral LEDs or do they still use a separate bulb?

Nice tie in to the present and a subtle custom look.

Yes, I feel side repeaters are necessary as the front units are not visible at all from the side.

It will be more work than using the little round style, since I will have to reinforce the fender to compensate in the area I will be cutting out of the arch lip.

They use conventional bulbs. I will need to source connectors & pigtails for all four bulb sockets - looks like I'll have to go to a dealer - can't find any listings online, even in the online Mopar factory catalogs :sad:

The other thing I really would prefer to have is the recess channel that ties front to rear in the stock setup. I kinda feel the large smooth bulging front doesn't properly integrate with that missing. It's a tough one, as the contour really doesn't lend itself to a recess - I think like the small one they did add at the rear of the fender, it woud tend to appear to run uphill due to the flaring. It would be much additional work to add it also.

I will probably paint the "Dallara" stripes (without the wording) in black (since car is staying red) those help serve the same function, IMO. You can see the odd angle in the 3/4 view....

D90_28862.jpg
 
Last edited:
Spent a bunch of time today figuring out how to place the directional / marker lamp. Couldn't decide whether to keep the inner curve of the fender as supplied. Wanted to have it level with the headlamp rather than contoured to match the spoiler, so I decided to cut it straight down.

Dallara_Headlamp00021.jpg


Dallara_Headlamp00037.jpg


Dallara_Headlamp00042.jpg


Mount plate attached to headlamp support, set it back another inch or so, didn't like it sticking out on the outer edge.

Dallara_Headlamp00006.jpg


Cut up the marker surround from the dallara nose panel to use as filler

DallaraNose00047.jpg


upper plate

Dallara_Headlamp00025.jpg


DallaraNose00056.jpg


Dallara_Headlamp00029.jpg


basic fit - bunch of detail & trimming to do.

Dallara_Headlamp00044.jpg


side profile

Dallara_Headlamp00036.jpg


Hopefully the pass side will go quicker now I have the overall layout figured out. Once I'm done with the headlamps and markers, I need to work on the fore & aft inner fender walls to support / secure the panels. Once that is dealt with, I can remove the noseclip again. trim the sheet metal & bond the panels in place. Need to do that in the next week - heading off to Peru in a couple weeks.

little more work on the headlamp surround, worked on the under bracing mostly.

reinforcing the surround

Dallara_Headlamp00023.jpg


Dallara_Headlamp00024.jpg
 
Last edited:
Got the left headlamp surround bonded in


Some work to do on the marker light surround.

worked on the under bracing, lip reinforcement and support ties to the chassis

Dallara_Front_Spoiler00012.jpg


Still needs further bracing as any flex on the lower lip results in movement where the fender meets the stock fender. That may be gone once the fender is actually bonded, but I'd rather not risk stressing the joints.

I have to leave a large gap under the forward area to allow for servicing the headlamp, so I can't close off the entire area for rigidity like the one that Matt posted pics of.
 
Last edited:
Thanks :)

Worked for about an hour on it today. Just sorted out addtional bracing for the spoiler corners.

DallaraFrontSpoiler00015.jpg


DallaraFrontSpoiler00005.jpg


have to weld the inner square stock to the existing forward facing square stock.

Tomorrow I'm hoping I can get the PS headlamp and surround sorted out, running out of time pretty quickly.
 
Last edited:
Interesting that your deciding to brace it, I was going to leave mine unbraced.

I'd rather have the front spoiler crack or break over having braced it and potentional send the shock up through to the front guards and crack all the filler work.

Changing the spoiler is easy in comparison to redoing that. Even if the bottom corner broke off completely or cracked that can be fairly easily repaired.

I understand your reasoning entirely. The problem I found was that without any support, if I simply pushed up by hand on the bottom outer corner of the spoiler, I could see the flex in the top of the panel where it will be bonded to the body. I figured that kind of flexing will create problems down the road with any bodywork I do to take up the variances in the fender tips/nose panel.

I added the aluminum lower edging simply to act as a sacrifice to all the speed bumps & dips in my town that have scraped the lower lip of my Serpent Auto spoiler.
 
Fair enough, well fingers crossed neither of us will have to put into practice either theory. Hopefully that isn't because neither of them see the road again either.
 
Back
Top