So I did speak with Midwest Bayless about the steering link. They said the 1/4" play at the wheel was typical and not necessarily bad. I decided to order new u-joints for the steering link to rebuild the one I have for now. I have a new one for a fiat 126 on order that I believe should be the same part. We will see when it arrives.
Unfortunately, when I took apart the driver's side front hub assembly, that originally had a bad bearing, I discovered what could be a crack on the inside hub. I decided to go with all new 1500 hub assemblies from MWB because of the larger bearings.
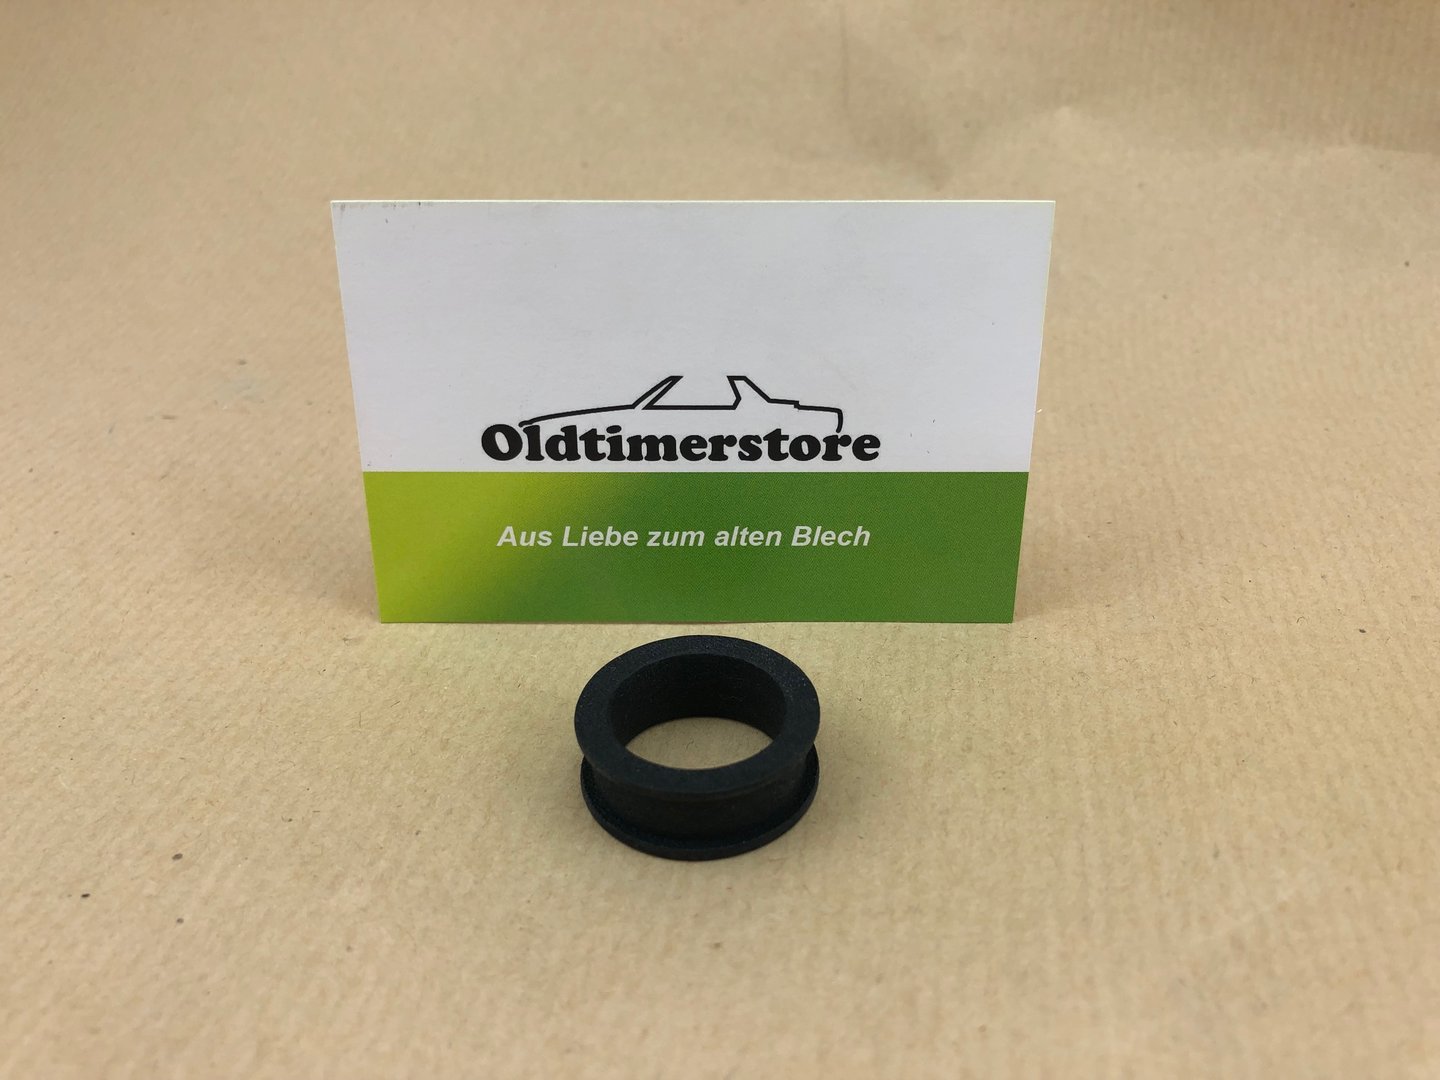
I also knocked out new radius rods mount bushings. MWB didn't have them in stock any more and it was easy enough to turn up a set up.
View attachment 51788
Is there any where we might keep dimensions of these parts for the community?

") ....................
....................