khnitz
True Classic
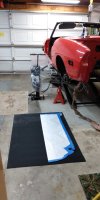
The time has come to start rejuvenating the 1973 Sport Spider I bought from my uncle in 2019 (original thread is here ). It has been stored for at least 40 years, and last driven on the road around 25 years ago.
My updates won't be as fast and productive as those of @Daniel Gibson") , but I'll try and keep a record here of what I am accomplishing.
, but I'll try and keep a record here of what I am accomplishing.
I was able to get the original seats out today. I found a good set of seats to use in their place over the Winter, and that will save me the trouble of having to re-stuff and re-cover the originals.
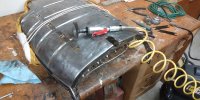
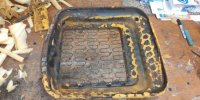
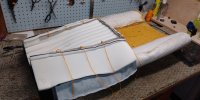
Original Seats:

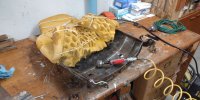
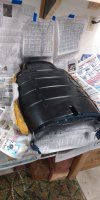
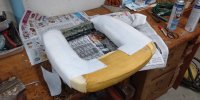
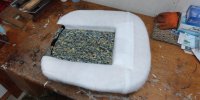
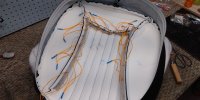
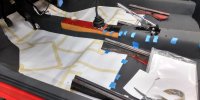
Replacement Seat (1 of 2):

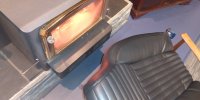
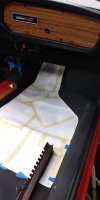
Under-passenger-seat connector (anyone know what this is for)?


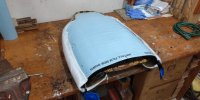
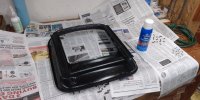
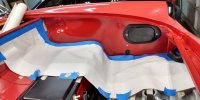
Finally, a picture with the seats removed:

My updates won't be as fast and productive as those of @Daniel Gibson
, but I'll try and keep a record here of what I am accomplishing.I was able to get the original seats out today. I found a good set of seats to use in their place over the Winter, and that will save me the trouble of having to re-stuff and re-cover the originals.
Original Seats:
Replacement Seat (1 of 2):
Under-passenger-seat connector (anyone know what this is for)?
Finally, a picture with the seats removed:
Last edited: