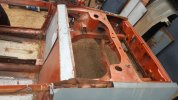
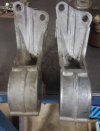
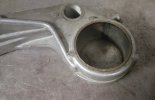
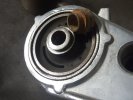
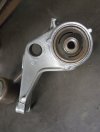
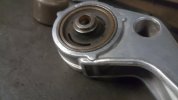
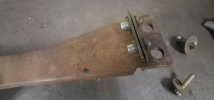
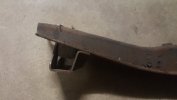
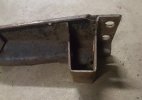
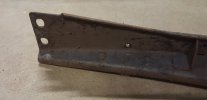
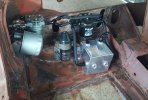
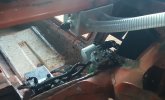
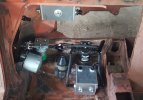
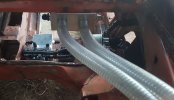
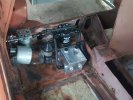
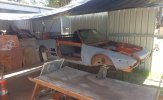
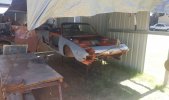
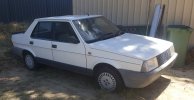
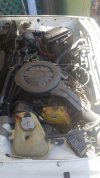
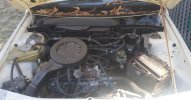
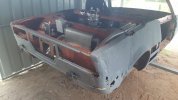
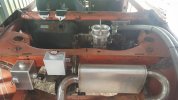
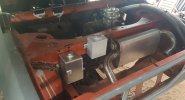
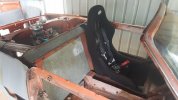
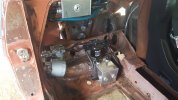
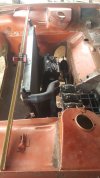
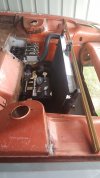
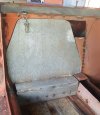
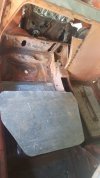
Dummy fit up of the components up the front of the car.
View attachment 44247View attachment 44248
Positioning the last few of the major components now has me thinking about suspension setup, and in particular spring rates that I can use with the available struts in my price range. With the freedoms to build what you like in lemons, I've tried to get all the components positioned as close to the cars CG as possible. Things like the exhaust beng moved forward and the radiator back, as well as removing as much weight as possible from the cars ends, improves the Polar Moment of Inertia.
View attachment 44249
I dont want to go thru endless math to figure it out, I just want to know that I've done the best I can to make the numbers as low as possible.
It also affects my springing requirement (once again I don't want to do all the math) as I'm sure the lower weight of my car - hoping for / aiming for 700 to 750kg / 1550 / 1650 lbs on the grid with a full tank of fuel - as well as the lower PMOI and (hopefully) a lowered CG ( which affects the weight transfer both forward and lateral) so with this in mind I'm looking for a recommendation for springing (
@Steve Hoelscher )
Car is LHD and local track is CCW racing. Steering rack is 2.75 turns lock to lock with the exact same tie rod travel as the X19 rack. I don't have aproblem with converting the outer TRE to a rod end and making this adjustable for height.
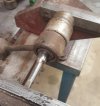
I have a very small / light sway bar I may add to the front, attached to the LCA at the outer end, routed thru the area under the steerig rack, it's only 16mm or so (I think 850 / 600) to tune the roll stiffness
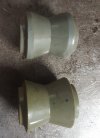
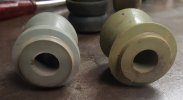
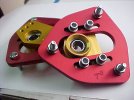
Upper strut mounts I have someT3 tuning ones from some Japanese car, they were on special with an ebay discount and quite cheap at about $140 a pair.
View attachment 44250
all other suspension is OE / rubber bushed
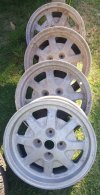
Rims are Lancia Beta coupe 8 spoke by F.P.S. (same people who make the wheels for Ducati) 14 x 5.5
Tyres are limited to a certain treadwear number...I've been holding off for as long as possible to buy the tyres so they have half a chance of being fresh for October., but likely 185/50/14 or 185/55/14
short 4.82 final drive
Now most discussions about springs and spring rates usually lead to a side discussion about struts and dampers, and how most need some modification to work with a "lowered" car. I want to do it a little differently, moving the body sheetmetal surface the upper strut mount bolts to, upwards by maybe 40 or 50mm, effectively lowering the car by the same amount. I need to rework the metal to fit these camber adjustment plates anyway, and most people would reinforce this area anyway, so I figured why not use some stout steel pipe of the right diameter sliced on the bandsaw, and a new top surface exactly parallel to the original, moving the whole face upwards
The trouble with very short springs (as discussed many times) is
a) keeping the spring captive on full suspension droop
b) having sufficient strut shaft travel with the shorter spring
raising the mounting surface lets me find strut inserts that work with a standard length spring / stock lower spring perch height.
I will (eventually) get around to adding adjustable lower spring perches, but only to fine tune and corner weight the car, not for wholesale ride height changes, but not sure if i'll have a chance to do that before october so it's second option right now.
What do you think? Am I missing something?
SteveC
