So I bled the system after running for a couple of minutes at 2k with the heater on max.
Air escaped, then fluid. Stopped there. Re-measured my tank wood, and it was down 50% from last measurement.
Checked Temp. Gage wire - seems connected.
Filled reservoir back up to 3/5 at most. Let’s see what happens now.
It‘s the fans not triggering until 230 that is my big concern.
Sounds like you burped out a fair amount of air, so I would call that progress.
After another burp session, let it cool overnight and then follow these steps:
1. Before starting, check expansion tank level to ensure it is the desired 3/5 to 2/3 full; add as needed. Replace cap normally. Slide heater temp slider to full cold.
2. Start up and warm up a bit.
3. Take it for a nice drive.
4. When you are 5-10 minutes away from arriving home, slide the heater temp slider to full hot.
5. Arrive home, park on level ground. Keep engine running.
6. Open frunk, remove targa if stowed, and have whatever tool you are using to open your bleeder screw/valve handy.
7. Place drain pan at front left corner under car, under the radiator bled screw, to catch any drippage from the next step.
***8. With engine running at idle normally, in one smooth motion, open the bleeder, count 1 Mississippi 2 Mississippi 3 Mississippi then close. Since you may not hear air escaping with a loud engine or in a garage, look in your drain pan. No coolant drippage means more air escaped; some coolant drippage means most air is out of the system.
***8a. Note: Time your bleed screw openings so as to not open the bleed screw when the fan(s) are running.
9. Do the 10 second 2500 rpm technique for two minutes, then repeat #8.
10. If you got only air in step 9, repeat once more. If you got some coolant drippage in step #9, stop here.
11. Switch off and allow to cool for a few hours.
12. Remove expansion tank cap and check level, if necessary adding to get to the usual 3/5 to 2/3 level.
13. You're done.
The above procedure should burp out the vast majority of air in the system, and should eliminate "excessive trapped air" as a reason for why your fans are not being activated at the correct temp.
***Edits/revisions.
If your fans do not operate as they should after the above burping sessions, then your next step is to either replace the fan switch with known good, or to remove the existing switch and test.

 . Interestingly, the alternator was replaced four weeks ago, which is beside the pump. Any chance something was bumped, damaged during that event? What part of the engine gives the most accurate reading when pointing a thermometer at it?
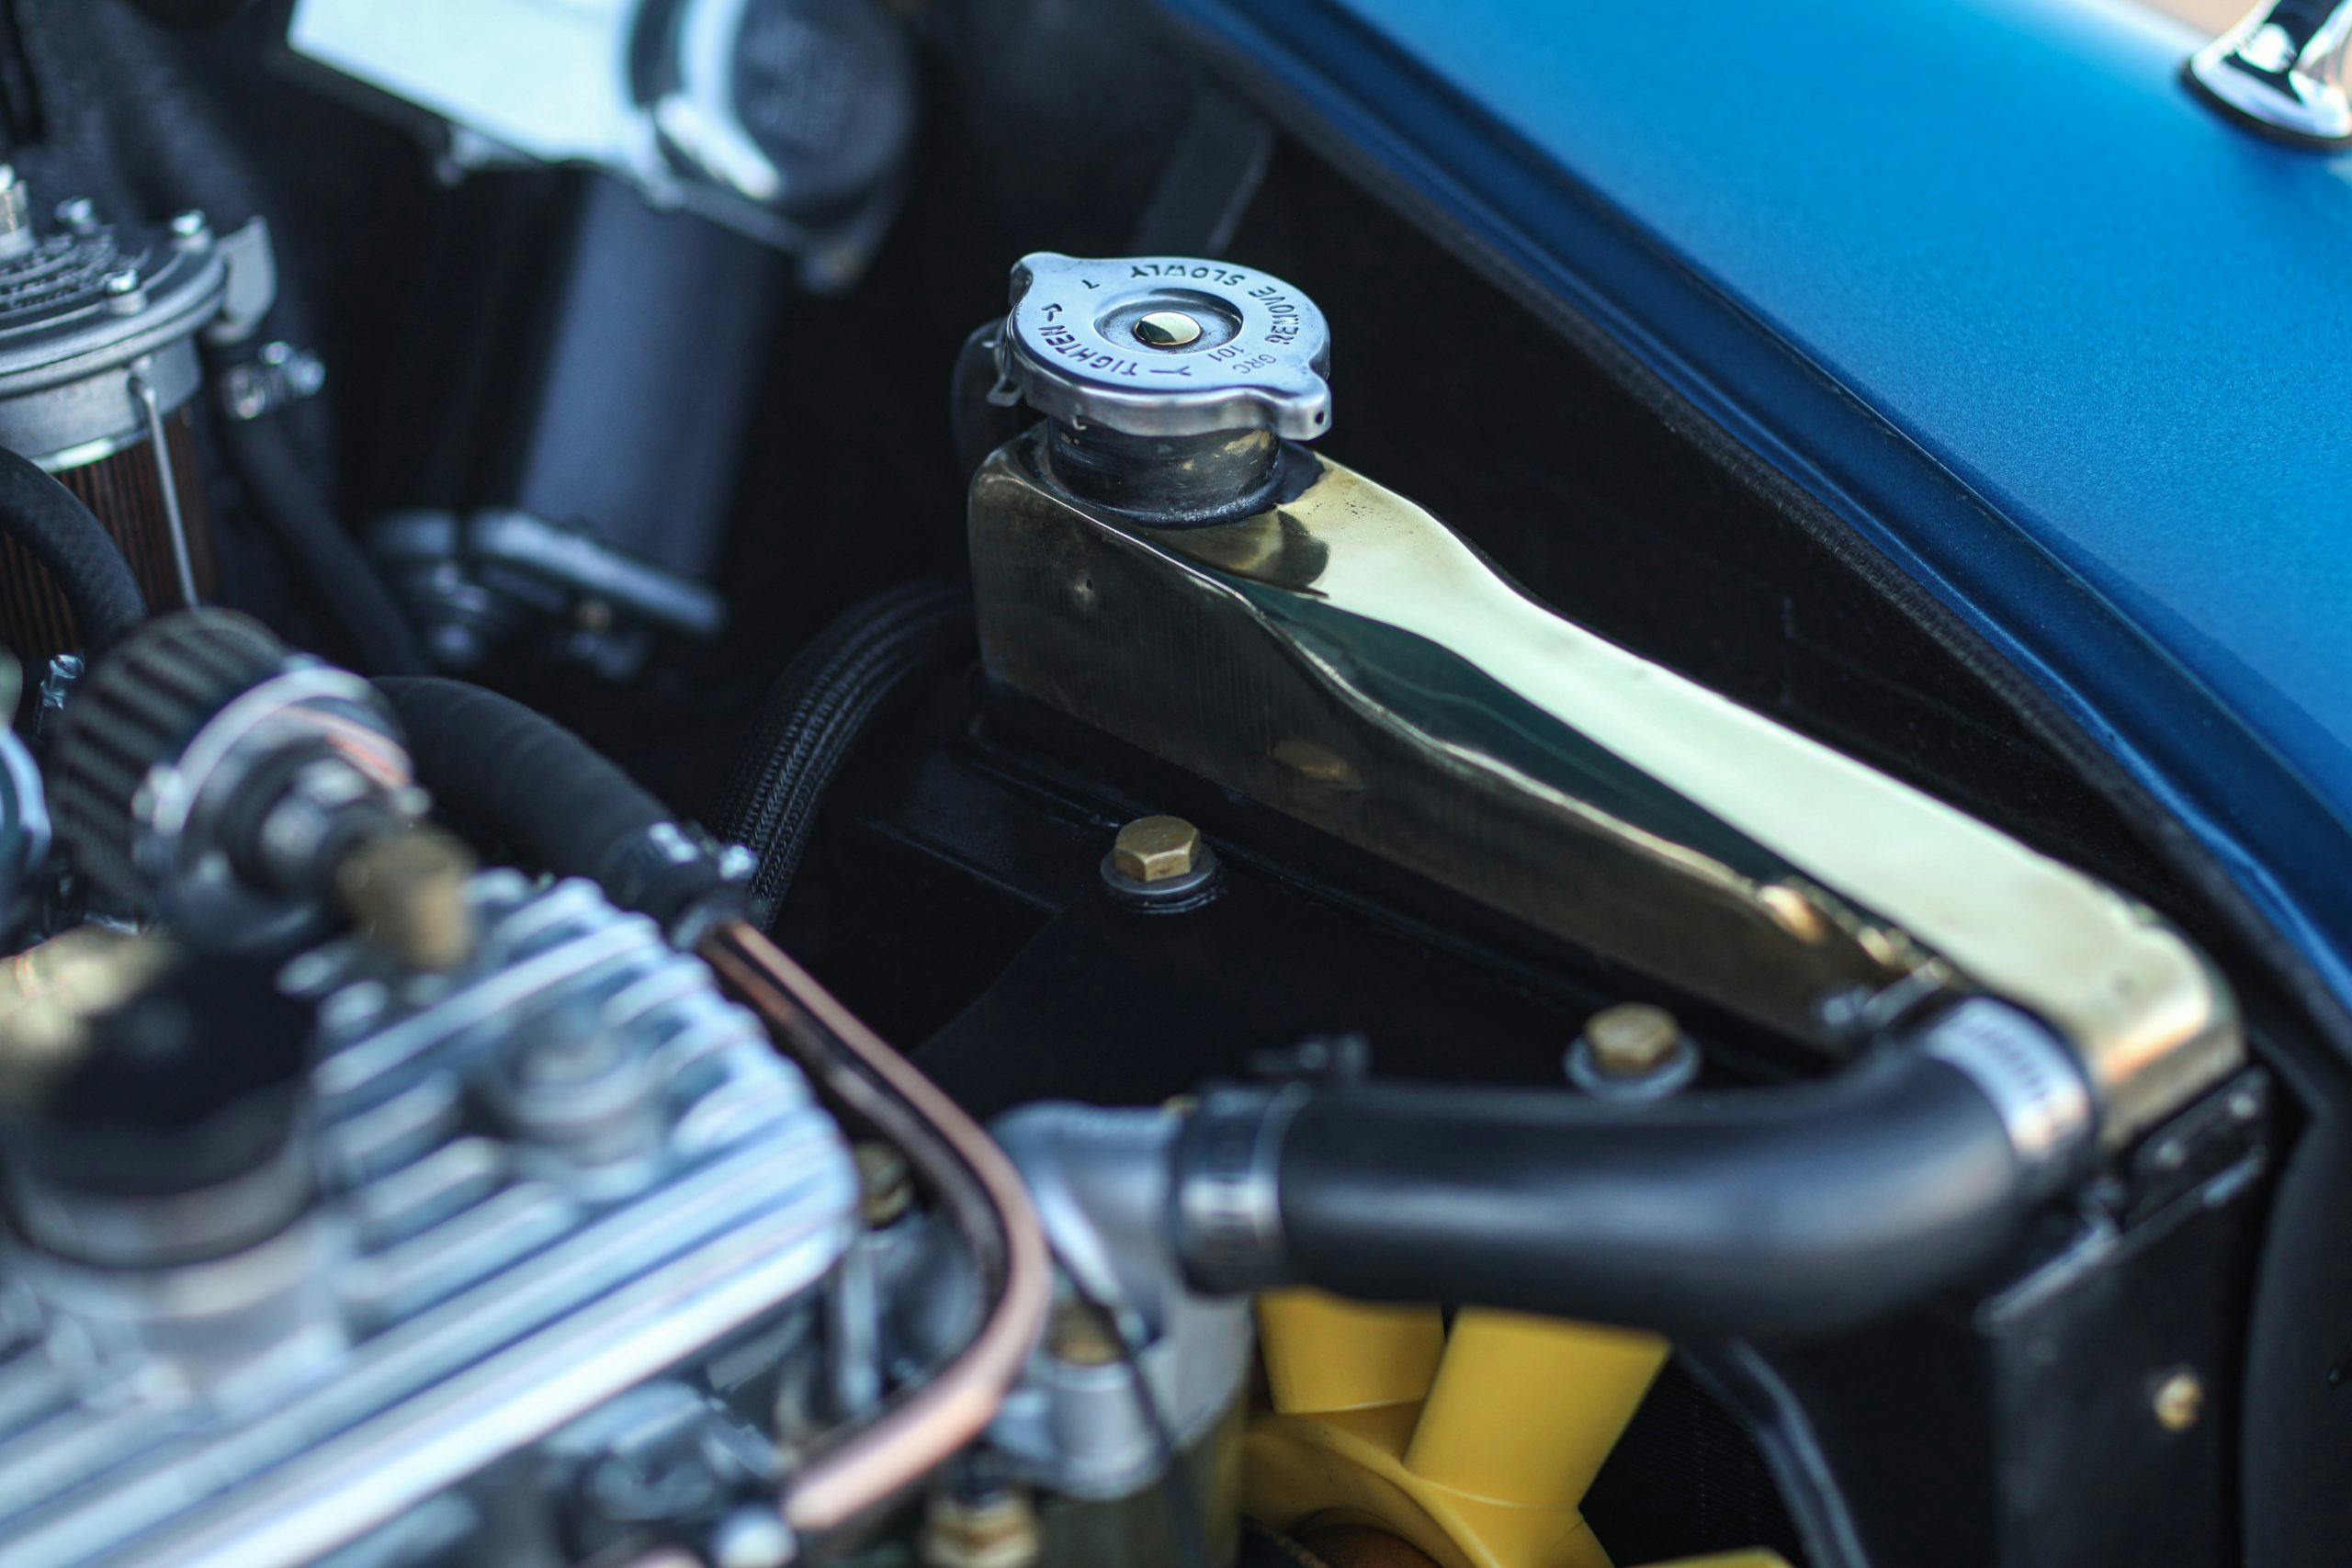
")