Ha, no sooner did I post that tutorial update and I discovered another potential issue with converting the "wrong" Veglia clocks (see the last post if clarification is needed).

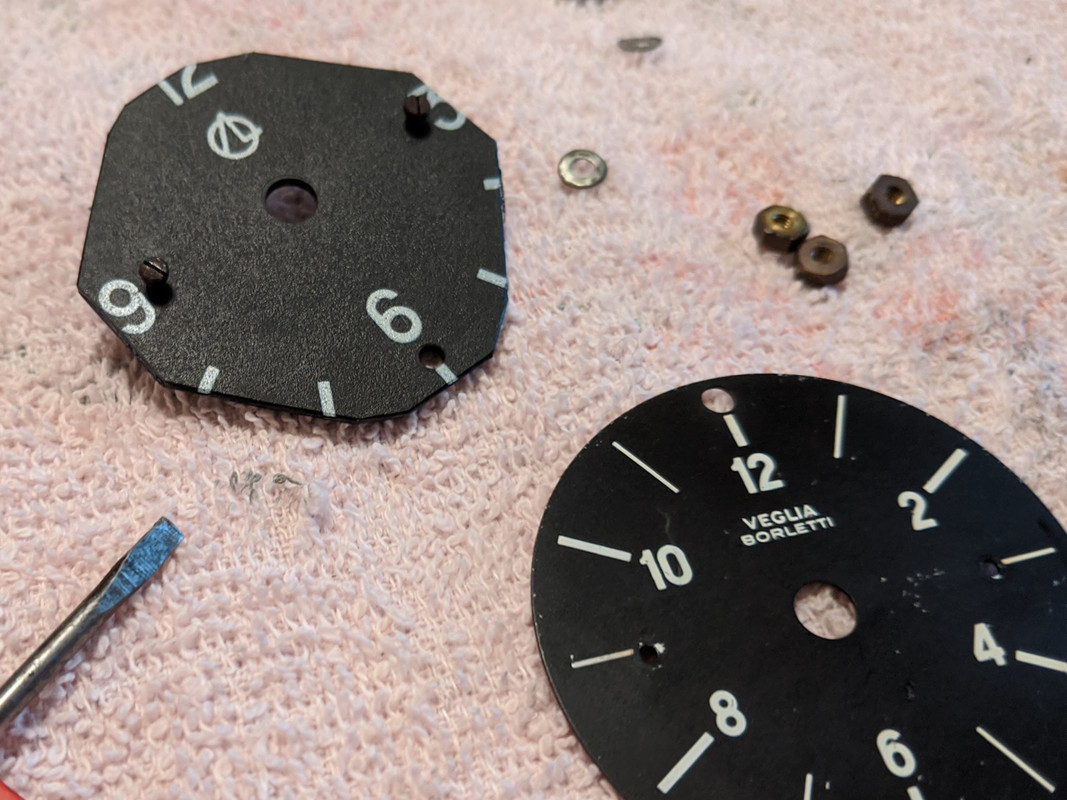
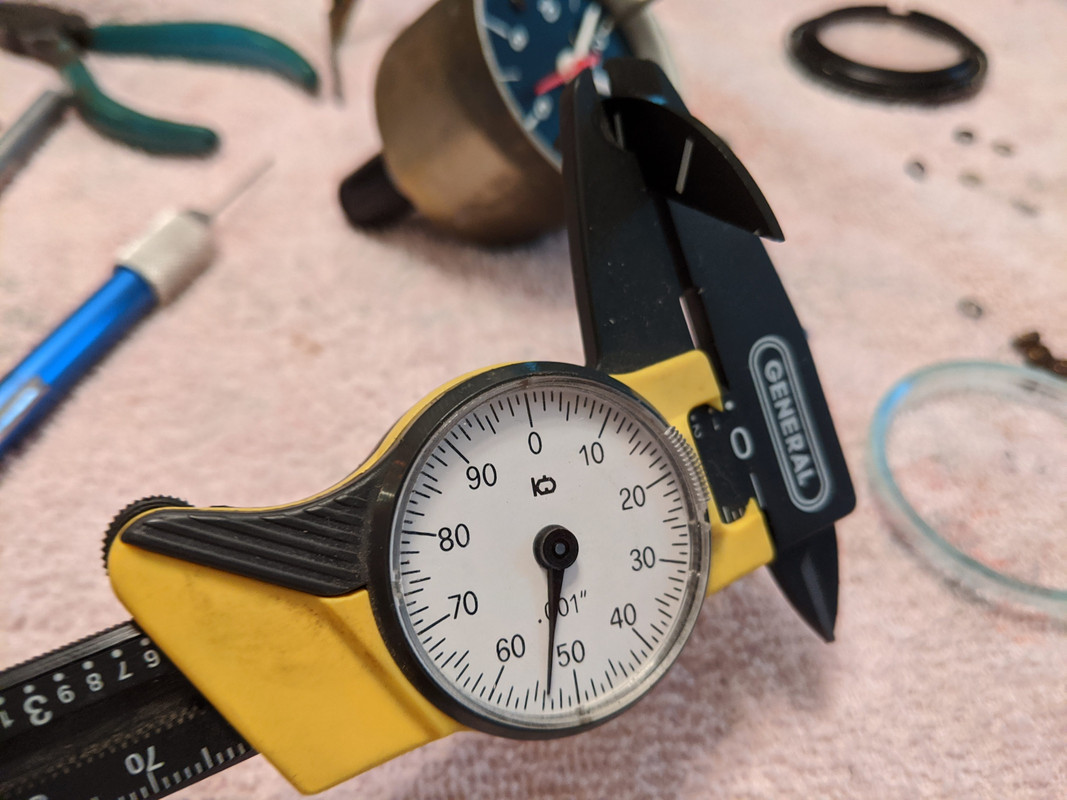
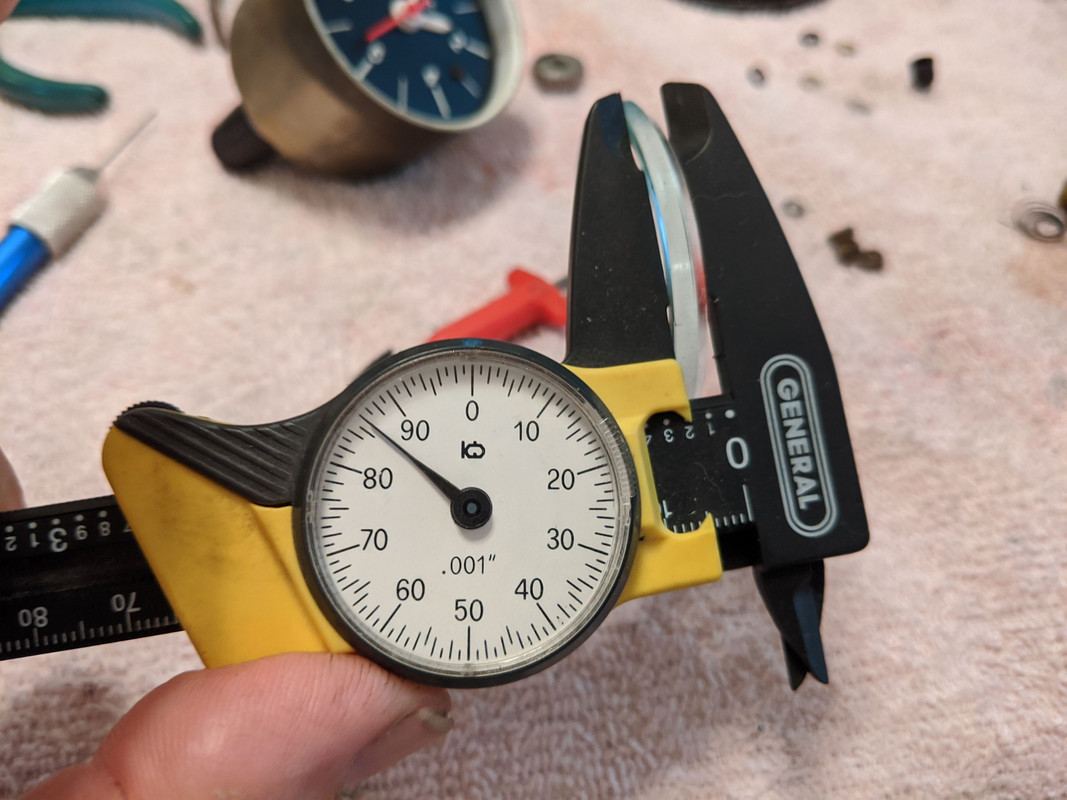
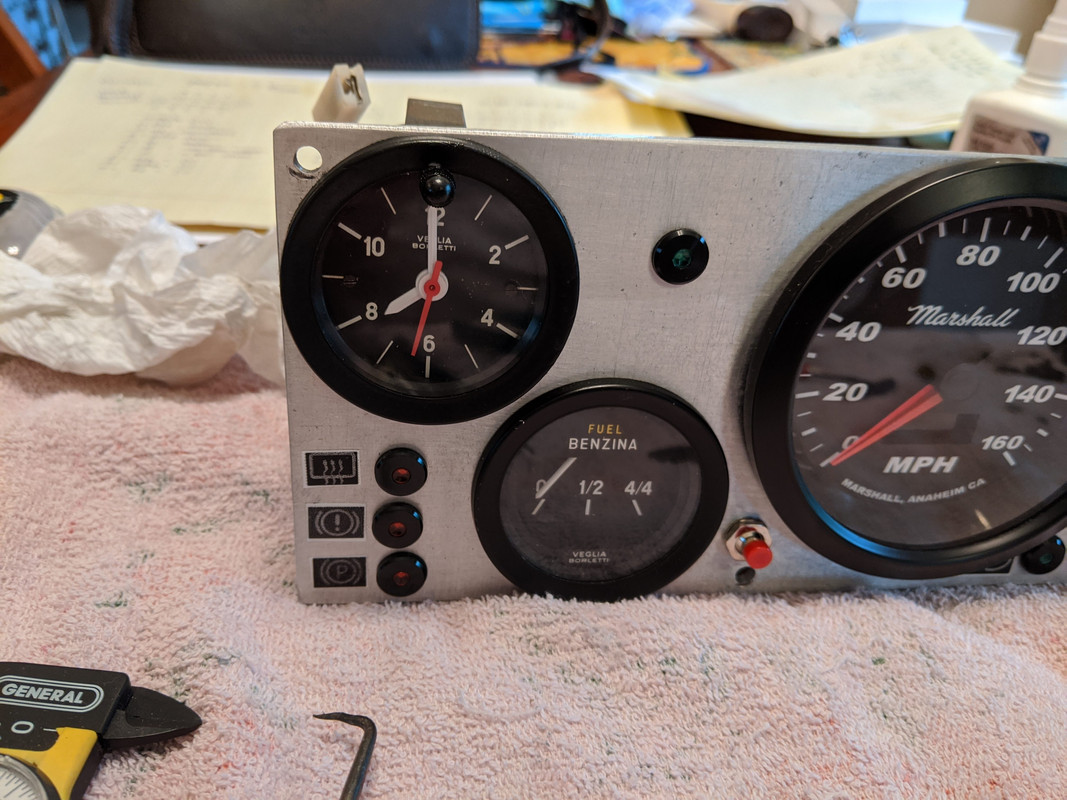
As mentioned some other models of Veglia clocks have a longer (taller) case (housing). I didn't think that was going to be an issue because it appeared the taller (thicker) light ring made up the difference on the front side, not affecting the operation. Well it does have an unwanted effect after all. The longer reach between the face and the lens (caused by the taller light ring) means the shaft for the "adjustment" knob isn't long enough to reach properly. So the clock will run, but you can't set the time.

Maybe this mod is best left to those Veglia's that match the one @twincam69 did in the beginning of this thread.
 
Last edited:
After working with these clocks and having them completely apart, I decided to see what else could be done to further their restoration. The bezel and lens are items that usually need additional attention. The bezel may be faded, scratched, and even damaged from the removal process. And the plastic Veglia lens will likely be yellowed and scratched.

I took the worst of my bezels (this happened to be from a rather abused VDO clock) and stripped it, straightened it up, and repainted it. Gloss black is too shiny, and flat black is too dull, so a semi-gloss black comes closest to the original finish. However a nice newly painted surface is obvious looking - especially next to the other gauges with their old worn bezels. And it isn't practical to remove the bezels from all of the gauges to repaint them. So it may be better to clean up the old bezel with a finishing polish or possibly a "black finish" restorer? I might try those later on another bezel.

The lens was even a bigger challenge. I started a new thread on the subject because I recalled reading where someone had restored their yellowed lens. Take a look through that thread, there were several ideas discussed:

In the end I decided it is best to replace the lens with new rather than try to restore the old one. Although glass would be ideal, in my case I really did not want to invest in the nice glass lenses available through some vendors (see the linked thread). So I took the lens that came in the Luch and ground it down to fit the Veglia bezel. Basically I just layed the old lens over the Luch lens, aligning the little holes for the adjustment knob, and traced around it with a Sharpie. Then I used a disc sander to grind it down (the same method used earlier to reduce the diameter of the Luch face). It forms a plastic "slag" as it grinds, but you can easily remove that with your thumbnail. The extreme outer edge is concealed by the bezel so it doesn't need to be perfect. But it does need to be pretty close to fit well. The Luch lens also seems to be the correct thickness and it looks nice once installed.

I took a couple pics but left the camera in the shop, so I'll add them later (just came in for lunch now).
 
Here are the pics I promised....

This is the old lens that came out the best of all cleaning processes. This one wasn't really too yellow to being with, and the picture is deceiving - it looks much worse when held up to the light. If you look at the edges (where it was normally covered by the bezel) you can see how much "clearer" it is. You also can't see the scratches very well here:
004.JPG


These are two unrestored Veglia bezels. Notice how flat the finish is on one is compared to the other. Depending on the status of yours, that can make matching the finish difficult if you try repainting it. Especially when sitting next to the other gauges:
005.JPG


This is actually a VDO bezel that I painted a gloss black (VDO uses two bezels, one inner under the lens and the other outer over it), this is the inner one. It is too glossy. The trimmed down Luch lens is sitting in it. Once the outer bezel is placed on top it looks fine:
002.JPG


I guess I didn't take a shot of the outer VDO bezel after painting it semi-gloss (actually the can says "semi-flat") black. But it looks somewhere in between the two unrestored Veglia bezels shown above, but closer to the one on the right. Later I might try some other finish restorers (other than painting) on the two Veglia bezels to see how they look.

With a new Luch mechanism inside, a new lens cut from the original Luch lens, and a cleaned up bezel, your Veglia clock should look and function like new. Thanks once again to @twincam69 for taking the lead on trying these Luch donor clocks. ;)


EDIT: Here is one more pic of the bezel painted semi-gloss black. This has the cut down Luch lens and the gloss black inner bezel, just for demonstration. There is some dirt in this layer of paint, so it needs to be redone. But I think the paint will get messed up when the bezel is being crimped back onto the clock body. So I'll readdress the finish later:
003.JPG
 
Last edited:
Bill Gillham has an Alfa restoration business and has a large selection of decals for restoration
https://www.giuliettaspokenhere.com/decals

You could inquire if he has a veglia borletti decals or can make some up. Might make more sense that ripping two clocks apart.
There's some nice decals on that site. ;)

Did you mean to add a "Veglia" decal onto the Luch face, to use the Luch in place of the Veglia? The problem would be the Luch clock is much larger diameter than the Veglia, so it would not fit in the dash. However the working mechanism inside is smaller and an exact fit into some Veglia clock bodies. Therefore the swapping of parts.
 
So my son replaced his clock in his 124 with the Volvo clock. All the same. I'm not familiar with the Luch clock but I like decals. Don't really need clocks in this day and age :)
 
So my son replaced his clock in his 124 with the Volvo clock. All the same. I'm not familiar with the Luch clock but I like decals. Don't really need clocks in this day and age :)

The 52mm VDO one? Like this one - (bottom left)? I had thought about that, however I'm trying to keep my small gauges Italian :D

Old-Cars00001.jpg
 
When driving a Fiat do you really need to know the time?
Agreed. Especially for someone like me that rarely drives my Fiats and has plenty of time on my hands. That's why I ended up doing the Luch conversion on a VDO clock (I included a few images of that already). It goes into one of my VW builds. That vehicle gets driven much more like a daily driver (I can rely on it completely, it is more comfortable, more practical for running errands, etc). And since I don't wear watches and seldom look at my cell phone, having a means of knowing the time helps me coordinate my running around. Otherwise I agree, clocks are not needed in a play car.
 
Did my clock today. The only changes I made were to drill the Luch face so I could screw rather than glue the Veglia face in place, and to sand down the lens to offset the added thickness of the Luch 'backplate'. I didn't bother making the Luch face pretty.

IMG-20200910-163212.jpg


IMG-20200910-163900.jpg


thickness of Luch plate
IMG-20200910-164921.jpg


diffuser lens before
IMG-20200910-164938.jpg


diffuser lens after, close enough

IMG-20200910-170923.jpg


I reused the stock lens

IMG-20200910-171700.jpg
 
sand down the lens to offset the added thickness of the Luch 'backplate'
I found that out with my "modified" application on the "incorrect" style Veglia clock. In my case the added thickness was enough to bind everything; which either made the "adjustment knob" non functional, or cause the "hour hand" to rub against the dial face. By the time I modified the case, modified the mechanism to fit the "incorrect" clock, modified the bezel and lens, and played around with the adjustment knob and hour hand, I screwed it up enough that it no longer works. So all of that detail about making the Luch work in a different ("incorrect") style Veglia was waisted. I highly recommend that anyone interested in this excellent mod first verify that you have the right style of Veglia clock. Trying to make it fit any other clock isn't worth the effort and high risk of it not working.

Nice work Huss. 😁
 
this is an awesome thread - incredibly helpful and informative. I have a non-working Veglia clock that Im hoping I can finally get going again.
Ive ordered the replacement Luch clock for the mechanism and have started taking my clock apart....however, after trying a couple of different approaches, I havent been able to remove the hands from my clock. So my question is, how do I remove the hands from my clock ?!
Before I do some damage Id love to get advice on this...
Here's some pictures.....thanks in advance for any advice/help! All the best, Rog.
IMG_5221.JPG

And a close up of the hands
IMG_5223.JPG
 
Those hands look like someone has been in there before? They seem to be repainted. In which case the previous person may have added some adhesive or such? Otherwise they are a bit of a 'press fit' onto the post. Don't grab the arms to pull them up, get under the base circular portion with a small tool and gently pry them up and off. Depending on the size of your fingers and length of your nails, you may be able to 'pinch' your nails under the base of the arms and pull up.

Make sure your Vegla clock is the right type that can be done with this mod. There's more than one style and only one will work with the Luch innards. See the pics in the thread to identify what you have.
 
Hmmmm....Im afraid I dont know if its been dismantled or painted before....obviously a possibility. As you note, some re-painting mightve been done.
I was using a pair of tweezers that had a bend at the tips to try and pry the hands off....without any luck but I was concerned that I might not be doing the right thing so didnt use too much force. I will try again.
Do you start with the Second hand, then the Minute hand, then the Hour hand or do you just pry all 3 off in one go ? Are they all attached to one another ?

And yes, thank you for the advice, Ive double checked the size and I believe it should fit.
Thanks so much for your help Dr.Jeff!
 
I seem to recall someone using a fork as a 'pry bar' to lift the arms off. But I've never tried that, so do so at your own risk.
 
Back
Top