Volvo C30 AWD Conversion

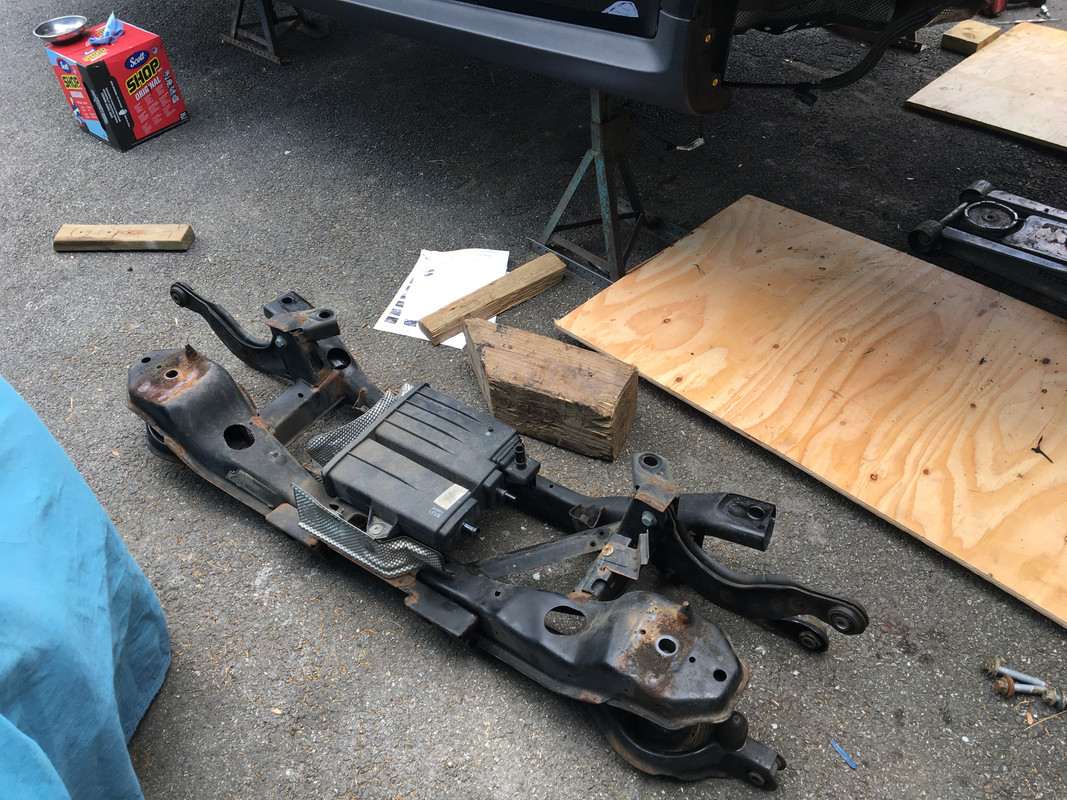
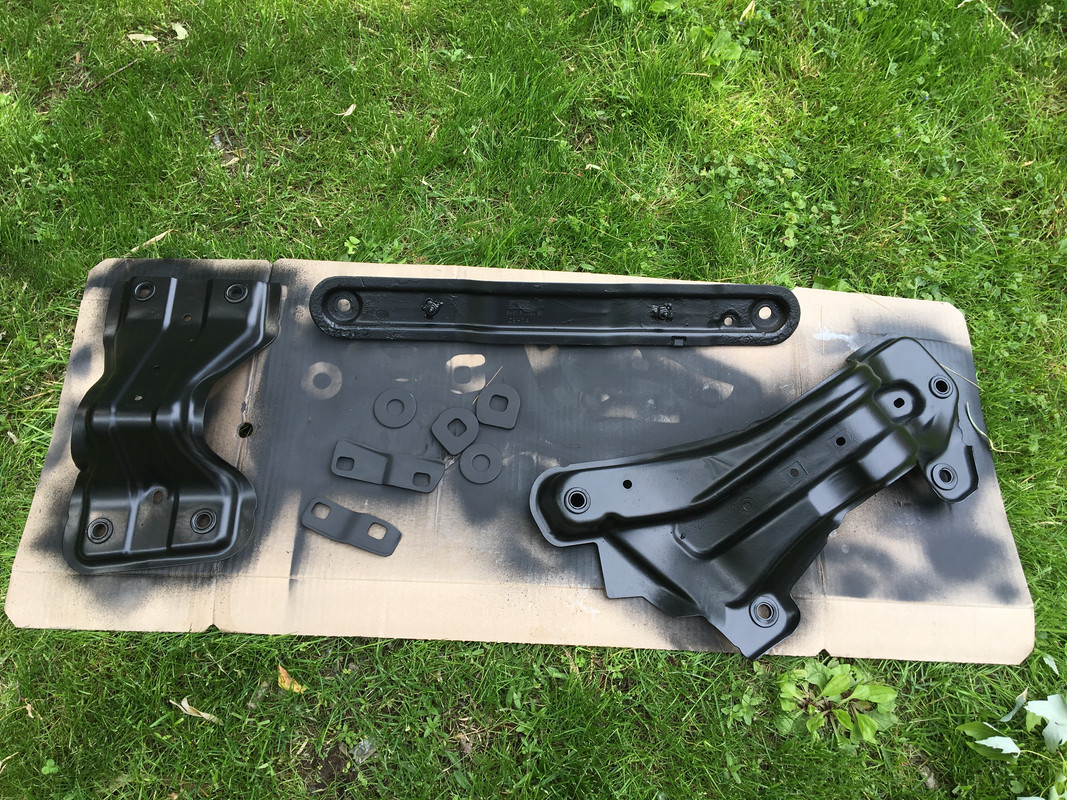
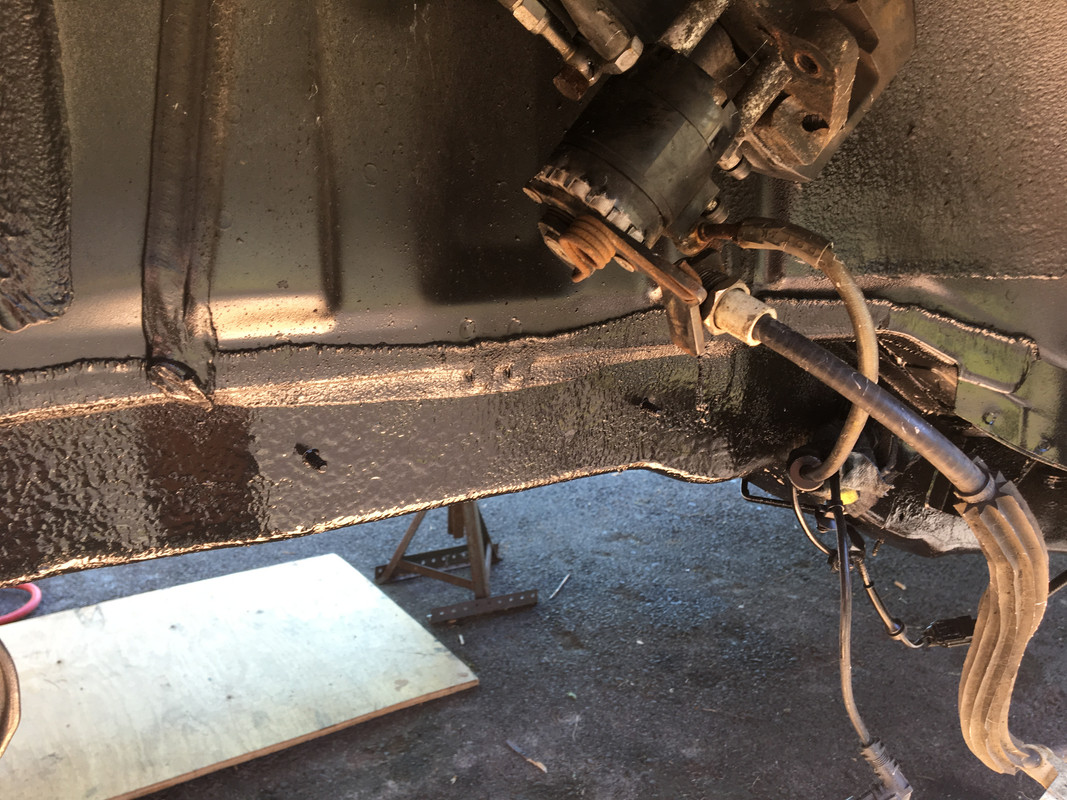
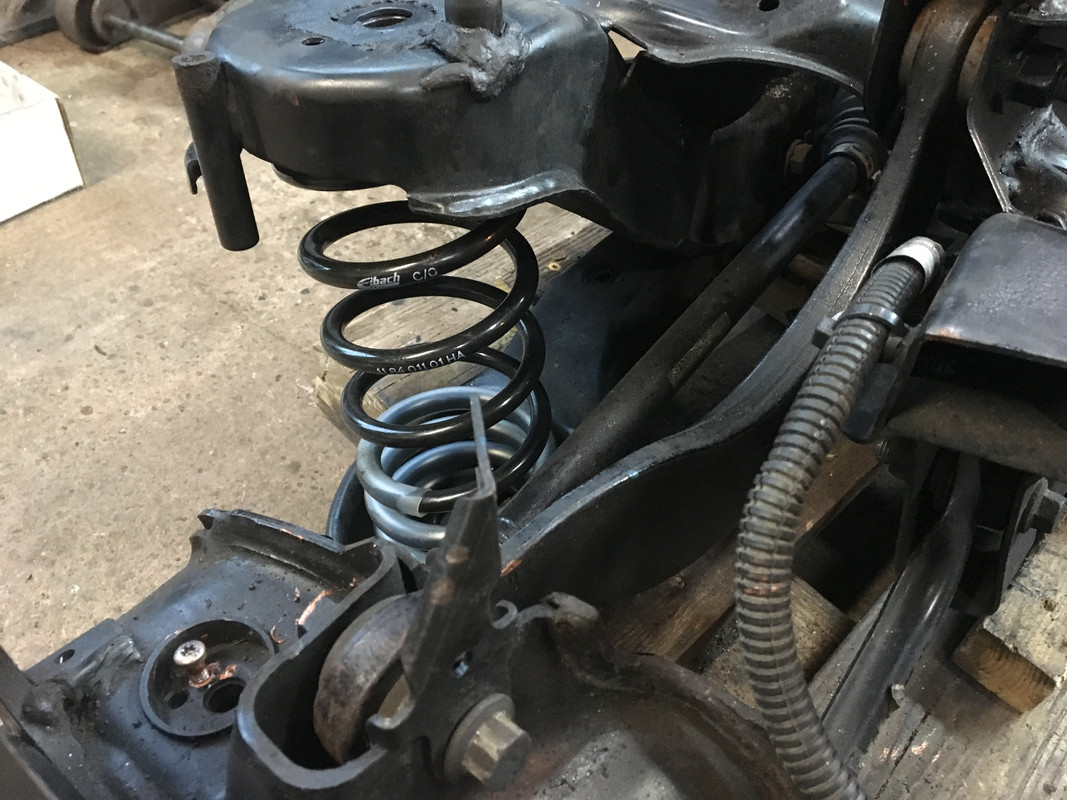
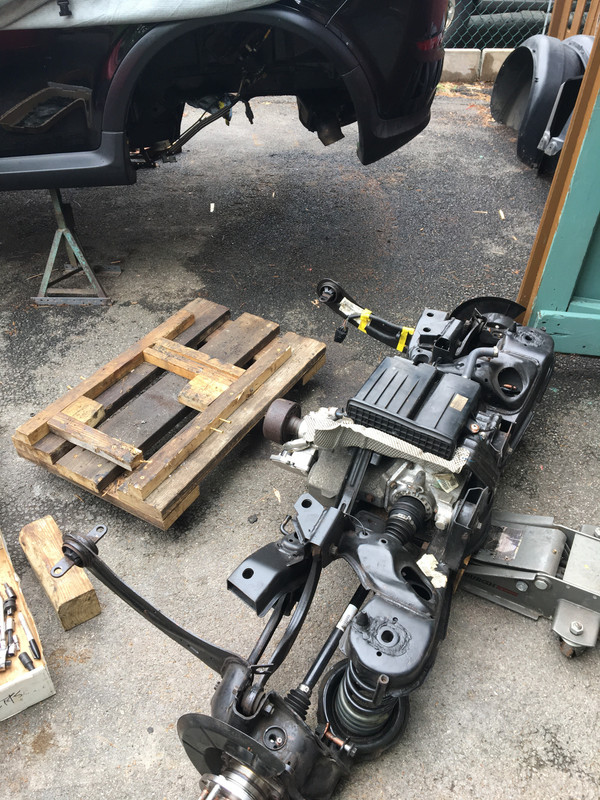
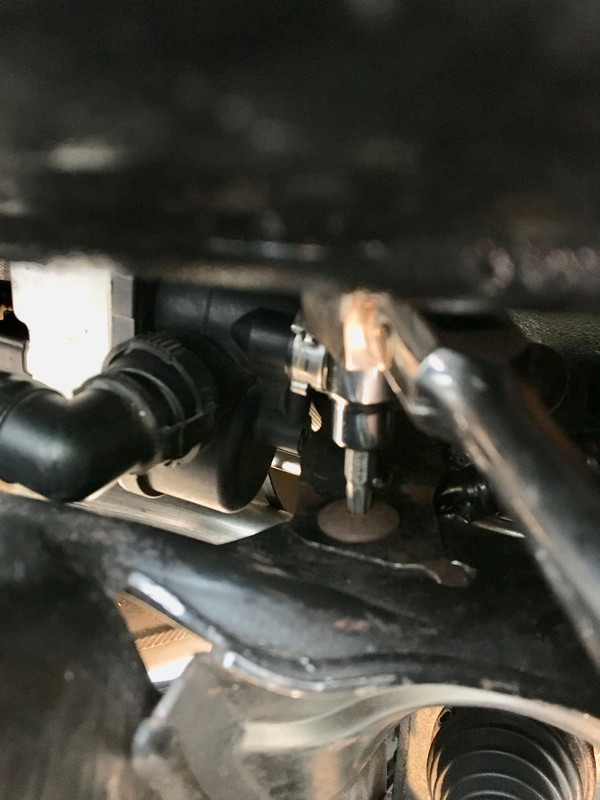
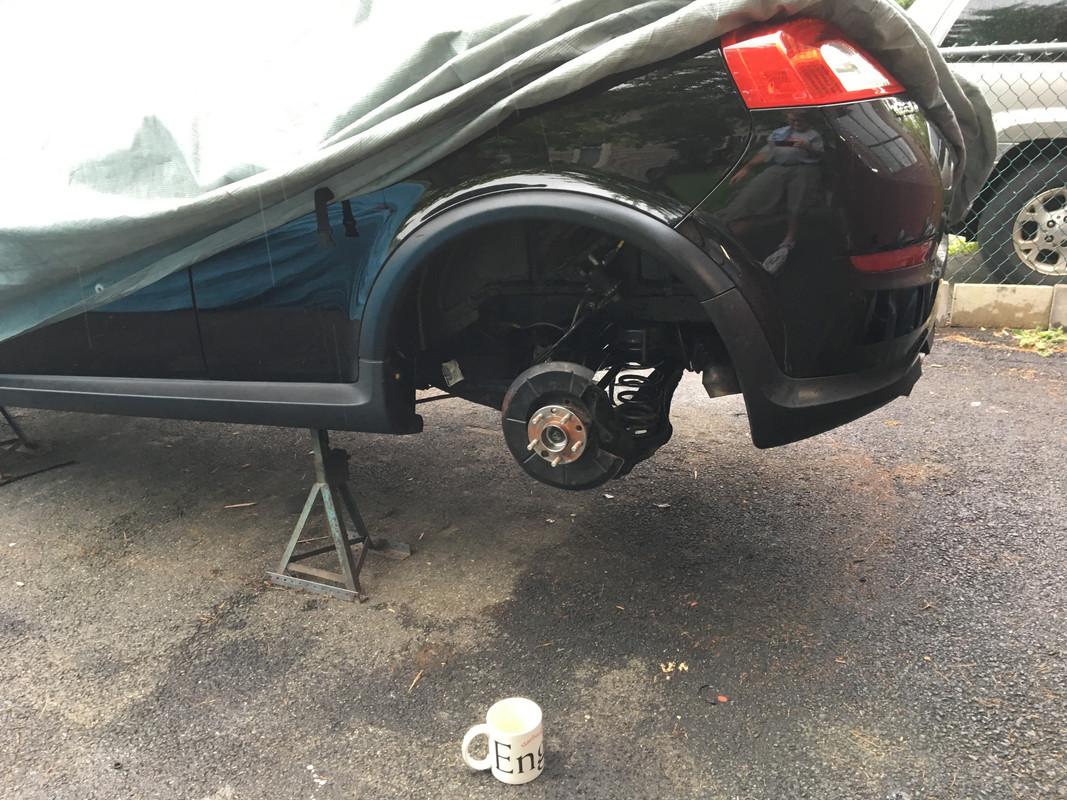
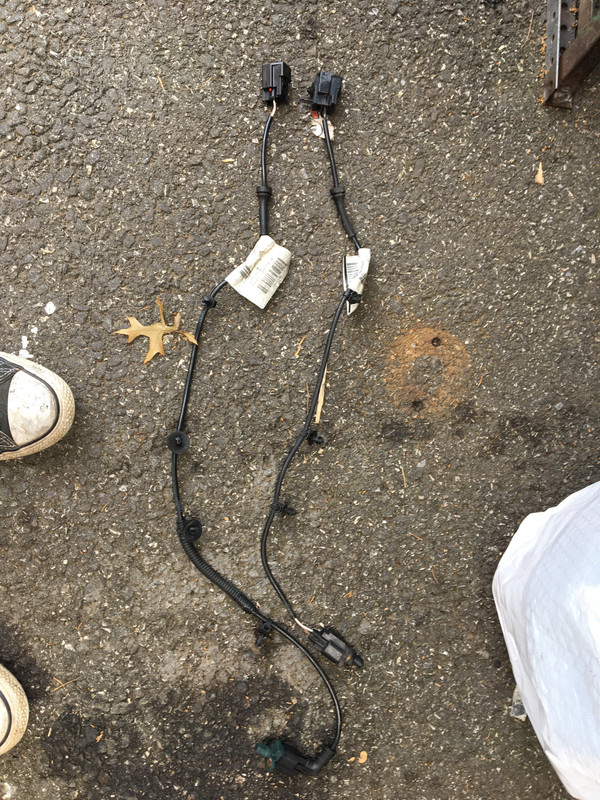
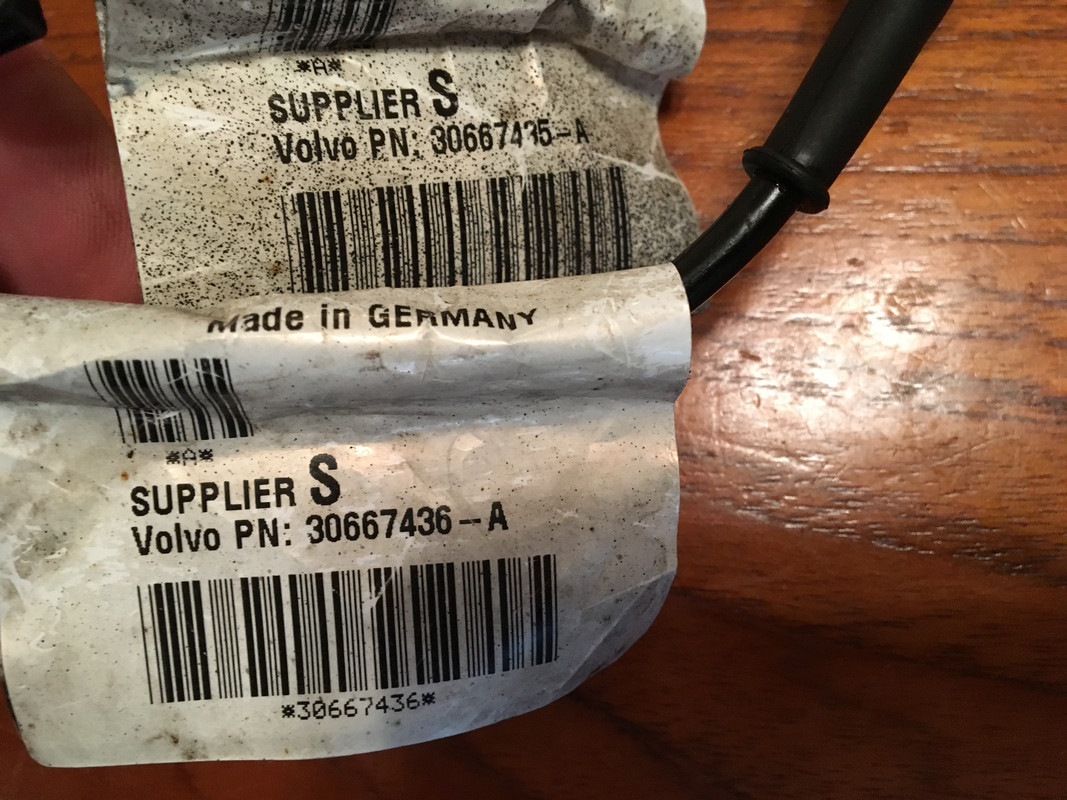
Installed new rear hubs today.

IMG-7932.jpg


IMG-7931.jpg


Took screenshots from VIDA, since one cannot screenshot or export as PDF from VIDA, at least on mine install.

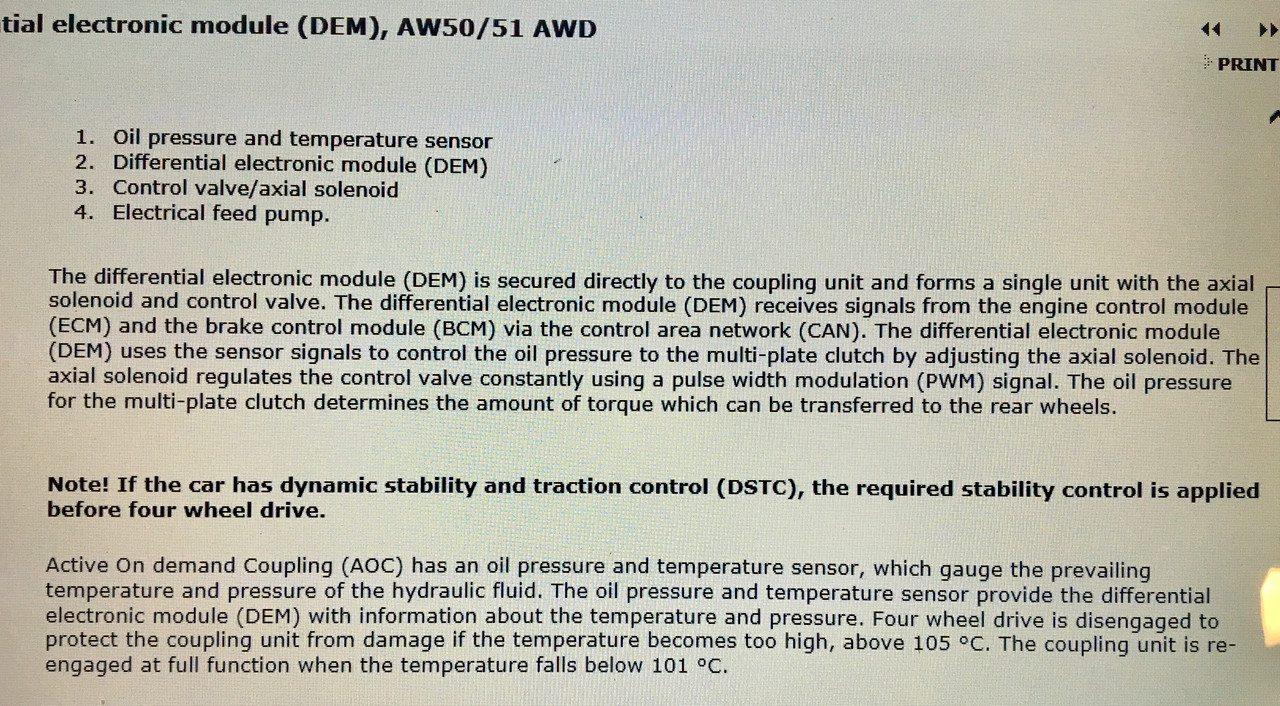
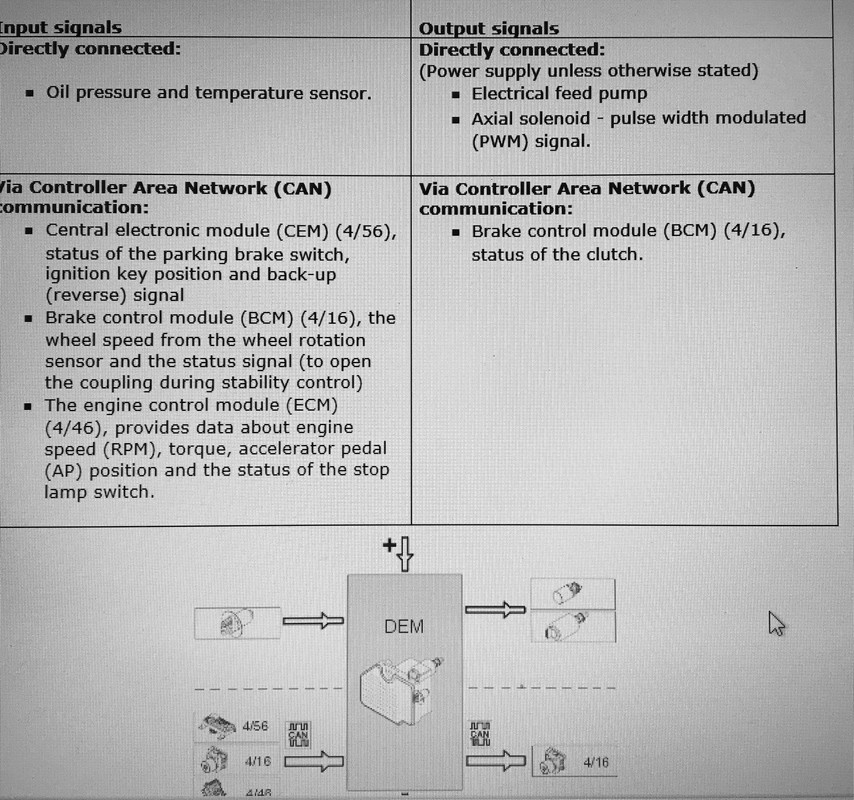
Haldex overview & CAN signal I/O description.

Thread with discussion of manual controller for the Haldex

IMG-7929.jpg


IMG-7928.jpg


IMG-7927.jpg


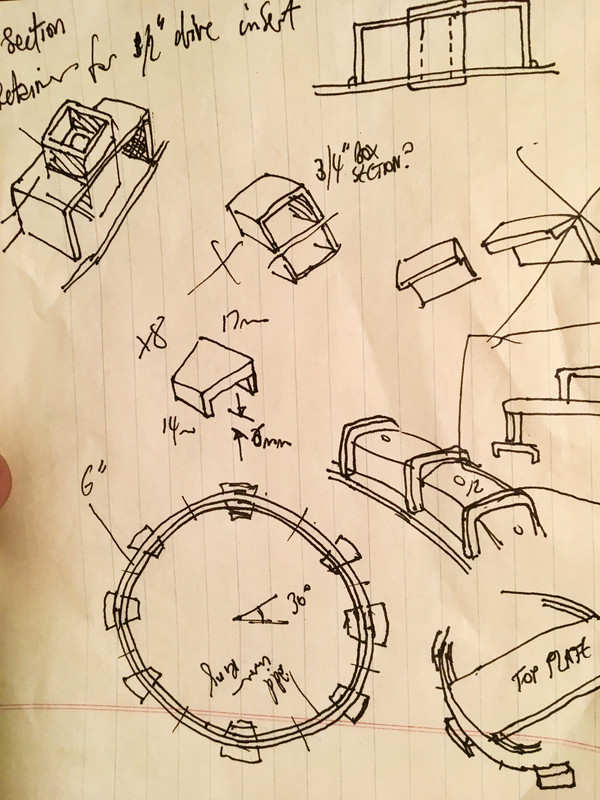
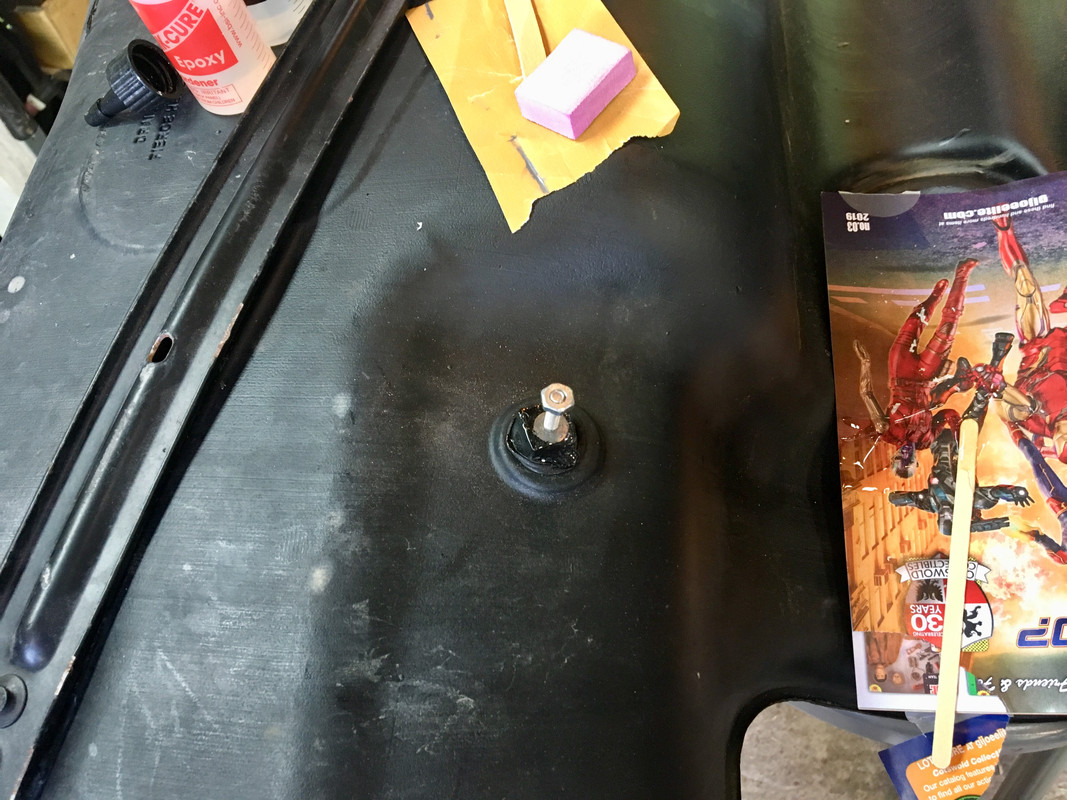
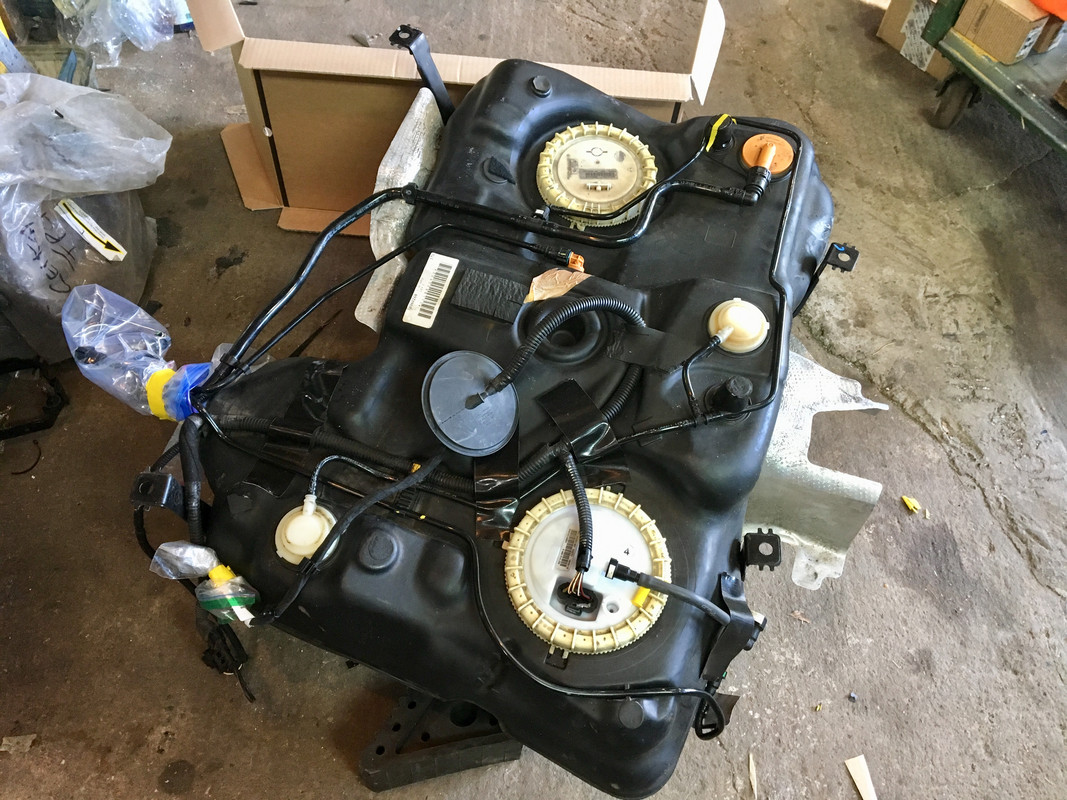
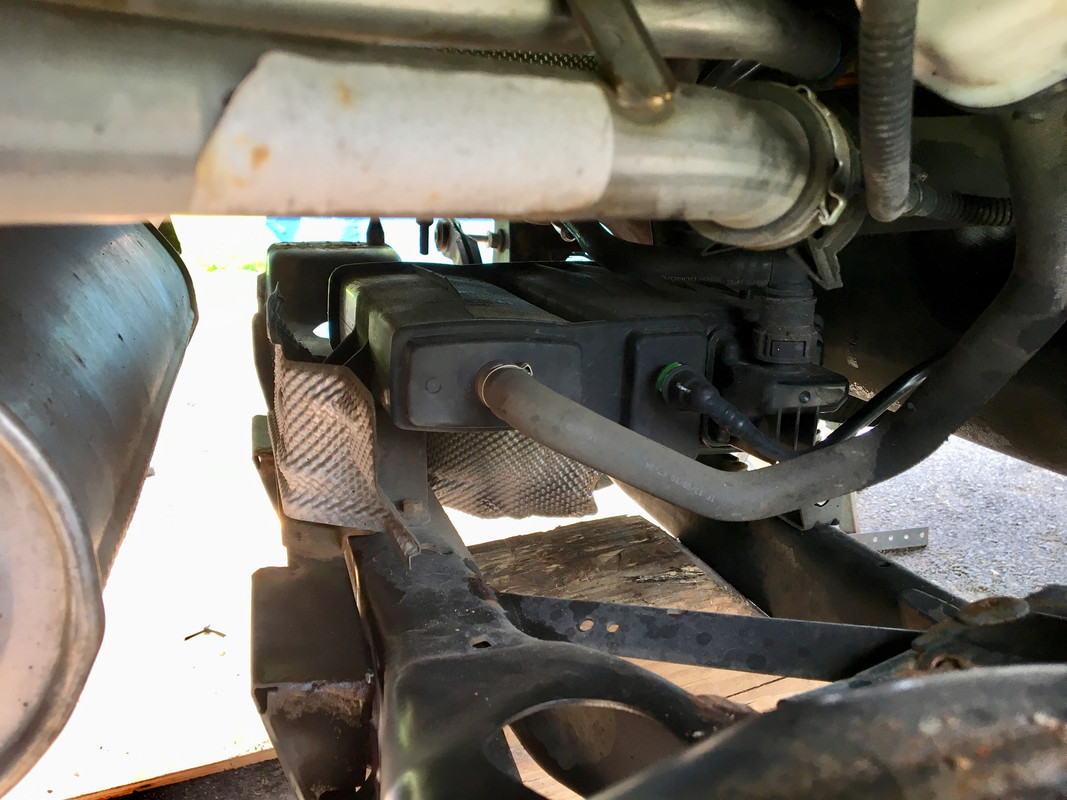
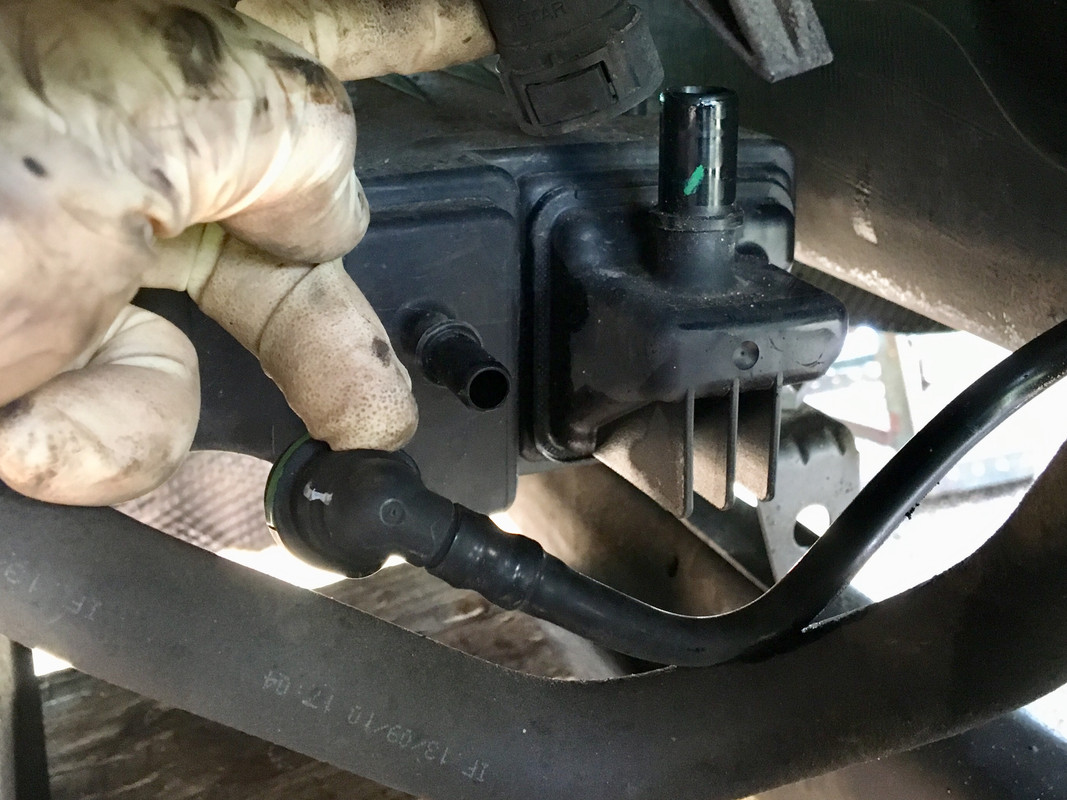
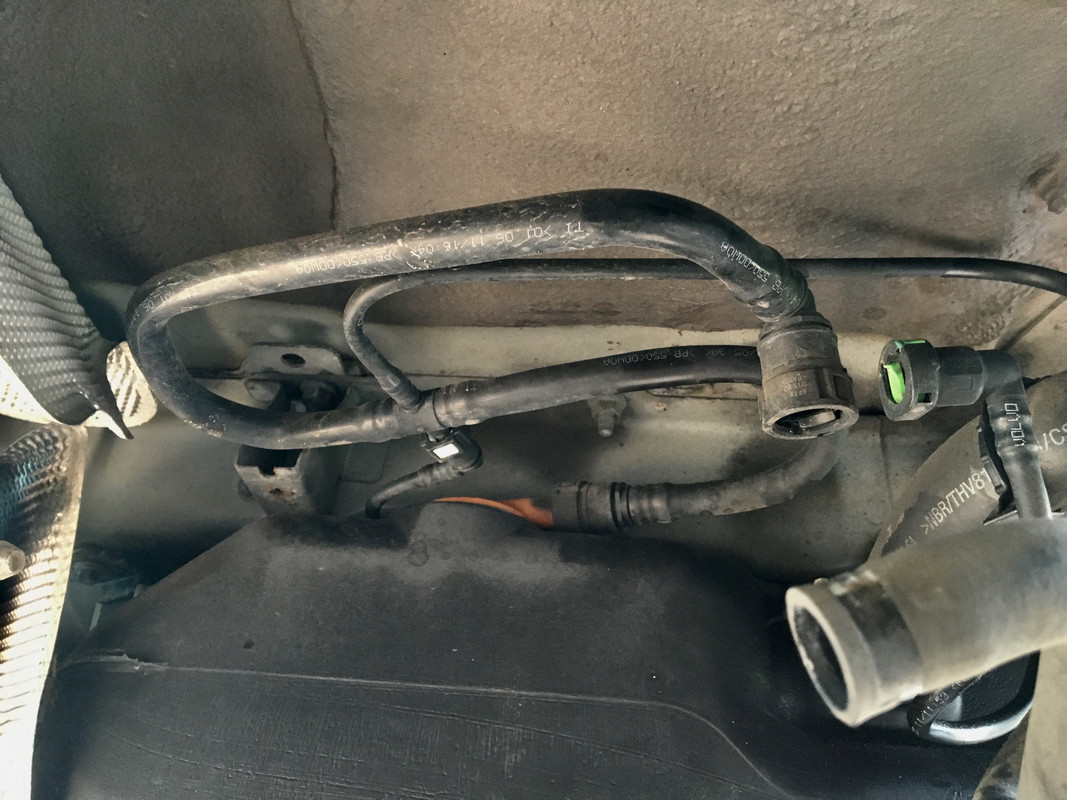
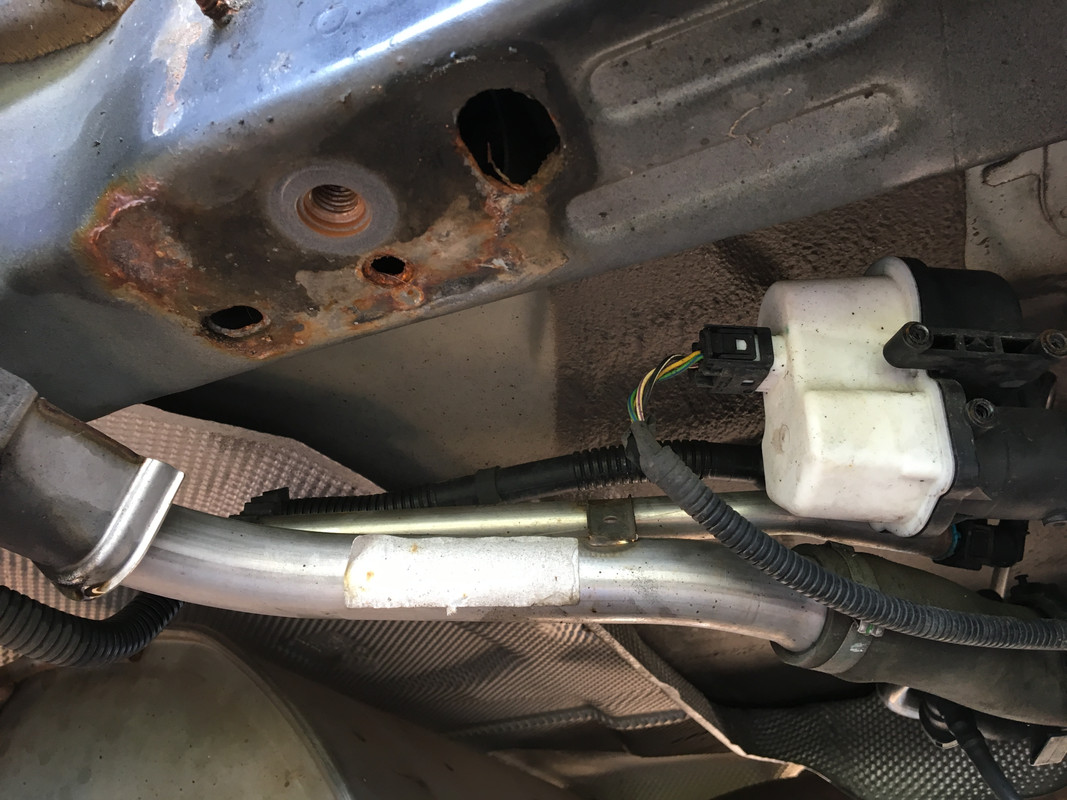
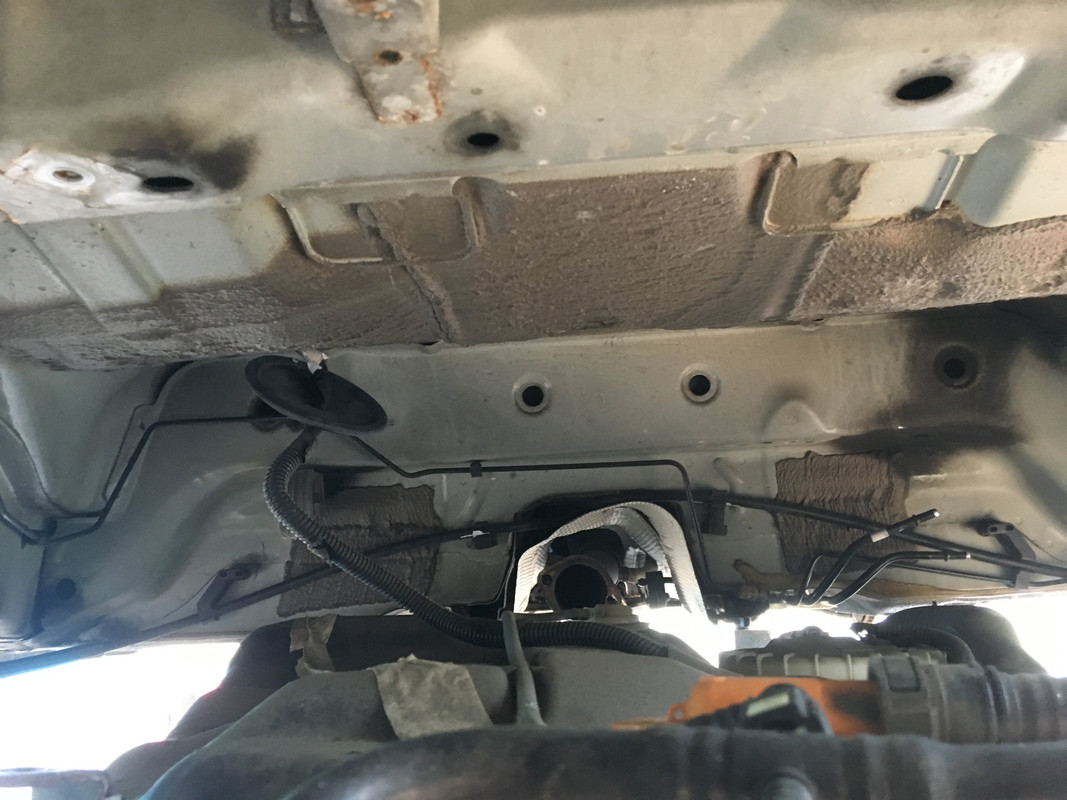
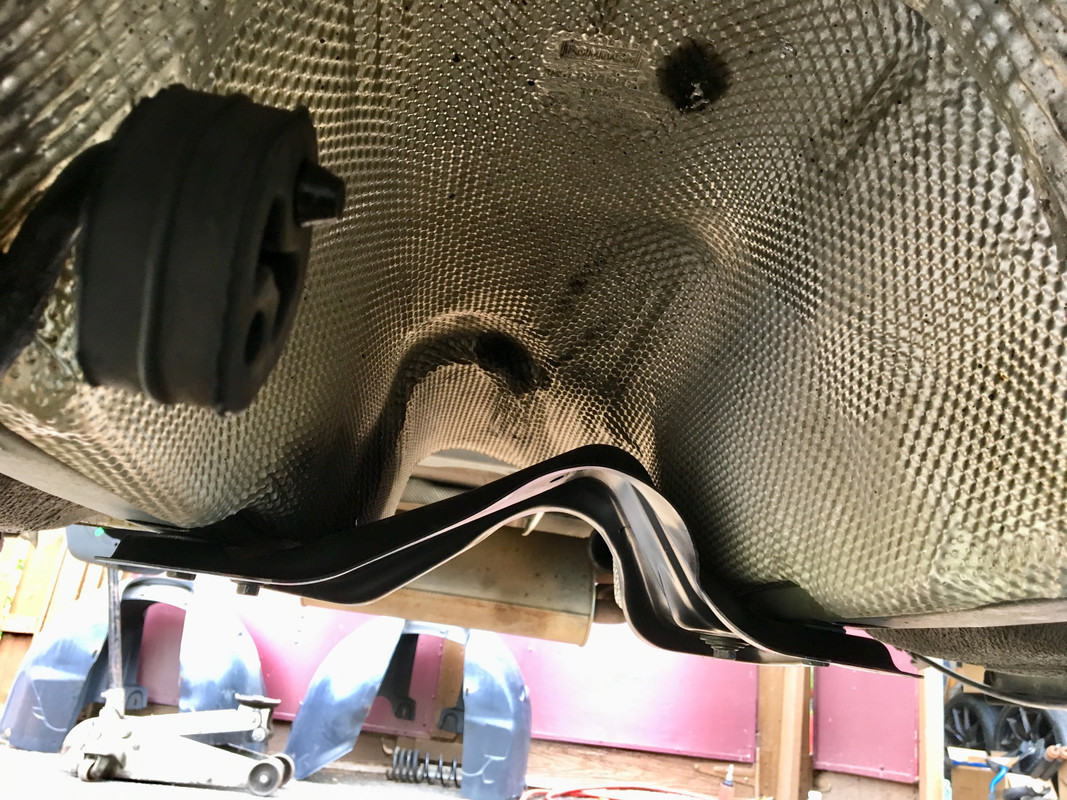
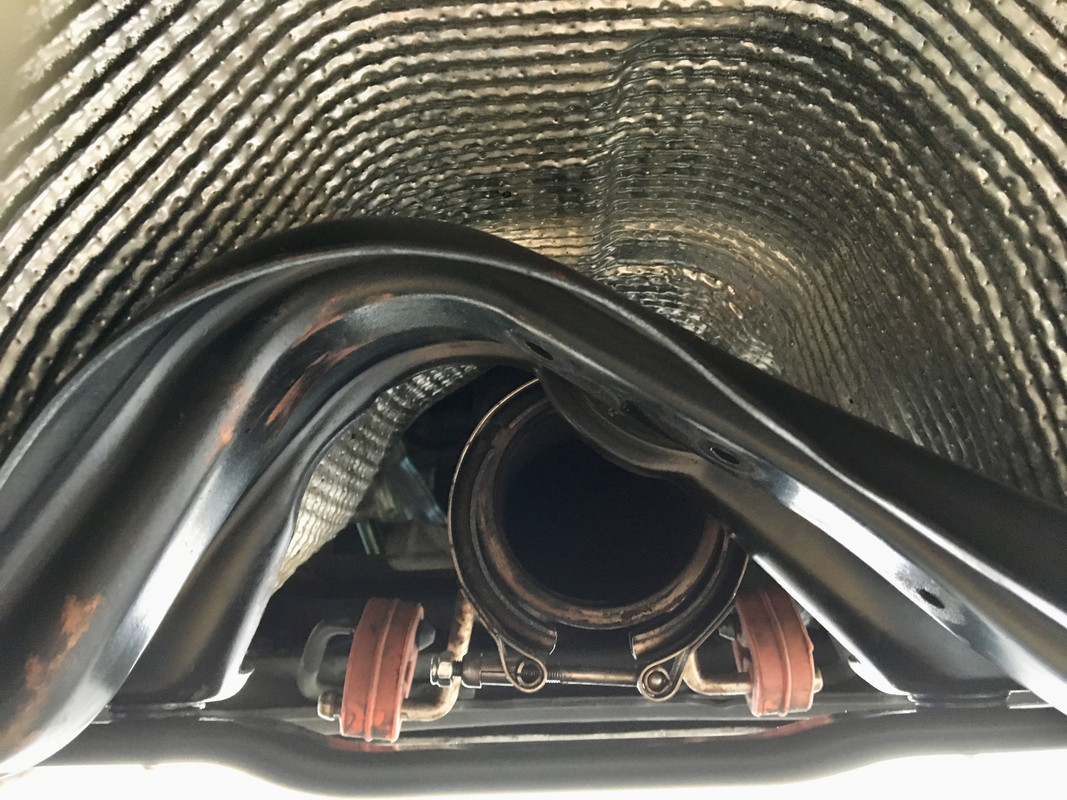
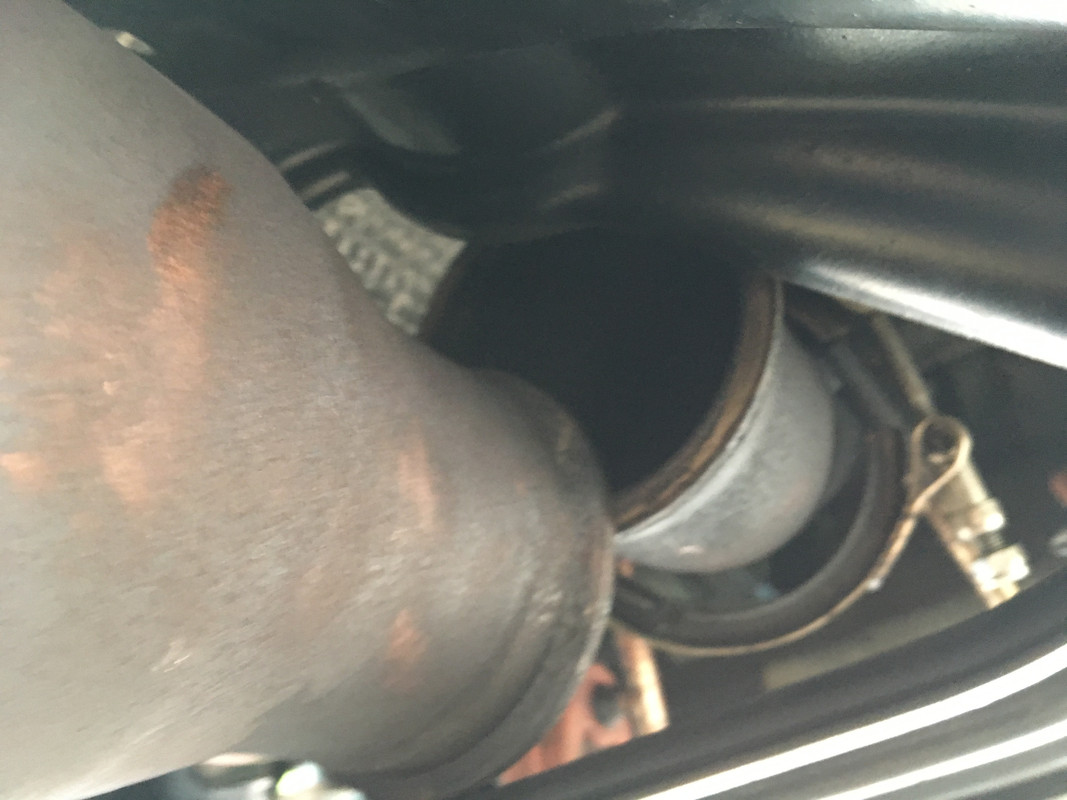
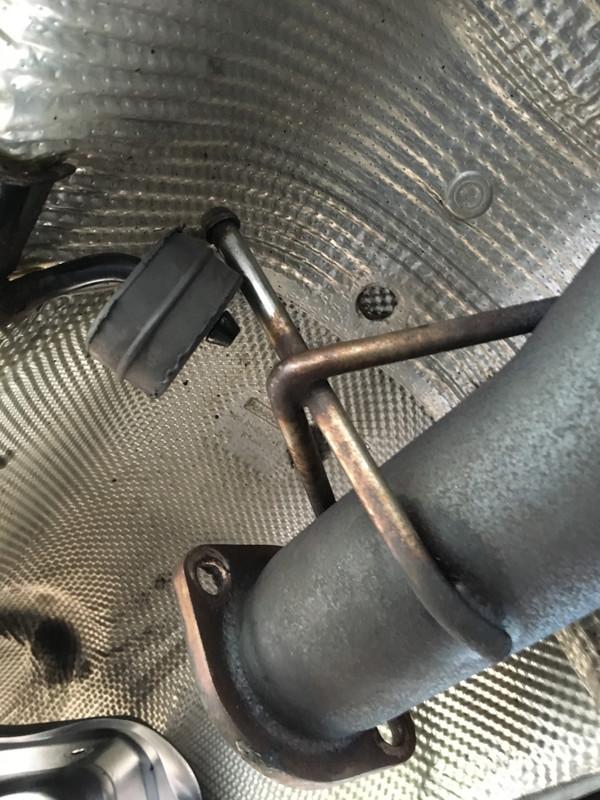
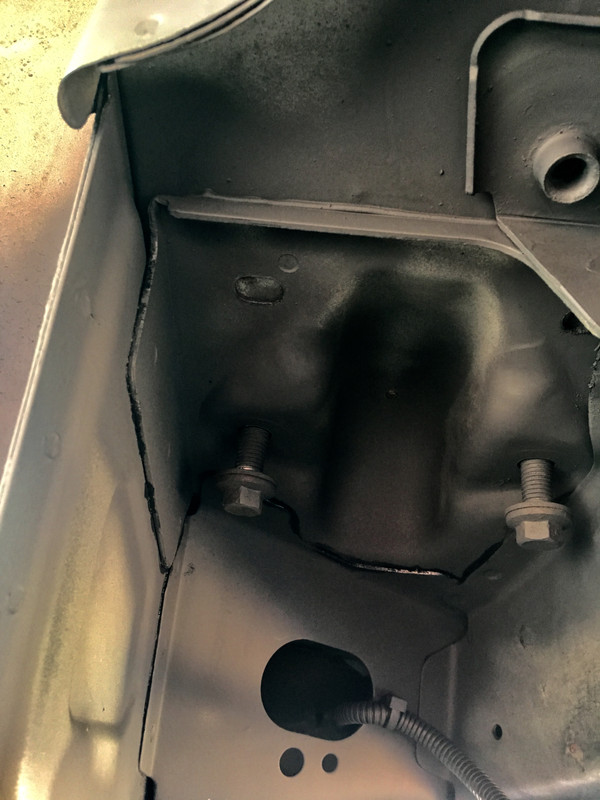
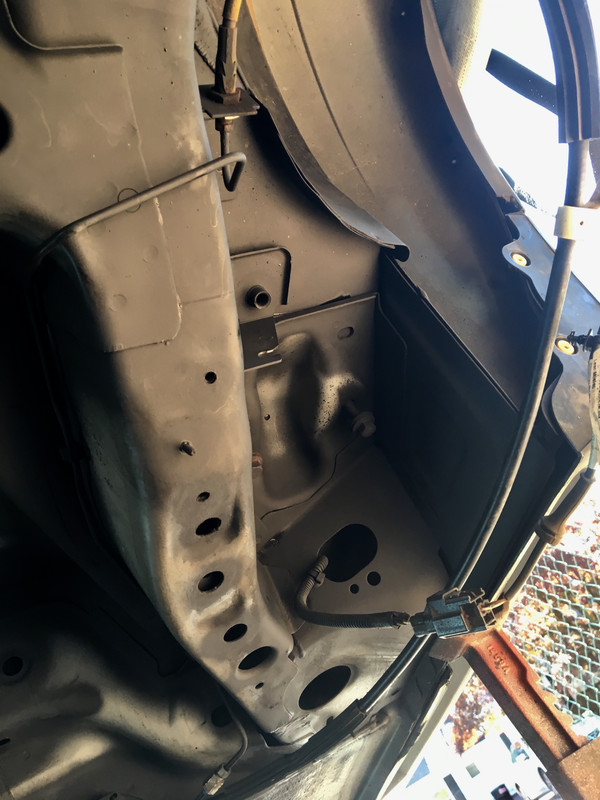
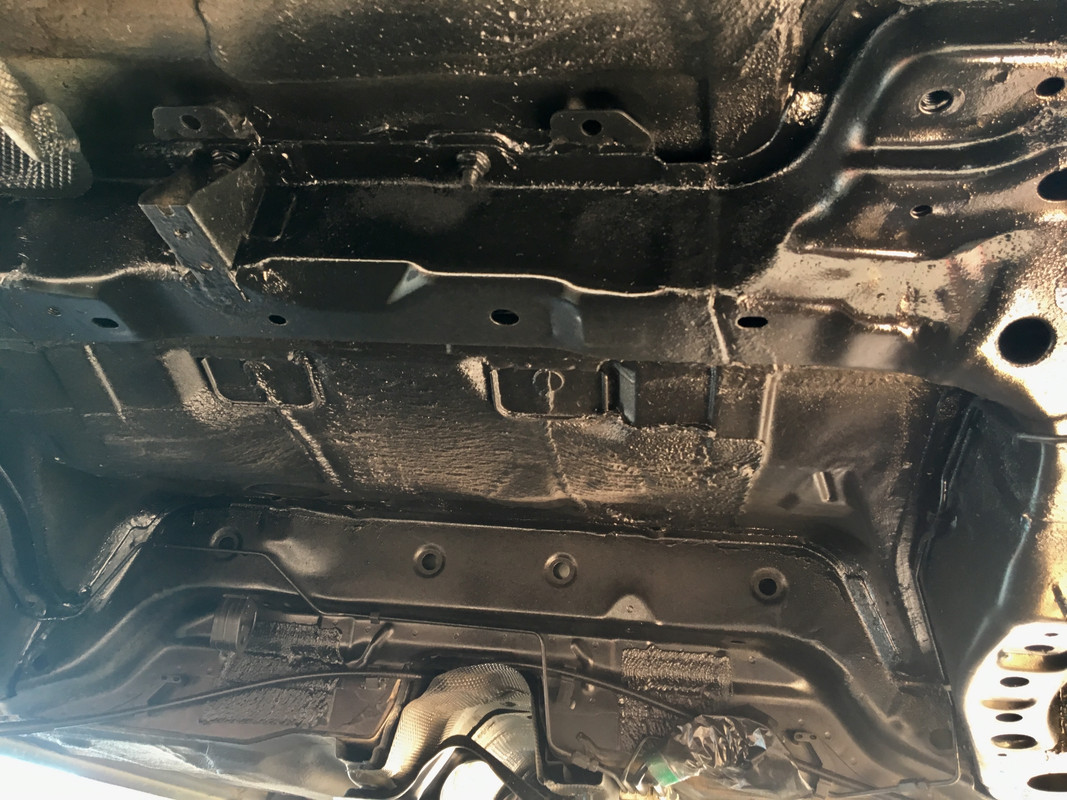
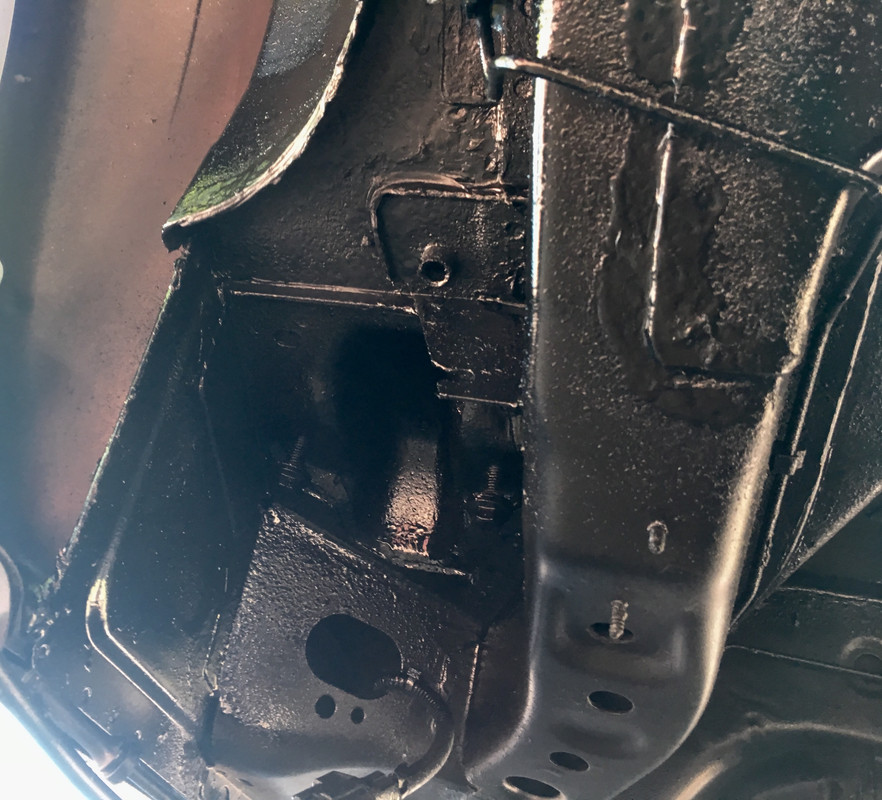
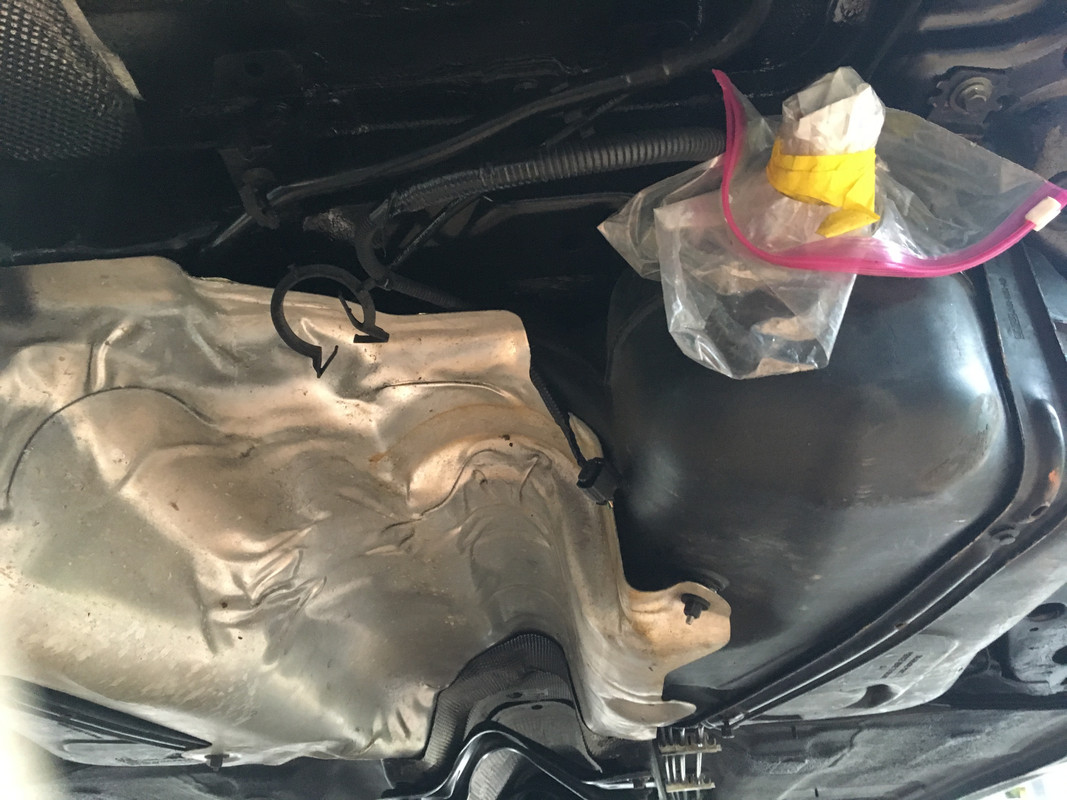
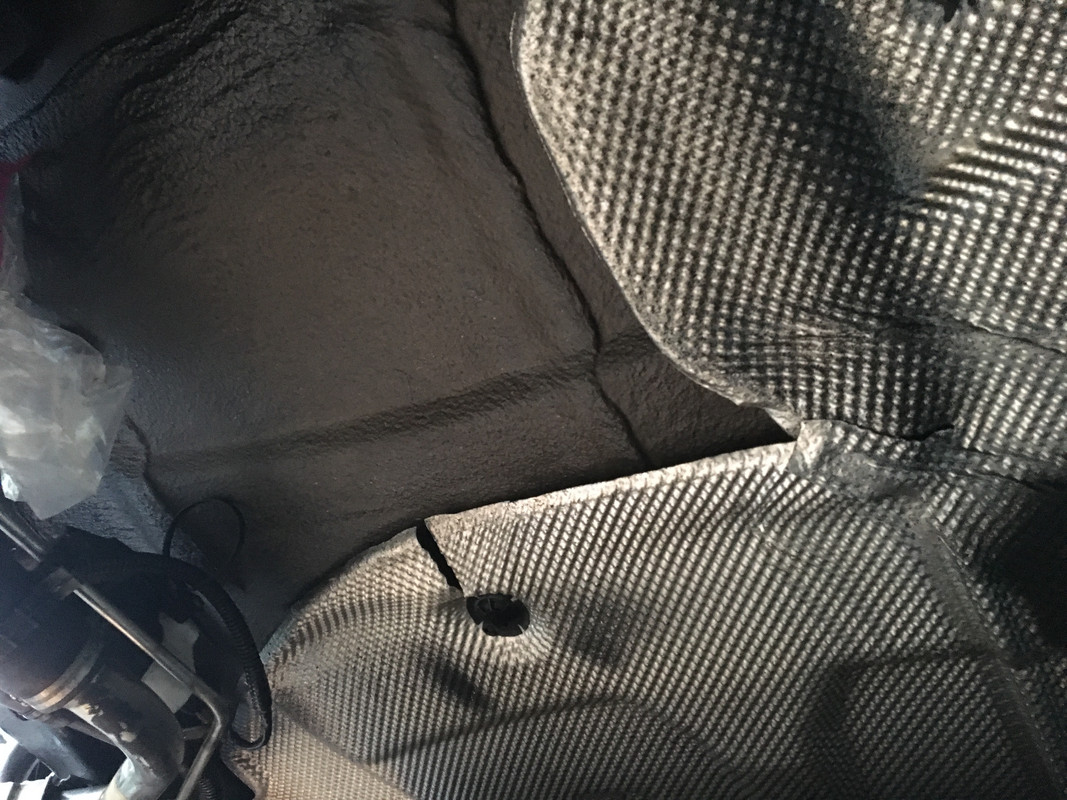
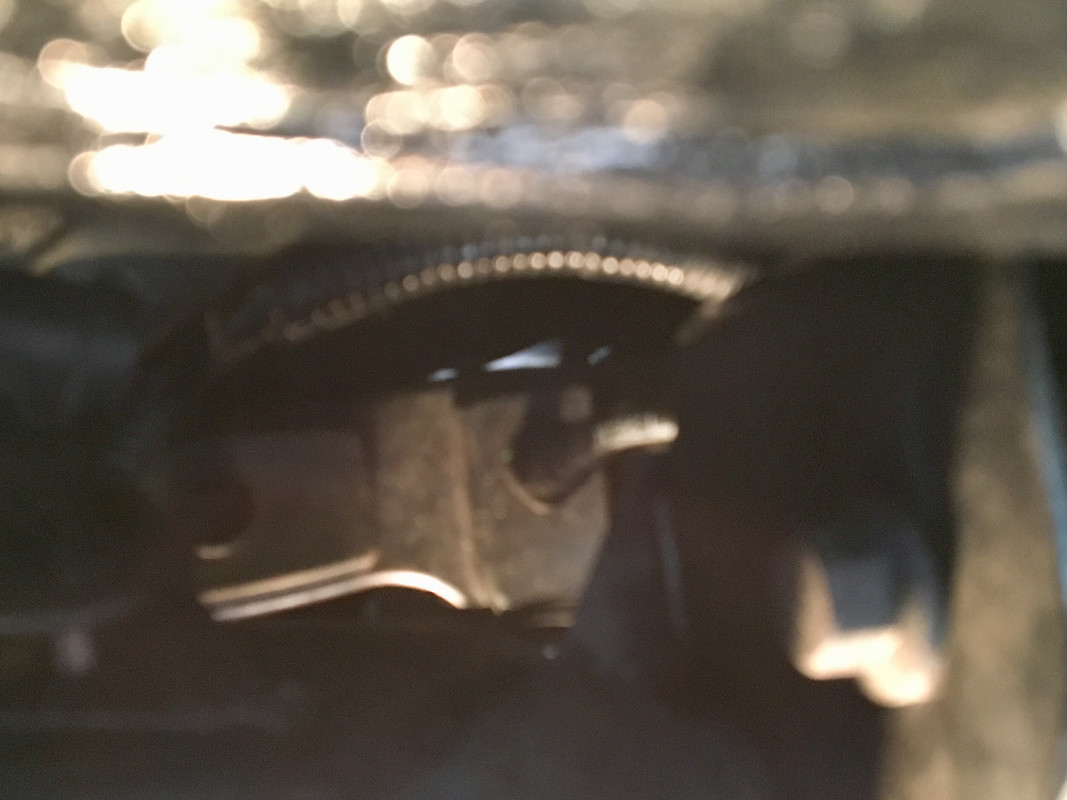
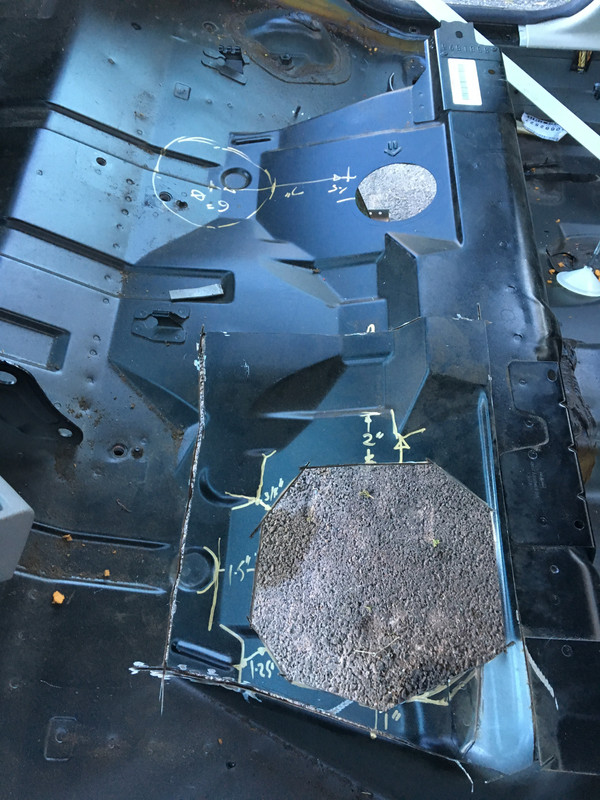
Not sure there is any point cutting a hole for the PS (main) sender, as that cannot be removed unless you also lift the DS sender to release the cross tube and level sender wiring. Looking at the floor, the PS unit would have to be cut right where the seat belt mount is located. It's also not a flat area. I dunno. Not sure I want to mess with this now.

IMG-7933.jpg
 
Last edited:
DEM connectors & bypass connectors
Male 2 pin = 1J0 973 802
Female 1J0 973 702 (stock wiring )

Male 8 pin = 1J0 973 814

Female 1J0 973 714 (stock wiring)

Yazaki 7114-4102-02 Male 1.5mm
7116-4102-02 Female 1.5mm
7114-4152-02 Male 2.8mm
7116-4152-02 Female 2.8mm


12-pole Black Harness connectors:
TE connectivity 1452303-1 (body side, Male) & 1452299-1 (subframe side, Female)

Terminals (sealed):
Yz 090II or TS090 and TS187 series

Yazaki 7114-4025/26/27 Male 2.3mm
7116-4025/26/27 Female 2.3mm
Sumitomo 8100_0463/4/5 Male 4.8mm
8100-0661/0 /0468 Female 4.8mm
 
Last edited:
Working on the fuel sender tool. I found a couple listed as applicable, but they didn't fit. Not spending another $60-80 looking for others, so I started making my own.

Took a bunch of measurements, as part of determining whether a Mercedes tool would work.

IMG-8006.jpg


Cut up some aluminum square tube, and a section of 6" tubing.

IMG-8018.jpg


Tack welded the tabs. Have to add two more. It's around 25º in the garage, so a PITA to weld aluminum.

IMG-8008.jpg
 
You are a brave man. Every time I get close to anything with Fuel, such as the tank, it makes me pucker. Yeah, I know it is drained of gas, etc. but still... Looking good.
 
Found out today that the two tank senders are different sizes. The main sender is a little over 6.5" OD, the secondary sender is approx 6.3". Fortunately, I ( purely by accident) used a box section to make the tabs that is deep enough to fit both sender caps.

IMG-8019.jpg
 
Last edited:
Had a few hours this afternoon to work on the AWD subframe & Haldex.

Removed pinion flange

IMG-8530.jpg


Removed Haldex pump and filter. Has 95k, so I'm replacing the pump.

IMG-8531.jpg


dismantle pump housing

IMG-8532.jpg


new pump going in, new orings & shaft seal

IMG-8534.jpg


housing cap & rotor/vane

IMG-8535.jpg


cap with new orings on the screws

IMG-8536.jpg


IMG-8537.jpg


filter screen back on, new outer orings

IMG-8538.jpg


New Filter & cap

IMG-8539.jpg


Torque flange to 80ft/lb, bitch to counterhold

IMG-8540.jpg


Replaced the three diff bushings, donor was auto trans, which uses different composition bushings

Torque bush - absolute PITA to extract

IMG-8542.jpg


IMG-8543.jpg


IMG-8546.jpg


pressing in the two rear bushings (plastic cage) - using an old Volvo 240 tool - for the large trailing arm bushings, didn't think I'd ever use this again

IMG-8544.jpg


IMG-8545.jpg


IMG-8548.jpg


Then filled the Diff & AOC:

Angle Gear and Rear Diff fluid # 31259380 .7L
Active On Demand Coupling fluid # 31367941 .7L
 
Last edited:
Drained the Haldex & rear diff yesterday, neither holds much over .75L, but take forever to get it out, they only provide fill plugs.

Added the connectors for the new Haldex pump

IMG-8550.jpg


ready to accept the DEM

IMG-8551.jpg
 
Got some prep work done today.

BG, Rear Diff & Trans PN's for future reference

IMG-8596.jpg

IMG-8604.jpg

IMG-8614.jpg


IMG-8605.jpg


Changed the input shaft seal, and AG inner shaft seal

IMG-8615.jpg


Changed the AG oil # 31259380

IMG-8617.jpg


Repaired a nick in the left rear axle boot - these are not serviceable - have to replace entire axle.

IMG-8612.jpg


then heat shrink

IMG-8613.jpg


Back in the subframe

IMG-8656.jpg


Removed/drilled out a broken heat shield retaining screw from the gas tank (very carefully) & epoxied a ss machine screw in it's place

IMG-8606.jpg


Installed the new main sender/fuel pump, and tidied up the tank ready for install

IMG-8622.jpg


modifed the left trans bracket following Jimmy's (on C30Crew) approach - removed 1/4" off the top & reshaped to match as best possible

using cut off piece to check contour
IMG-8618.jpg


IMG-8619.jpg


IMG-8620.jpg


additional 1/8" will be made up using the flanges cut from an old mount.

Getting closer. Getting closer. Reinstalled the Haldex harness, EVAP bracket, shield & EVAP box

IMG-8621.jpg


Found anothe hiccup - the trans casing was damaged in whatever accident put the donor in the JY. There is a crack in the rearward torque mount position. I will have to grind & weld that

IMG-8624.jpg


IMG-8623.jpg


Tomorrow I'm going to try & get the trans & AG installed.
 
Last edited:
Removed all the rear suspension, filler neck and fuel cell and exhaust today - didn't want to start dismantling the front (which requires battery removal) until I'm done with the rear and the interior wiring

Took out the shocks,brakes and trailing arms first, then dropped the subframe. EVAP system has to be disconnected during the lowering process

IMG-8632.jpg


IMG-8633.jpg


IMG-8634.jpg


IMG-8635.jpg


IMG-8636.jpg


EVAP connections

IMG-8654.jpg


Some rust to be addressed on the frame rails (both sides) where the main subframe attachment sits

IMG-8655.jpg


Disconnecting feed & vent lines from front edge of tank, remove circlip retaining filler neck boot inside filler door (not shown)

IMG-8660.jpg


support tank, then remove the 3 strap bolts

IMG-8661.jpg


Disconnect electrical harness inside car, under rear seat

IMG-8664.jpg


Tank out

IMG-8662.jpg


IMG-8665.jpg


Filler neck comparison, L= FWD, R=AWD

IMG-8663.jpg


Frame & floor area needs attention - many of the seams have corrosion on the edges.

IMG-8666.jpg


Cleaned & painted the AWD propshaft supports

IMG-8657.jpg


Test fit - rear

IMG-8671.jpg


Forward - DP misalignment obvious here

IMG-8670.jpg


DP will need dropping - needs to be in alignment with this

IMG-8673.jpg


Mount pin will need relocating

IMG-8672.jpg


IMG-8674.jpg


I'll fabricate a new mid section from 3" SS, modding the FWD one I made is not worth the effort.

Going to run out of space...

IMG-8675.jpg
 
Last edited:
Project Binky "Hussein Style" ! You are unbelievable!
I don't know what's more impressive...the fact that you have the ambition and the skills to take on a project of this scope and complexity, or that you are managing to do this all in your home garage. I am blown away, and can't wait to see the finished results.
 
Thank you, Tom.

Took care of the rear floor pan caulk, seal & paint today. Hopefully tomorrow I can start putting the rear back together, weather permitting.

IMG-8681.jpg


IMG-8682.jpg


IMG-8683.jpg


IMG-8684.jpg


Sealer on the seams, then caulked, followed by gloss coat

IMG-8685.jpg


Chip Protection (3M Rocker Schutz) before the top coat

IMG-8686.jpg


IMG-8687.jpg


IMG-8688.jpg


IMG-8689.jpg


IMG-8690.jpg
 
Had time after work before the rain set in to get the fuel tank back in

IMG-8708.jpg


IMG-8709.jpg


Minimal amount of fiddling later, 4 mount bolts in place, exhaust heat shield situated

IMG-8710.jpg


Fuel feed & vent lines reattached

IMG-8711.jpg


Cut & flatten rear shield where it will interfere with AWD subframe (that version just doesn't have that extended area)

IMG-8712.jpg


Fuel filler back in. Pouring with rain at this point, have to pack up

IMG-8713.jpg


IMG-8714.jpg


IMG-8715.jpg


Back inside, installed the Eibach lowering springs from the C30

IMG-8716.jpg


Laying out the exhaust. I'll be making a 3" version of the straighter-run AWD version

IMG-8717.jpg


IMG-8718.jpg
 
Gee,Hussein. I do appreciate all the good work you are doing. You know that we had the same cars (x1/9 and C30) but I had to let go the C30. Computer went bad and the dealer didn't want to play with used ones. So I needed a $1500 comptuer + the time for the tech to program it. All that fot a 350 000 km car Worthing $1500...

But when I look for an awd C30, I search for a V50 T5 Awd. Job already done by the factory to convert it to awd, so I could use my time and my money to upgrade the car. I guess you didn't like the S40 of V50?

Sorry to hear you had to let yours go :(

Yes, I do not like the S40/V50, for myself. C30 has different steering ratio, suspension geometry. Plus C30 just looks better. Newer Volvos are styled following from the 'facelift' C30, so it doesn't look as old.

On top of all that, as you said, you can't BUY a C30 AWD :D

1099146-2.jpg


C30-502.png
 
Last edited:
Today I had a couple hours after work before the rains came again.

Got the rear balanced on the jack

IMG-8732.jpg


Finagled it back & forth until it was centrally located

IMG-8733.jpg


Jacked up, trailing arm forward bolts in place. Used longer M12 bolts to locate the subframe whilst I reattached the EVAP lines & EVAP pump. THAT was a PITA.

IMG-8734.jpg


IMG-8735.jpg


Rain started about here.

IMG-8737.jpg


IMG-8738.jpg


FWD ABS sender harnesses won't work as is, the routing is all wrong (as shown).

IMG_8754.jpg


I may be able to switch L - R to get them pointed away from the moving parts

IMG-8739.jpg


I have the old AWD harnesses, but I'm hesistant to use them, being 8 years older than the car :D The elbow casing may be removable, in which case I may be able to switch that over & keep my harnesses.

IMG-8740.jpg
 
Last edited:
Back
Top