cozzoi
George
Finally the process begun, I will dedicate one day a week for this project
and will report it weekly with pics
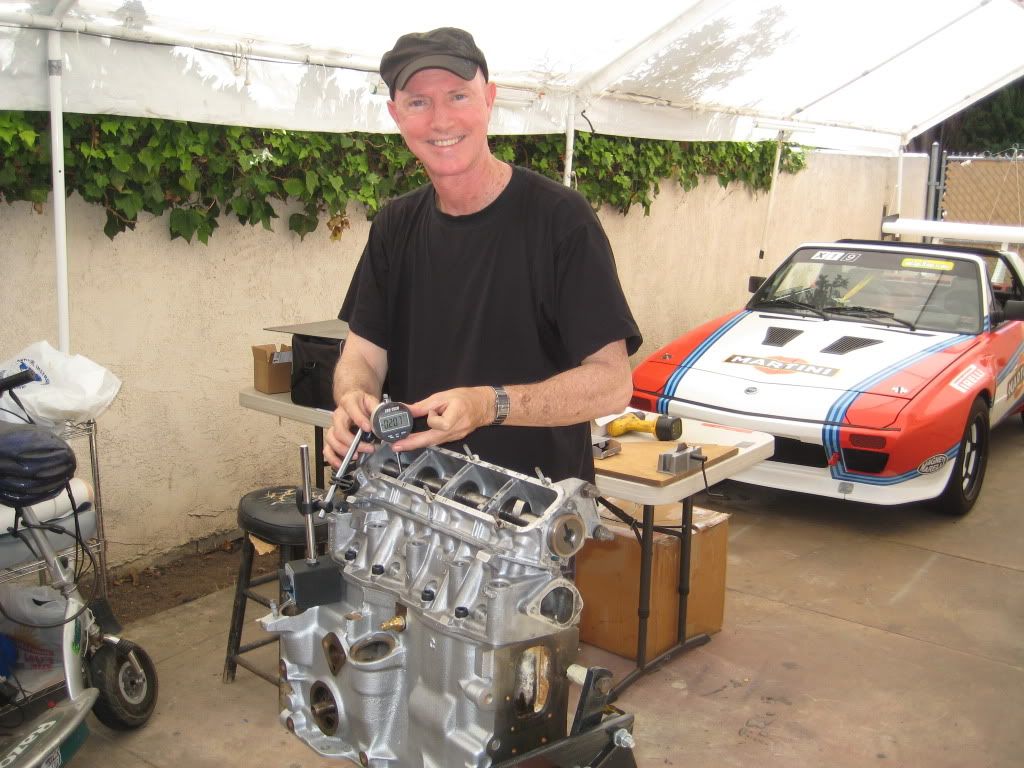
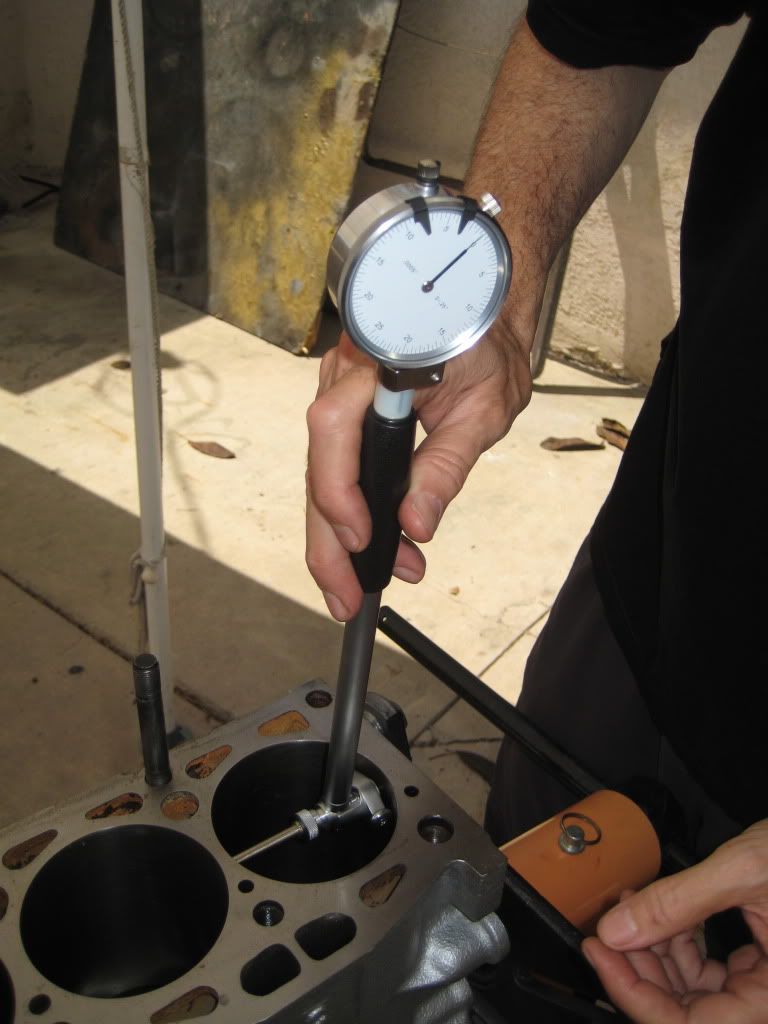
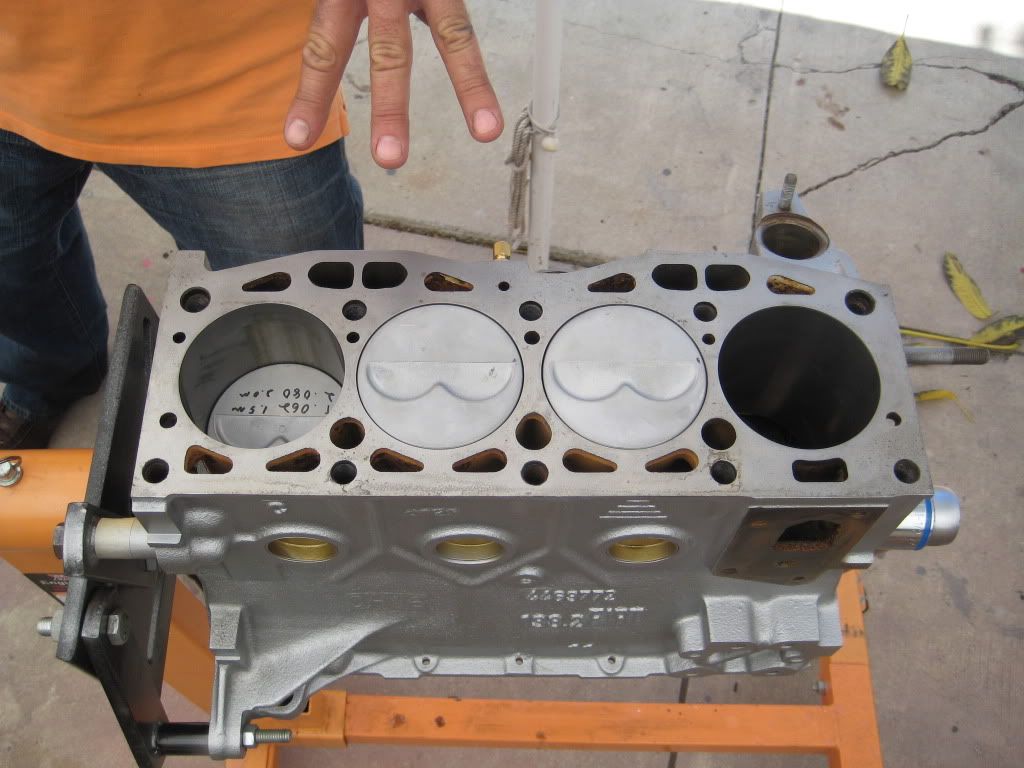
-1500 engine with all standard clearances-done
-cleaned and honed-done
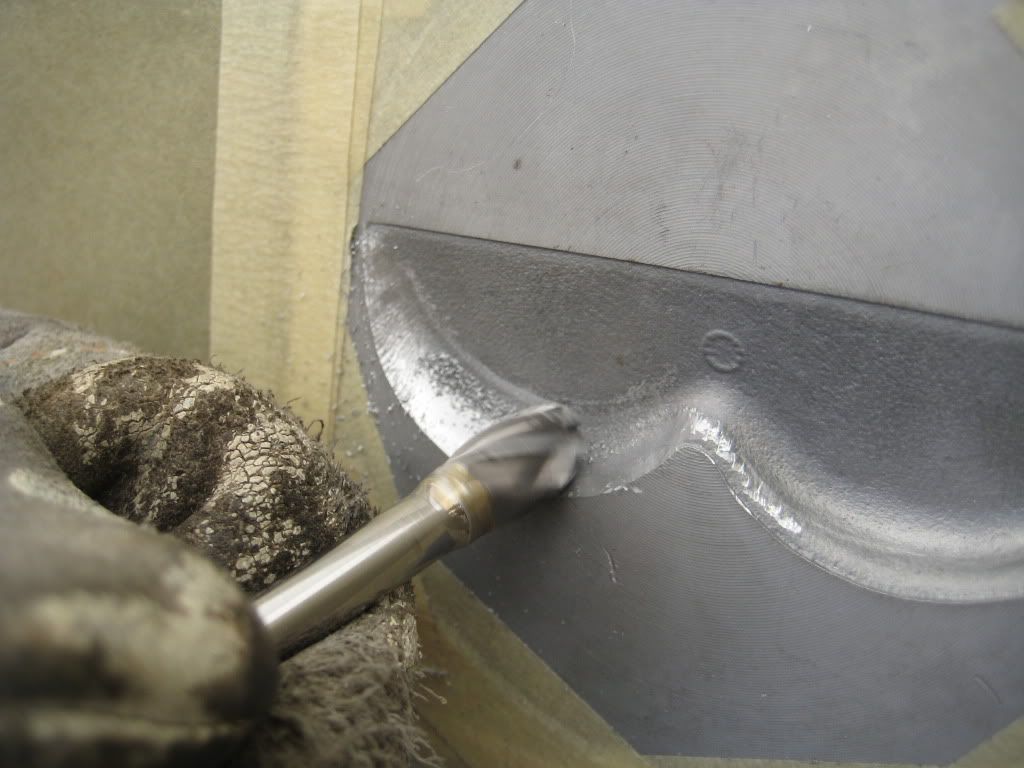
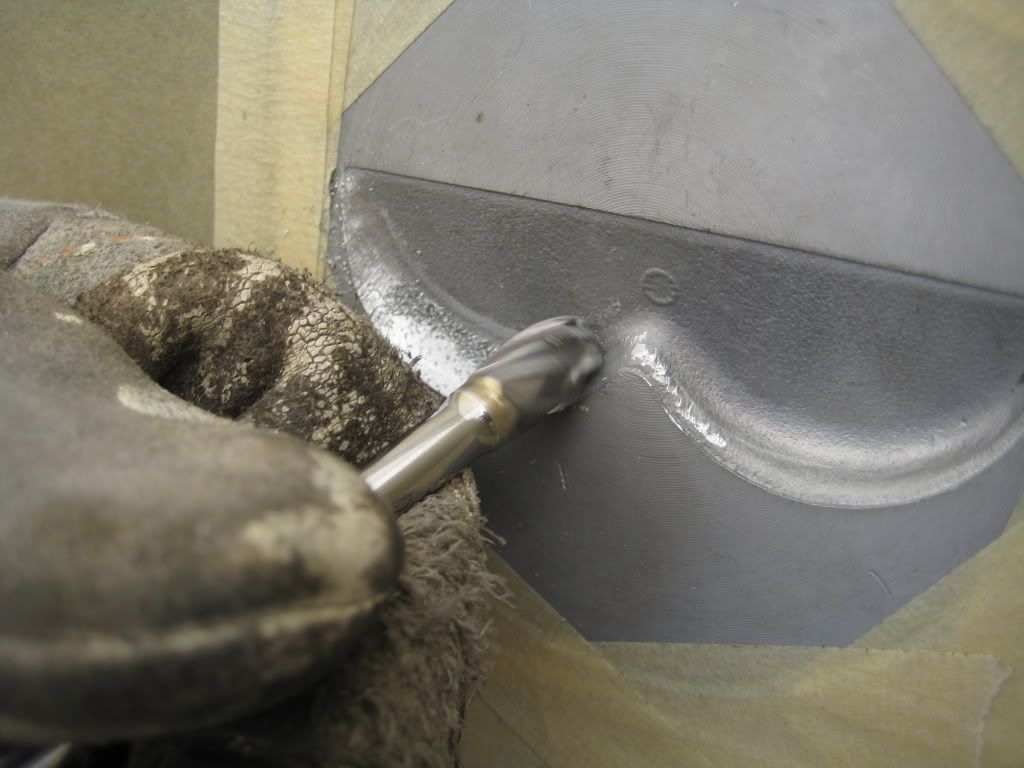
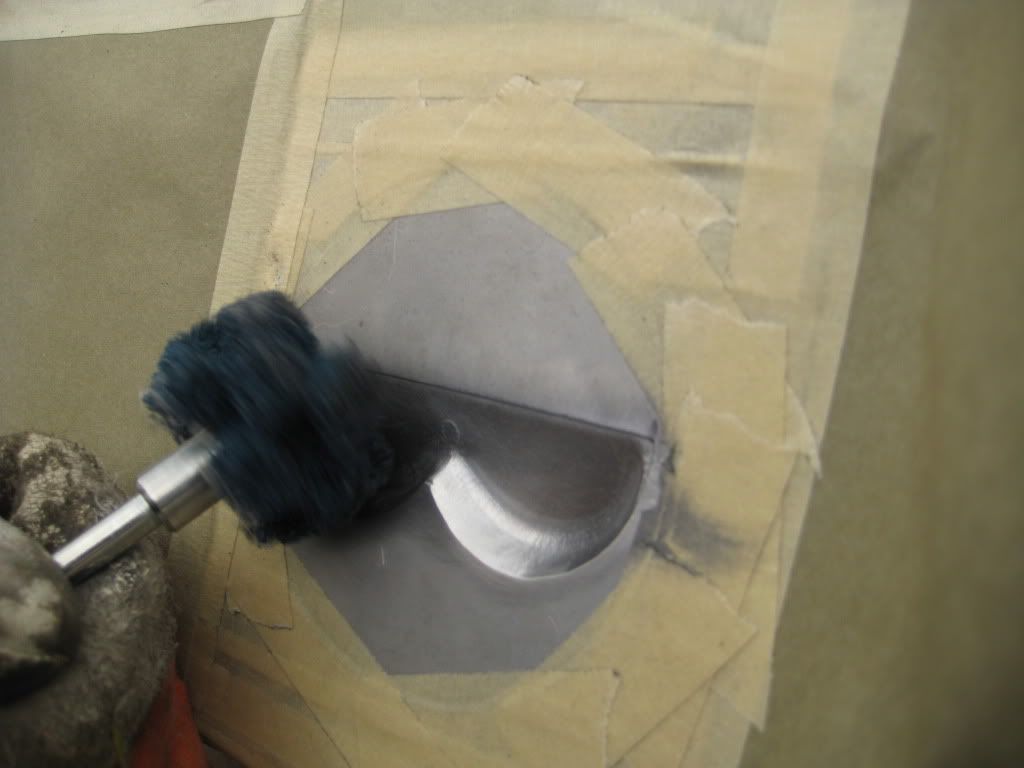
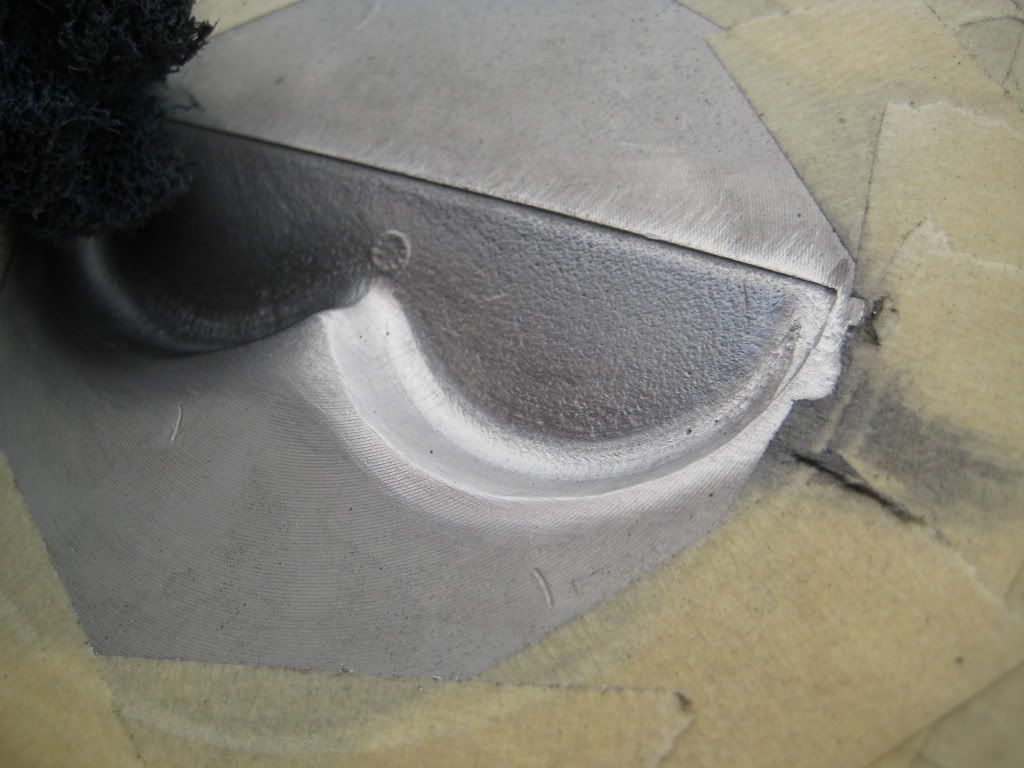
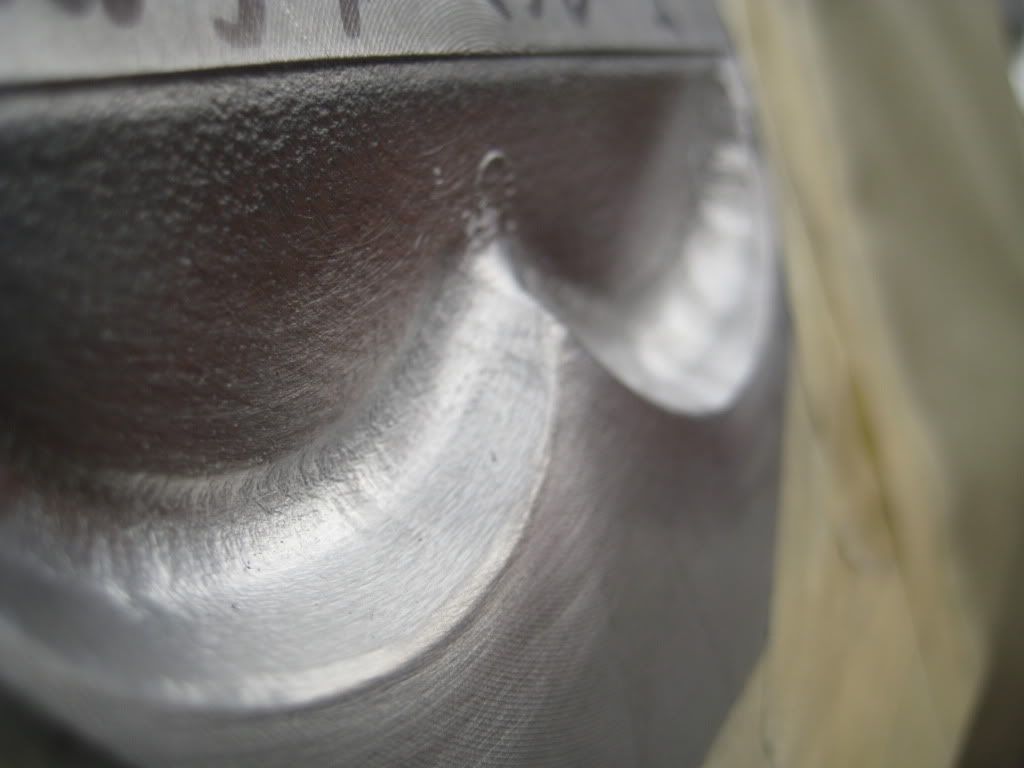
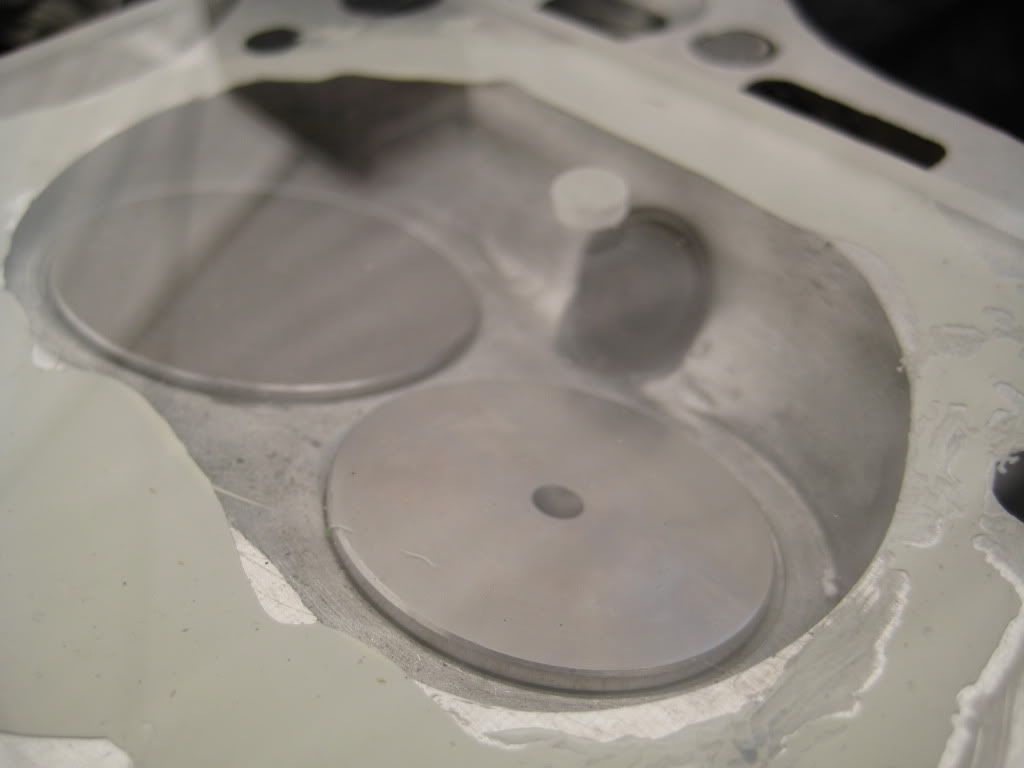
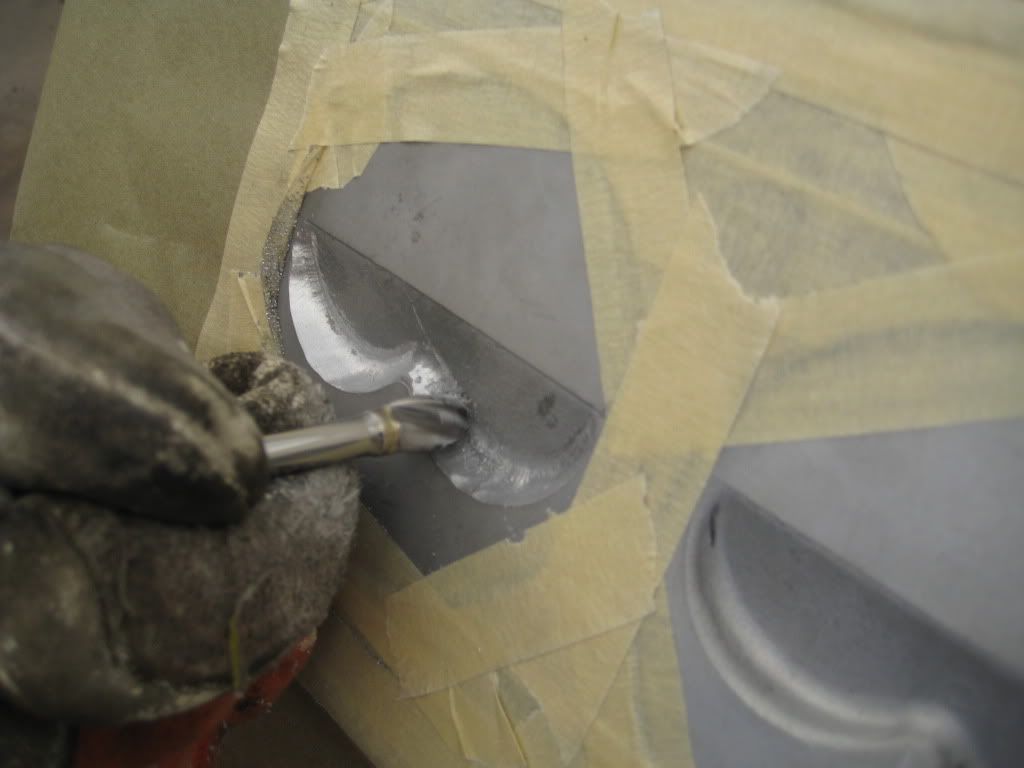
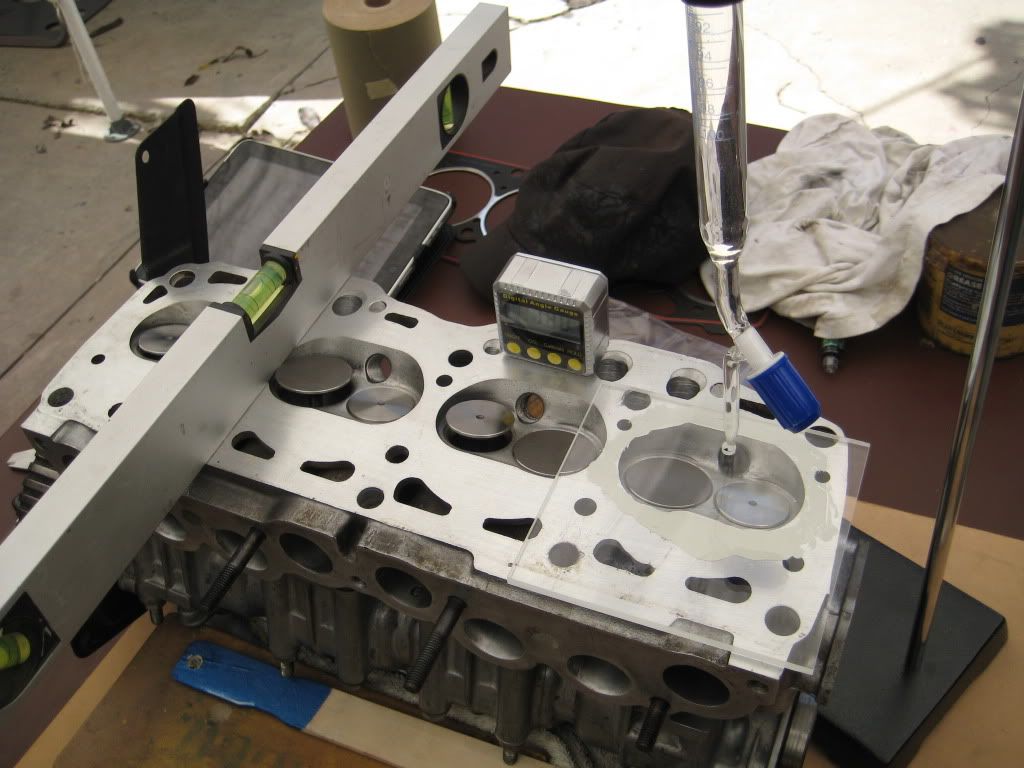
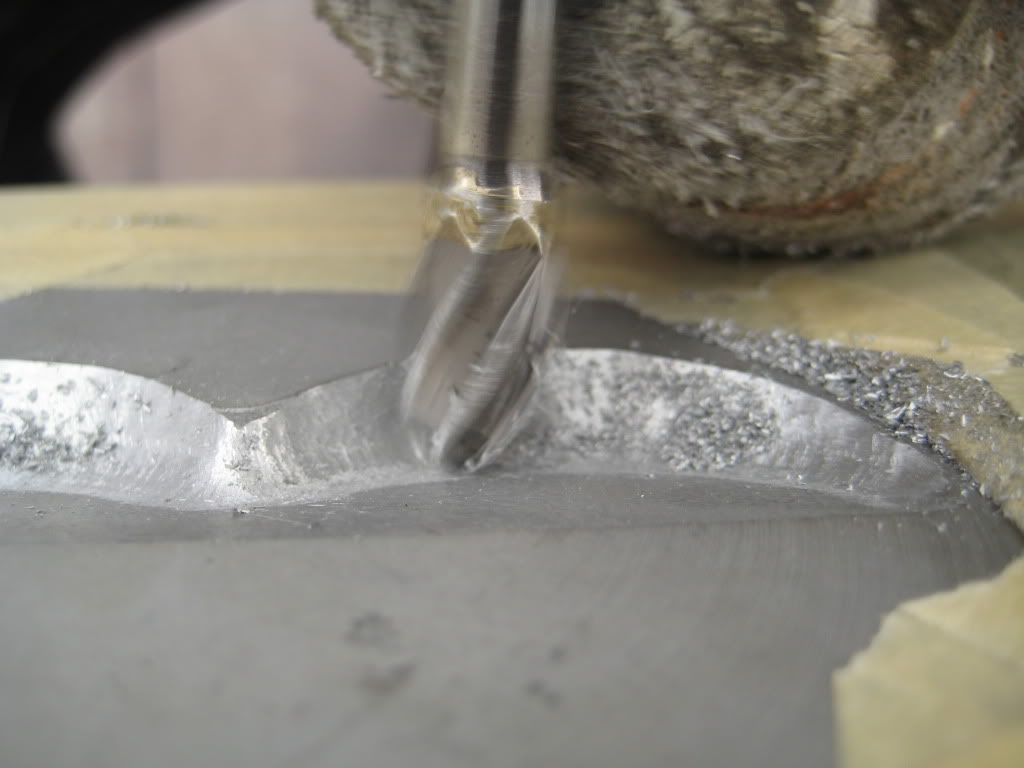
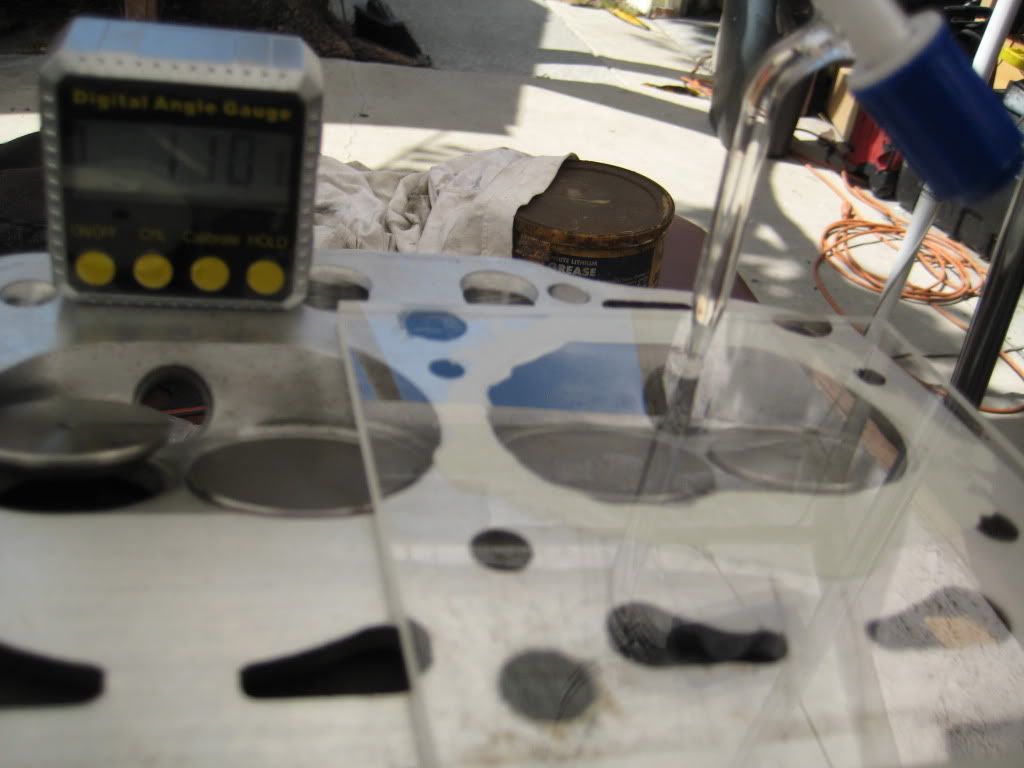
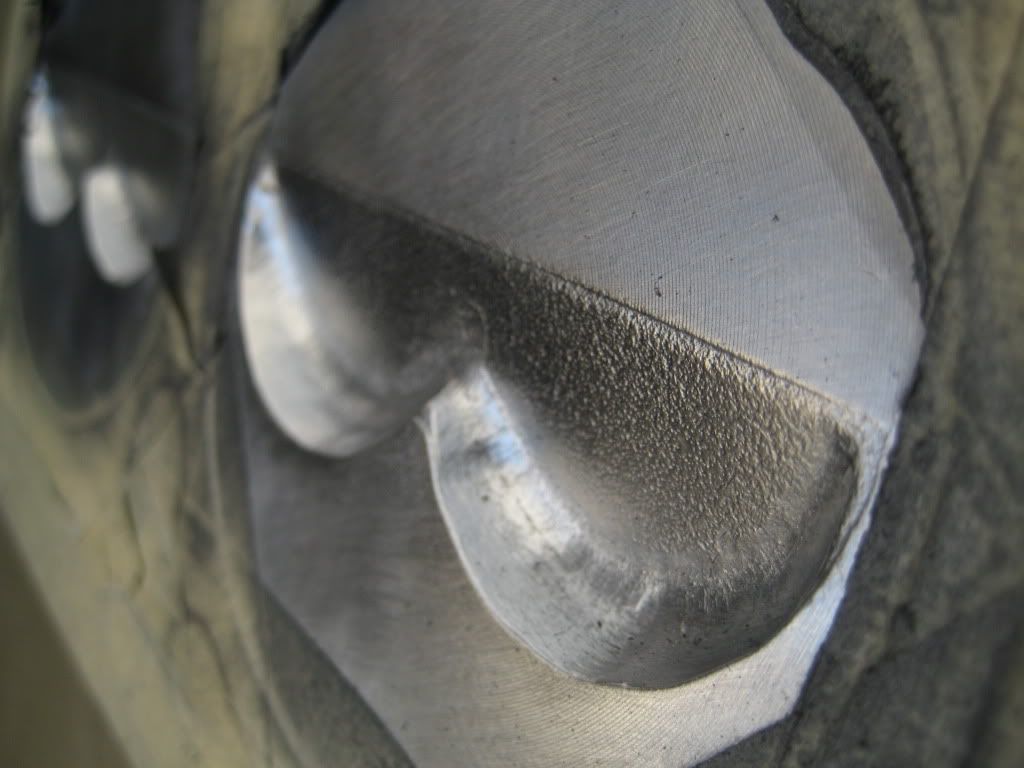
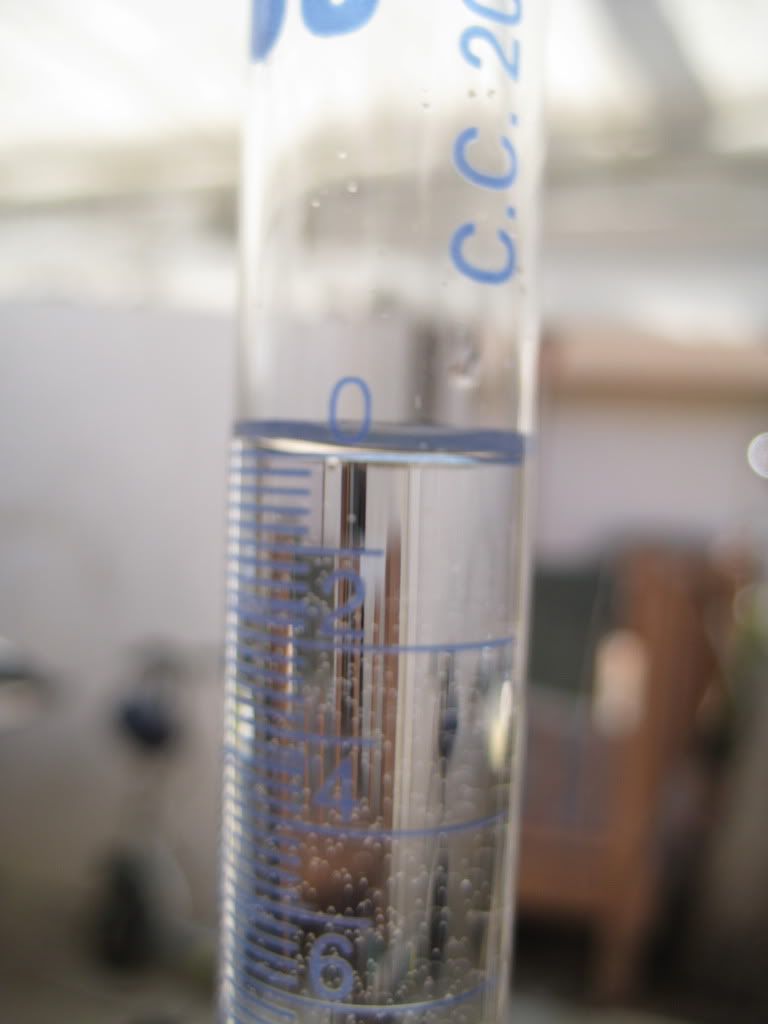
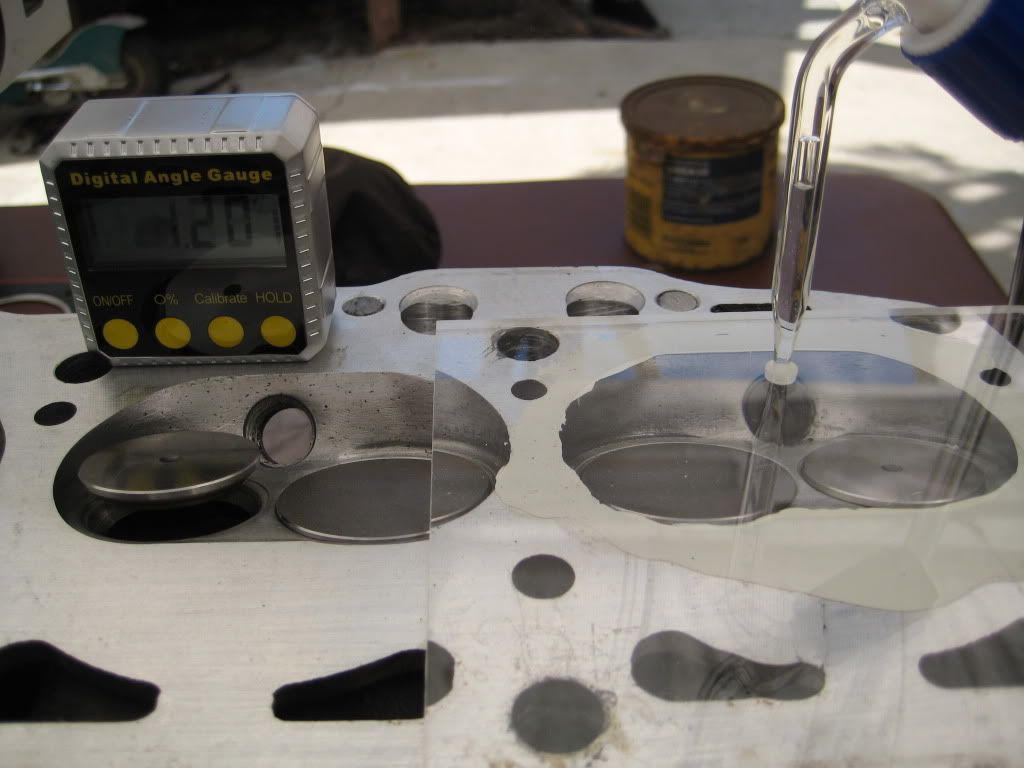
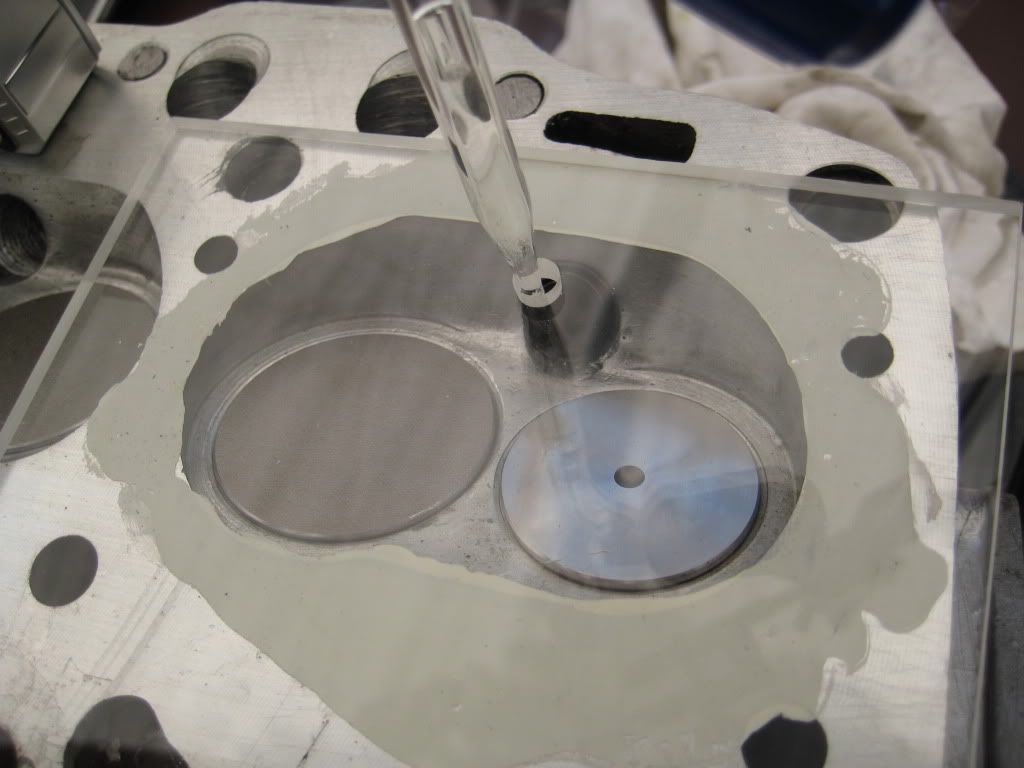
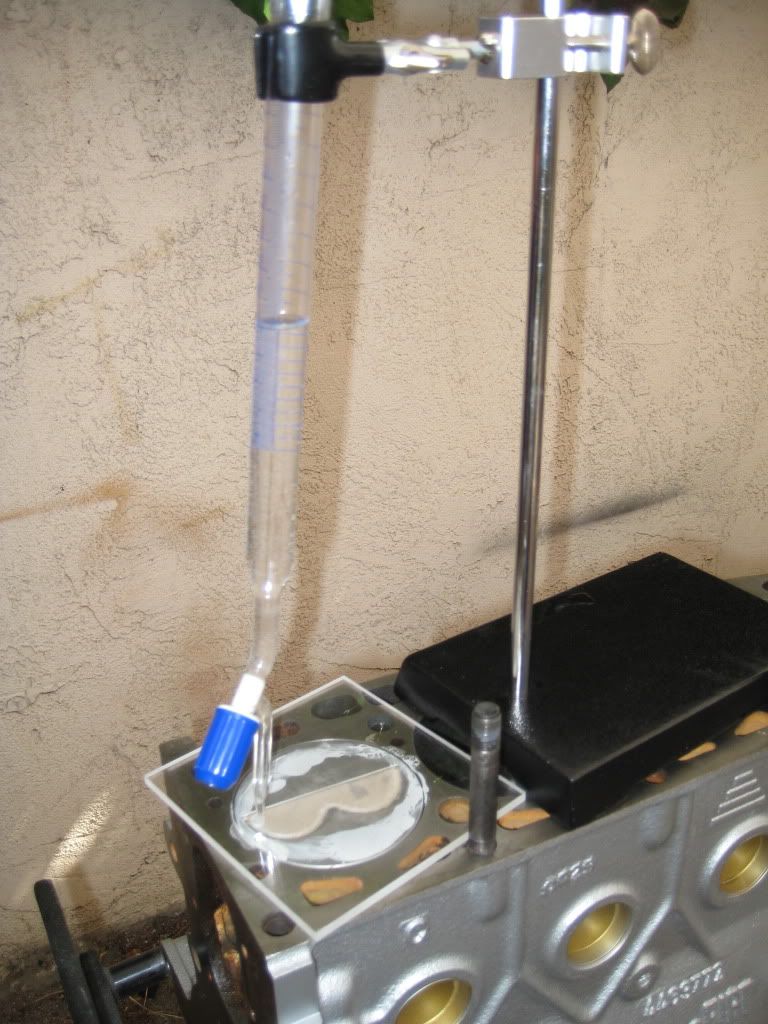
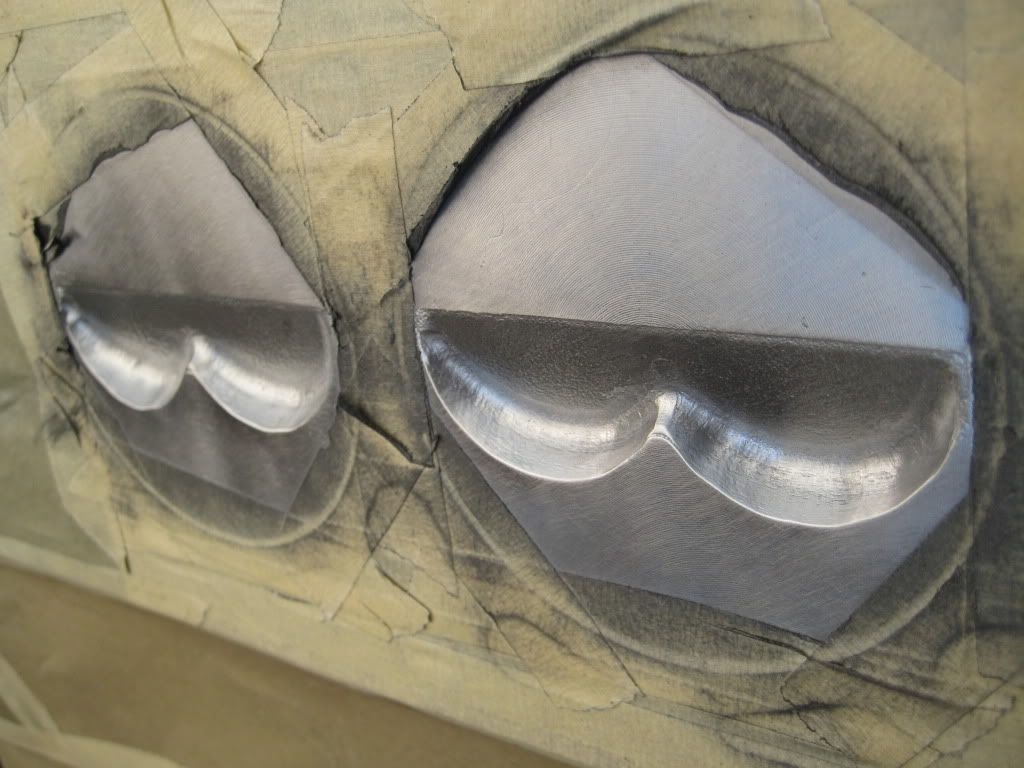
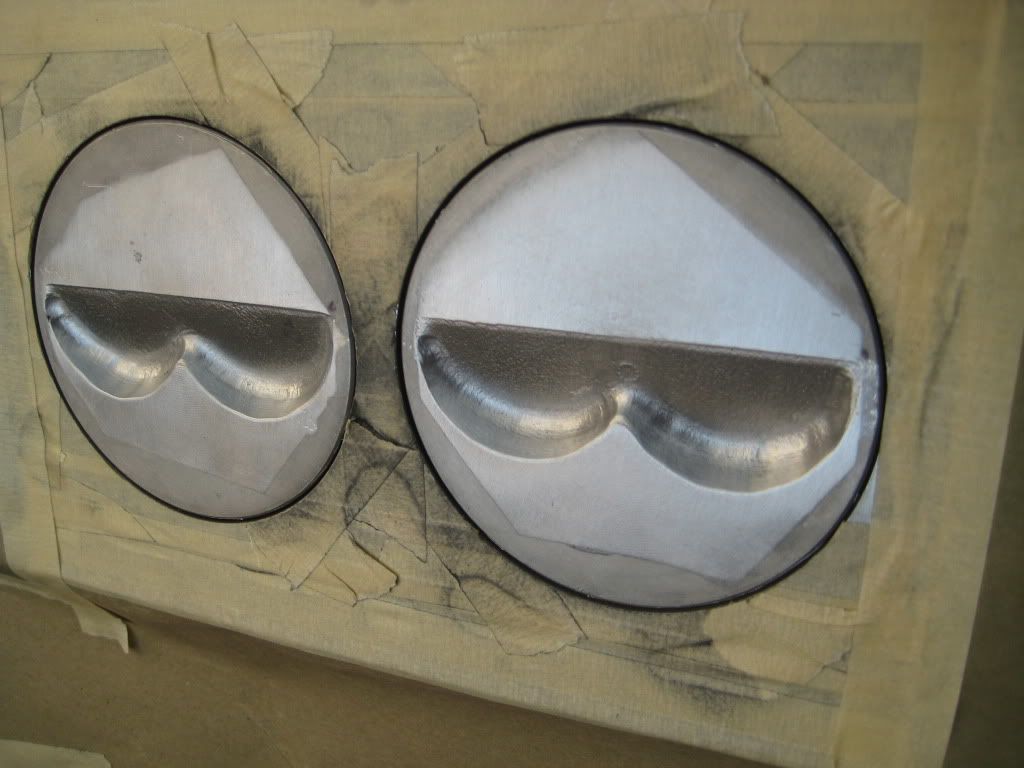
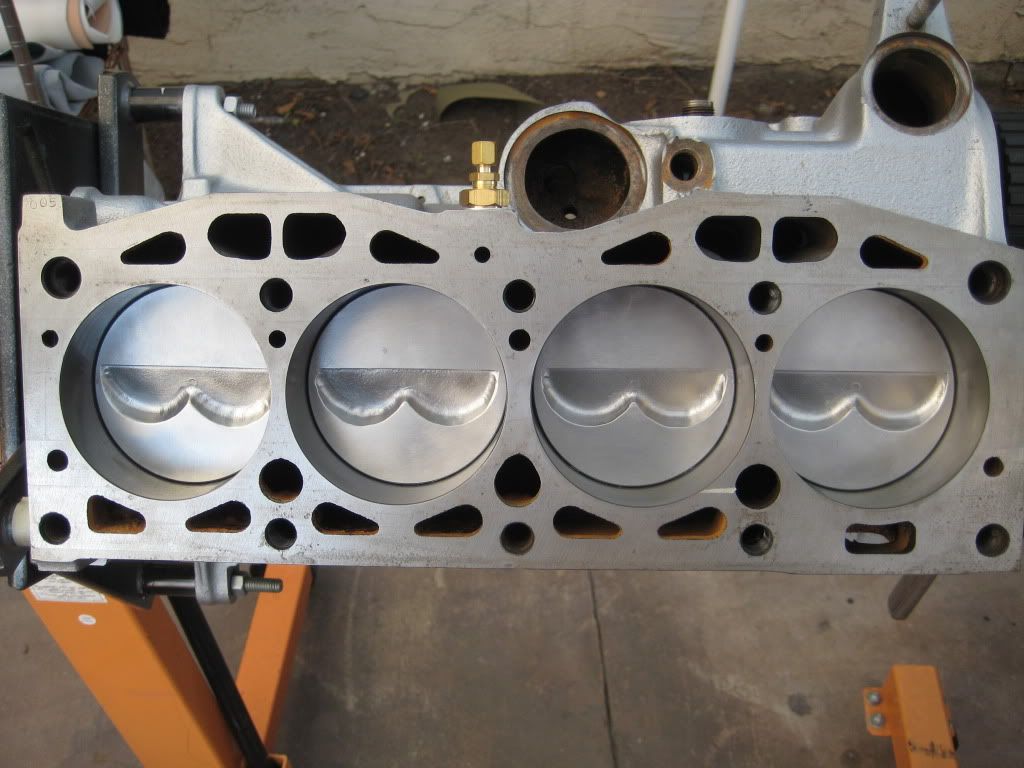
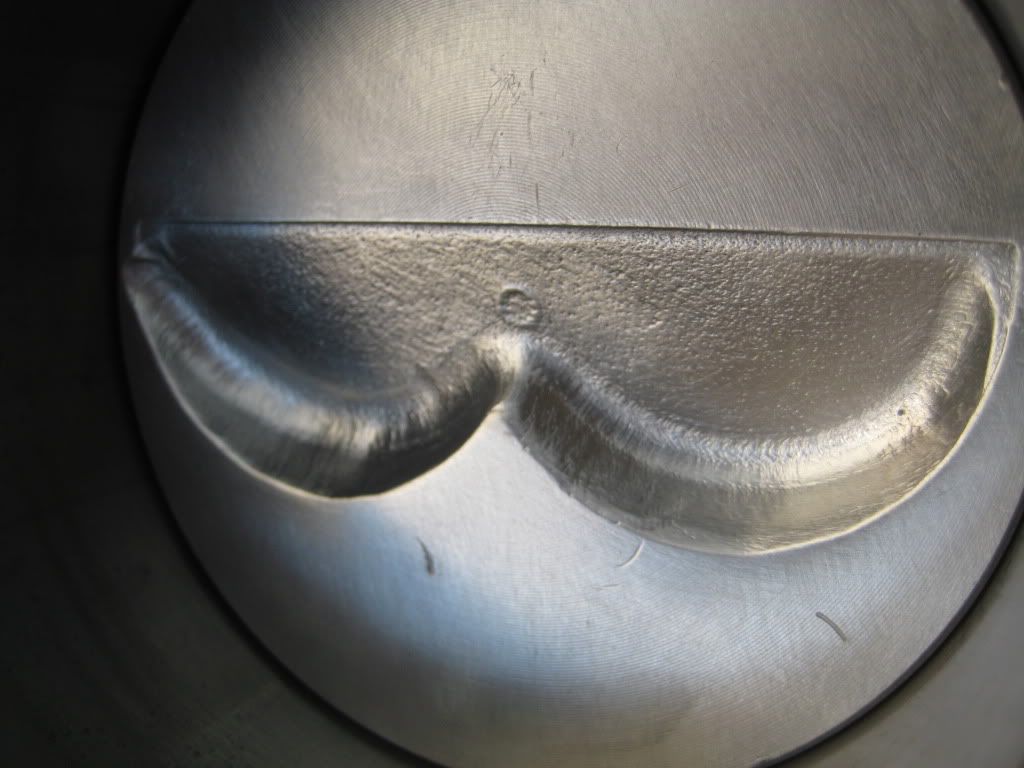
-Complete ported, milled and Big valve head- done
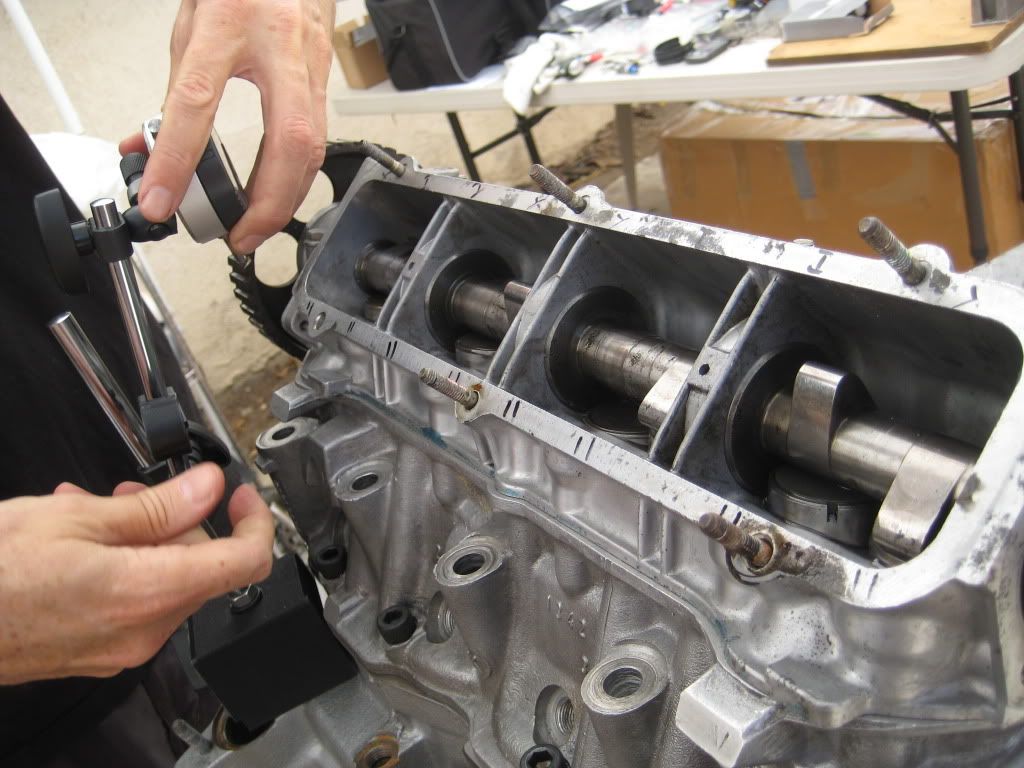
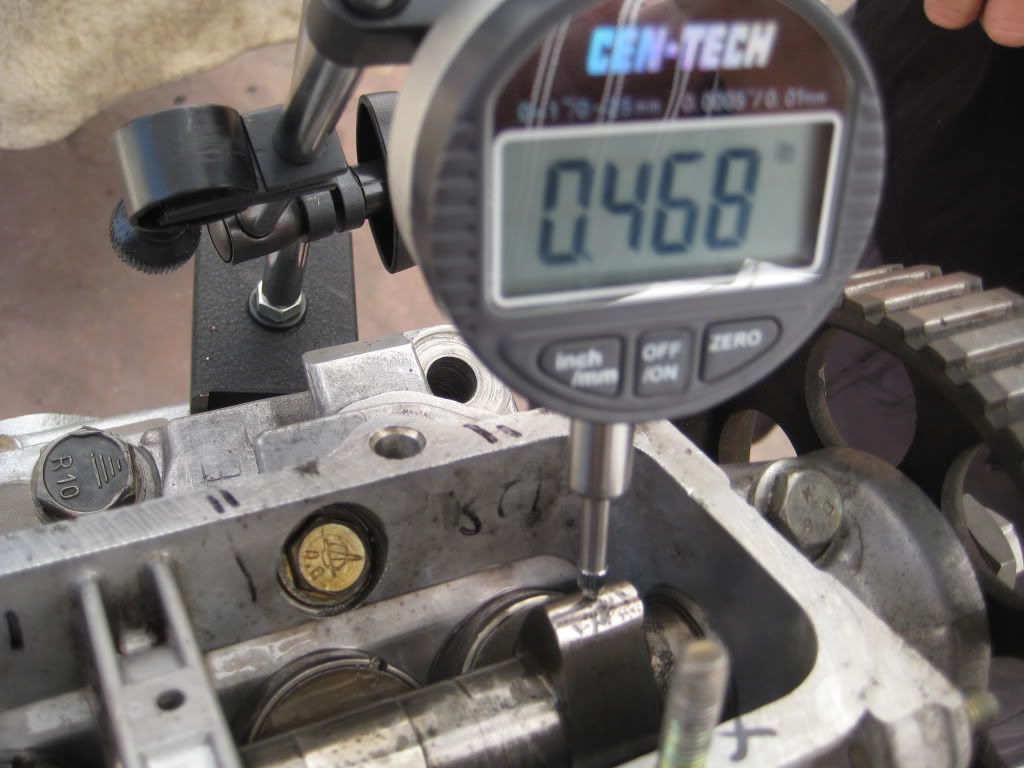
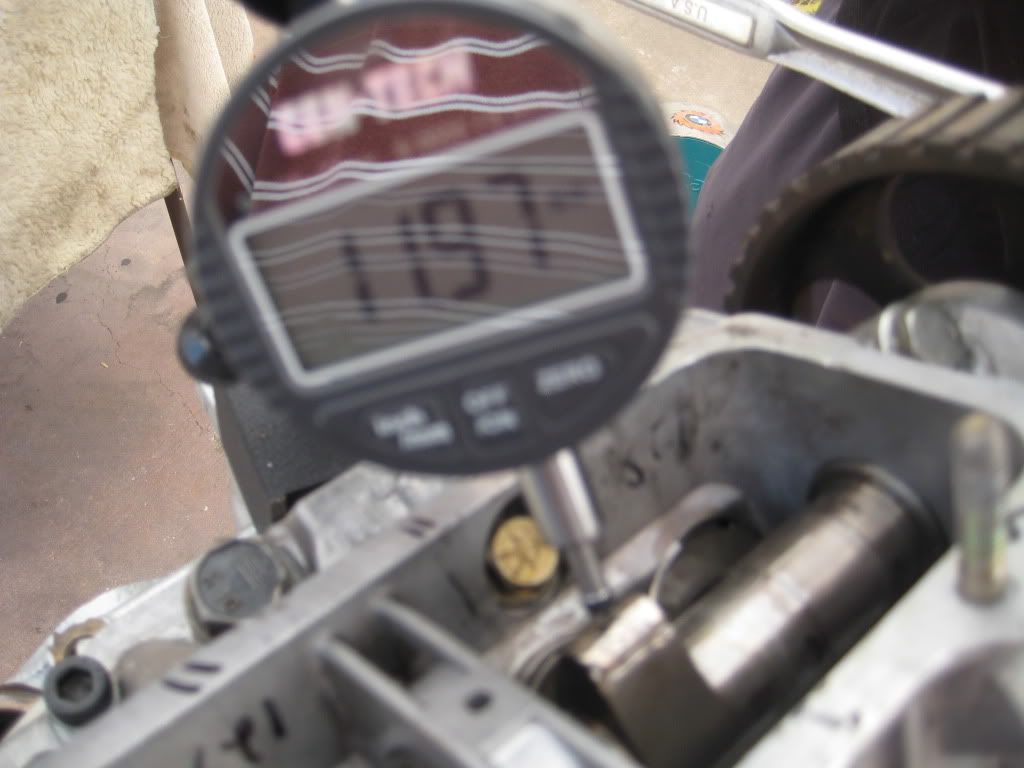
-Camshaft with 11.97mm lift- done
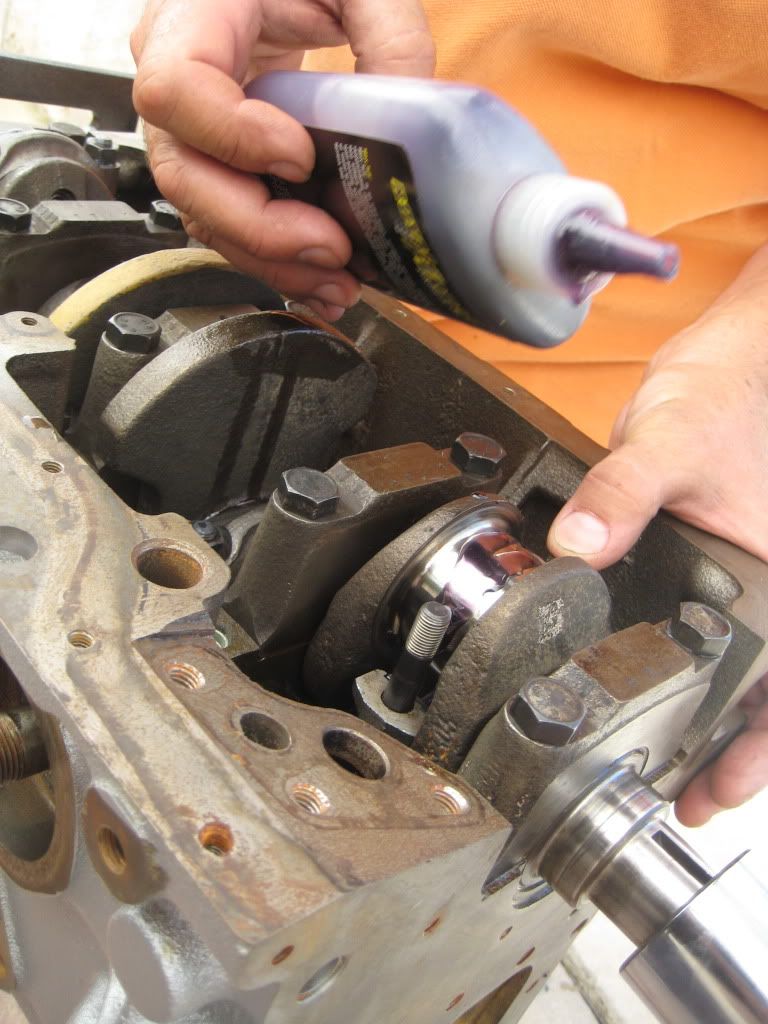
-Main bearing and Crankshaft installation- done (except for one missing main bearing bolt) waiting for some Xweb member to get me one.
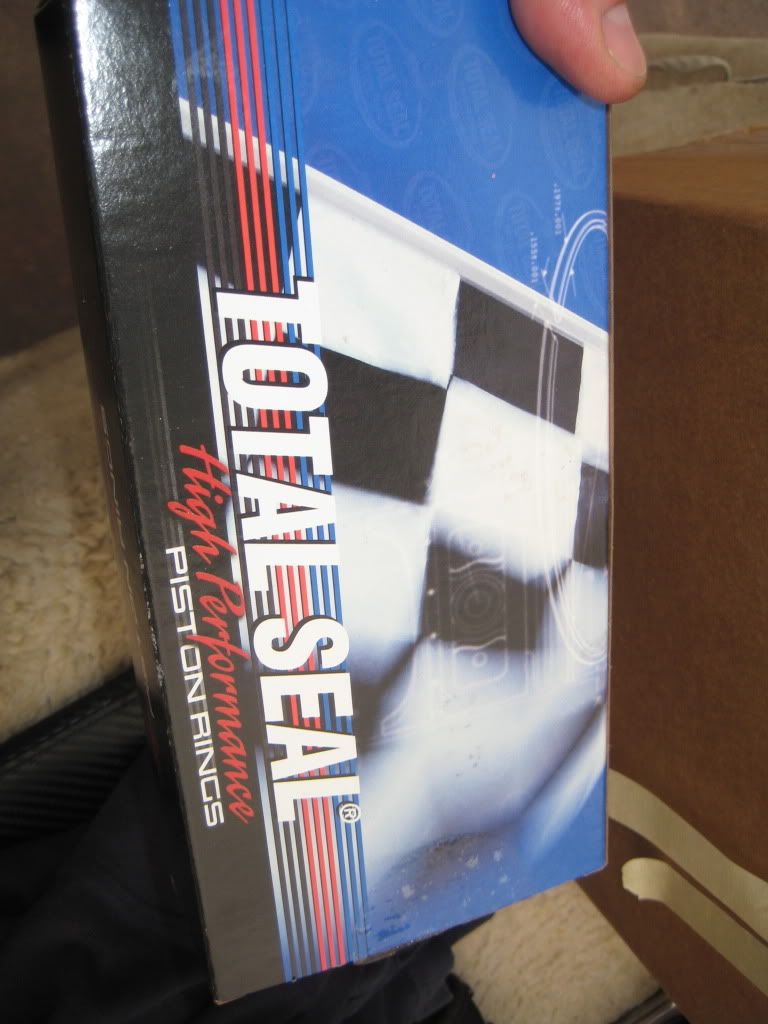
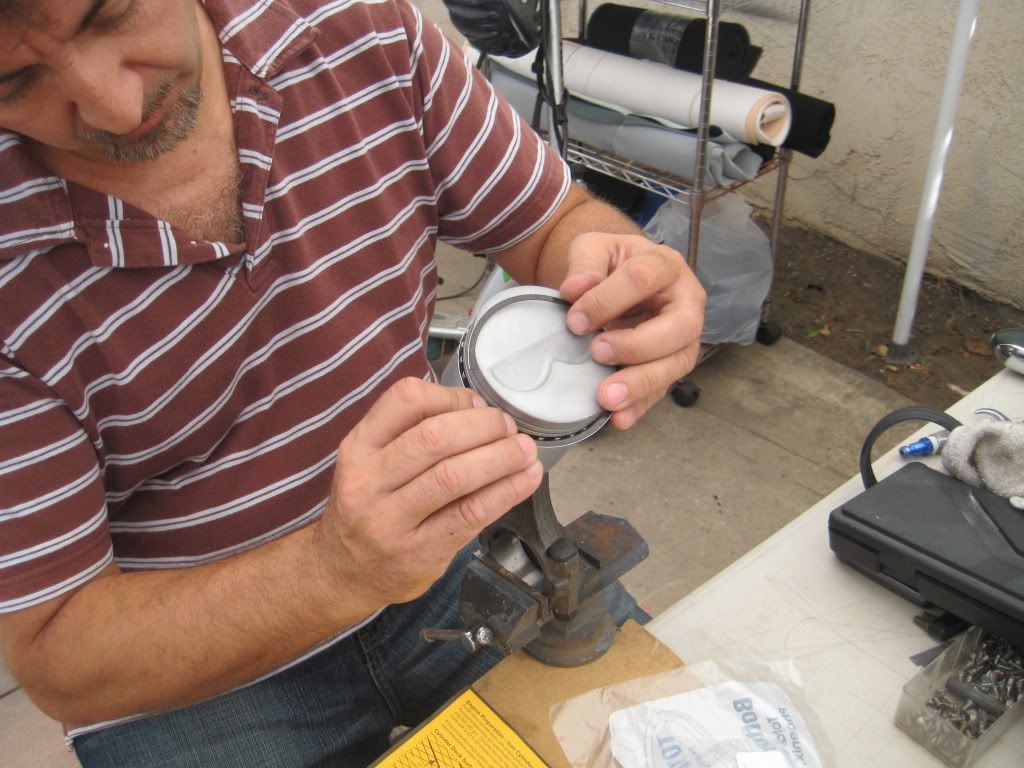
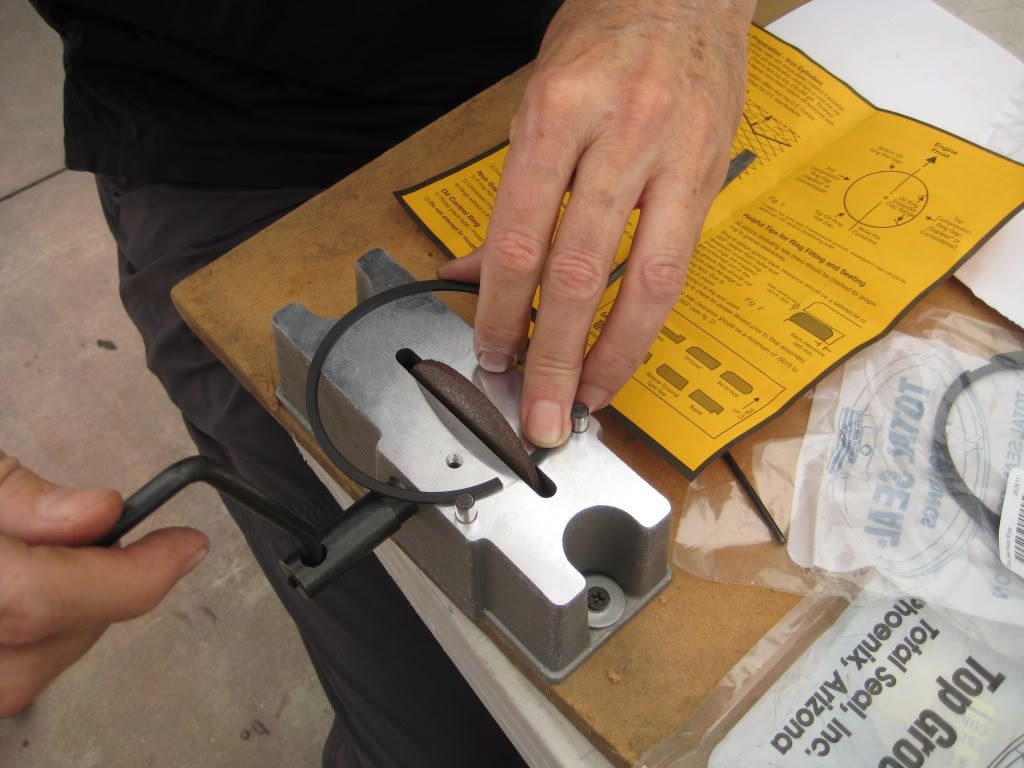
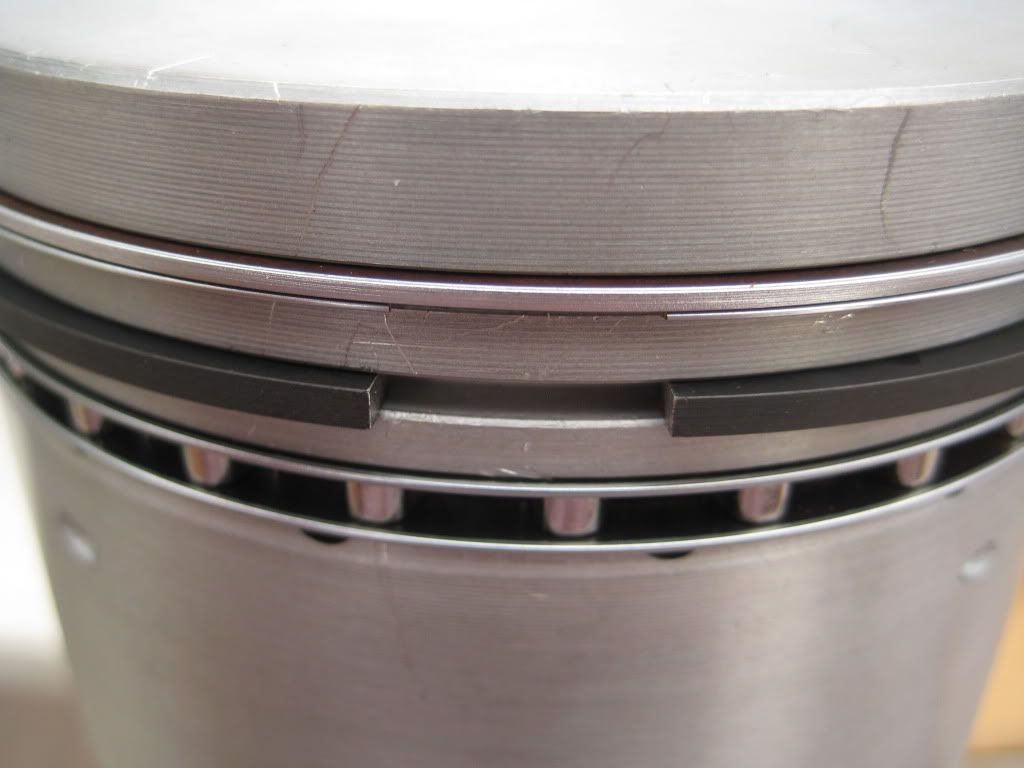
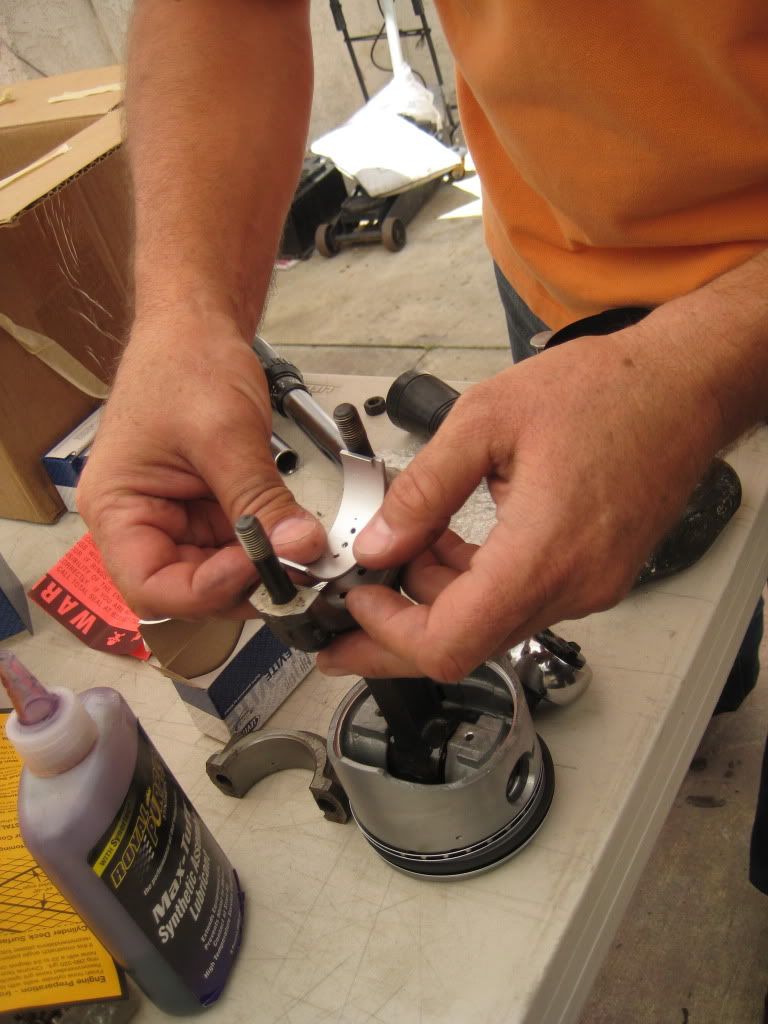
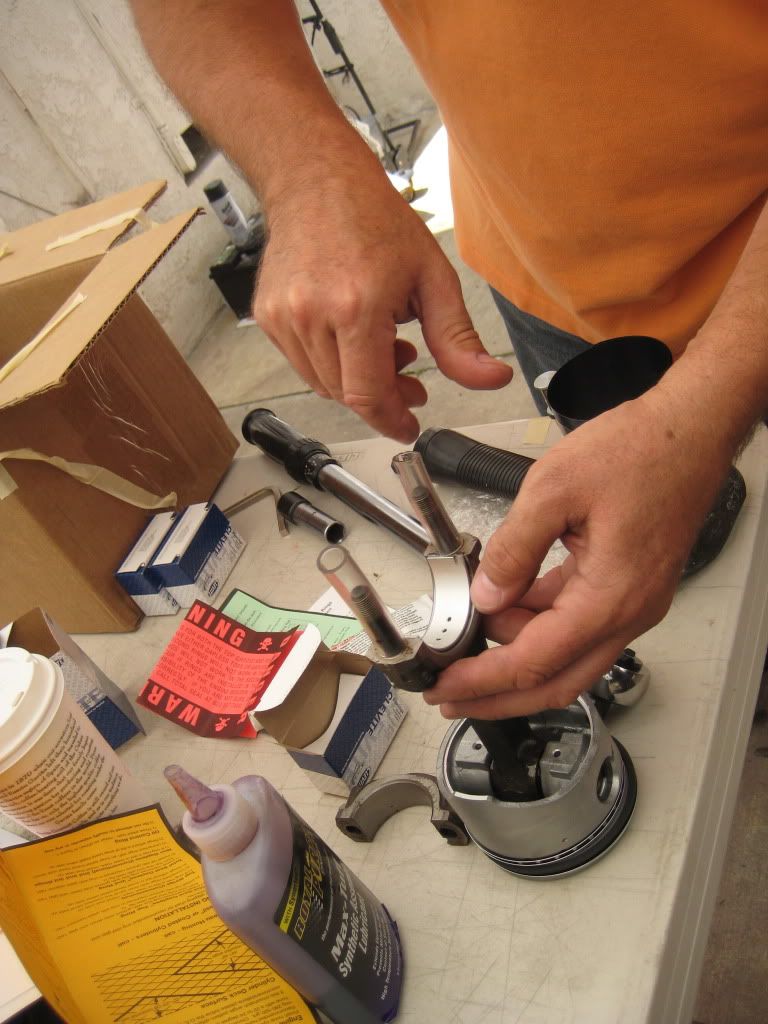
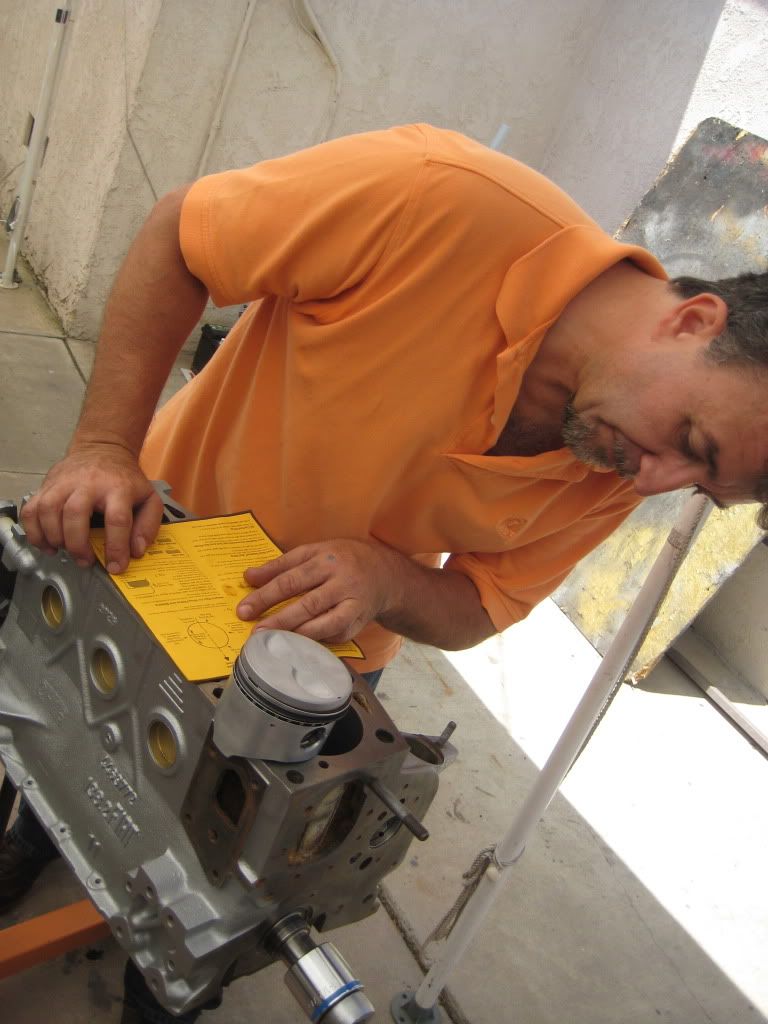
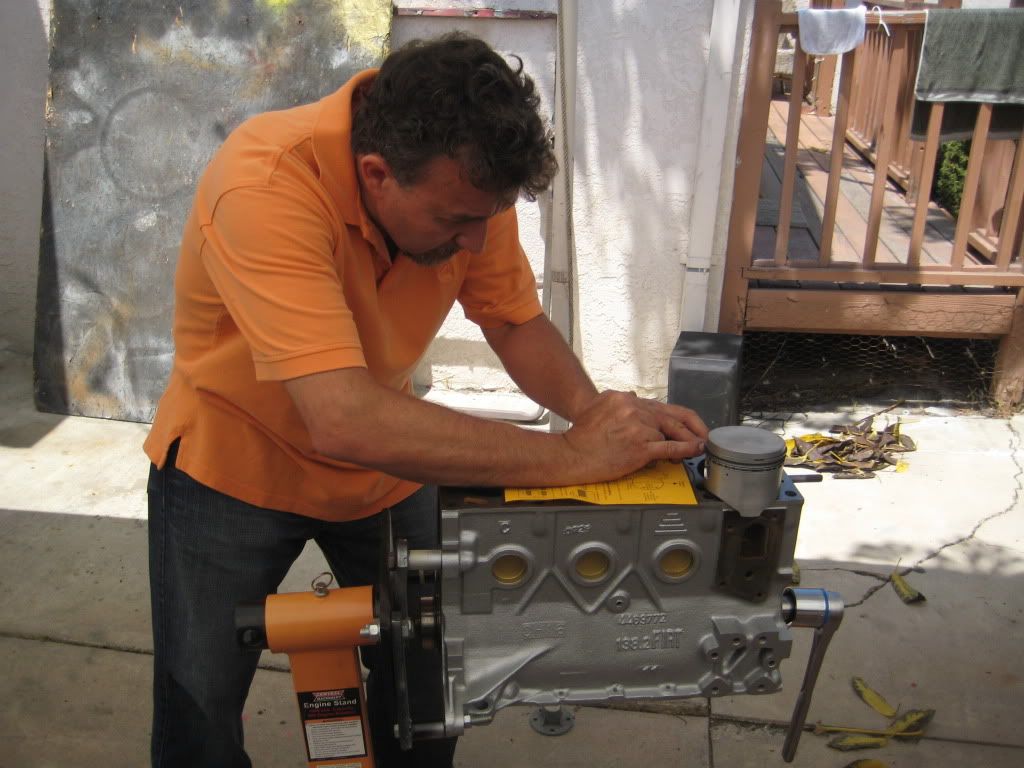
-Original pistons with Total Seal Gapless Top ring set- done
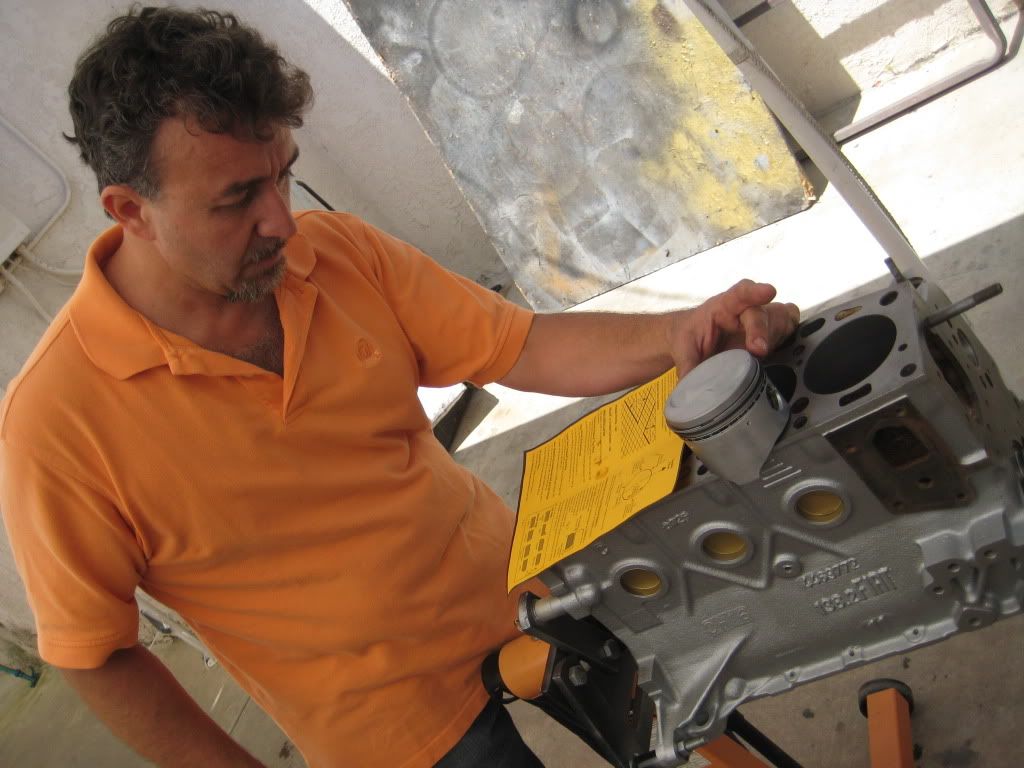
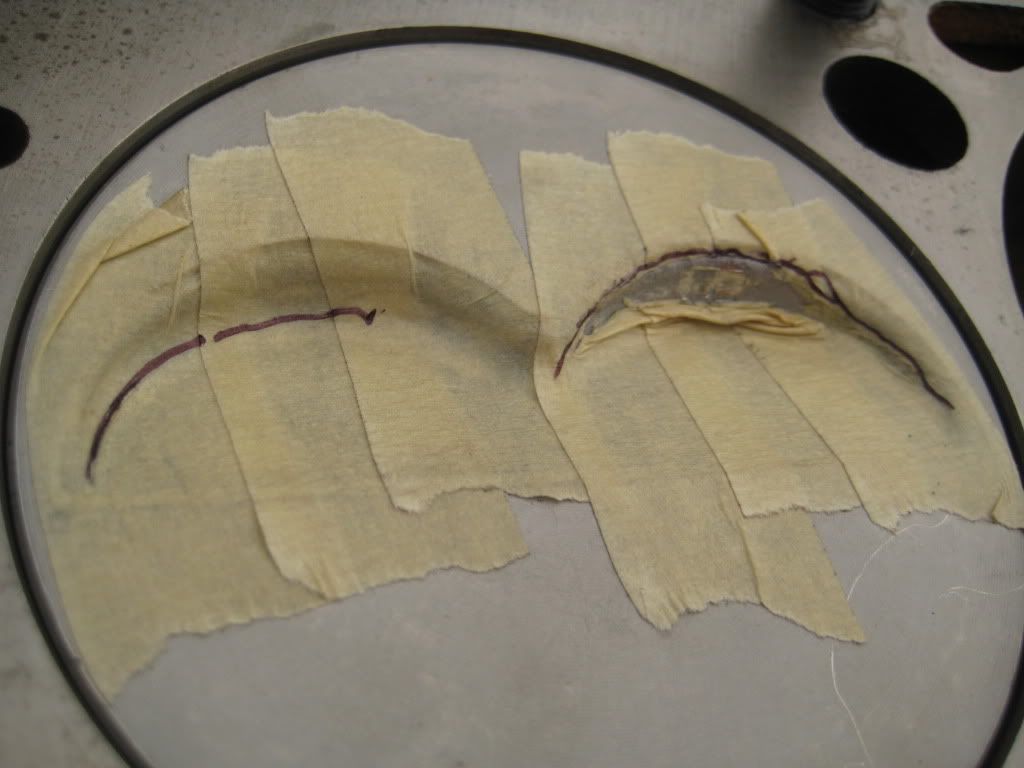
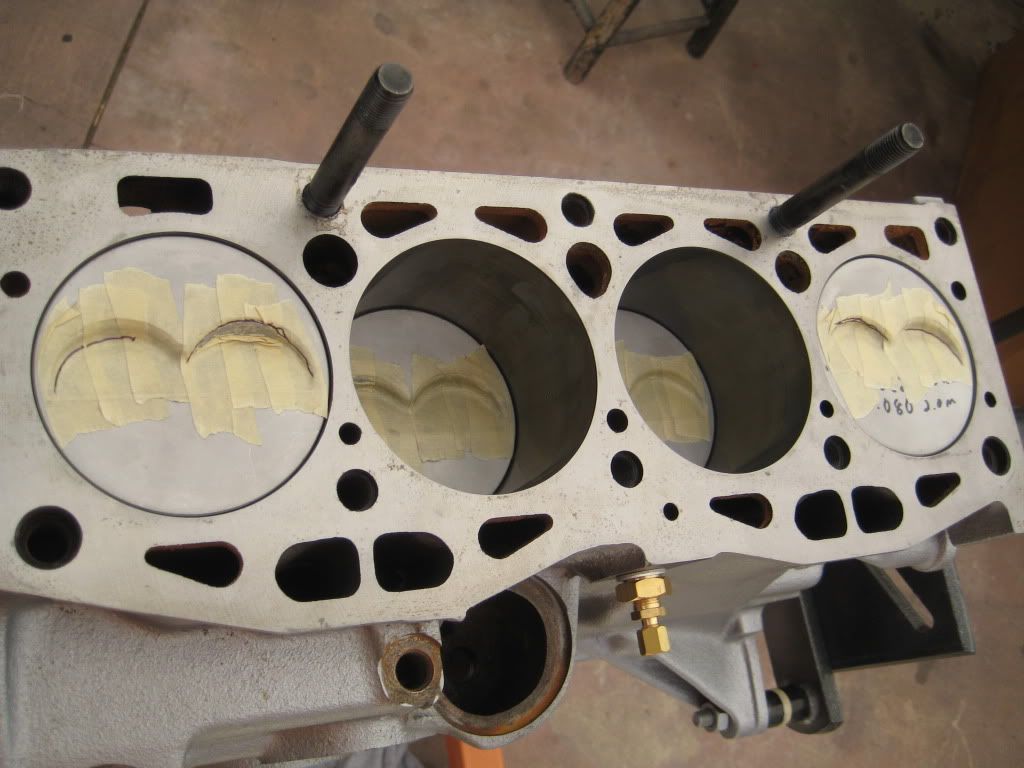
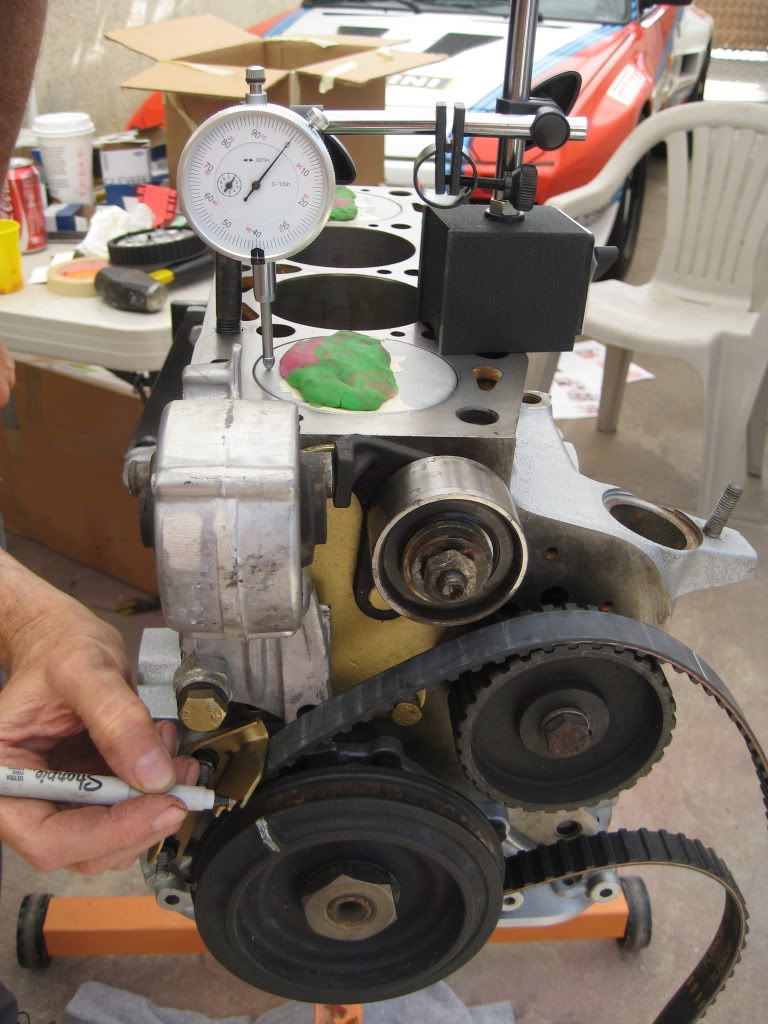
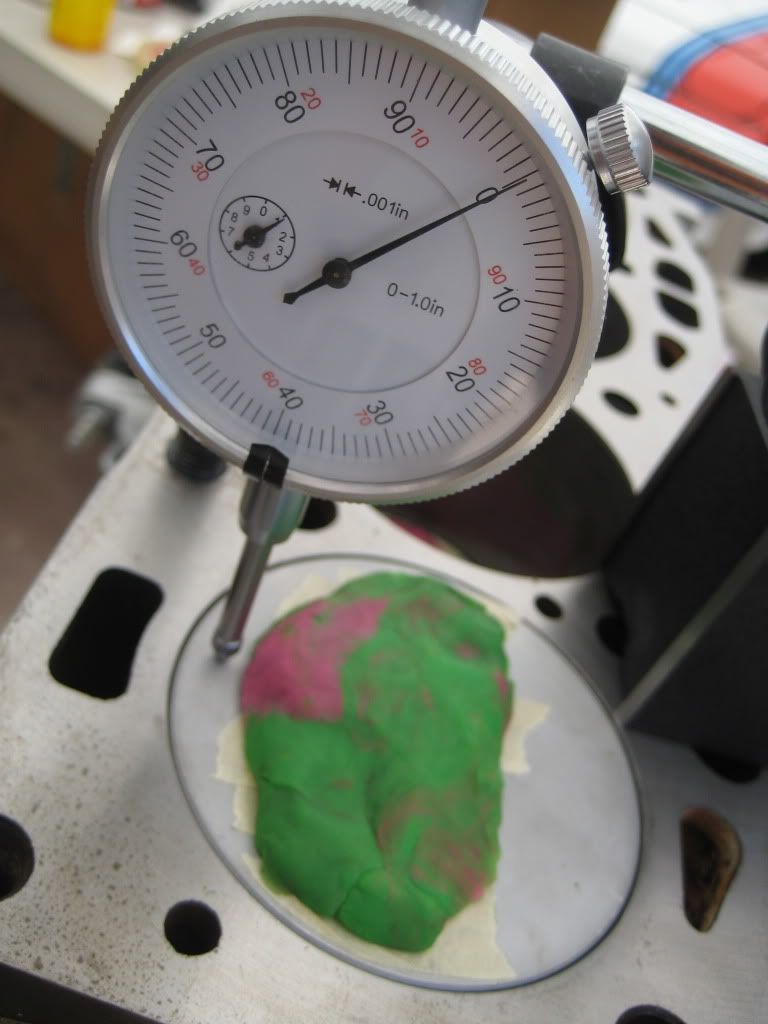
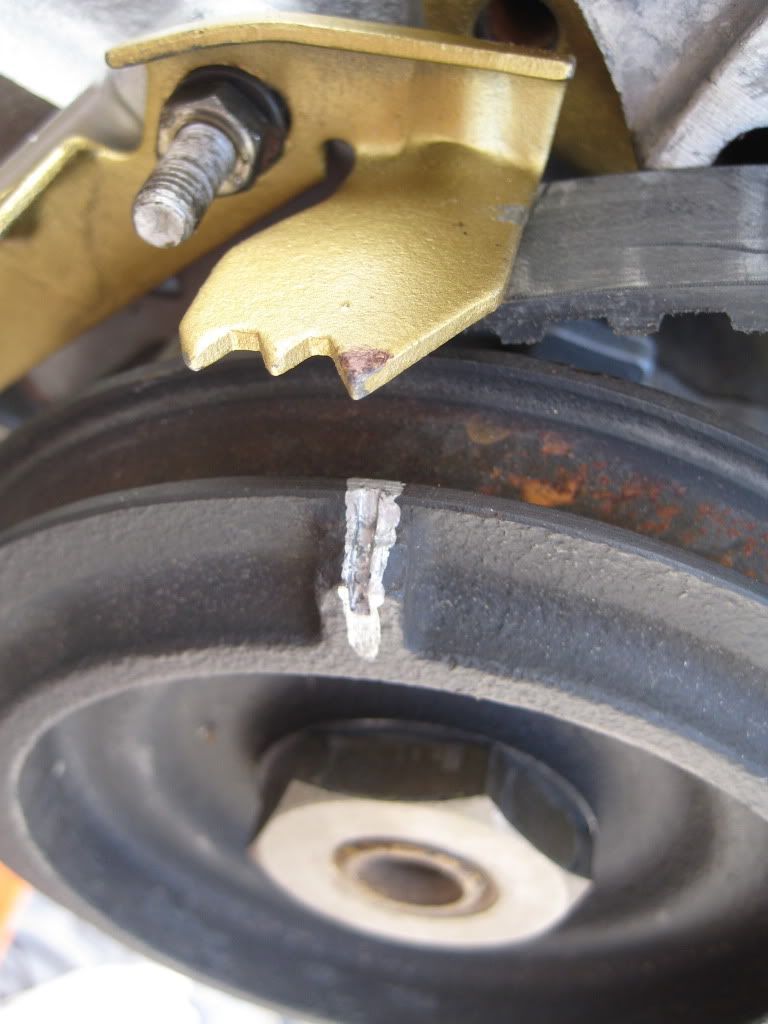
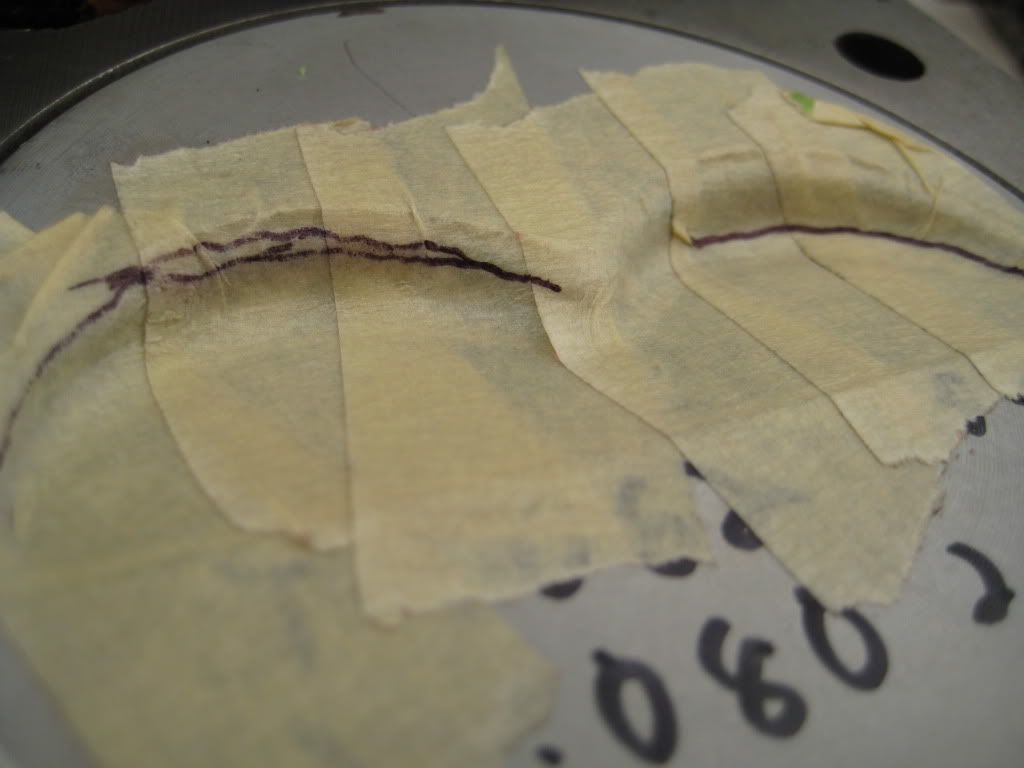
-Grind pistons to make room for big valves- not yet, can accept suggestions


and will report it weekly with pics
-1500 engine with all standard clearances-done
-cleaned and honed-done
-Complete ported, milled and Big valve head- done
-Camshaft with 11.97mm lift- done
-Main bearing and Crankshaft installation- done (except for one missing main bearing bolt) waiting for some Xweb member to get me one.
-Original pistons with Total Seal Gapless Top ring set- done
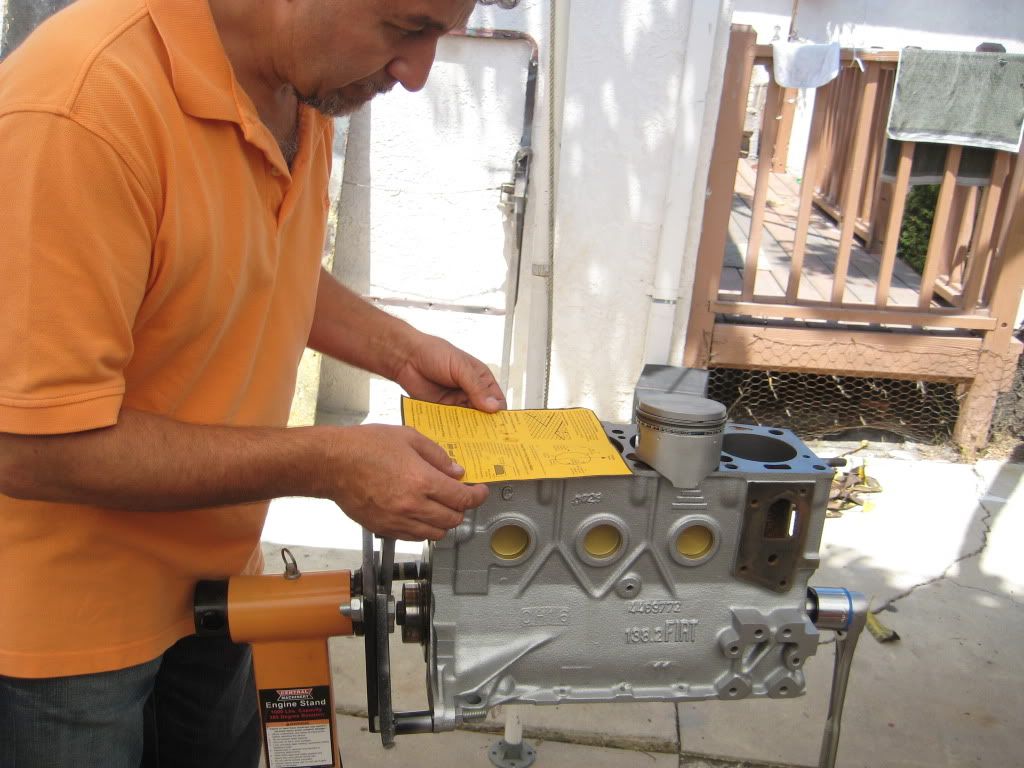
-Grind pistons to make room for big valves- not yet, can accept suggestions
Last edited: