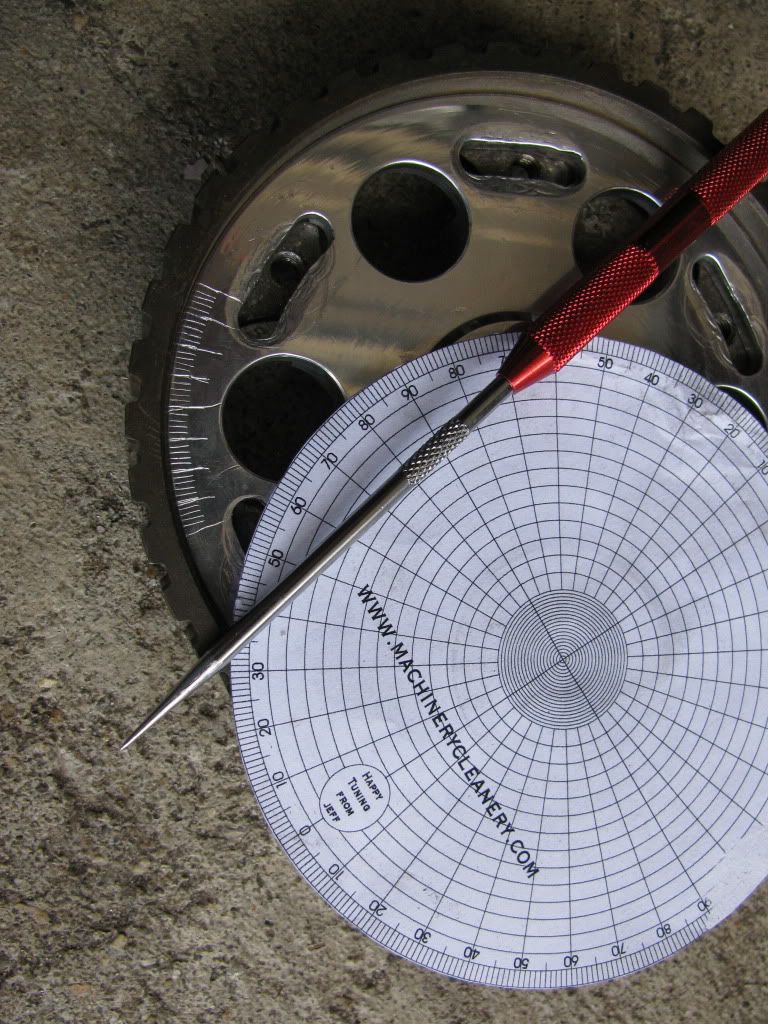
AngleT
Always more tuning to do
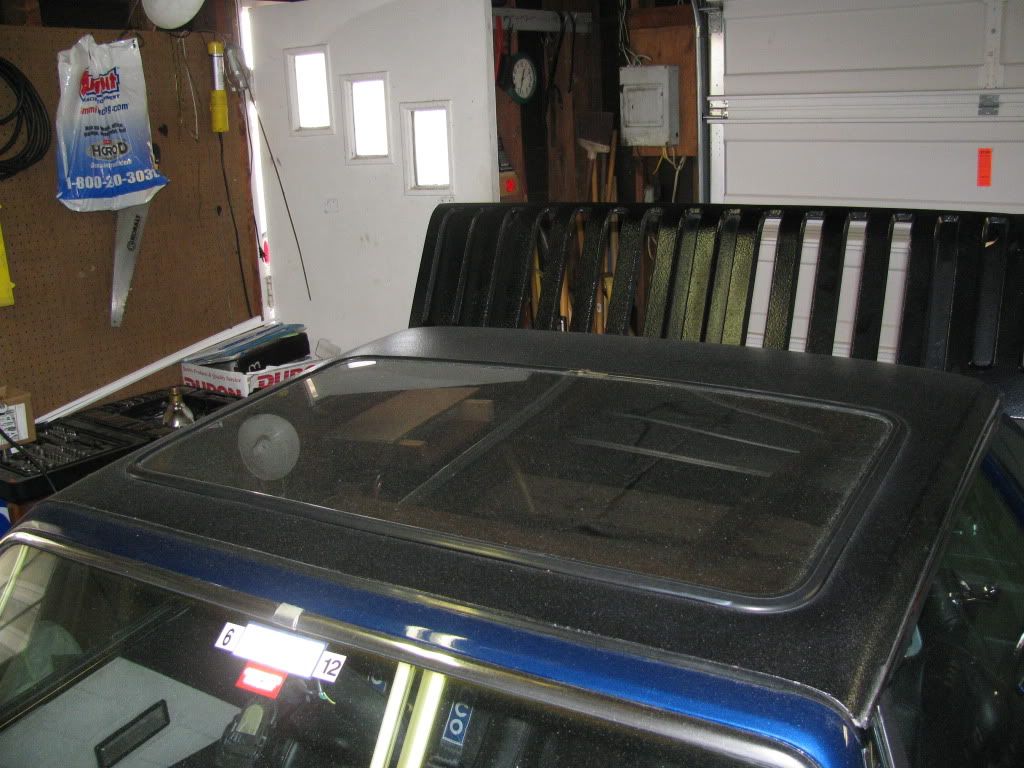
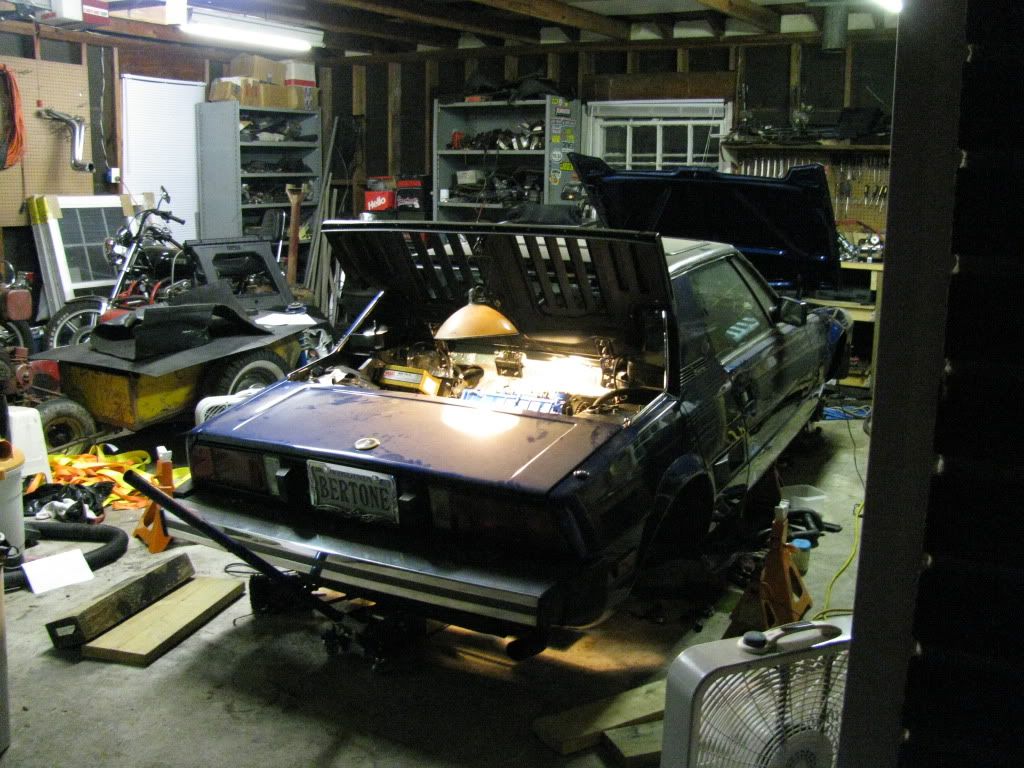
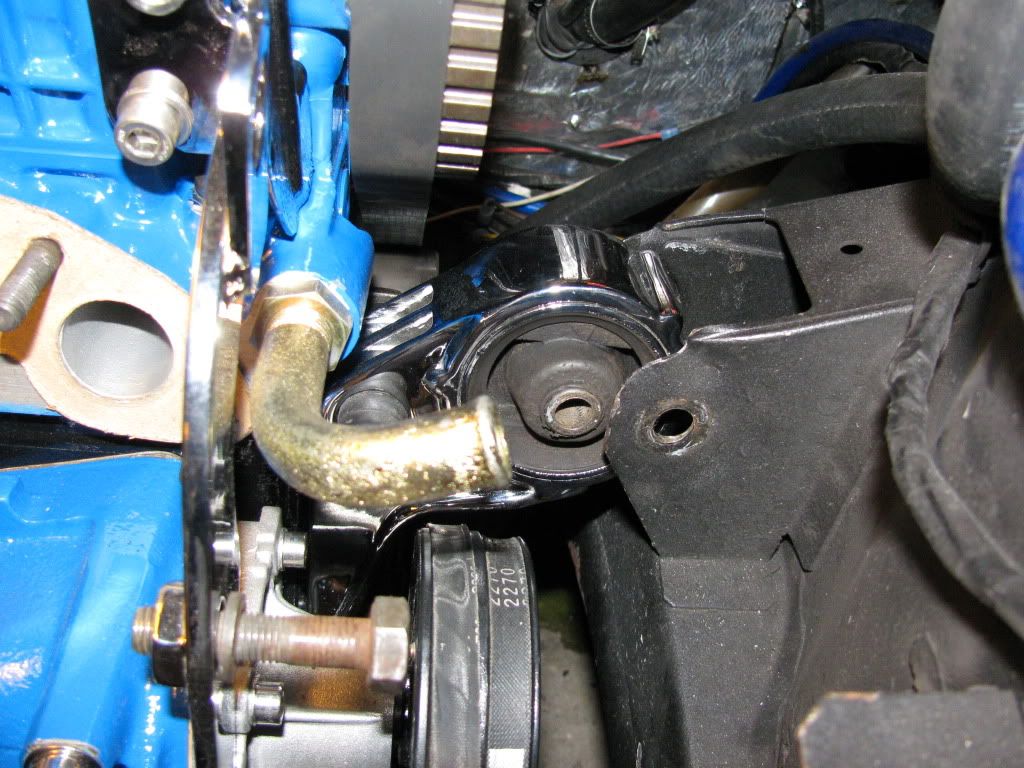
While I had the engine out of the car, I replaced all the O-rings in the entire A/C system and pulled a vacuum on the system and it held for 3 days, excitement is high for A/C in my X. Then I install the engine and that's when the woes started. Unlike TonyK, my 85 X did not have the top side port on the low side hose (top hoes on pump). It must have been replaced with an earlier model. I decided to use the ports on the back of the pump. After I had the engine back in the car, it became crystal clear that the header was going to interfere with the back of the pump low side port. I tried a 90 degree swivel connection and it was too long also. Even if it did clear the exhaust, I realized that it couldn't be good for it to be that close to such a heat source. So, Midwest-Bayless to the rescue, again. Now that I've ordered the correct hose (as displayed in TonyK's write-up), it was time to turn my attention to other car stuff.
Put degree marks on my adjustable cam pulley.
Set up cam with 1300 slack adjuster and resin aux pulley
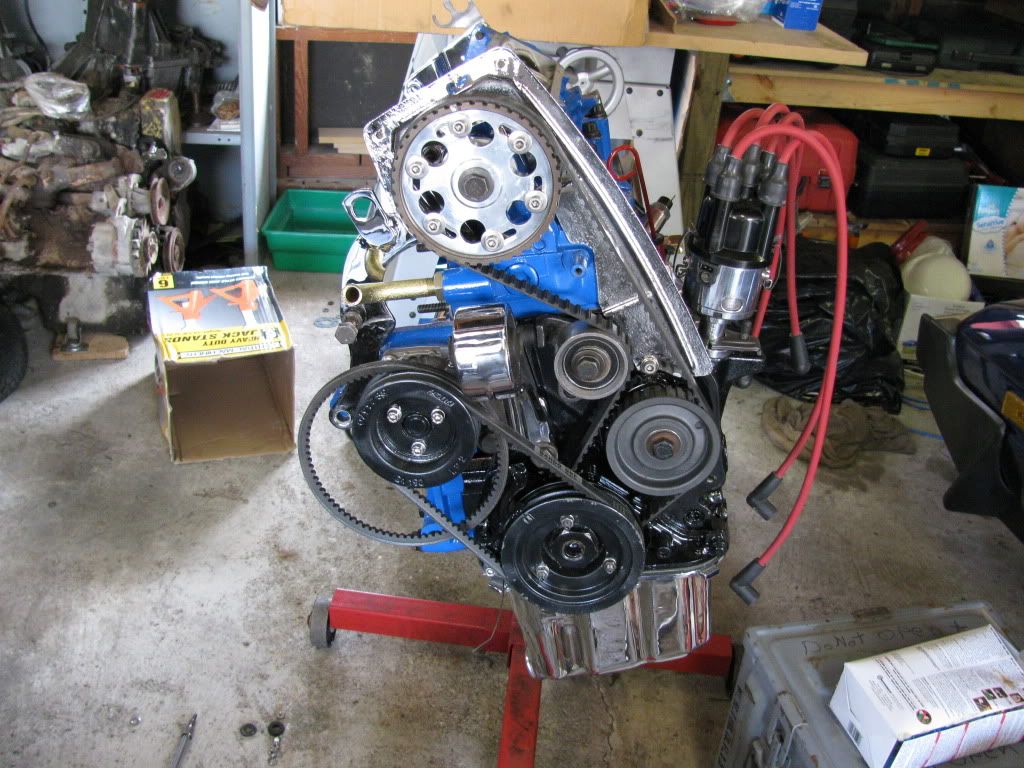
Nice PBS B-3 regrind installed and setup at Midwest-Bayless (Thanks Matt!)
pretty...
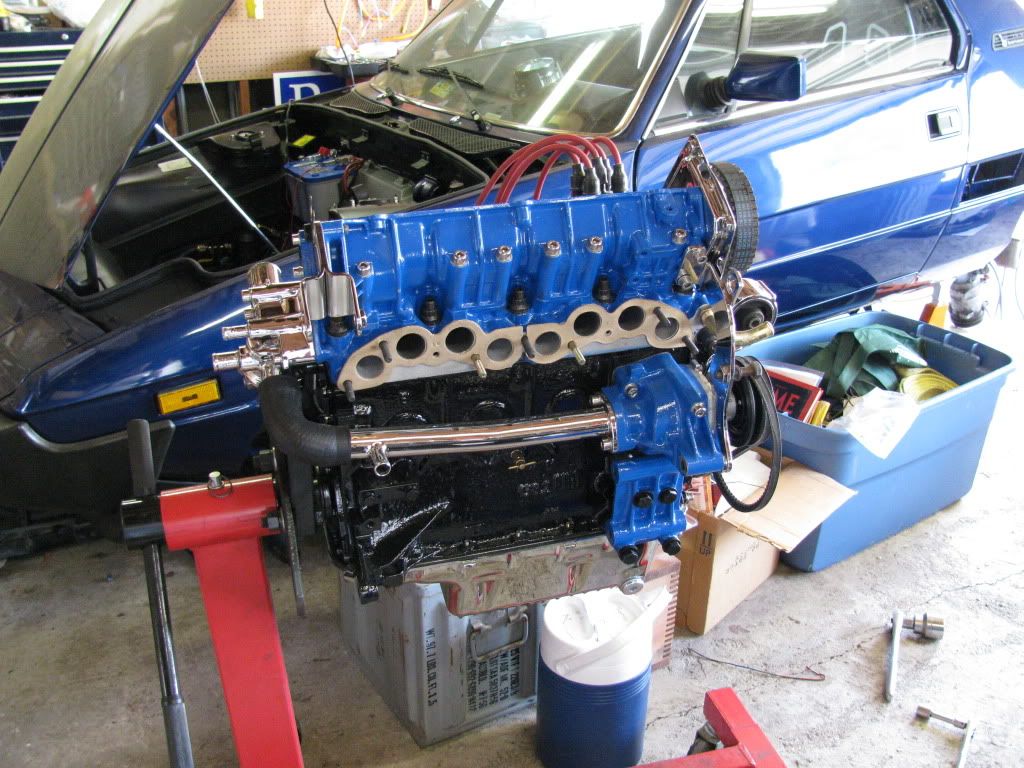
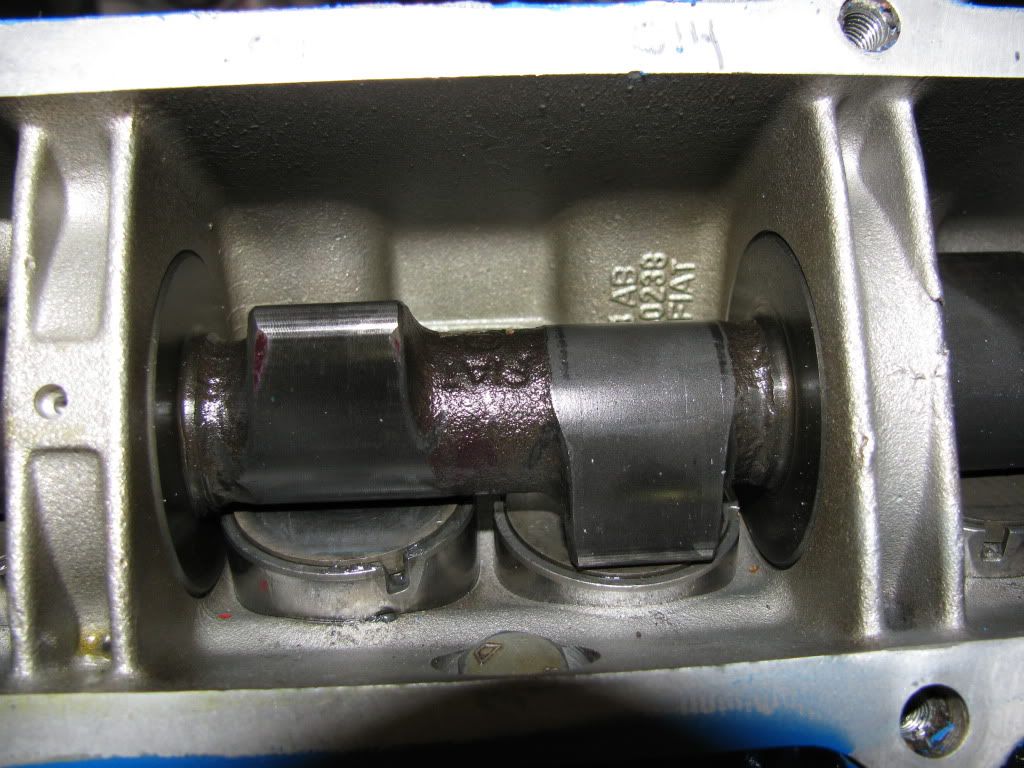
Lay down, good engine.
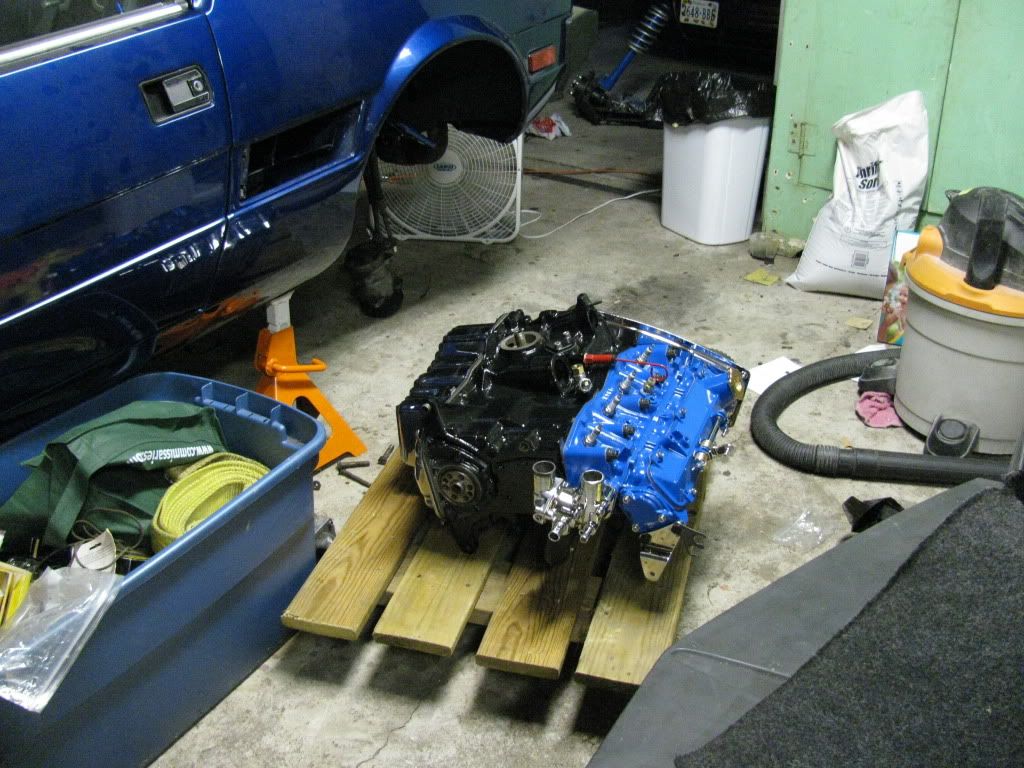
I made the cart using scrap wood and creeper wheels. Rolls around very nicely with the engine on it.
Now low crawl...
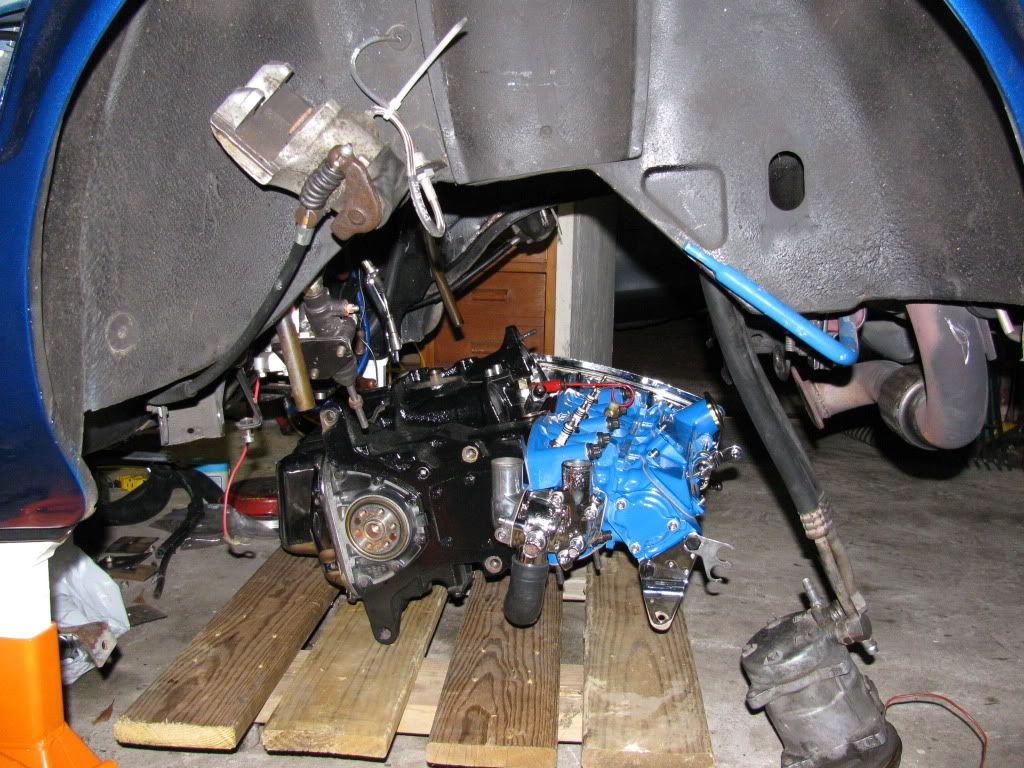
Staaaayyyy...
Now, dip baby dip.
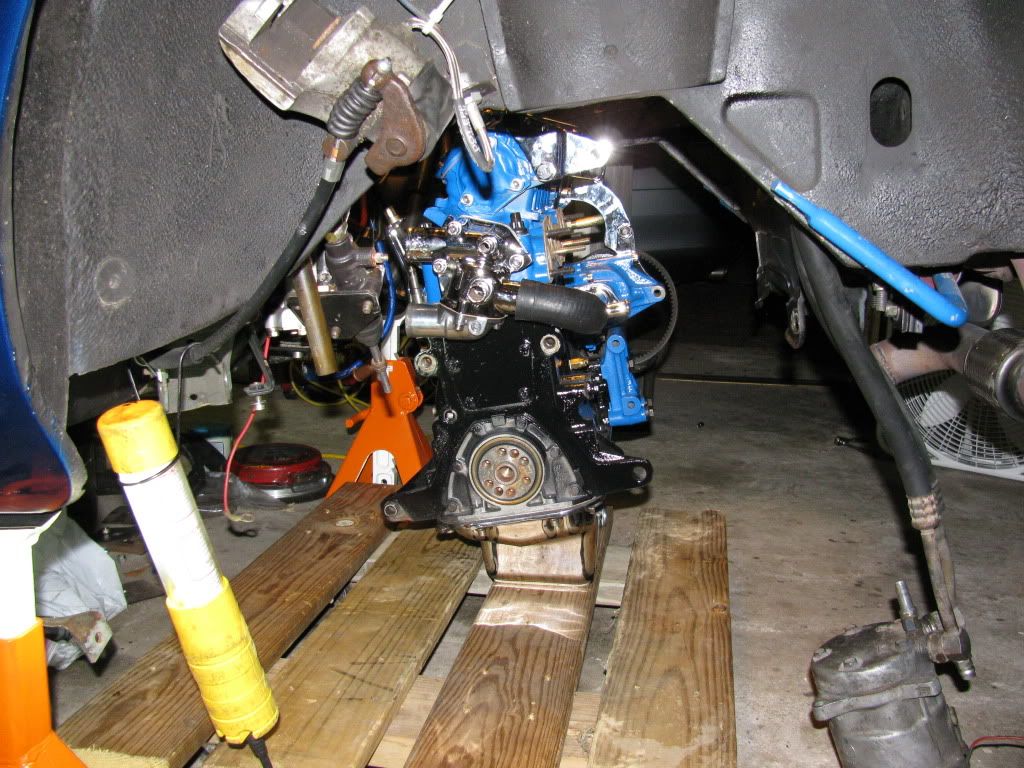
Now slide, slide, slide
A little transmission work.
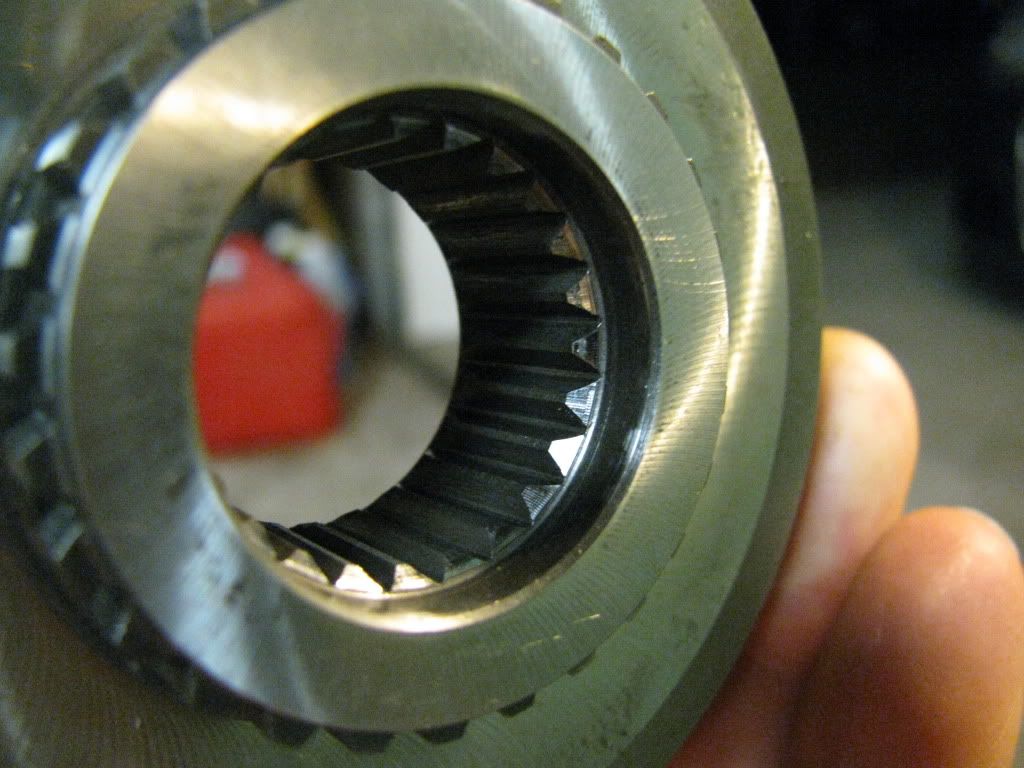
I had to have a taper machined into the splines of my Colotti diff to accept the spring clip on the half shaft. It was sent to me a square edge and no way to accept the spring clip. Abacus Racing machine shop fixed me up.
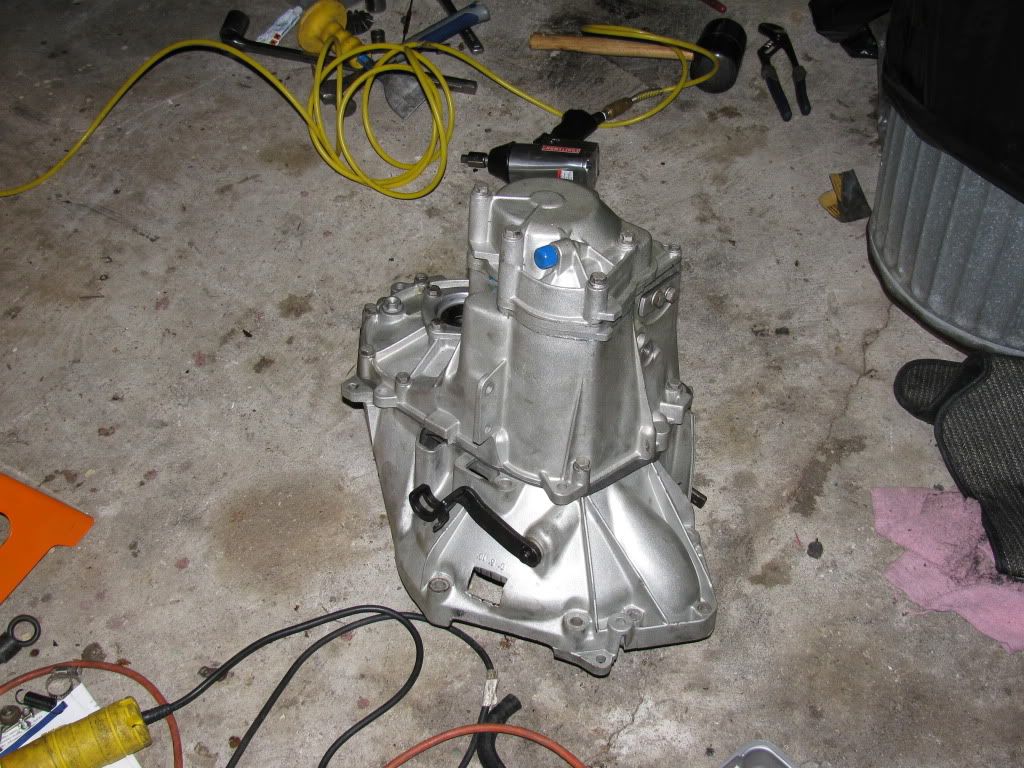
Now to reassemble the trans. Ugh... It's been too long since the last time I did this. How's this thing go together again?
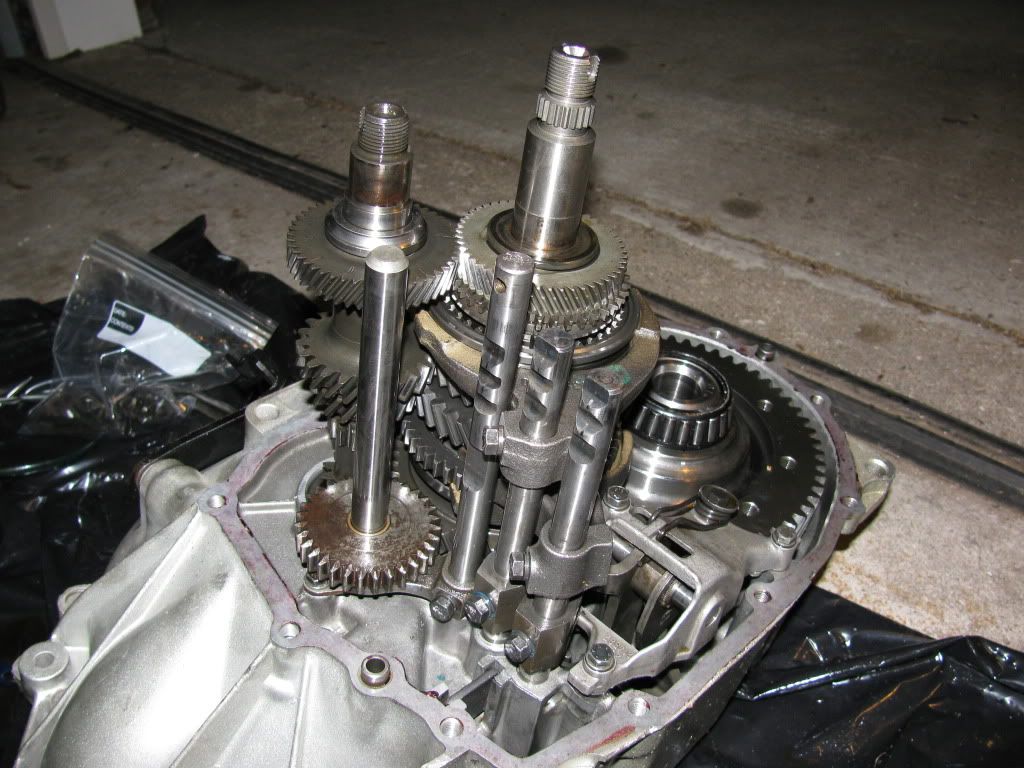
Ah, done.
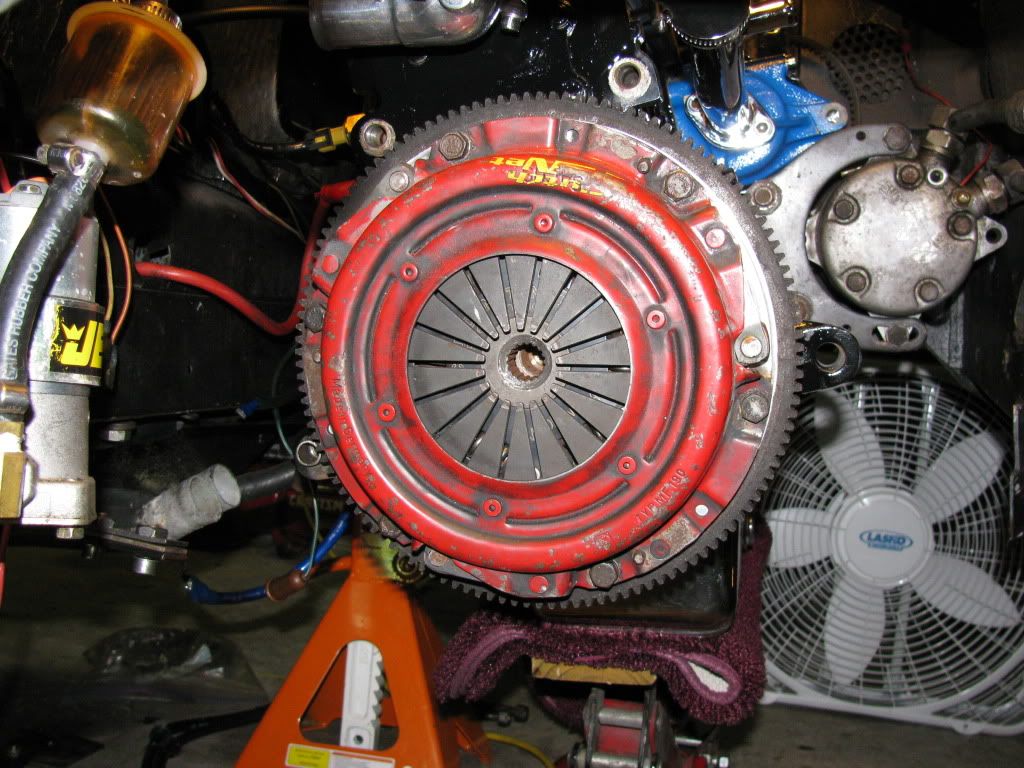
Aluminum flywheel and high tension pressure plate installed. Can you see what I forgot? Hint: I didn't notice it until the transmission was installed.
Still lots to do before FFO, but things are looking up.
Put degree marks on my adjustable cam pulley.
Set up cam with 1300 slack adjuster and resin aux pulley
Nice PBS B-3 regrind installed and setup at Midwest-Bayless (Thanks Matt!)
pretty...
Lay down, good engine.
I made the cart using scrap wood and creeper wheels. Rolls around very nicely with the engine on it.
Now low crawl...
Staaaayyyy...
Now, dip baby dip.
Now slide, slide, slide
A little transmission work.
I had to have a taper machined into the splines of my Colotti diff to accept the spring clip on the half shaft. It was sent to me a square edge and no way to accept the spring clip. Abacus Racing machine shop fixed me up.
Now to reassemble the trans. Ugh... It's been too long since the last time I did this. How's this thing go together again?
Ah, done.
Aluminum flywheel and high tension pressure plate installed. Can you see what I forgot? Hint: I didn't notice it until the transmission was installed.
Still lots to do before FFO, but things are looking up.
Last edited: