
Pete Whitstone
True Classic
I had been wanting to give the Scorpion a nose job for some time, I didn’t care for the stock grill much, and the pop-up headlights basically looked like an afterthought that was thrown on the car (which is exactly what they were). I looked at doing a true Montecarlo look, but the headlights are prohibitively expensive and honestly I thought the quad look of the 037 suited the car better.
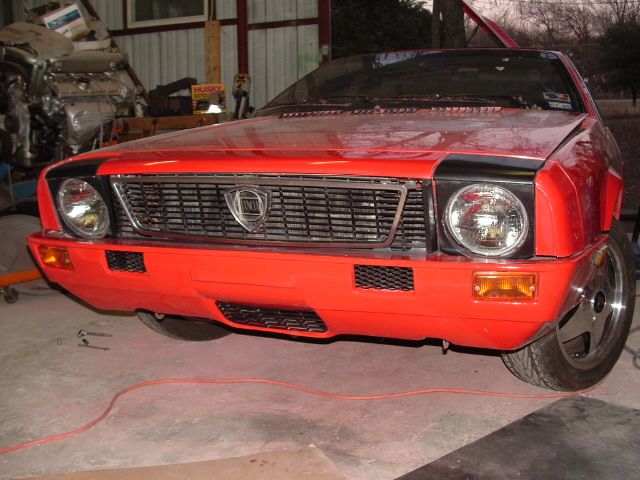
Here is the basic starting point. The headlight buckets were painted body color, and the hood was changed to a fiberglass 037 style unit, but other than that this shot is fairly representational of the front end.
I had obtained a one-piece nose band from Scott Hay a few years ago, and then a couple of months ago I happened across a very pristine Beta grill from a local guy, David Evans. Here are those parts, waiting to go on.
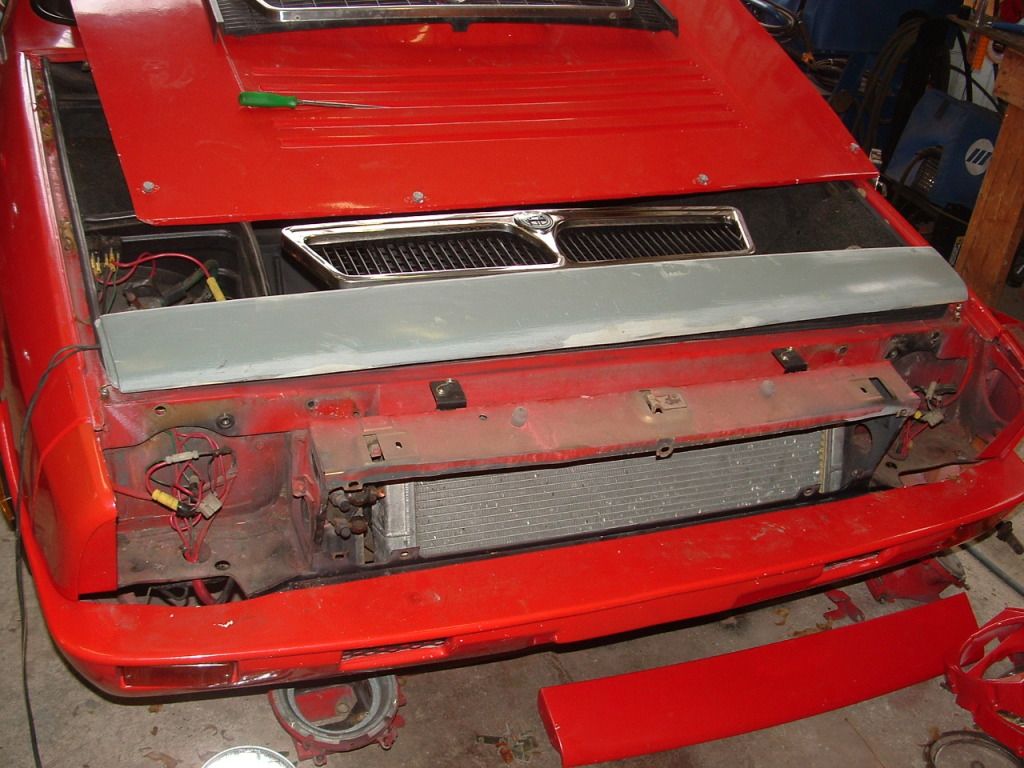
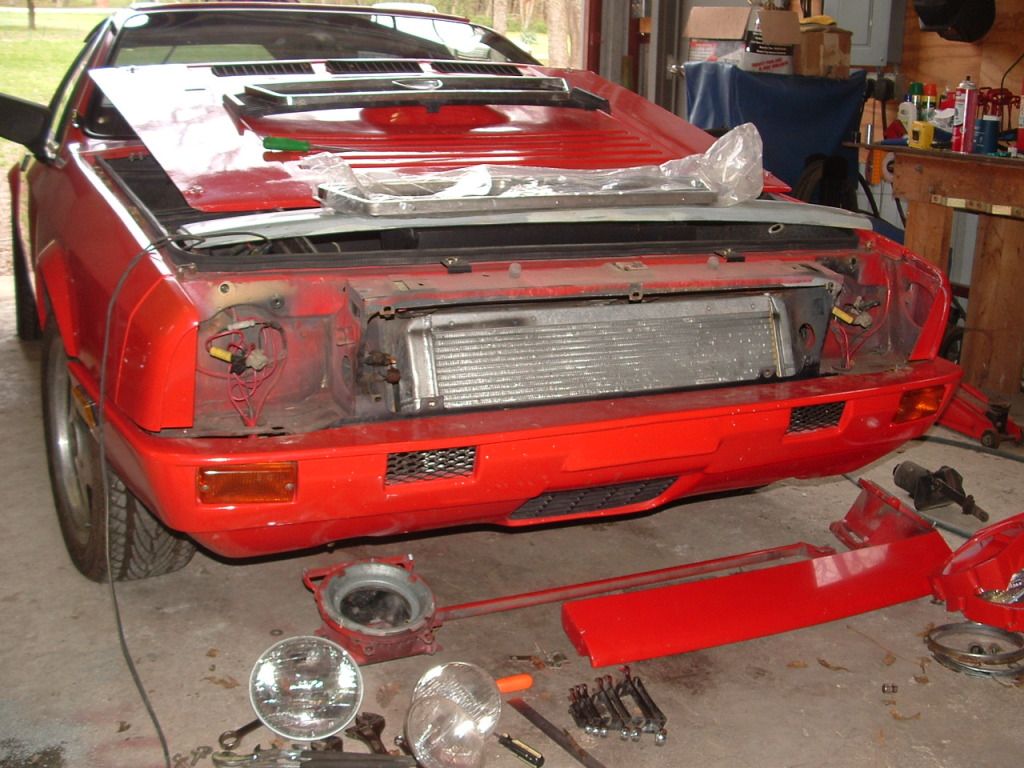
In the above shot you can see I have taken apart the front end. On the floor in the shot below you can see all the parts that came off. Headlight buckets, cross-bar, motor, etc. Not lightweight stuff.
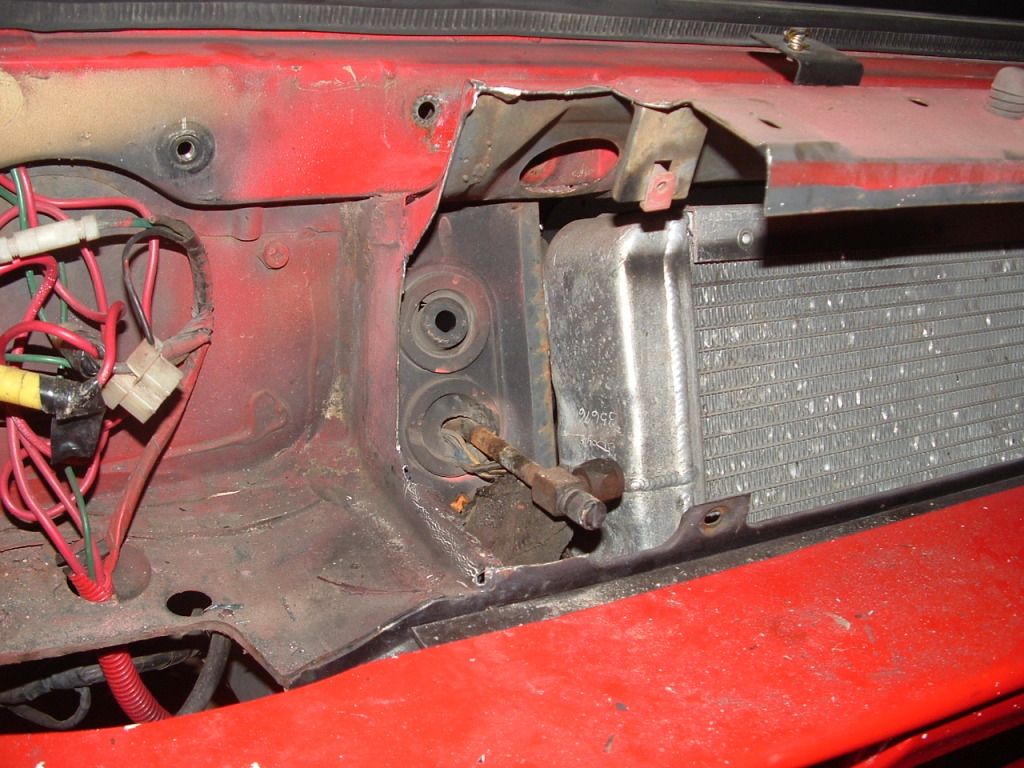
In order to fit the quad round headlights, some sheet metal was going to have to come out. This was my initial scribe line.
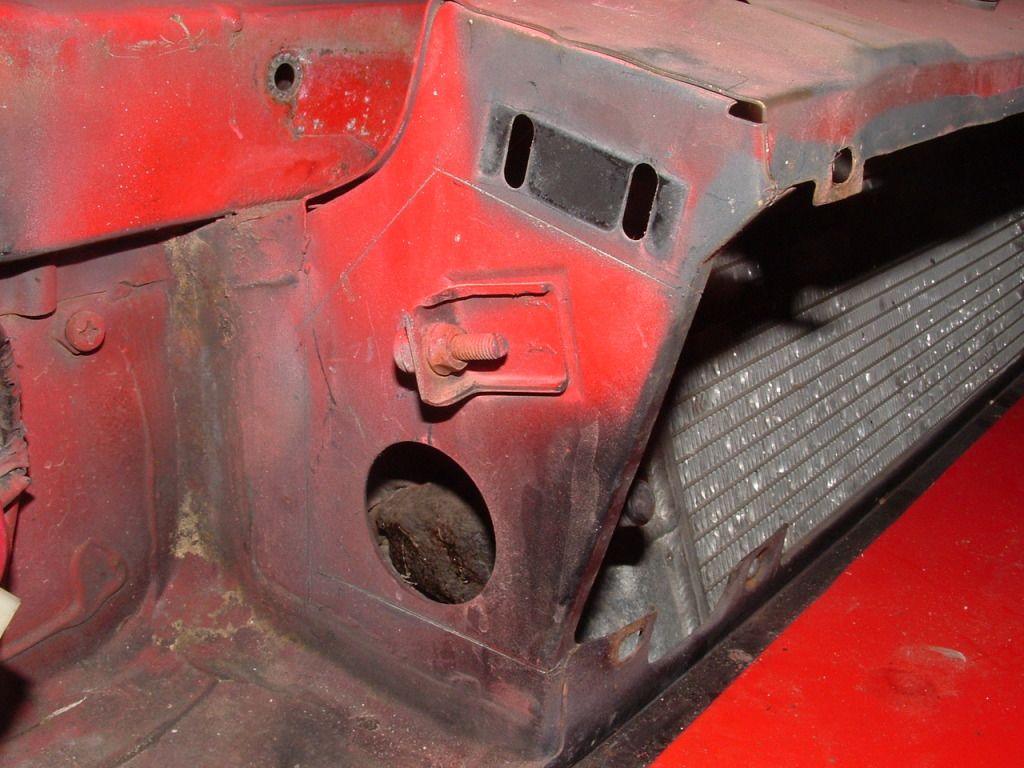
But I quickly figured out I would need to remove more than that. Here is where the cutting finally ended.
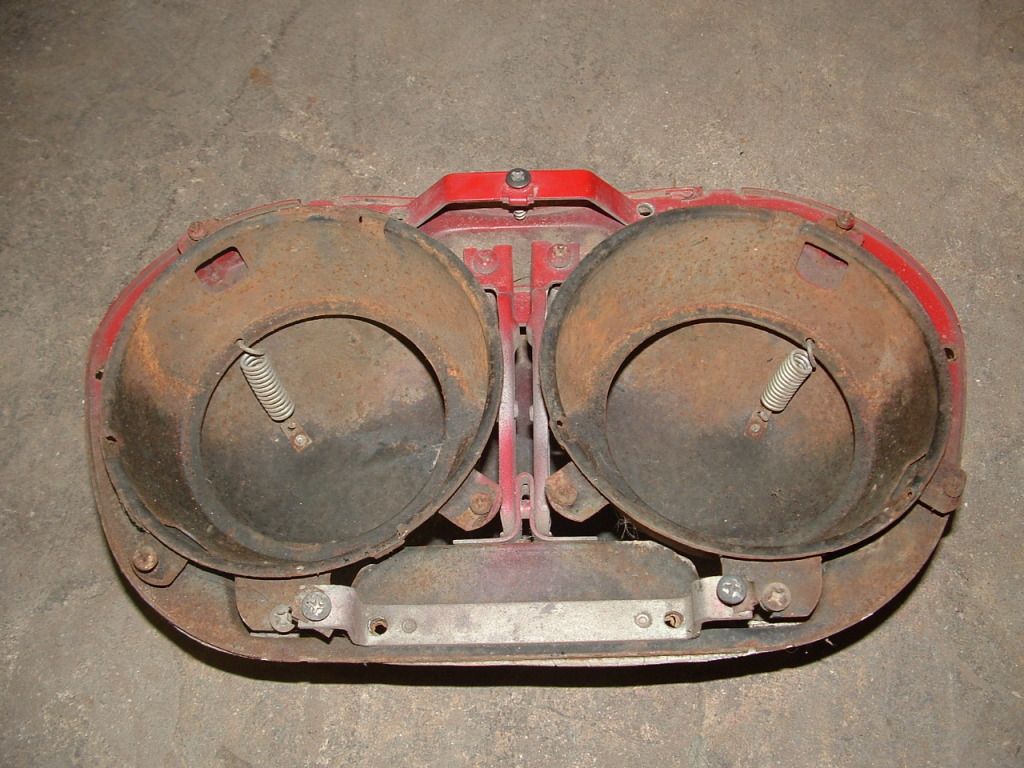
There was probably not room for two of the stock 7 inch rounds, so I used the H5001/H5006 series of headlights that were popular in the 50’s-70’s. They are 5 ¾ in diameter and fit perfectly. My 1958 Ford uses them, mounting two of them per side, fairly close together. So I started watching eBay for a set of headlight buckets. They had to be modified slightly, by cutting off one of the tabs that holds the bezel in front of the light. This is because the ’58 bezel is held vertical, but the bezel I would fashion for the Scorpion would have to sit at an angle. Here is an uncut bucket.
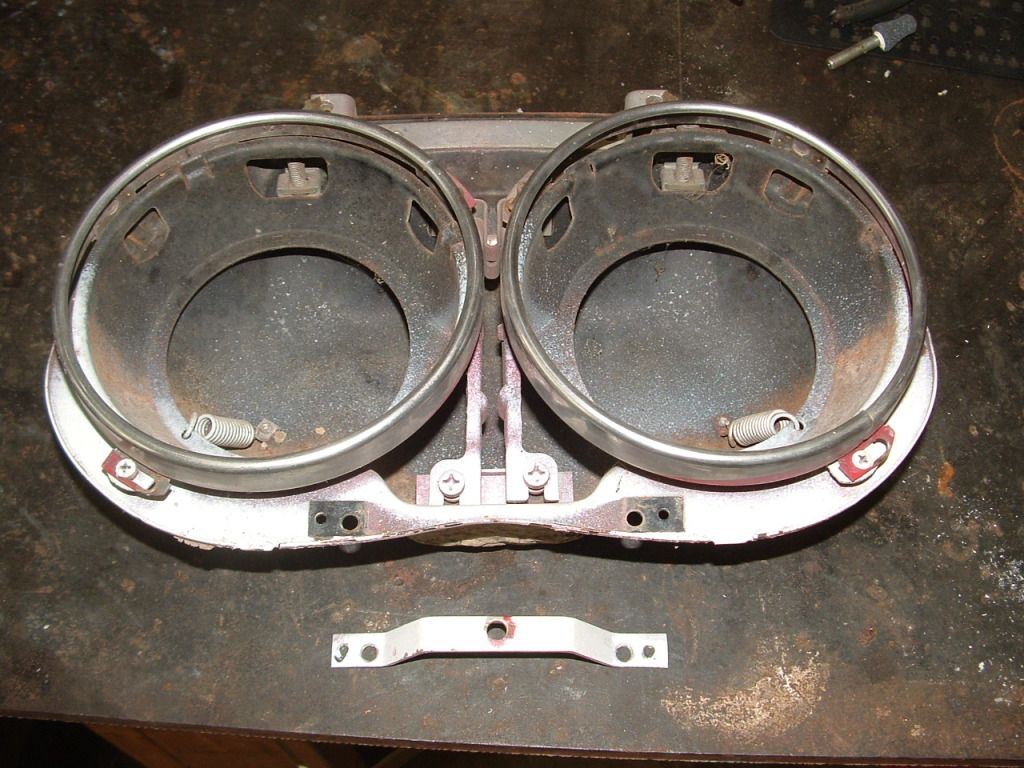
And here is one with the part removed. It was just held on by a couple of aluminum rivets.
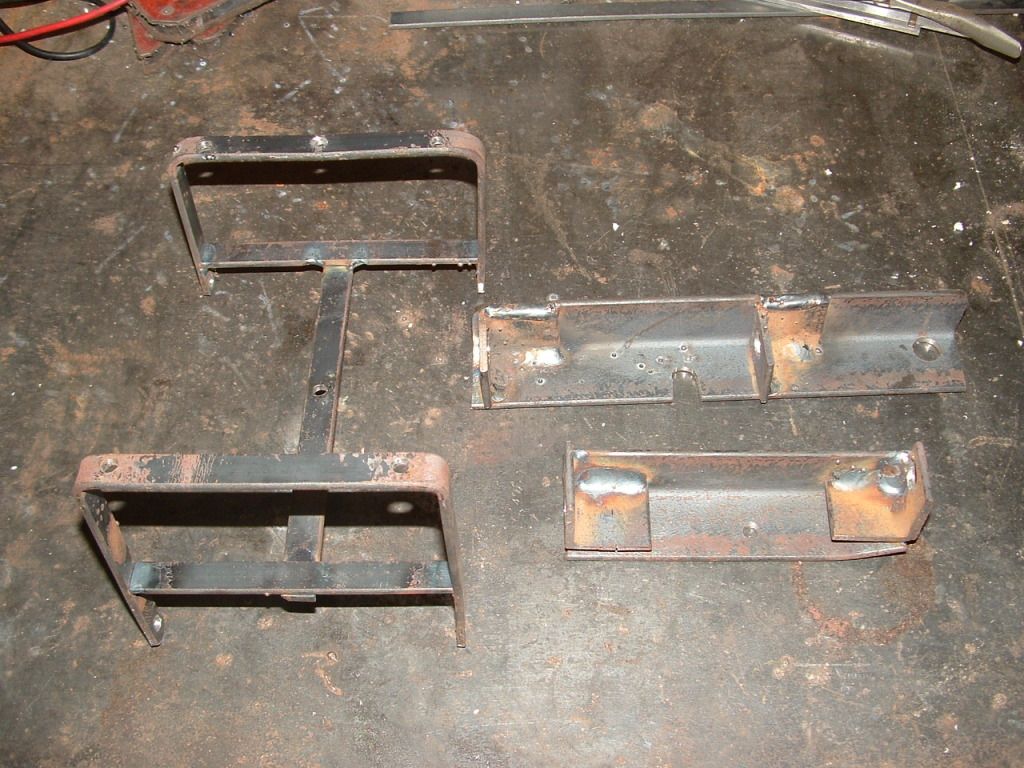
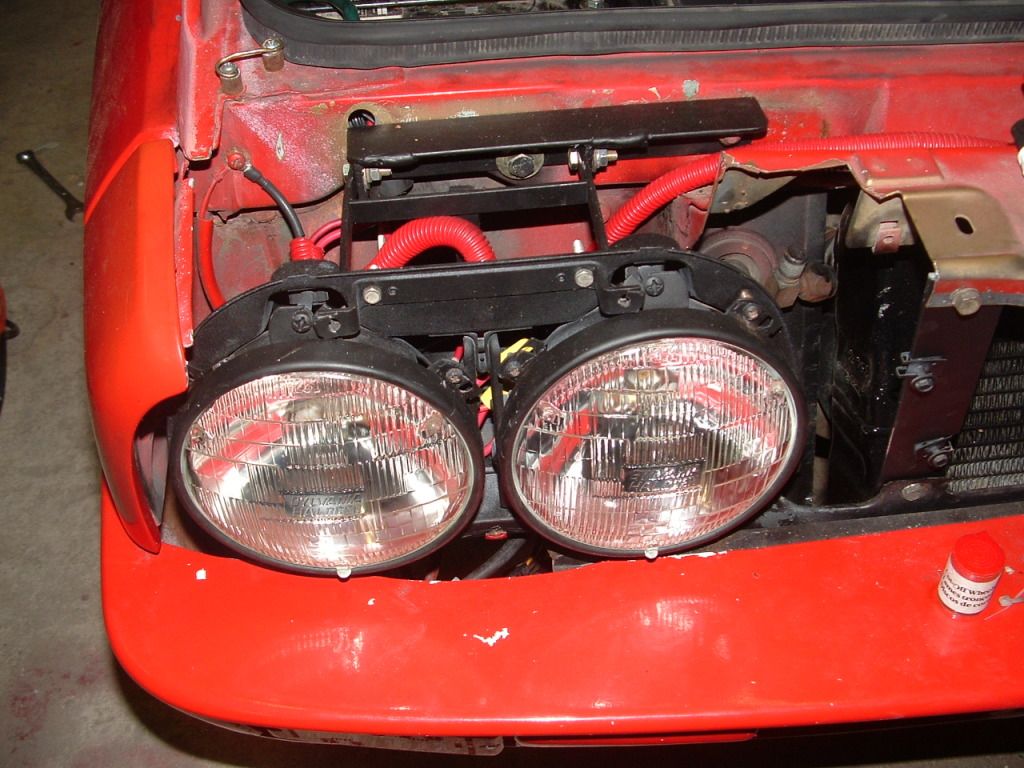
Next, I had to make some mounting brackets that would adapt the buckets to the Scorpion. Here is what I came up with.
Here’s what they look like all painted up and installed.
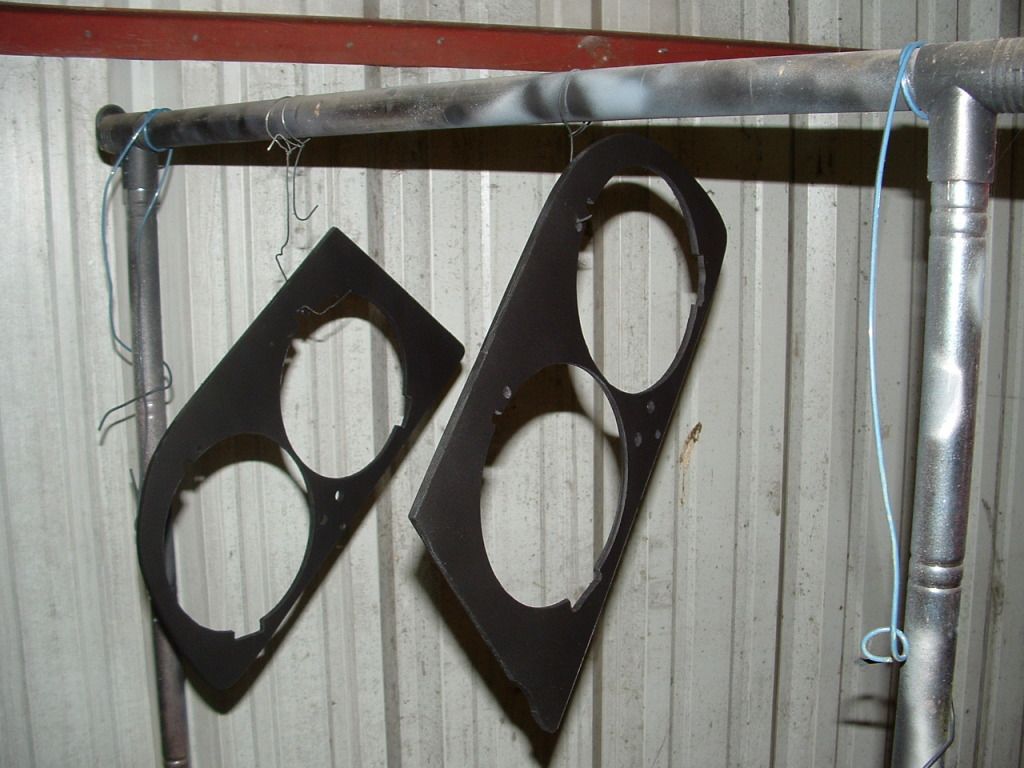
Next I got to work on the bezels. I used .220 plexiglass from Home Depot, same as I used on the tail light project. After measuring everything out, I used a 6 inch hole saw to cut the holes for the headlights, plus mounting holes and some notches and holes for access to the aiming screws. Here is that work in progress.
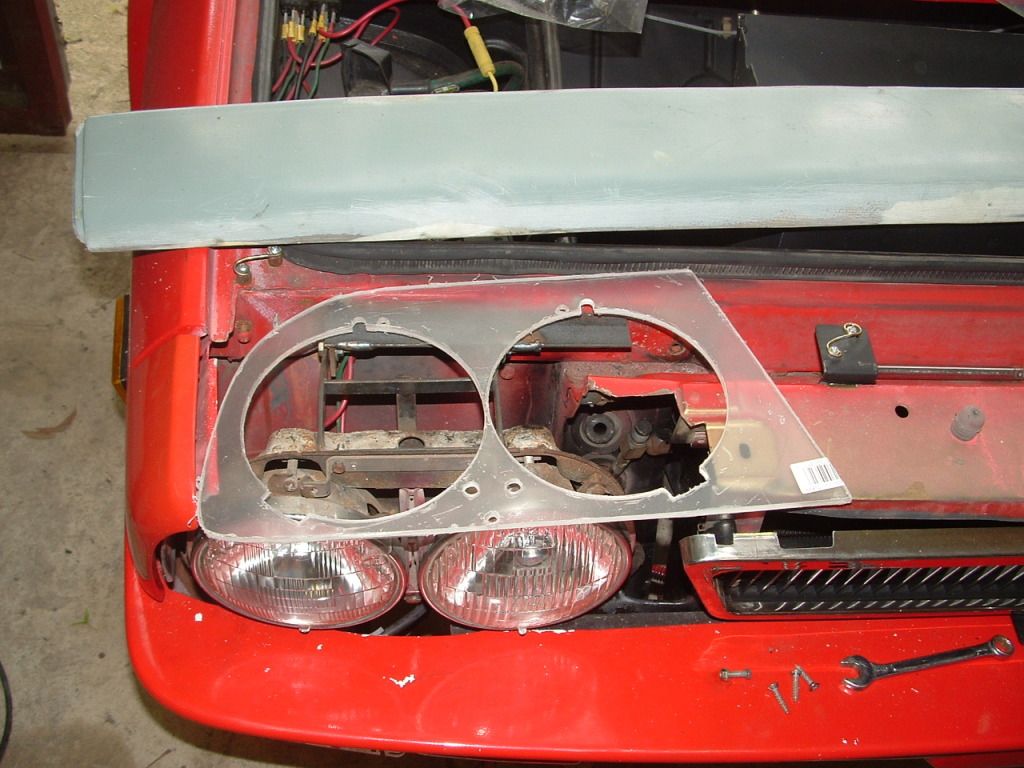
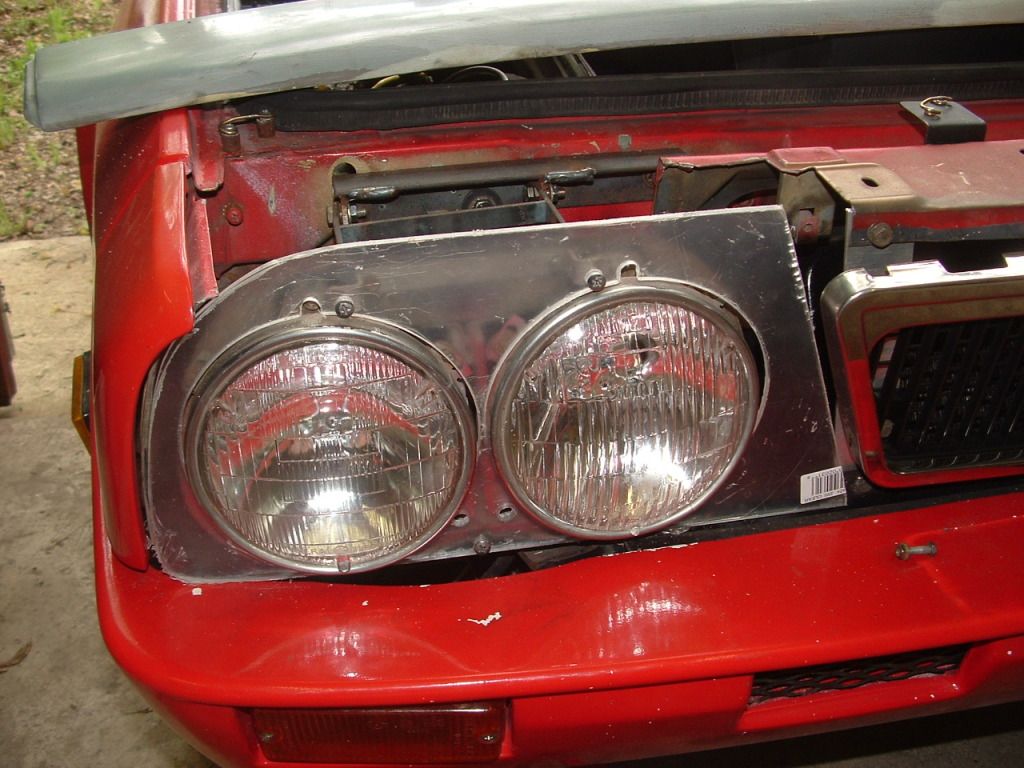
Test fit is looking pretty good.
So duplicate for other side, and then they got primered and flat blacked.
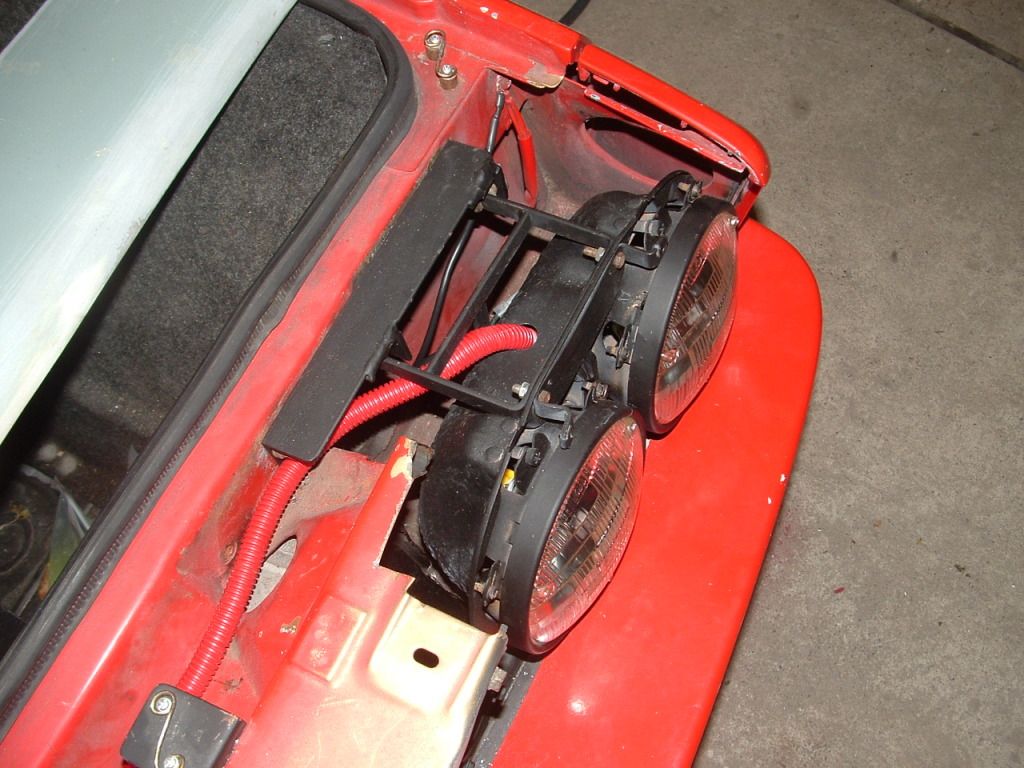
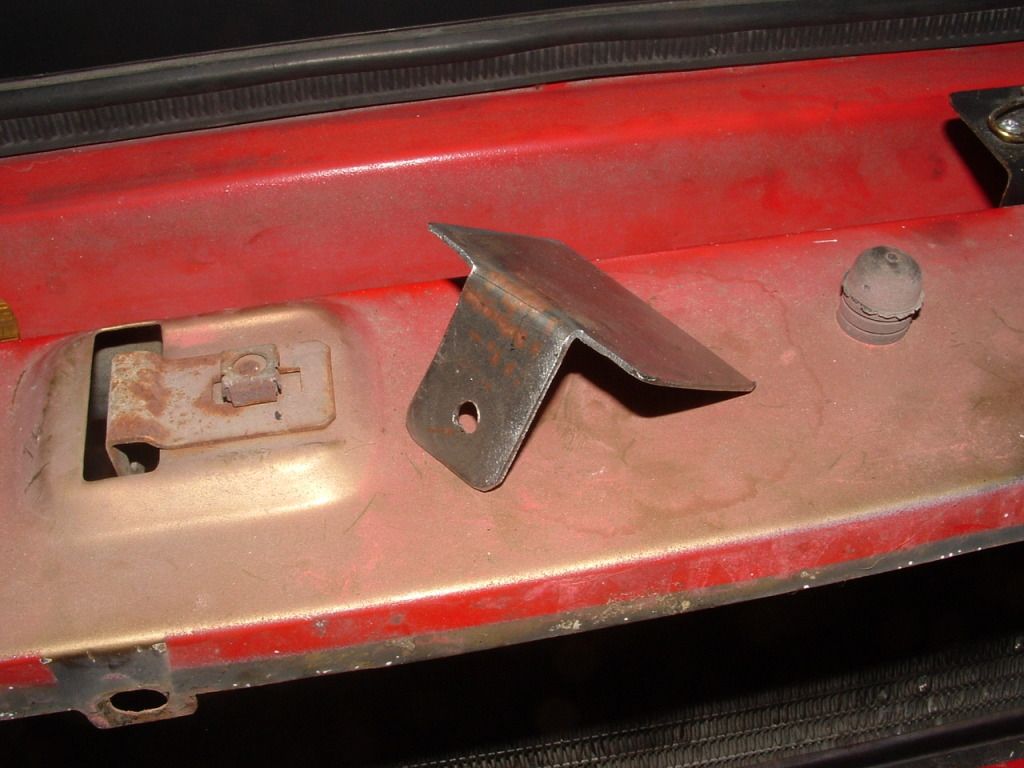
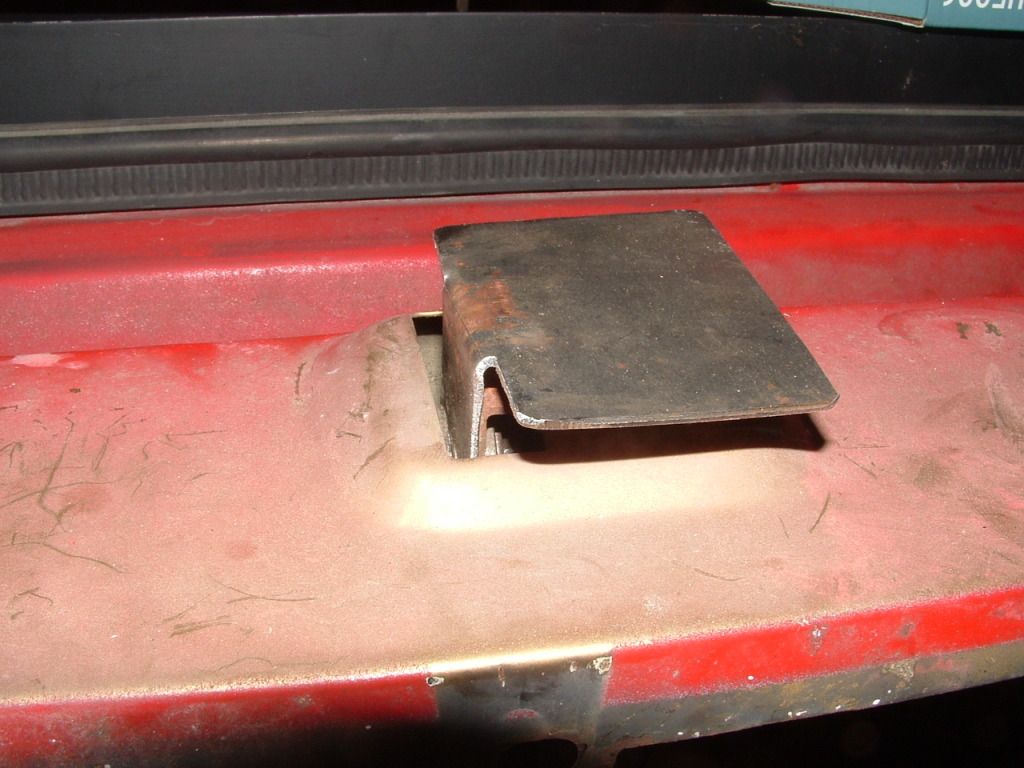
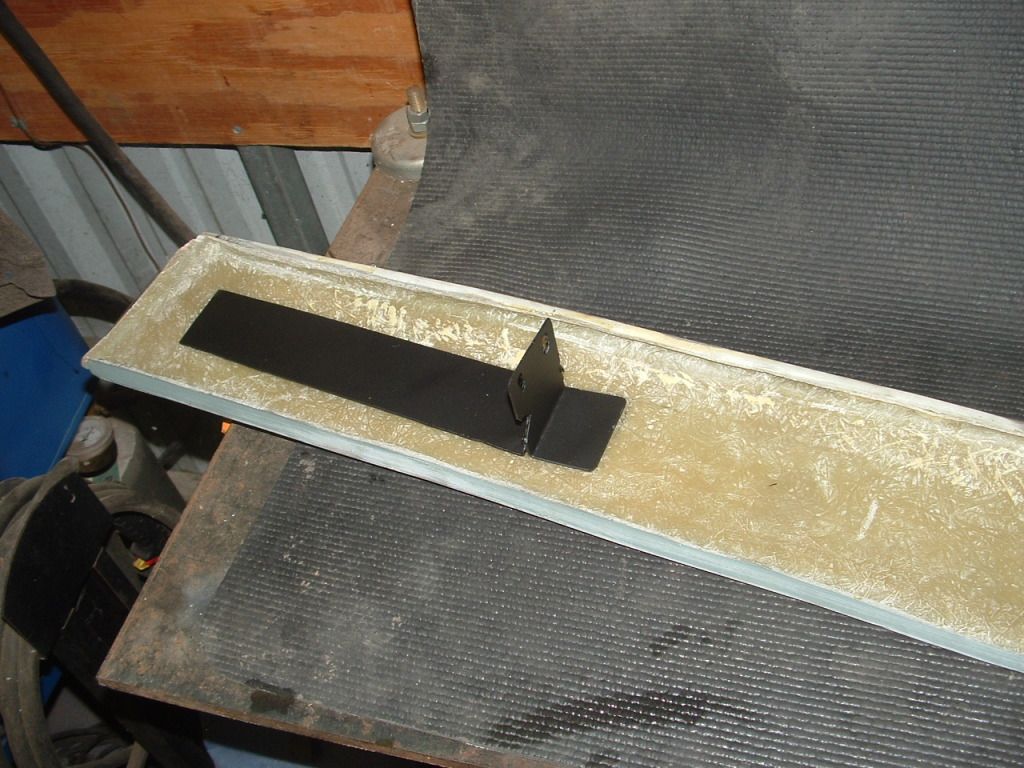
Then I turned my attention to the noseband. It would be held on at three points, the stock center point and near the ends. I fabbed up a sheet metal piece to go in the middle.
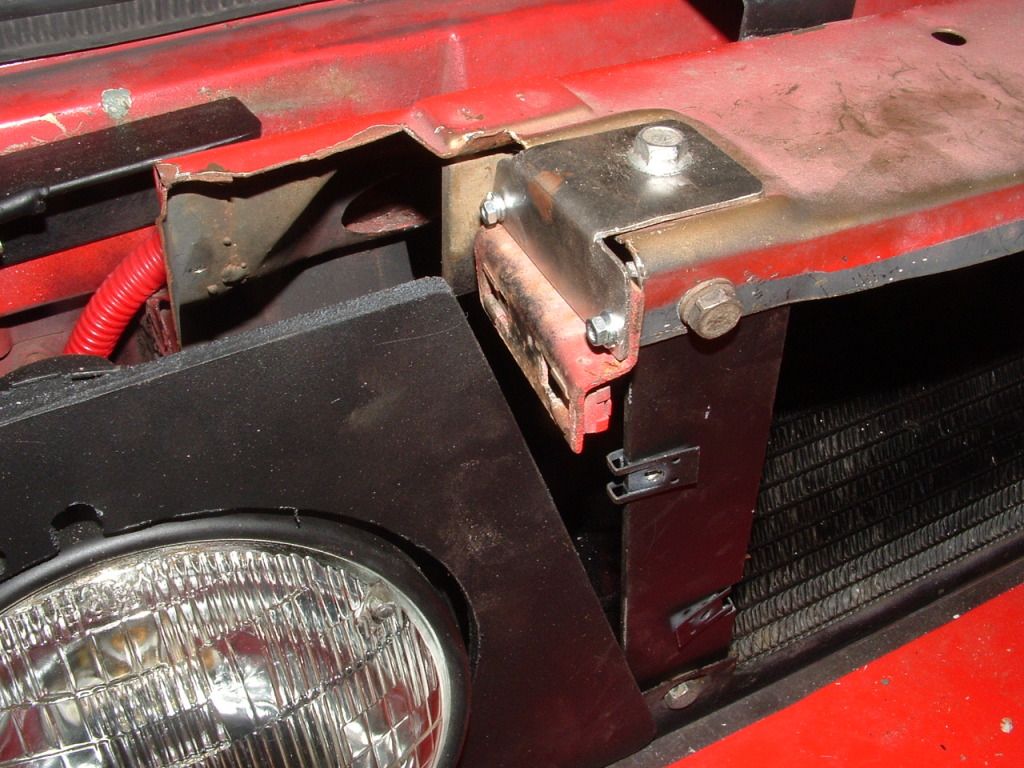
And here is how it attaches.
Note that it can be adjusted side to side or up and down, and of course for tilt. Then I fabbed up a small bracket for either side, using the pieces I had pirated from the stock center nose band and some sheet metal.
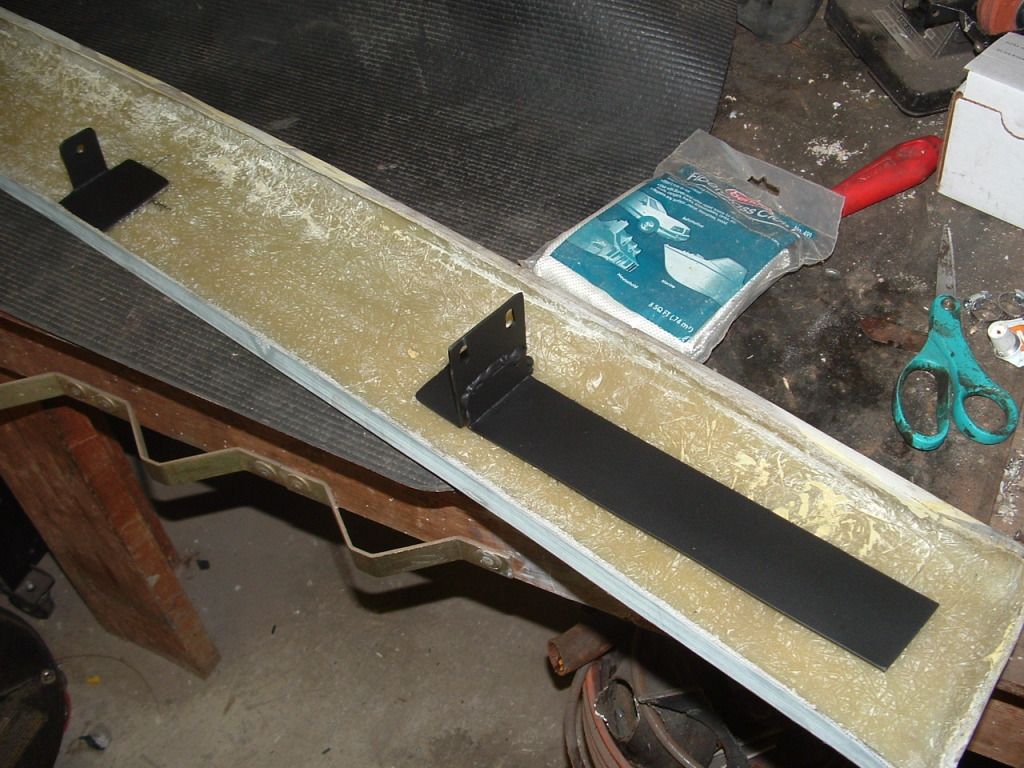
The nose band would need a sheet metal piece glassed in at either end (plus the center one shown above). I was a little concerned that the support point on the ends was about 8 inches away from the actual end of the piece, and that the air pressure at speed might distort or break the ends. So I made the bracket with a support that extended out to the end. Here are those pieces getting glassed in.

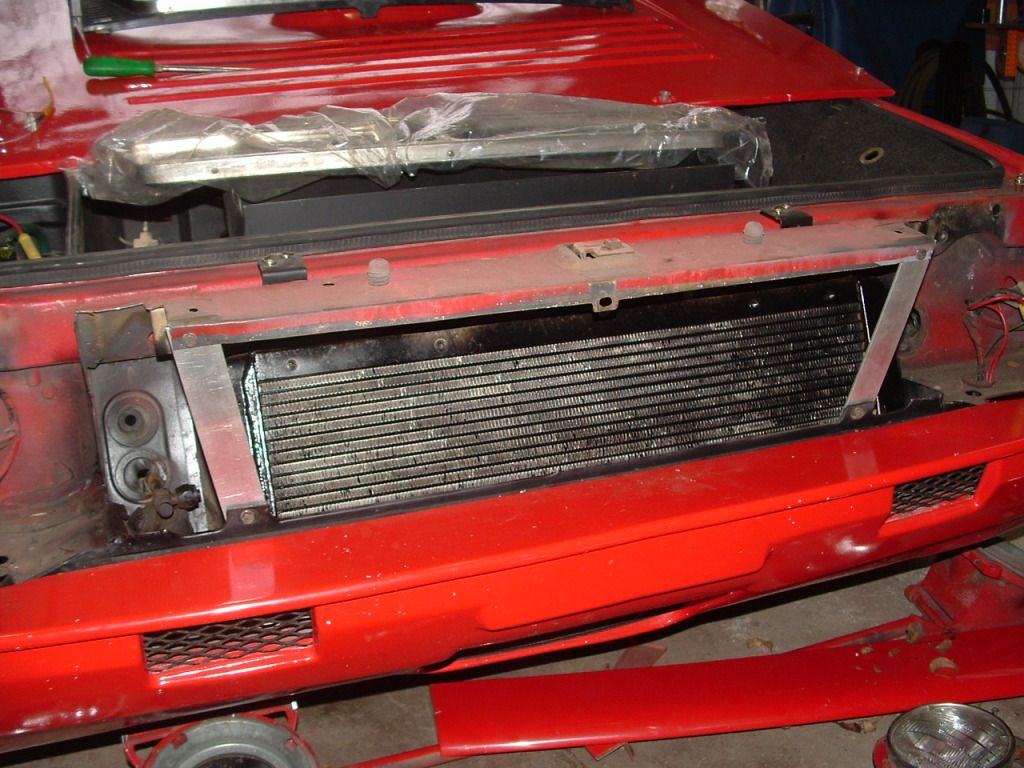
Then the piece was trial-fit and the factory spacers used to get everything aligned. A couple of support pieces were also used at either end of the grill, to restore strength from the surgery and to give the grill a place to mount. Those pieces are visible here in raw aluminum, before they were painted.
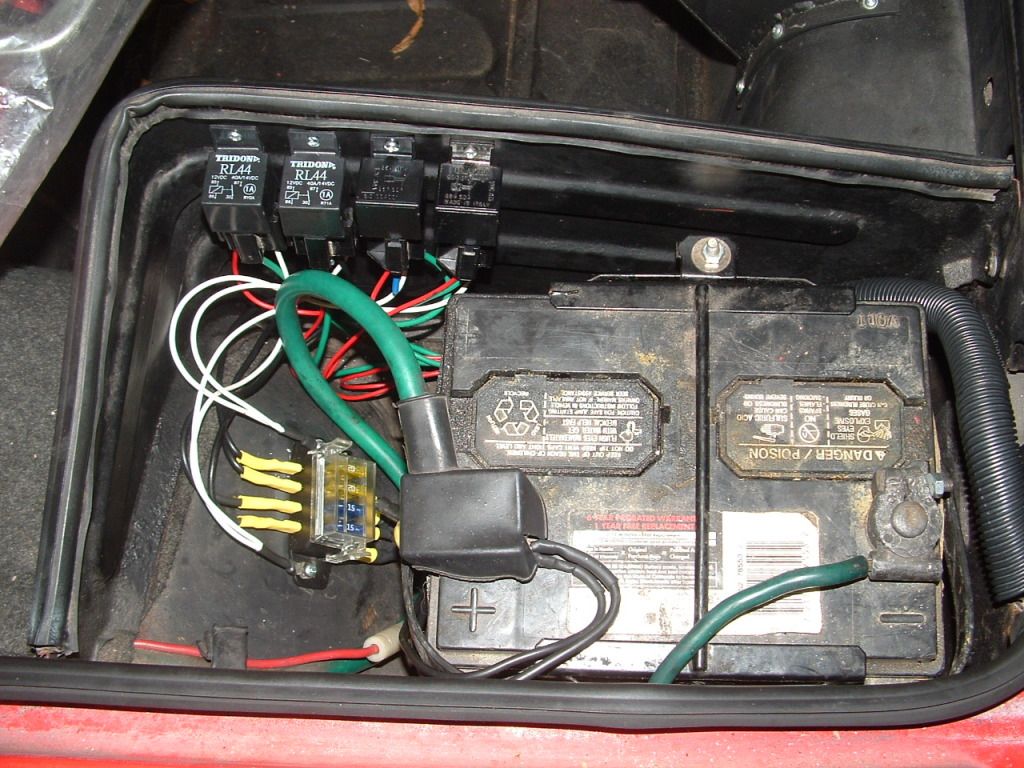
With the fabrication out of the way, it was time to sort the electricals. The traditional H5001/H5006 headlight arrangement is one high beam only (H5001) and one high/low beam (H5006) per side. But since my night vision isn’t getting any better, I elected to go with H5006’s all around, so I would have 4 headlights at all times. I had previously done a somewhat crappy headlight relay mod in the past, and took the opportunity to do all of it better. Here is a shot of what it came out looking like.
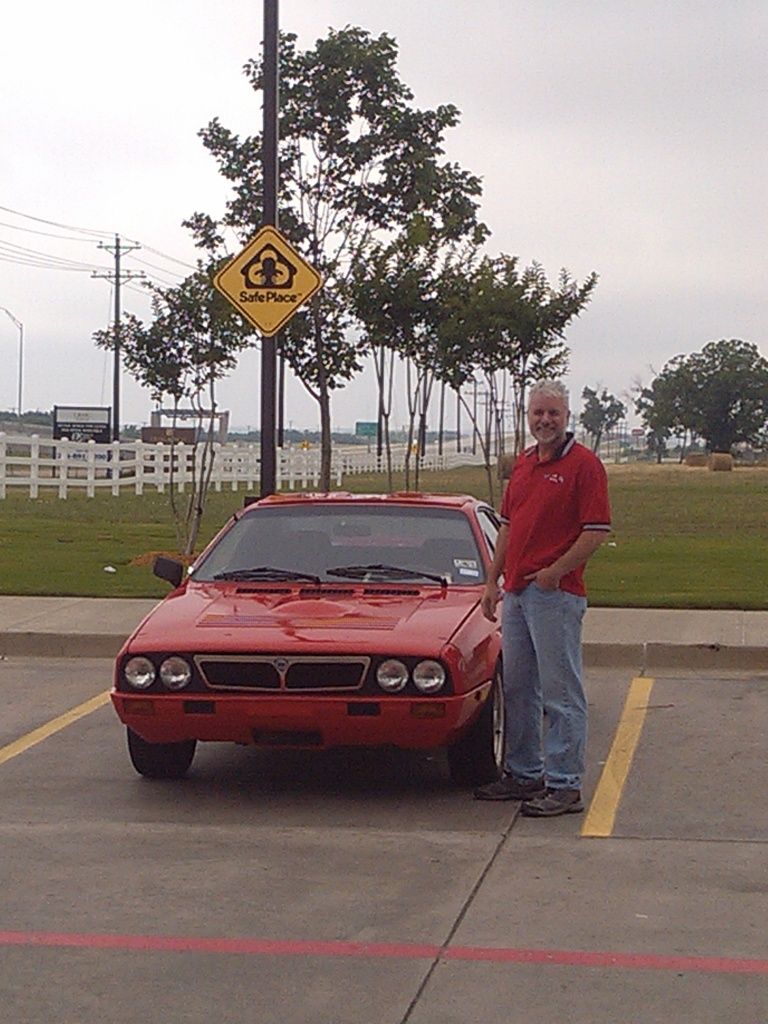
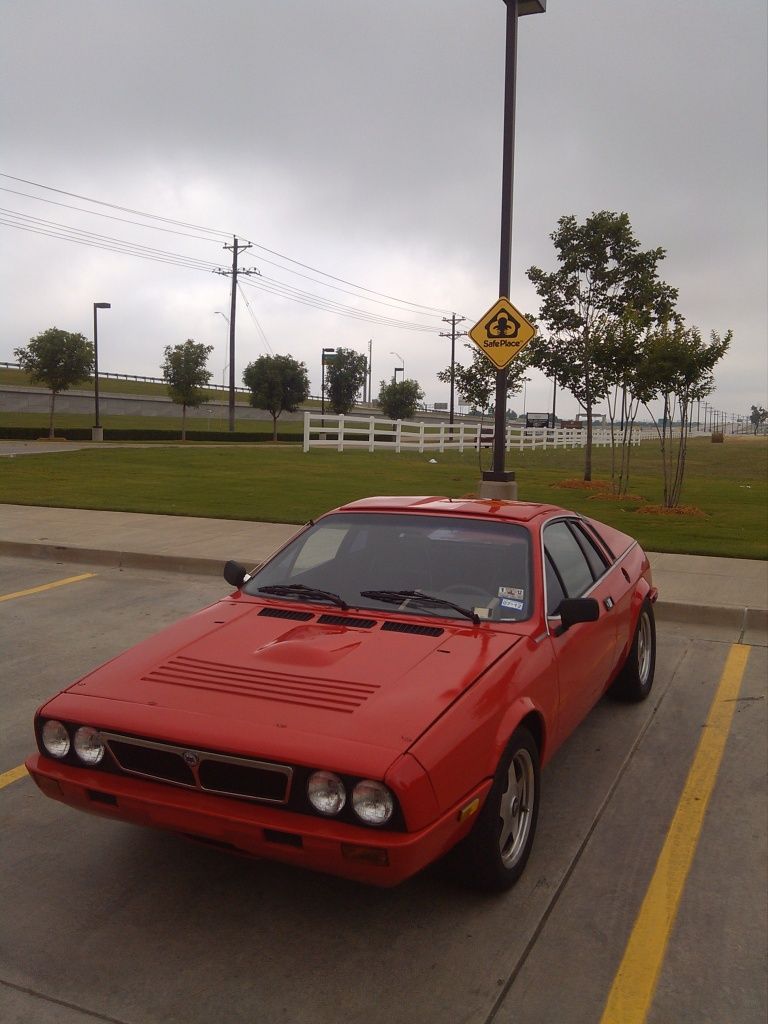
All that was left was final painting and assembly. Here are a couple shots of the car on its way to the VAS 2012 open house. I still have a couple small tweaks to do (aim the headlights and other final adjustments) but I’m very pleased with how it came out.
Pete
Here is the basic starting point. The headlight buckets were painted body color, and the hood was changed to a fiberglass 037 style unit, but other than that this shot is fairly representational of the front end.
I had obtained a one-piece nose band from Scott Hay a few years ago, and then a couple of months ago I happened across a very pristine Beta grill from a local guy, David Evans. Here are those parts, waiting to go on.
In the above shot you can see I have taken apart the front end. On the floor in the shot below you can see all the parts that came off. Headlight buckets, cross-bar, motor, etc. Not lightweight stuff.
In order to fit the quad round headlights, some sheet metal was going to have to come out. This was my initial scribe line.
But I quickly figured out I would need to remove more than that. Here is where the cutting finally ended.
There was probably not room for two of the stock 7 inch rounds, so I used the H5001/H5006 series of headlights that were popular in the 50’s-70’s. They are 5 ¾ in diameter and fit perfectly. My 1958 Ford uses them, mounting two of them per side, fairly close together. So I started watching eBay for a set of headlight buckets. They had to be modified slightly, by cutting off one of the tabs that holds the bezel in front of the light. This is because the ’58 bezel is held vertical, but the bezel I would fashion for the Scorpion would have to sit at an angle. Here is an uncut bucket.
And here is one with the part removed. It was just held on by a couple of aluminum rivets.
Next, I had to make some mounting brackets that would adapt the buckets to the Scorpion. Here is what I came up with.
Here’s what they look like all painted up and installed.
Next I got to work on the bezels. I used .220 plexiglass from Home Depot, same as I used on the tail light project. After measuring everything out, I used a 6 inch hole saw to cut the holes for the headlights, plus mounting holes and some notches and holes for access to the aiming screws. Here is that work in progress.
Test fit is looking pretty good.
So duplicate for other side, and then they got primered and flat blacked.
Then I turned my attention to the noseband. It would be held on at three points, the stock center point and near the ends. I fabbed up a sheet metal piece to go in the middle.
And here is how it attaches.
Note that it can be adjusted side to side or up and down, and of course for tilt. Then I fabbed up a small bracket for either side, using the pieces I had pirated from the stock center nose band and some sheet metal.
The nose band would need a sheet metal piece glassed in at either end (plus the center one shown above). I was a little concerned that the support point on the ends was about 8 inches away from the actual end of the piece, and that the air pressure at speed might distort or break the ends. So I made the bracket with a support that extended out to the end. Here are those pieces getting glassed in.
Then the piece was trial-fit and the factory spacers used to get everything aligned. A couple of support pieces were also used at either end of the grill, to restore strength from the surgery and to give the grill a place to mount. Those pieces are visible here in raw aluminum, before they were painted.
With the fabrication out of the way, it was time to sort the electricals. The traditional H5001/H5006 headlight arrangement is one high beam only (H5001) and one high/low beam (H5006) per side. But since my night vision isn’t getting any better, I elected to go with H5006’s all around, so I would have 4 headlights at all times. I had previously done a somewhat crappy headlight relay mod in the past, and took the opportunity to do all of it better. Here is a shot of what it came out looking like.
All that was left was final painting and assembly. Here are a couple shots of the car on its way to the VAS 2012 open house. I still have a couple small tweaks to do (aim the headlights and other final adjustments) but I’m very pleased with how it came out.
Pete