
tomnj
Old fogie stogie
I cut the springs in the front of my 128 SL (2 coils), lowering it 1.5", which looks perfect to me now. I did it while the front wheels were on the car! Just jacked it up, made 2 cuts with the dremel, done in 30 minutes!
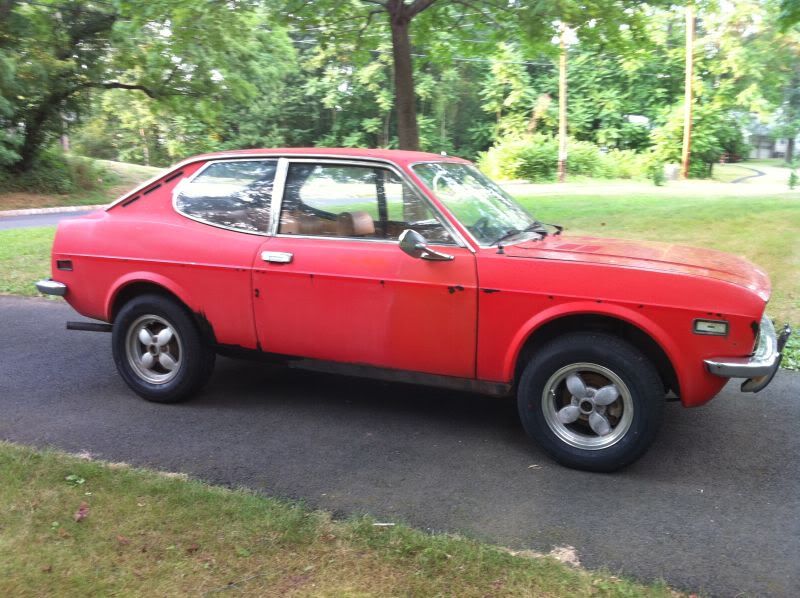
Before:

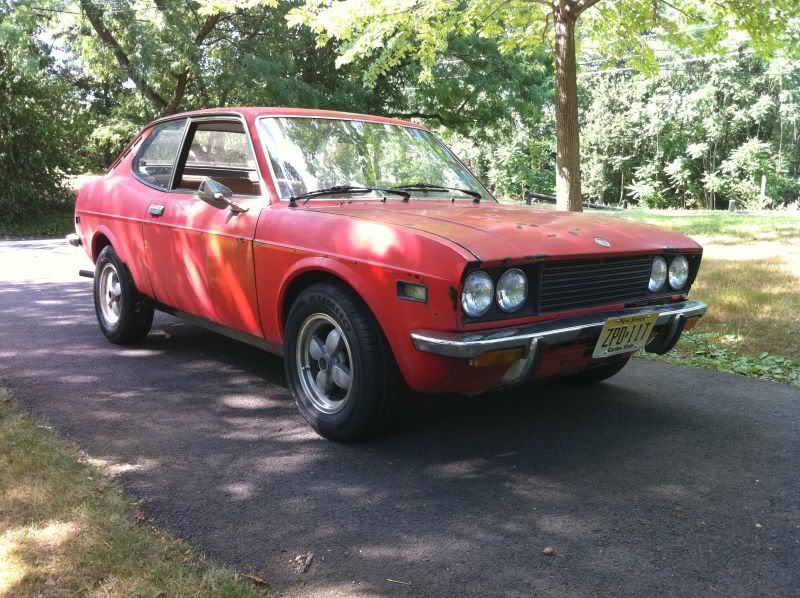
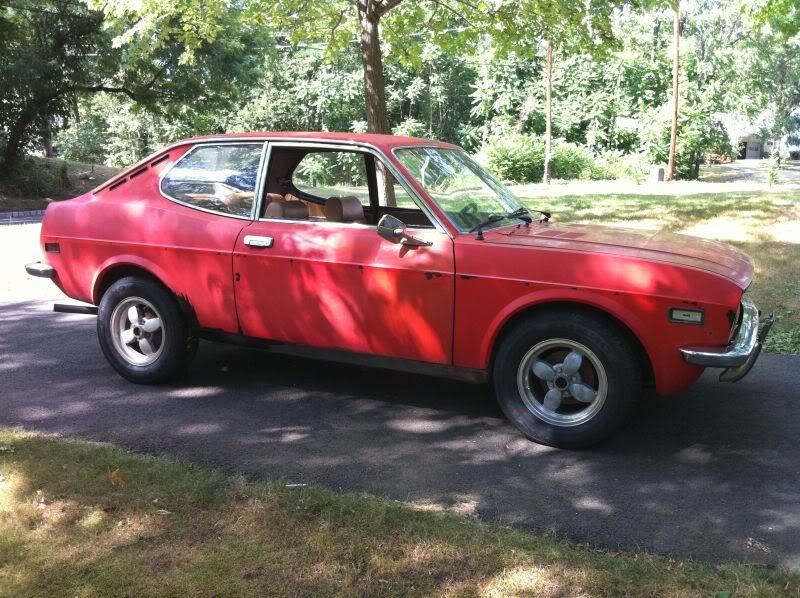
After:
Now the rear isn't going to be so easy. I've read on Courtney's page (http://www.mirafiori.com/~courtney/128/tech/128susp.html), but I'm not the best with "fabricating" metal things.. Does anyone Sell a kit to add lowering blocks to the rear of a 128?
Before:
After:
Now the rear isn't going to be so easy. I've read on Courtney's page (http://www.mirafiori.com/~courtney/128/tech/128susp.html), but I'm not the best with "fabricating" metal things.. Does anyone Sell a kit to add lowering blocks to the rear of a 128?
