Under Car Coolant lines.

TonyK

True Classic
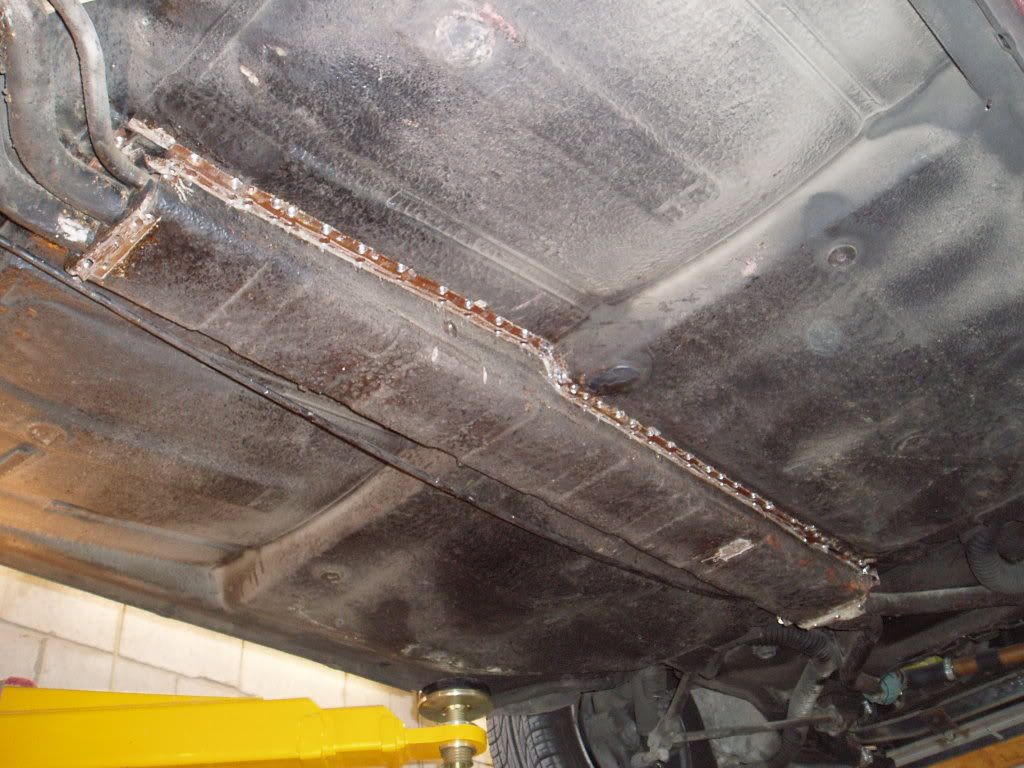
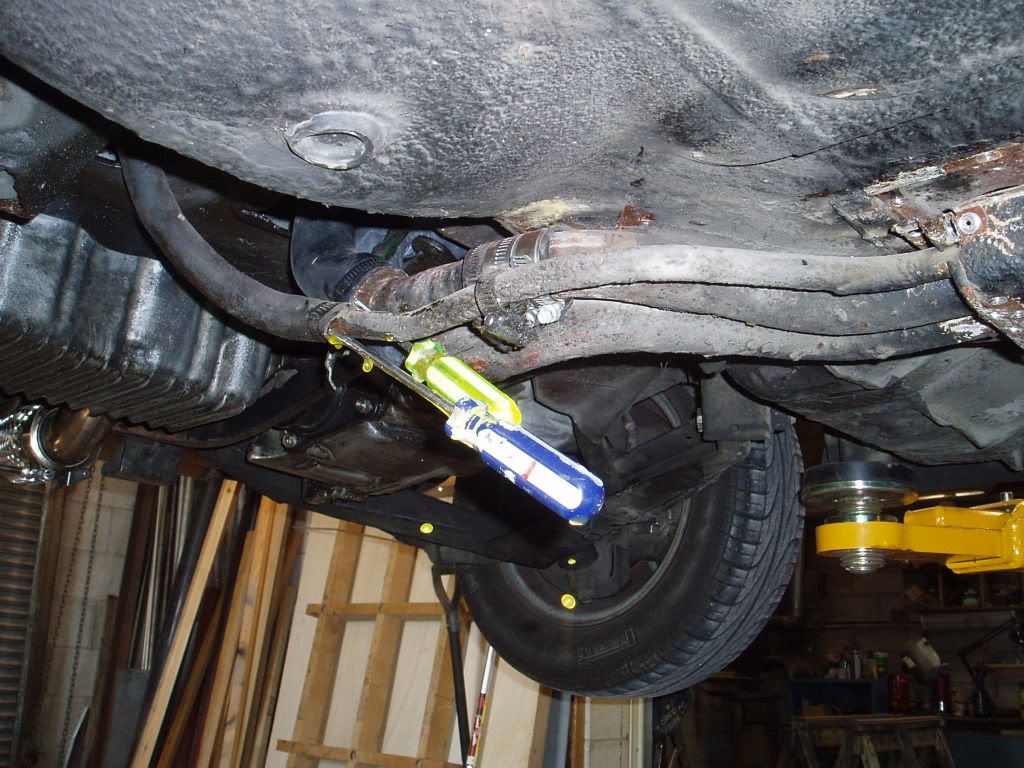
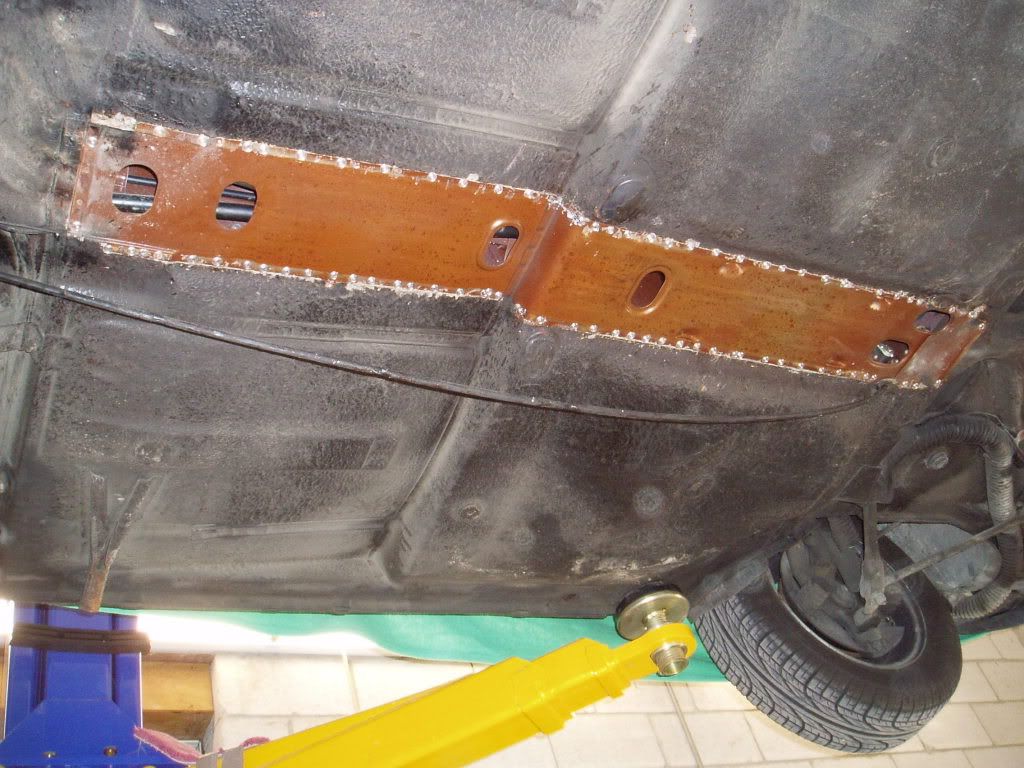
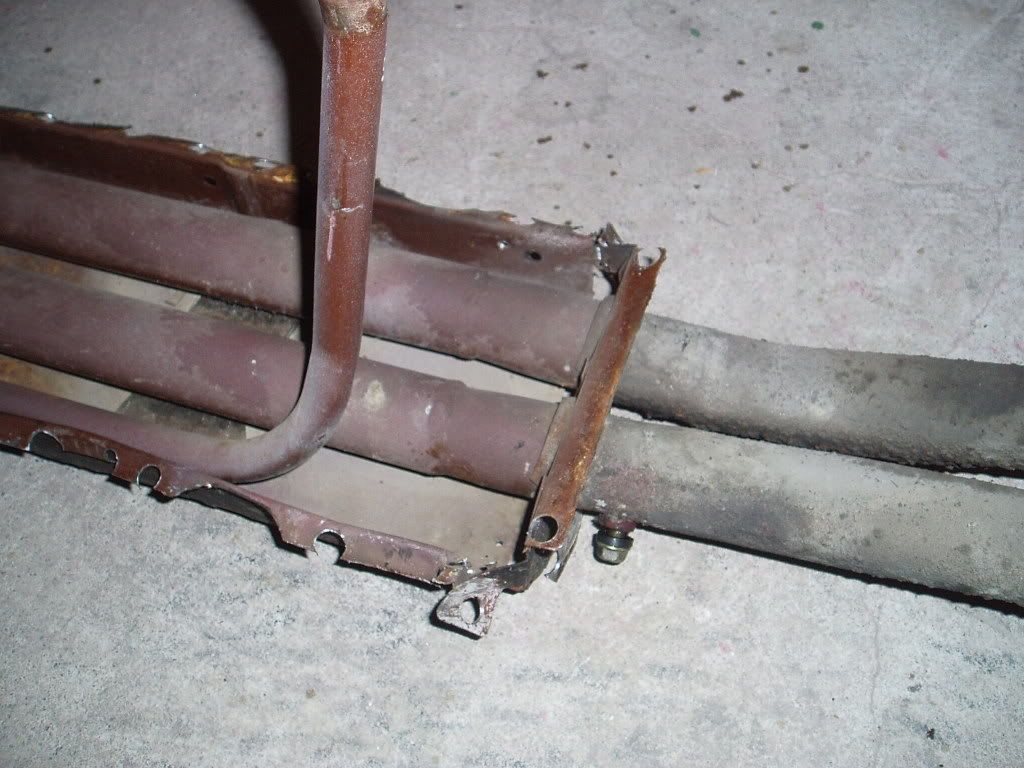
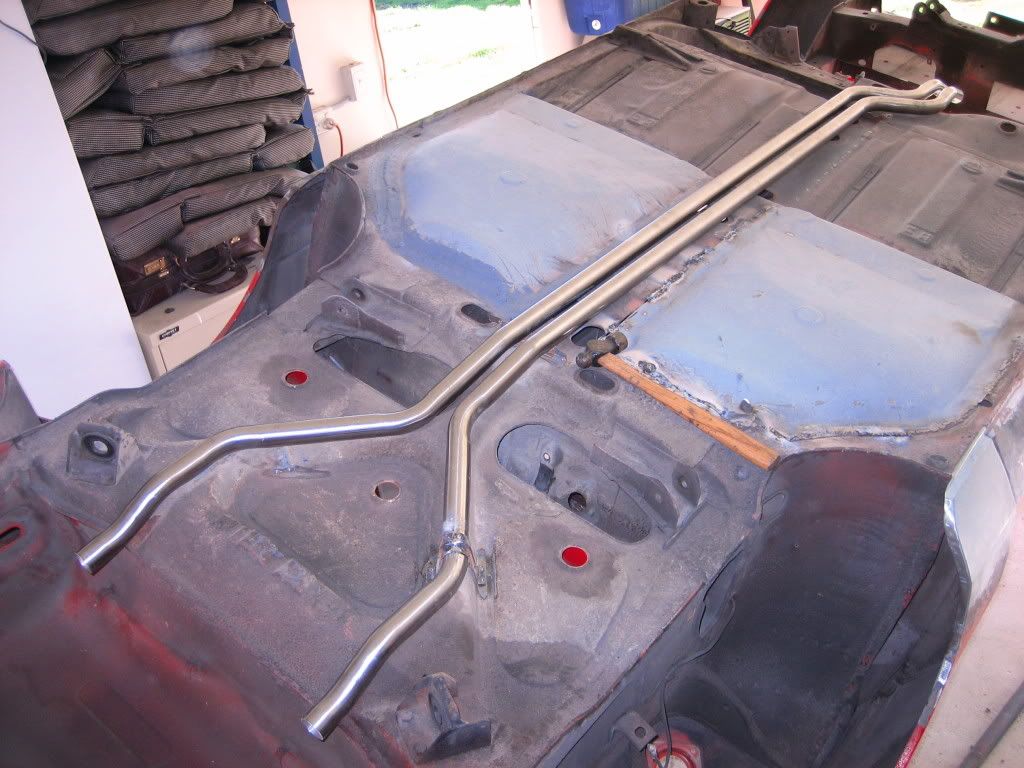
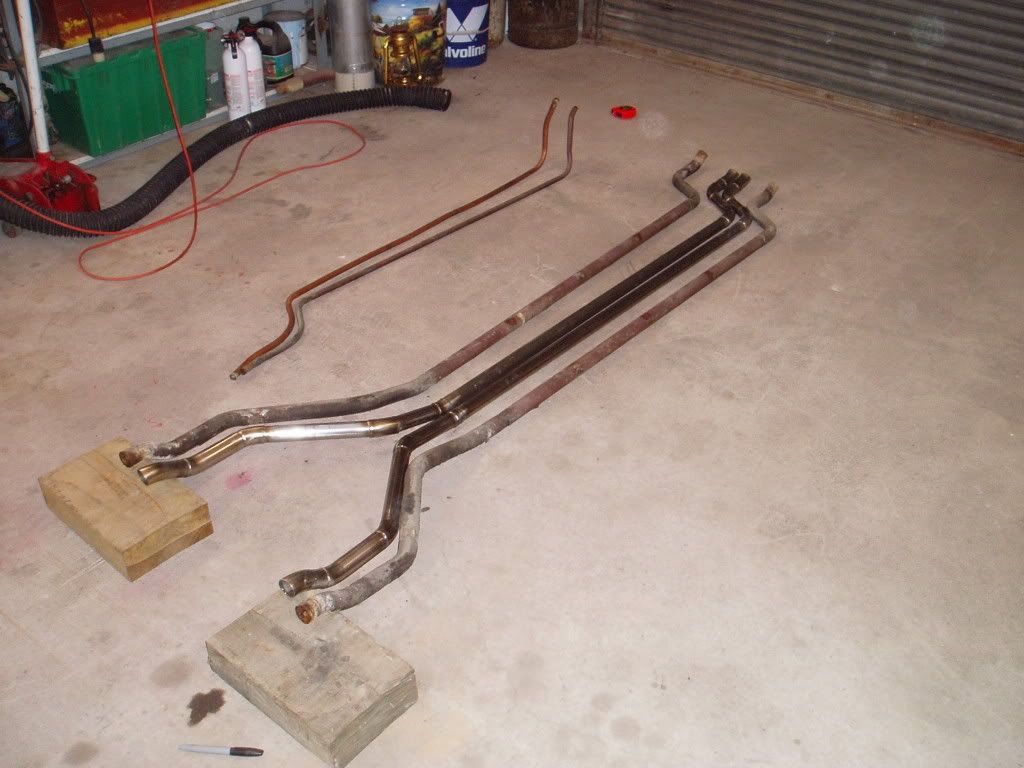
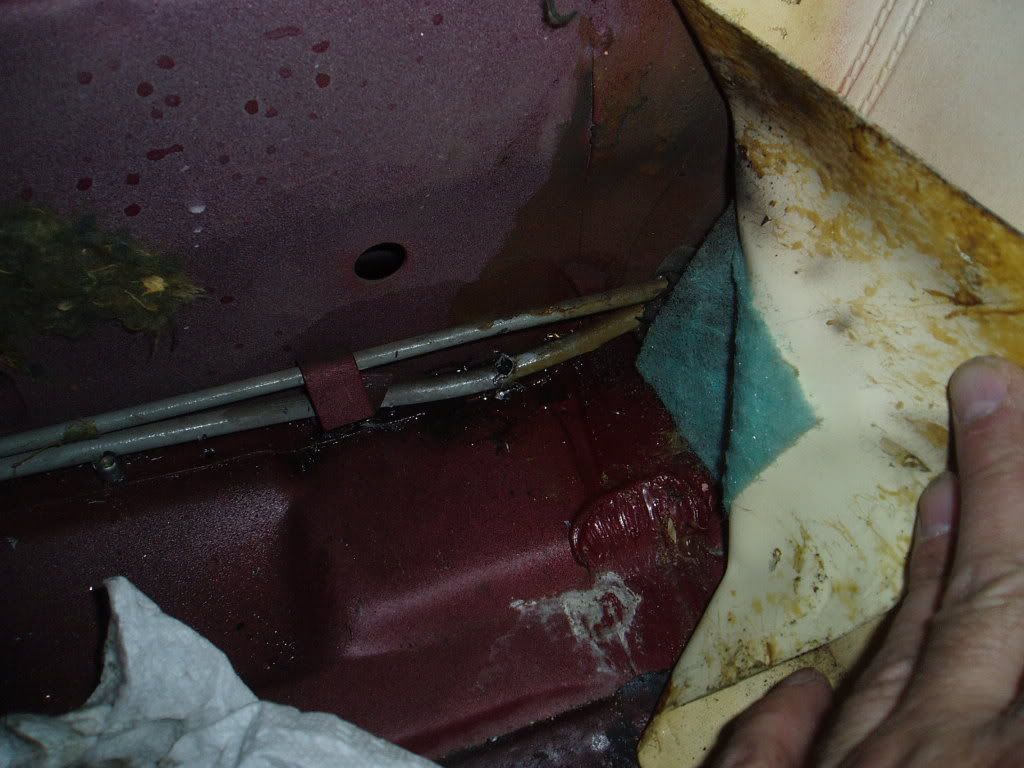
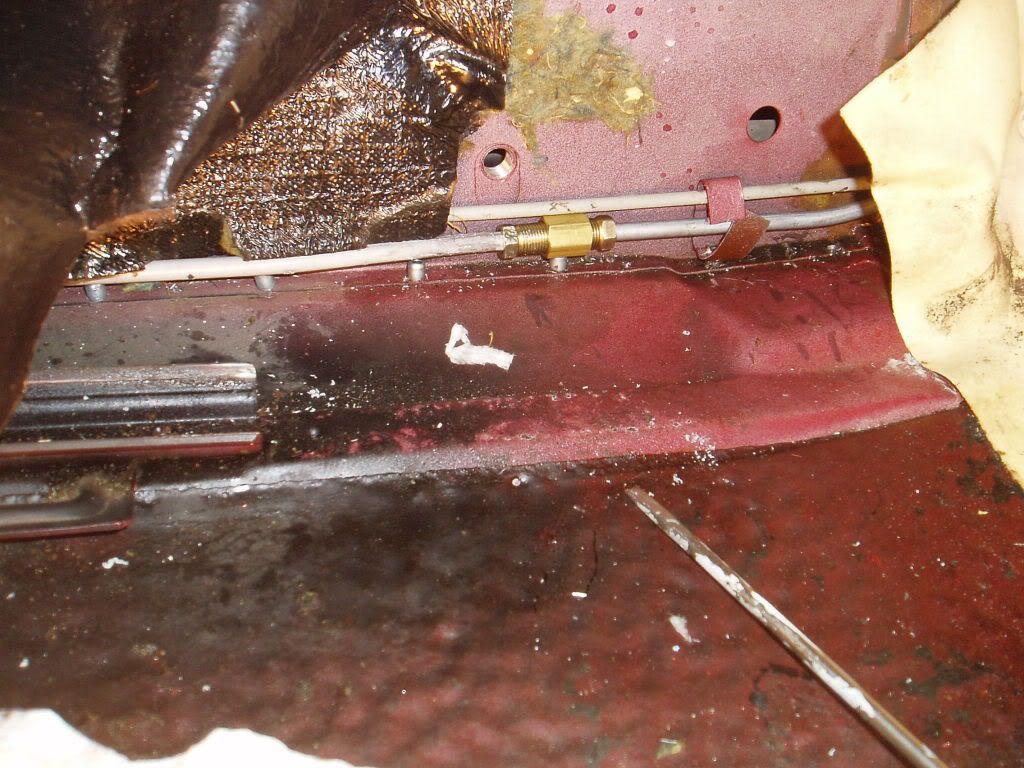
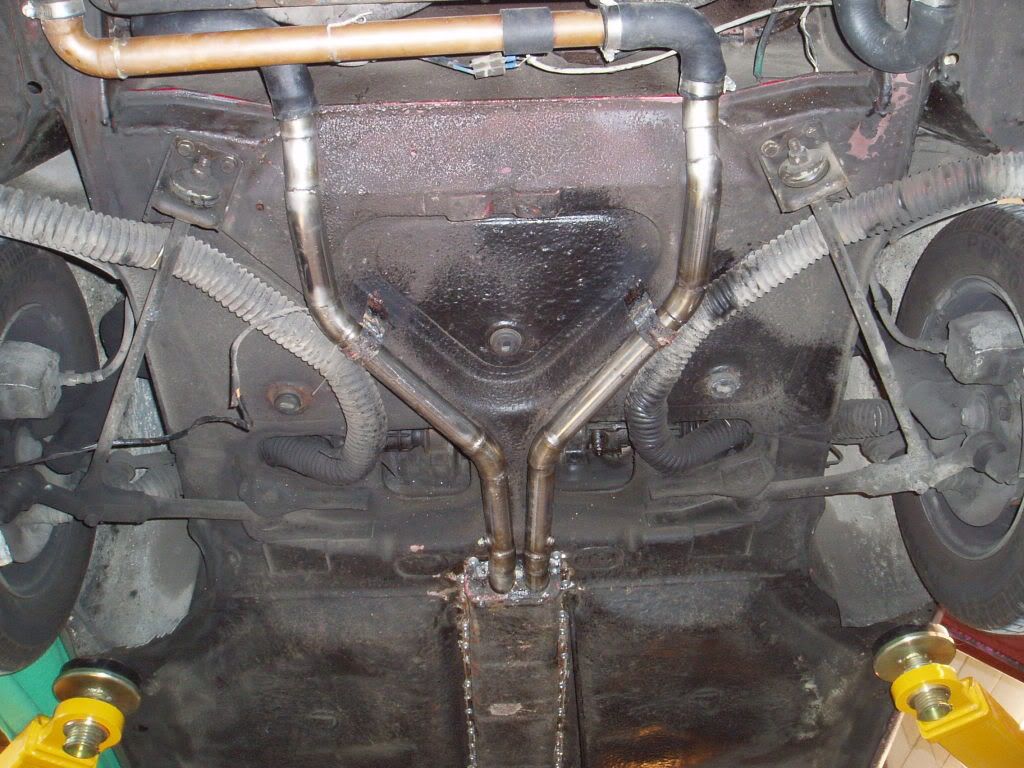
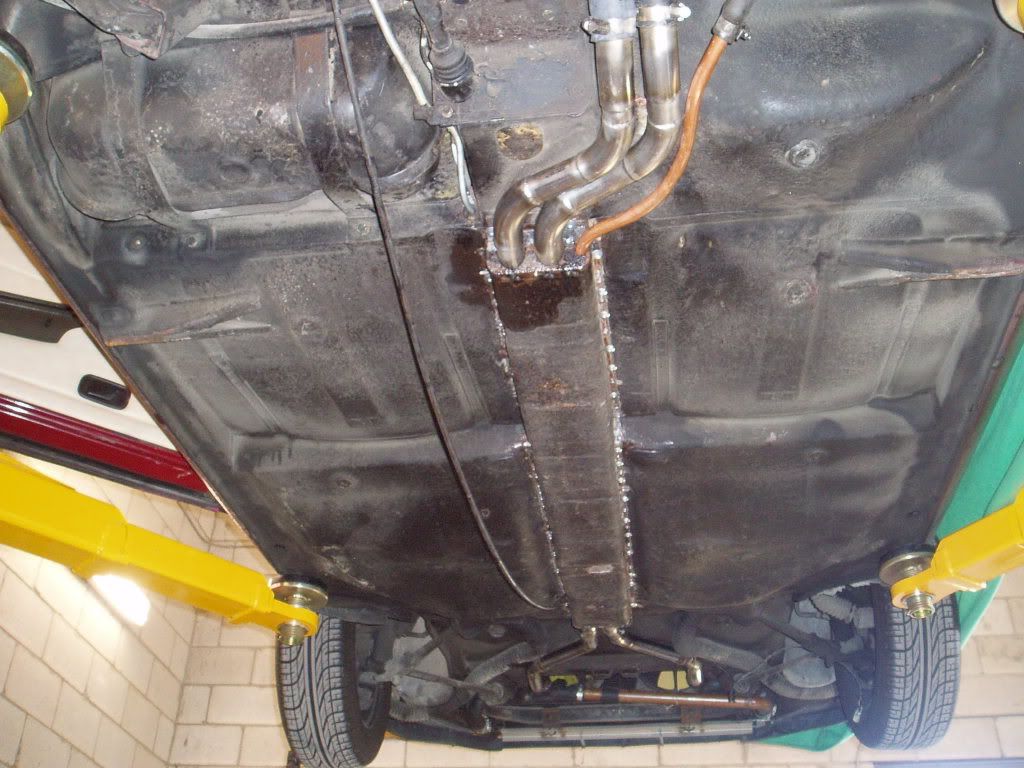
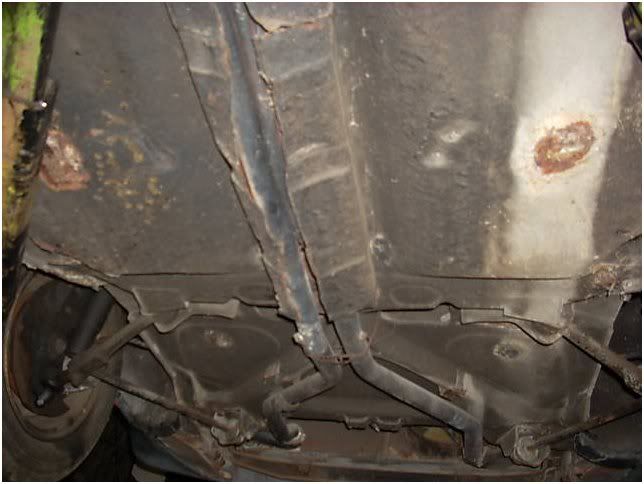
My 79 has started leaking from the under car coolant lines. Currently I have been drilling out the 100 or so spot welds that hold the pan to the body that protects them. However it appears that there must be a clip or cross brace that is holding the bracket to the pipes under the car.

Does anyone know of any other welds or clips that would stop the pan from coming down and there locations for me to drill out the welds. I am trying not to mangal it into a worthless peice of metal.

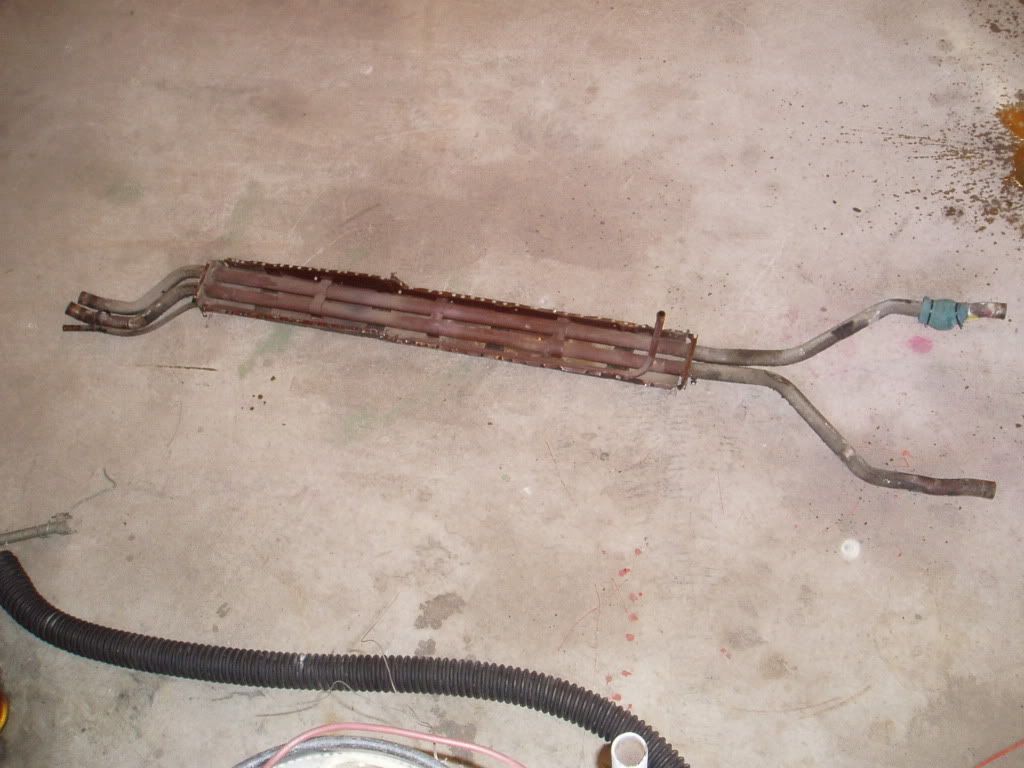
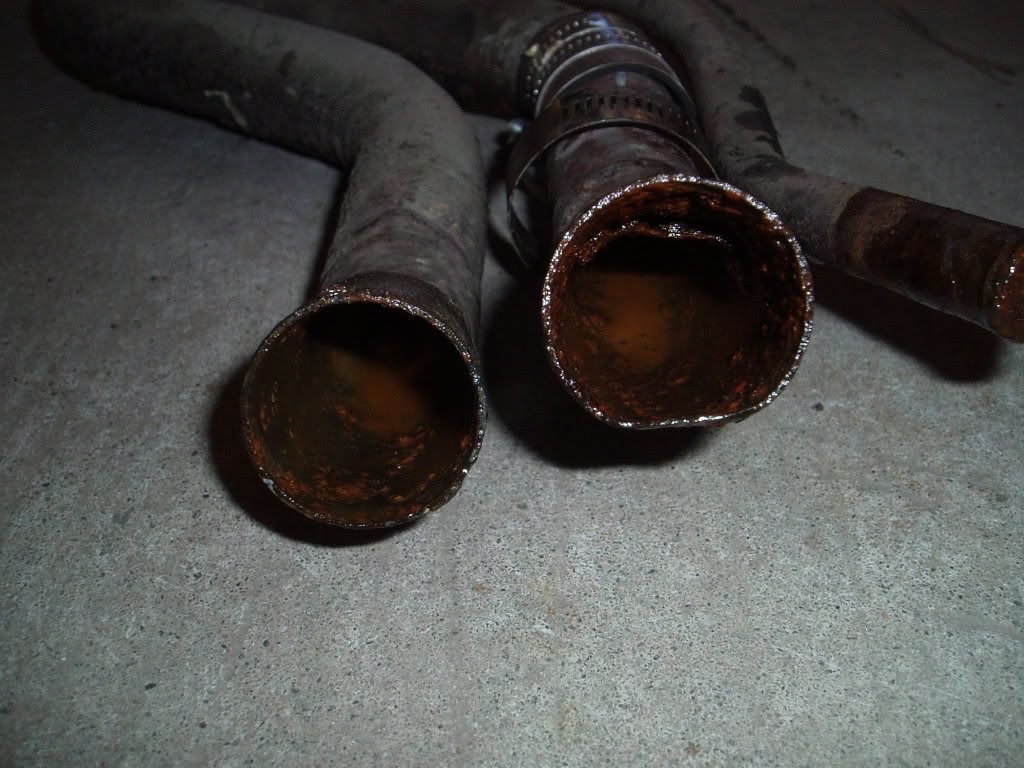
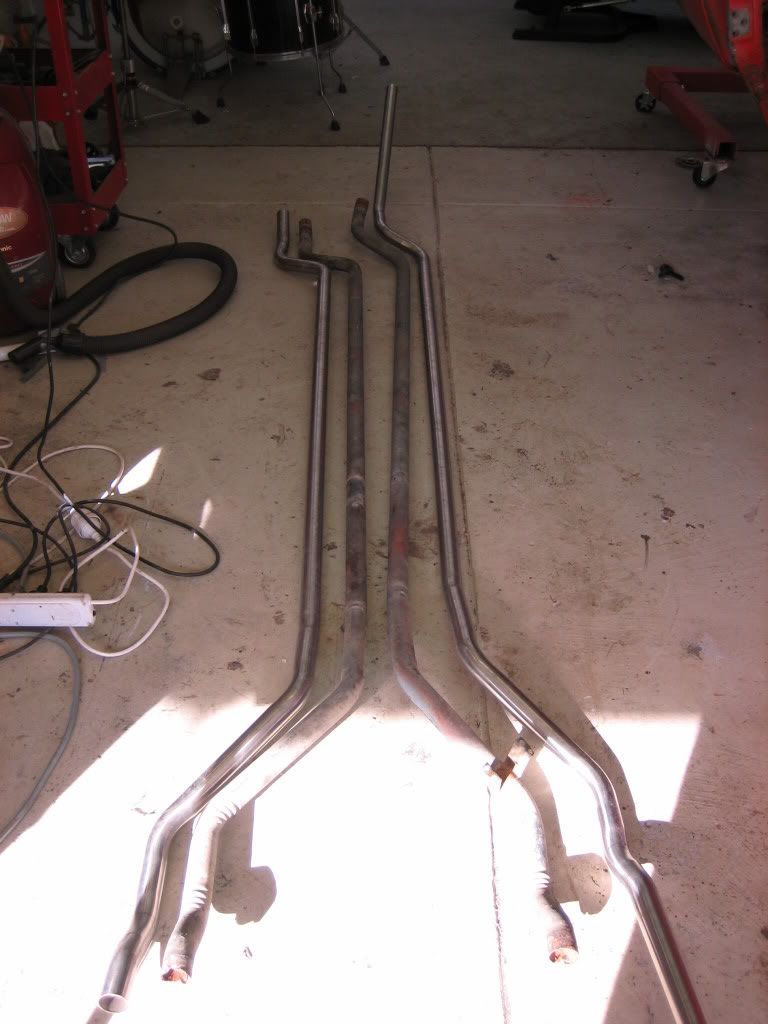
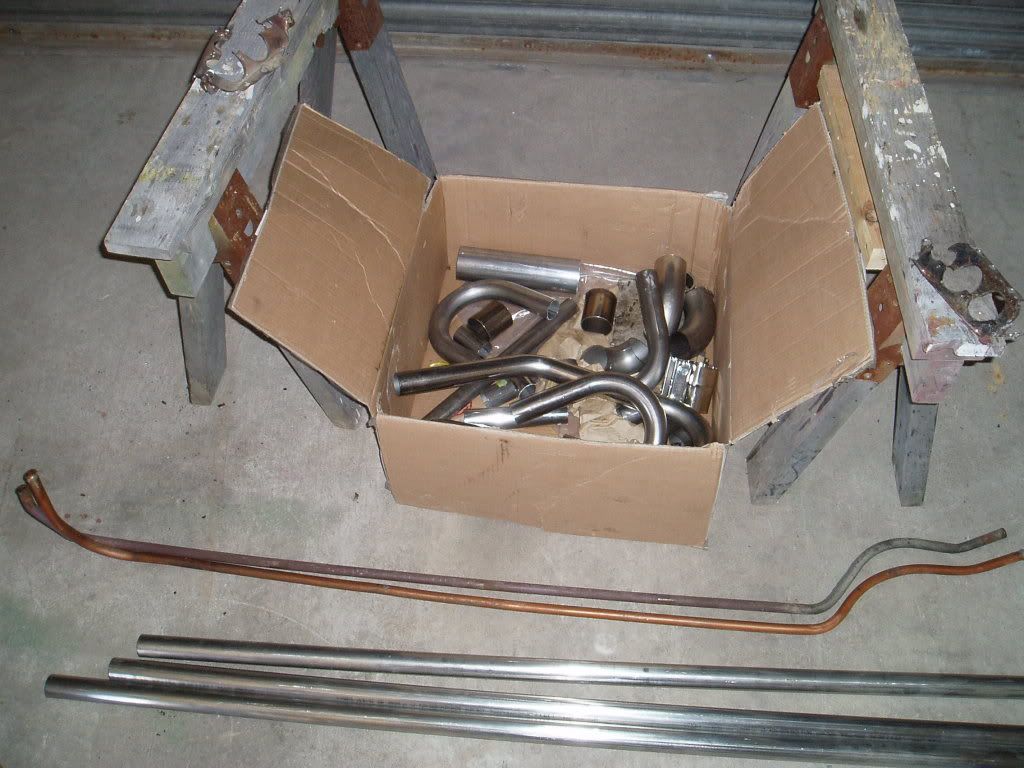
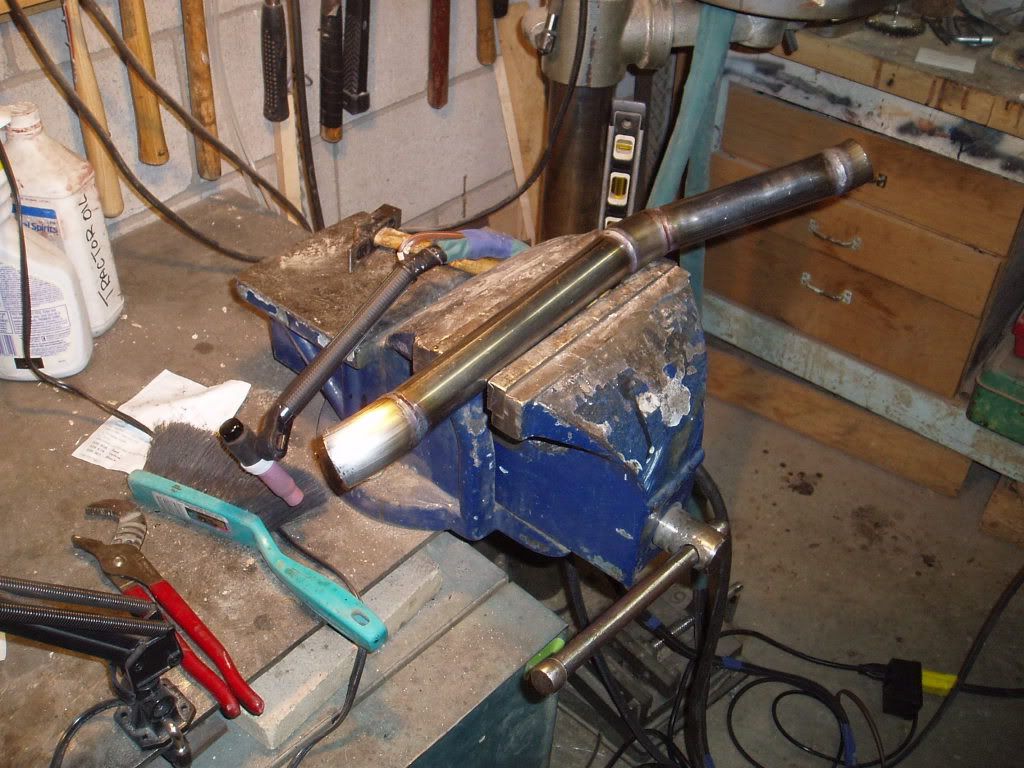
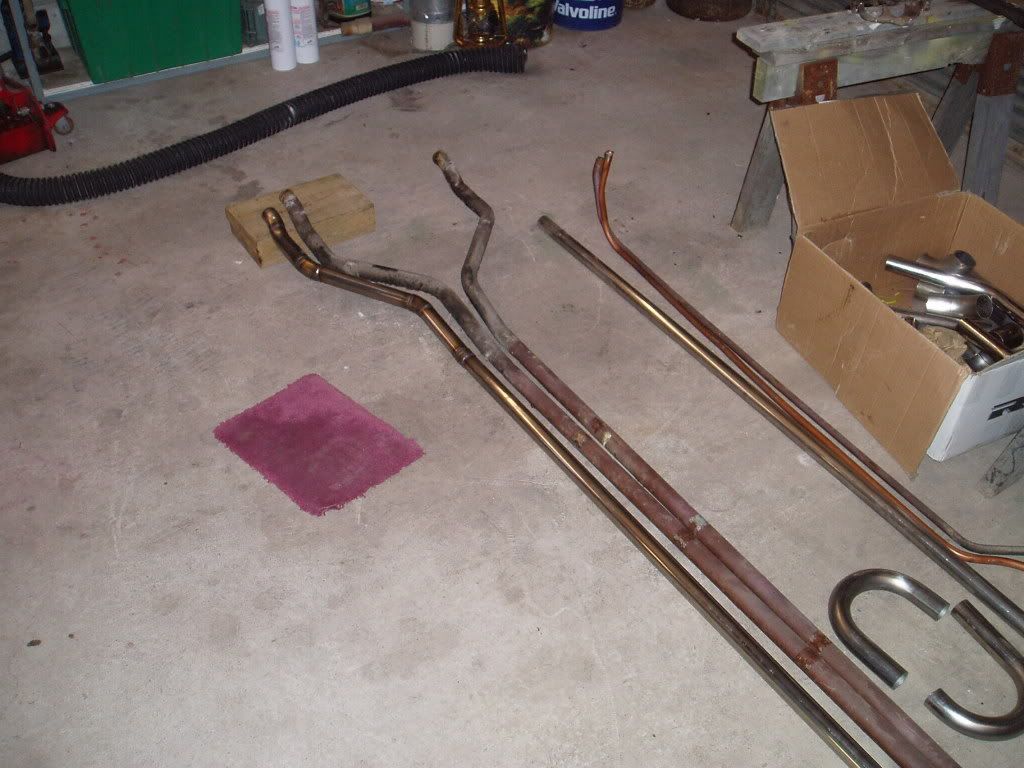
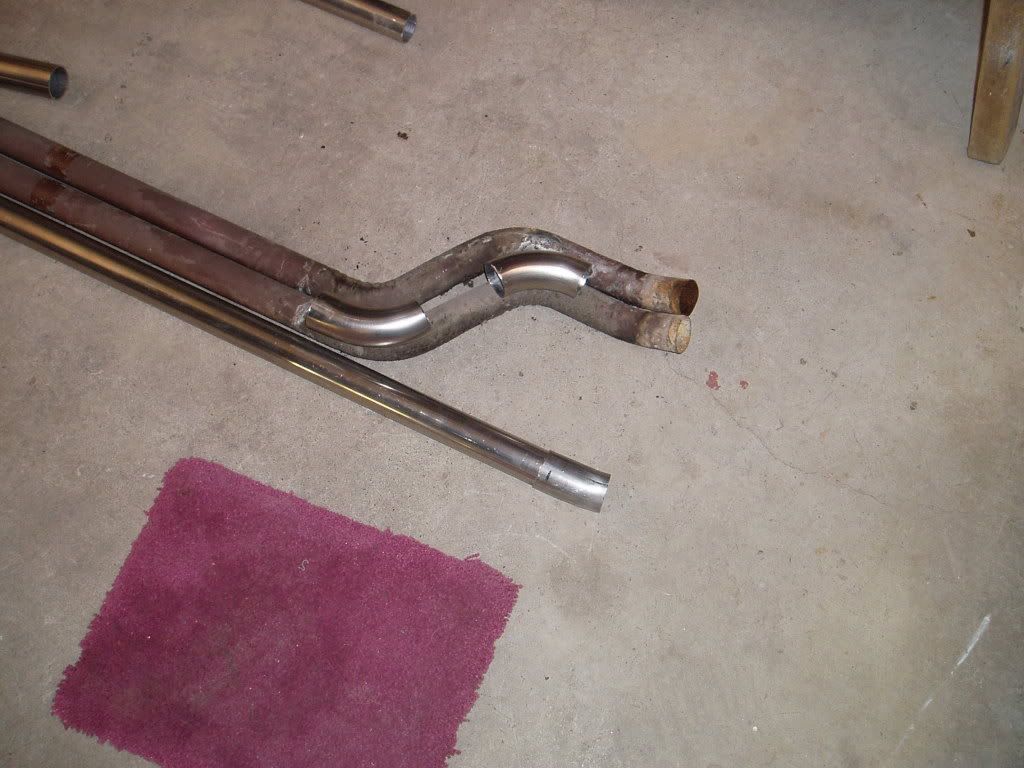
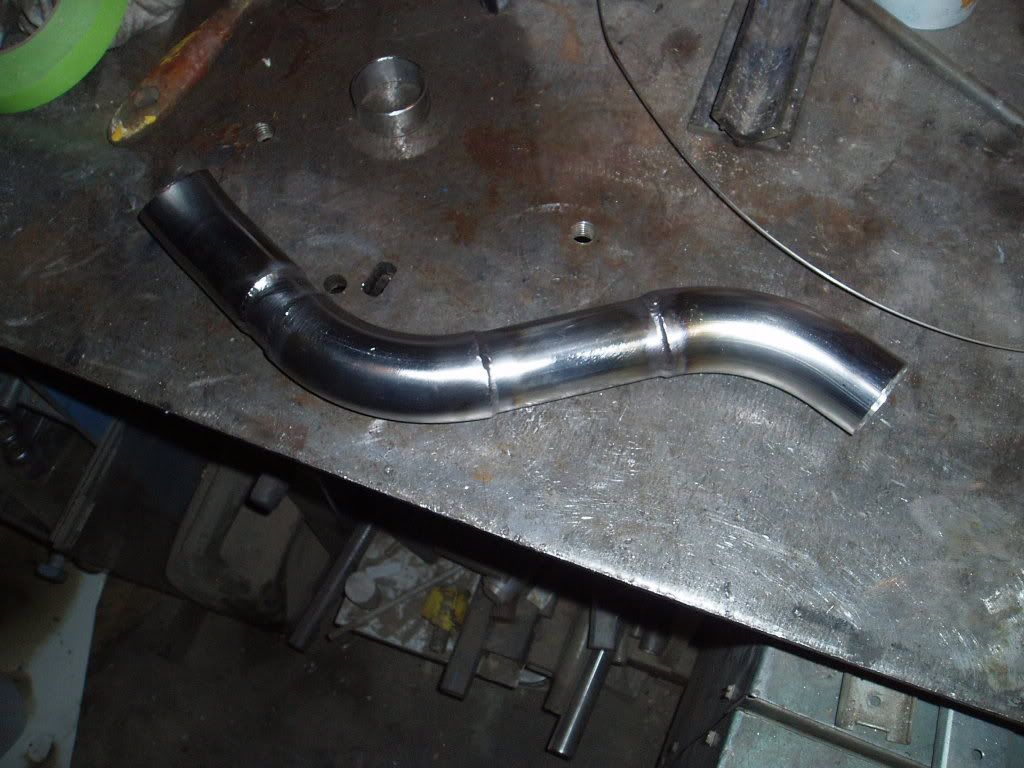
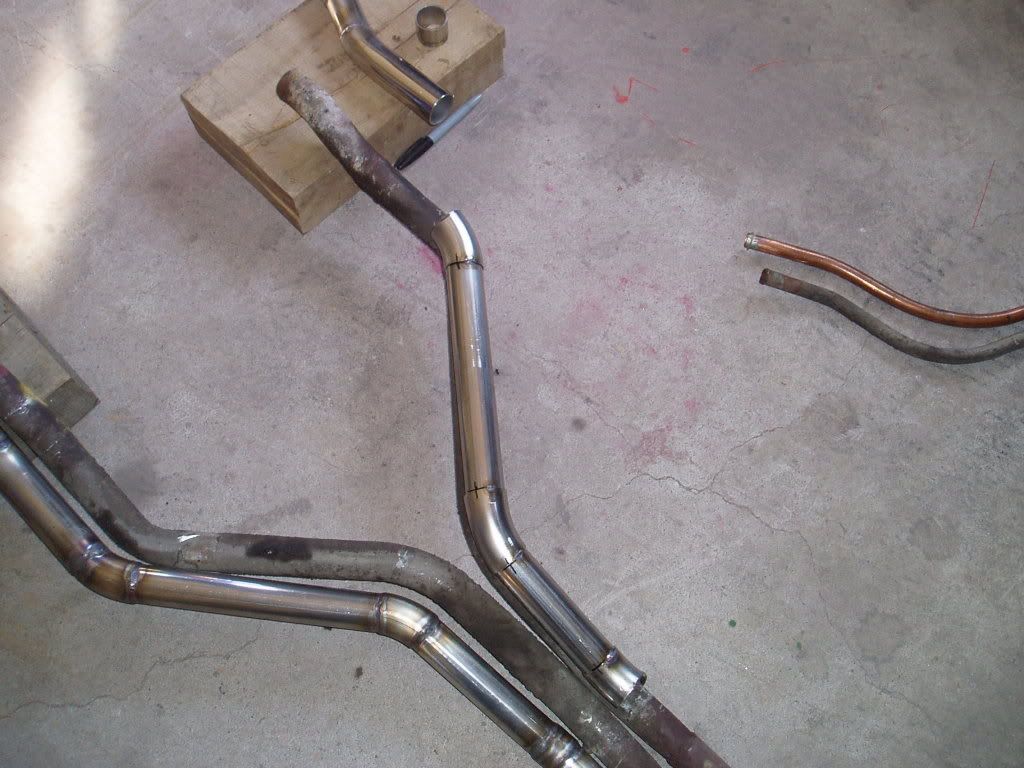
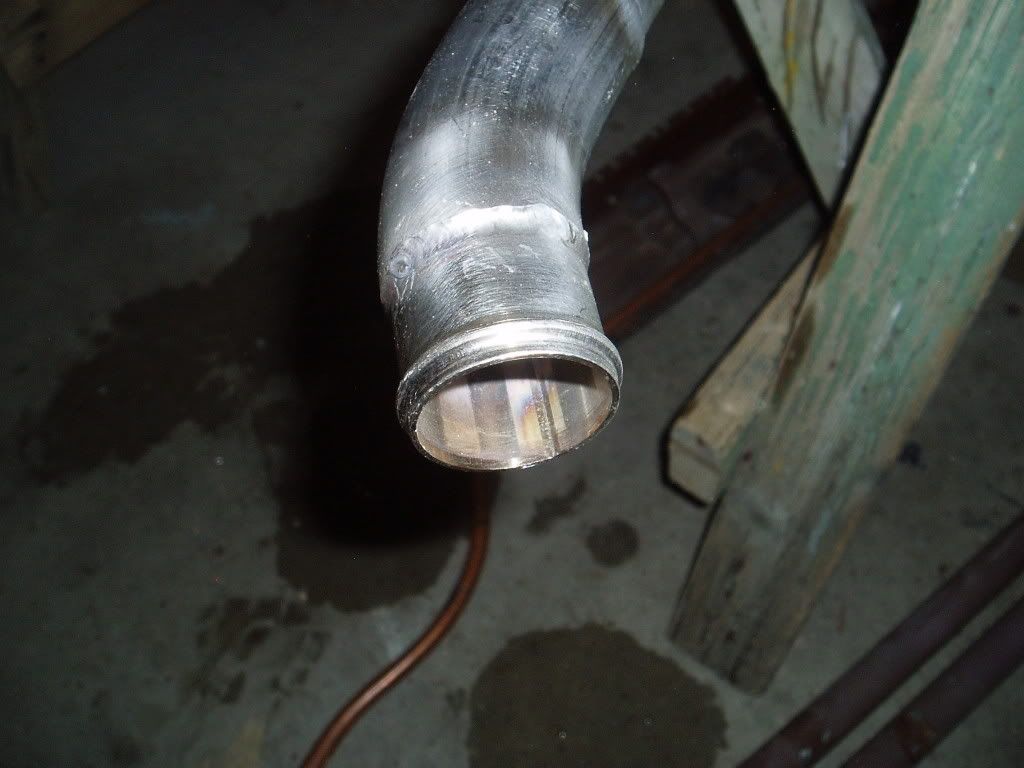
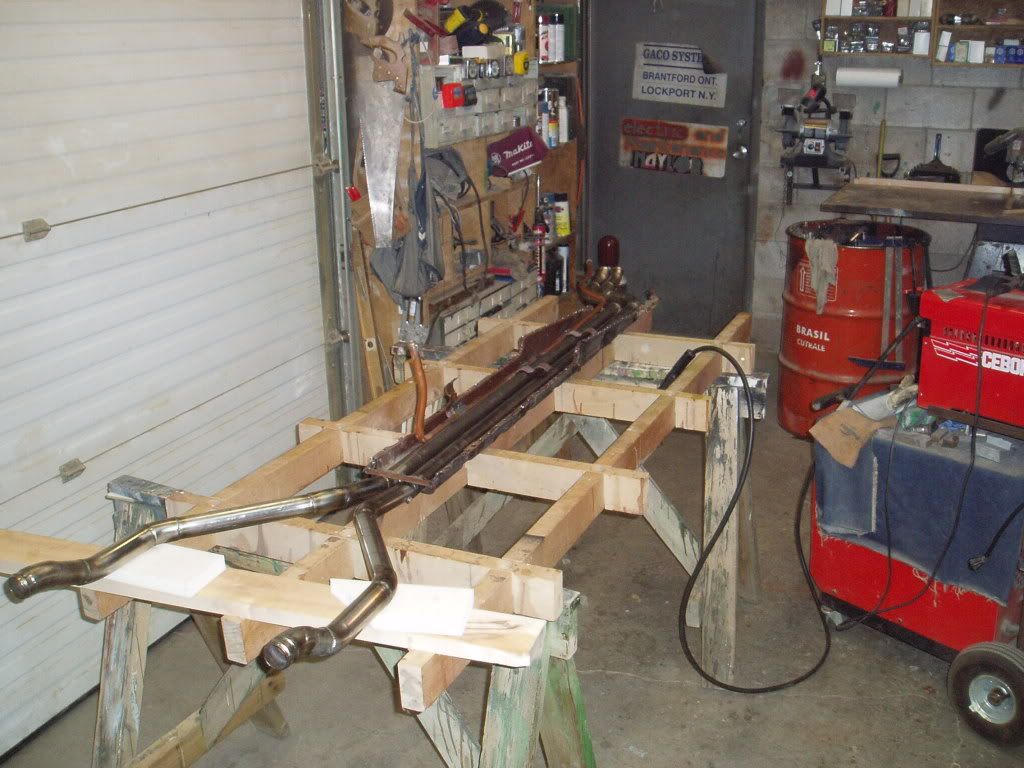
My thoughts are that I will replace the lines with stainless, It appears to be 35MM tubing may be 1 3/8" or 1 1/2" will be what I am going to replace it with.
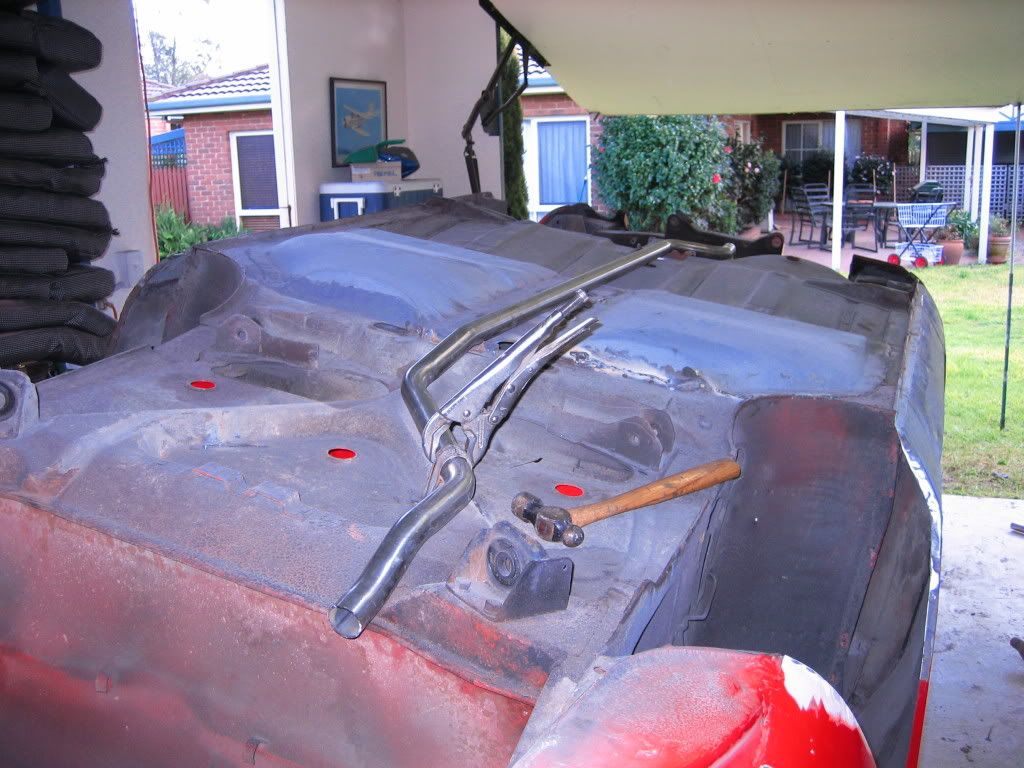
Then for the time being pop rivit the pan back under the car. When I do a total repaint I will strip the car back to the shell and weld it in at that time.

Opinions?

Thanks.

TonyK.

Grimsby Ontario Canada.
 
Please Do.

That would be great. I just don't want to make a real mess out of my car. So far I have not found any rust beneath the rubber coat. However I did take the rad hoses off at the engine end and there is lots of rust in the pipes. It is just a matter of borrowed time before one lets go.

TonyK.

Grimsby Ontario Canada.
 
016-6.jpg

here u go
 
Ya know TK... I'm sure you and I see things and do things...

... quite a bit differently... I just wanna be sure you considered retiring the old tubes in place... and using them as guides for new pipe.

Rudy sawed off the ends, and ran 20 bucks worth of copper pipe through the old ones and in his case, used flex hoses to reconnect the radiator and t-stat housing. Others have used 45 degree fittings sweat-ed to emulate the old shape and then re-used the standard hoses.

In either case, they were done in a matter of hours with an inexpensive and extremely long lasting repair.... probably as good as or better than stainless.

I've not had the "opportunity" myself yet... knock on wood... but I would even consider attempting to use the newer hi-temp schedule 80 PVC and glue together a new set.

For your consideration...
 
Well there is a statement.

Tony, you bring up some good points. I have been marching the hard way so long at times I don't see the simple easy route. But then there is the challenge to do it the hard way that I enjoy that more than just fast and simple.

Good point, 2 lengths if 1 1/4" straight copper plumping pushed through the old pipes and then either flex or solder fitting or adapters to make it look pretty.

Seeing that I have all the of the spot welds drilled, or most of them anyway, you know the route I will be taking. The other issue is the heater line which is also made of steel that can't be too far behind. With the tray down and open, I will replace the lengths in stainless steel and most likely use copper for the heater line.

Thanks always for your comments, at times I need to slow down and see another perspective. You know my fault here on this one.

TonyK.

Grimsby Ontario Canada.
 
Got it.

Thanks for the picture, I now see how this whole thing is made and what I have to do.

The picture saved me a disaster of bending metal to get no where.

TonyK.

Grimsby Ontario Canada.
 
Here is where I am at.

It takes a bit of fussing to get this off of the car, but 93 spot welds drilled out and I am there.

You can see where the pipe let go out side of the box. My simple fix was a bit of rubber and metal and 2 gear clamps. Now that it is all apart, the tubes aren't so bad, but how am I to know. My luck I would be at FFO 2009 and a coolant line would let go and leave me stranded.

I will source out the pipe tomorrow. 1 3/8" is what I need, Vibrant has it, now will my local muffer/speed shop? That is the big question.

P3150462.jpg


Pan removed.

The bottom of my car is still pretty good for 30 years old.

P3150463.jpg


Where the 2 gear clamps are located is where the line rubbed the body and wore/rusted through.
P3150464.jpg


P3150467.jpg


Pan on the floor.

P3150468.jpg


Swaged and welded lines OEM this makes the inside diameter a bit small when inserting a smaller diameter pipe for a quick fix.

P3150469.jpg


Rusty lines and repair with 2 hose clamps.
The time is now to do repair for another 30 years?


TonyK.

Grimsby Ontario Canada.
 
Hey... you have my ADMIRATION for ALWAYS doing things RIGHT...

... which is NEVER necessarily the fastest, easiest, best, or cheapest way... but the RIGHT way.

Seeing what you have uncovered... I too would not settle for using a hose and clamps as a PERMANENT repair either. I only wish I woulda caught ya before ya went through all that trouble. But hey... ya won't have ta worry about these pipes again until yur 90 or 100 now! HAHAHA!

Lastly... when all was said in done with Rudy's repair... it was a simple PINHOLE leak that initiated his problem also.

I'm sure you'll post your progress... are ya gonna have them professionally bent to mimic the OE's? I'll enjoy seeing the photos...
 
SS Coolant Pipe Source

Folks, i took Bernice's advice and had B&M Racing make a set of replacement coolant pipes in stainless. Though not inexpensive, they are exact duplicates complete with raised beaded ends and drain bungs, very nicely done. i dealt with Rick White *
Rick White
Brown and Miller Racing Solutions, LLC
4005 Dearborn Place NW
Concord, NC 28027
phone: (704) 793-4319
fax: (704) 793-4321
e-mail: rwhite*bmrsusa.com
 
Hey Tony..............

exactly what I did on mine - makes a good job of it as well.....Plus re-cored the radiator- no over heating problems at all.
1year001.jpg

1year002.jpg

1year004.jpg


Lappy
 
Just about there.

Well I have been at this on an off plus a week in Victoria British Columbia. My wife is in the corperate world and I had to attend. Here is an update.

First off, I could not locate 1 3/8" 304 Stainless steel in Canada. So I couldn't get anyone to bend the pipes unless I provided the material, 409, yes, but it rusts but no 304, so I found some in Buffalo New York, crossed the border and purchase 15' of it. $184 USD with taxes. The neat thing about the 1 3/8" tube is that it fits nicely in the left over U bends from my X-haust header project.

So here are some pictures of my progress.

Materials.

P3220472.jpg

The start of the welding with my water cooled TIG Set UP.
P3220473.jpg


P3230474.jpg


P3240475.jpg


P3240476.jpg

P3240477.jpg


P3290478.jpg

P3300479.jpg


P4100508.jpg


Now I don't have a bead roller that can make the ridge for the hose. So I purchased a section of Sched. #40 304 stainless steel pipe and turned on my lathe to produce the following and welded in the section.

P4100510.jpg


Now to install the pan and I used large head rivits on every other hole. My thoughts here is that this section is structural as it is welded to the tunnel and floor pan every 2". But to weld this back in place would require removal of the carpet and seats to avoid a fire. So I used a 3/16" drill bit with a stop made from tubing. Then began to use the rivits. I had to slip lengths of pipe over the handles of the rivit tool as my hands did not have the strength to install 50 new rivits.

OOPS! Guess what I found. Drilled through the Clutch line in 3 places. Damm. I removed the drill stop as I couldn't get the rivit to set and thought I didn't drill deep enough. Man, so close and what a pain.

P4110511.jpg


So to get past this problem, I took a new length of brake line with imperial threads and a coupling and replaced 3 feet of line. On the slave end I reused the metric fitting and did a bubble flare, the USA ends were a double flare. I ended up with this.

P4110512.jpg


This is the how the car now looks before the rubber coat goes on.

P4110514.jpg

P4110513.jpg

What I didn't want is a job like this. Auggggh.
BadJob.jpg


TonyK.

Grimsby Ontario Canada.
 
Last edited:
Back
Top