Dallara & K24: Recovering From OffRoad Experience

You use the gel coat as part of the fiberglassing process that you spray into the mold (after spraying in the mold release, PVA) on a plaster type mold. This gives you a surface on the finished part to paint, sand etc with no voids.

The gel coat on a permanent mold like that is to keep the integrity of the mold he is making, when making a part they spray the mold with mold release and then depending on the finished part material a layer of gel coat or a resin coat.

A plaster type mold is for making 3-5 parts, not for long term part making.
 
I will have to consider more the possibility of making a mold.

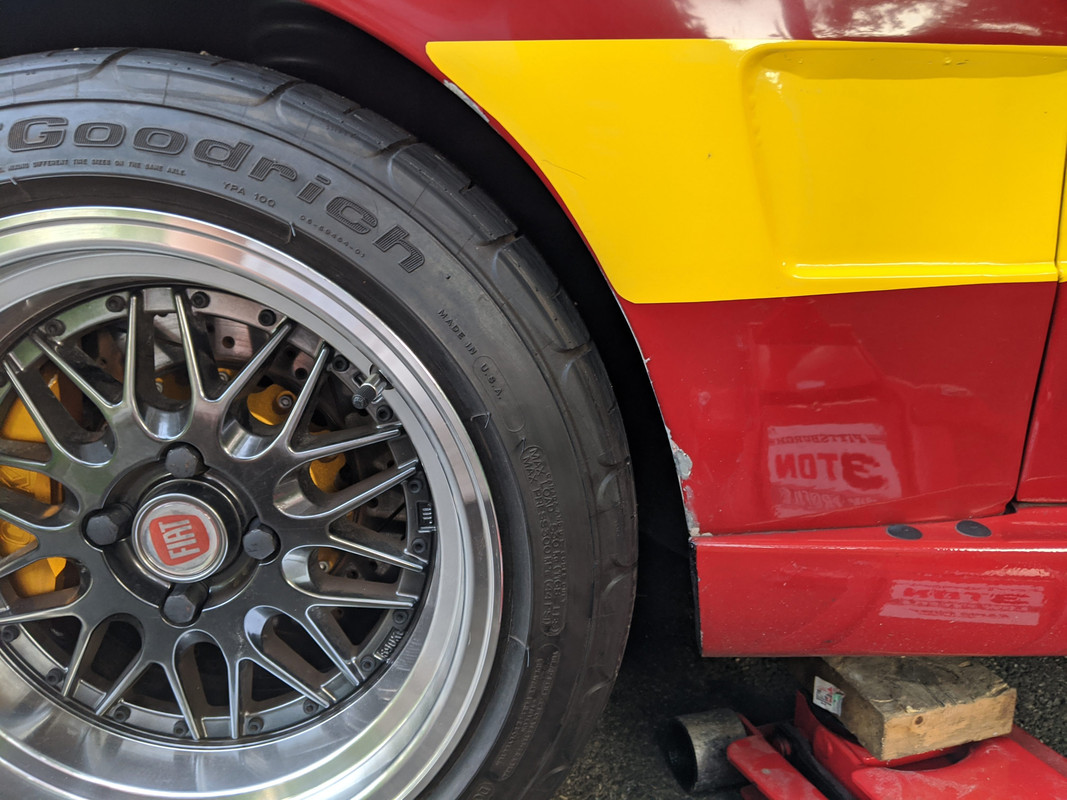
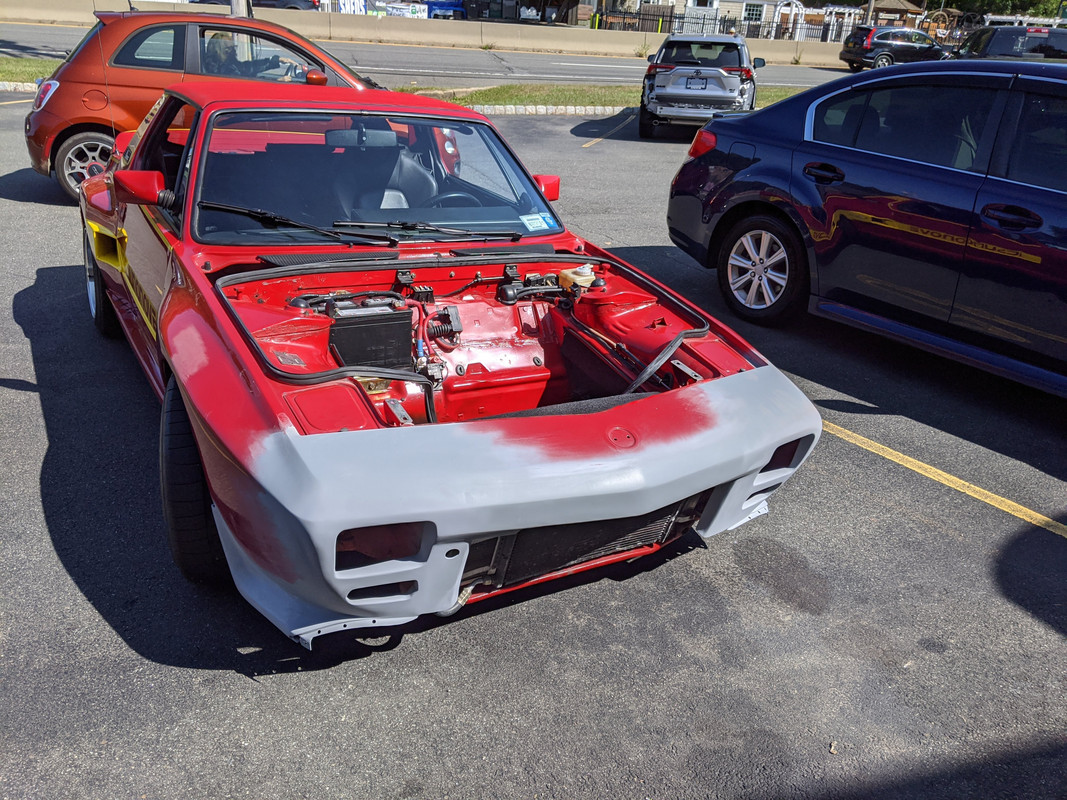
tidied up the right nose/fender corner, and put the car back on four wheels. Have to review the throttle settings, it's not returning promptly to base idle.

IMG-20200906-183037.jpg


IMG-20200906-183042.jpg


IMG-20200906-183048.jpg


with it's cousin(?) - looks so small next to the 500..

IMG-20200906-195148.jpg
 
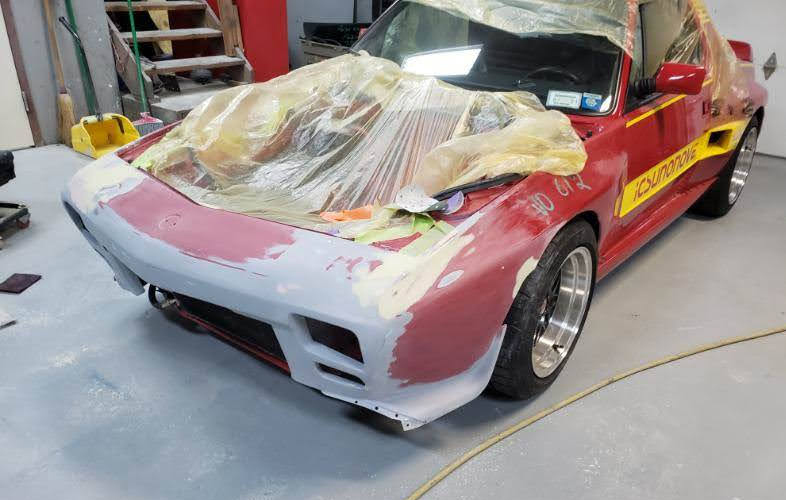
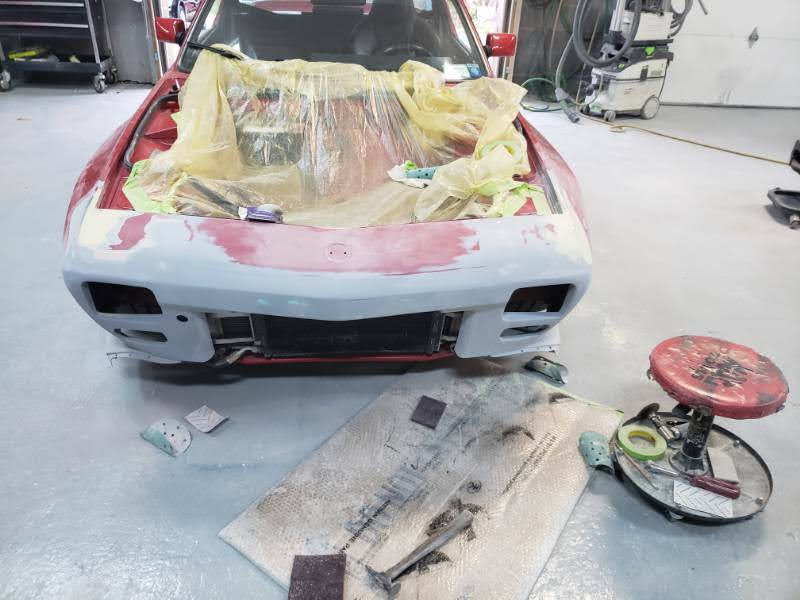
Got the car inspected today - it had expired 2 months ago. Also stopped by the body shop I have known the owners of for many years, to see if he would do the nose & fender paint & blend for me. He said no problem, which is a relief - and around $800, depending on how much prep they have to do. Going to drop it off a week Monday. So, I'm happy with that. I was expecting over $1000.

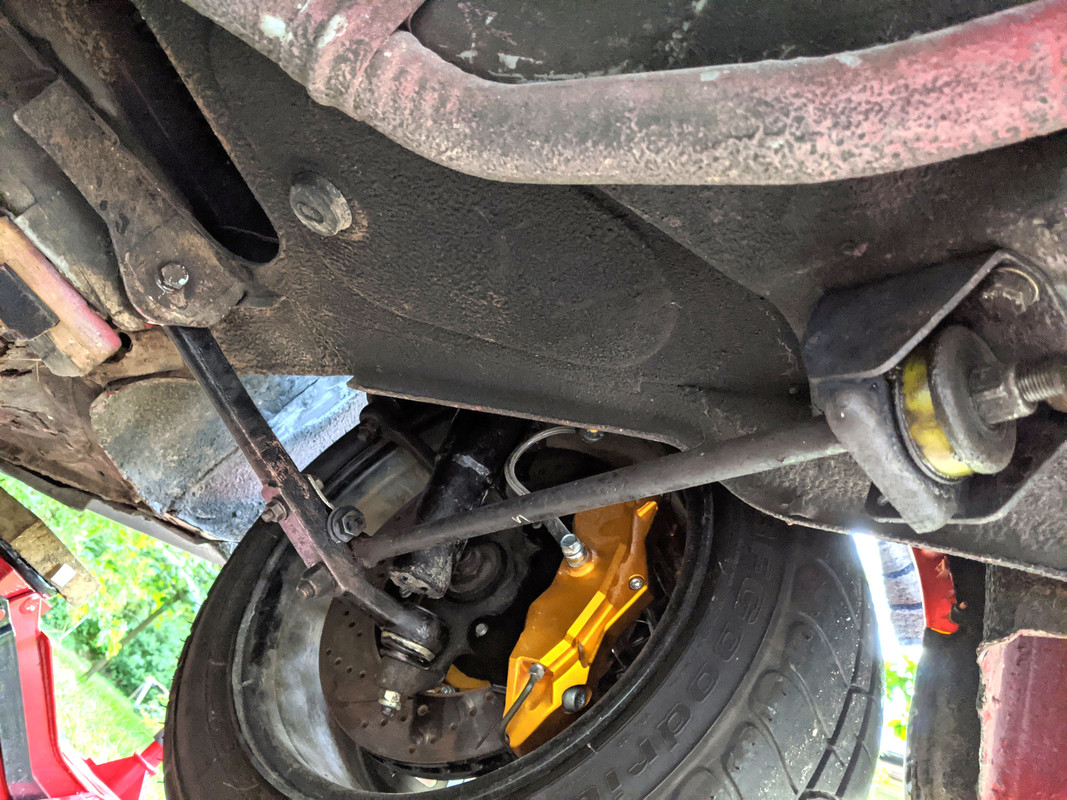
Worked on the suspension today - the left front wheel had pushed into the wheel arch when I went off road. I assumed it was just due to the severe compression from the drop. The gap definitely seemed reduced - I could barely get one finger between tire & arch. Under braking today, I could feel the tire making contact with the wheels straight ahead.

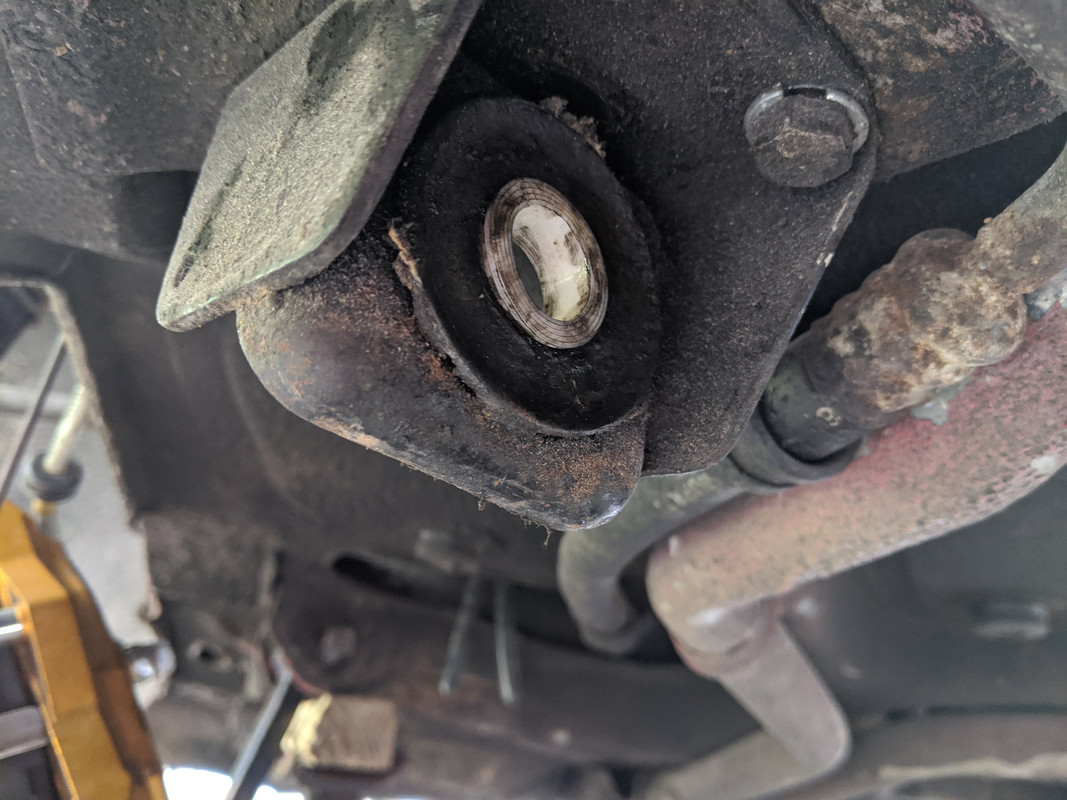
Replaced the control arm, and one of the poly caster bushes, and installed the caster rod guide bush in the housing. Cleaned up the threads in the frame for the housing. Couldn't see any evidence of damage to the arm, or excessive balljoint play.
IMG-20200908-190022.jpg


EDIT- pic of the poly guide bush from MWB (did the pass side c/arm & outer (deformed) caster bush 9/09.

IMG-20200909-170217.jpg


Much better - now I can fix this side of the arch.

IMG-20200908-190226.jpg


IMG-20200908-190232.jpg
 
Last edited:
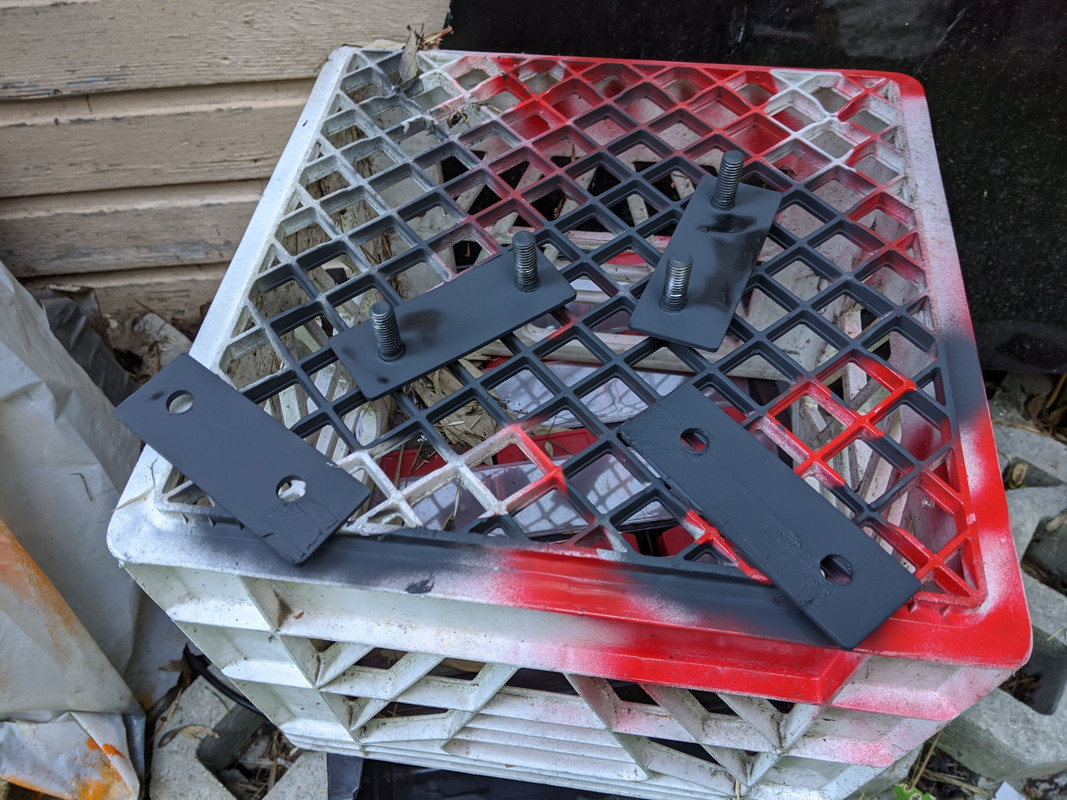
Finally got the sway bar mount areas in the frame repaired & made reinforcement plates with captive studs that drop down from inside the rail through the holes I made. The damage was not as problematic to straighten as I thought it would be.

IMG-20200912-165227.jpg


IMG-20200912-184838.jpg


IMG-20200912-184858.jpg


Just have to order new bushings (1273184) and one support bracket (1359391) for the right side - I have a piece of square tube shoved in right now to keep the bushing compressed

IMG-20200912-193937.jpg
 
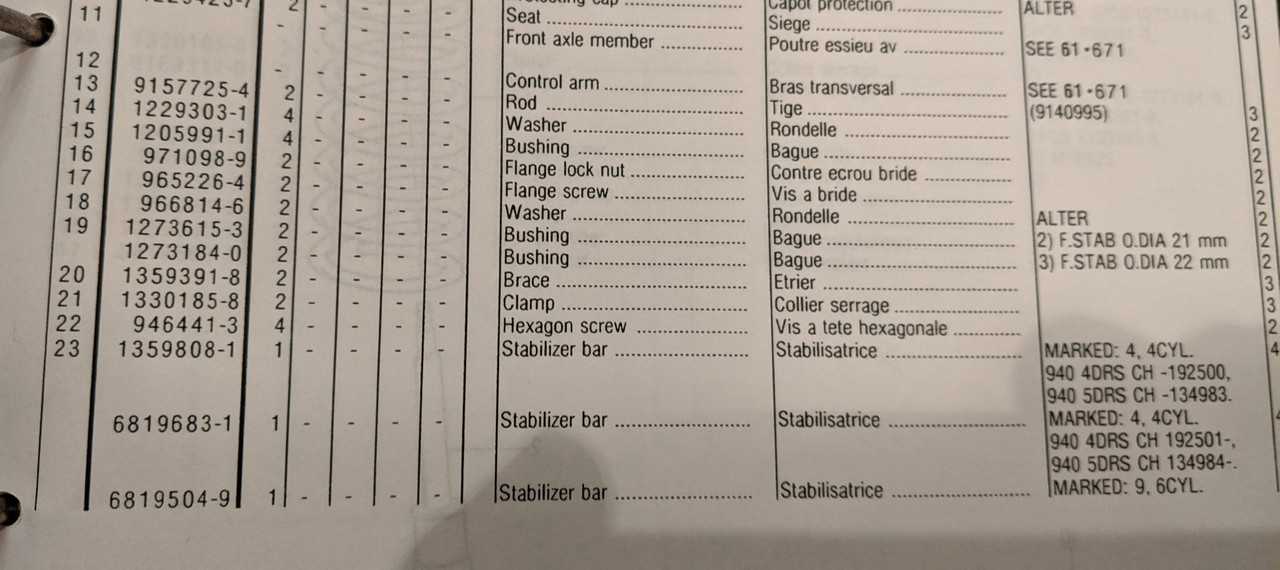
Found the bushing listing in the old catalog is incorrect - this is from Volvo online - so I need 1273615

Screen Shot 2020-09-13 at 8.29.40 PM.png


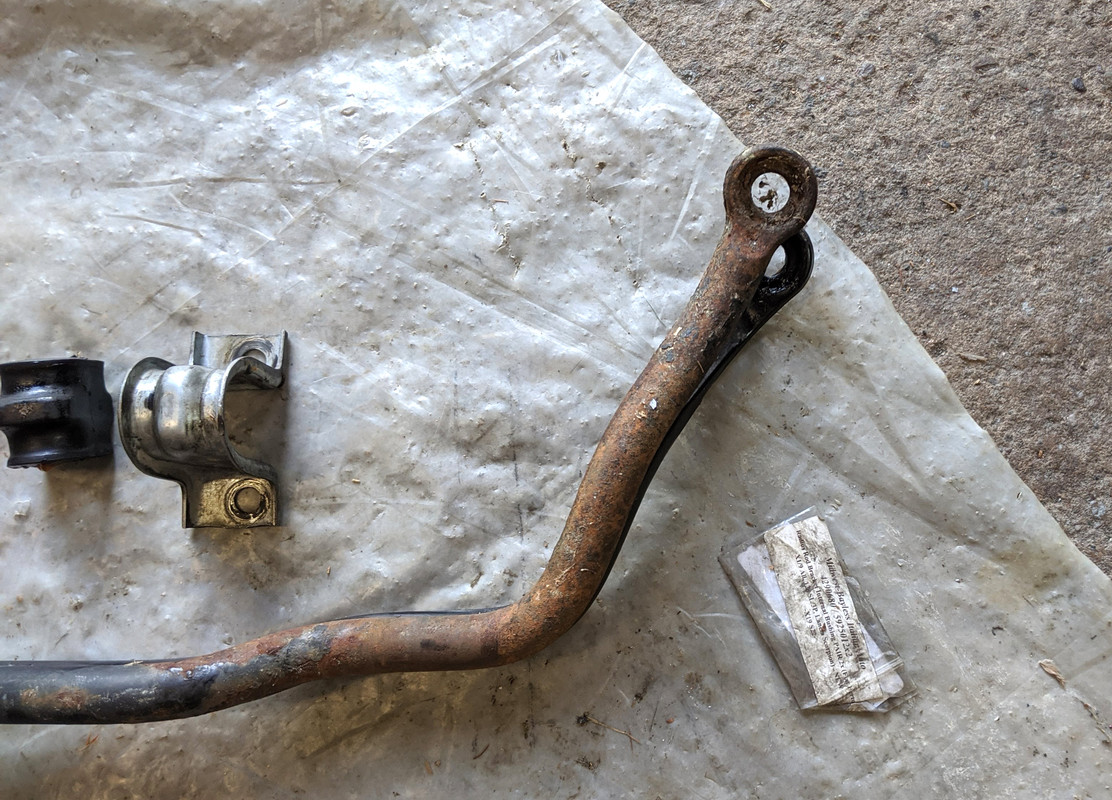
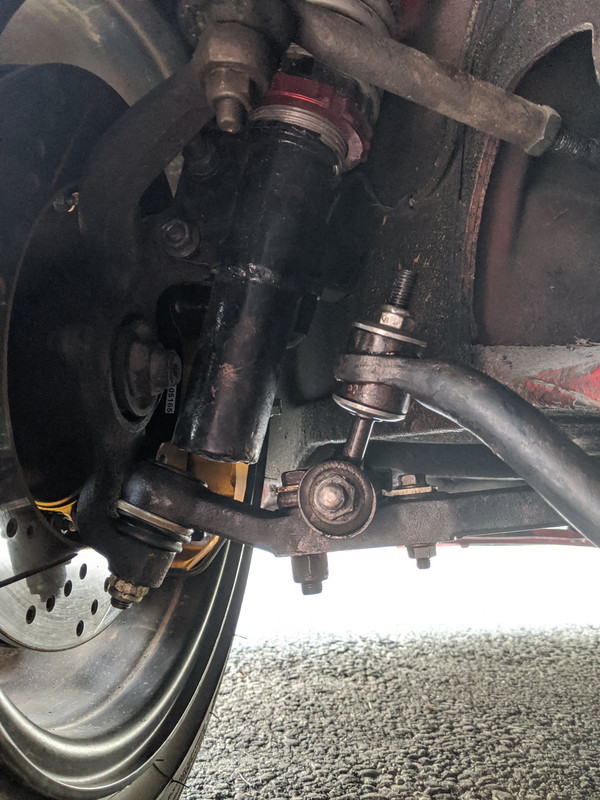
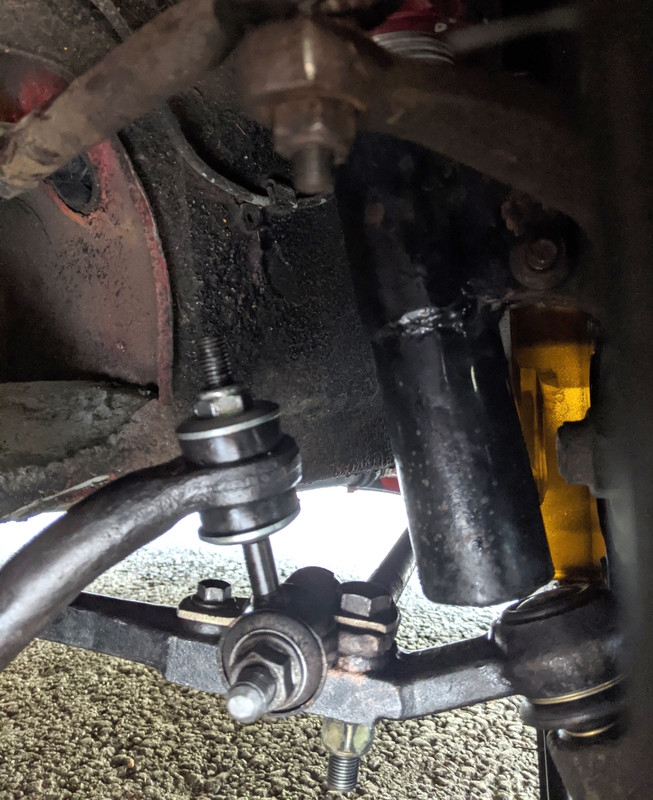
Also found that the sway bar I bought from CA is not the correct one - it pulls the endlinks on an untenable angle at normal ride height. The correct bar (for me) is the one I got locally - about an inch further forward push on the end link. I didn't compare them at the time, I just used the CA one because it's prettier :D

IMG-20200913-173615.jpg


Looks fine at drop - but in fact it should be pushed forward so that it moves to perpendicular at normal ride height

IMG-20200913-162928.jpg


IMG-20200913-162917.jpg
 
Got the correct sway bar fitted today - much better!

pushed slightly forward when elevated

IMG-20200914-173754.jpg


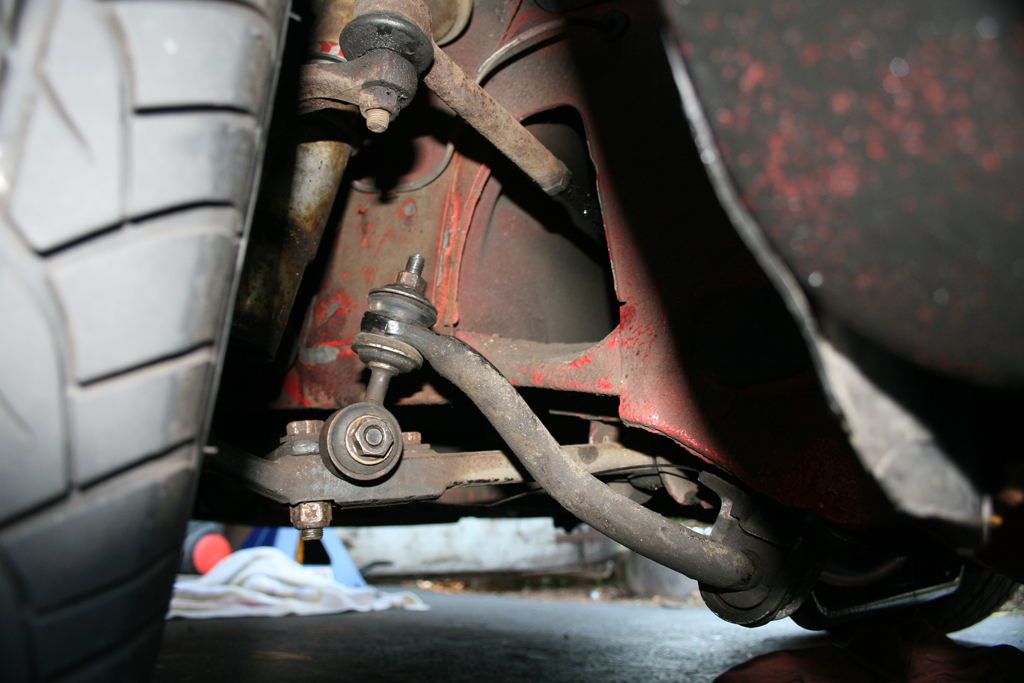
M<uch more normal angle on the ground now.
IMG-20200914-174142.jpg


original bar/link for comparison

X19-1072.jpg


IMG-20200914-174300.jpg


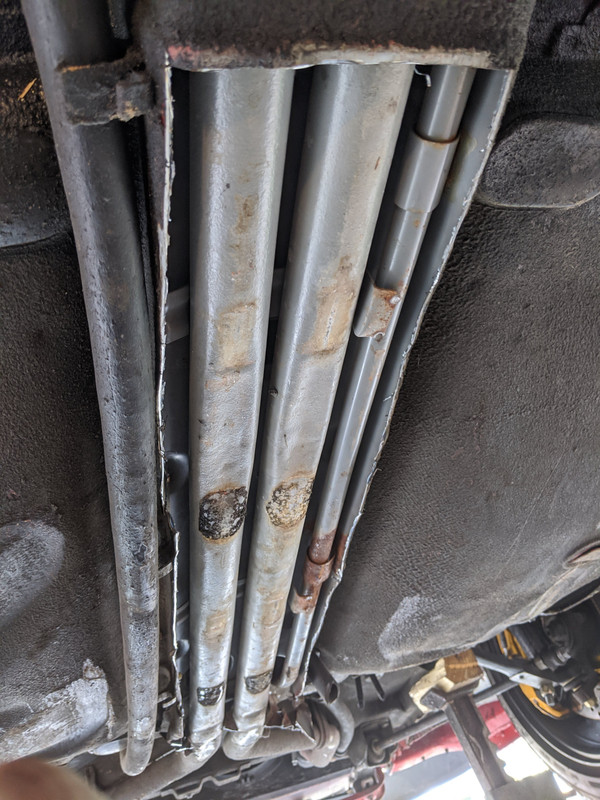
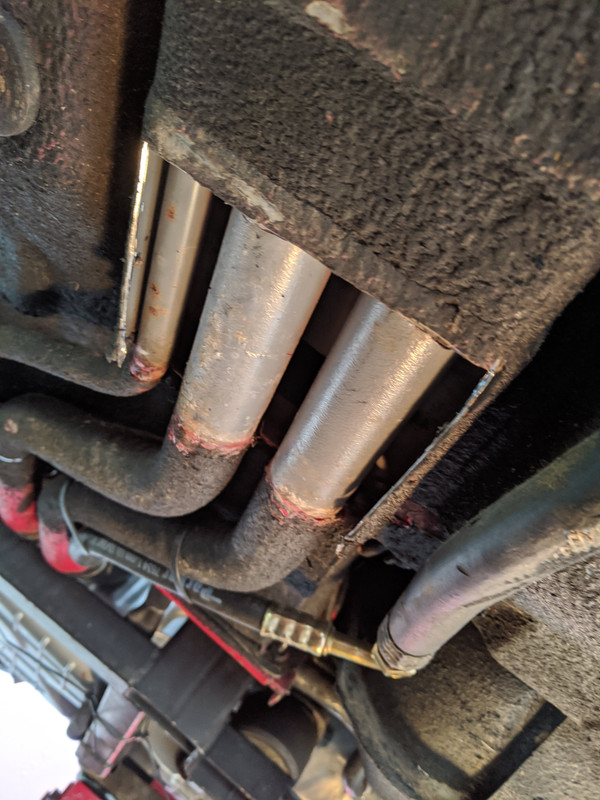
Also started cutting off the damaged central tunnel outer plate. The engine is running hotter than before - I wanted to see if the pipes were seriously crushed. They are not. With the engine getting close to normal op, the rad outlet is lukewarm, definitely not operating temp. Now I'm wondering if the t/stat is stuck partially closed, it just doesn't seem that I have normal flow. The engine temp is pretty much 220ºF when driving, so I'm not driving much.

A little flattened in the middle. Shame I crushed them, they were in excellent condition. The rest of the tunnel is actually undamaged. I'll have to see if I can get the existing tubes out without cutting it all off

IMG-20200914-161417.jpg


opened up the other end

IMG-20200914-161433.jpg


IMG-20200914-163828.jpg
 
Last edited:
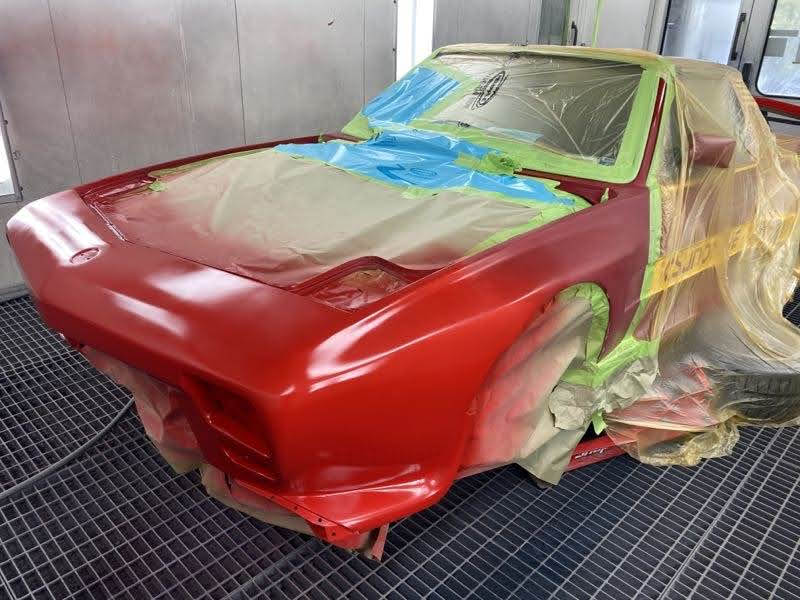
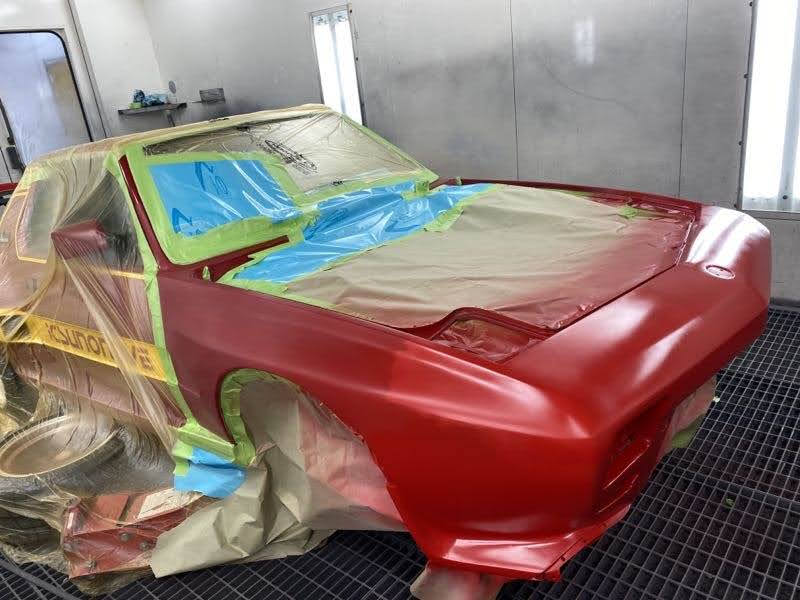
Car will be picked up Monday. Looking forward to seeing the new nose in paint! They had to rework much of my bodywork, they said. They have pics to show me why.

I'm sure the fender/nose vertical and horizontal areas needed it - just looking closer at my posted pic when I dropped it off I can see a couple 'soft' spots that wouldn't look right once painted.

Anyhow, whilst I've been waiting I looked into alternate head setups, since the stock head has to come off anyway. One useful reference resource was a this one, for overall specs on the different motors could use the RSX valve train on my head, or get an RSX head, which typically flows better. Reading on a bunch of forums, it gets pretty muddled and confusing, since often the end goal for many is rev the **** out of it HP numbers, not what I want. K20a2, K20Z1 & K20Z3 are the three choices.

After some back & forth, and advice from Brayden (many thanks!) I looked at the Z3 heads, mainly because the earlier K20a & Z1 don't have the same water outlet design as the TSX (RBB-2) cylinder head, but the Z3 does. Without that, I would have also needed to redesign my plenum / throttle body layout and revise the heater circuit.

I found a Z3 head in Canada for 'reasonable' money, so that is coming. The next quandary is cams - whether to use the Z3 cams, my TSX cams, or something else. Reading various articles on cam performance & options also goes down another rabbit hole....
I did find an article where they talked about using the TSX cams in a Z3 setup, with great results (of the type I want - good midrange torque, but still nice top end if wound out) - posting it here so I don't forget & redo all the research.

TSX cam results
 
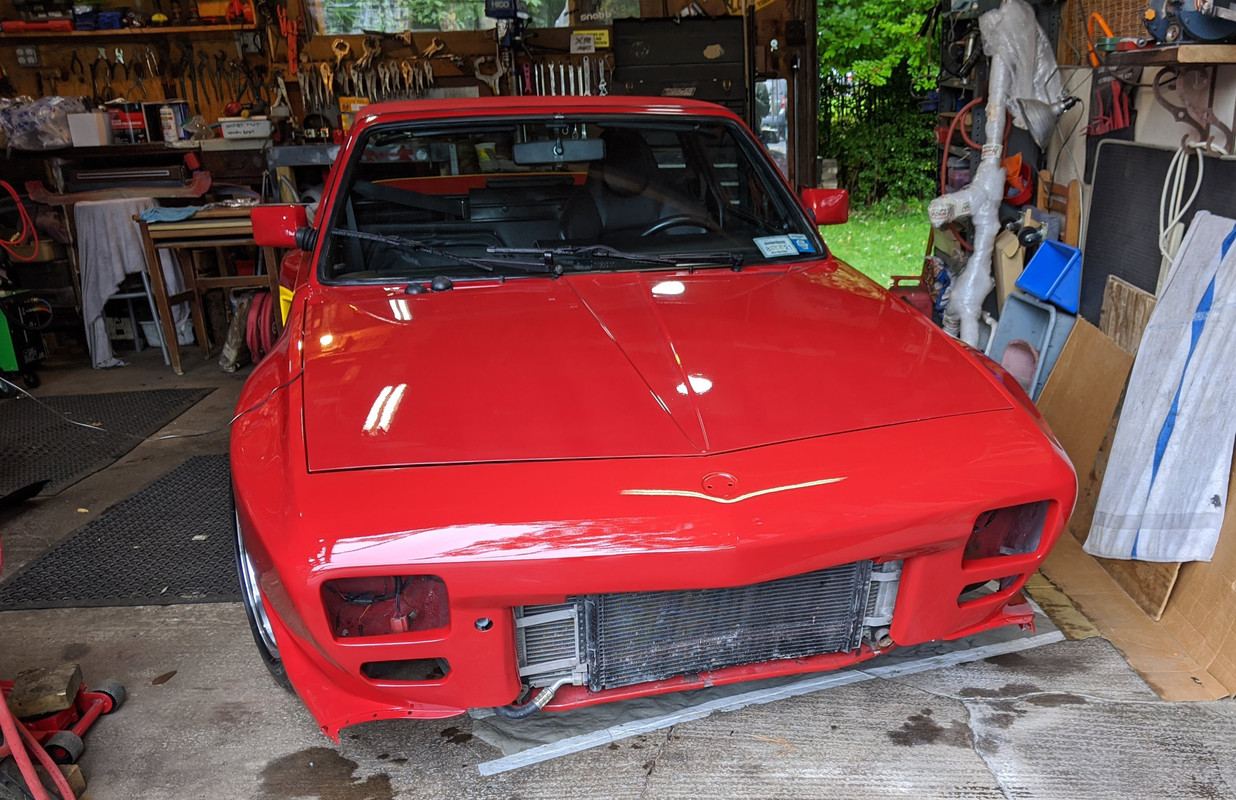
Picked up the car this morning - pouring rain, however it's going to be like this for at least a couple days, and the car has been there 3 weeks now, so I just wanted to get it home

IMG-20201012-095207.jpg


IMG-20201012-095214.jpg


put the frunk back on

IMG-20201012-115937.jpg


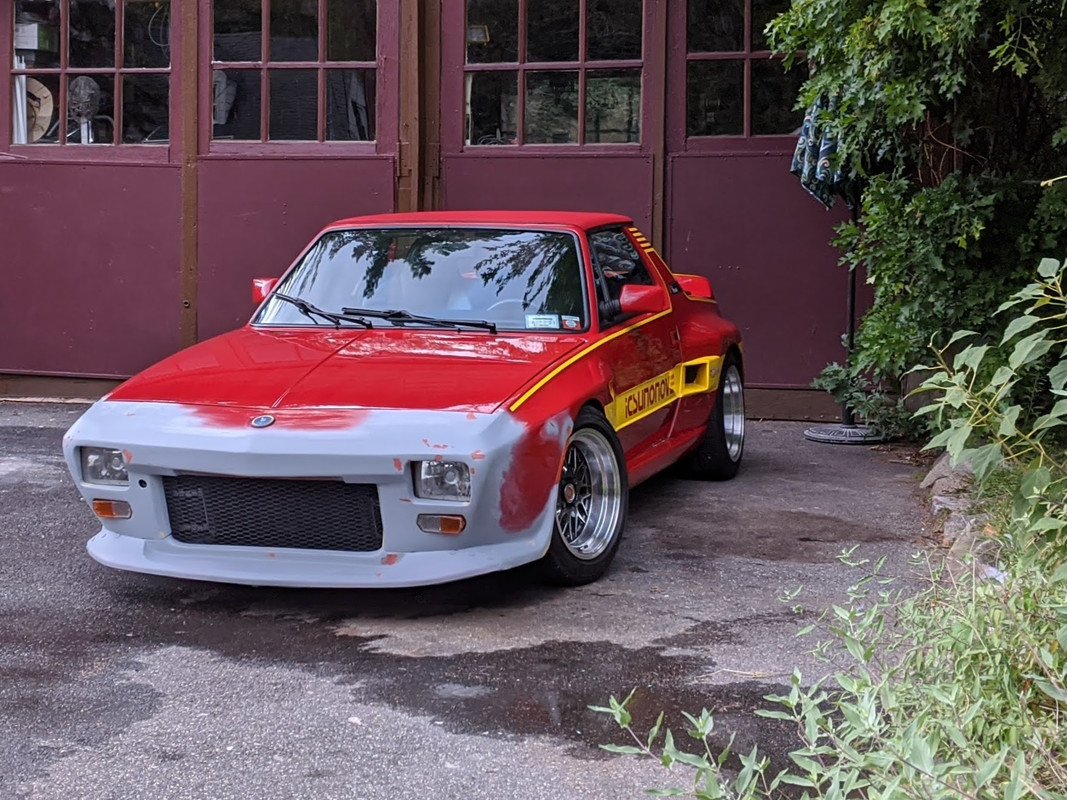
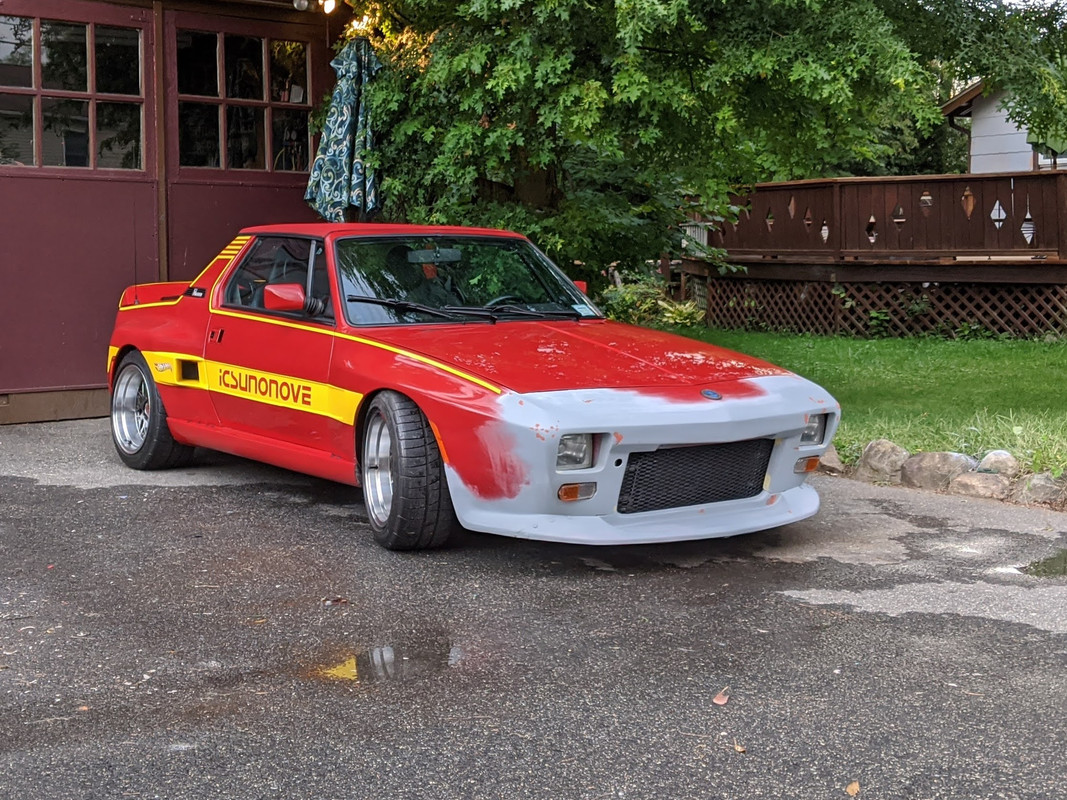
happy with the work

IMG-20201012-120129.jpg


IMG-20201012-120120.jpg


Turned out the areas they needed to rework were the top nose & fender tips, not the verticals that I was concerned about - they took some pics for me

Photo-01.jpg


Photo-11.jpg


Photo-10.jpg


Photo-06.jpg


Photo-04.jpg


Photo-02.jpg


Photo-03.jpg
 
Given how this is coming together, I would add the further return to the upper part and trim the spoiler section so it butts the fixed part of the front in a good clean cut line. If I had my choice it would be at the transition of the arc of the radiator opening on the spoiler so it aligns to the top of the spoiler to each side. If it needs to be an overlap joint then trim back the edges of the vertical on the spoiler part coming up and add an overlap on the backside.

How I would like to see it. However, opinions are like a—holes, everyone has one...View attachment 35863View attachment 35864View attachment 35865
i like your car's face it remind me this:
127.jpg
 
Recoated the headlamps and markers with a new expel film

PXL_20201023_200356911.jpg


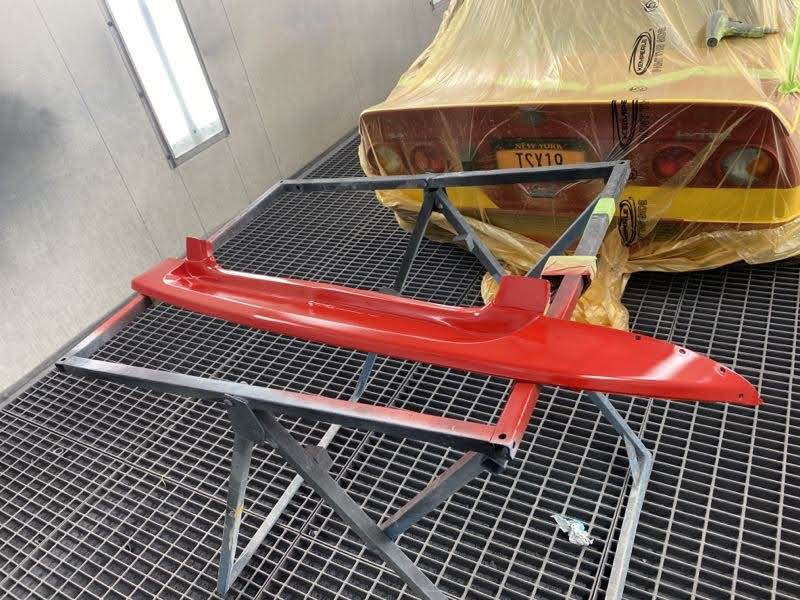
Painted some body clips for the spoiler & the rockers - to get rid of the black ones that stick out in earlier pics above
PXL_20201023_203747380.jpg
 
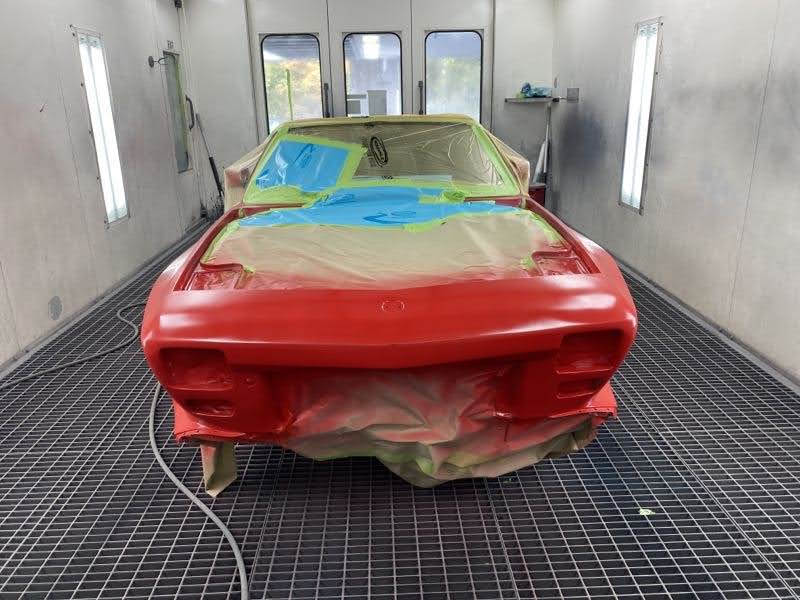
Got the car back (again) this morning - they redid the problem areas over the pass fender & couple spots on nose - all good now, so I worked on the decals & tape stripe whilst the temps are still in the 60's - tomorrow is supposed to go down 10-15º -

PXL_20201024_152413916.jpg
PXL_20201024_152459324.jpg
PXL_20201024_181110868.jpg
PXL_20201024_181402254.jpg
PXL_20201024_181408015.jpg
PXL_20201024_193419893.jpg
PXL_20201024_193431259.jpg
PXL_20201024_204620854.jpg


Put the painted rivets in as well

PXL_20201024_204626832.jpg
PXL_20201024_204634275.jpg
PXL_20201024_210903150.jpg
PXL_20201024_210911107.jpg
 
Amazing what perseverance and skill can accomplish. Maybe you should park it in your living room and go find a beater to lose control of on the street. Probably looking very stock but with a Honda motor and seriously sticky tires.
 
Congratulations Hussein, Looks fantastic! Your dedication and perseverance are an inspiration to all of us!
 
Also started cutting off the damaged central tunnel outer plate. The engine is running hotter than before - I wanted to see if the pipes were seriously crushed. They are not. With the engine getting close to normal op, the rad outlet is lukewarm, definitely not operating temp. Now I'm wondering if the t/stat is stuck partially closed, it just doesn't seem that I have normal flow. The engine temp is pretty much 220ºF when driving, so I'm not driving much.

A little flattened in the middle. Shame I crushed them, they were in excellent condition. The rest of the tunnel is actually undamaged. I'll have to see if I can get the existing tubes out without cutting it all off

IMG-20200914-161417.jpg


opened up the other end

IMG-20200914-161433.jpg

Got back on to work for the damage today - been under the weather for over a week with bad migraines & body aches. Finally had enough energy to get a few hours in on it after work.

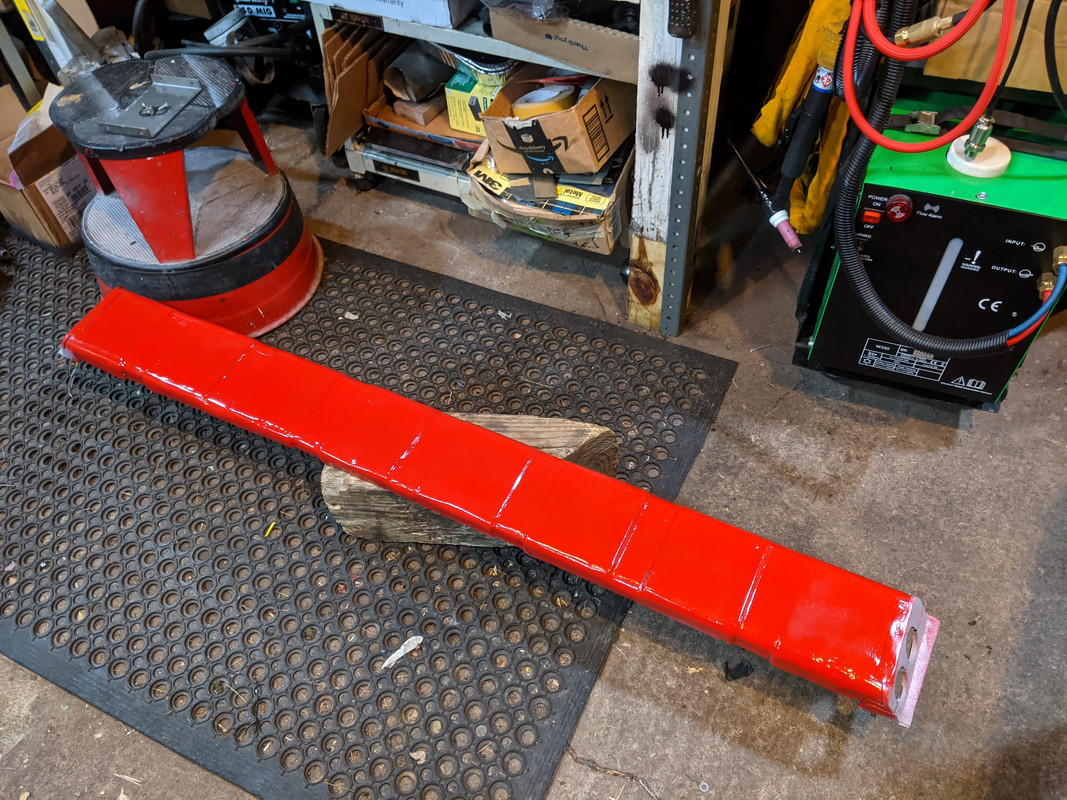
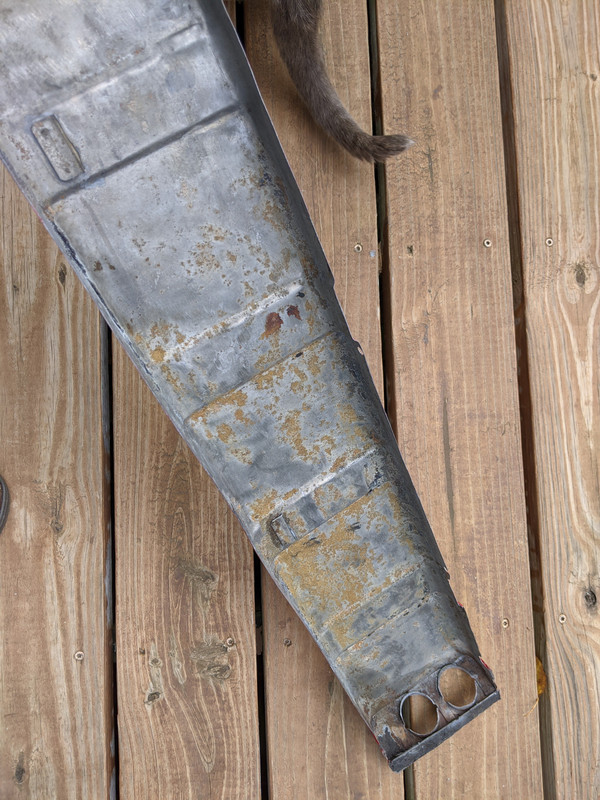
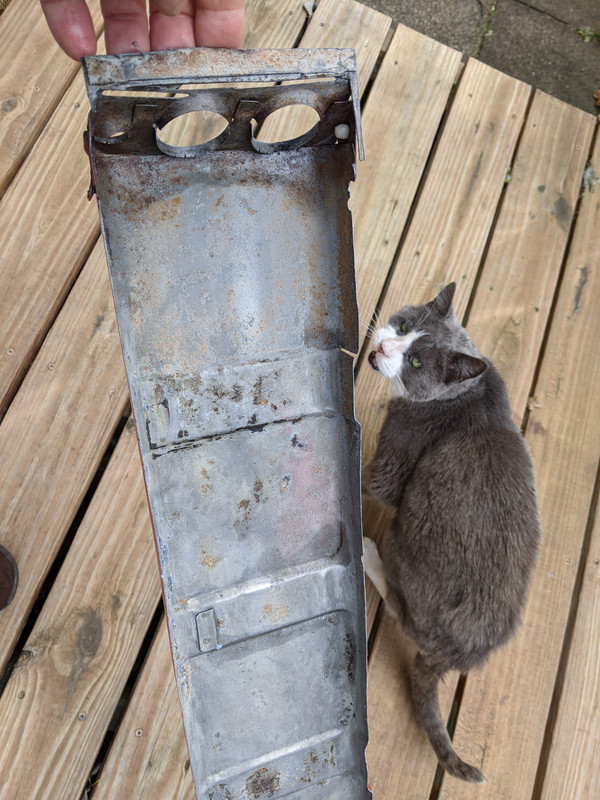
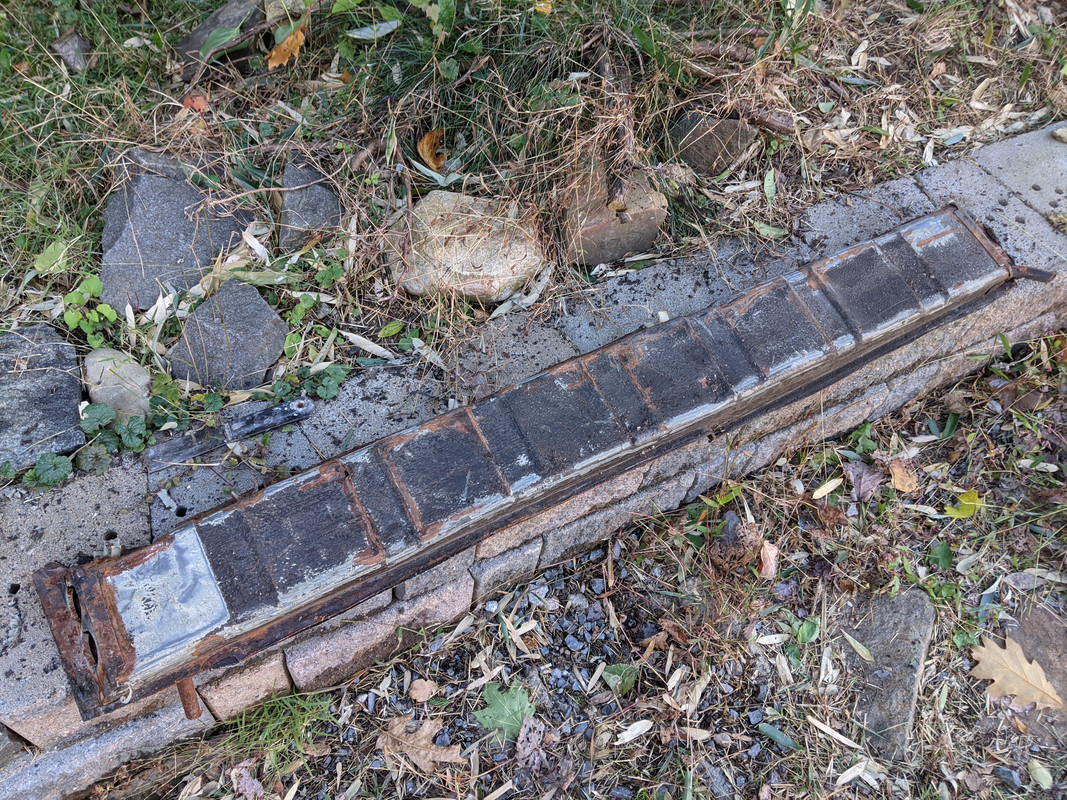
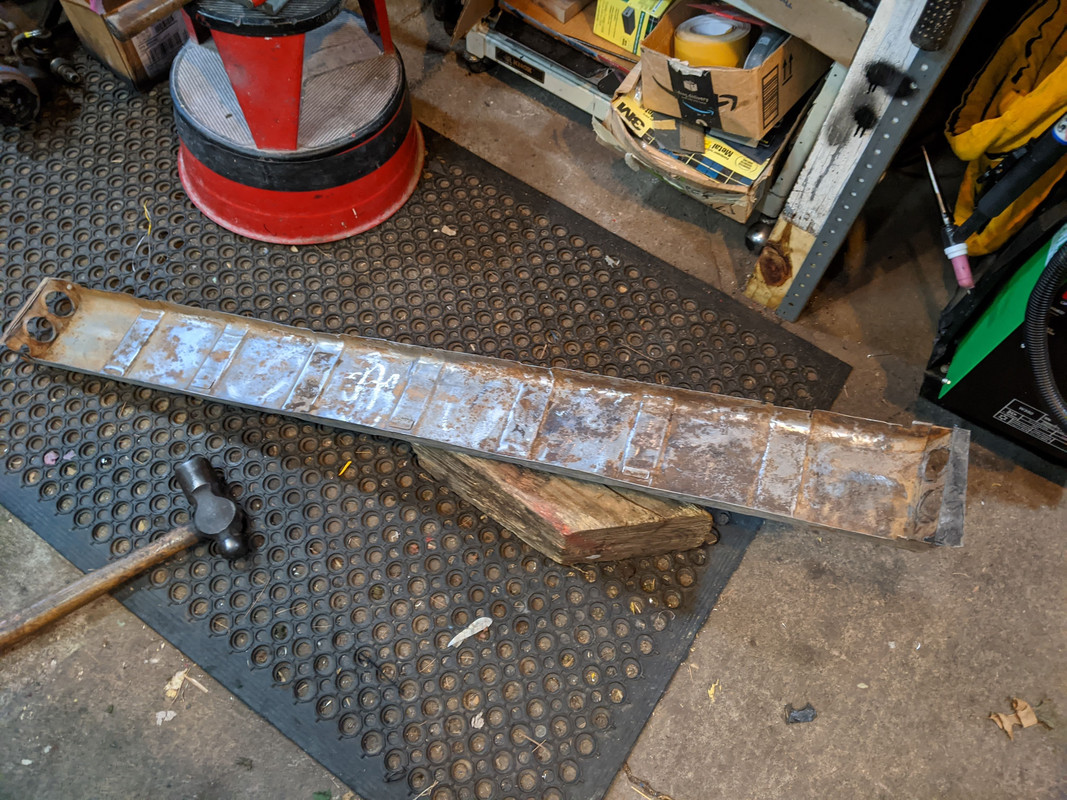
I've been deliberating on how to deal with the tunnel covering. I want to make a removable cover, but..... didn't want to make one from scratch. I decided to revisit the tunnel I cut off the parts car - I had dismissed it as too rusty. It is actually not in bad shape, not the lower part that I need anyway

scraping off all the undercoat and loose paint

PXL-20201102-192459190.jpg


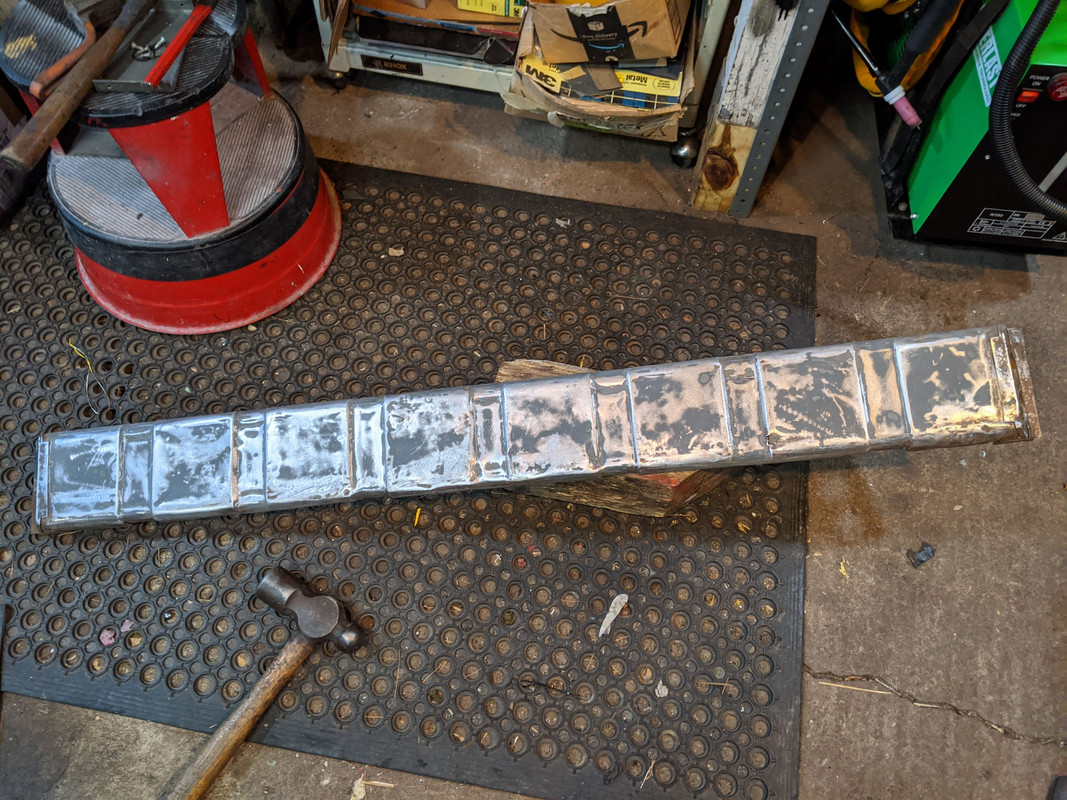
after quite some time cutting off the weld flange, scraping, sanding and a short acid bath, followed by a small bout of beating it back into shape :)

PXL-20201102-214953091.jpg


The inside is going to need another round of acid cleaning

PXL-20201102-214959222.jpg


I primed and put a coat of paint on the outside - even though I will have to remove the ends off & do other minor repairs -

PXL-20201102-222328647.jpg
 
Last edited:
Gave the inside another acid bath

PXL-20201103-141809912.jpg


looks OK now. Lily was helping here -

PXL-20201103-141812886.jpg


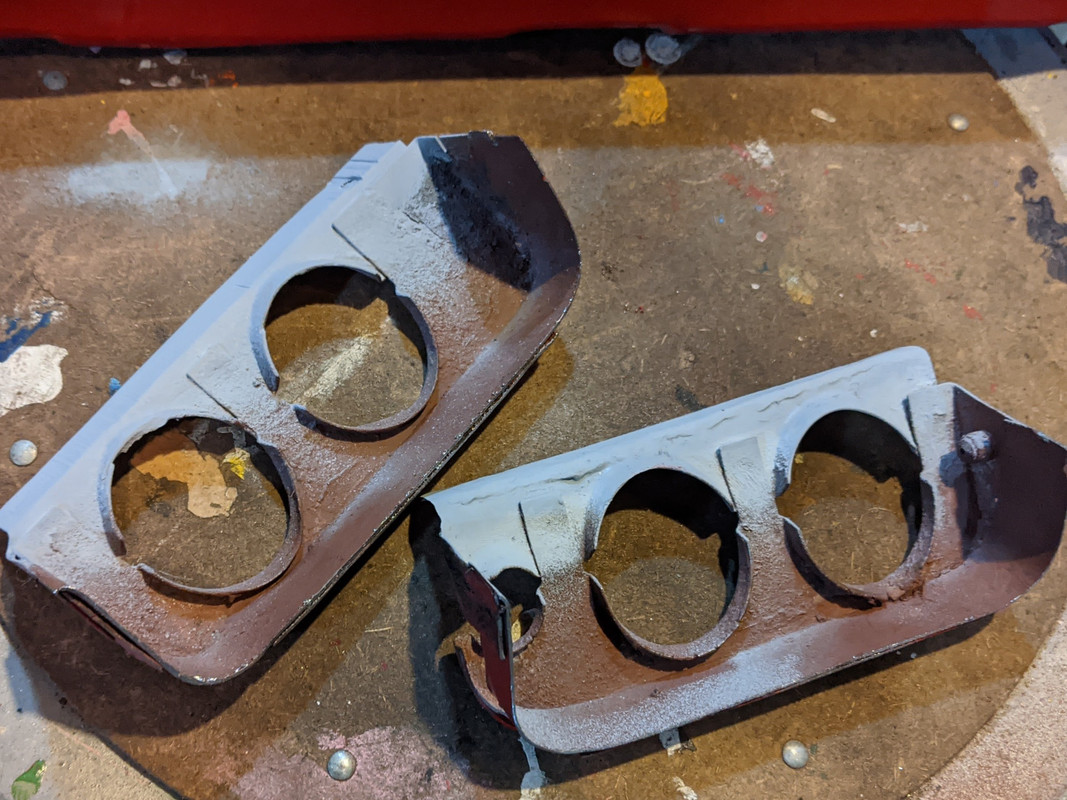
Cut off the end caps. Need to figure out how to take them apart carefully so I can reuse them

PXL-20201103-180821223.jpg


welded up the cuts I had made removing it from the floor pan - thinking of drilling the spot welds on the tongues holding the two halves

PXL-20201103-215906314.jpg


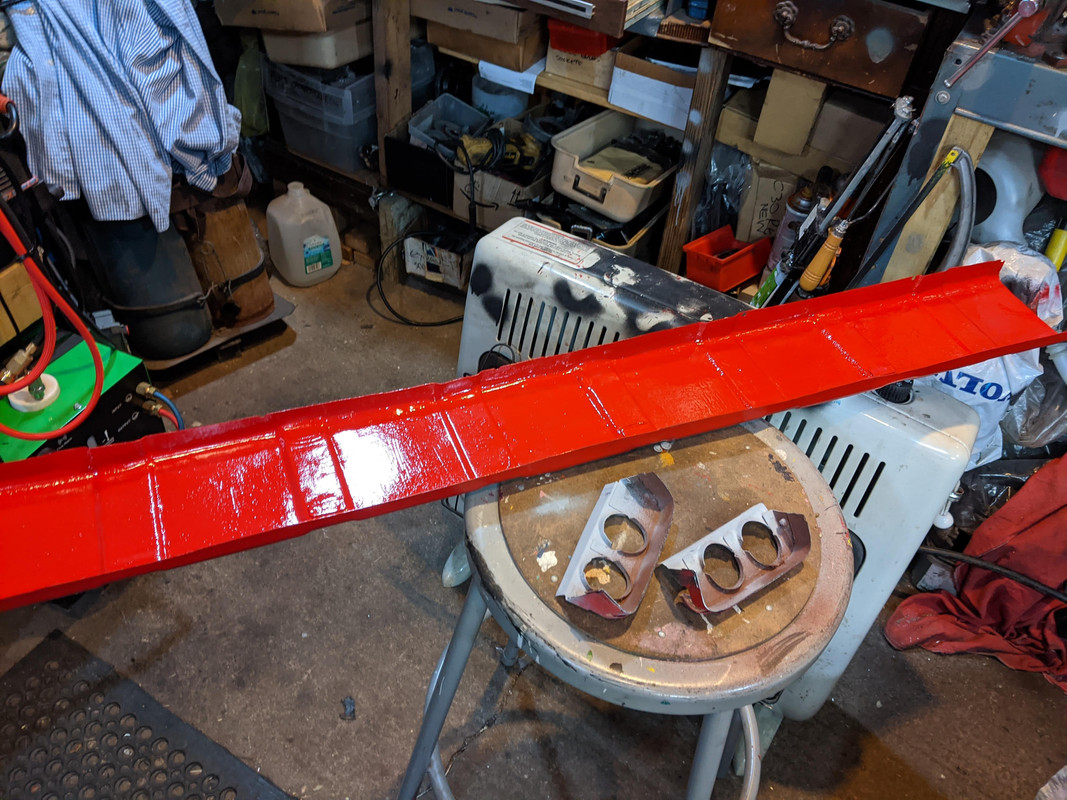
welded up the couple of tears in the cover, primed & painted. Plan will be for this to fit inboard of the exiting walls (so there is no ledge for water/ moisture to accumulate), with rivnuts in this section. Alternatively, this could go on the outside, with rivnuts in the fixed verticals. Not sure which is really better. Instinctively, I would go go plan B, just because the seam would not be exposed to the direct path of water/debris pushed up off the roadway...

PXL-20201103-215910090.jpg
 
Last edited:
I would think either way is fine. Just use lots of seam sealer. Did you rustproof the tunnel sides and roof?
 
Back
Top