Selling the X & Bought an 75 Datsun 280Z

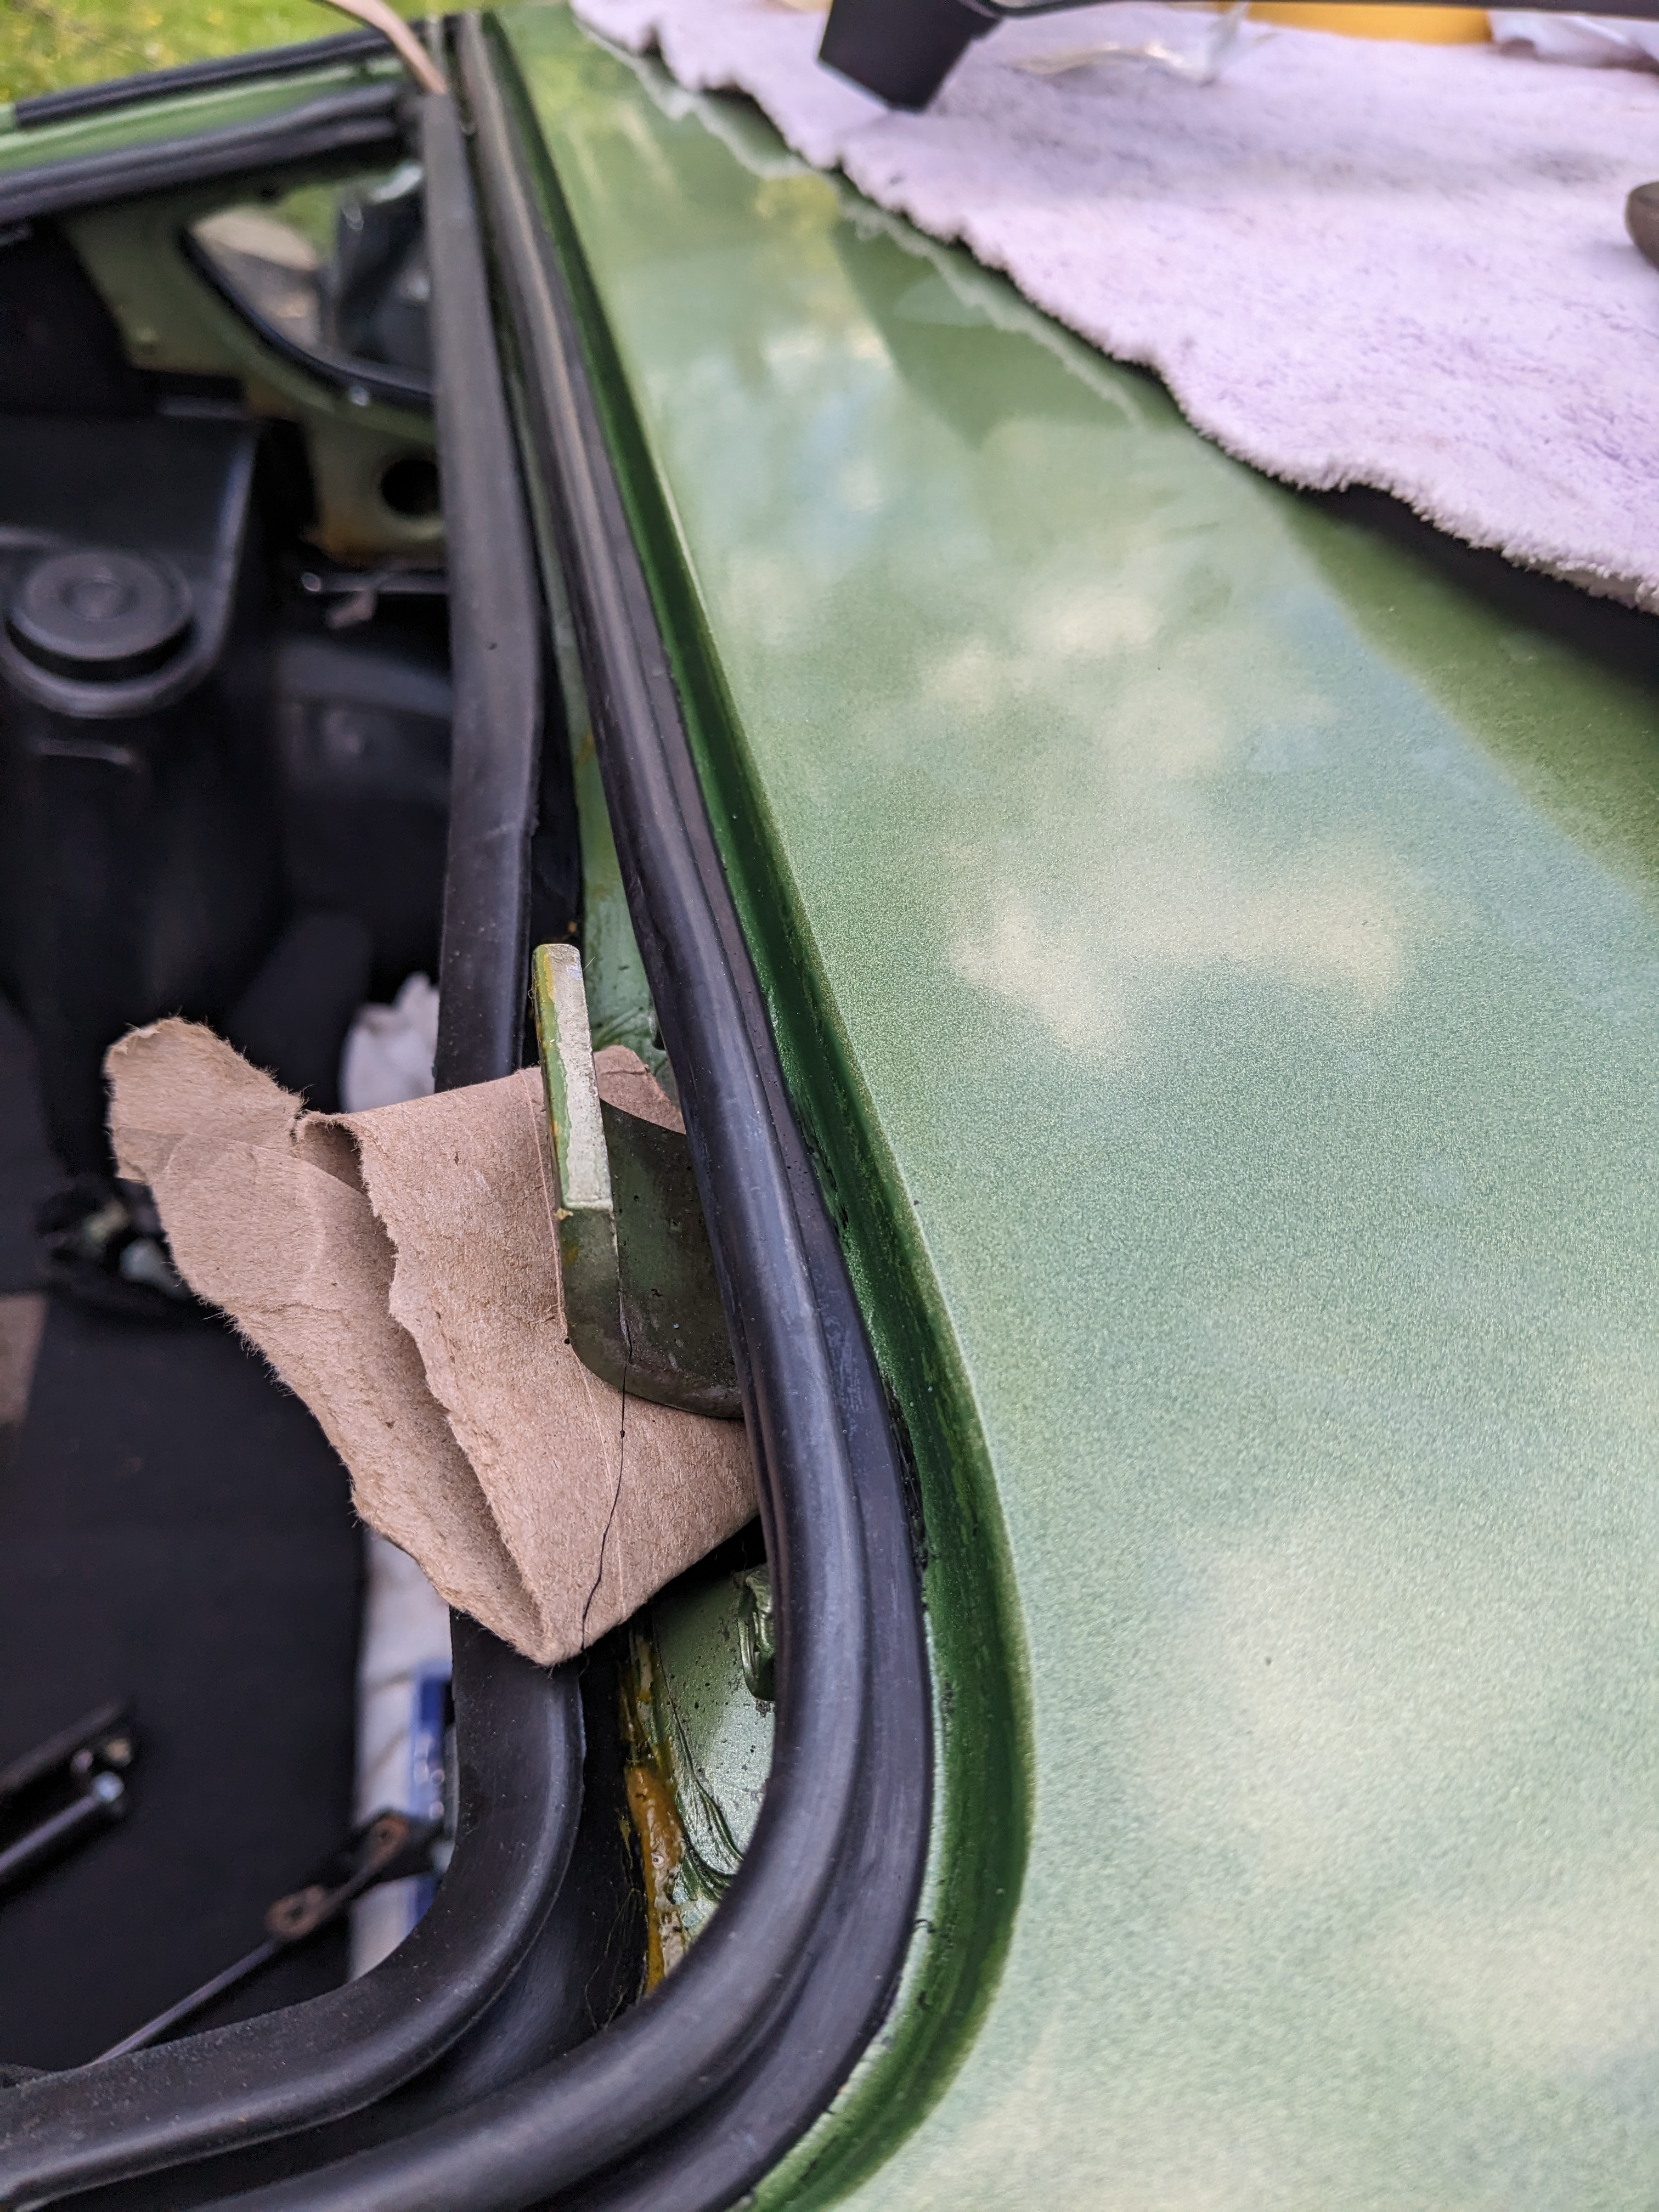
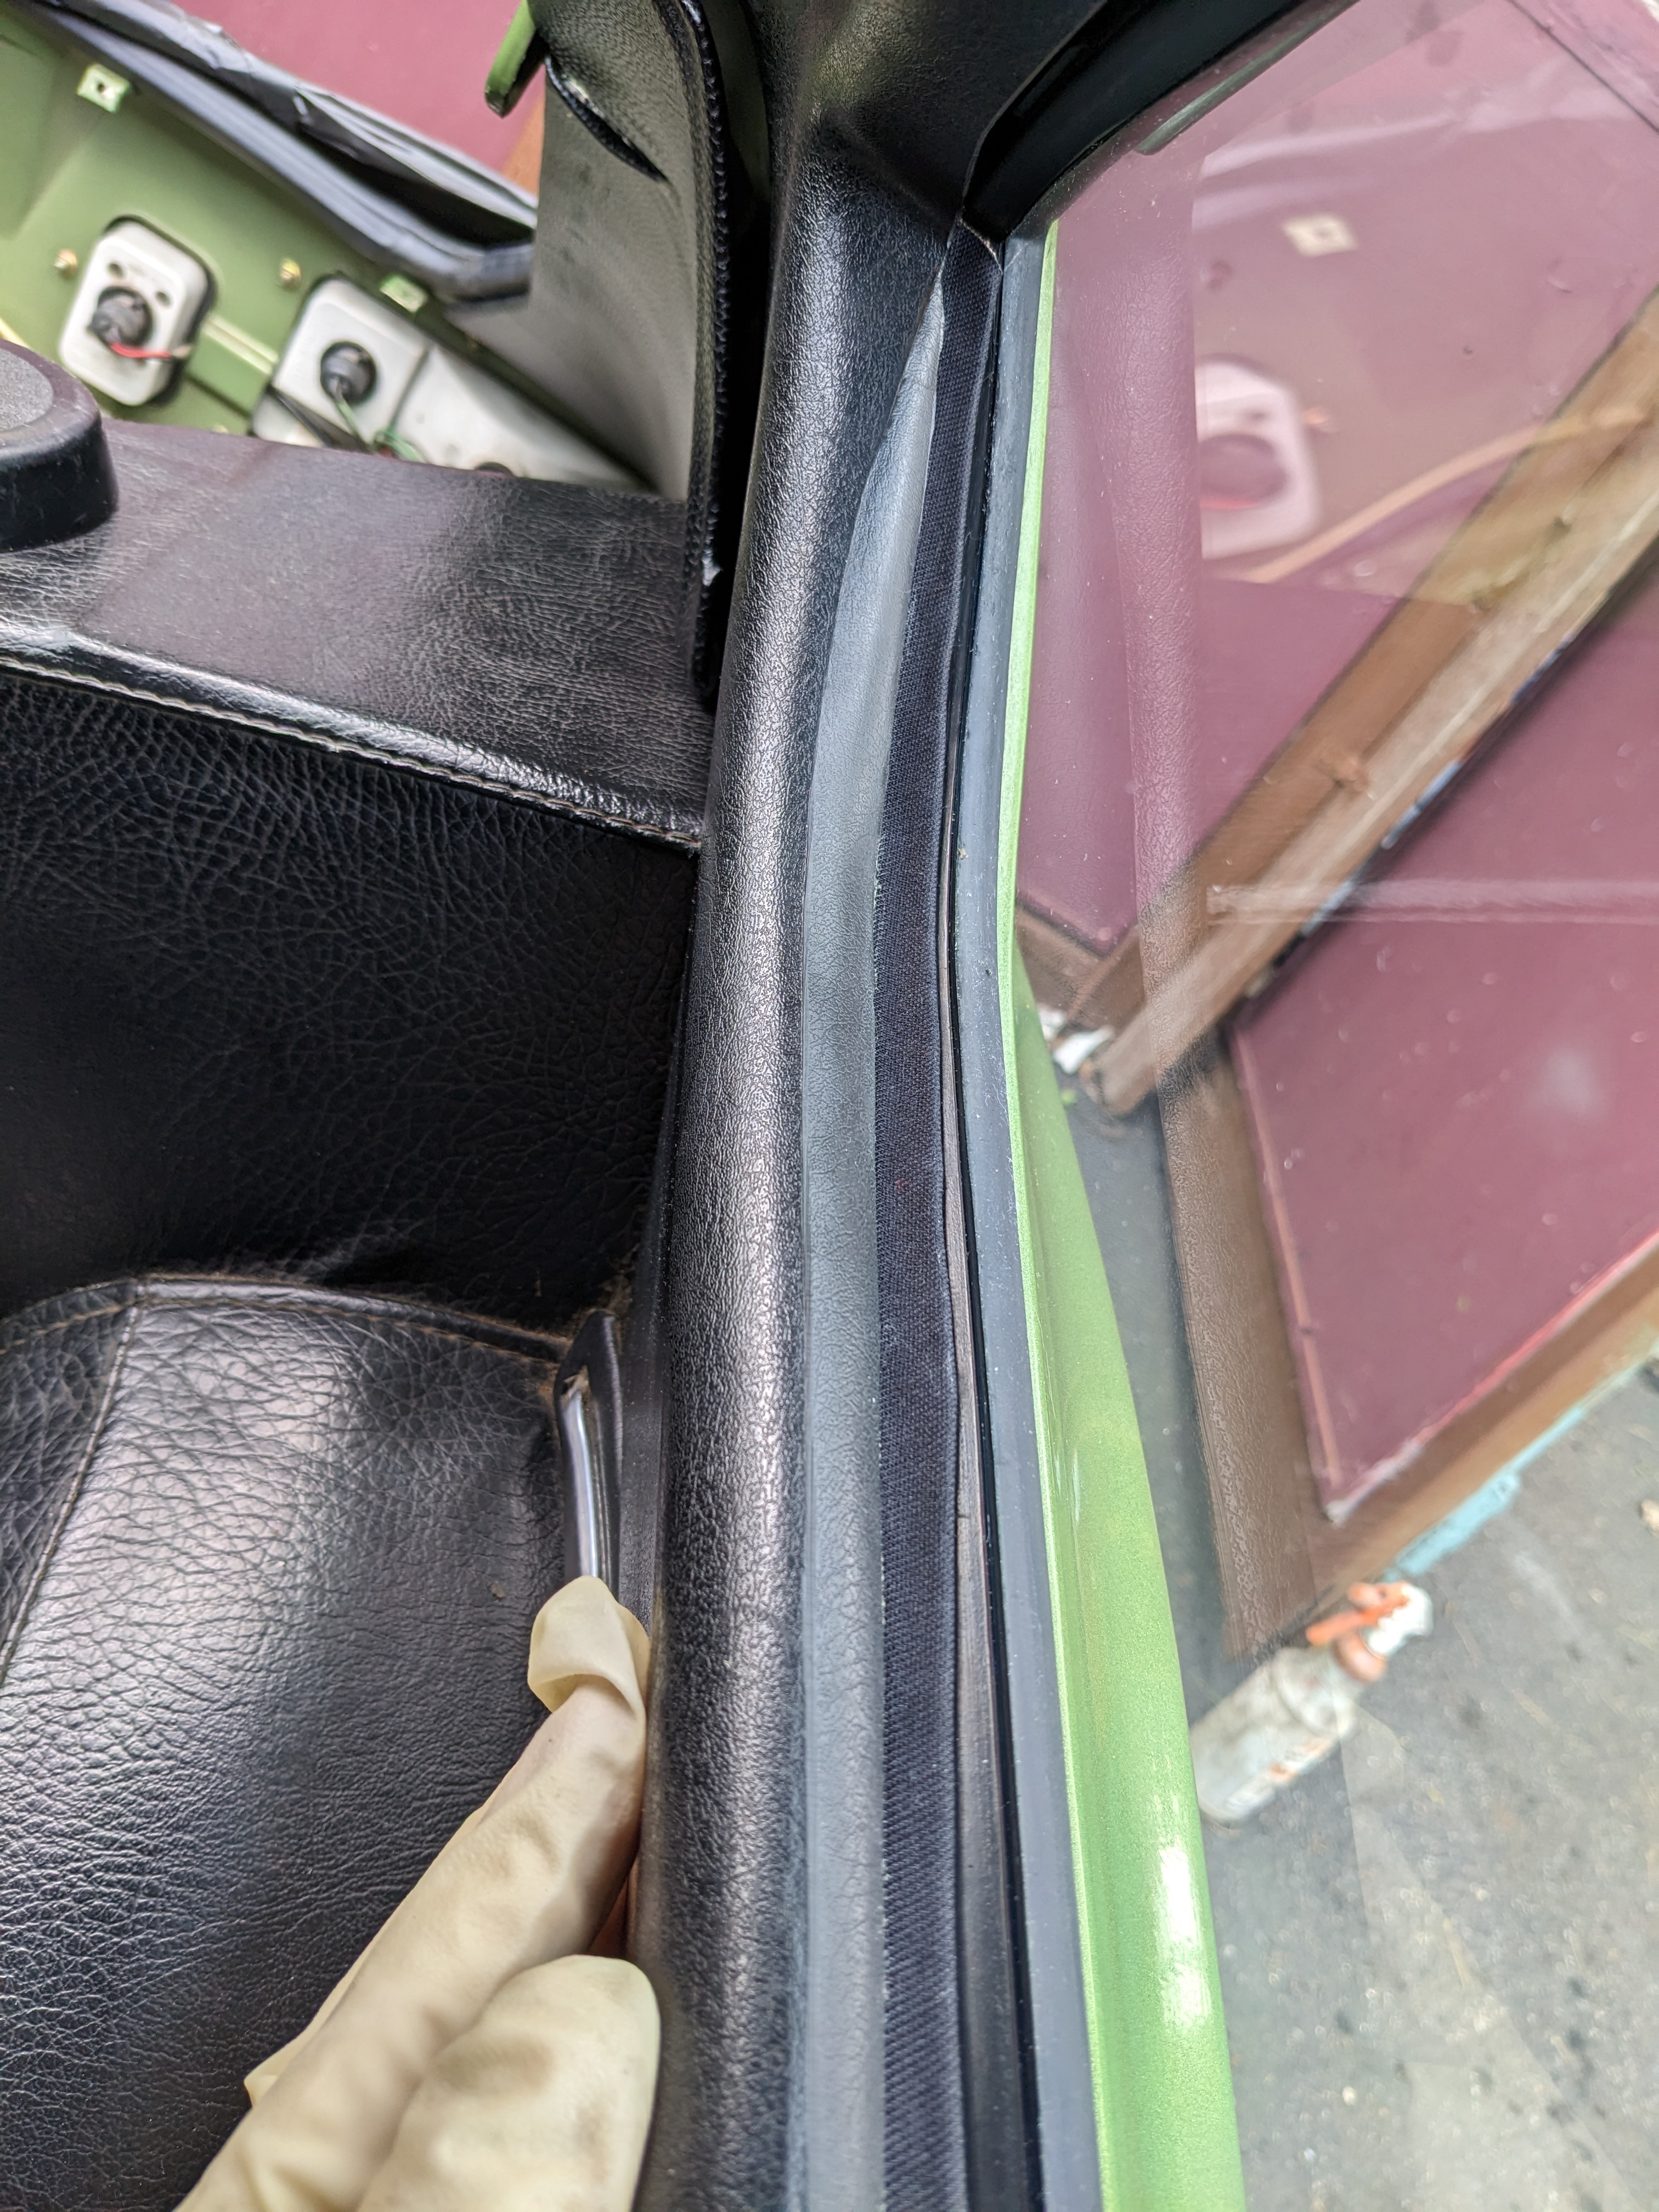
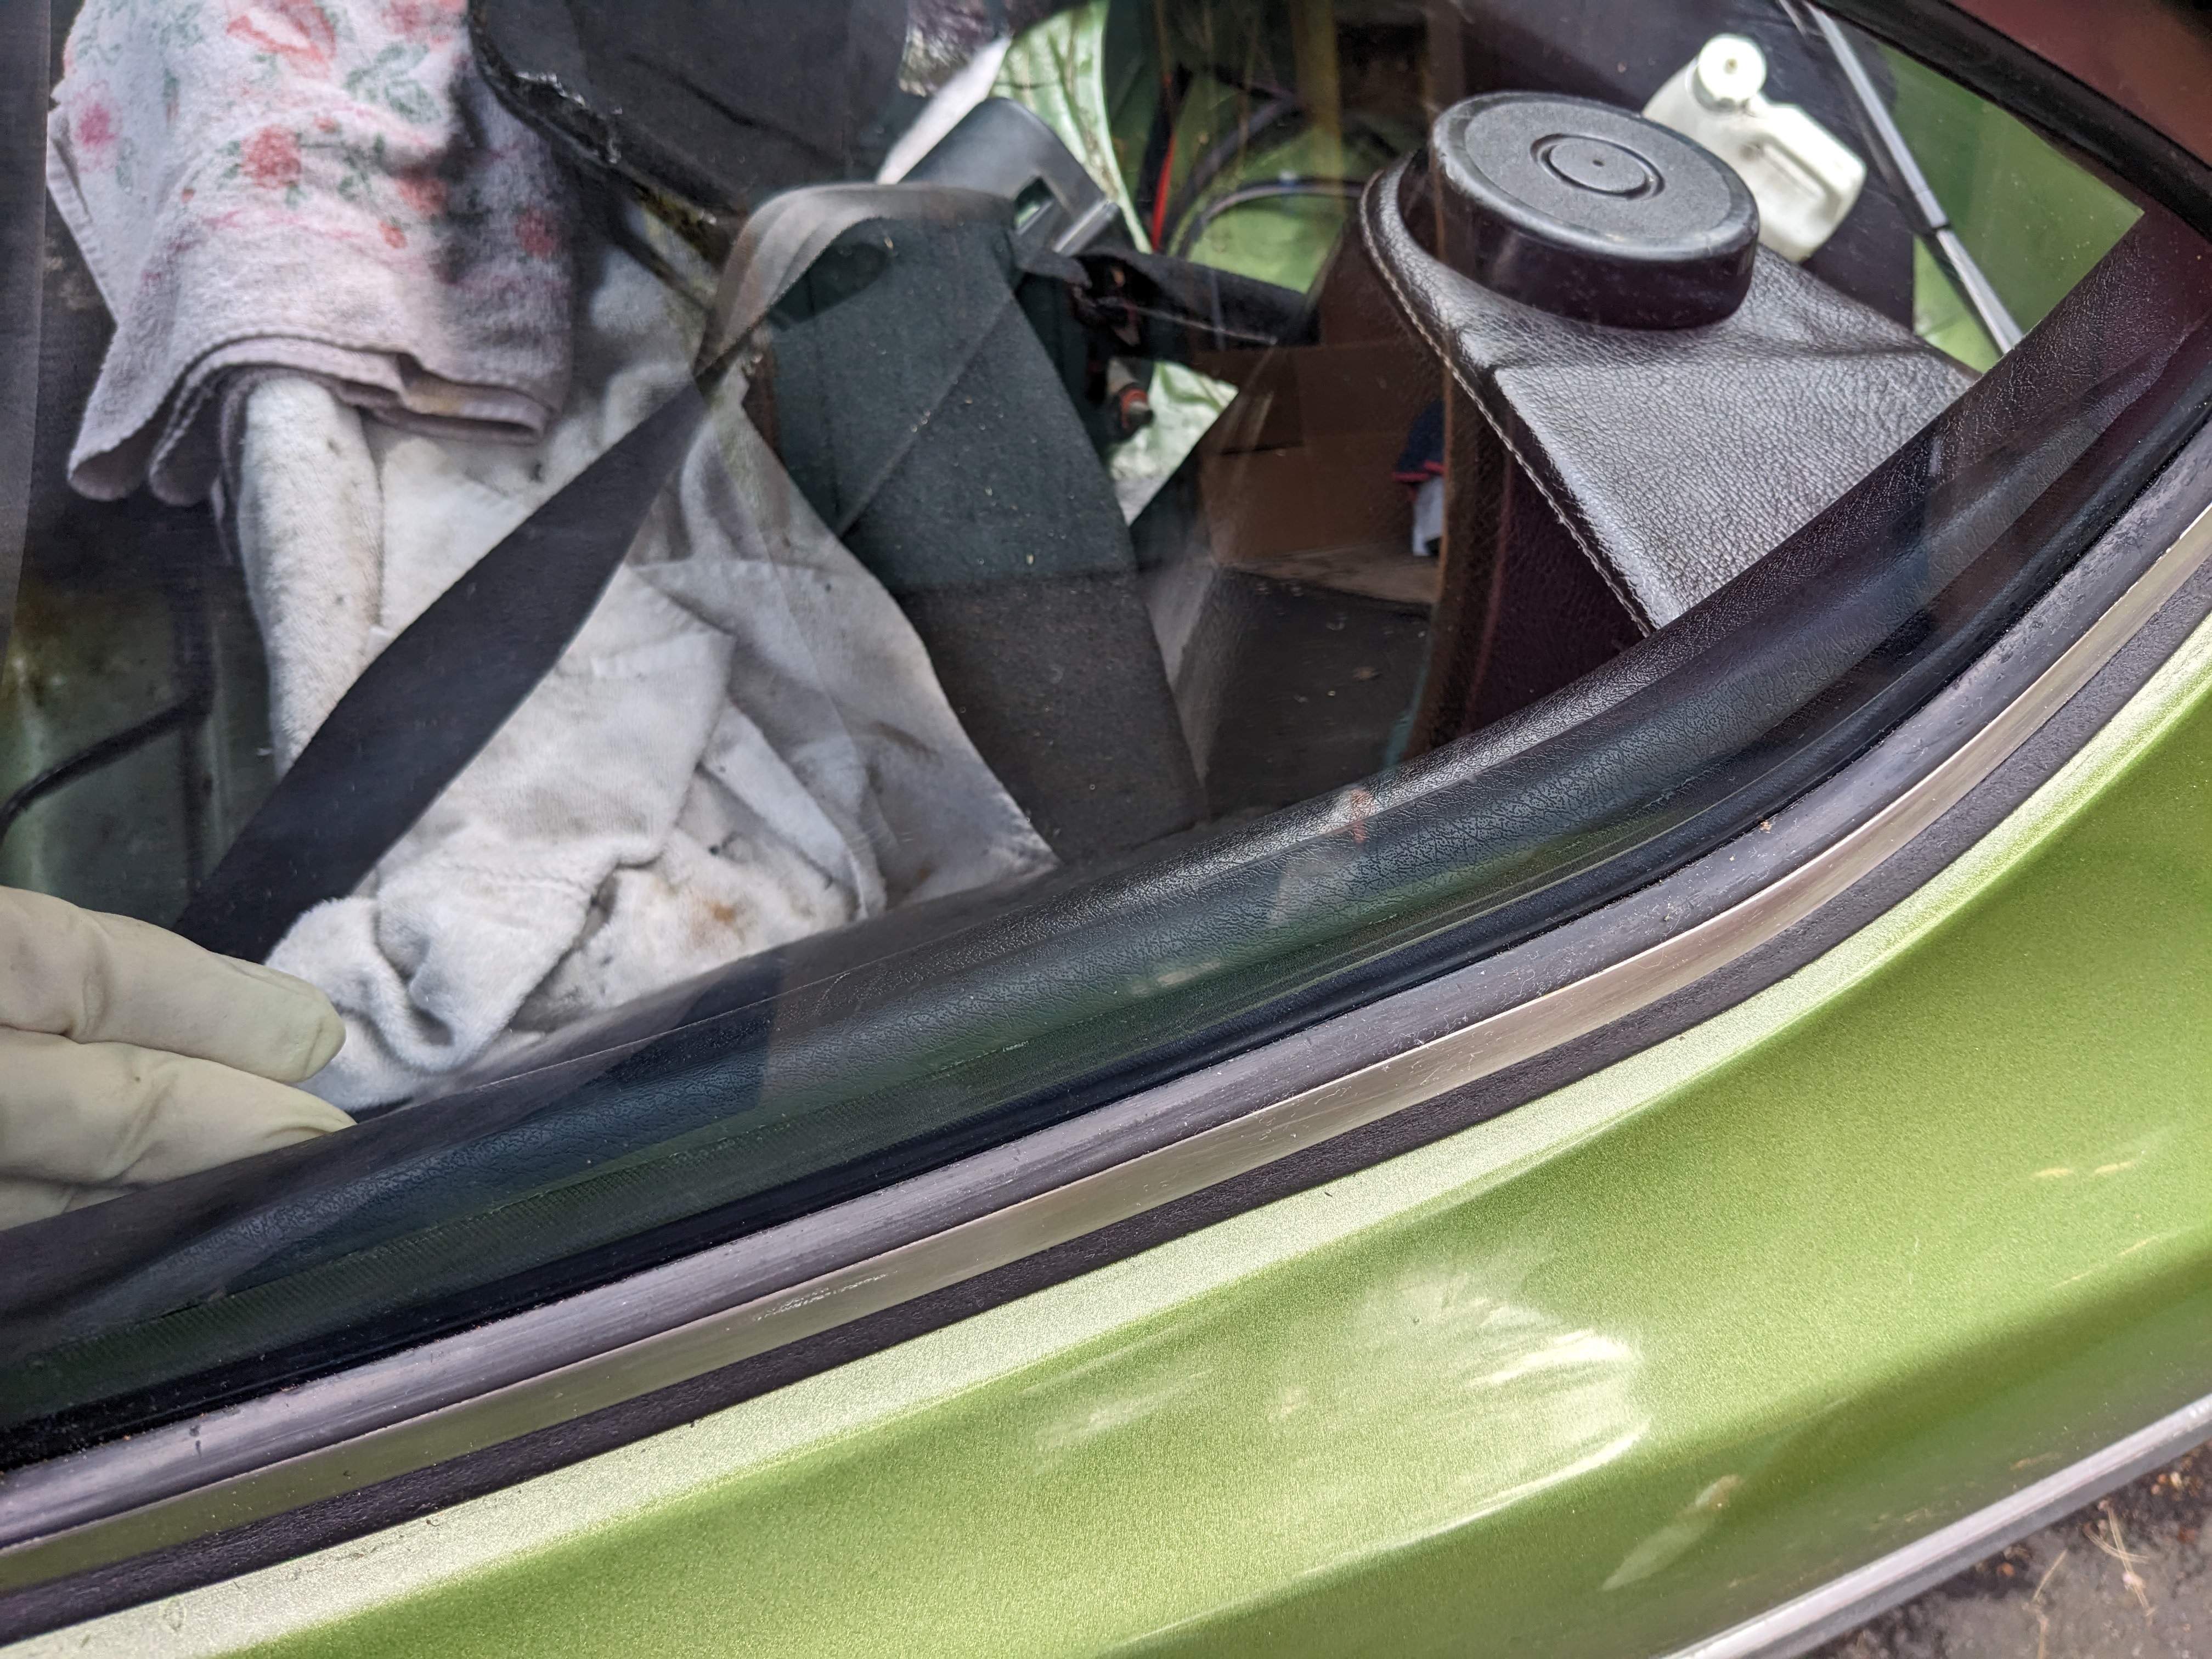
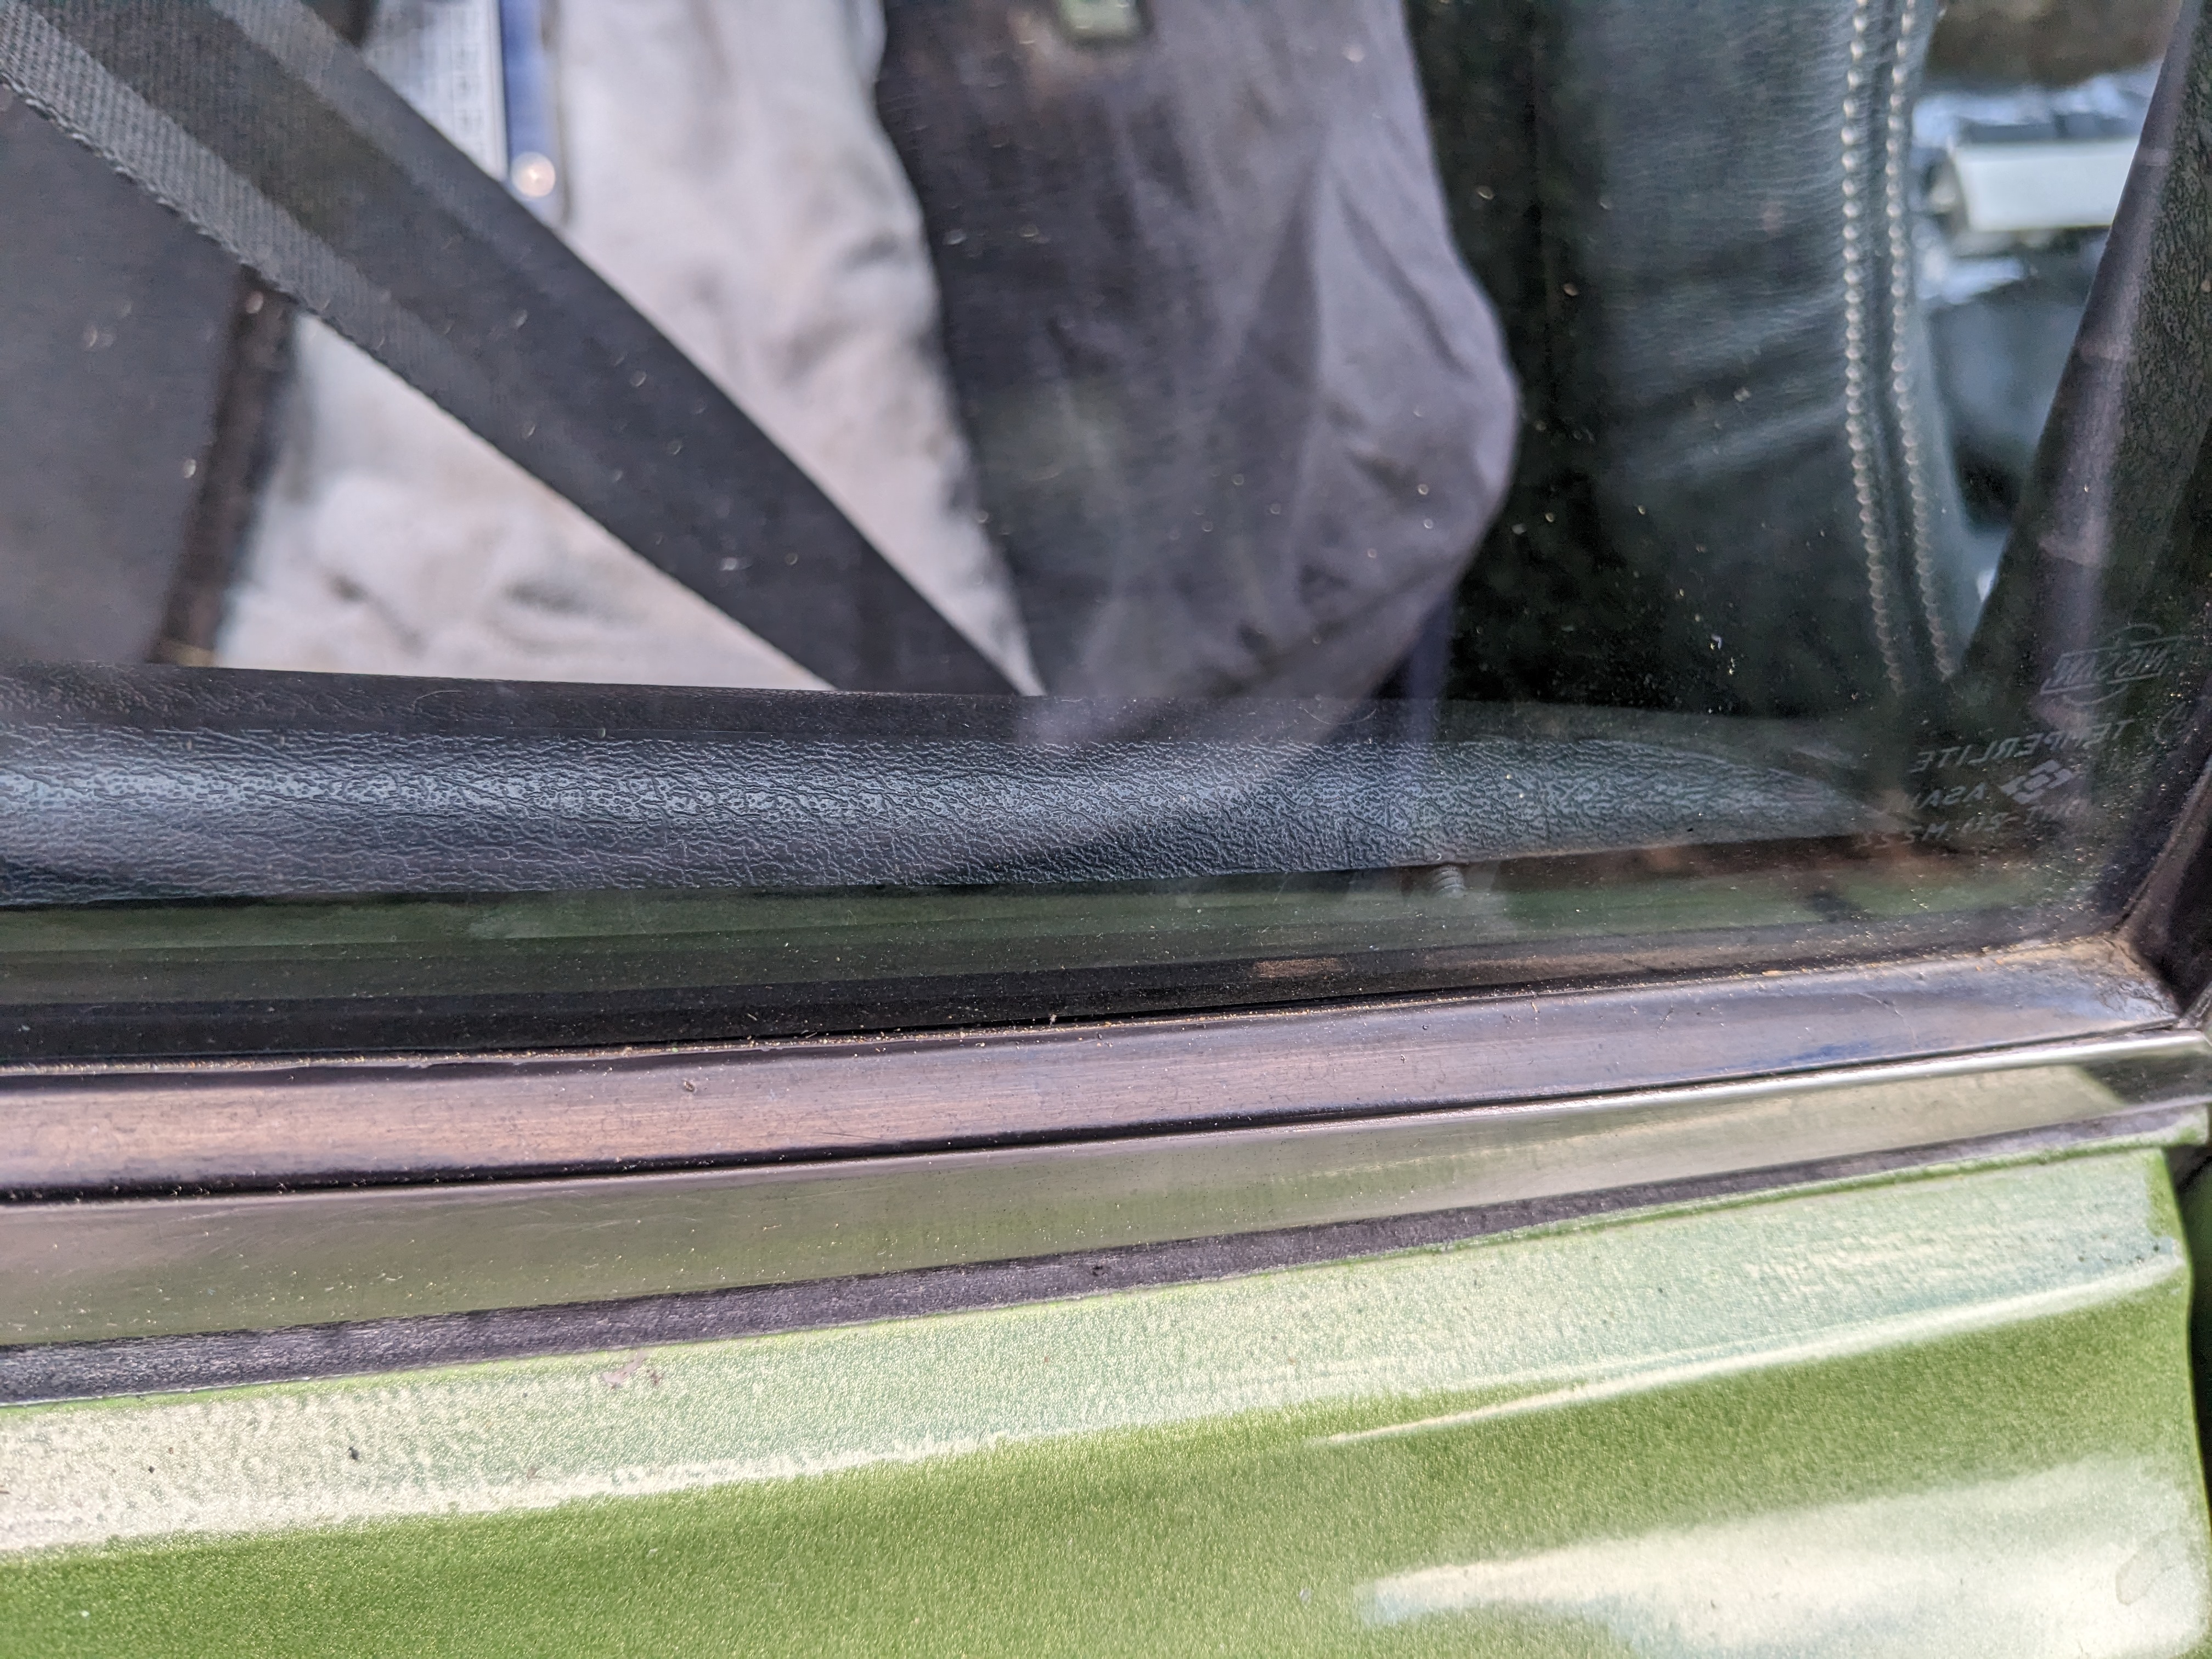
Got the hatch outer upper seal rebounded with the black super weatherstrip glue. I'm leaving the hatch off for another day to make sure the glue is fully set this time

spacer.png


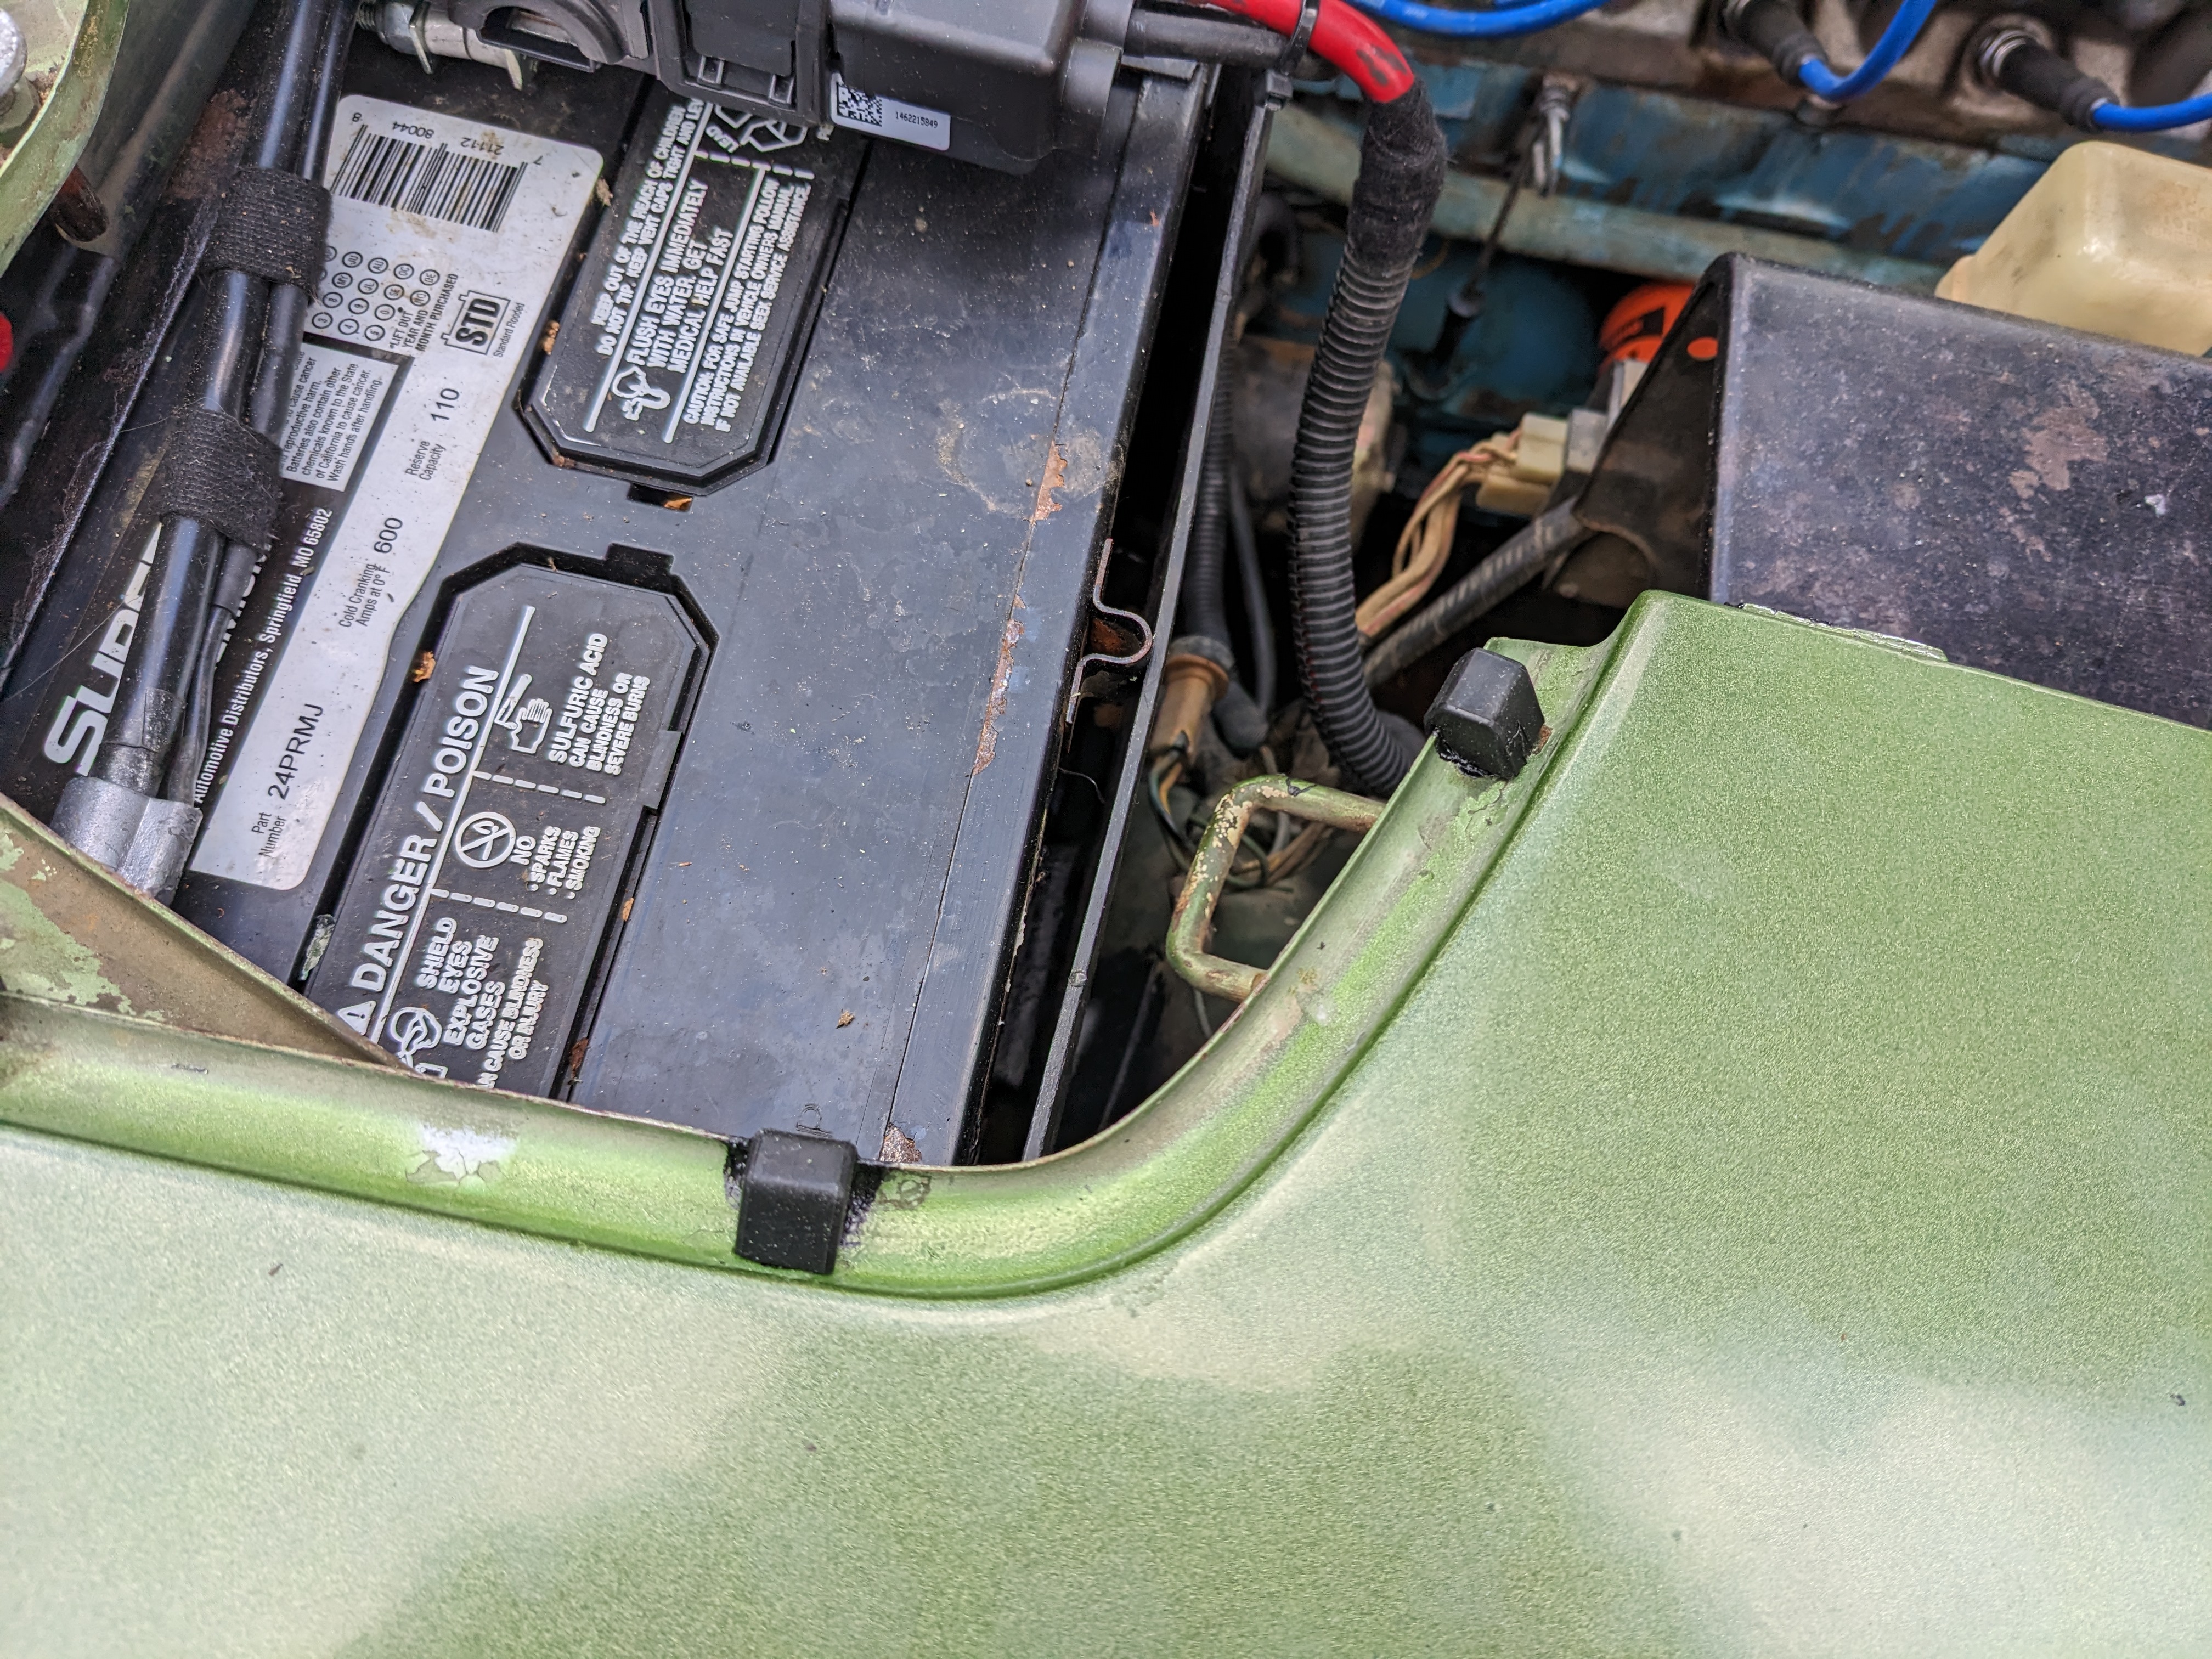
side panel buffers in

spacer.png


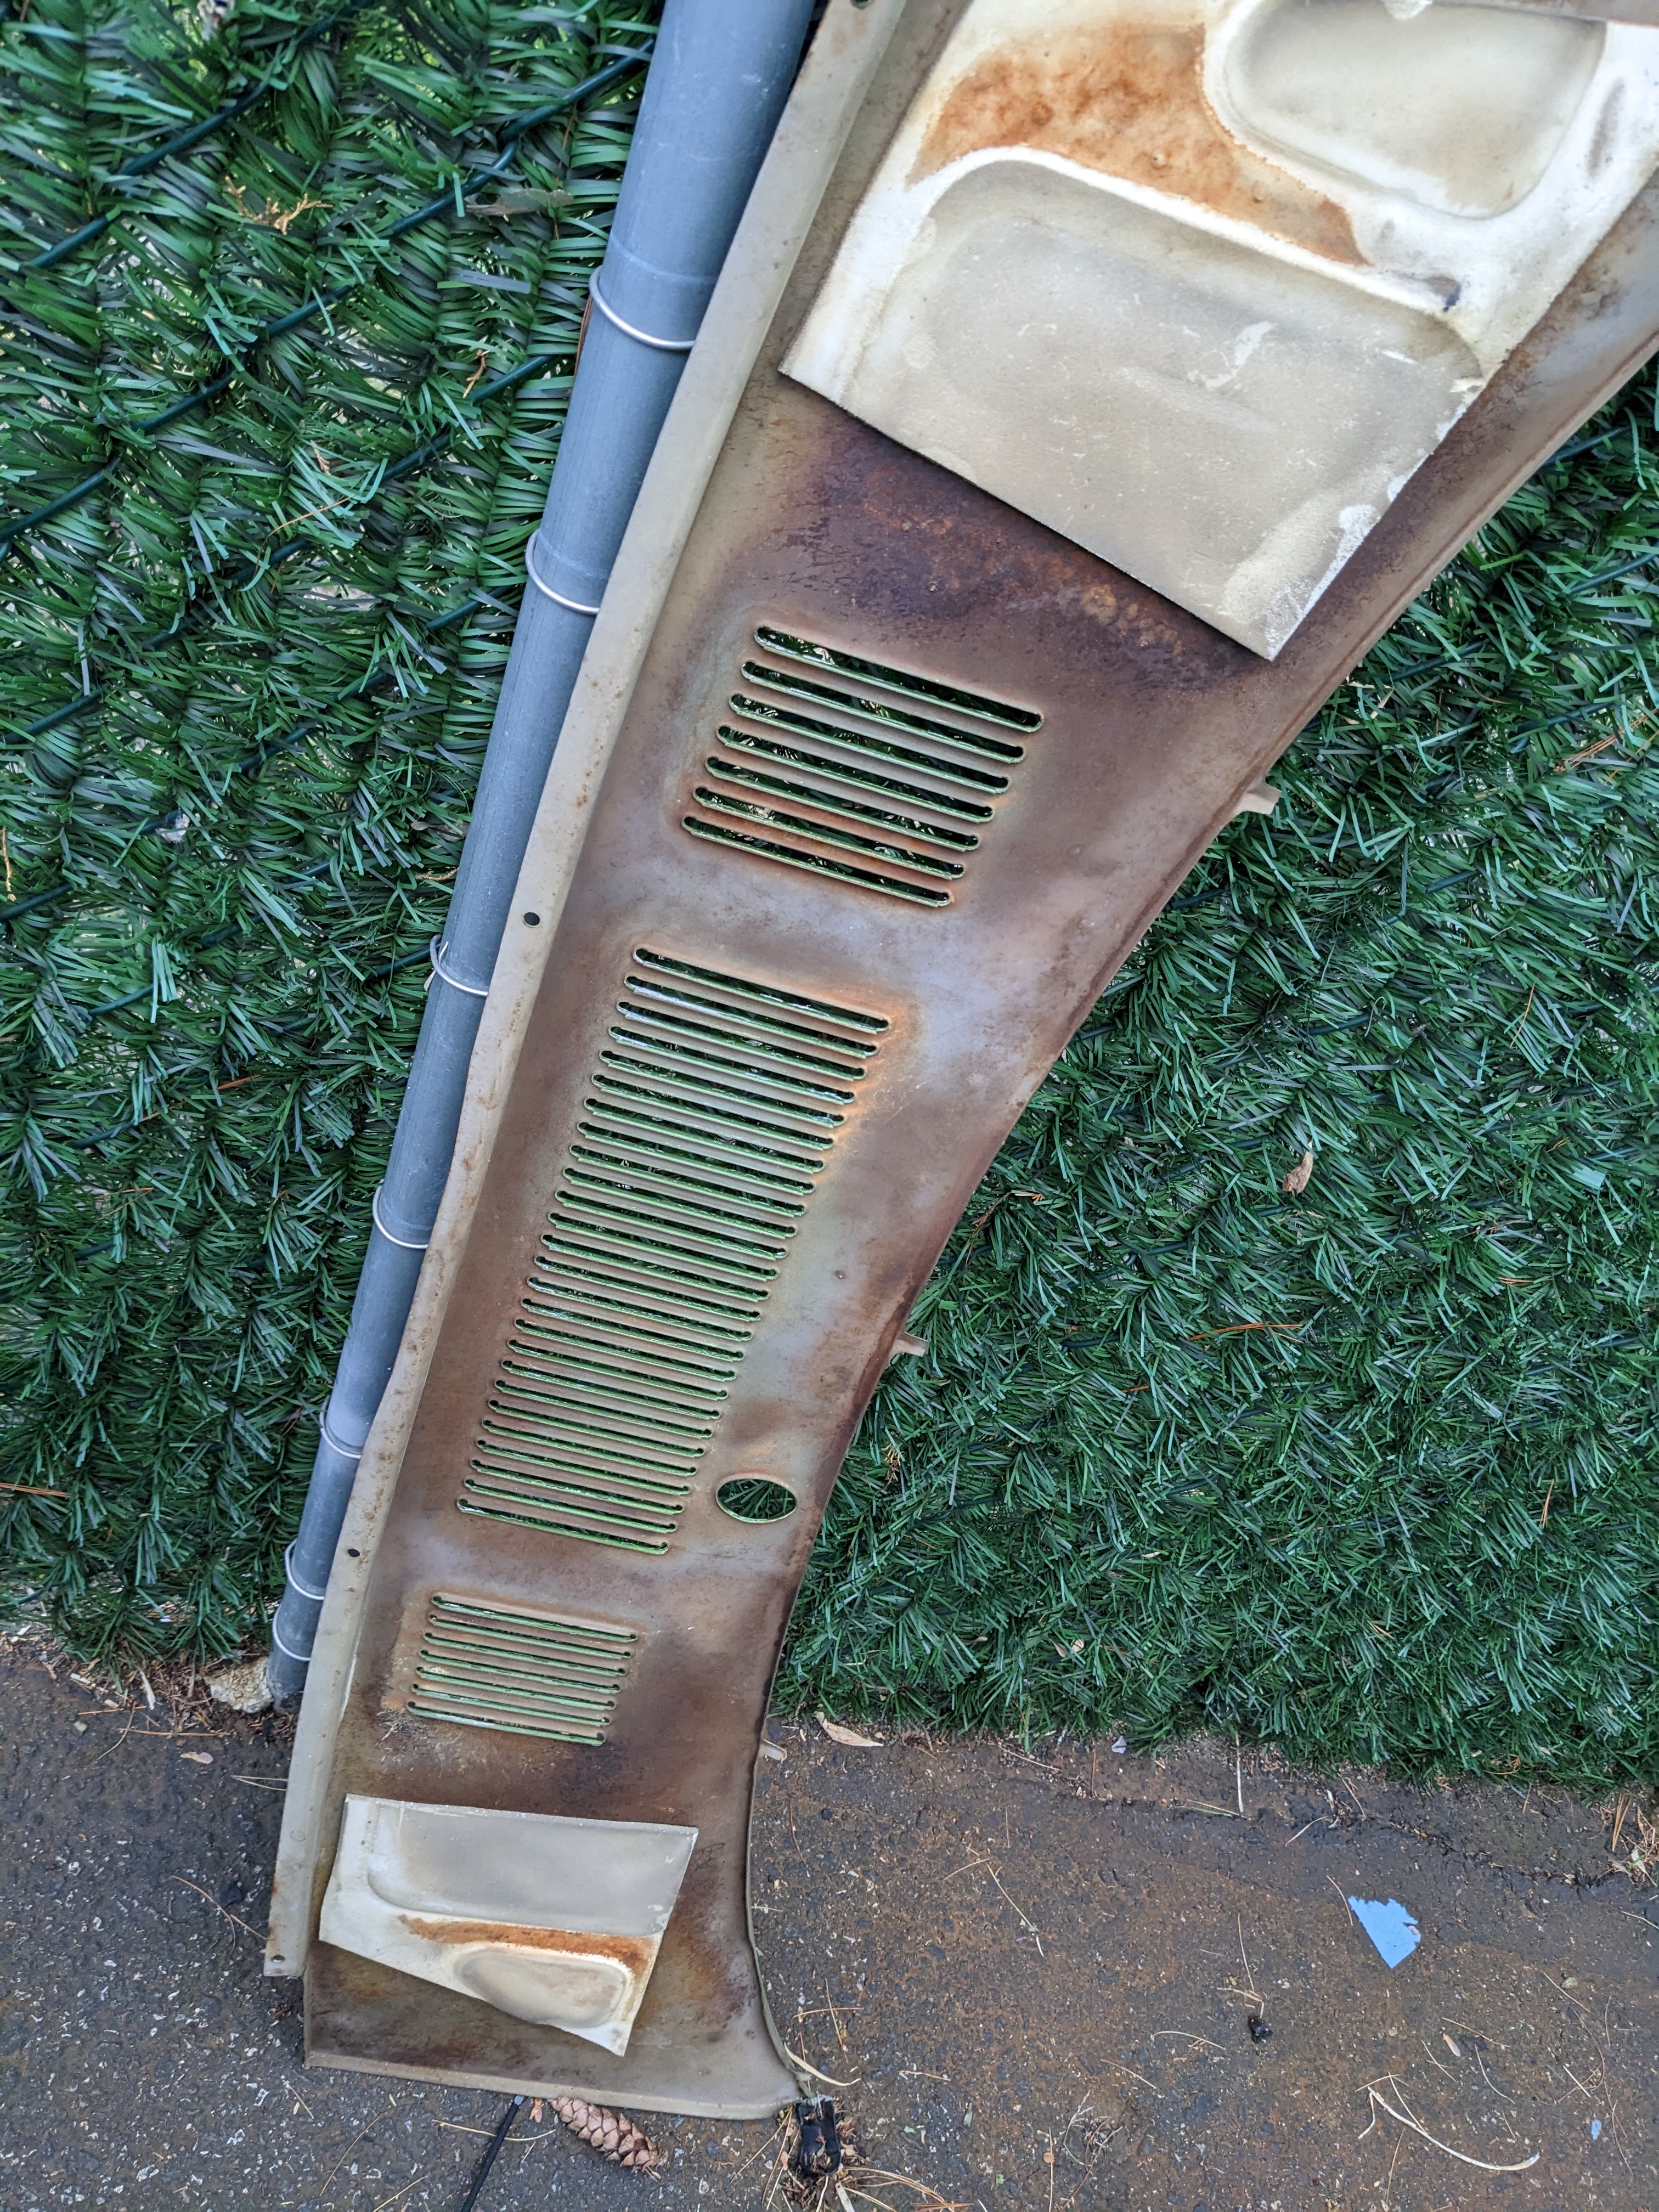
I was going to do the cowl seal, but there was a little surface rust along the inner lip, so I took the cowl off & got sidetracked cleaning off the surface rust in the cowl & used Rustoleum Rust Restorer on it. Really hard to wire brush up under the cowl under the base of the windshield

spacer.png


looked much like the underside of the cowl prior to cleanup

spacer.png


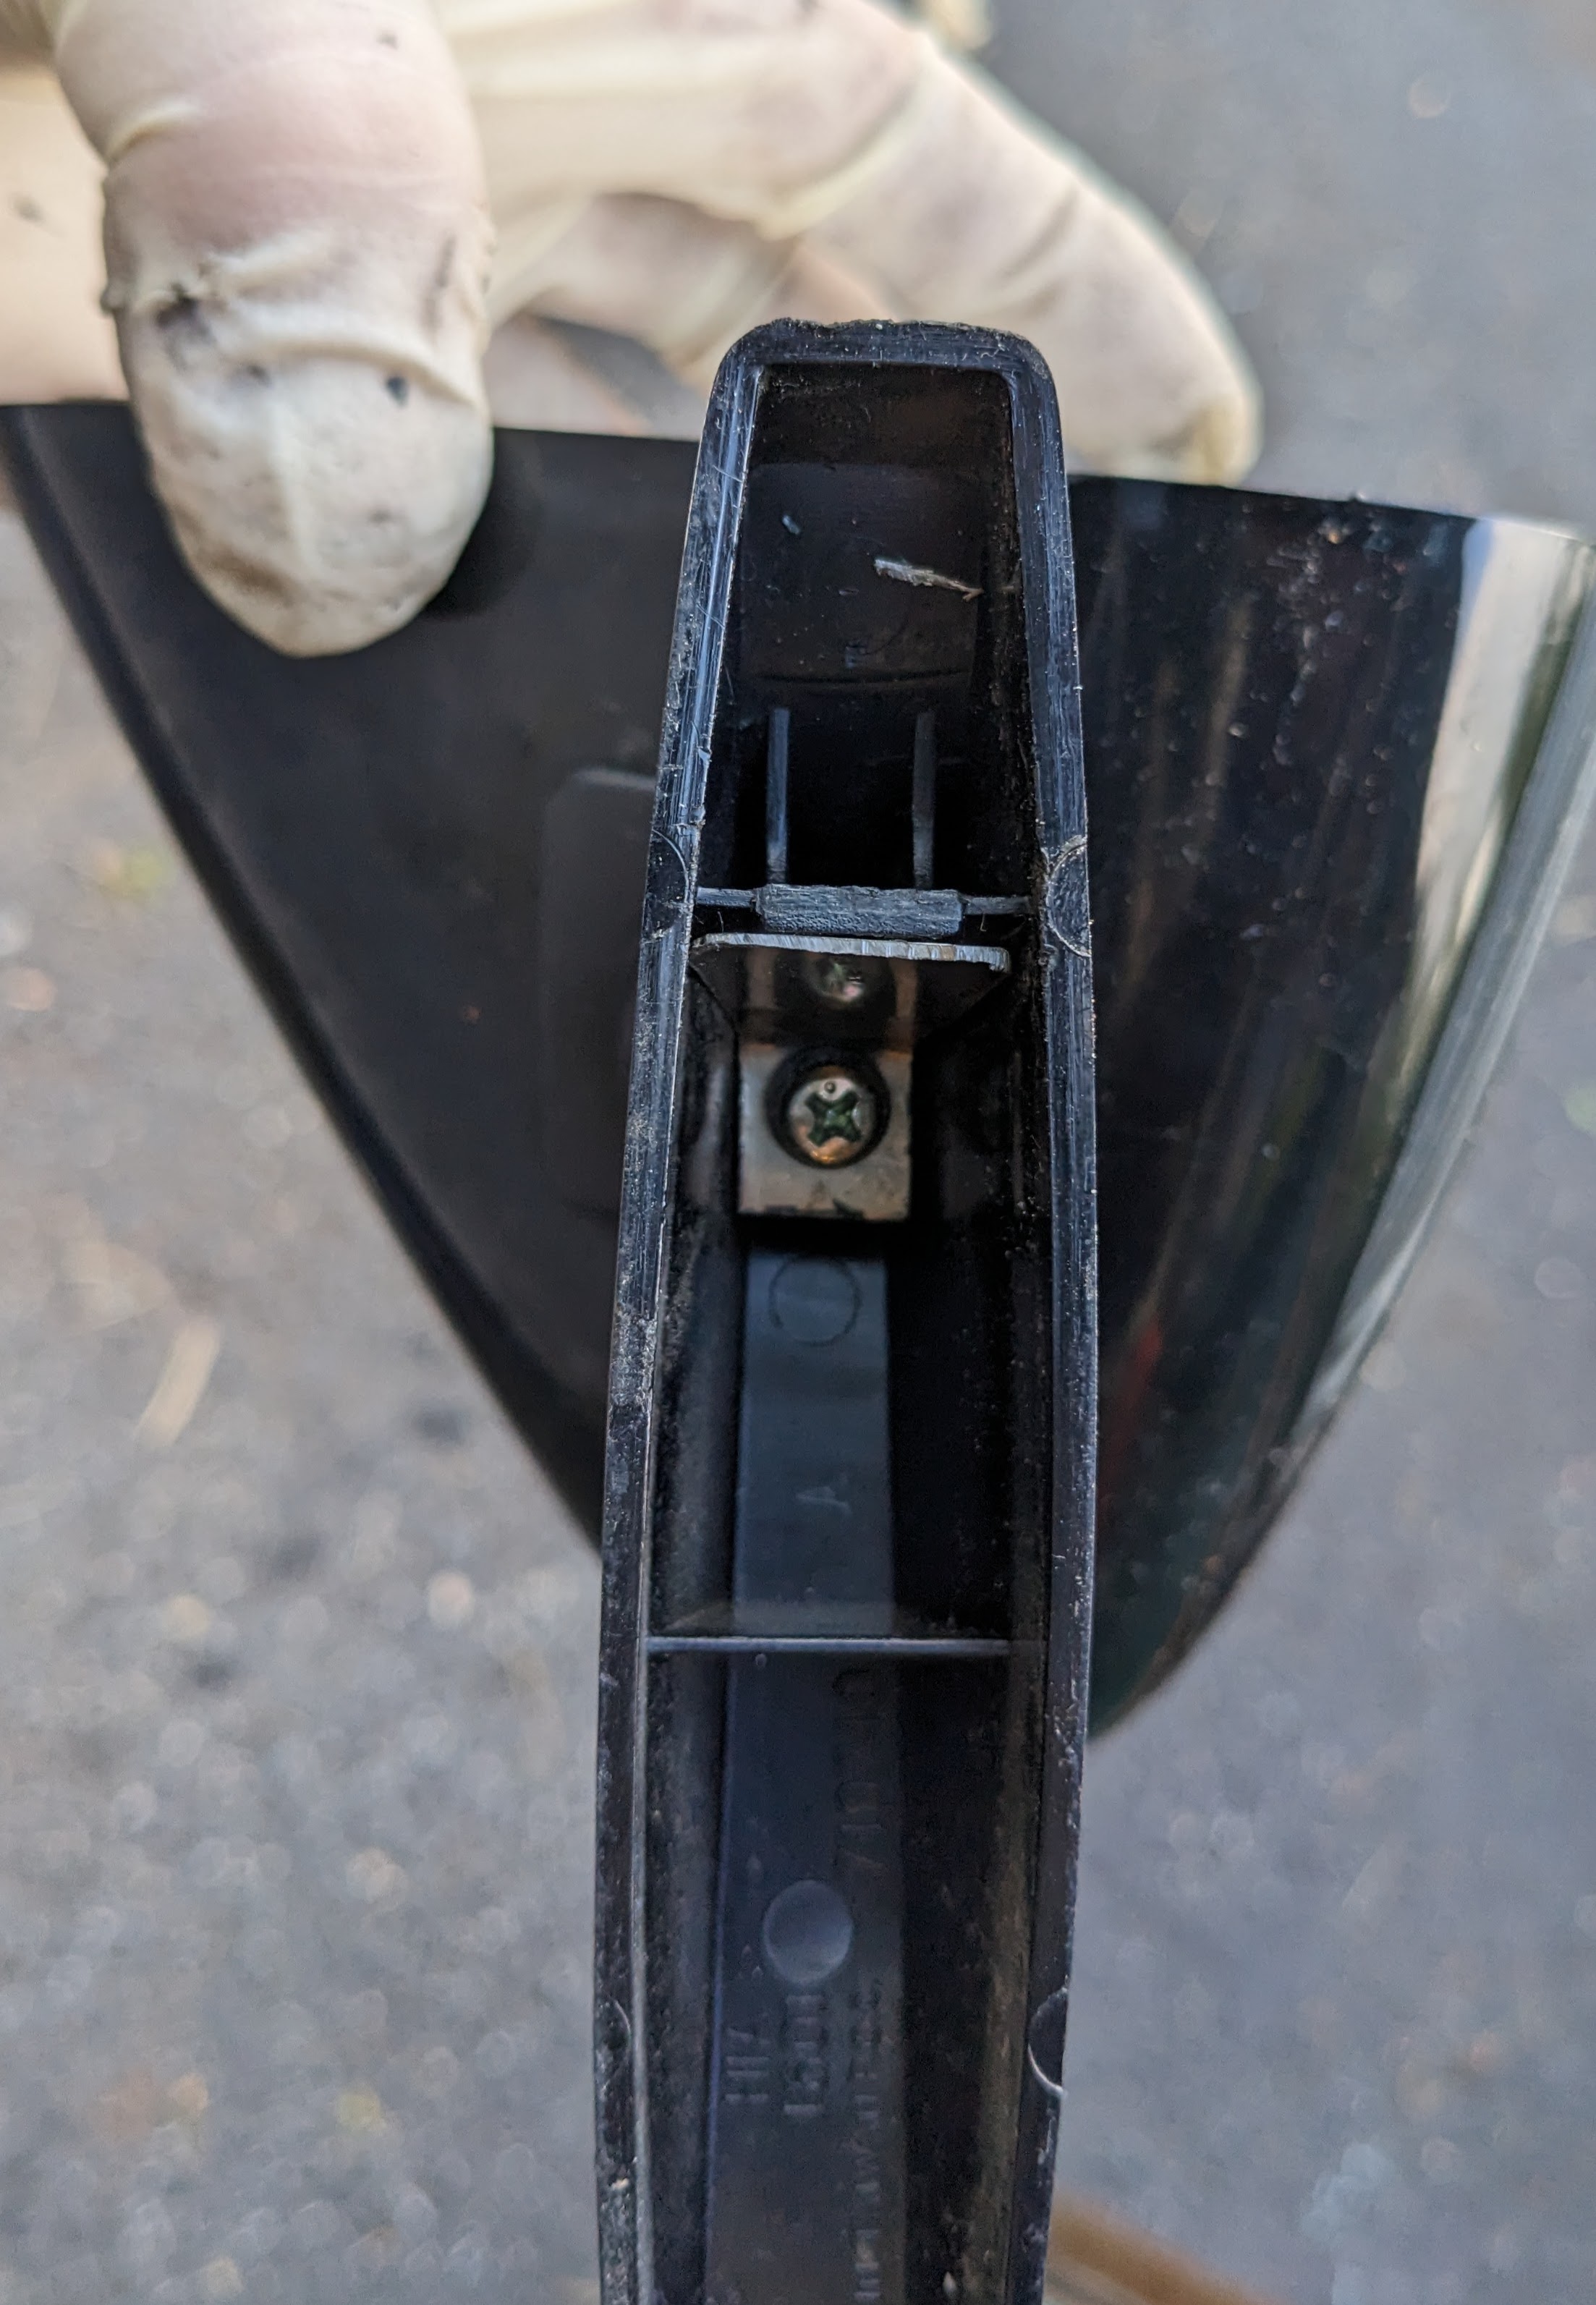
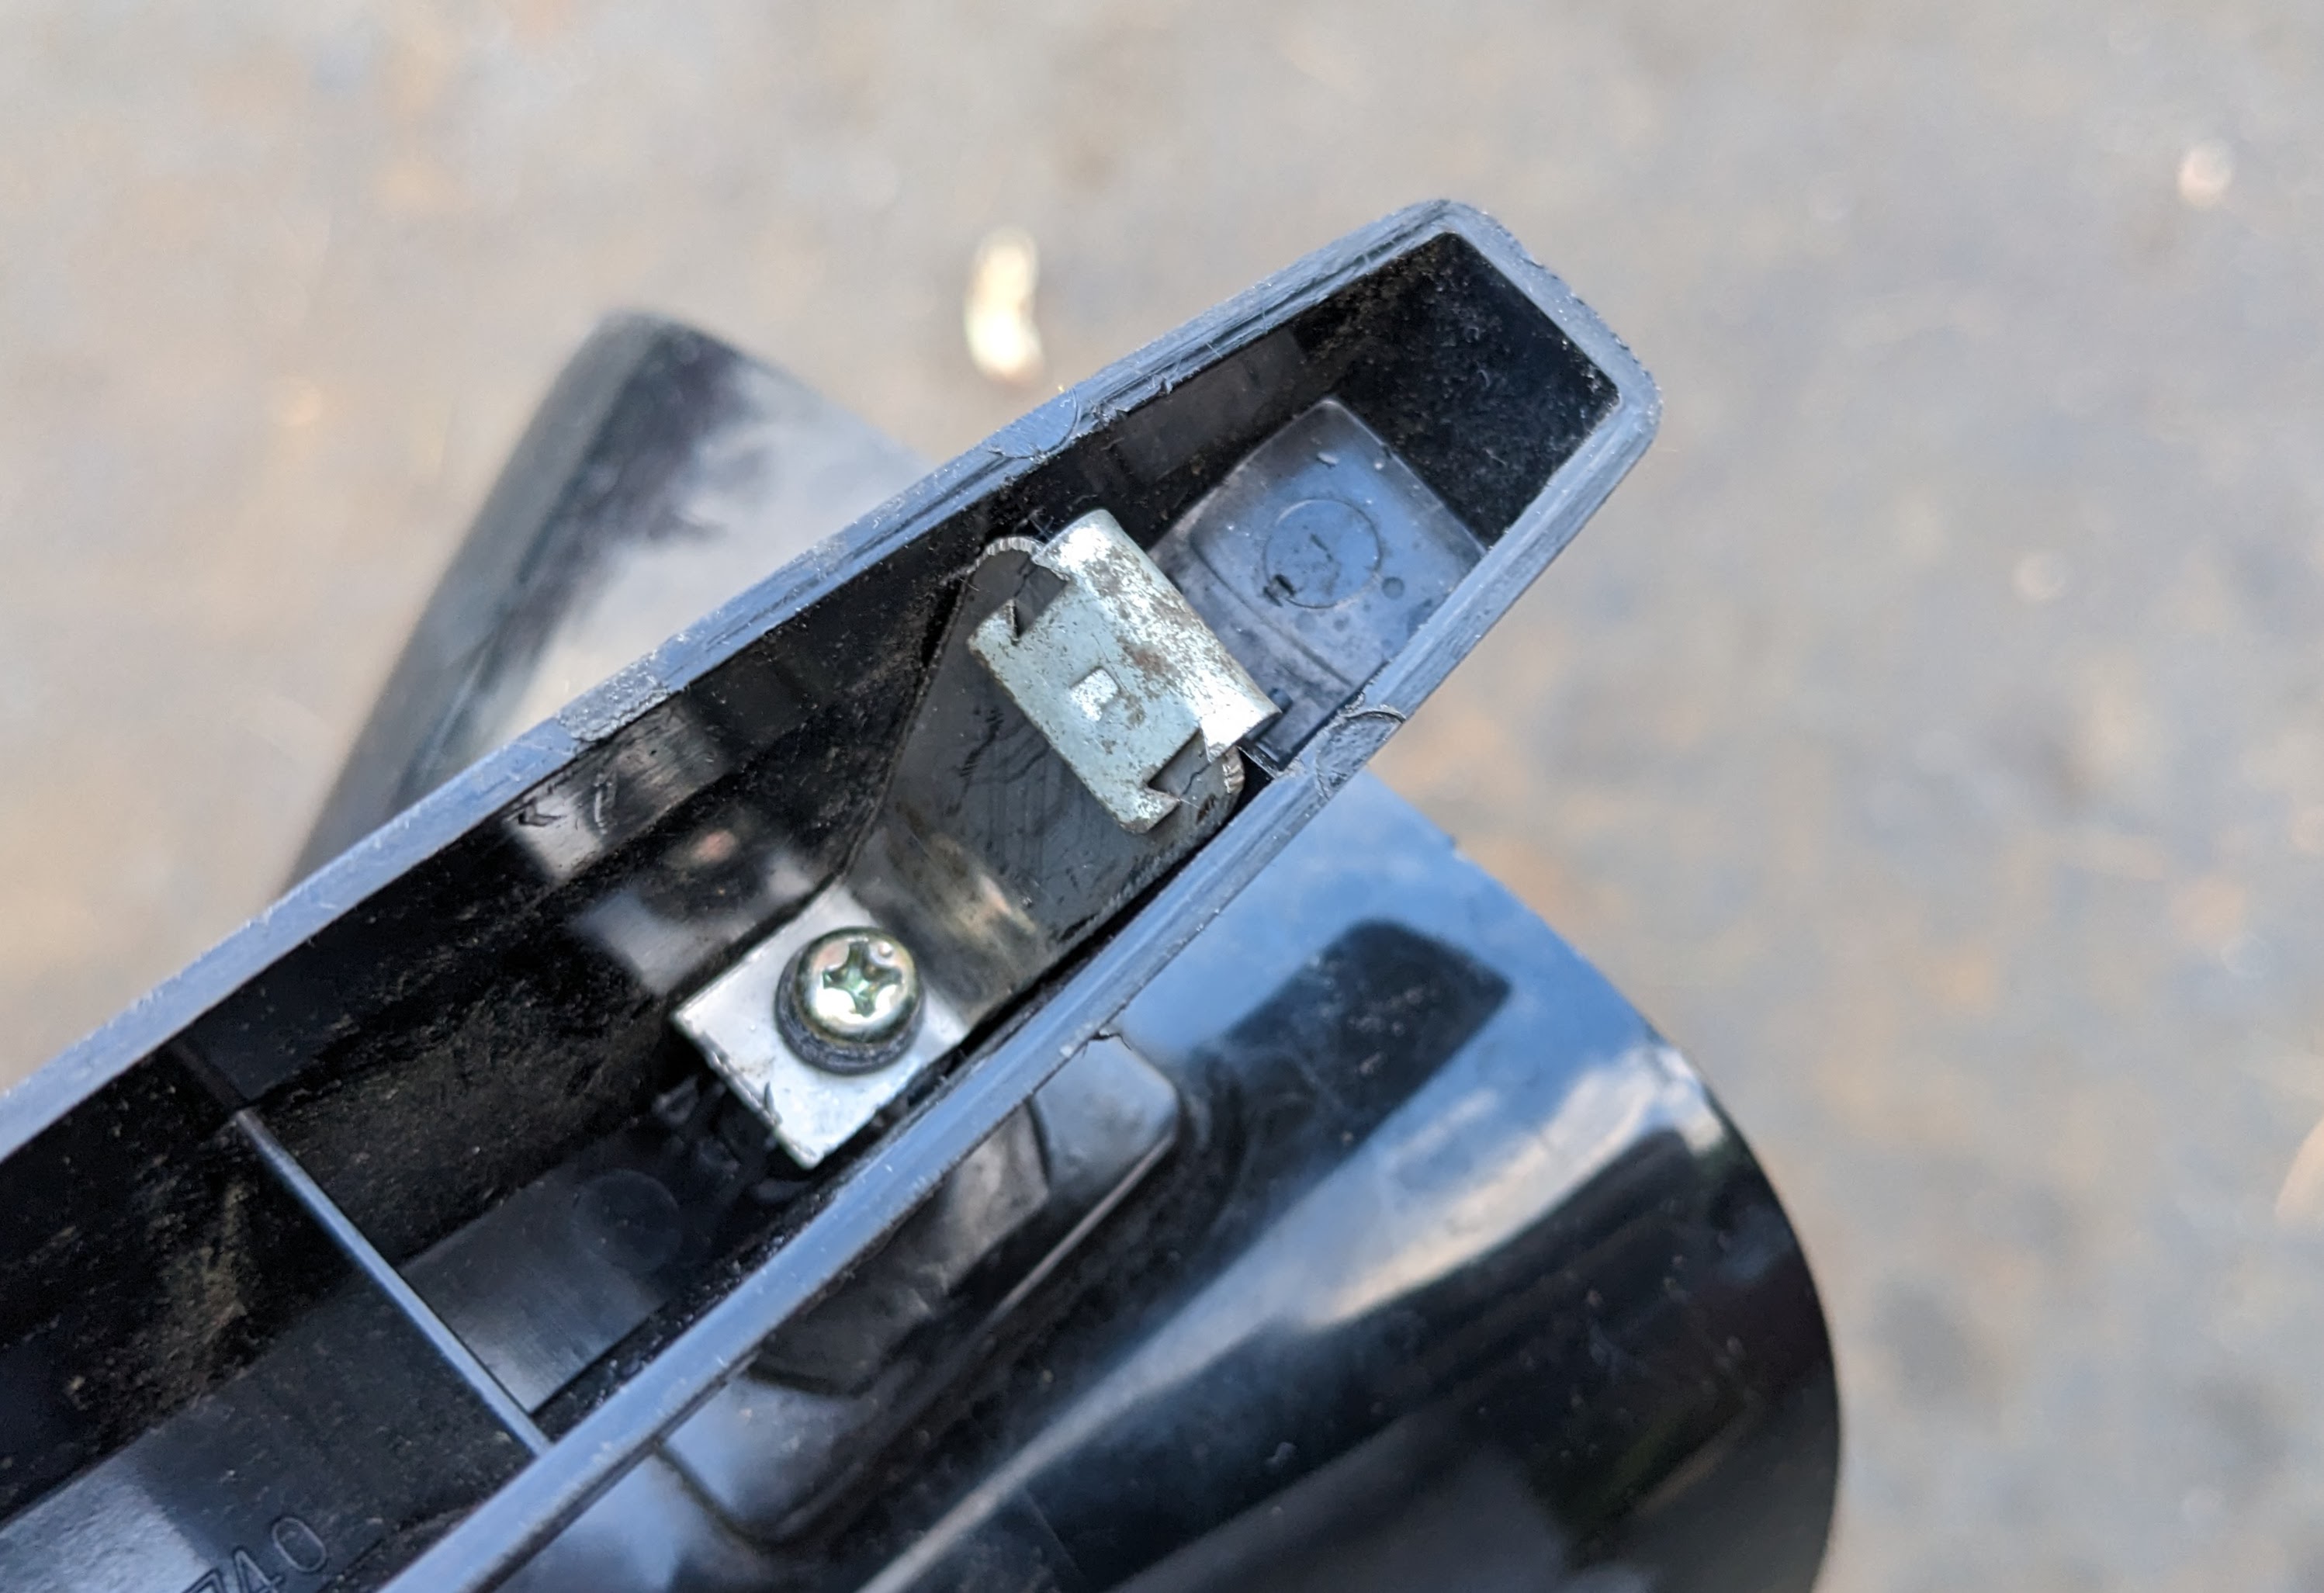
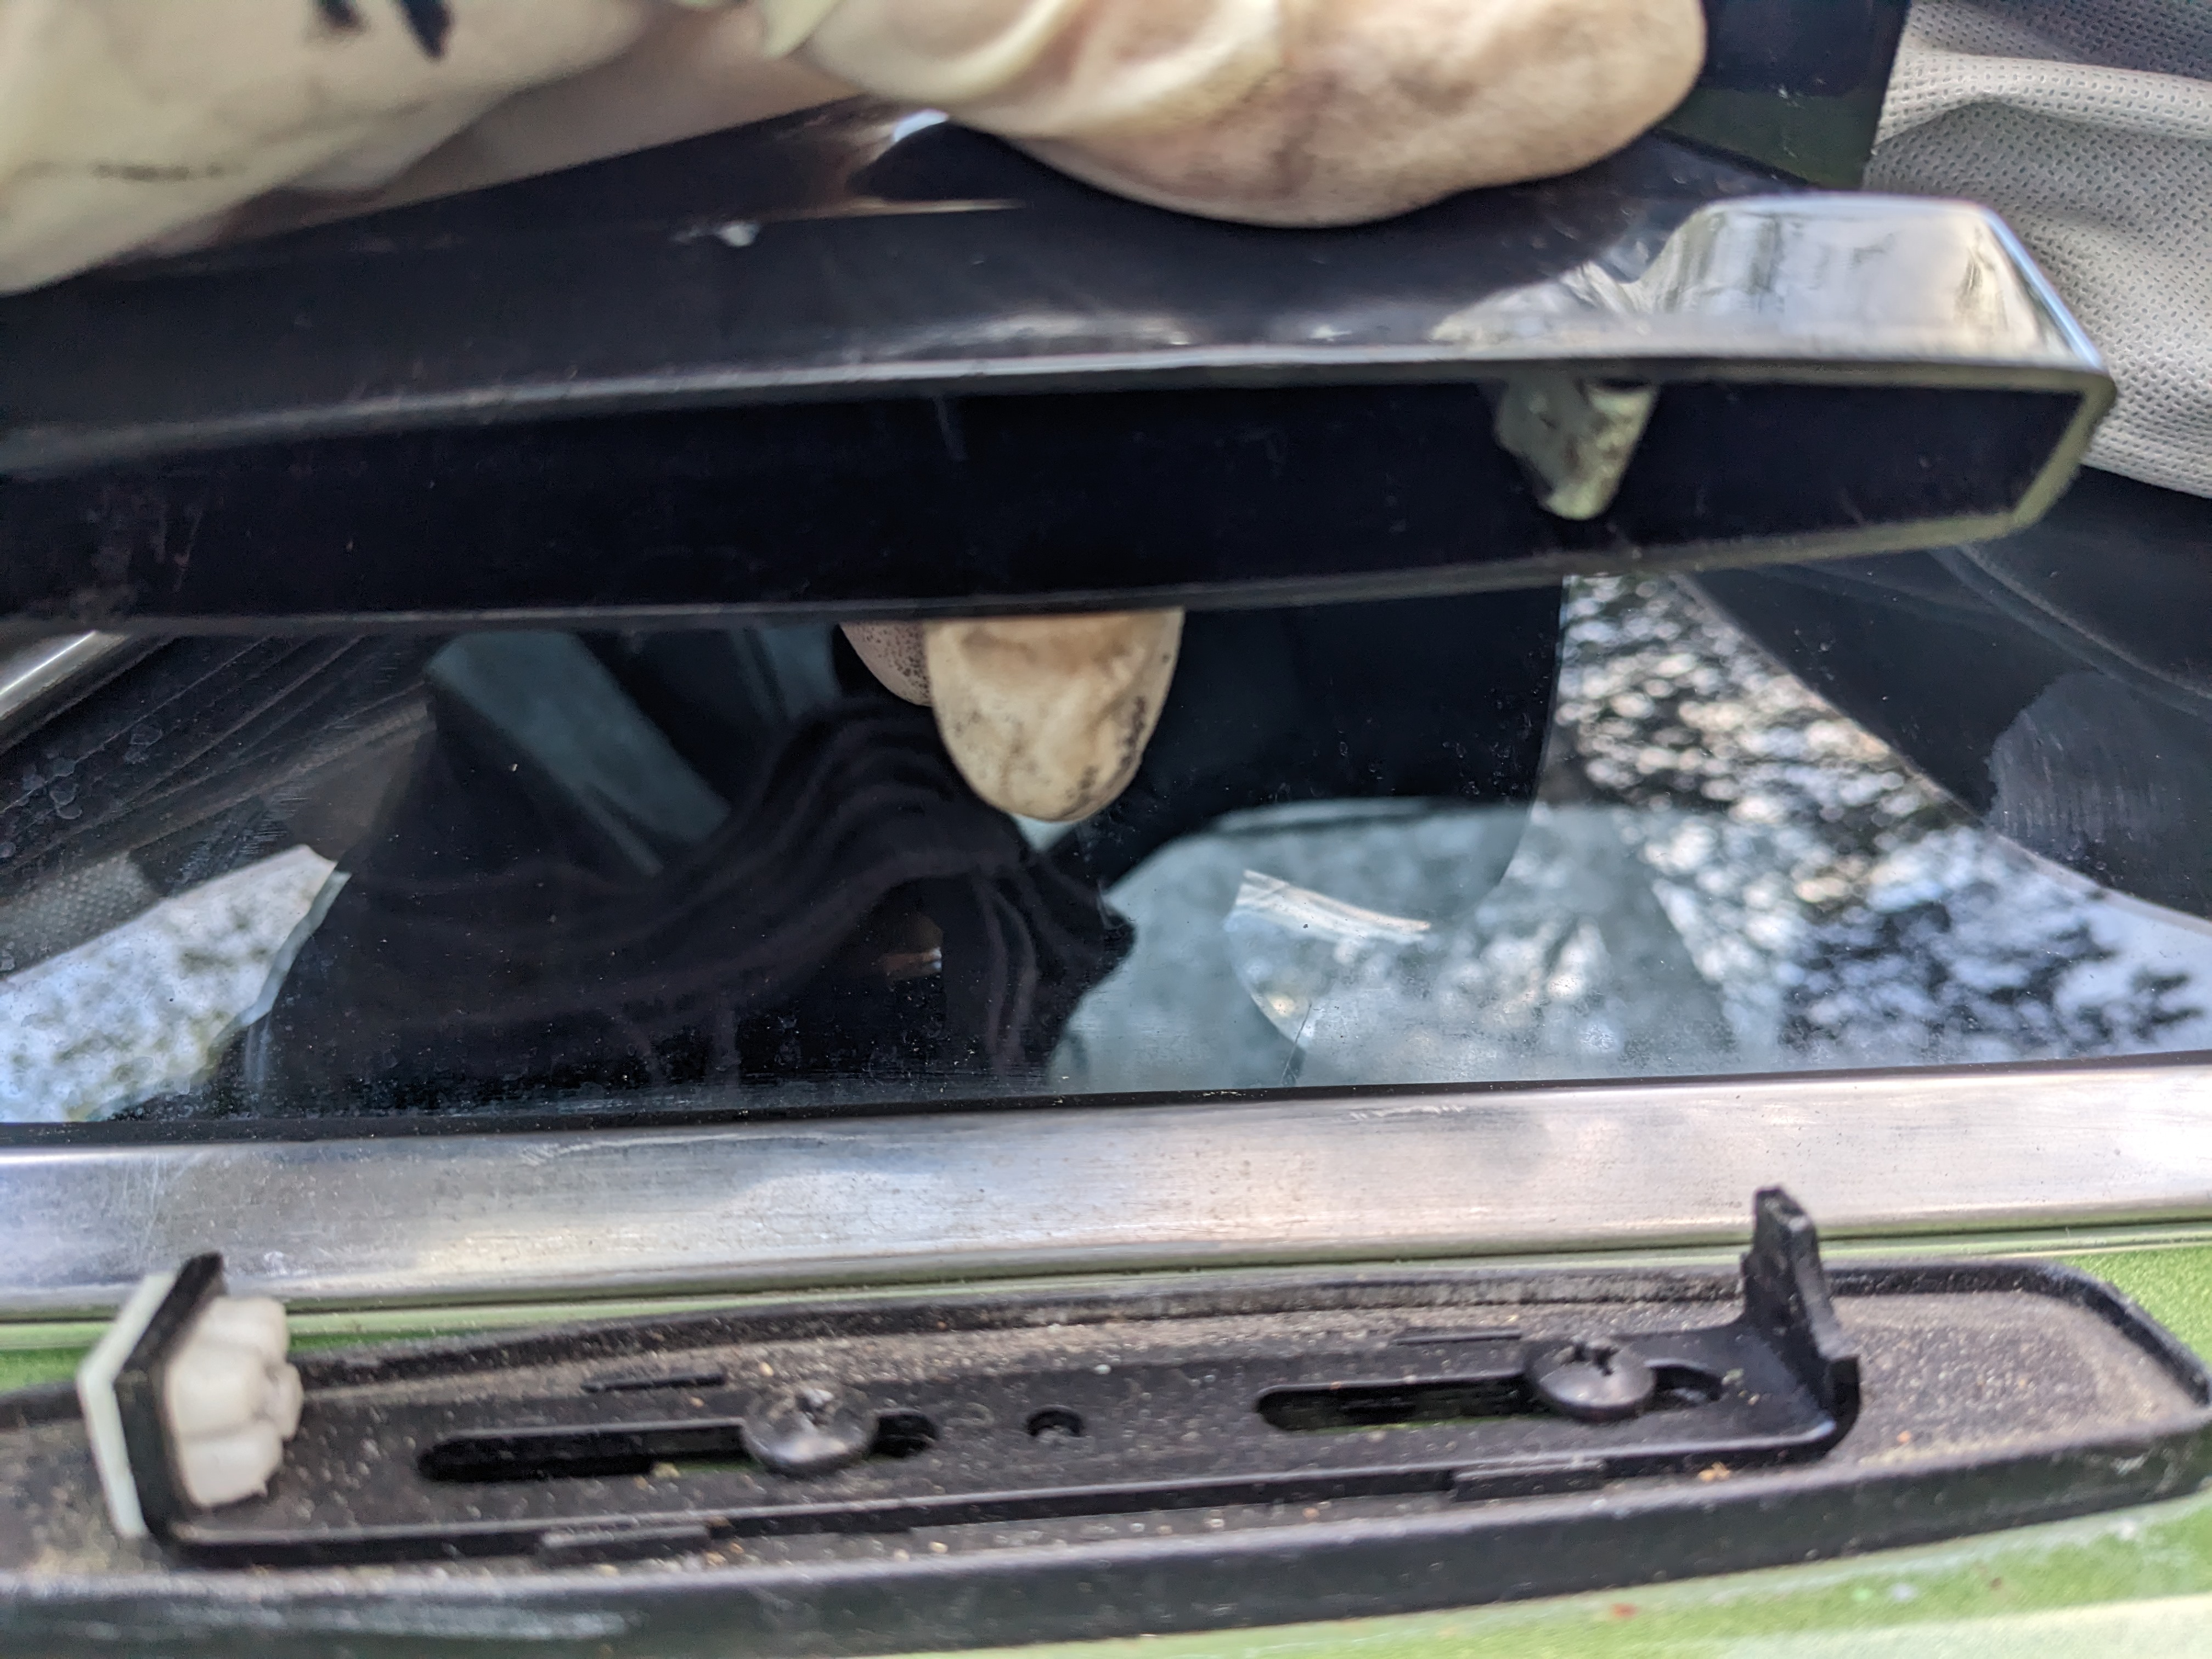
slamming the door with the new seal caused stress on the mirror mount - the plastic inset broke. I made a SS plate to reinforce it, glued the original piece back in place, and added a retaining clip to join the two

spacer.png


retaining clip

spacer.png


reinstall
spacer.png


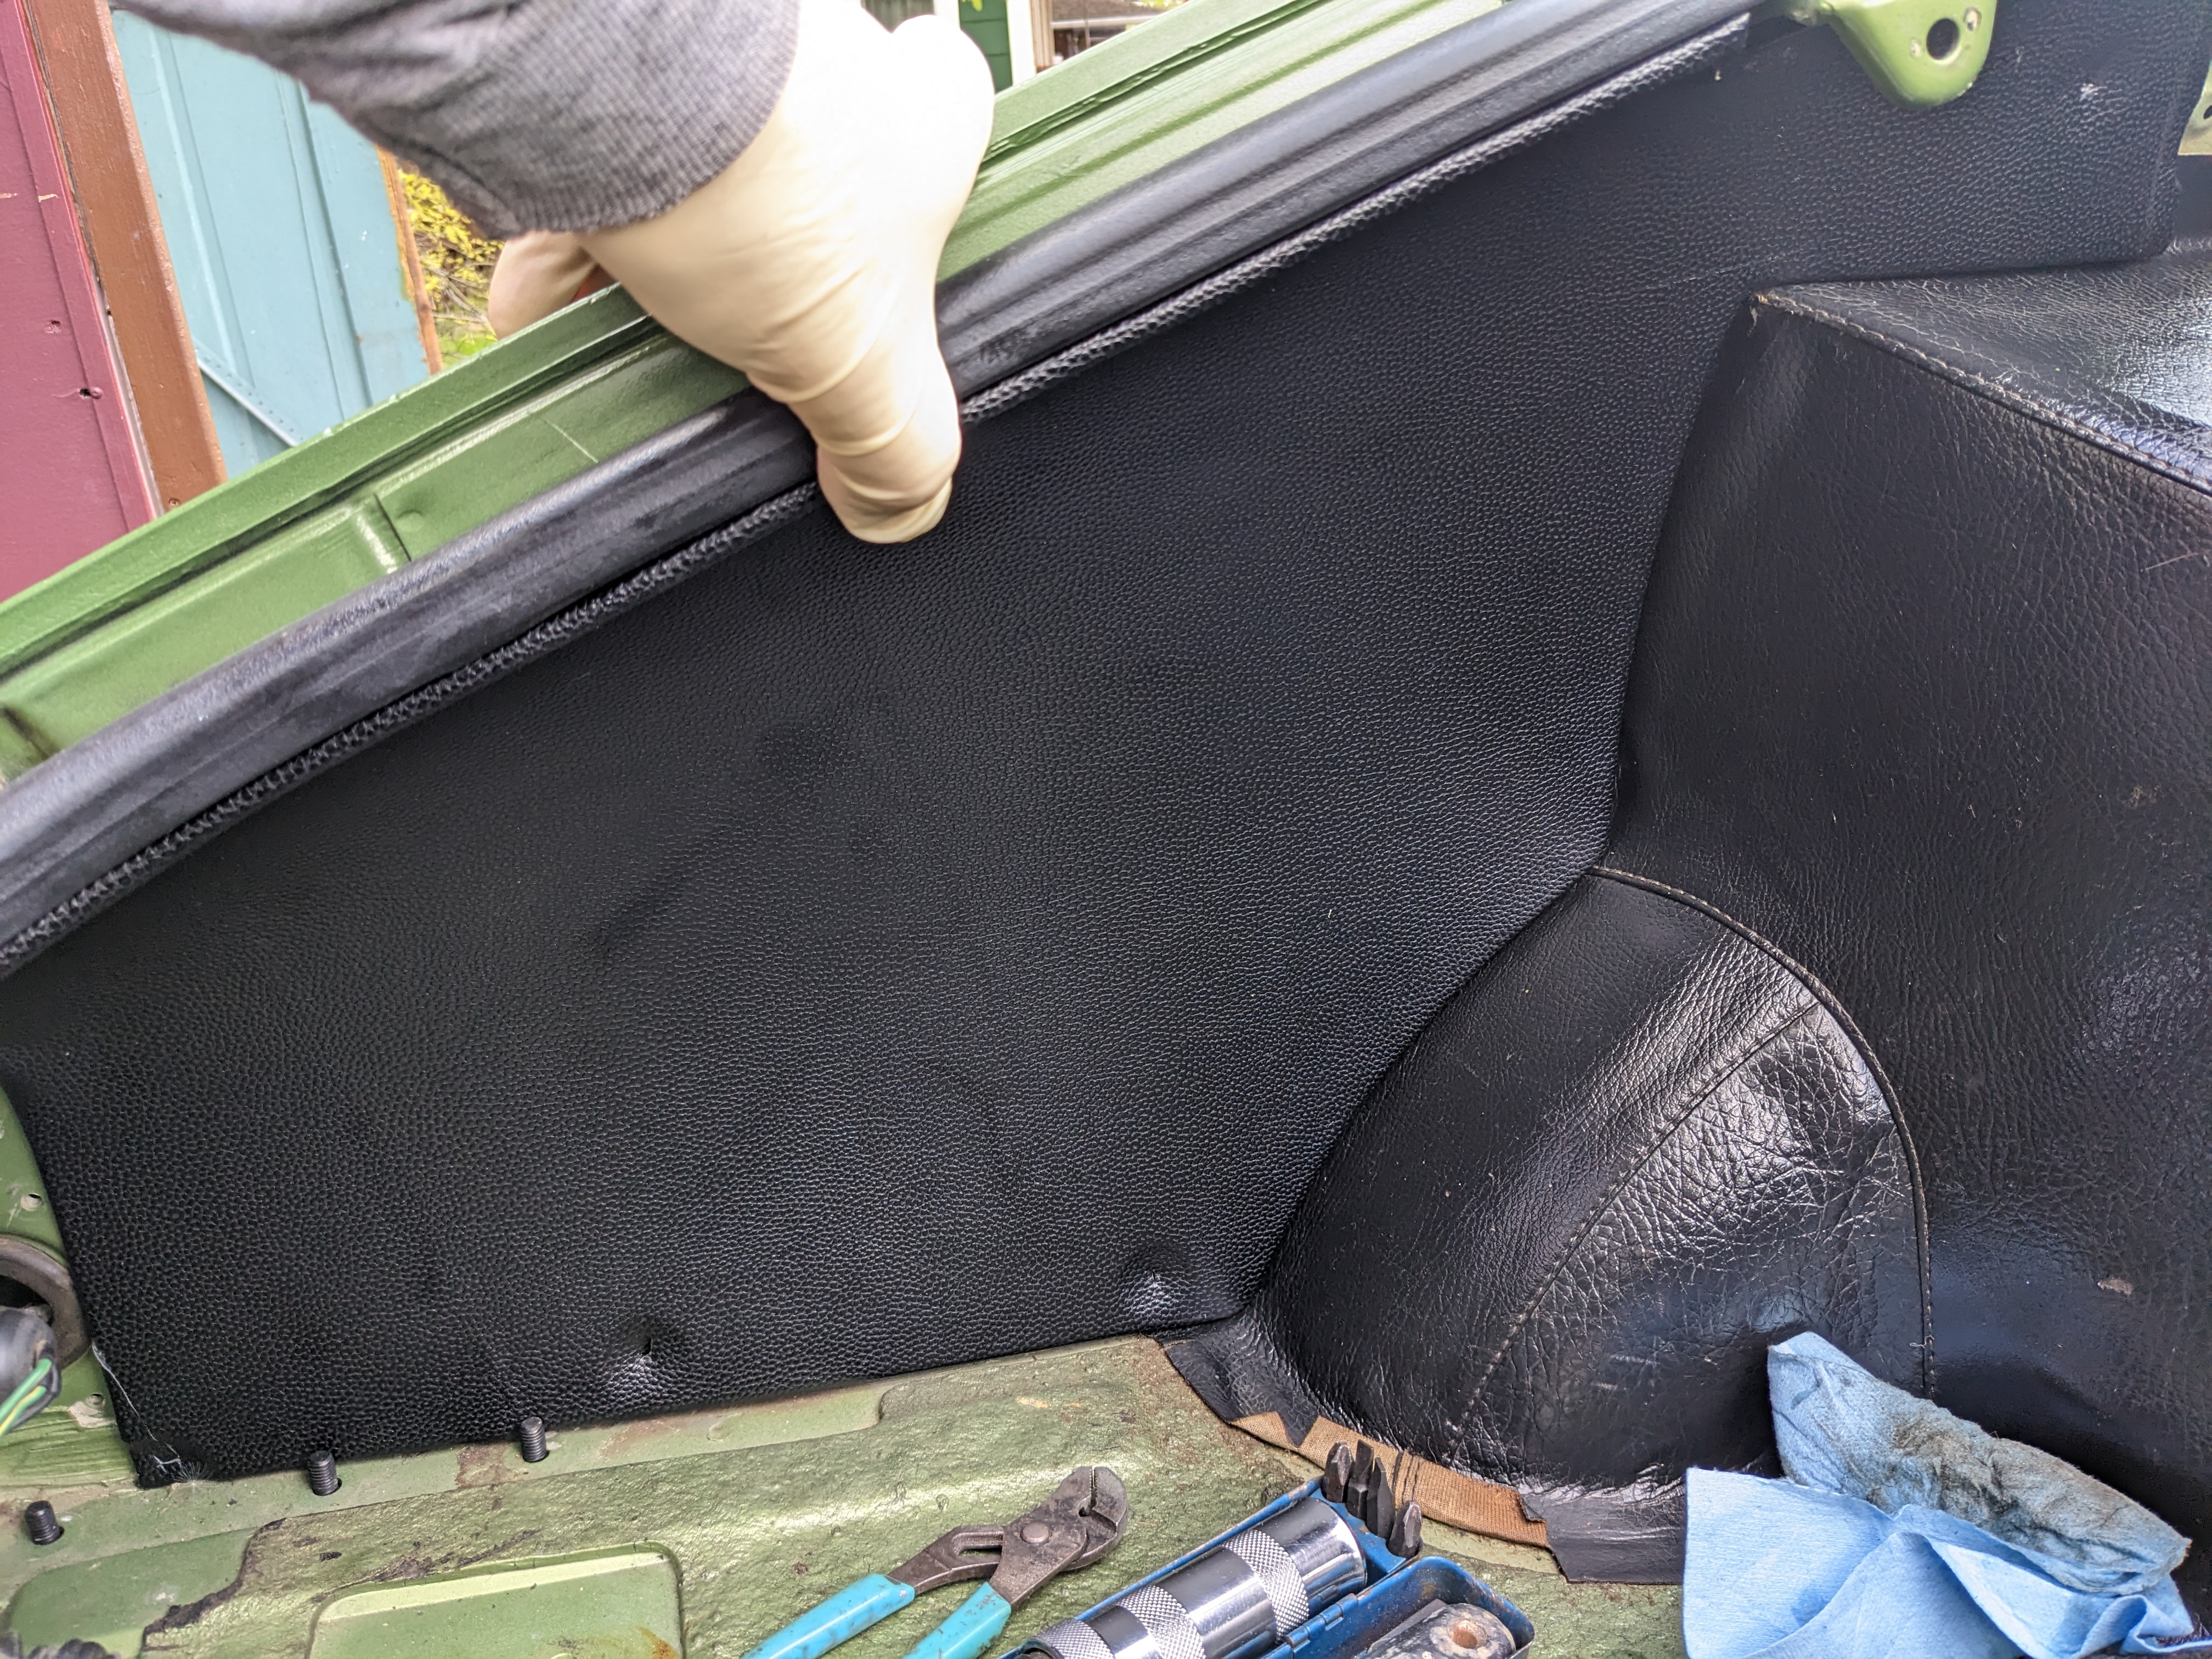
test fitting the 1/4 inner panel - the lip covers the exposed opening

spacer.png


spacer.png


original gap (pass side) with screws visible

spacer.png


left hatch area panel test fit - note I did not re-introduce the speaker perforations in the bottom left. I'm not going to put speakers in the original locations anyway.

spacer.png


vent slots recut, retain clips in place

spacer.png


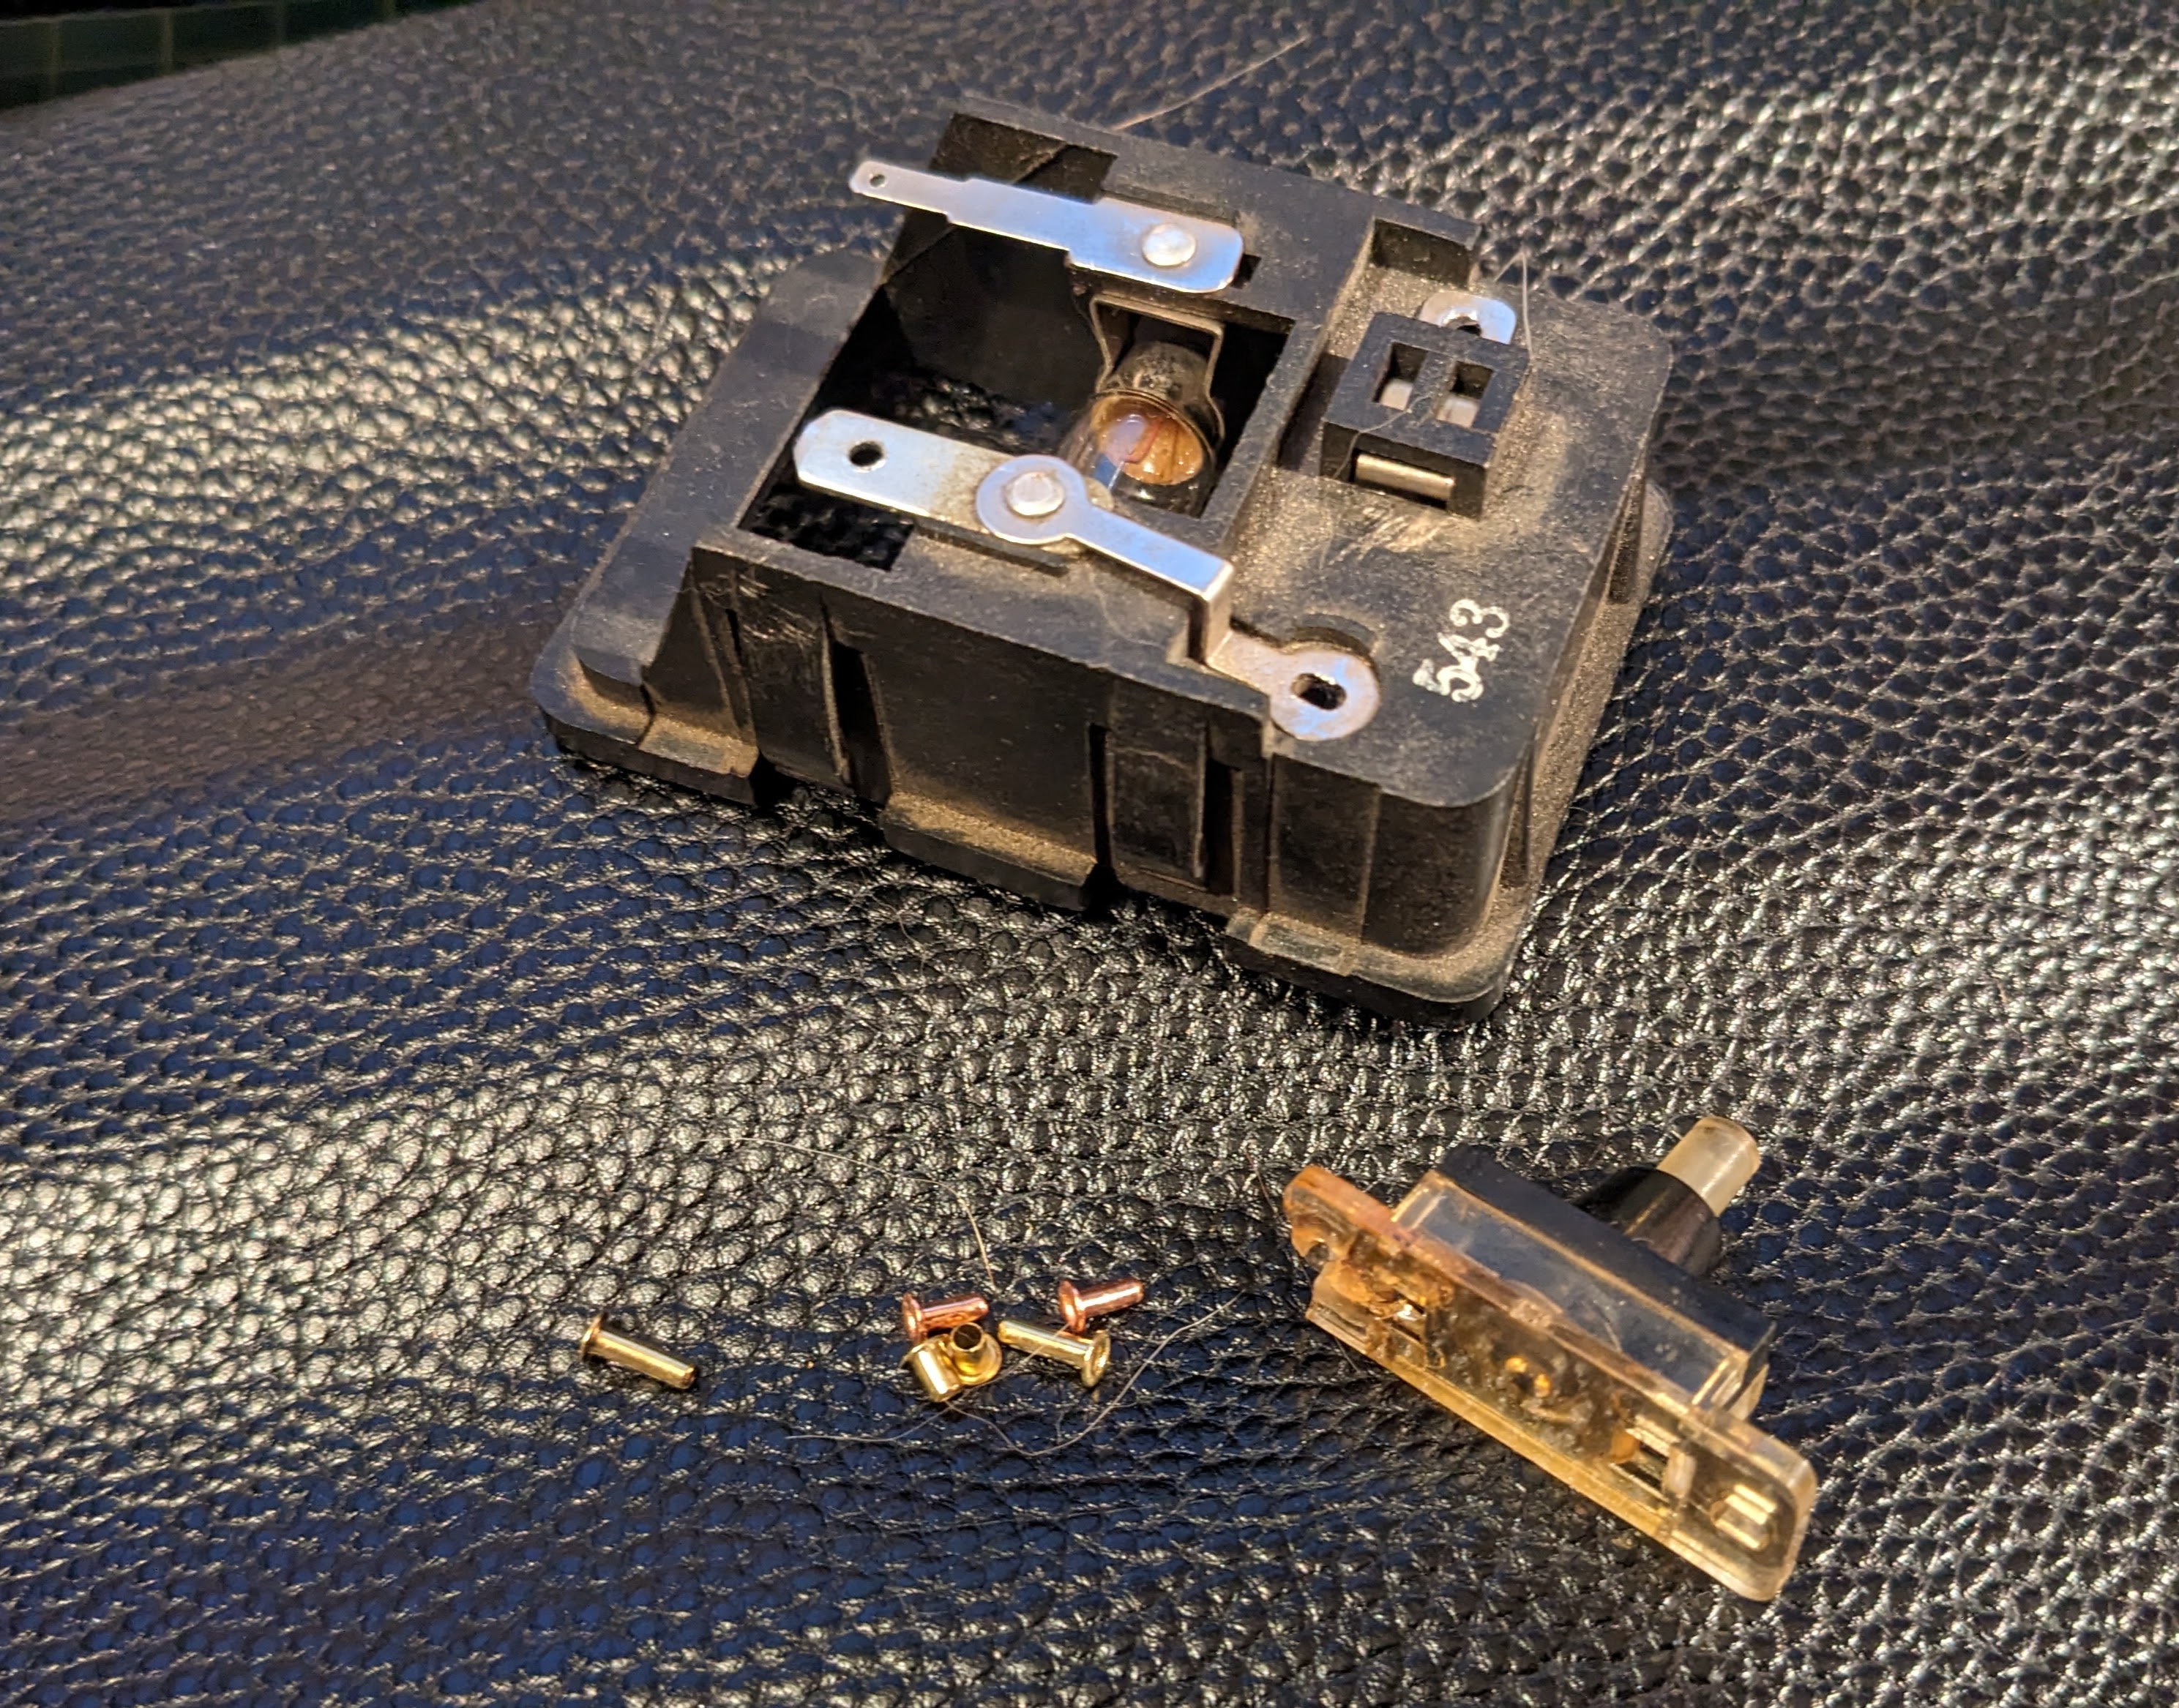
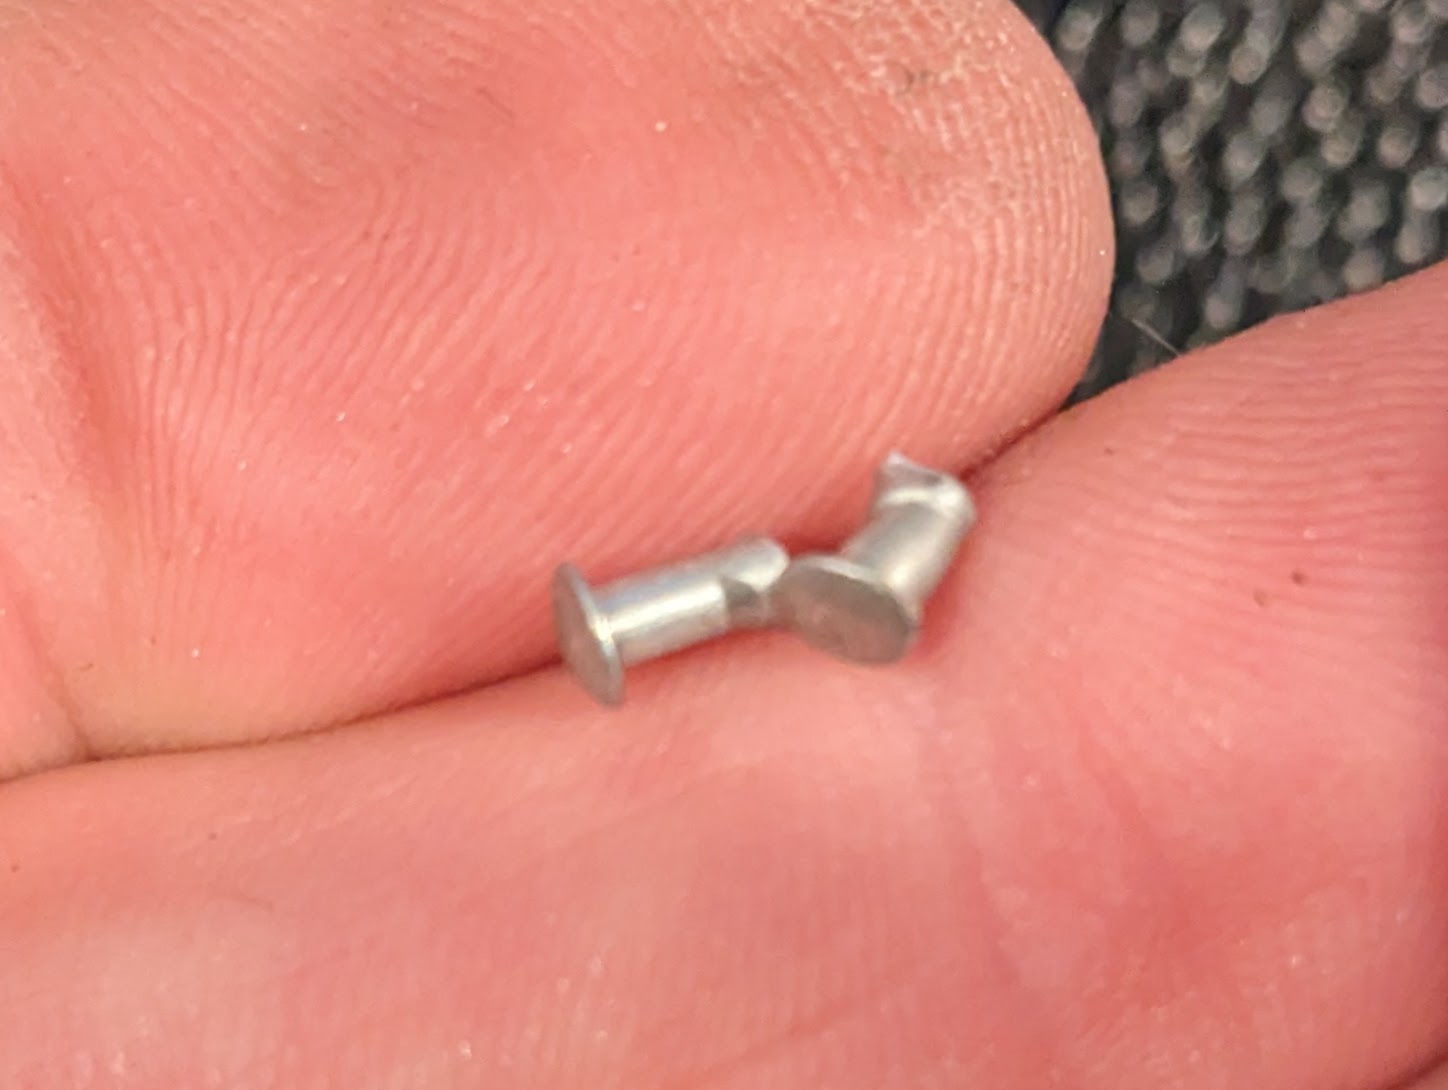
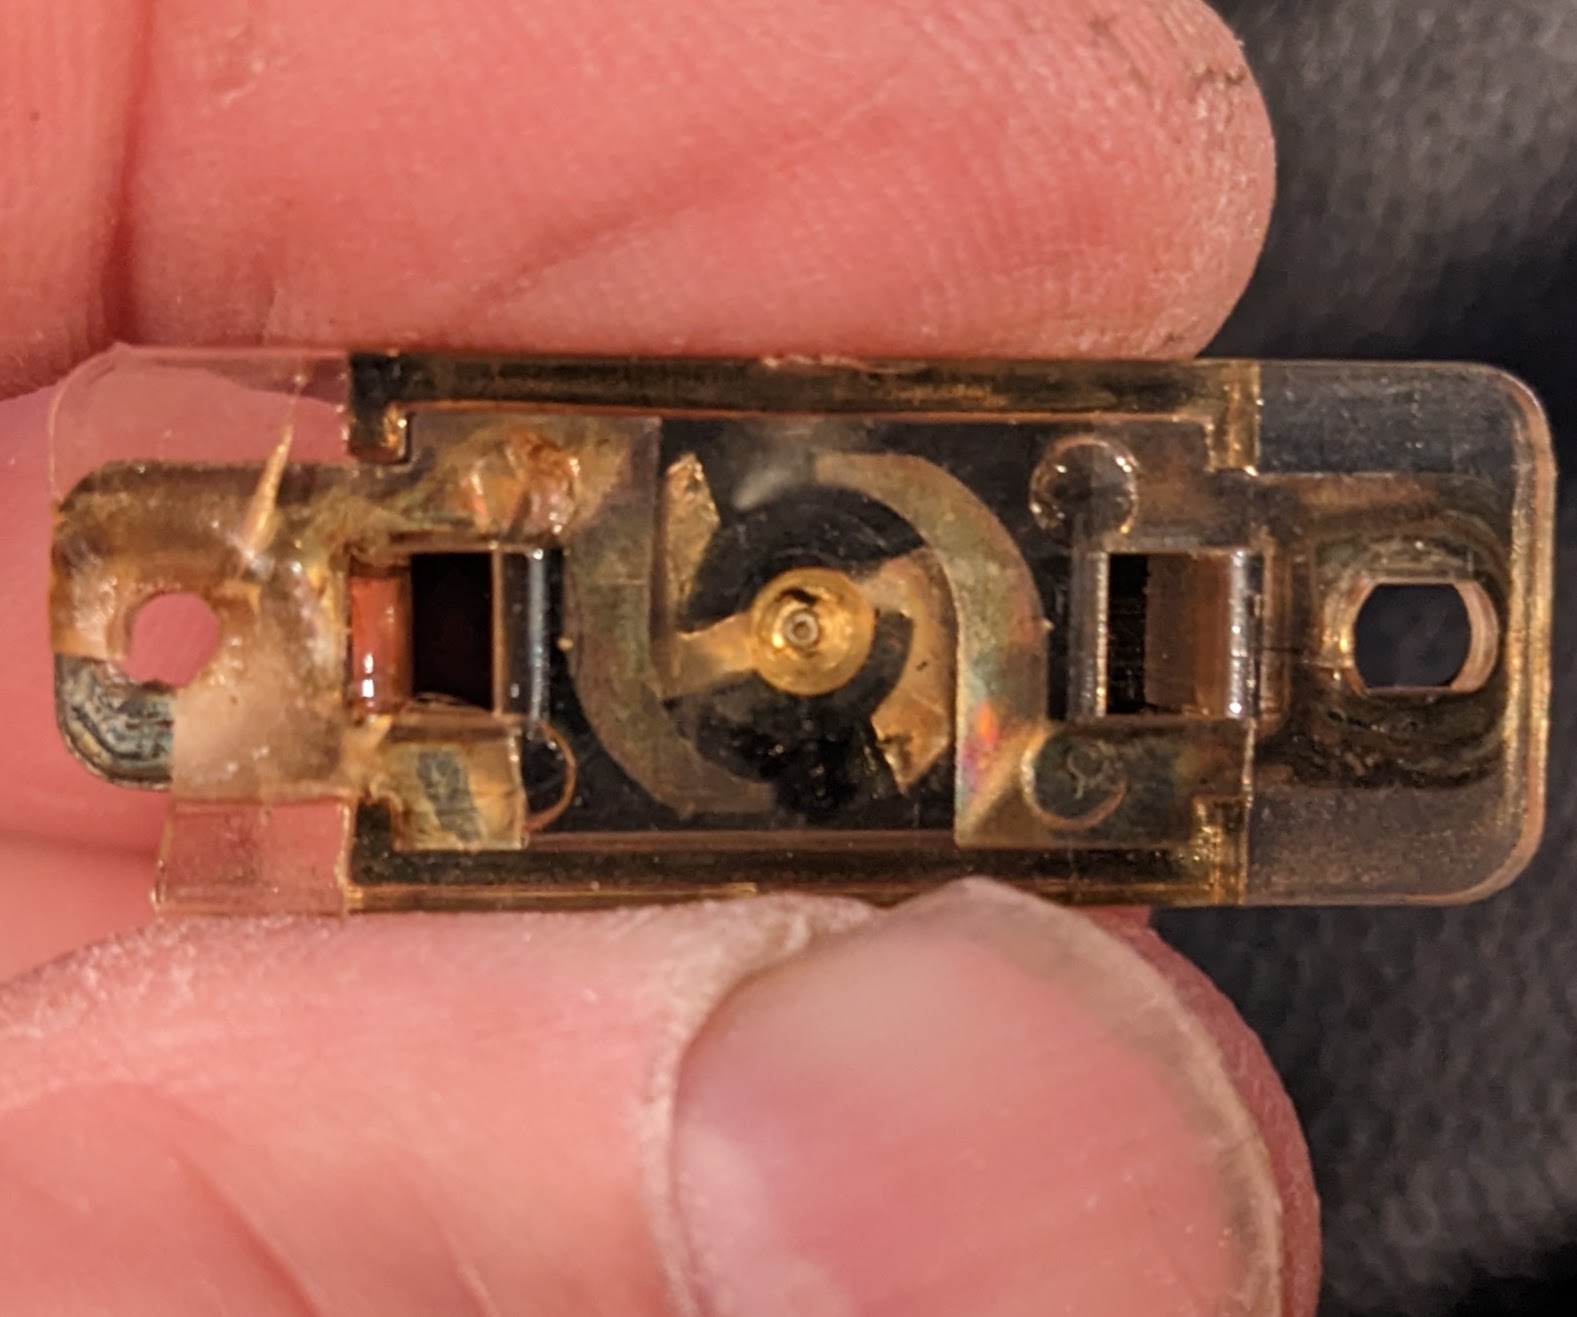
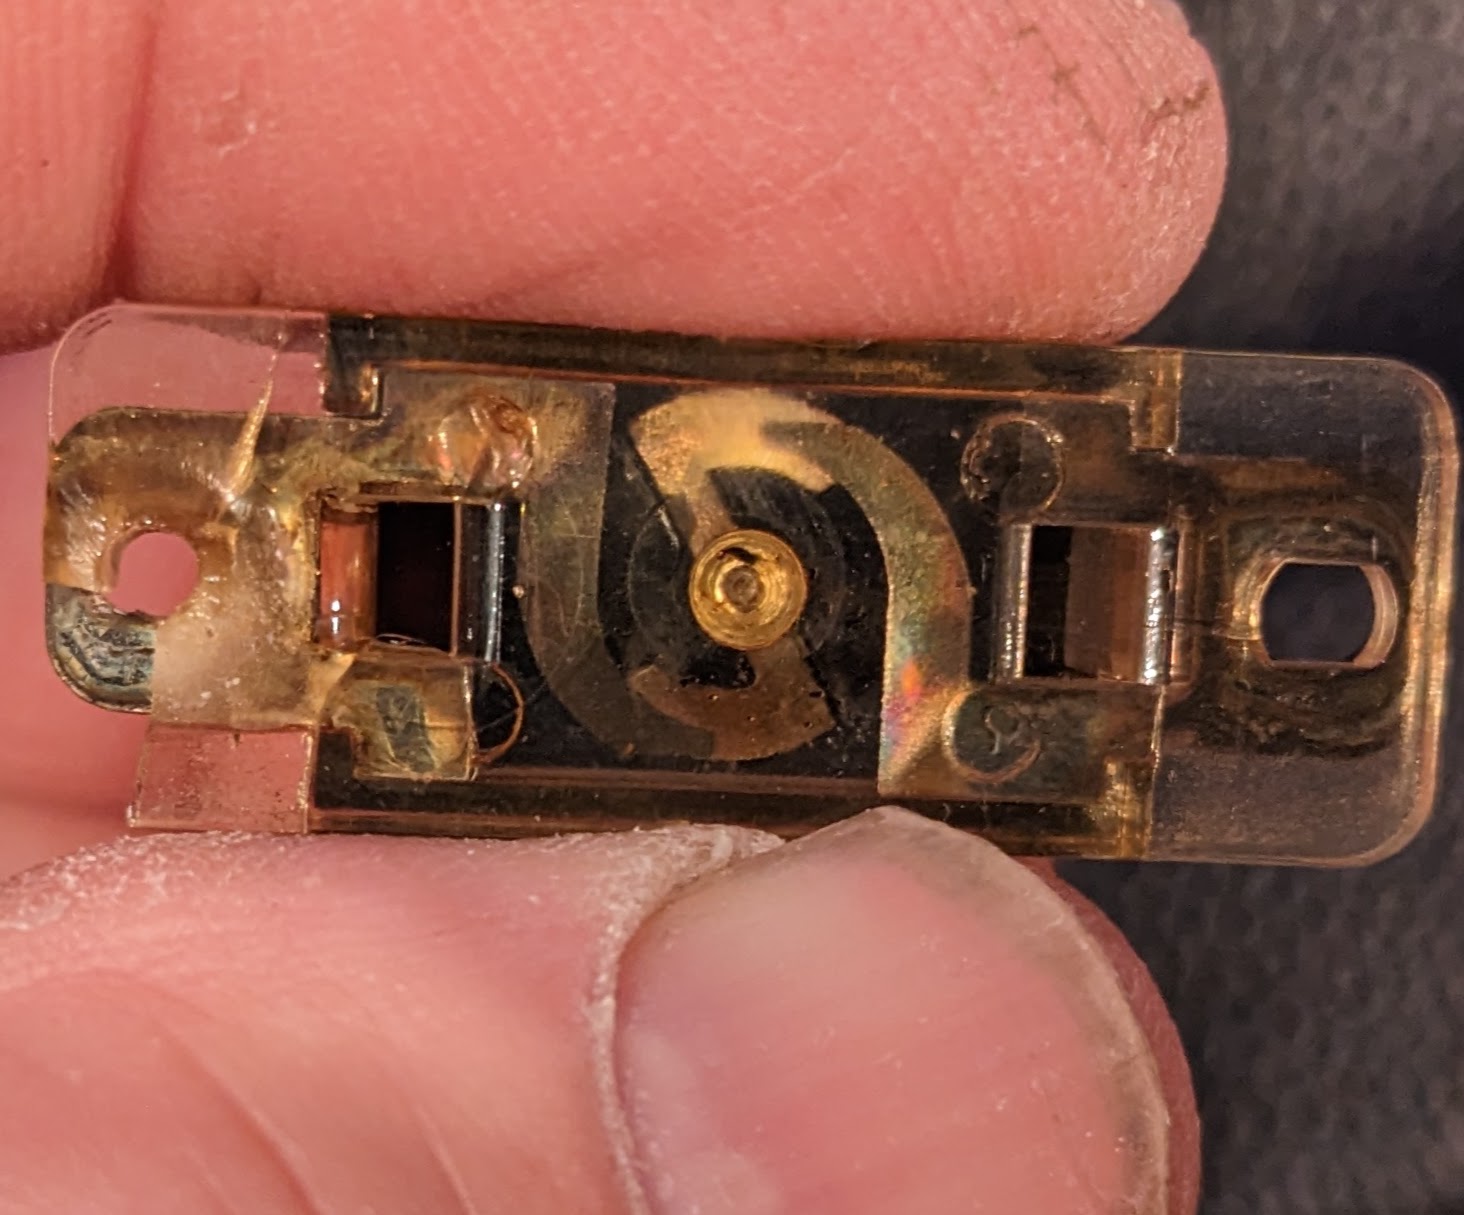
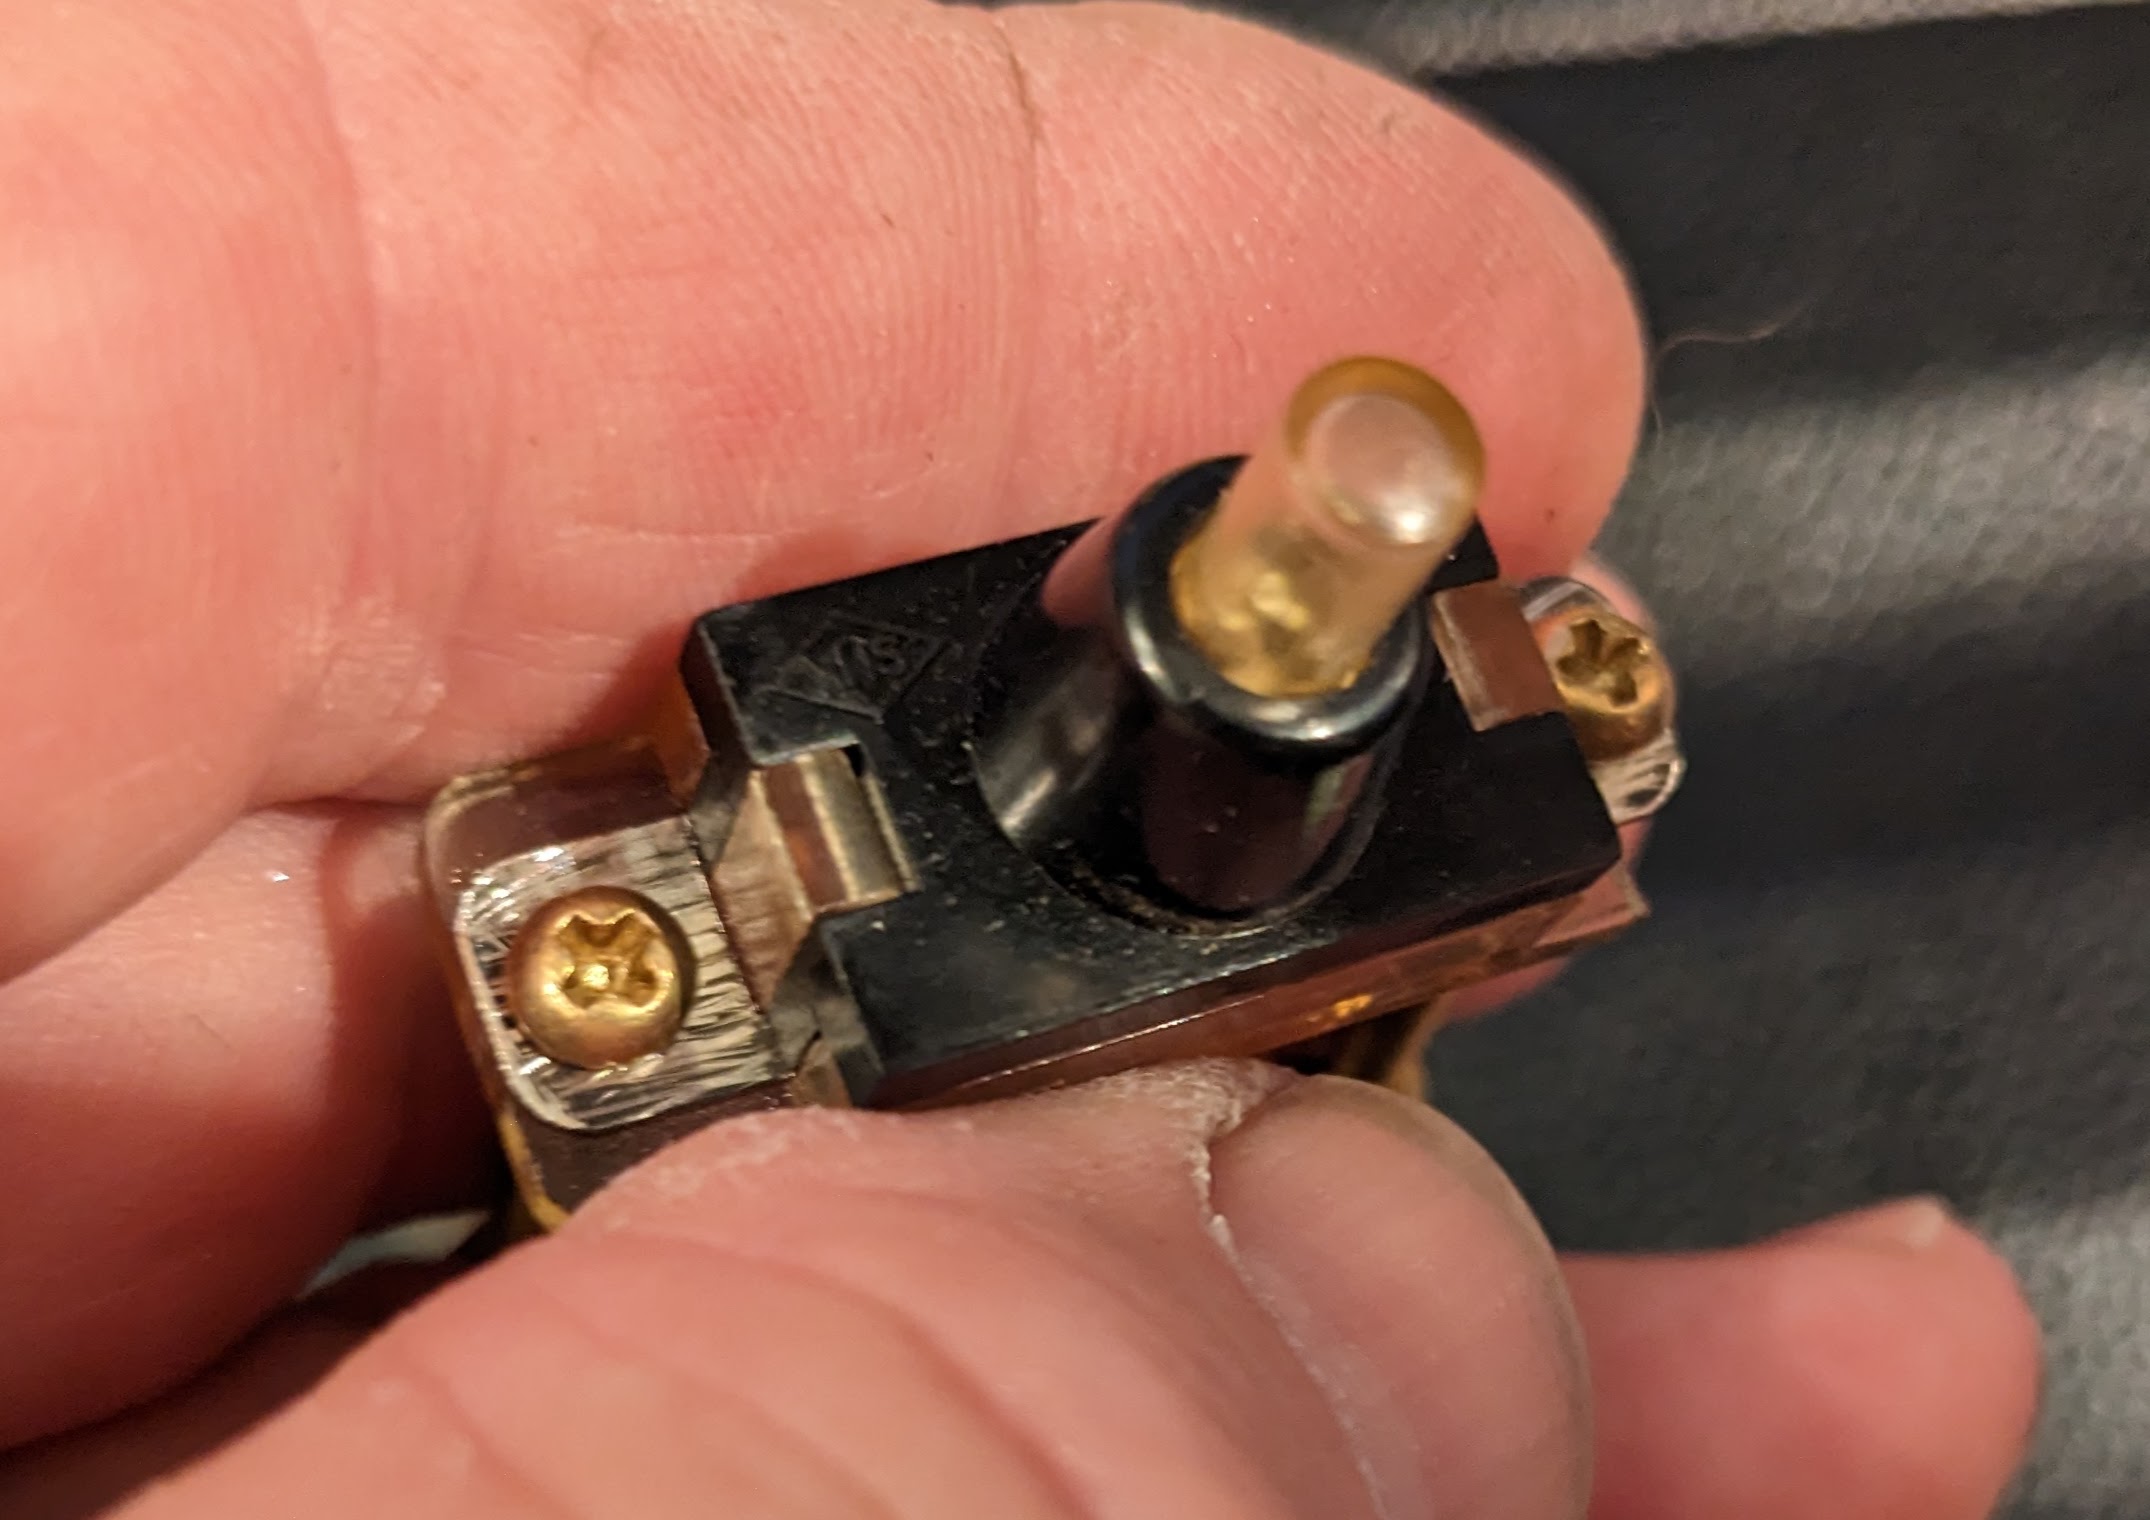
Domelight didn't work (circuit tested) - I removed the switch by drilling out the rivets. Looks like the contacts thru the rivets were bad. There was discoloration on both conductor tabs. I have to retest the switch with the cleaned contacts. New dome light is $$$ so if this doesn't work I'll fit a universal push contact switch

spacer.png


aluminum rivets

spacer.png


contact design - open

spacer.png


contacts closed

spacer.png


if the continuity is good with the cleaned contact area I'll use brass screws instead of aluminum rivets

spacer.png
 
Last edited:
Somewhat. I've been posting on the ClassicZ forum. Ads are less annoying & the forum is properly sectioned by category - the HyridZ one is a mess, but more likely to have answers for less 'purist' moves on the car :)

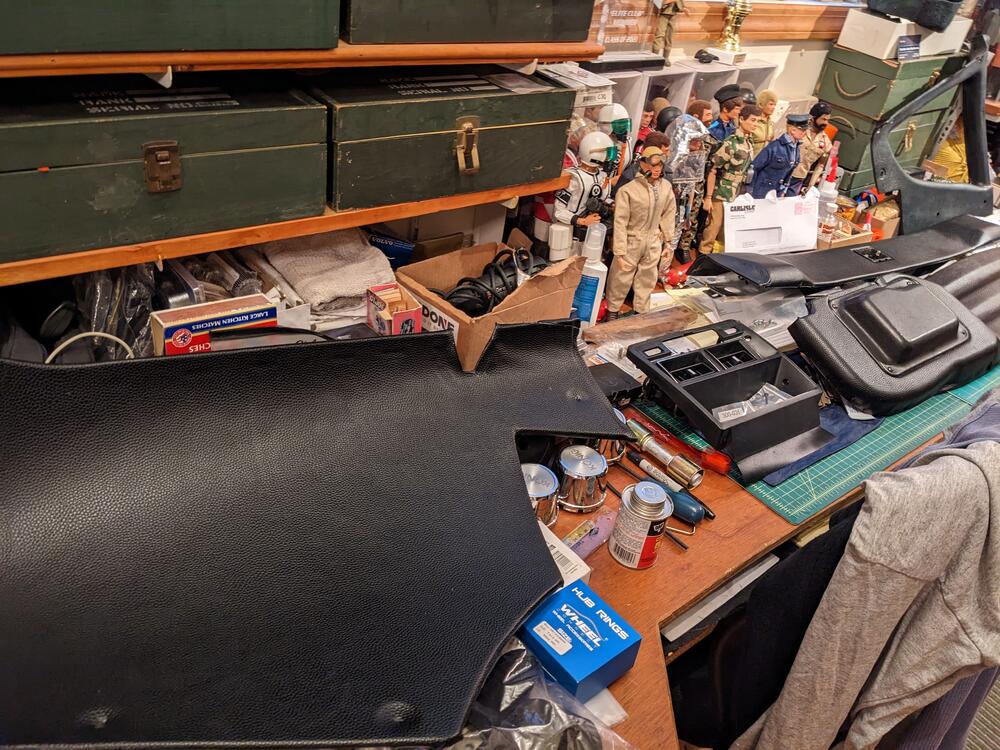
Since it's been rainy all weekend I've been working inside on vinyl covering for the all-plastic 280Z hatch area panels. Closed cell foam to replace the old foam padding.

added a canvas edging where the hatch inner panel sits against the opening - I don't like that one can see the mount hardware & gap between the inside of the glass & the trim, hopefully this will fill it

PXL_20230429_142932865.jpg

undecided on covering the 1/4 glass trim, so many curves it will be a PITA to cover

PXL_20230429_225011921.jpg

closed cell foam on the lamp access covers

PXL_20230429_145118730.jpg

roof hatch trim

PXL_20230429_203334380.jpg

PXL_20230429_203324082.jpg

tail lamp cover panel

PXL_20230429_162108933.jpg

PXL_20230429_165449895.jpg


left rear hatch area panel. The right side is going to be a bitch.
PXL_20230429_200501980.jpg


PXL_20230429_224958923.jpg
Wow! Nice work! Are you retired? You seem to make a LOT of progress! 😁
 
Probably below your pay grade as far as restoration goes, but nonetheless.
Season 13, Ep. 2 on ‘Motortrend’ app. But the episode number is different in the U.K.
Ed China removed the automatic tranny and installed a manual. That was interesting...

I bought a roached out 280zx with a 5 speed & plan on this swap in the future. I've seen this episode and researched the swap & Datsun made this a fairly simple task. Maybe I'll document it here, but don't expect the pace of this thread.
 
Last edited:
I bought a reached out 280zx with a 5 speed & plan on this swap in the future. I've seen this episode and researched the swap & Datsun made this a fairly simple task. Maybe I'll document it here, but don't expect the pace of this thread.
From the trailer, I recall that I watched that back when it was on TV. Don't recall anything about the swap though. You should document it on here, even if it takes awhile. I'd like to see more pics of yours & the process. I honestly prefer images over video. Easier to scroll back & forth to review points of interest.
 
Let's change gears for a minute. How is the proposed sale of your X going? You gonna do BaT?
 
Let's change gears for a minute. How is the proposed sale of your X going? You gonna do BaT?

I have the ad for BaT mostly complete. I need to shoot a driving video to show mixed roadway use & acceleration. I made a comprehensive list of mods, but looking at the ads on their site, they summarize it to a minimum. I need to also add more pics in good weather. Many of the ones I added were back in the winter. The ad is supposed to run beginning of June.

I'm going to miss it. The power/weight ratio and handling are sooo nice. Right now, the Datsun feels like a turd from a performance and handling perspective. Once it's safe to drive, it will need a more powerful drivetrain (or mods to existing), no way I'm going to be content with the stock HP.

PXL_20230420_192338774.jpg
 
Last edited:
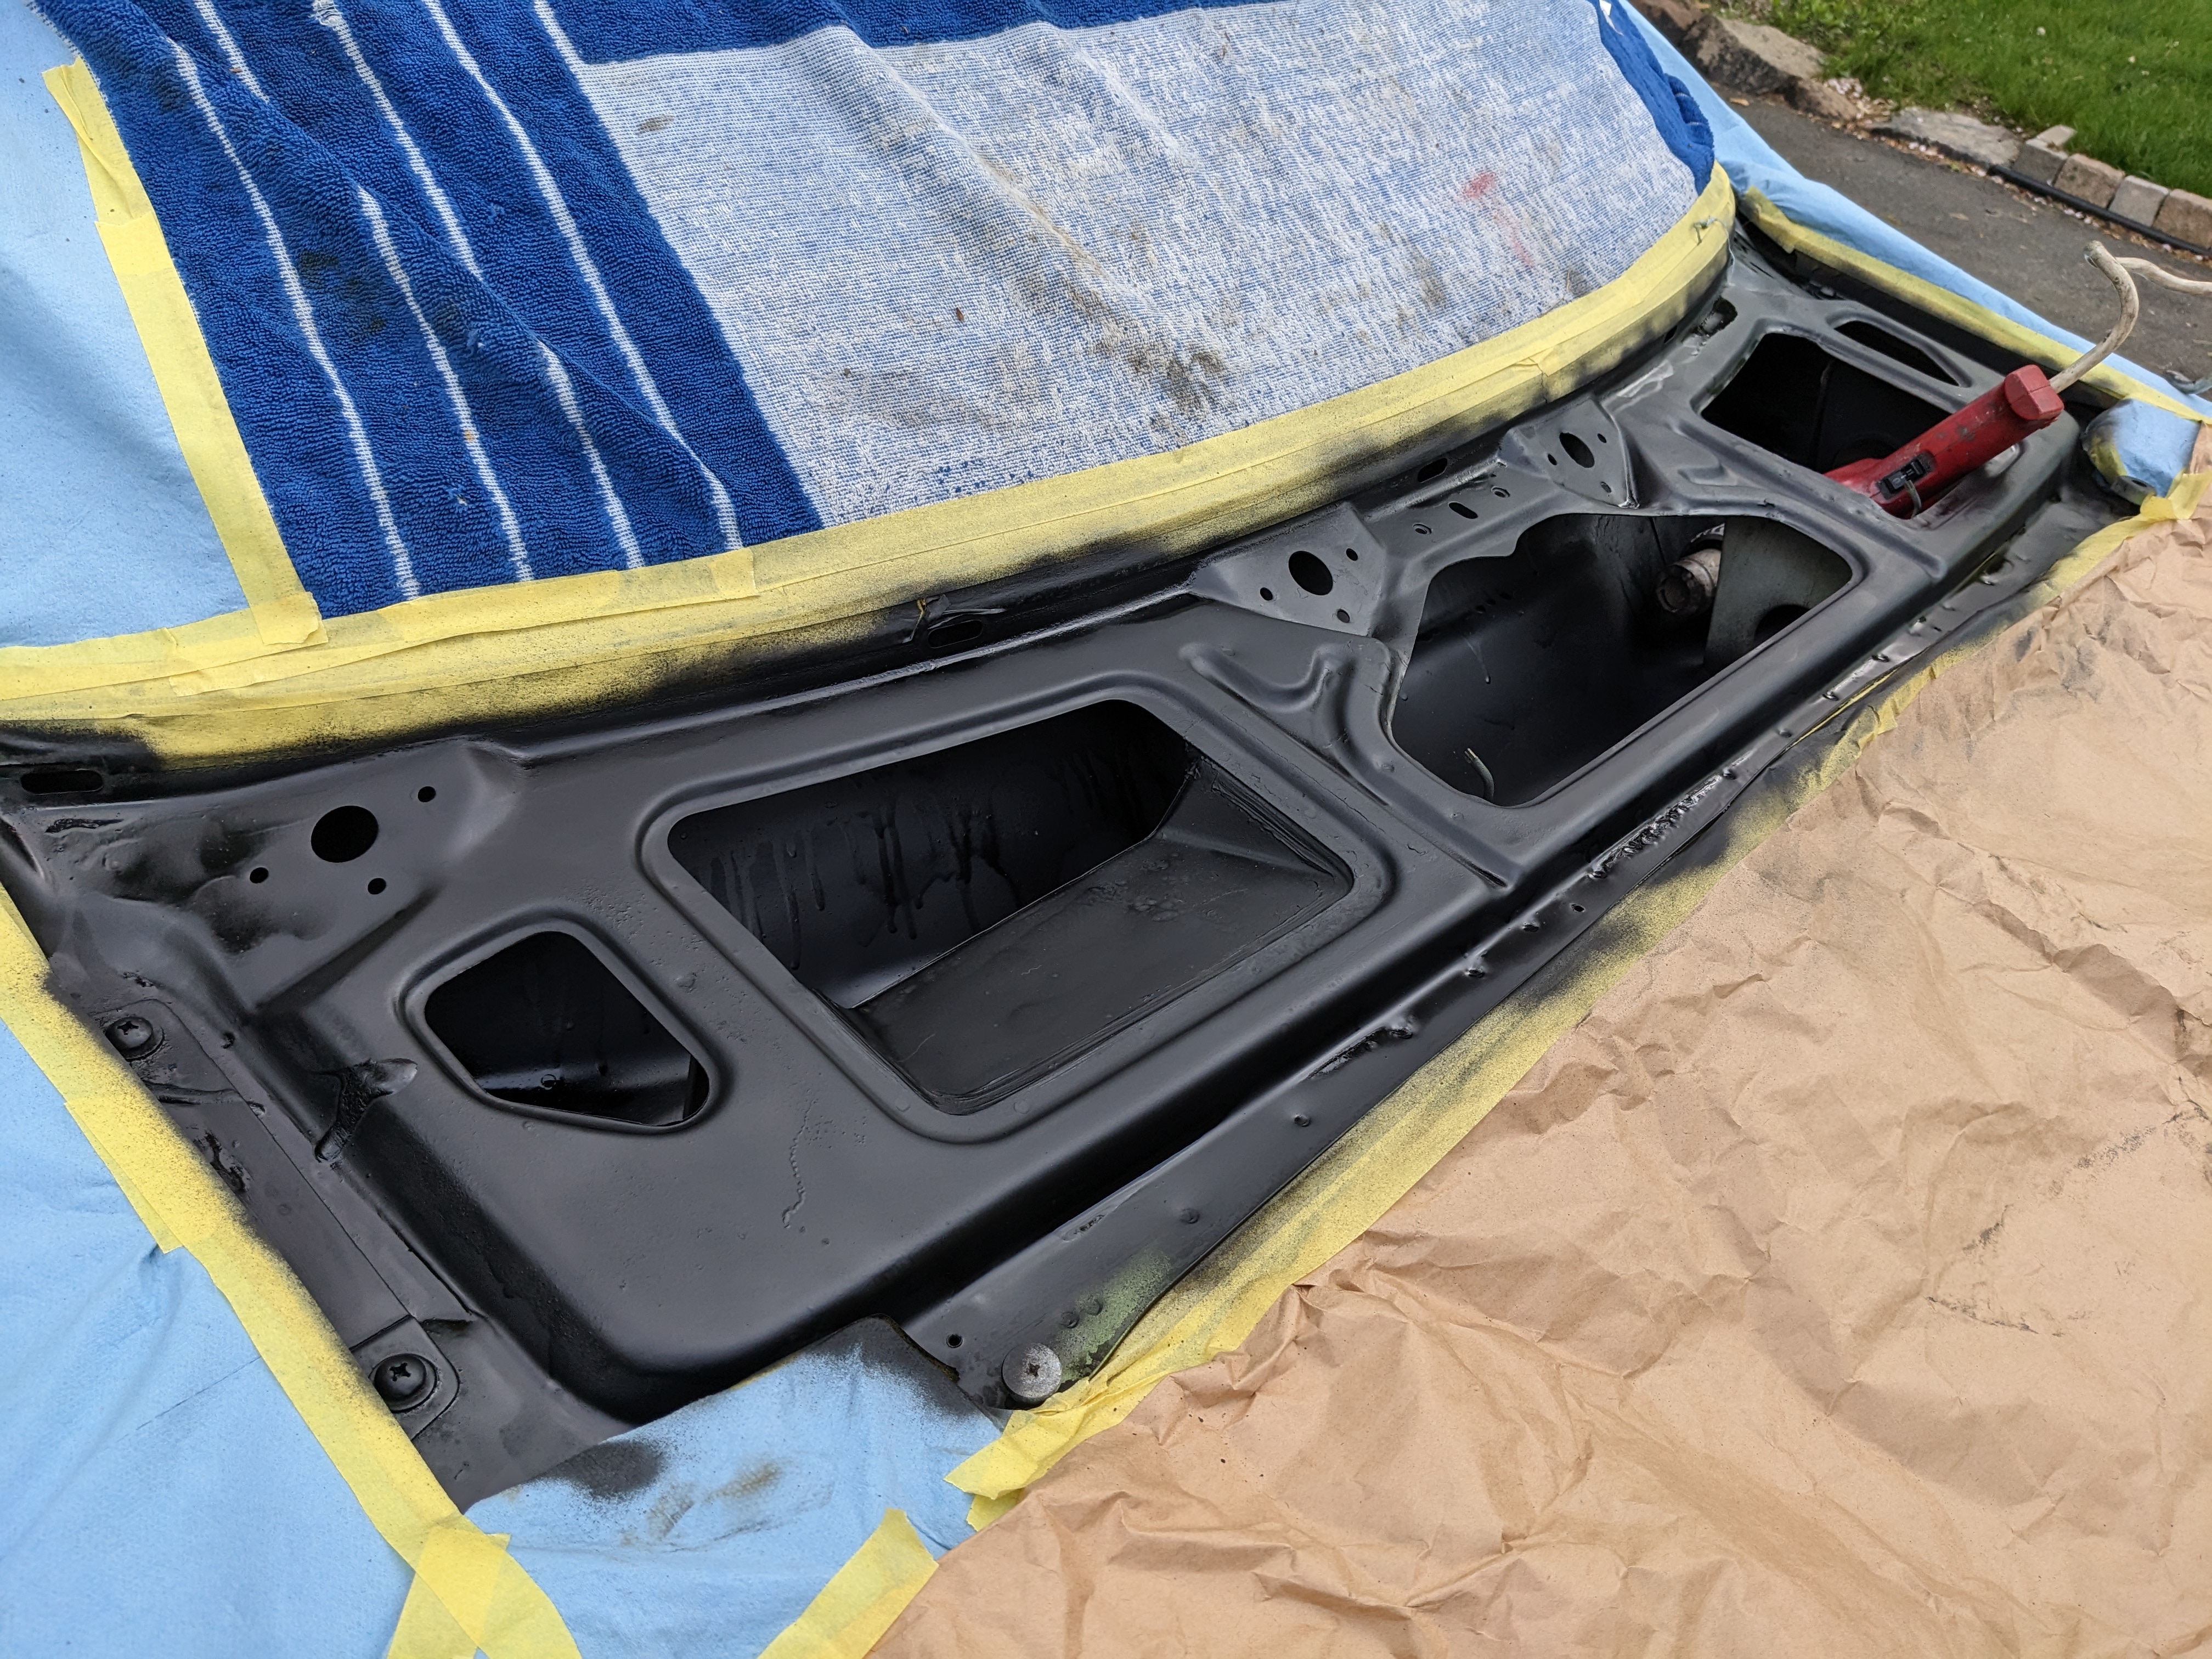
Primed & painted the cowl, and prepped the underside of the cowl panel

PXL_20230502_200016482.jpg


PXL_20230502_205337263.jpg


Have to make these pads to glue back to the cowl cover
PXL_20230502_205934070.jpg


PXL_20230502_211210074.jpg


PXL_20230502_211804007.jpg
 
Last edited:
I have the ad for BaT mostly complete. I need to shoot a driving video to show mixed roadway use & acceleration. I made a comprehensive list of mods, but looking at the ads on their site, they summarize it to a minimum. I need to also add more pics in good weather. Many of the ones I added were back in the winter. The ad is supposed to run beginning of June.

I'm going to miss it. The power/weight ratio and handling are sooo nice. Right now, the Datsun feels like a turd from a performance and handling perspective. Once it's safe to drive, it will need a more powerful drivetrain (or mods to existing), no way I'm going to be content with the stock HP.

View attachment 73018
As they like the seller to participate in the forum during the sale, a couple of posts by you of all the mods made would be a good start on that interaction.

Makes my heart race just looking at it :)
 
They look great together mate don't think you'll match X for handling and you can get great power from your L28 I had a L28 in mine with a 240 e88 head , flowed , updated cam etc. With a set of triples or throttle bodies and headers you can make really good power. I had a turbo exhaust I believe they called it that I think originated from the z store made a lovely noise . Always found z club GB a great source of information
 
Finished painting the under cowl

PXL_20230503_220905059.jpg


Added the new grommets that retain the cowl panel, 5 across the windshield frame. tomorrow I'll set the cowl / hood seal

PXL_20230503_223331617.jpg


Decided to fix the washer system now while the cowl is off, since the jets were clogged, lines broken & the pump was dead

Bored out the rubber sleeve that retained the Nissan washer pump, so the Volvo (VDO) pump would fit
PXL_20230503_213105452.jpg


PXL_20230503_213108896.jpg


PXL_20230503_213112150.jpg


Making an adaptor pigtail using the original pump harness
PXL_20230503_213218257.jpg

PXL_20230503_214622768.jpg


Pump & tank installed, Volvo line filter added
PXL_20230503_222902733.jpg


Volvo check valve added (just under the cowl lip) to maintain fluid head at the junction
PXL_20230503_220742185.jpg


Going to add bulkhead fittings for both the AC lines and the Heater hoses, so I can more easily convert everything when the drivetrain change takes place
AC - #10 & #6
PXL_20230504_000916045.jpg


Heater AN -10 to 5/8 barb.
PXL_20230503_234204652.jpg


replacing this
PXL_20230503_223706478.jpg


and this section will be a stainless pipe bolted to the block using existing mount holes (where the harness is secured currently just above the hose
PXL_20230503_223721039.jpg
 
Fixed the dome light.
Although much much simpler, I have had to take apart, clean and re-arch the contacts on each of our Honda Element’s overhead light assemblies to get them to work reliably. Funny the seemingly simple system parts of a car one ends up spending time on.

Clearly someone tried very hard on the design of that light, sort of the like the painful cleverness of the door lights on the Bertone’s.

Have you considered using an LED or is there a reason for needing an incandescent? I have moved over to LEDs in most applications and have found them in ‘warm white’ ie @3000K light color. They put out a lot more light and don’t run down the battery as much. The only negative is I can hear them…
 
1683198417606.jpeg
One really has to wonder about the thought process around this mechanical arrangement for opening the throttle plate.

Start with a pedal which likely has a bell crank to translate to a linear motion then uses a link to a bell crank lever with a link to another bell crank lever to rotate a shaft with multiple links to allow for engine movement and then translate that motion to the actual throttle plate.

One would think a cable attached directly to the pedal crank going directly to the throttle body would be hugely cheaper and more reliable.

My 124 had a multi link mechanical arrangement with a part of the connections rotating on the manifold of the car with the other end rotating on a bracket on the firewall. As the car had soft engine mounts, the engine rotating would change the arrangement of the cranks relative to each other and the engine could open and close the throttle shaft as one revved it up or down. This created a drivability failure which could create this pogo’ing effect which at the extreme would require shoving in the clutch to then start over… A simple cable changed all of that (along with changing to Volvo 240 engine mounts… :) )
 
View attachment 73078
One really has to wonder about the thought process around this mechanical arrangement for opening the throttle plate.

Start with a pedal which likely has a bell crank to translate to a linear motion then uses a link to a bell crank lever with a link to another bell crank lever to rotate a shaft with multiple links to allow for engine movement and then translate that motion to the actual throttle plate.

One would think a cable attached directly to the pedal crank going directly to the throttle body would be hugely cheaper and more reliable.

My 124 had a multi link mechanical arrangement with a part of the connections rotating on the manifold of the car with the other end rotating on a bracket on the firewall. As the car had soft engine mounts, the engine rotating would change the arrangement of the cranks relative to each other and the engine could open and close the throttle shaft as one revved it up or down. This created a drivability failure which could create this pogo’ing effect which at the extreme would require shoving in the clutch to then start over… A simple cable changed all of that (along with changing to Volvo 240 engine mounts… :) )

I don't get it either. Carb models had a cable, I believe. This has so many moving parts, and clearly cost far more to produce than a cable.
I would think that worn mounts would have a similar impact on this setup - my left mount was torn in two & compressed. I didn't drive it any distance prior to doing the mounts, so I don't know if there was a throttle related concern. Volvo parts certainly work for a broad spectrum of repair mods :)
On another ‘connector’ note, you’ve probably come in contact with piggyback, female spade connectors, or similar, for turning one older female spade line into two. Any recommendation on brands/kinds you’ve had luck with? Discussing over here:

Post in thread 'FACET fuel pump mounting location?? HELP'
https://xwebforums.com/forum/index....pump-mounting-location-help.28251/post-420961
 
Worked on the wiper transmission this evening, after finishing the cowl cover. I also glued the cowl seal in place. For that, I added closed cell foam where the original was clearly chafing and/or vibrating & wearing the paint
PXL_20230504_214638057.jpg


I stripped the wiper pivots, one required filing in order to remove the bearing housing, looked like it had been twisted with vice grips
I then removed all the rust on the shafts, and heated & oil-blacked them
PXL_20230505_000917386.jpg


acid dipped the bearing housings to remove rust from the steel (WTF??) bushings
PXL_20230505_000852692.jpg


after that I lubed all the pivot bushings (brass) and greased the bearing housing with marine grease. There were originally felt collars around each linkage pivot to retain lubrication, only one remained & that fell apart when I cleaned everything up.
PXL_20230505_002354227.jpg


PXL_20230505_002418728.jpg


just have to chase the mount threads in the bearing housings, then I can mod the motor mount plate for the Honda wiper motor, rewire the unit & install it all back in the cowl & close that up.
 
I'm doing the Honda wiper motor conversion documented HERE

Reference thread regarding reverse polarity park

75-specific wiring post

There's another link somewhere for the AtlanticZ 'how to fit" PDF

So, the big Q for me is how this all ties together. The FSM BE overview & wiring (page BE-62 & BE-68) for 75 shows the interval relay. The intermittent amplifier is shown on overview BE-6 and wiring BE-68. It is not shown on the flow diagrams on BE-66-67, unless I'm missing something.

It's unclear to me, even after reading the function overview on BE-60, what exactly it's for besides the reverse park business. Maybe that's all it is.

Because I'm a glutton for punishment, I want to add the "99" relay to this 🤪 - so my brain is exploding right now trying to overlay all the permutations. If anyone recalls, adding the (( relay to the X1/9 went on for several pages)


wiperwiring.png


wiperwiring1.png


wiperwiring2.png


PXL_20230505_141316168.jpg


PXL_20230505_141628881.jpg
 
Back
Top