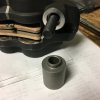
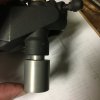
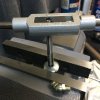
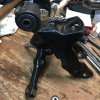
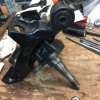
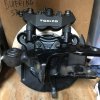
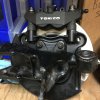
The part that most concerns me from your pictures is the point where the caliper and the overlength nuts meet....
One is the area of the nut face, for a start won't be absolutely flat and square, nuts/threaded hex shaft/whatever you use wont be perfectly flat on it's end face unless you machine it so.
The next is the surface area it provides is much smaller than the corresponding mating face on the caliper, personally I would be aiming for a surface area on the mount that is at least as large as the area on the caliper, or preferably larger.
The interface is where the caliper radial fastener will be under the most stress, and you've increased the loading considerably (IMO beyond the fasteners likely failure point) by having the mounting face a) not absolutely flat and square, and b) too small an area
View attachment 72098
SteveC