
You are using an out of date browser. It may not display this or other websites correctly.
You should upgrade or use an alternative browser.
You should upgrade or use an alternative browser.
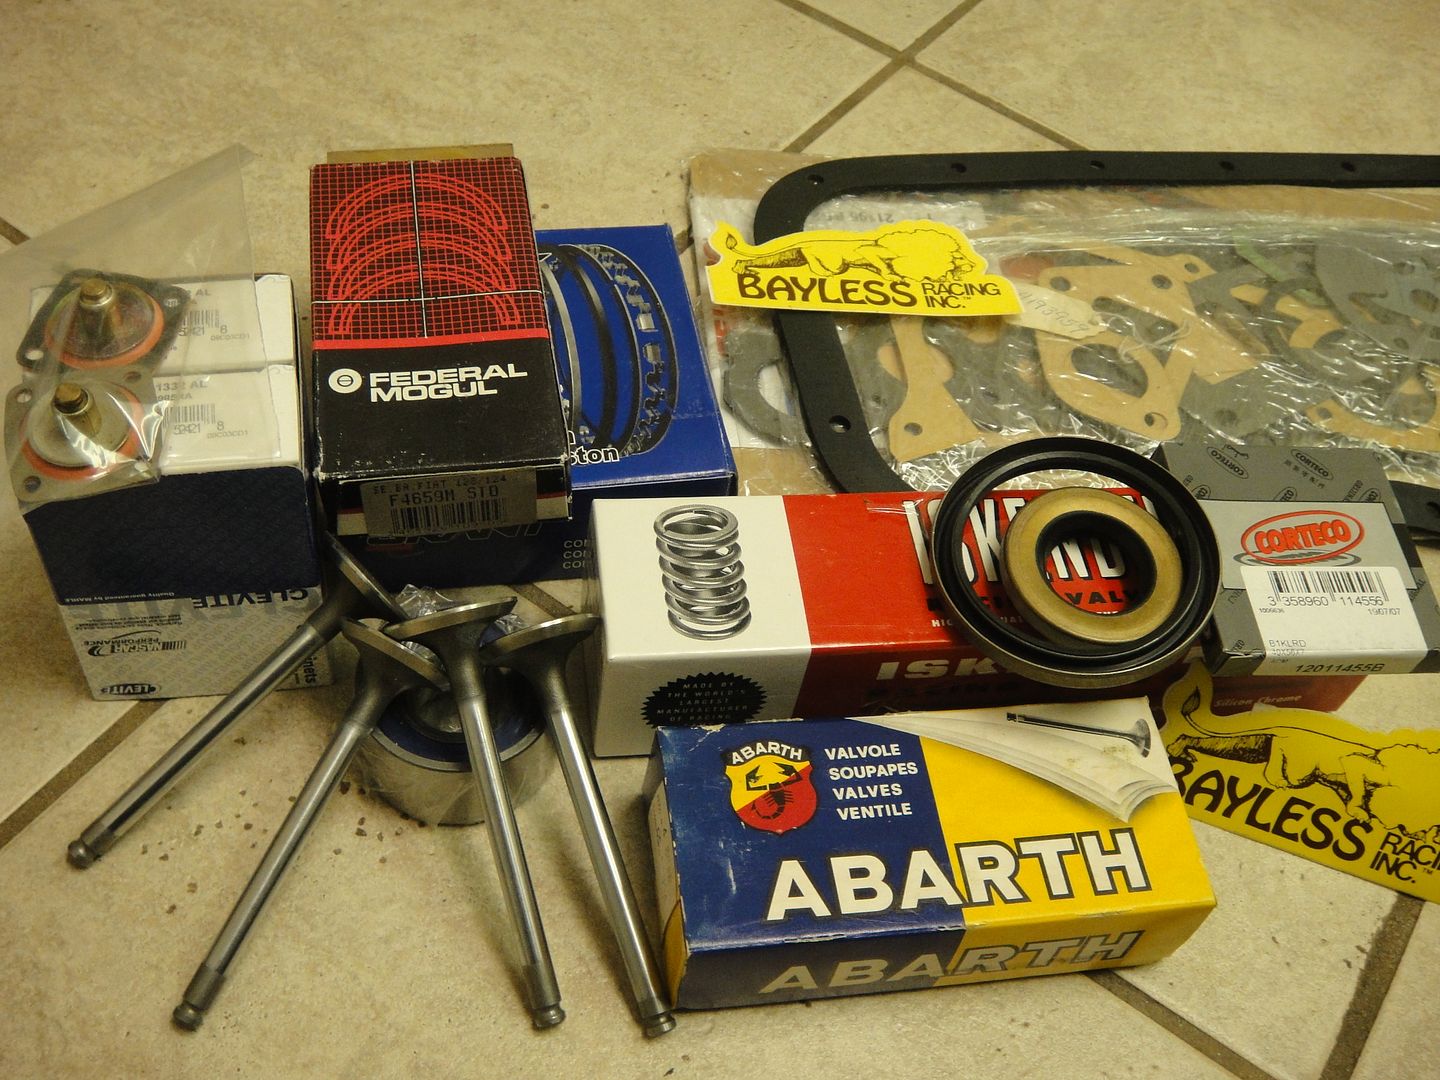
go fast goodies in the mail...feels like Christmas!
- Thread starter AleX1/9
- Start date


Black-Tooth
Tony Natoli
Merry Christmas Alex...
BTW... what would Miller charge to lighten and balance just the flywheel... and what did it weigh in at?
A 1500 wheel, correct?
Thanks...
BTW... what would Miller charge to lighten and balance just the flywheel... and what did it weigh in at?
A 1500 wheel, correct?
Thanks...
Greg (in Conn)
Bertone curator - X driver
Starting to advertise on eBay now ~ NICE
http://cgi.ebay.com/ebaymotors/Ligh...bb3QQitemZ200441899955QQptZRaceQ5fCarQ5fParts
This auction is for flywheel lightening service. How it works is you send us your stock flywheel and we will remove as much material as safely possible. With your flywheel you will receive a drawing with the dimension of the original and modified part with best estimates for weight and moment of inertia (MOI). We will also perform a cursory inspection of the part, note its condition, and our recommendations for it, if any. Typical turn around time is 1 week.
Is flywheel lightening right for you? Well, if you're the type of driver to even be considering it, you'll probably be happy with your purchase. Your engine will rev noticeably quicker because of the reduced MOI. We have never had a customer not satisfied with their lightened flywheel.
At Miller's Mule we have extensive experience manufacturing performance parts. We have seen MANY flywheels improperly lightened to the point of them being dangerous. Any modification to a flywheel should be done with great care. Why take a chance on your local parts house kid doing this work? We do it right the first time.
Note:
This is just for flywheel lightening service. Your flywheel must be balanced and possibly resurfaced. If it does, we will let you know.
And finally, if the above wasn't enough, below is an article I wrote on flywheel lightening to further explain. You'll have to excuse the absence of pictures though!
Flywheel Lightening – Doing It Right (December 10th, 2009)
When it comes to cheap performance modifications, you can’t do better than to lighten your engine’s flywheel. Reducing your engine’s MOI will get you the most noticeable bang for your buck. The best way is with a lightened flywheel. Unfortunately, a simple task like machining a flywheel can quickly become complicated and is often done incorrectly. Some important lightening details are as follows:
Remove material where it affects the moment of inertia (MOI) the most. Removing material near the crank hub is unnecessary and likely dangerous. This area of the flywheel is under the greatest stress, why remove material from there and risk the part failing? Removing material near the ring gear is best and will give you the greatest effect.
Generous radii, no sharp corners. Corners are stress risers and you want to minimize stress concentrations. Doing so will result in a stronger, more robust part.
Flywheel material composition. Beware that cast flywheels typically have voids in them. This is why minimum thickness rules cannot be applied across all different flywheels. Never say “I’ve seen this done on other flywheels,” every flywheel design and manufacture should be evaluated individually. The material quality is vastly different between Fiat and BMW flywheels, even between different model flywheels of the same company.
Balance. After any lightening procedure the flywheel should be dynamically balanced (aka zero balance). Even though a flywheel is lightened on a lathe and is dimensionally symmetrical, this does not imply that it is balanced. Cast materials are not a consistent density throughout and will affect the balance. Preferably, flywheels should be balanced with the whole rotating assembly (crankshaft, crank pulley, flywheel, and clutch) but this is only possible if the engine is disassembled.
Grind friction surface. It may be hard to believe but after you lighten a flywheel, it is possible for the whole part to warp due to the removal of material and internal stresses. This can make the friction surface uneven and it should be checked and reground. Sometimes the friction surface does not warp and this is not a necessary step. Do not “turn” the friction surface on a lathe. The proper procedure is to blanchard grind it. Turning creates tiny grooves parallel to the clutch’s direction of travel, this makes it difficult for the clutch material to “bed-in” to the flywheel and create friction. A blanchard grind, however, makes lines perpendicular to the direction of travel, this encourages “bed-in” and friction, which is what we want! In addition, turning will not be consistent over hard spots. See the picture below. The shiny spots are hard spots, and the dull spots are the normal material. All hard spots must be removed, because they will cause uneven ware and are very slippery (we don’t want slippage). All cracks must also be removed.
Check for bolt embedding: Loose flywheel to crank bolts can create all kinds of havoc. One result is that the bold heads can “embed” themselves into the flywheel material, resulting in a surface that is no longer smooth and ideal for carrying the bolt’s load. The solution is to “clean-up” the surface by skimming with a lathe or grinder to make it smooth again.
Detail work: When reconditioning a flywheel it is nice to see the other small details like the clutch mounting threads nice and clean, sharp edges deburred. A dye penetrant or magnaflux check for cracks is also recommended for peace of mind.
Happy motoring!
AleX1/9
Has the sickness
BTW... what would Miller charge to lighten and balance just the flywheel... and what did it weigh in at?
A 1500 wheel, correct?
Thanks...
Hey Tony, Yup its a 1500 flywheel. How could you tell i though the only difference was the starter ring?!? Cost me $90 total for lightenning and balancing. The resurfacing was on the house due to delays... thanks Jason! my bathroom scale shows 12.5 LBS
I didn't know he was advertising on ebay...definitely a good move. No link to the website tho in the listing/???
wannabfast
Thai with a 78 in MN
that plug has me worried.. whats gonna keep the oil pump gear down?
AleX1/9
Has the sickness
that plug has me worried.. whats gonna keep the oil pump gear down?
Hmmmmm..... didn't know the pump gear needed to be held down?? Looking at the one Matt has it looks like it's got an arm for such a purpose:

looks simple to make....I'd rather not return and re-buy. Anybody have experience with this?? I'm gonna email Jason and see what he says.
Black-Tooth
Tony Natoli
Alex... when yur as old and...
... and as experienced as I am... HAHAHAHA!
No... I didn't know... but I know people that could tell the difference just from the foto. Mine was a QUESTION, not a STATEMENT...
Its good to know Miller's is doing this, and the price is right also. I had mine done when the opportunity presented itself about 4 years ago... after reading nothing but accolades of what a great upgrade it was. And it IS!
I used PBS here locally but shipped it back and forth for about the same money... which would be the same in gas, less time, if I were to drive it over. PBS later stepped down a bit and would lighten them, but no longer would they balance them!!! Not a good deal in my opinion!
So... I no longer knew of an EXPERIENCED resource that knew how and where to cut without compromising the wheel. Miller seems to be that person.
Also... His wheel at 12.5 pounds is close to the 12.4 pounds mine weighed in at after lightening. HA! We had a contest of sorts going with WHOSE weighed the LEAST... and Mike Sotor won... with something like a 11.8 ! BUT... I believe his is a 1300 and they start out a bit lighter to begin with!
Ya just can't trust those Yankees! HA!
willrace4beer
True Classic
The Midwest plug does keep the drive gear down...
Otherwise, it would not need to be that long. Also, you can't use the stock 124 plug as the dimensions are not the same.
Regards,
Otherwise, it would not need to be that long. Also, you can't use the stock 124 plug as the dimensions are not the same.
Regards,
Last edited:
willrace4beer
True Classic
I would ask MillersMule about the distributor plug...
It doesn't look long enough to keep the drive gear down. I have one from Midwest that is longer.
Regards,
It doesn't look long enough to keep the drive gear down. I have one from Midwest that is longer.
Regards,
sdlsaginaw
Steven Lawson
Wrong plug?
That plug looks exactly like the cam mounted distributor plug they advertize on their page. That same product says that one is also available for the block mounted distributor.
That plug looks exactly like the cam mounted distributor plug they advertize on their page. That same product says that one is also available for the block mounted distributor.
AleX1/9
Has the sickness
That plug looks exactly like the cam mounted distributor plug they advertize on their page. That same product says that one is also available for the block mounted distributor.
yup it's the wrong one. Jason emailed me back and said he's looking into it... sounds like he's gonna take care of it tho.