Making Dallara Stripes

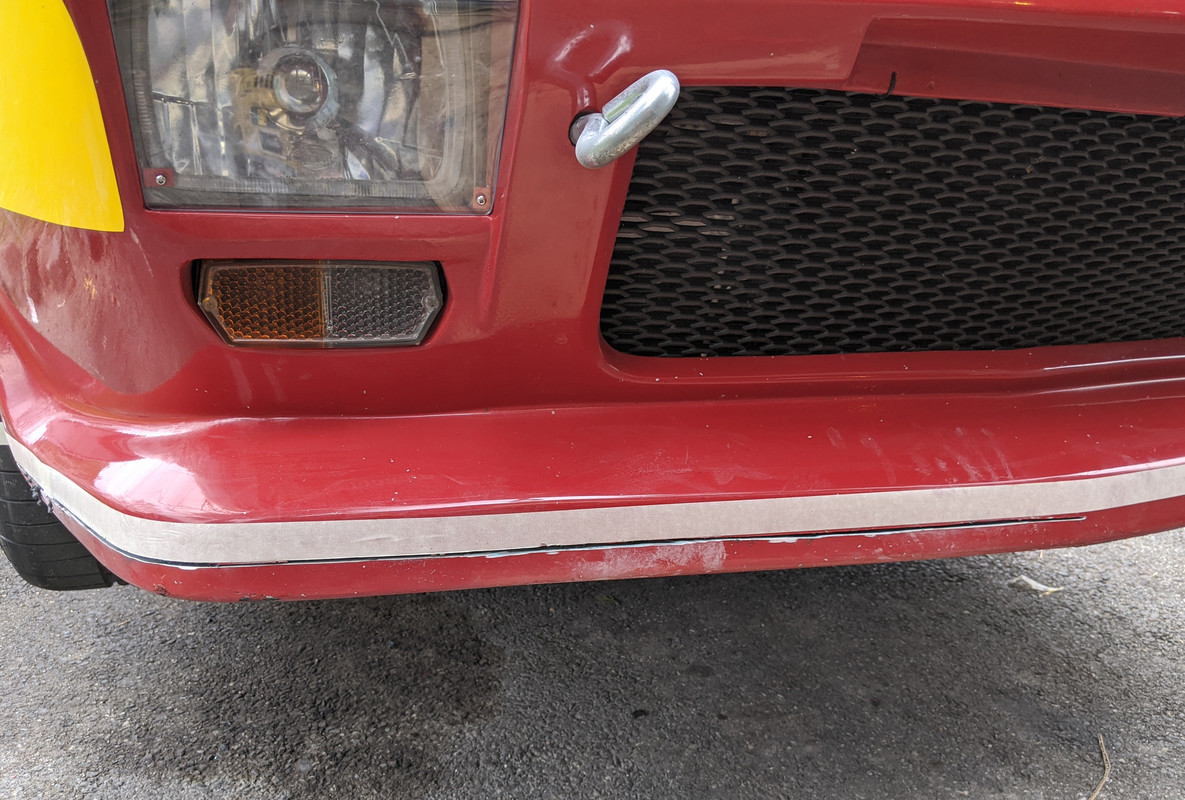
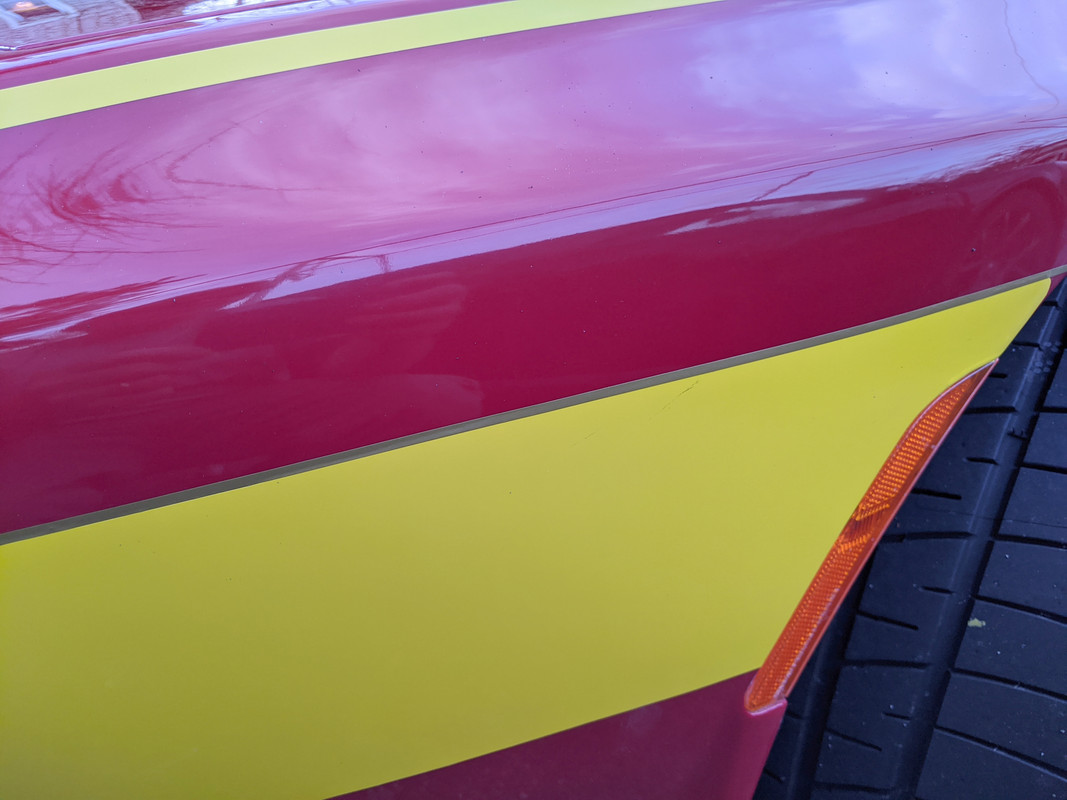
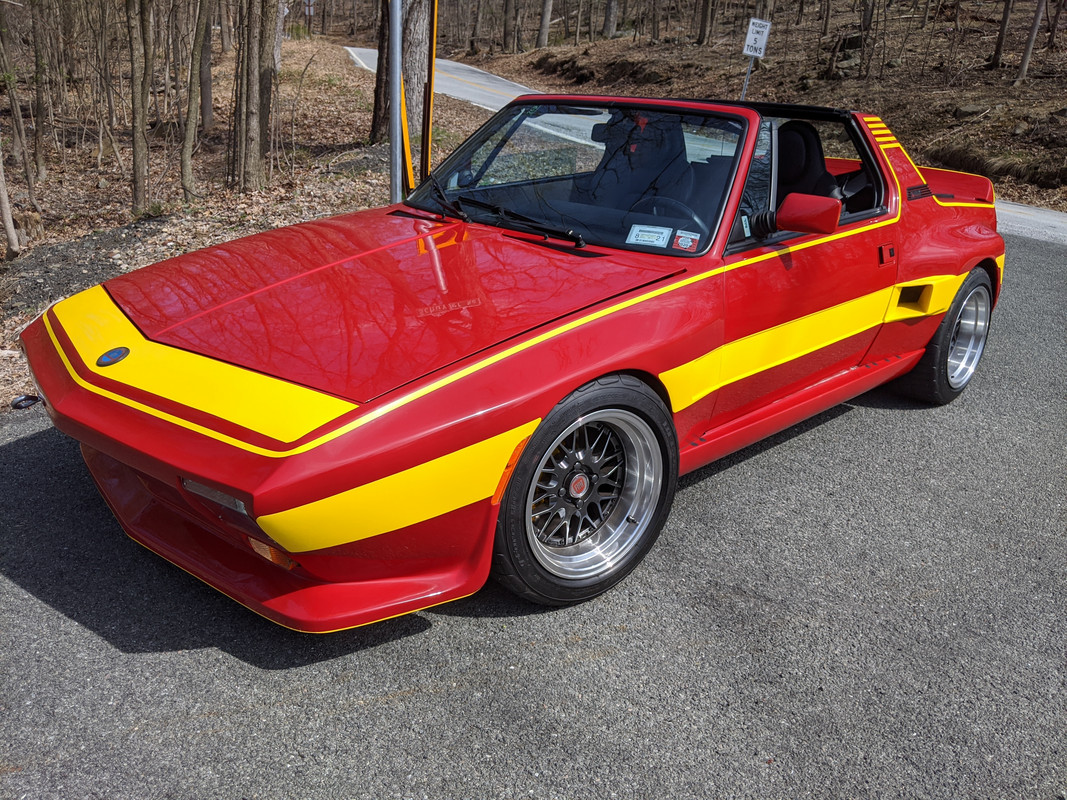
Much better. Maybe even radius the corner a bit more to match the curve of thinner stripe next to it.

I did radius them a little - tricky to lift & trim the film in place, you can see an uneven edge at the base, so I may just redo the whole decal later

IMG-20200402-144717.jpg


IMG-20200402-144730.jpg


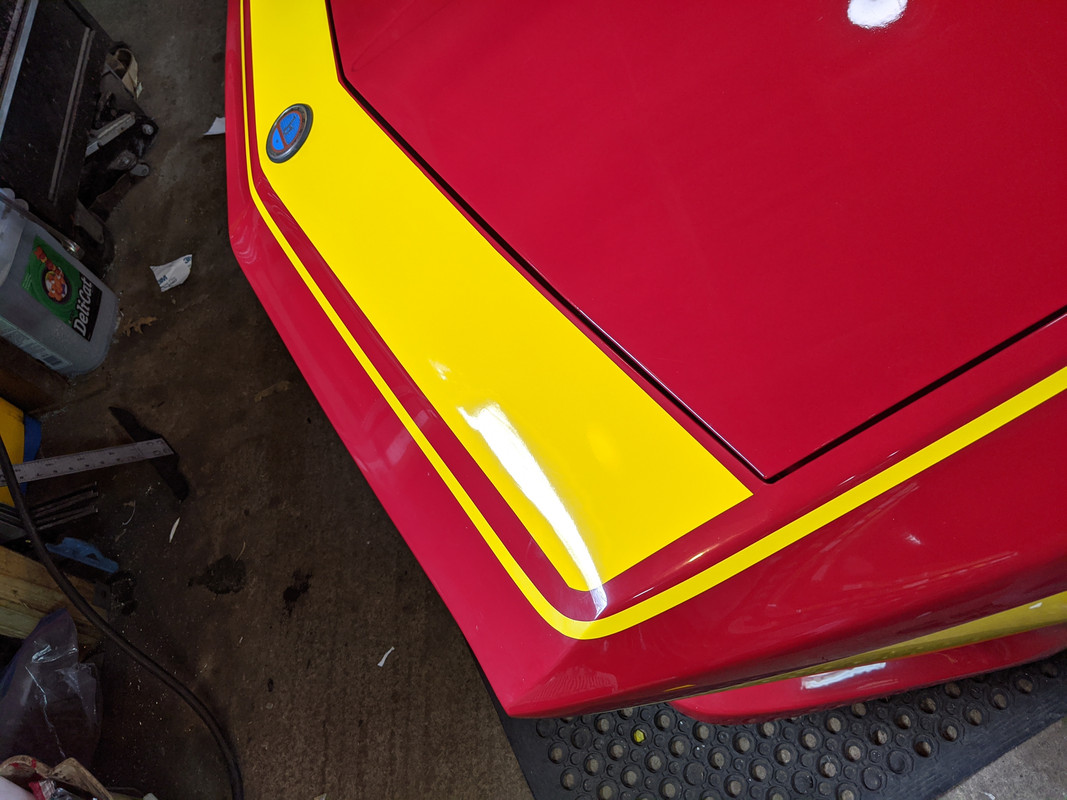
Overall effect is better, thank you for pointing it out.

IMG-20200402-170204.jpg


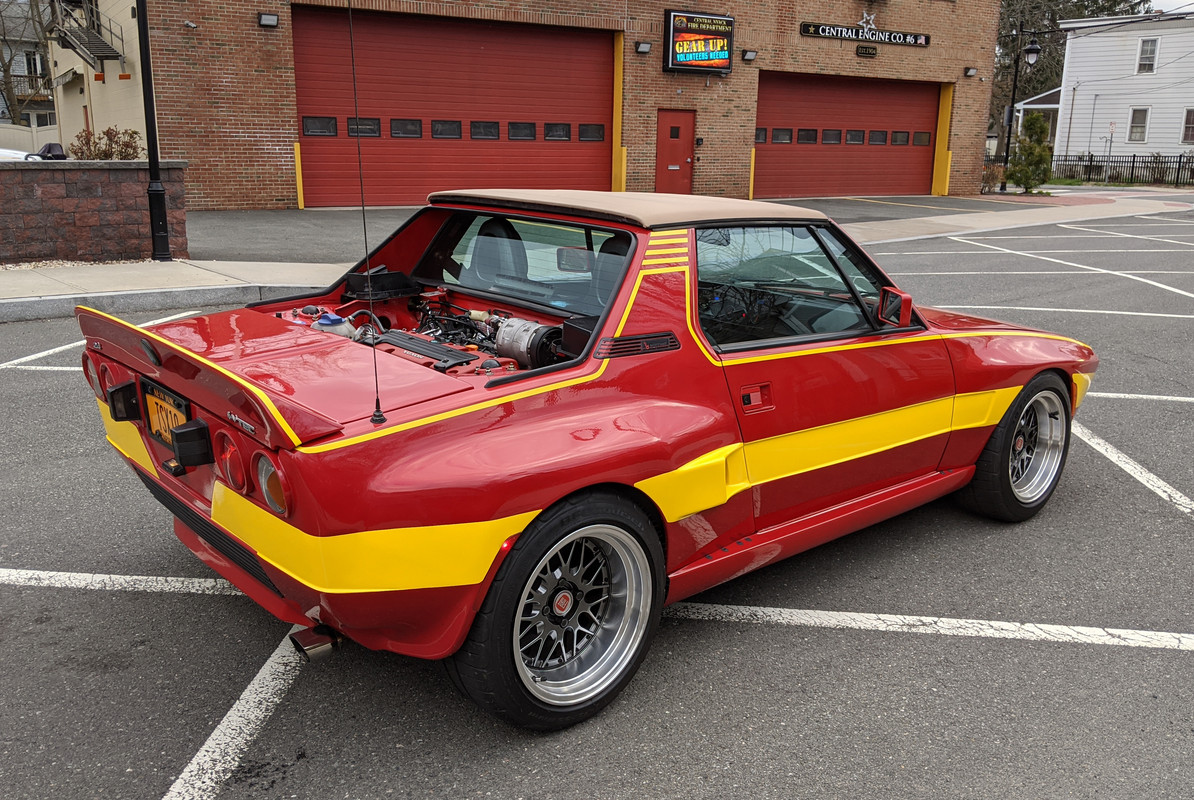
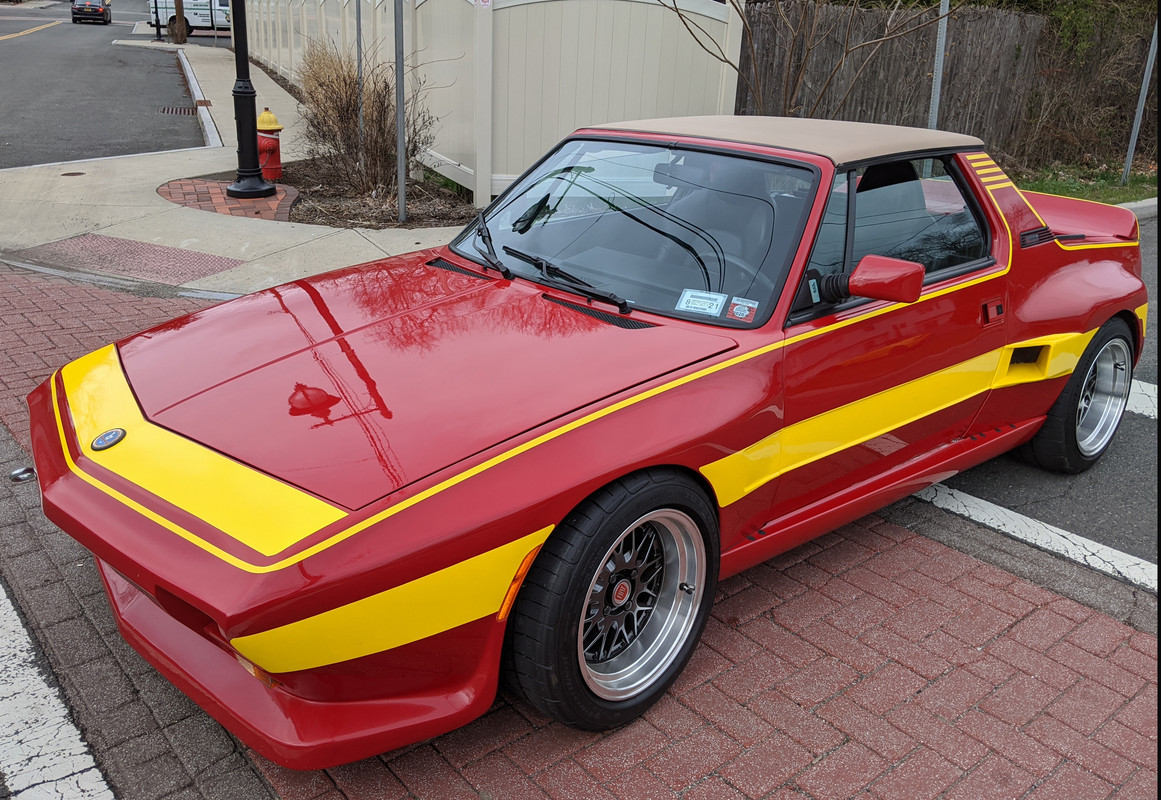
matches the fire hydrant, I notice

IMG-20200402-170147.jpg


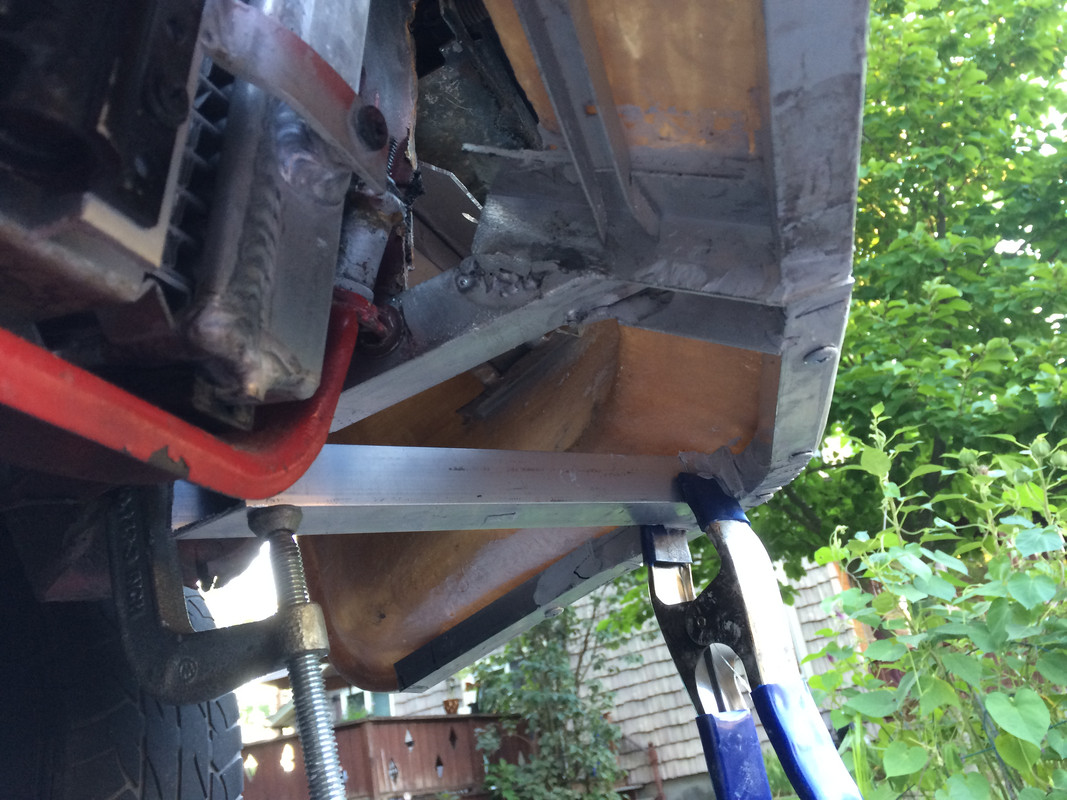
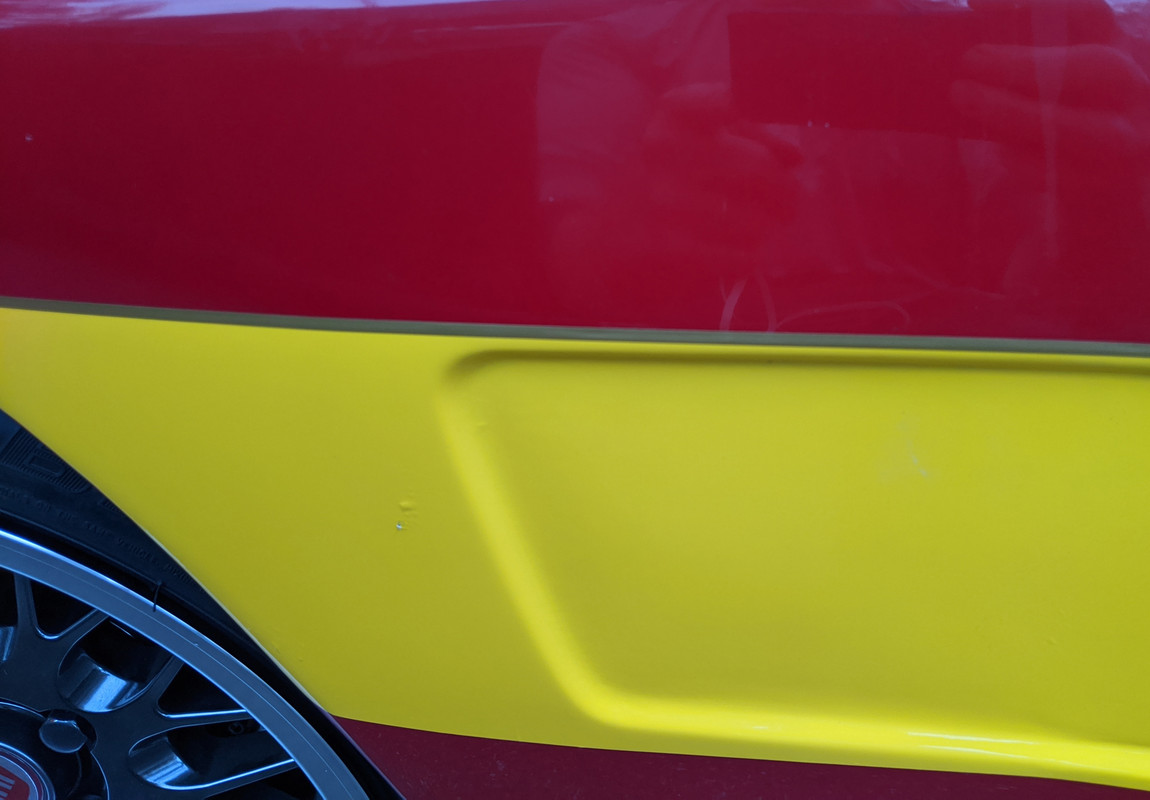
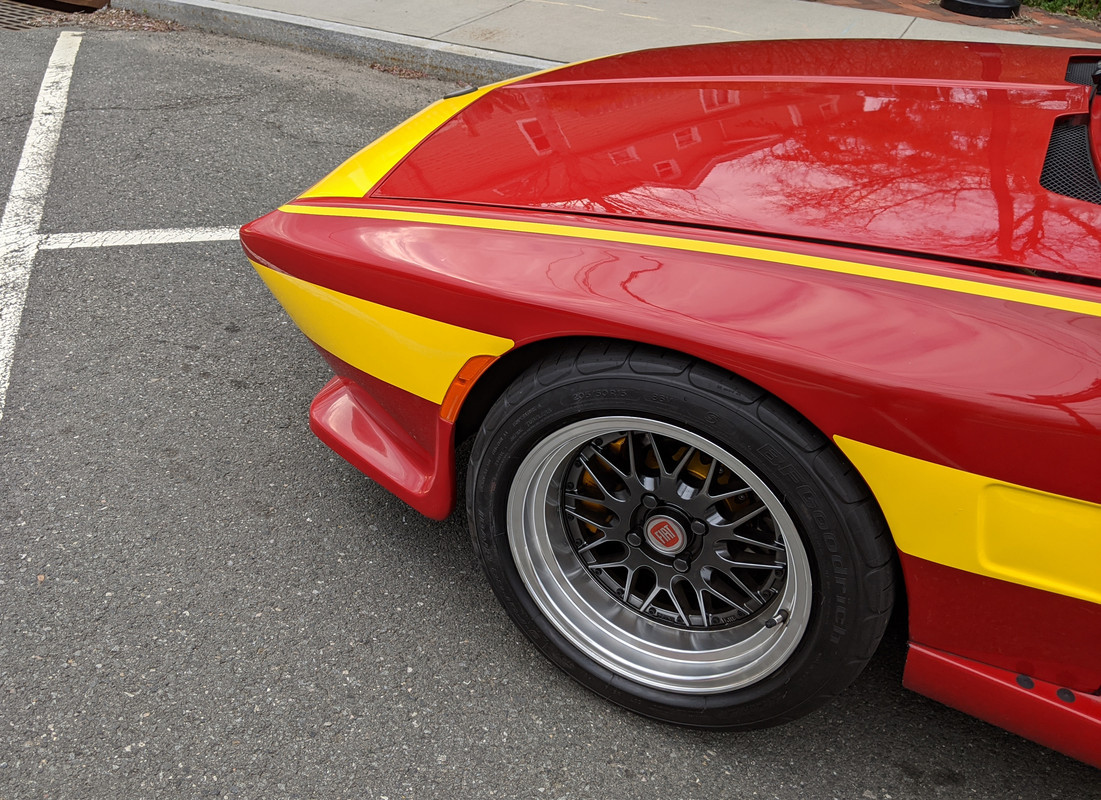
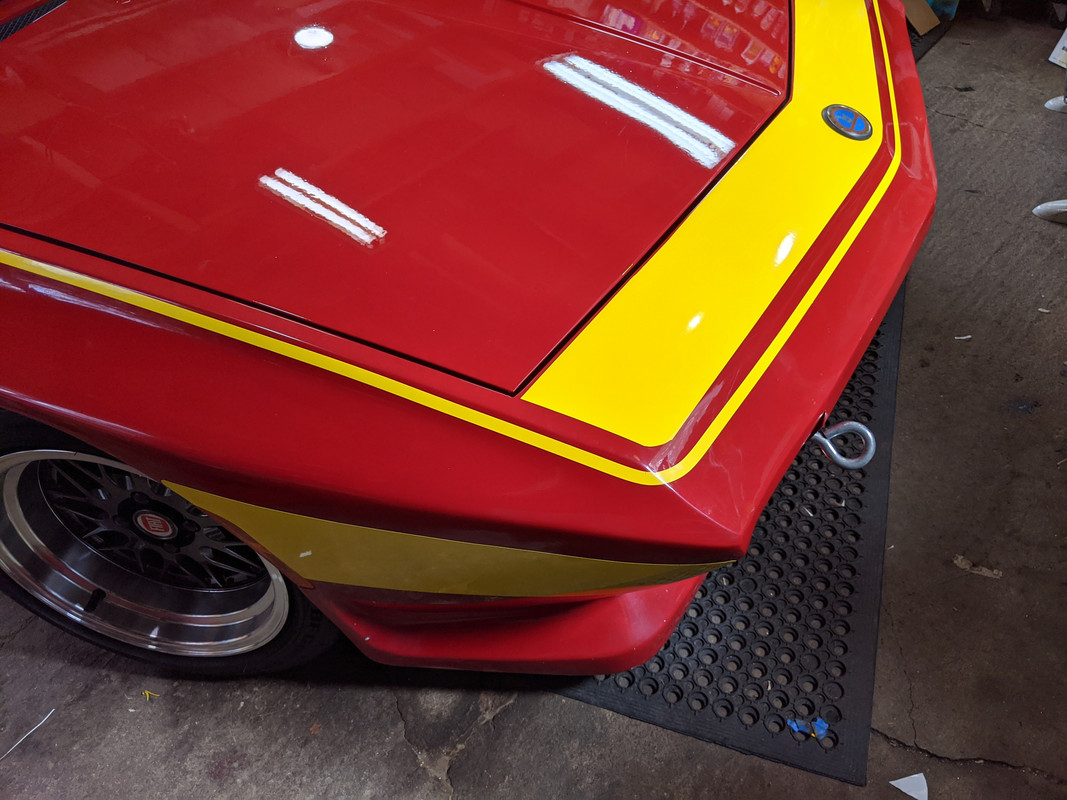
Added Expel film under the ducts, both sides where alreayd getting stone chips in that area. I really should have done the spoiler lip last year also, but that got chipped pretty much as soon as I drove it (in 2018), when the paint still wasn't cured.

IMG-20200402-170511.jpg
 
Amazing the progression from rust holey dull red car to the befendered, bespoilered smack in the face it is now.

Incredible work and great to see the contrast from where you started.

I really like the change to the late Chrysler side markers, it was a great solution when you changed them out. I have always hated the little rectangles with a round light in them and the US market rectangular lenses are totally rational but just weird. The integration into fender opening is a great design detail and solution.

I also really appreciate the rocker solution, adding that round at the bottom relates well to the curvaceous fenders versus the flat angled rocker that lives underneath. Additionally it ties the trailing front wheel opening to the leading rear wheel opening.

If I could change one thing, I would want to reduce the front spoiler in a few dimensions. Lifting the lower edge up to align to the rocker height and make its form a bit less convoluted at the flare transition would make it a bit less front heavy visually like the rear end is.

This is a great design well executed. It is definitely your car and not just a slavish replication of someone else's work. Seeing you solve the problems along the way has been a great a real treat. You have so much to be proud of.

All the best and thank you so much for bringing us all along with such excellent documentation of the body, electrical, mechanical and plumbing of this mod. Thank you also for suffering all of us chiming in from the sides over niggles and whatnots, particularly me.

All the best. I hope I have the opportunity to see this car in the near future and meet you in person. You are an inspiration.

Karl
 
So if you are like me, now you'll sell it and start another project vehicle. :oops:

Looking great, enjoy it. Don't be one of those who are afraid to drive them for fear of damaging all of their work. It can always be repaired. Afterall it is only a car; just a hunk of metal and assorted other materials. The same outlook that allows us to cut them up and hack away with mods should also allow us to not be afraid of reworking it later. ;)
 
Amazing the progression from rust holey dull red car to the befendered, bespoilered smack in the face it is now.

Incredible work and great to see the contrast from where you started.

I really like the change to the late Chrysler side markers, it was a great solution when you changed them out. I have always hated the little rectangles with a round light in them and the US market rectangular lenses are totally rational but just weird. The integration into fender opening is a great design detail and solution.

I also really appreciate the rocker solution, adding that round at the bottom relates well to the curvaceous fenders versus the flat angled rocker that lives underneath. Additionally it ties the trailing front wheel opening to the leading rear wheel opening.

If I could change one thing, I would want to reduce the front spoiler in a few dimensions. Lifting the lower edge up to align to the rocker height and make its form a bit less convoluted at the flare transition would make it a bit less front heavy visually like the rear end is.

This is a great design well executed. It is definitely your car and not just a slavish replication of someone else's work. Seeing you solve the problems along the way has been a great a real treat. You have so much to be proud of.

All the best and thank you so much for bringing us all along with such excellent documentation of the body, electrical, mechanical and plumbing of this mod. Thank you also for suffering all of us chiming in from the sides over niggles and whatnots, particularly me.

All the best. I hope I have the opportunity to see this car in the near future and meet you in person. You are an inspiration.

Karl


Many thanks for all your input along the way, Karl. It always helped keep me on my toes!

Ya hadda go and bring up the spoiler though :D

That has been a bother since I started. It started with the fact that as supplied, it ran uphill from the arch, and has serious waves across the front. Cant' find a pic that shows it clearly. As it was, it drops well below the rocker line, even with my added panels.

Dallara-Front-Fender00038.jpg


As it stands now, it is too tall at the bottom, definitely makes the nose heavier than it needs to be. The plan with the added section was just to level it out, but I didn't even accomplish that. Beyond that, it's difficult to jack the front, and if it needs towing (which it did, some years back), it's a royal PITA to get on th flatbed. So, It needs reworking.

There is no way to level it with the rocker, the best I can do at this point is chop off about an inch. I don't want to have to reshoot the lower area, so I'll have to be really careful. There's a bunch of aluminum reinforcements under there, so it's gonna be work :D

Dallara-Front-Spoiler00017.jpg


now

Screen Shot 2020-04-04 at 8.28.54 PM.png


Possible revison.
Screen Shot 2020-04-04 at 8.37.38 PM.png
 
Last edited:
So if you are like me, now you'll sell it and start another project vehicle. :oops:

Looking great, enjoy it. Don't be one of those who are afraid to drive them for fear of damaging all of their work. It can always be repaired. Afterall it is only a car; just a hunk of metal and assorted other materials. The same outlook that allows us to cut them up and hack away with mods should also allow us to not be afraid of reworking it later. ;)

I'm never selling it, they will have to bury me in it :D

I'm also not one to fuss over it once it's done. I've already dropped a ladder on the hood, denting it and a nick in the fender. Scratched th eleft targa sail putting the top one, etc., etc. It is what it is, I plan on enjoying it :)
 
Noted that the forward fender decal is too 'fat' by the arch

I'll peel it back & use the knifeless tape (that finally arrived) to trim the top line

Screen Shot 2020-04-05 at 11.44.37 AM.png
 
it drops well below the rocker line
It's all personal preference. I like a front air dam that extends lower than the rockers. Gives it more of a purposeful "track" look in my opinion. Especially for vehicles of that era, the big front nose was the trend for production based race cars.
Monterey 09 072.JPG
 
It is useful for a race car that only meets curbs by accident, a road car is another thing.

I do however see your point.
 
I do however see your point.
And I fully agree with your point. As much as I hate to admit it, I've had to repair and/or replace several front dams due to curb damage. But I love the look.

That is one of the reasons I've become a fan of air suspensions. You can raise the nose of the car to lift the front spoiler over dips and curbs. But you have to learn to watch for such things, and accidents do still happen. Which is why I also do not like using fiberglass for front dams. Unfortunately most of the aftermarket ones are FG though.

I have a really nice urethane one (plus air suspension) on my 'shop truck' (F150), and all of the custom ones I make are in steel with reinforcements behind them. But for the Turbo X project I purchased one of the 'Serpent Auto' dams (like Huss originally had), which I am modifying to my personal tastes. And I'll will reinforce it like Huss did to his current one. But unfortunately FG is vulnerable regardless of what you do. I'm still debating about going air suspension on the Turbo X project.

The price we pay to be stylish. :rolleyes:
 
IMG-20200405-173027.jpg


IMG-20200405-174553.jpg


Need to do something with the edge to protect it. I'm probably going to use xpel to protect the span, but the bottom edge needs something.

For right now, I'm going to add a skinny yellow edge - like this. I tried it with black, and that didn't work for me

IMG-20200405-184912.jpg


The next issue is the finishing of the decals. I'm still not sure if I should replicate the two-tone aspect of the original, in reverse since mine is lighter. Dom suggested using a black accent earlier, I think that would be too much contrast, though.

Screen-Shot-2020-04-05-at-8-44-34-PM.png


I got some gold pinstripe that would work - it does ease the transition from the yellow to the red. I'd like some input/opinions before I go ahead with that

IMG-20200405-185928.jpg


IMG-20200405-185737.jpg


pics of car with revised spoiler

IMG-20200405-180029.jpg


IMG-20200405-175949.jpg


IMG-20200405-180016.jpg


IMG-20200405-180035.jpg


No spoiler in these pics - just wanted to get one with the red & yellow Firehouse doors

IMG-20200405-175958.jpg


IMG-20200405-180002.jpg
 
Last edited:
Are you planning to write Icsunonove on the doors?

No, not that or the "b" on the targa sails. I thought about it. No practical way to get the font right, nor the facilities to get it cut in the vinyl I used. Besides that, I feel like that would be the same as putting a big "BERTONE" banner across the windshield, just too much - it's already too much, don't need it to be too too much :D
 
Well, if you change your mind a forum member sent me a document with the Icsunonove lettering in the right font. All I need is go to a shop doing vinyl car graphic. And you could have just the letters in red on a clear background and apply them on your yellow vinyl. If you don't like them, it's probably going to be possible to just remove them.

I think you already crossed the line of the "too much" a long time ago! :rolleyes: A stock x19 is enough to be noticed on the street. Nothing is subtle in your car and that's fine. Nobody will say you are driving a dull car. It's not a sleeper...:D

Alright, alright :D

I have the font graphic, John replicated it some years back & sent it to me it a range of formats. I'll contact a local sign shop hat does vehicle graphics & see what they think. Based on the crop pic above, it looks like the letters are from 3- 3.5" tall, and go from a little in front of the leading edge of the door handle to the edge of the black wedge of the door glass frame. I'll have to play with scaling the font to make sure the proportions are constrained.
ICSUNONOVE_StopFont_FromBallDesign-johnnyx-JPG.jpg
 
Need to do something with the edge to protect it.
Not sure if you mean protection from damage, such as scraping the ground? One common approach is to add a hard plywood plank on the underside. It gives enough when scraping to prevent fiberglass damage, it's inexpensive, easy to replace, and does not show when mounted underneath. A lot of dedicated track cars use a wood plank. Another option is a thick aluminum plate. It doesn't "give" like wood, but acts more like a skid plate. Much more expensive and more difficult to make.
 
Not sure if you mean protection from damage, such as scraping the ground? One common approach is to add a hard plywood plank on the underside. It gives enough when scraping to prevent fiberglass damage, it's inexpensive, easy to replace, and does not show when mounted underneath. A lot of dedicated track cars use a wood plank. Another option is a thick aluminum plate. It doesn't "give" like wood, but acts more like a skid plate. Much more expensive and more difficult to make.

Hey Jeff - no, not the underside, that already has aluminum reinforcement - I meant the bottom edge/face where it is prone to stone/gravel/debris chipping. Just that little edge I covered with sample tape in the earlier pic - cropped here:

spoiler lip.jpg
 
And you could have just the letters in red on a clear background and apply them on your yellow vinyl. If you don't like them, it's probably going to be possible to just remove them.

OK

Printed them out on a bunch of letter paper & assembled - this is with letters 3.375" tall, not counting white space. I think that is the appropriate scale - needs to sit a little further forward on the door, to match original offset relative to door handle.

IMG_20200406_134004.jpg
IMG_20200406_134010.jpg
 
Added the skiny stripe along the spoiler, so I added one to the rear valance to balance it. Put xpel film across the width of the spoiler, after touching up a dozen or so stone chips.

IMG-20200407-143417.jpg


IMG-20200407-143436.jpg
 
Back
Top