fiatmonkey
Tim Hoover

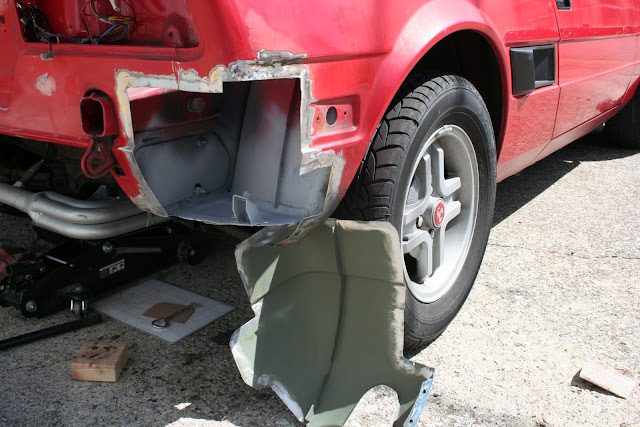
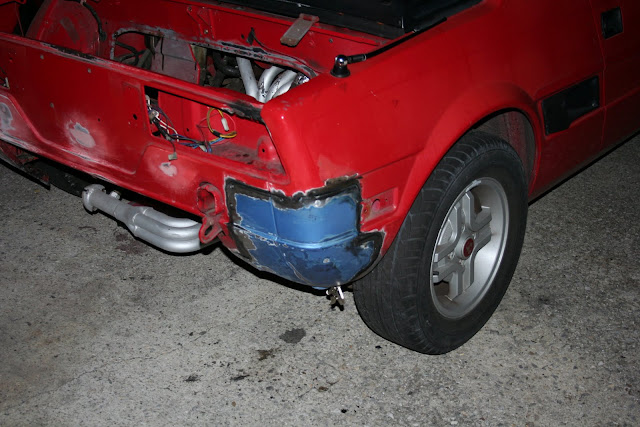
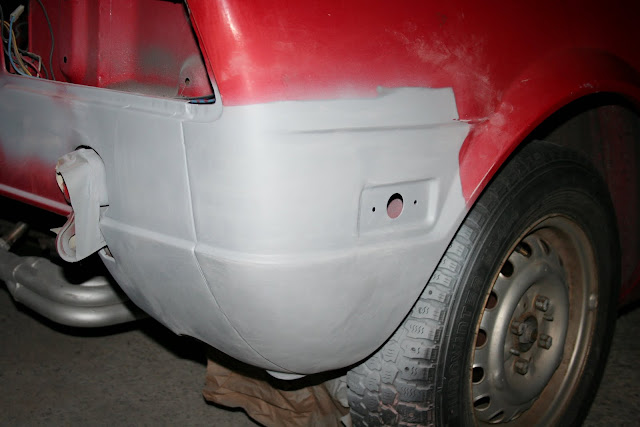
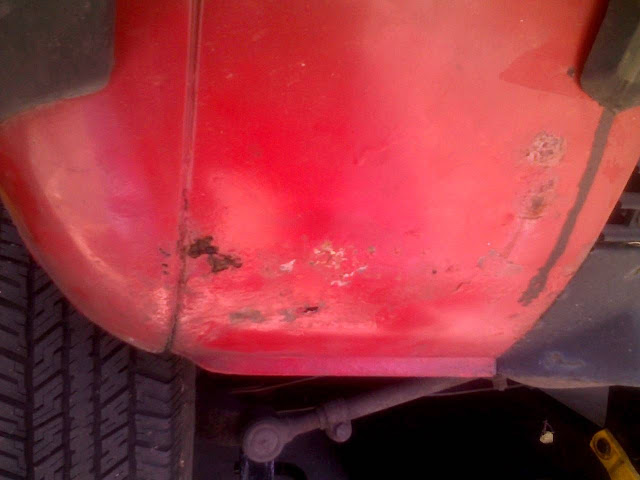
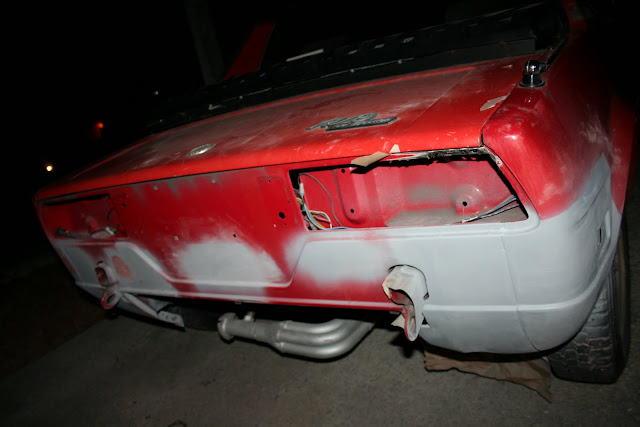
This is what I had to cut out...
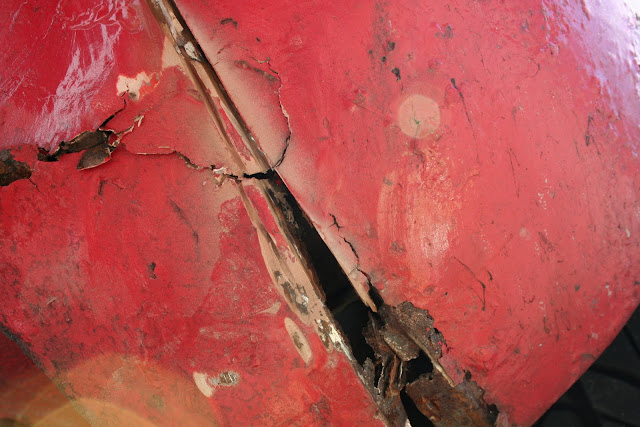

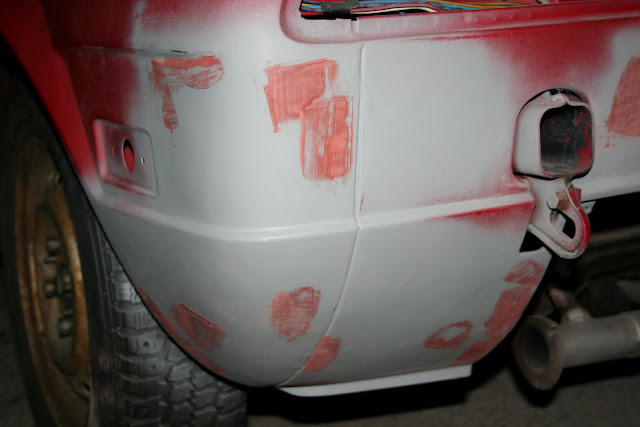
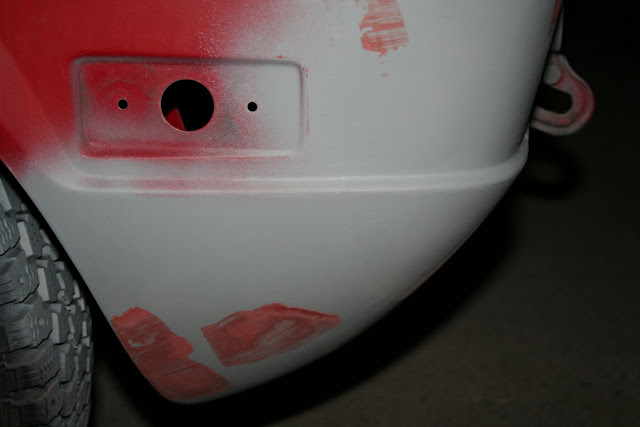
That's some crusty lookin' patches that you've removed!
How do you intend to proceed with securing the replacement?
")
Looks like a nice job so far. Glad to see it repaired correctly. I wouldn't go so far as to call it Frakenstein though, a lot more expensive cars are repaired the same way.
I would suggest buttwelding the patch. There is no place for moisture collect and rust to start as in a lap joint. It takes a little more work; hammering, grinding and such but creates an invisible repair on both sides if done right. Good luck!
... or lap weld it, or rivet it or GLUE IT???
and have fun.
By the way nice tires and wheels
I love em'Hey Tim, how about some details on the panel adhesive and how it was to work with?
///Mike
I agree totally with your repair philosophy, especially for a DD car...
Shame on you for leaving the camera in SoCal... and for not letting us know you were in the neighborhood!
The SerpentAuto spoiler has to be bonded all the way around.
I thought it was the stock early one.