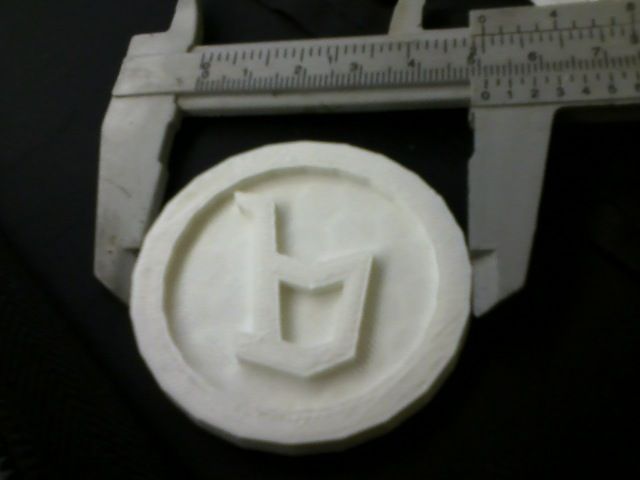
If you're using ABS plastic, you can clean up your prints with acetone vapor polishing. Not sure how well it would work with PLA, though:
http://www.trenchphysics.com/?p=41
http://www.trenchphysics.com/?p=41


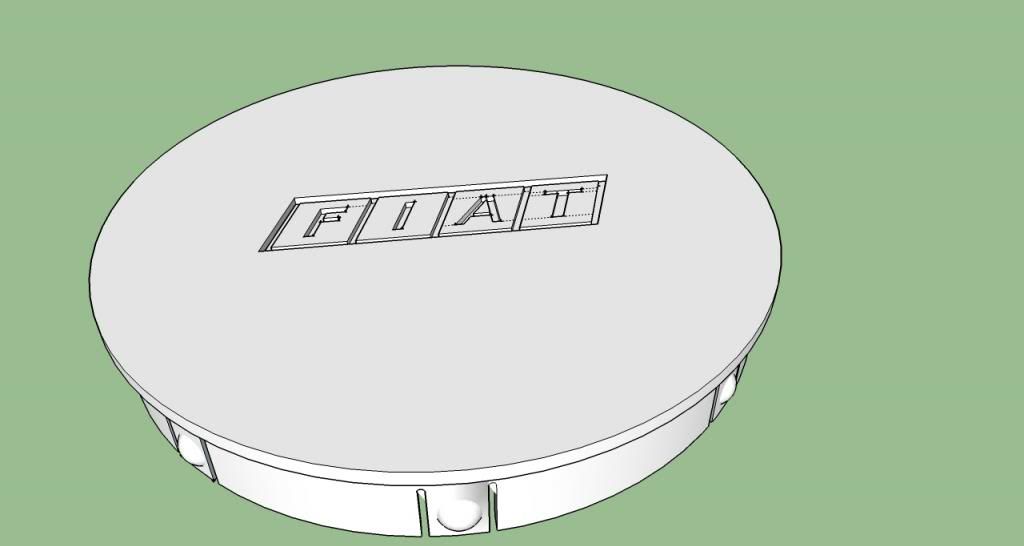
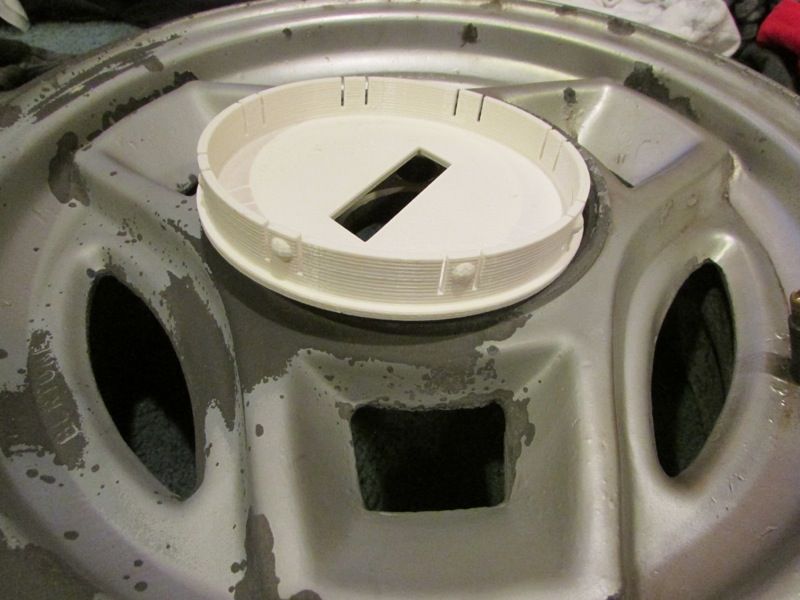
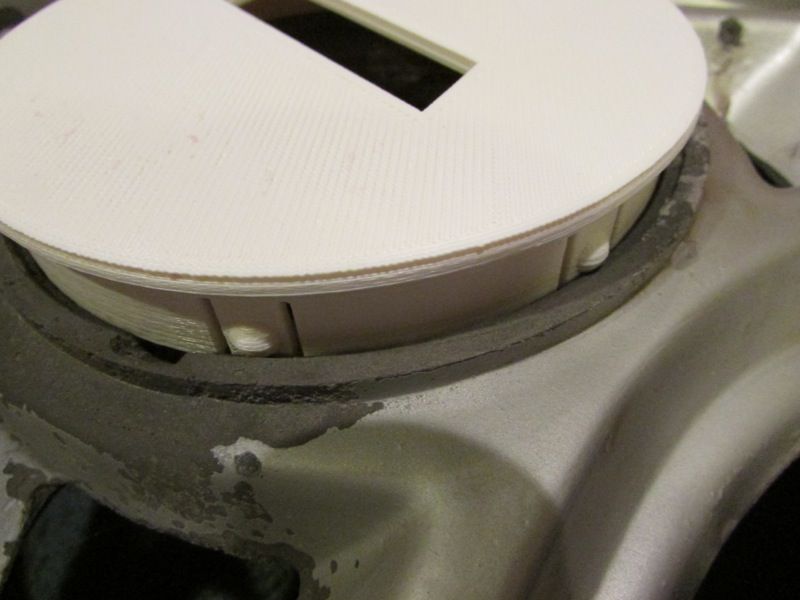
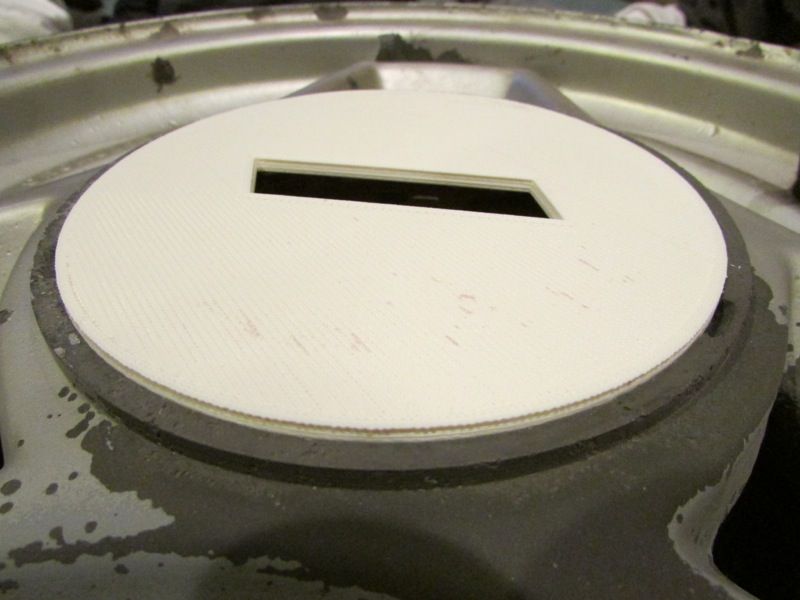
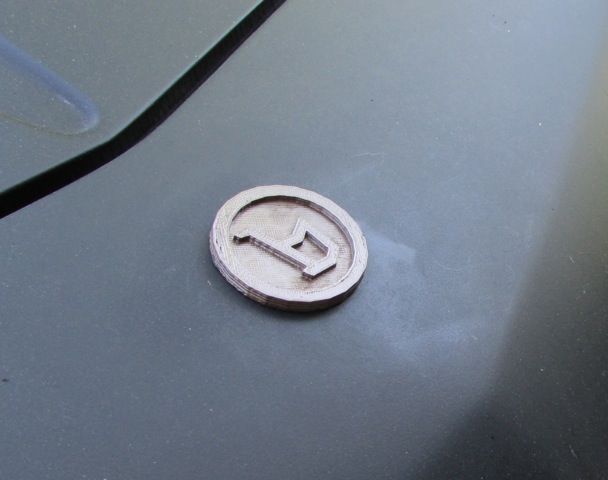
 latch by paul355355, on Flickr
")
Sort of a hijack but....
GE has been investing heavily in basically printing metal parts with "laser beams" (had to match your Austin Powers reference Jim). They call it additive manufacturing. One of the neat things about it is you can print things that are unmanufacturable by conventional methods.