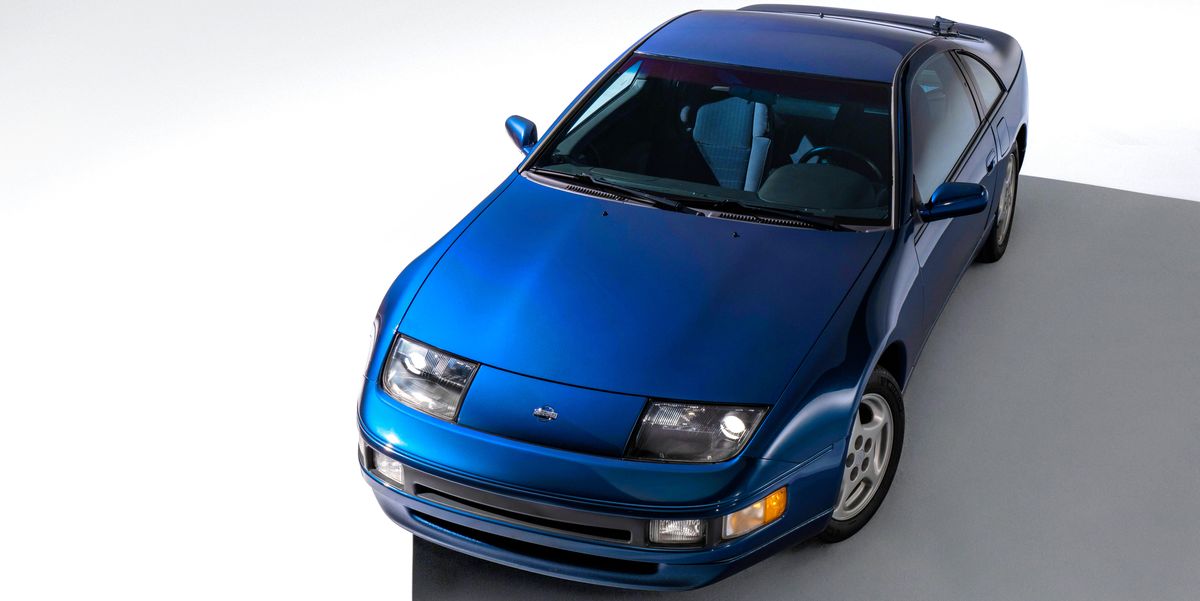
Selling the X & Bought an 75 Datsun 280Z

Other sights in the South

PXL_20230406_175518422~2.jpg


PXL_20230407_111315818.jpg

PXL_20230406_180319944.jpg

PXL_20230405_104206518.jpg


He had a partner, but he broke a leg so is out of commission
PXL_20230405_114331479.jpg
 
Last edited:
Still haven't figured out the Datsun wheel hub, so I bought a cheap universal wheel (Nardi/Personal/Momo) Boss kit HUB-N-2 that allowed me to use an old Nardi wheel I had stashed from the X1/9 parts car (@aarpcard - I couldn't recall your username 🤪). It's only 1/2" smaller OD than the Datsun wheel

PXL_20230410_201930169.jpg


I'll need to find a 48mm Datsun emblem to replace the Abarth emblem. This will do until I figure out a way to use the Datsun wheel.
PXL_20230410_202001553.jpg


New dash is here, so that will be on the agenda
PXL_20230410_221759344.jpg
 
Last edited:
Fixed the mount points of the hatch louvres. Got rid of the sheet metal screws & used M5 rivnuts instead. No more rattles
Added closed cell foam to seal the mount points

PXL_20230410_144231894.jpg


PXL_20230410_150848905.jpg

PXL_20230410_184401553.jpg

PXL_20230410_194723214.jpg

Removed the rear bumper also. Mine had a bolt-on valance, not welded like many I've seen videos of. Must be a later issue thing
PXL_20230410_194657521.jpg


PXL_20230410_204921218.jpg
 
No real knowledge base on these cars but I gather the ZXs were totally different cars?
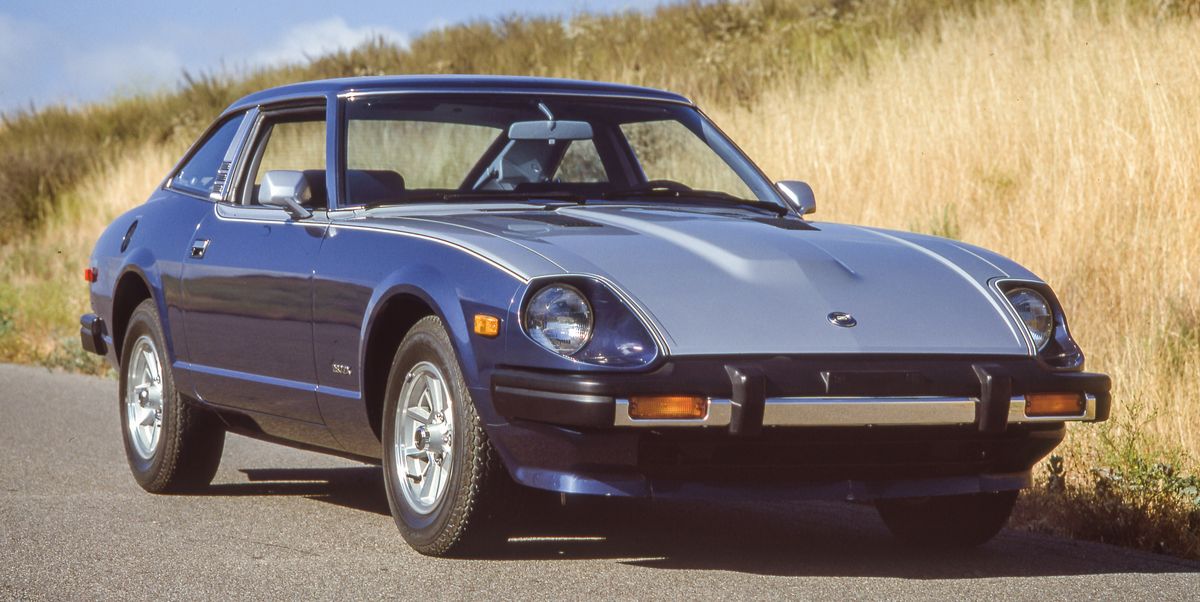
Yes, it abandoned a lot of what made the Z handle well along with so much more. They went to a semi trailing arm rear suspension (used on the 510 on through the Maxima which is where the parts came from) which made them rather ugly at the limit ala Porsche/BMW. The body was not pretty, definitely of the time. I blame Nissan for the later X’s getting that abominable two tone paint scheme.


Now a 300Z, that would be a later design I could really enjoy as a tourer. I have always loved the design. It was from a period when Nissan design was approaching car design from a product perspective, something Ital Design had also done with cars like the Isuzu Impulse.

 
More odds & ends - starting on the cooling system issues, and going to start laying out the AC fixes

Fan clutch blade has multiple stress cracks. Volvo used Aisin components up into the early 90's, so the fan blade will work once I remove the 'tangs". I want to try & fit a Volvo eFan & shroud, so I'll play with that first. At a glance it doesn't appear that I have sufficient depth (need 3.5-4" for the shroud). It may work if I use one of the shrouds that offsets the fan to the left.
PXL_20230411_211933156.jpg


Front crank seal is also leaking, so I should do that while I'm in here. Water pump is leaking underneath so that's coming out

PXL_20230411_212329275.jpg


T/stat housing long bolt to head did not feel good when I tried to loosen it - it had that spongy/stretchy feel that has always come before a snap. It's not leaking at the head, so I think I'll leave well enough alone & just remove the top cover to service the t/stat & gasket that is actually leaking.
PXL_20230411_212355017.jpg


Also cover is not bonded for the AFM (look familiar?) so I'll do the circuit cleanup before I silicone the lid in place
PXL_20230411_213130048.jpg


AFM to TB hose is still intact
PXL_20230411_213124215.jpg


Filter to AFM needs fixing or replacing
PXL_20230411_213111649.jpg


AFM connection will be replaced with the releasable version
PXL_20230411_232159053.jpg


AC condensor dimensions bascially 14" x 20". I ordered a 12x25", gives me a larger surface area
PXL_20230411_222157497.jpg

PXL_20230411_222204502.jpg


Remade the t/stat to block bypass hose. The original layout had a metal pipe that must have been discarded at some point. An overly long section of 1/2" heater hose was installed instead, which besides being to long was also not the correct ID. I used sections of the fiat EPDM hose from the original expansion tank on my 87, and QC fittings with a Volvo coolant bleed hose cut from a 740T lower rad hose
PXL_20230411_232004209.jpg


for some unknown reason, Nissan ran the distributor wires forward to the rad, makes no sense as it was only retained with a plastic clip to the upper rad hose from the factory. Mine clearly fell & hit the fan blades at some point. I think I'll re route it
PXL_20230411_232101887.jpg
 
T/stat housing long bolt to head did not feel good when I tried to loosen it - it had that spongy/stretchy feel that has always come before a snap. It's not leaking at the head, so I think I'll leave well enough alone & just remove the top cover to service the t/stat & gasket that is actually leaking.
View attachment 72361
Good call as I broke mine. The threaded hole in the housing for the cap was split so I had to remove it. The long bolt corroded in the housing so I had to cut it apart until I could get what was left to spin & unthread from the block. Problem 2 is these housings are 75 & 76 only & impossible to find. I bought a later model 3 hole cap assy used. 1 hole was threaded larger, but I was able to drill out the sensor that was there & tap the brass housing to the correct size. Just had to rearrange the sensor locations to make it work.
 
Last edited:
Not much time today, so I cleaned the front of the engine a little, then went to the shop that allows me to use their equipment for a modest fee & mounted & balanced the new 205/50x15 tires to the new wheels (15x7, 4x114.3, 73.1 bore; Konig Rewinds)

PXL_20230412_204725075.jpg

PXL_20230412_222713348.jpg
 
Last edited:
nice choice.....

Thankfully ZcarDepot actually has a billet version of the entire housing, and/or individual components available. It's certainly not cheap, but it is an option.

Ah - I didn't catch that - mine are the same wheel that you have :) wait, yours has a rear skirt of some kind? Can you show me more pics of it?
 
Back then.... Datsuns were real easy to work on. I only ever had one special Datsun tool...and I made that myself. If....you ever have to yank just the head off for any reason......the timing chain can be left in situ behind a cover....but it will of course become loose and the spring loaded chain tensioner will pop out. So......before you undo the upper chain sprocket...you gotta pop a wedge down there to prevent that. See the pic below.

So...if you ever have to yank the head....let me know and I'll send you down my custom home made high tech tool .....

Note beside it the genuine Nissan end wrench. 14mm and 17mm. Great for adjusting valves. Back then of course all new Datsuns came with a tool kit. This wrench was part of it.

Doug - any chance you could trace the outline of the chain tool & add dimensions? I've been told I may need to tension the chain by moving the cam gear pin to an new hole, given it has 250K miles. I haven't checked the slack, but it would be handy to have the tool around :)
 
Back
Top