Russe11
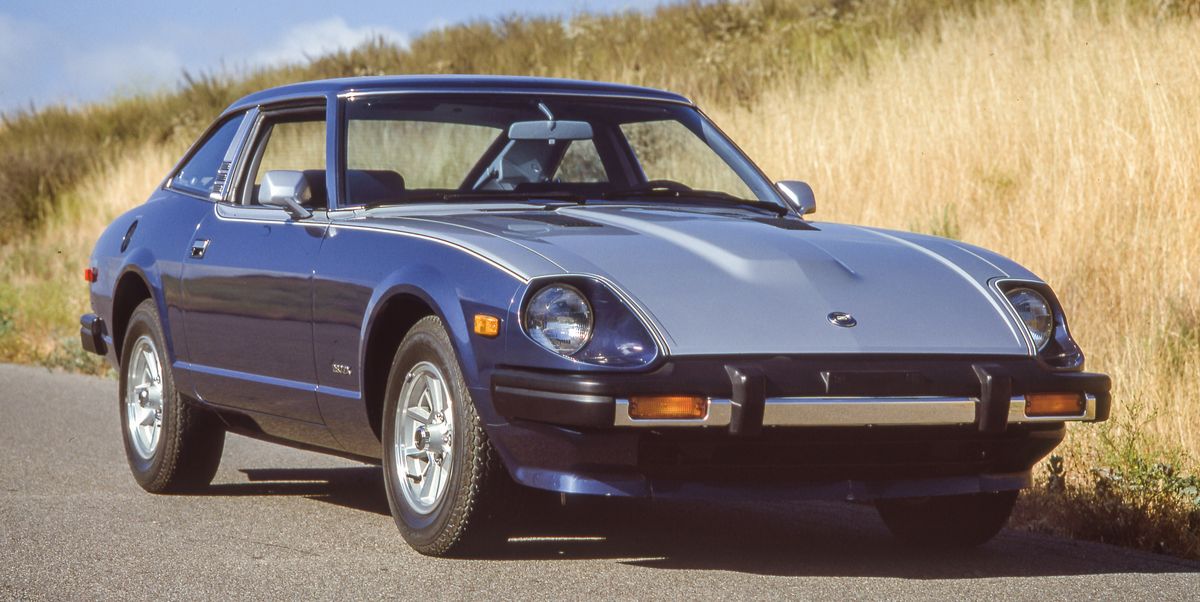
True Classic
New form of selfie.
I wonder how you got that scar.
and the bullet hole in his neck.
It looks to me like he was anticipating such questions and rolling his eyes...

New form of selfie.
I wonder how you got that scar.
and the bullet hole in his neck.
No, he rolled his eyes because he sold his X to buy a Z. The question is Y.It looks to me like he was anticipating such questions and rolling his eyes...

I think He's making such fast prgress on the Z so he can give it an honest chance before the X hits the market.No, he rolled his eyes because he sold his X to buy a Z. The question is Y.
Loving that shore setting.Other sights in the South
View attachment 72103
View attachment 72104
View attachment 72110
View attachment 72114
He had a partner, but he broke a leg so is out of commission
View attachment 72113
 ). It's only 1/2" smaller OD than the Datsun wheel
Yes, it abandoned a lot of what made the Z handle well along with so much more. They went to a semi trailing arm rear suspension (used on the 510 on through the Maxima which is where the parts came from) which made them rather ugly at the limit ala Porsche/BMW. The body was not pretty, definitely of the time. I blame Nissan for the later X’s getting that abominable two tone paint scheme.No real knowledge base on these cars but I gather the ZXs were totally different cars?
 www.caranddriver.com
 www.caranddriver.com
Good call as I broke mine. The threaded hole in the housing for the cap was split so I had to remove it. The long bolt corroded in the housing so I had to cut it apart until I could get what was left to spin & unthread from the block. Problem 2 is these housings are 75 & 76 only & impossible to find. I bought a later model 3 hole cap assy used. 1 hole was threaded larger, but I was able to drill out the sensor that was there & tap the brass housing to the correct size. Just had to rearrange the sensor locations to make it work.T/stat housing long bolt to head did not feel good when I tried to loosen it - it had that spongy/stretchy feel that has always come before a snap. It's not leaking at the head, so I think I'll leave well enough alone & just remove the top cover to service the t/stat & gasket that is actually leaking.
View attachment 72361
nice choice.....Not much time today, so I cleaned the front of the engine a little, then went to the shop that allows me to use their equipment for a modest fee & mounted & balanced the new tires to the new wheels (15x7 Konig Rewinds)
View attachment 72397
View attachment 72398
nice choice.....
wait, yours has a rear skirt of some kind? Can you show me more pics of it?Back then.... Datsuns were real easy to work on. I only ever had one special Datsun tool...and I made that myself. If....you ever have to yank just the head off for any reason......the timing chain can be left in situ behind a cover....but it will of course become loose and the spring loaded chain tensioner will pop out. So......before you undo the upper chain sprocket...you gotta pop a wedge down there to prevent that. See the pic below.
So...if you ever have to yank the head....let me know and I'll send you down my custom home made high tech tool .....
Note beside it the genuine Nissan end wrench. 14mm and 17mm. Great for adjusting valves. Back then of course all new Datsuns came with a tool kit. This wrench was part of it.