
You are using an out of date browser. It may not display this or other websites correctly.
You should upgrade or use an alternative browser.
You should upgrade or use an alternative browser.
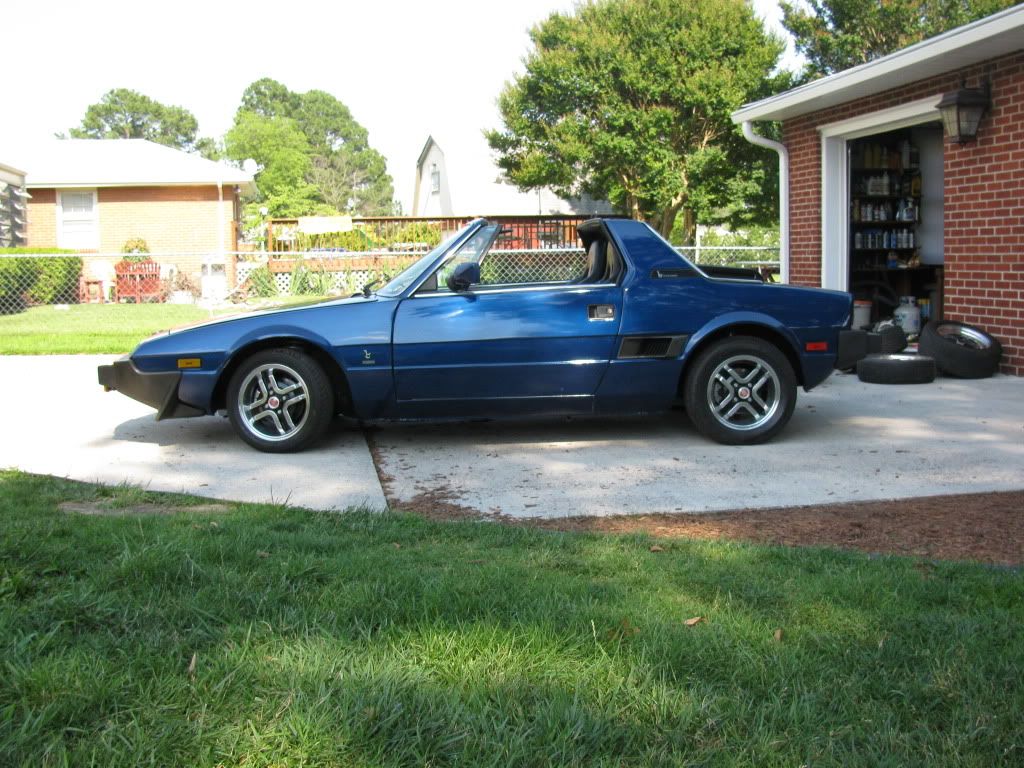
Cromodora Alloy Wheel Cleaning
- Thread starter SSNET
- Start date
Xmember
True Classic
for DIY then its just gonna take alot of elbow grease, time, a little cleaner and alot more elbow grease. Check a product called "no rub" from eagle1 <? works really well. Or if you just want the wheels back to new for a restoration or something, check a local wheel refinishing shop. Should be around $100 for all 4
You've got the right idea
Polishing ball on a drill. Messy! :nod: Can't get around it though unless you hire one of the neighbor's kids... :shock:
I use the reddish rubbing compound to take it down faster, then move to the white to finish. If you want a mirror surface, use "NicSand" to finish after the white compound. It's work, any way you look at it.
Good luck!
Greg (in Conn)
Bertone curator - X driver
Jim here is a recent discussion
http://xwebforums.com/forum/index.php?threads/5143/
http://xwebforums.com/forum/index.php?threads/5143/
What is the preferred method of making them look like they
used to.
Last edited by a moderator:
Wheel shop??
Perhaps I should explain where I live.
The Upper Penninusla of Mich.
We don't have a stoplight in our whole county.
Nearest big town is Green Bay (3hr drive, 1 hr flight)
Long winters keepout the riff-raff.
Low crime rate (Everybody has a deer rifle, and everybody else knows it).
Specialty shops of any sort are non existant.
That's why I must pick the collective brain of this group for home grown solutions:nod:
Jim
Xmember
True Classic
If by chance while stripping the wheels you decide youd like to own polished wheels, now is the time to polish them. I used aircraft stripper to soften the wheels finish and an angle grinder with a 'fine' brass wire wheel to remove the paint/primer and clear coat, and also to polish a set of Audi 6 spokes. Id advise against using steel wire wheels on aluminum rims for this job as the steel is harder and can leave deep scratches if not careful, and brass will not. After you strip and polish, use a buffing pad on the grinder along with a cutting compound to finish the job and smooth/buff the finish. lastly us real enamel clear coat (not rattle clear) and spray 2 good coats , waiting 10-15 mins between coats , bake dry or air dry and enjoy.
Xmember
True Classic
yes theyre painted/clear coatedCromodoras are painted not polished, arent they?


LarryC
Curator of #10105275
I am no expert
But my best information is that it is not such a good idea to polish true magnesium wheels. That's why they are usually painted. For example, read the second post here
http://grassrootsmotorsports.com/forum/grm/magnesium-wheel-refinishing/6292/page1/
But my best information is that it is not such a good idea to polish true magnesium wheels. That's why they are usually painted. For example, read the second post here
http://grassrootsmotorsports.com/forum/grm/magnesium-wheel-refinishing/6292/page1/
Mark Plaia
True Classic
I had some polished CD-91s as well.....
This shot was taken at a Seattle X1/9 meet in 1999.
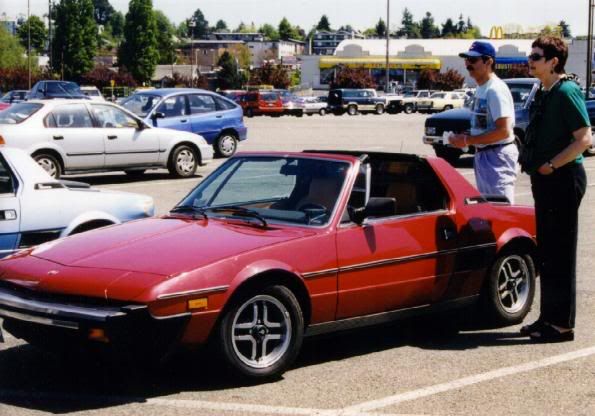
Ciao,
This shot was taken at a Seattle X1/9 meet in 1999.
Ciao,
Black-Tooth
Tony Natoli
Well Jim...
If ya like working your arse off for results that will be abused in a matter of days... I suggest you take the polishing route.
Otherwise... I have a 3 step process also...
1. Clean up the wheels with LACQUER THINNER and mask off the tire, or prepare to clean up the tire afterwards with more thinner.
2. Purchase ONE can of Duplicolor "mag color" type paints for WHEELS at your favorite Auto Parts Store. They come in several "silver" and gold and greys, charcoals and blacks... If you like doing 3-steps, purchase ONE can of Clear Coat also... Gloss or Mutted... This oughta set ya back about 12 bucks...
3. Paint the wheels, and immediately clear coat them after about 20 minutes drying time for a great finish. Lasts a long time, won't rot your teeth, inexpensive, and from 12 inches away, looks as good as any polished wheel.
BTW... I once purchased some Duplicolor Silver Wheel Paint to repaint some STOCK Honda Hubcaps (1990 Civic) that had been scraped up on a curb. I thought I would sand and then use the paint as a primer of sorts to grip onto the bare plastic a bit better, and then repaint the entire cap. As I started to spray I only hit the portions that were bare and set it aside to dry for a few minutes... When I came back I could HARDLY discern where I started and stopped! The colors matched PERFECTLY! I ended up only painting the damaged cap it matched the others so well!
Have fun, let us know what ya do and how ya do it...
3 step process
Well, four if you count the paint stripping process...
I first used "Aircraft" stripper, (sold in quarts or gallons at automotive stores) and cleaned / dissolved the old painted surface. I used (several pairs) heavy duty rubber gloves with heavy steel wool after the strip chemical worked in order to remove the paint and flash.
Next I washed the rims and cleaned all the inner wall build-up from the brake pads so all I had was bare metal.
From that point I sanded the rough spots left from wheel weights, then filled the pits using steel epoxy. After cure, I sanded them all flat and smooth.
Step 1: Apply the primer. I used DuPont self-etching primer, although you can use non-etching primer (prefer light gray) on Aluminum. I spray with a gun, not out of a can.
Step 2: Apply the base coat. I used a bright "silver met", basically a bright silver paint used for wheels. Ford has a bright silver wheel color so I used that. (don't recall the number right now but I have it) Again, DuPont. This is a flat paint, very easy to apply in a uniform base coat.
Step 2A: There are 4 small spaces on each wheel that need to be filled in with black paint. Base coat dries really fast so you can mask these areas and use flat black spray paint out of a can to fill in the black spots on each wheel. Or not... (your choice)
Step 3: Apply gloss top coat. The brand I use is Imron, but this requires you wear a special mask. (not a cheapie!) Imron is a 2-part mix that cures hard like epoxy but shines like no other. I applied 2 coats, about 1/2 hour apart. It's important to get a uniform coat without drips. After the gloss coat, I baked each rim in the oven (your wife has to love you very much for this!) at 225 degrees for a full 30 minutes. (exhaust fan on!) Then let cool slowly for at least an hour. The paint still cures within this time so don't rush it.
That's it in a nutshell. Easy way to blow an entire weekend, but the results last a whole lot longer.