
Dr.Jeff
True Classic
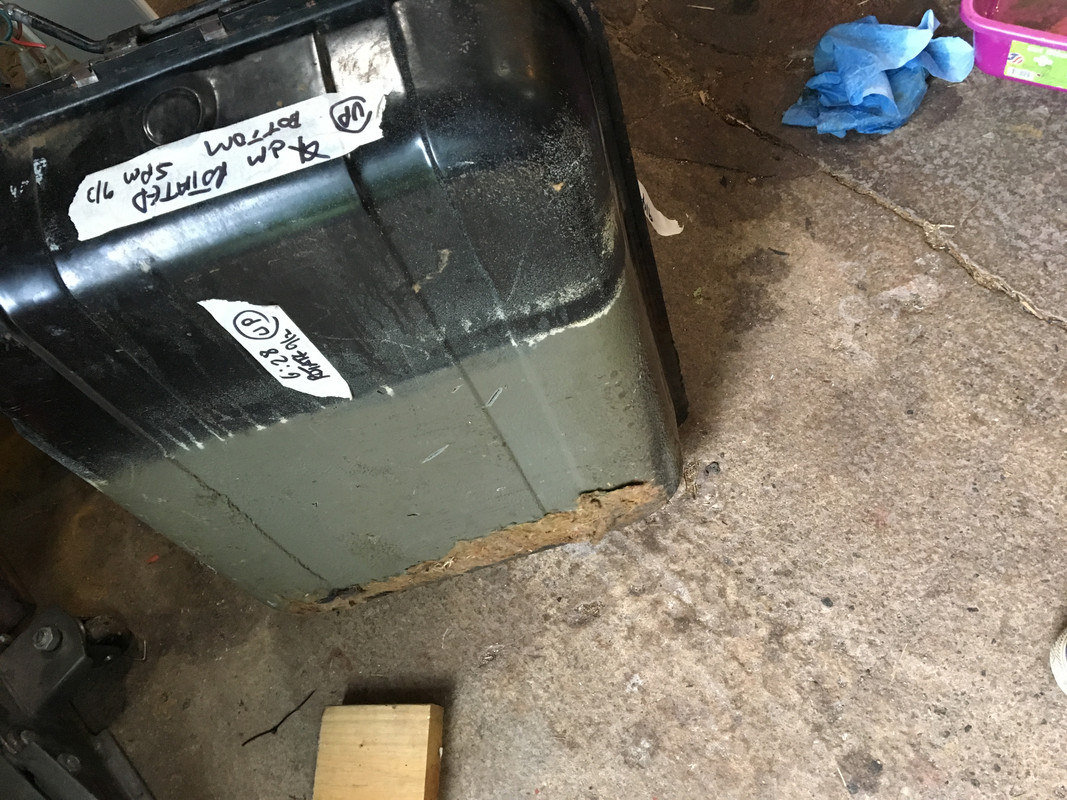
Only the '85 has the extra factory coating (light grey color) on the lower half of the tank, and the standard factory coating (black color) on the rest of the undercarriage. My '79 does not, but it had aftermarket undercoating added to the whole undercarriage at some point. What a mess; overly thick and like you say, the bottom of that tank has some overspray on it, as does the suspension bushings, various rubber boots, one side of the axles/CV joints, part of the oil pan and trans, and many other undesirable areas. It was a SoCal car so the coating wasn't needed. In fact there are a couple of spots where water got under it and rusted the metal undetected, so I contend the car would have been better off without it.The lower part of my tank has a bit of undercoating on it but it looks like it was from when I had the car undercoated when it was new. In this climate, it was probably more useful as sound deadening.
I have removed undercoating on other vehicles as part of total restorations. It's a lot of work and makes a huge mess. I'd leave it and paint around or over it.
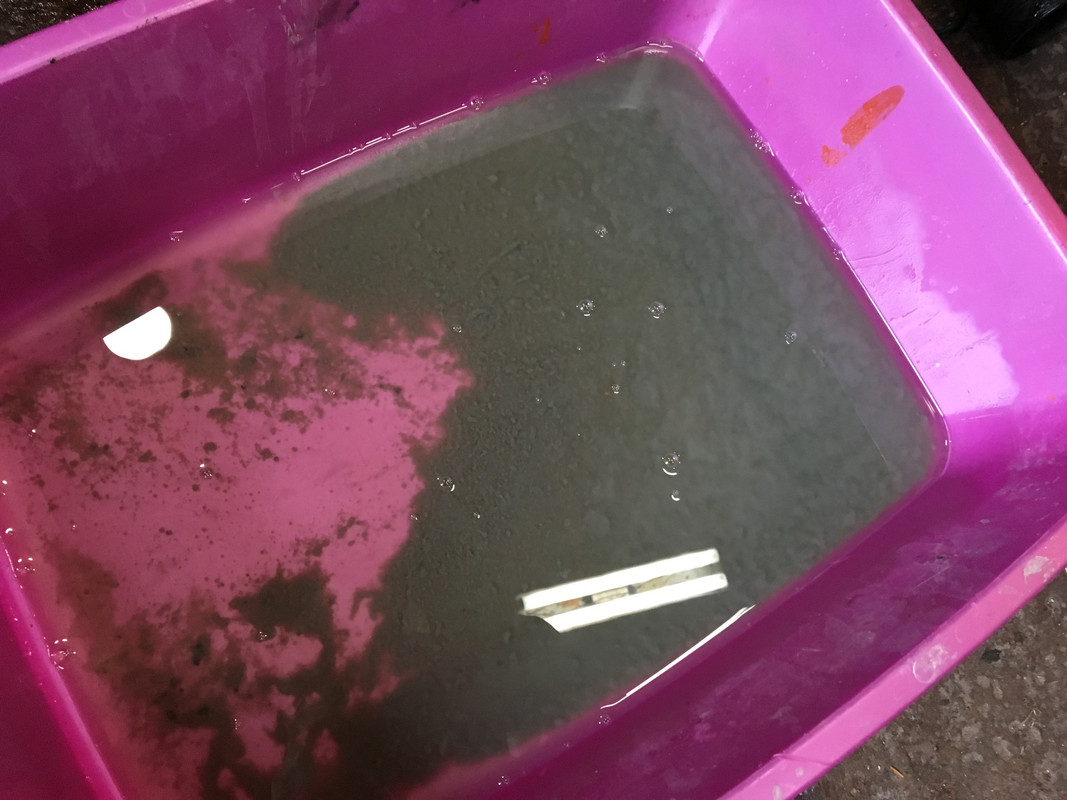
 - It was pretty clean anyway, so I'm assuming the mung that came out is a mix of the phosphoric acid & whatever crap was predominatly sitting in the bottom / caged pickup area.