Selling the X & Bought an 75 Datsun 280Z

Did the motor mounts this afternoon, then worked on finishing the spoiler/bumper install

View attachment 71599

I'm happy with the fit & look. Not sure I needed to splurge for the Skillard grille, but I didn't want any of the gap I've seen without a full grille
View attachment 71600

View attachment 71601
View attachment 71602

View attachment 71603

View attachment 71606
Bumper fit around the fenders is very nice
View attachment 71604

View attachment 71605

used a pair of Volvo V70 inlet ducts modded to work as brake ducts. I'll refine them later
View attachment 71607

Finally, I had bought another steering wheel since mine is 'squishy", not knowing the hub is not a separate part on my 75...
View attachment 71608
Looking great.

Bummer about the steering wheel hub. I like the slotted spokes.
 
Found the coolant leak, besides the botched t/stat gasket

PXL_20230322_201754776.jpg
 
Adjusting the valves really woke up my motor. I have poly bushings to install as well. I have a video saved I'll send to you. I'll be interested to hear how it goes for you as it seems by this pace, you'll get to it before me...
If this is true: “The L series cam timing is dependent on the valve lash. Changing the lash .001 will in effect change the duration of the cam by approximately 5 degrees.” Then yeah, adjusting the valves could really change the engine’s behavior.
 
The hairpin spring keeps the rocker in contact with the ball end. Neat.

I found this on zcar.com in a post by Kevin Taylor


This is a general instruction of "How To adjust Valves on a L-Series Engine" with a stock camshaft.

Note the following :

****************CAUTION*********** CAUTION *********CAUTION *******************
WHILE THE CAM COVER IS OFF, BE AWARE OF LOOSE OR FOREIGN OBJECTS IN YOUR WORK AREA THAT CAN POTENTIALLY FALL INTO THE OPEN ENGINE, SPECIFICALLY THE AREA FORWARD OF THE TIMING CHAIN.

*******************************************************************************

You'll need some basic hand tools:


* Screwdriver - Phillips
* 10 MM 1/4 Dr. socket w/ long extention
* Feeler gauges (.008", .010" and .012")
* Open-end Wrenches (14 MM & 17 MM),
* 27 MM socket on a breaker bar or a remote starter switch
* Torque wrench, 25-100 Ft pound range, minimum .
* 3/8 or 1/2 Dr 17 MM Crowsfoot or 1/2 Dr L28 Vlv Adj Tool from MSA.

You'll perform the adjustment twice, once while the engine is bone cold (basically for the sake of practice and to gain a feel for it) and again while the engine is hot and at operating temperature to finalize the adjustments.

Orientate yourself with the engine, such as the firing order and cylinder arrangement. Firing order is 1-5-3-6-2-4, cylinders are numbered from front to back. Cylinders 1 & 6 will mirror each other but are 180 degrees out. Each cylinder is seperated by 60 degrees of crankshaft rotation.

Obtain and organize noted tools

***** Cold Adjustment *****

1.0) Gain Access


Open hood to gain access to cam cover. Dis-connect breather hose from elbow fitting common to the cam cover. Loosen all attach bolts (10 plcs) and remove fasteners. Pop cam cover free from cylinder head, remove cam cover and gasket, set aside to avoid contamination. Wipe excess oil from surfaces as required

*

2.0) Adjust #1 Cylinder

Rotate the Engine until the #1 Cylinder is @ TDC on the compression stroke.

*NOTE: This will be evident when both cam lobes are pointed upward at approximately the 11:00 & 1:00 O'Clock positions.

2.1) Measure Valve clearance

Insert the applicable feeler gauges in between the intake & exhaust cam lobes (.008" and .010" respectively) and the associated rocker arm from driver's side of the cam. Make note of the runners on the opposite side of the head to determine if it is a intake or exhaust. Check for slip fit at each Rocker arm.

** NOTE: On rocker arms with insufficient clearance (too tight valve clearance), it may be necessary to slaken the 17 MM locknut to obtain sufficient clearance it insert the feeler.

2.2) #1 Exhaust valve .010"

The #1 cylinder exhaust valve is the most forward cam lobe closest to the radiator. Loosen 17 MM locknut while holding Rocker Arm Pivot with a 14 MM open-end. Rotate pivot with 14 MM wrench until a slip fit with the .010" feeler gauge is obtained. Tighten 17 MM locknut to 40 Ft Lbs while holding Rocker Arm Pivot from moving. Re-check valve lash after tightening, as settings will have a tendency to close due to the stretching of the Pivot during tightening. Repeat adjustment as necessary until a slip fit of the feeler gauge is obtained


2.3) # 1 Cylinder Intake .008"

The #1 cylinder Intake valve is set to .008" Loosen 17 MM locknut while holding Rocker Arm Pivot with a 14 MM open-end. Rotate pivot with 14 MM wrench until a slip fit with the .008" feeler gauge is obtained. Tighten 17 MM locknut to 40 Ft Lbs while holding Rocker Arm Pivot from moving. Re-check valve lash after tightening, as settings will have a tendency to close due to the stretching of the Pivot during tightening. Repeat adjustment as necessary until a slip fit of the feeler gauge is obtained.

*
3.0) Adjust remaining Cylinders

Rotate Engine 60 degrees CW until the #5 Cylinder is @ TDC. Repeat steps 2.1 through 2.3 for the #5 Cylinder. Repeat the process until all cylinders have had both valve clearances adjusted per steps 2.1 through 2.3.

*

4.0) Re-assemble Engine

Re-assemble cam cover to cylinder head, noting the following:

4.1) Mouse trap springs are all secured in place, All pivot locknuts torqued OK, engine top end is FOD free, no tools or feelers left behind.

4.2) Cam Cover Gasket mating surfaces are clean and oil free. Gasket is in a good servicable condition. OEM Nissan gasket is re-usable if not torn or excessively worn.

4.3) Insert Cam Cover bolts to pick-up Gasket, use tabs on gasket to reposition gasket. Once all fasteners are installed, run bolts down buy hand with the 10 MM socket & extension just until the heads are seated.

4.4) Starting from the center, tighten Cam Cover bolts to 25 inch-Lbs followed by the opposing fastener on the opposite side, alternating front to back while tightening bolts. Repeat sequence until all fasteners are snug.


** NOTE: * * * * WARNING * * * *
DO NOT OVER TIGHTEN CAM COVER BOLTS, STRPPING OF THREADS IN CYLINDER HEAD MAY OCCUR.


4.5) Re-connect breather hose to Cam Cover elbow, tightening clamp as required.

*

5.0) ***** Hot Adjustment ******

Adjust clearances as quickly as possible due to the cooling affect on the engine. The cold Adjust is done as a preliminary and the Hot adjust is final tweekage if and as required. Some valves may or may not need further action.

Start engine, heat soak the engine up to optimum operating temperature. Repeat adjustment steps 1.0 through 3.0 except as noted:

*NOTE: Hot Adjustment is the same as Cold Adjustment, except the valve clearances have increased approximately .002", thus the Hot Adjust is performed using the following feeler gauge sizes.

Hot Adjust Feeler gauge sizing: Intake = .010"/ Exhaust = .012"

5.1) Re-assemble engine to a normal servicable condition. Re-install Cam Cover as required.

6.0) Repeat Valve Adjustment every 30,000 miles or every tenth oil change.

Enjoy the ride
Thank you Karl - I missed this informative post yesterday
Looking great.

Bummer about the steering wheel hub. I like the slotted spokes.

I'm looking for a hub to make it work
If this is true: “The L series cam timing is dependent on the valve lash. Changing the lash .001 will in effect change the duration of the cam by approximately 5 degrees.” Then yeah, adjusting the valves could really change the engine’s behavior.

The valves are not as far off as I thought - I was misreading the values given in the manual. Still, a couple thou off. I'll get to that this weekend, hopefully. I bought the SnapOn tool for it
PXL_20230323_220019666.jpg
 

I think so. There's one other 280Z on Hemmings for around the same asking price (16K range), that appears to be in cleaner condition, lower miles & already has the bumper conversion. It's in WA, so I'd assume not rusted out? I don't care for the dark green/off white interior, otherwise I would have considered it, had it been up before I went for mine. So far I've already spent over 8K(!) in parts - the bumpers, spoilers & grille were big ticket items (for me anyway).
 
The valves are not as far off as I thought - I was misreading the values given in the manual. Still, a couple thou off. I'll get to that this weekend, hopefully. I bought the SnapOn tool for it
View attachment 71645

Bahh...took me a while to figure out the purpose of this "special valve adjusting tool". Ya wasted your money on this !!

You dont need this...its only purpose is to allow you to "properly torque" that 17mm jamb nut. You can easily loosen and tighten this jamb nut with a regular open end wrench to adjust the valves. Back in my day real men never torqued stuff like this. Just tighten it by feel. That was good enough.....

The only time we ever used a torque wrench was on head bolts. Everything else was just tightened by feel to the German standard " guud-n-tite"

However...an interesting thought occurred to me on seeing that tool you bought. Note it fits on a 17mm headed nut. Is it possible.....that wrench could be used on the head bolts of a later Fiat X1/9 ?? That special Fiat tool is almost impossible to find. Look like it....might just work ? Hey Hussein..you still got a later X1/9 engine on your garage floor ? Could you try it to see if it perhaps works ? That would be quite the fluke...

Back then.... Datsuns were real easy to work on. I only ever had one special Datsun tool...and I made that myself. If....you ever have to yank just the head off for any reason......the timing chain can be left in situ behind a cover....but it will of course become loose and the spring loaded chain tensioner will pop out. So......before you undo the upper chain sprocket...you gotta pop a wedge down there to prevent that. See the pic below.

So...if you ever have to yank the head....let me know and I'll send you down my custom home made high tech tool .....

Note beside it the genuine Nissan end wrench. 14mm and 17mm. Great for adjusting valves. Back then of course all new Datsuns came with a tool kit. This wrench was part of it.

20230323_230138.jpg
 
Fiat did something similar on the 124, it was a terrible solution as the soft motor mounts would allow the engine to rock which would adjust the throttle opening, the cars could get into this brutal rhythm as one tried to modulate it. A change to a cable actuated throttle resolved the problem. Doing so with that set up will be easy given you have nice cranks already in the system, adding a cable mount will be easy.

One has to remember the quality of rustproofing and paint prep on Japanese cars at the time was frankly abysmal. Nissan/Datsuns of that time would literally rust out in three years in a bad climate like where I grew up in northern Vermont. Fiat wasn’t any better. Japanese cars of the time were better quality in terms of reliability, the bodies, not so much. This car likely would not have survived in a wetter climate just due to the manufacturing quality and engineering.
👍🏻 for northern Vermont, whereabouts? I spent a lot of time in the Northeast Kingdom
 
Put the new hatch struts in today ( Stabilus 3B 250273). They come with a install kit for the Z

Have to transfer the bracket from the originals

PXL_20230324_200444323.jpg

Little bit worn on the body side
PXL_20230324_214550270.jpg

I used one of the old spacers on each end. Now the hatch raises itself at about a foot off the catch

PXL_20230324_203040085.jpg


PXL_20230324_203110644.jpg


Cleaned out the cargo area after that. No signs of rust in any seams

PXL_20230324_212852310.jpg


storage cubbies - removed the vinyl/foam inserts to clean
PXL_20230324_212840088.jpg


PXL_20230324_212837501.jpg


There is damage repair to the left 1/4...

PXL_20230324_212915980.jpg
 
Last edited:
I love the look of the covers (mine came with), but I don't like that you have to drill into the headlight bucket to mount. Also, dust & dirt accumulates in there.
The kit I bought suggests just using VHB tape to mount the l brackets. I think I'll try that first, before I drill anything. If the fit isn't snug enough that way, I can always rivet the brackets after.
 
The kit I bought suggests just using VHB tape to mount the l brackets. I think I'll try that first, before I drill anything. If the fit isn't snug enough that way, I can always rivet the brackets after.
You can get VHB in clear in a variety of thicknesses and skived to widths from 3M resellers.

We use thicknesses ranging from .025” to @.080” but there are many other thicknesses available.

You want to use the thinnest which will bridge the gaps. Lord help you when you need to remove them.
 
You can get VHB in clear in a variety of thicknesses and skived to widths from 3M resellers.

We use thicknesses ranging from .025” to @.080” but there are many other thicknesses available.

You want to use the thinnest which will bridge the gaps. Lord help you when you need to remove them.

Yes - I have bought various widths & thicknesses for different needs. I used it last on my X1/9 headlamp covers :)

index.php
 
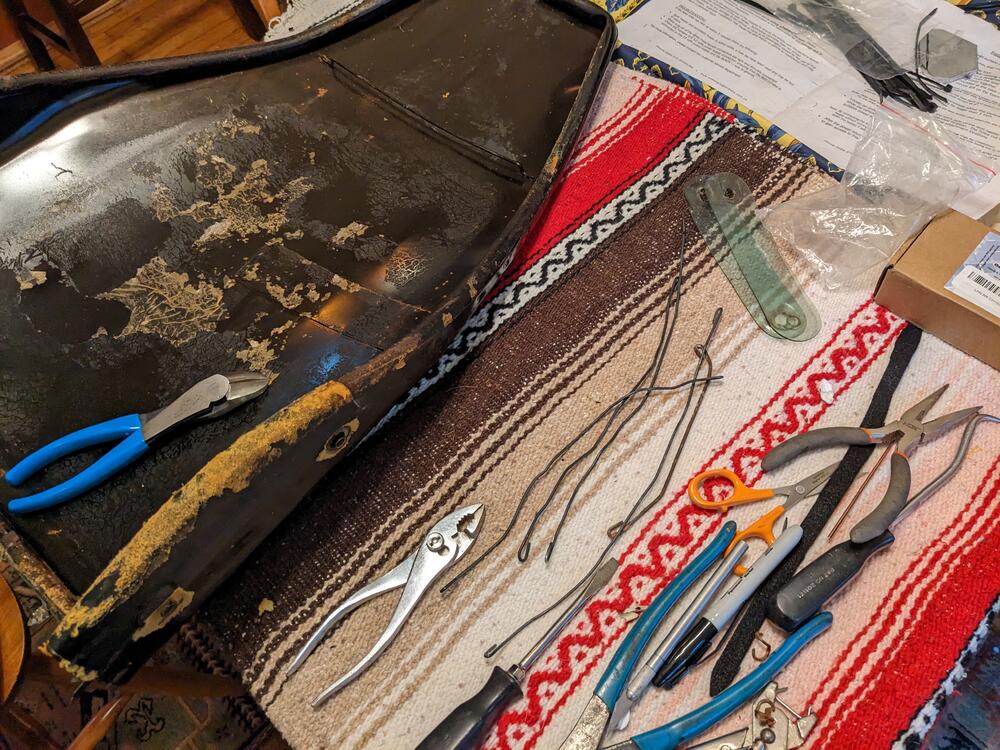
No rain today, so I got a little done on the matting/ cubby inserts. Took the seats out to remove the old matting

The under-matting is actually in pretty decent shape, so I just added a thin reinforcement layer, glued with 3M super trim adhesive
PXL_20230326_205025846.jpg


Made replacements for the cubby inserts, foam with vinyl layer
PXL_20230326_202021978.jpg


PXL_20230326_205157584.jpg


PXL_20230326_205201710.jpg


disassembled the seats, plan is to replace the foam & upholstery tomorrow . Undecided on keeping the hay layer & just adding a support layer under it, or replacing it with a layer of closed cell foam
PXL_20230326_211846336.jpg
 
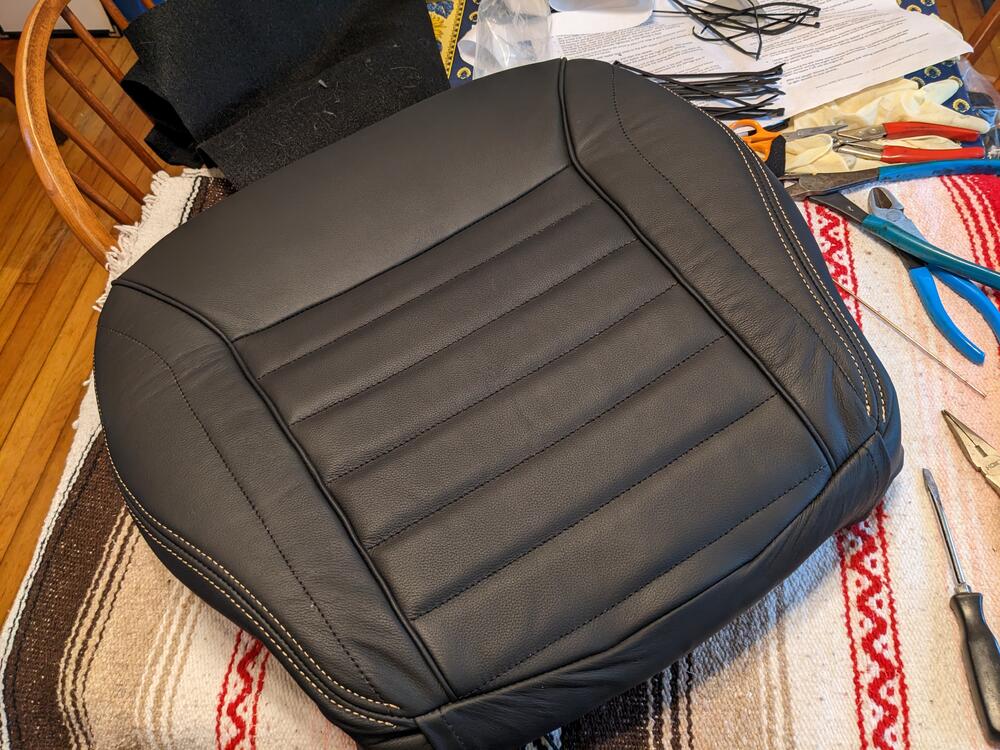
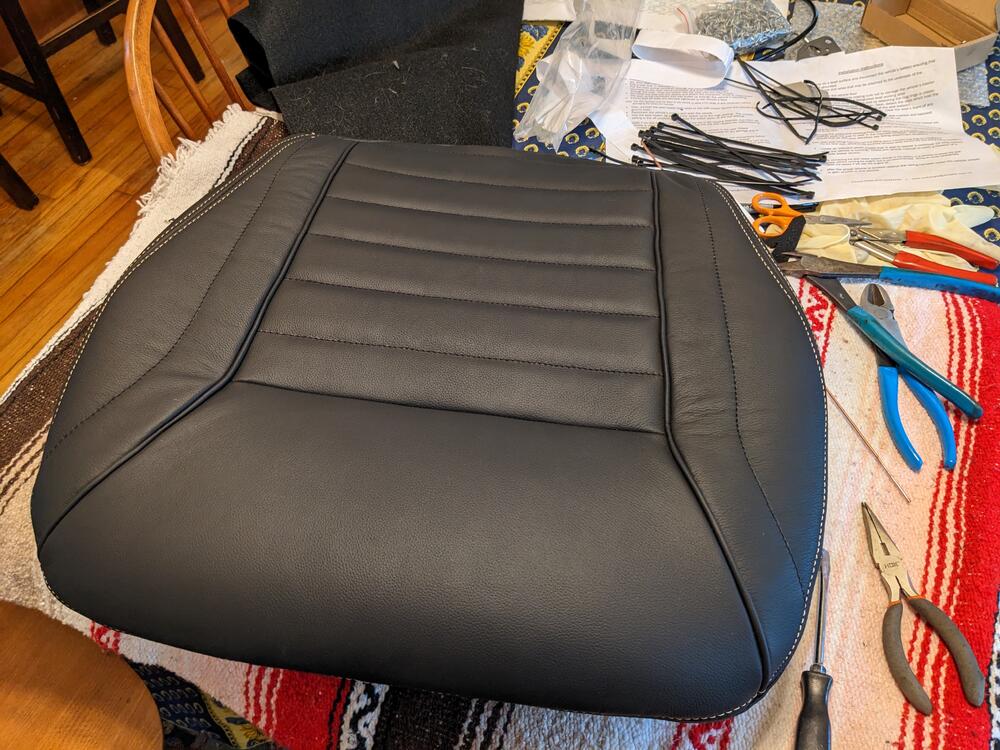
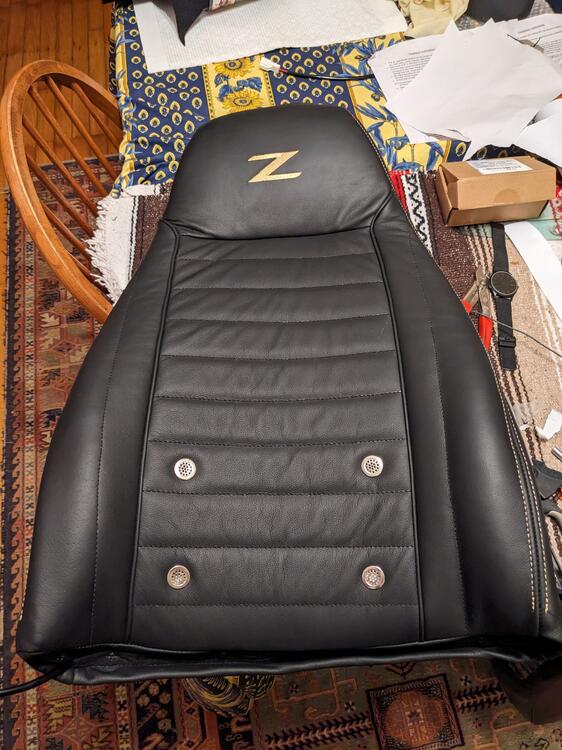
I bought the leather versions of their upholstery (off Amazon, included vents & "Z" embroidery without additional cost), and the new foam to go with. My original seats have 250K miles, so I figured safer to have the foam. There was much hay on the floor.

I watched a coupe videos, just to get the gist of the Datsun construction. One guy used dozens of tie wraps(!). I'm familiar with Volvo & Honda (S2000) seats, many hog rings on those, so it was nice to see the way Datsun went about it.

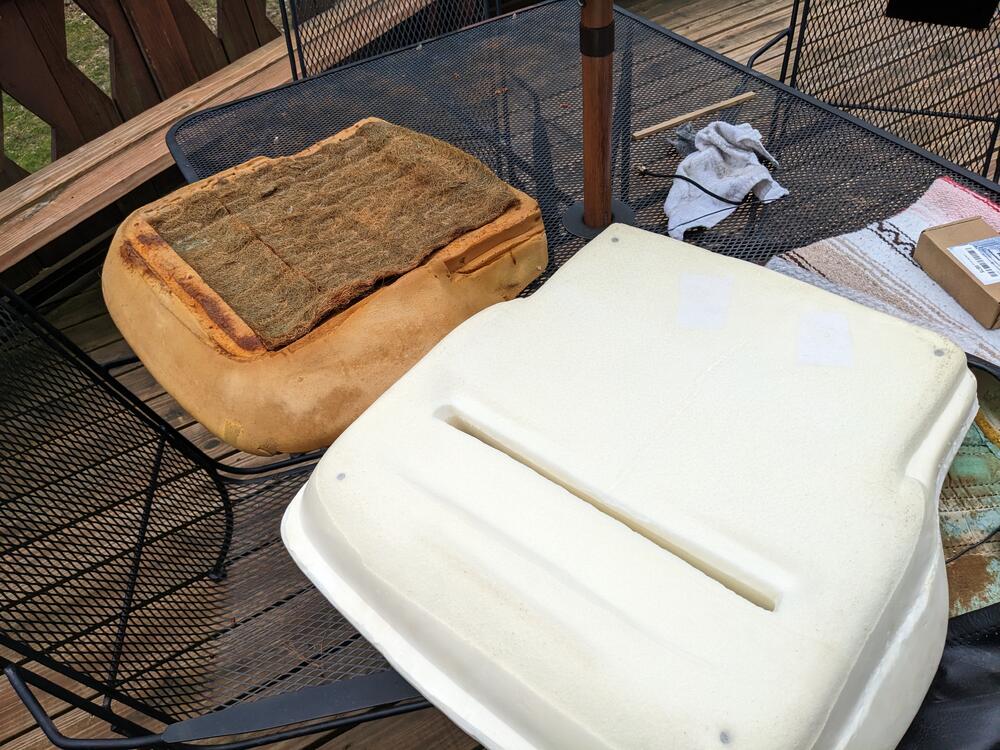
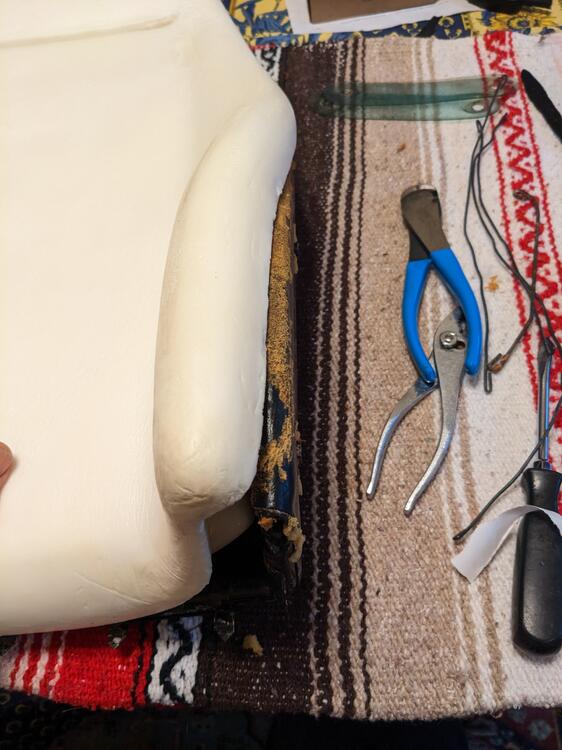
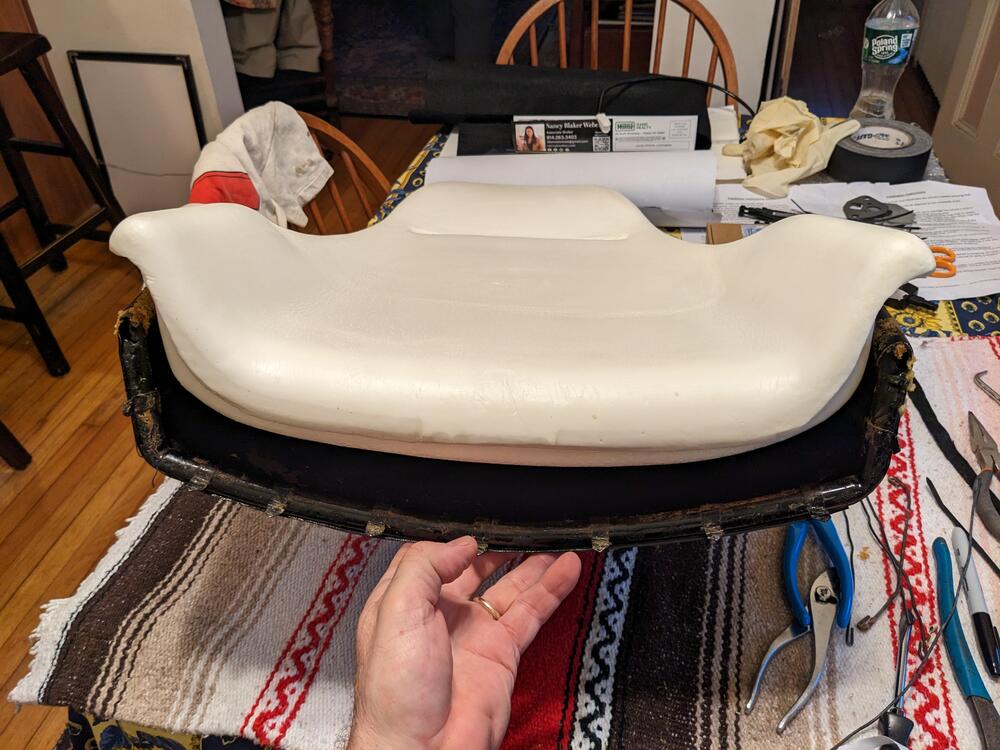
Foam comparsions - new one is thicker, doesn't need the hay layer

PXL_20230327_191810612.jpg

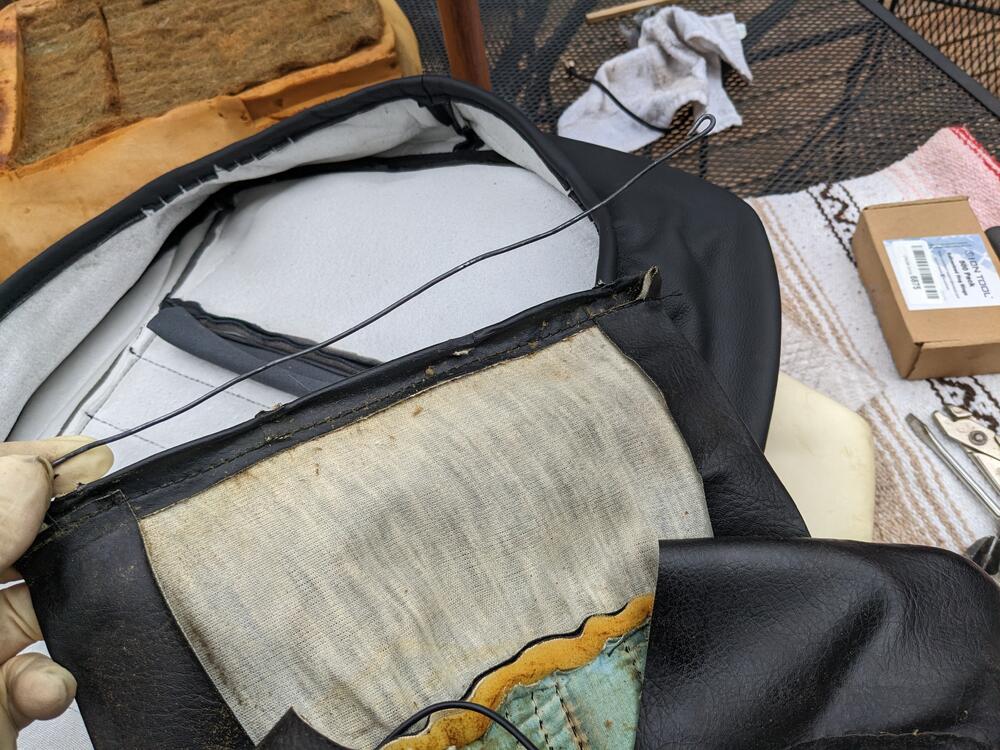
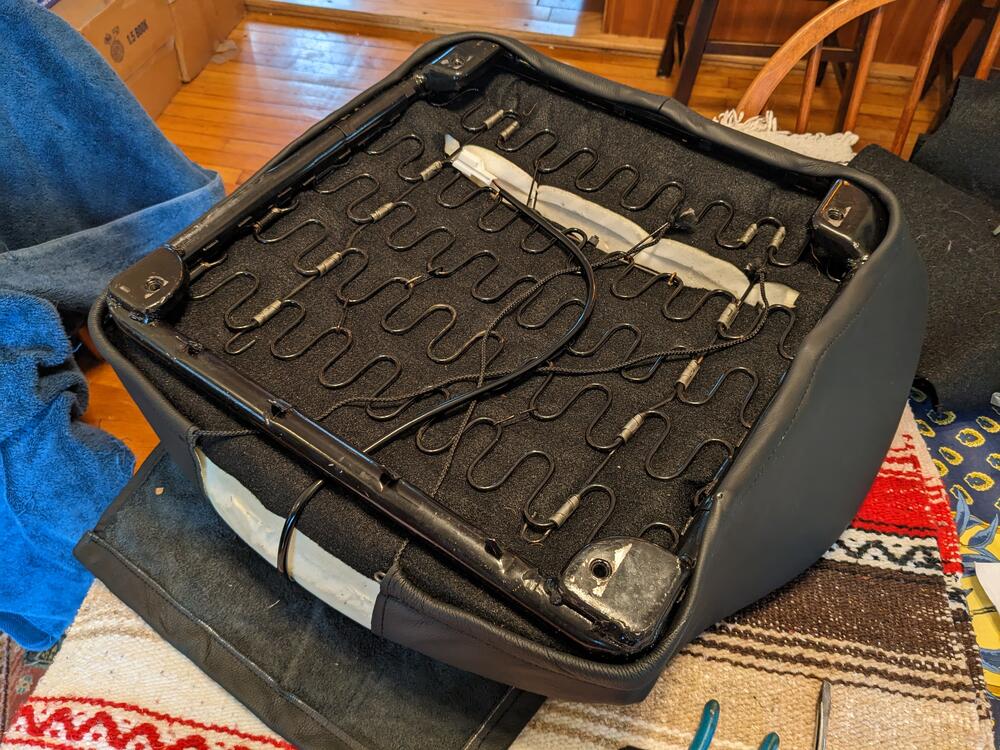
transfer perimeter wire from originals

PXL_20230327_192251101.jpg

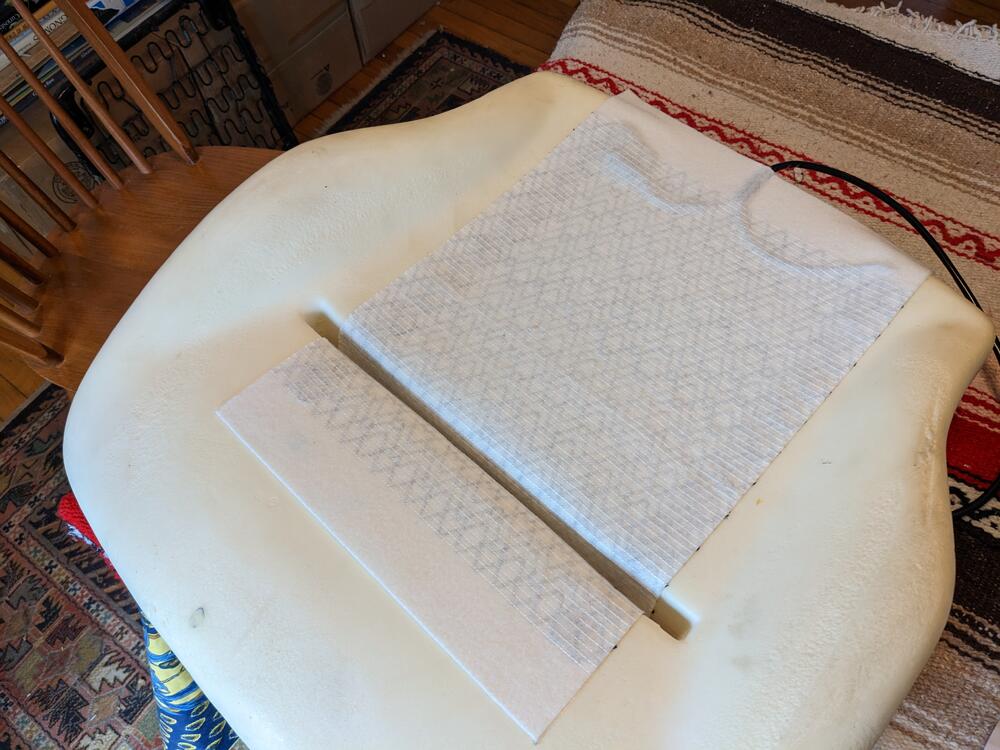
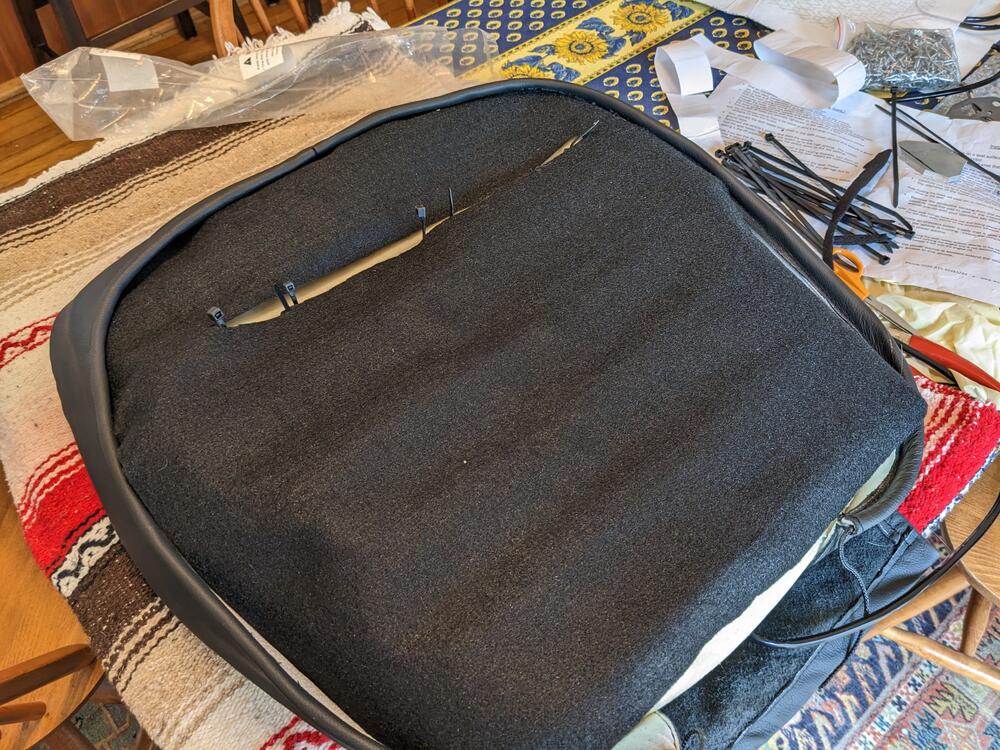
Started raining, so I moved indoors. Adding seat heaters while I'm at it.

PXL_20230327_193700648.jpg

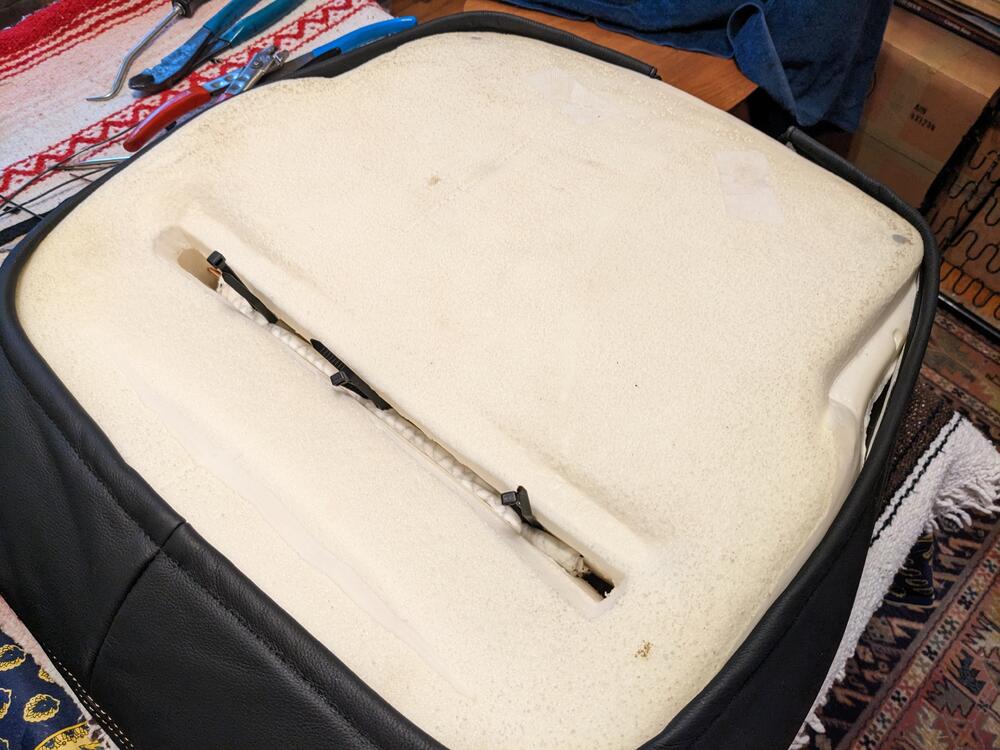
Used tie wraps to add in pulling the upholstery flap through to the wire frame

PXL_20230327_205818884.jpg

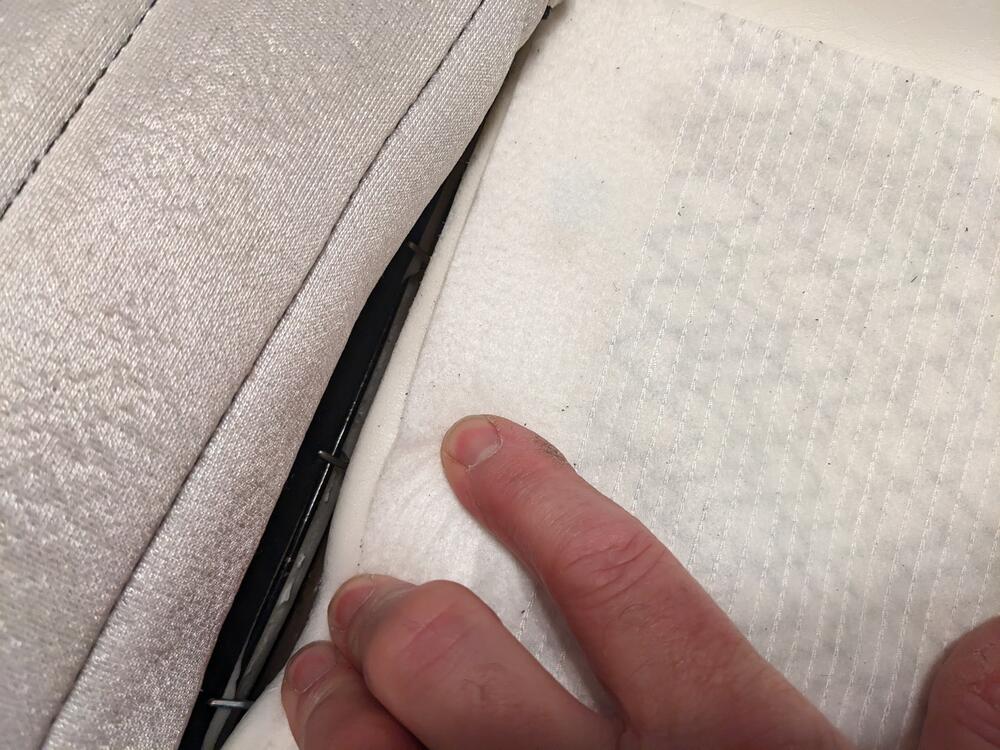
Layer of felt to protect the foam

PXL_20230327_194949575.jpg

Frame wedged in place, upholstery tangs pressed into leather seam, forward flap hog-ringed in place, rear flap not yet attached

PXL_20230327_201949486.jpg

Fit seems OK

PXL_20230327_202754416.jpg

PXL_20230327_202802013.jpg

Stripped the driver's seat back

PXL_20230327_214621129.jpg

The upright foam doesn't seem to fit as well, however once the upholstery was on, it seems OK


PXL_20230327_222327456.jpg

PXL_20230327_222508535.jpg

Pulled upholstery over the head rest portion & install 3 hog rings

PXL_20230327_225239187.jpg

took a couple tries to get the cover reasonably aligned, still a little off center

PXL_20230327_234218727.jpg

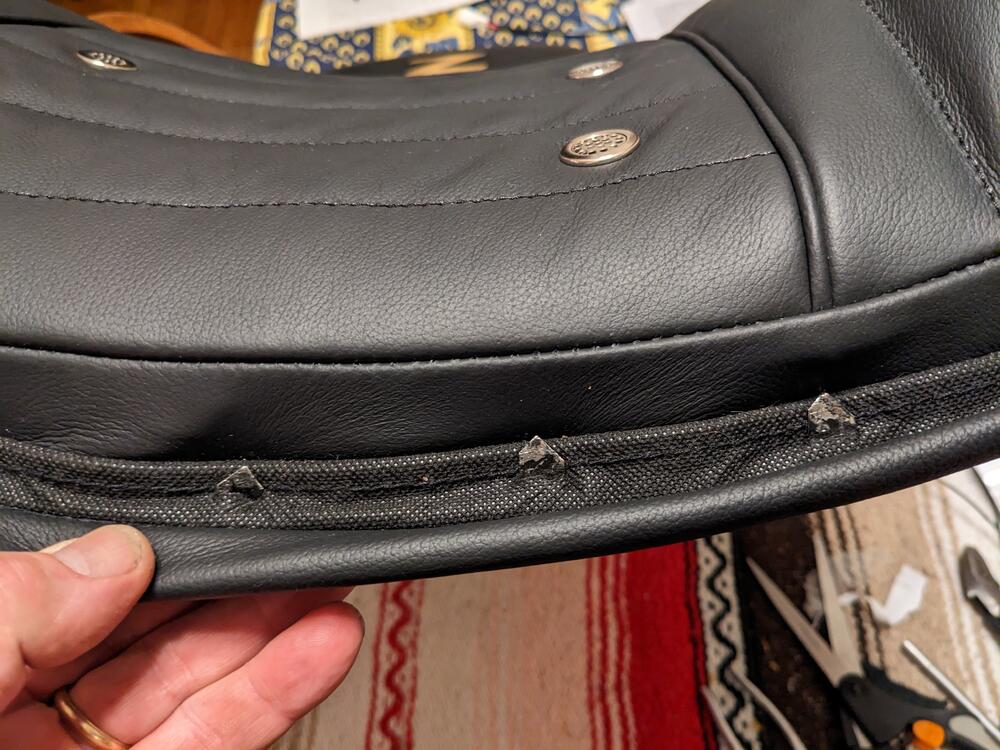
forward cover stretched over tangs, then rear lip

PXL_20230327_234224557.jpg

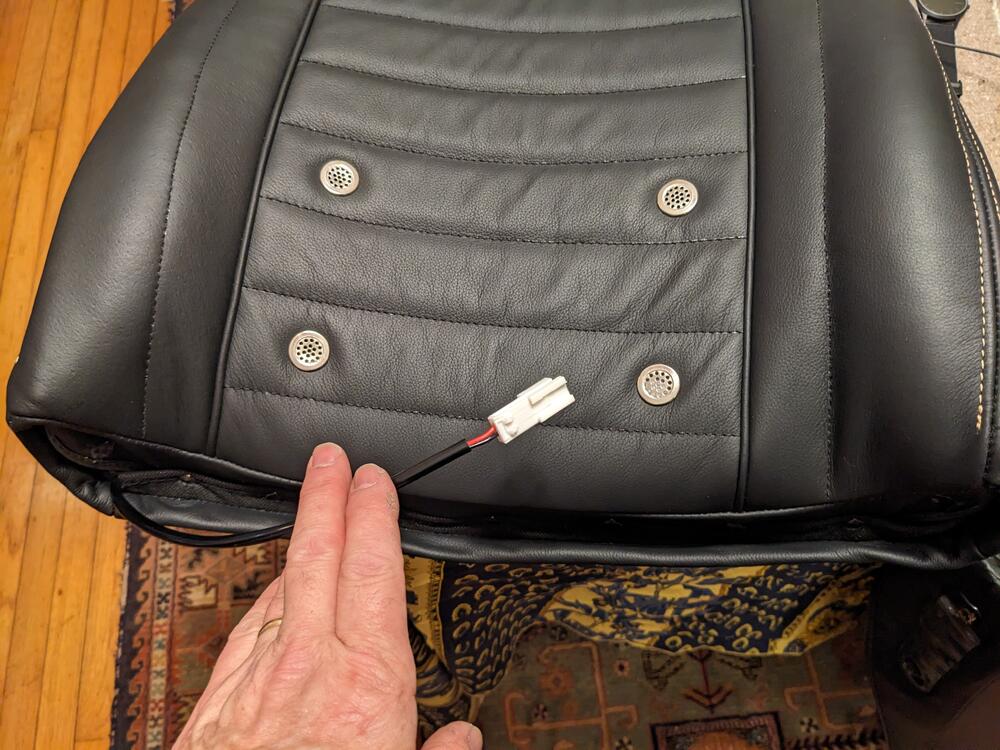
seat heater wire brought out near the hinge

PXL_20230327_234235994.jpg
Try using a thin garbage bag over the foam to allow the upholstery to slide into place. When done you can pull the bag apart to get it out.
 
Back
Top