Selling the X & Bought an 75 Datsun 280Z


That's for sure. No interior pics, probably an absolute crapshow

Try using a thin garbage bag over the foam to allow the upholstery to slide into place. When done you can pull the bag apart to get it out.

Good idea - I'm also not going to coat the backframe with the thin closed cell foam, that just made it harder to position the cover
 
Hi Hussein
I've just joined the forum from the UK I've had lots of classic cars over the years including lancias, Alfa's , tvrs and a lot more but one of my biggest regrets was selling my 260z. I spent 13 years building it including zg arches triples etc . So I guess what I'm saying is enjoy mate your gonna love it .. I had a x19 back in the day and have bought another one which I love equally and have done a lot of work on. Anyway good luck with the build I'm sure it will be great if your X is anything to go on
 
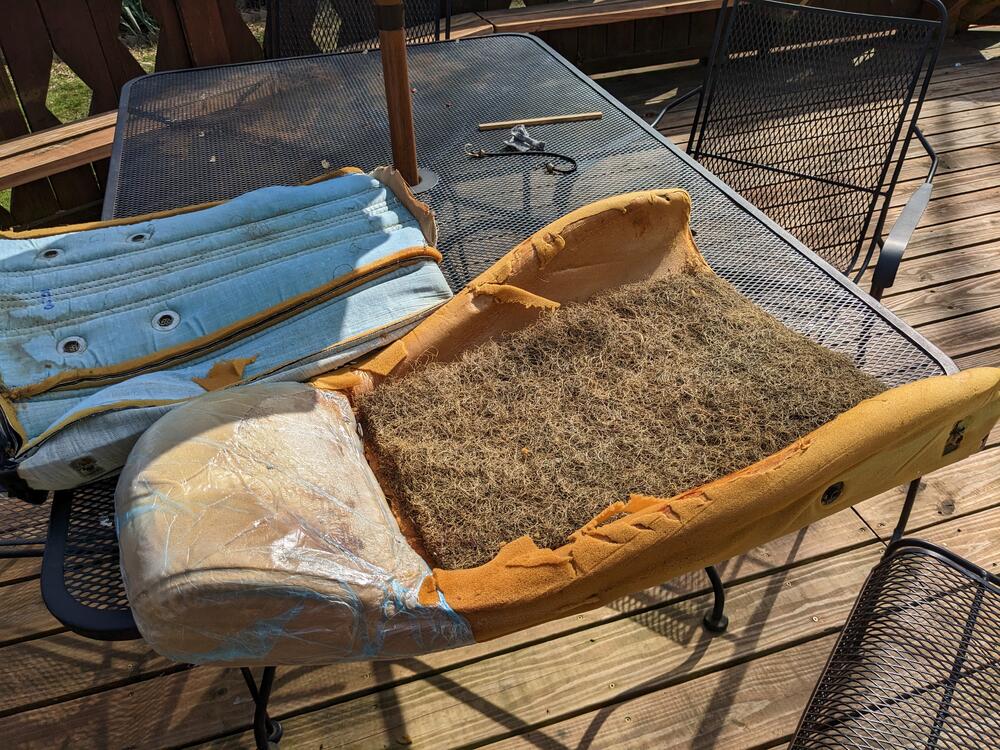
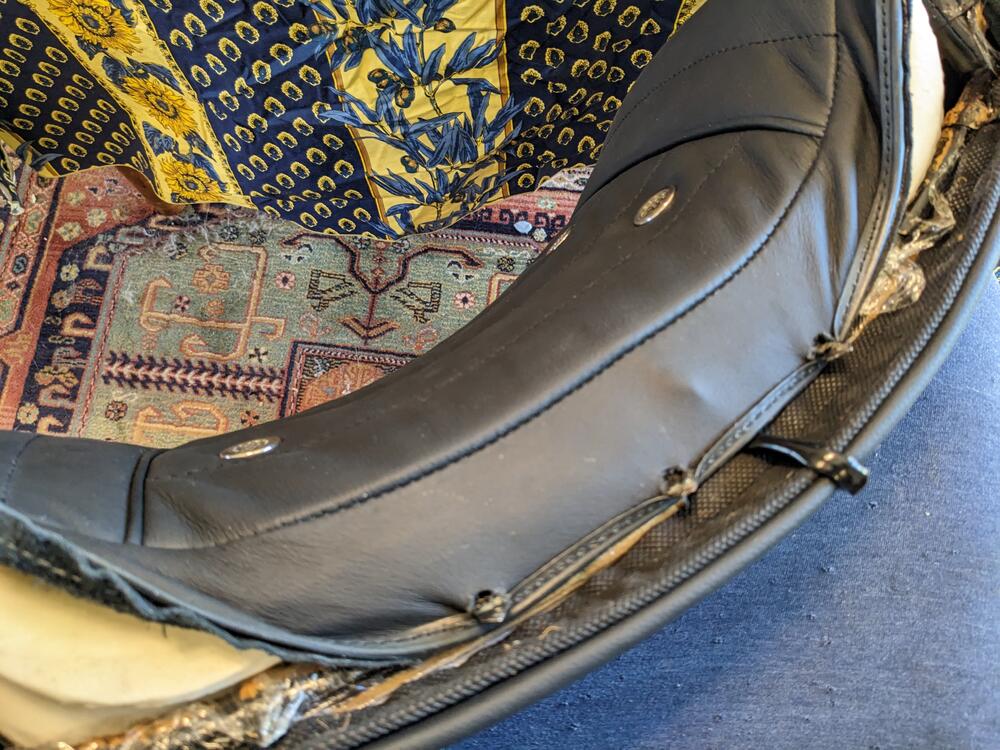
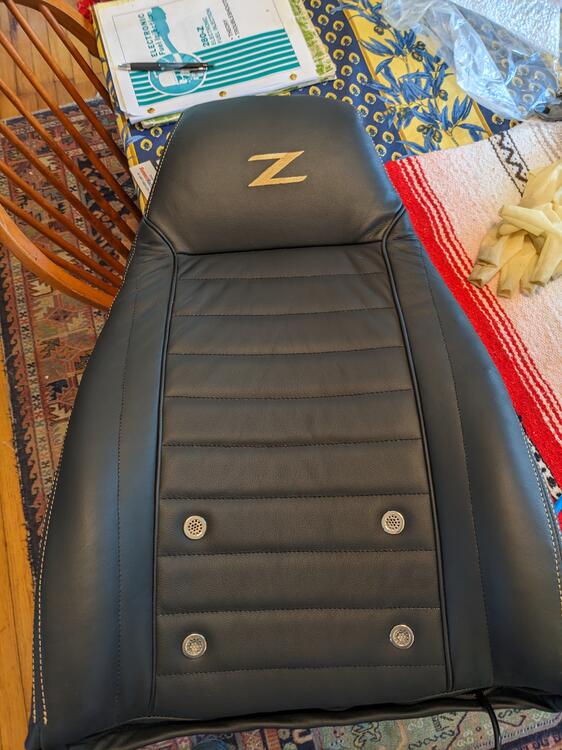
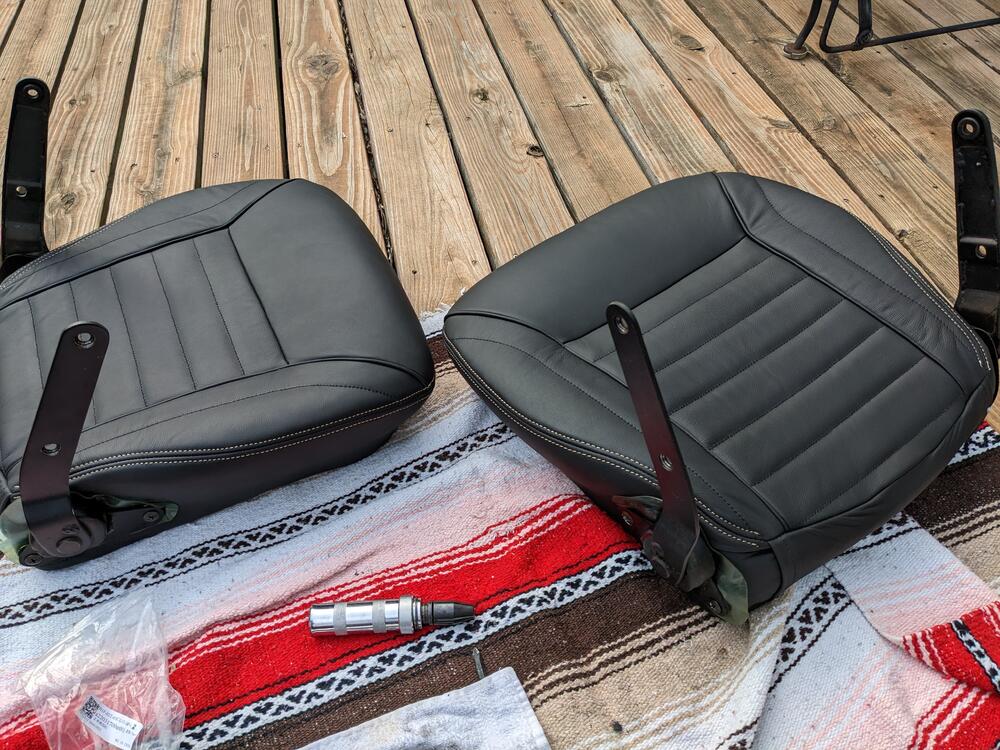
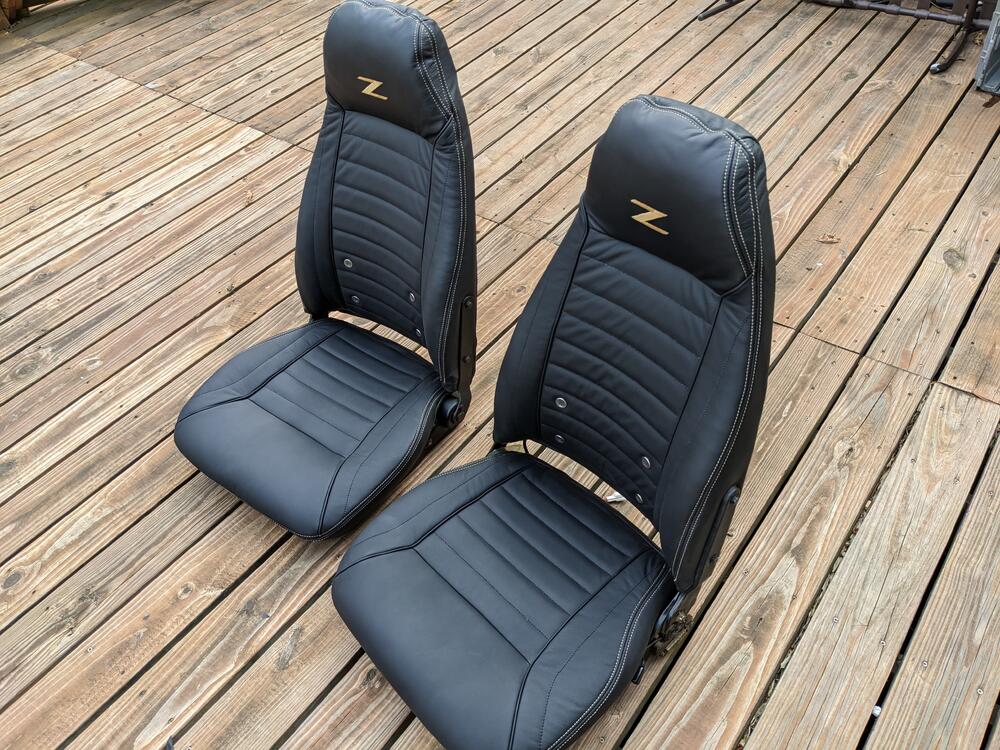
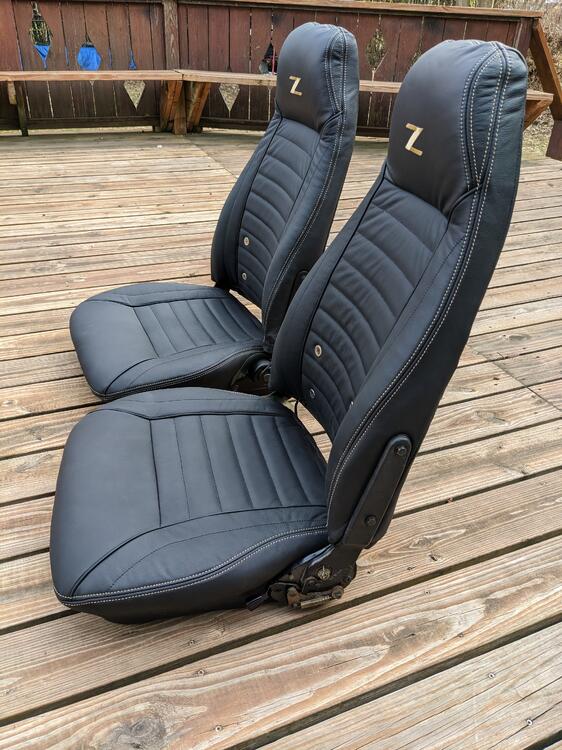
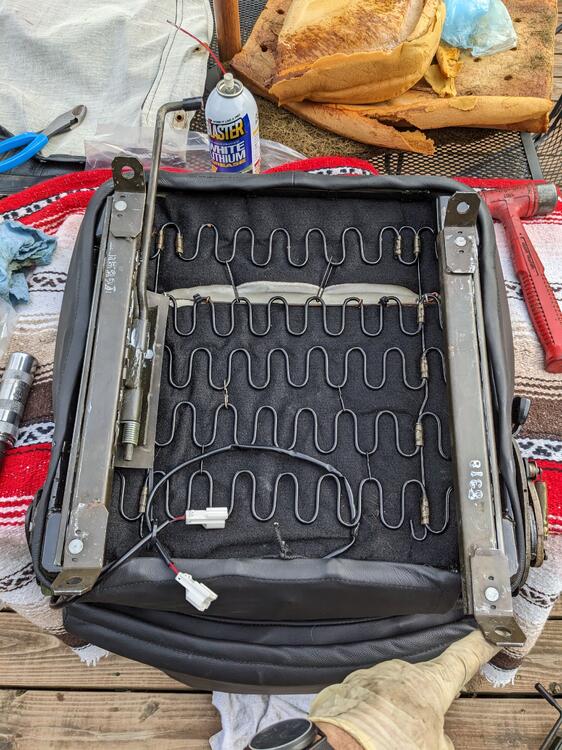
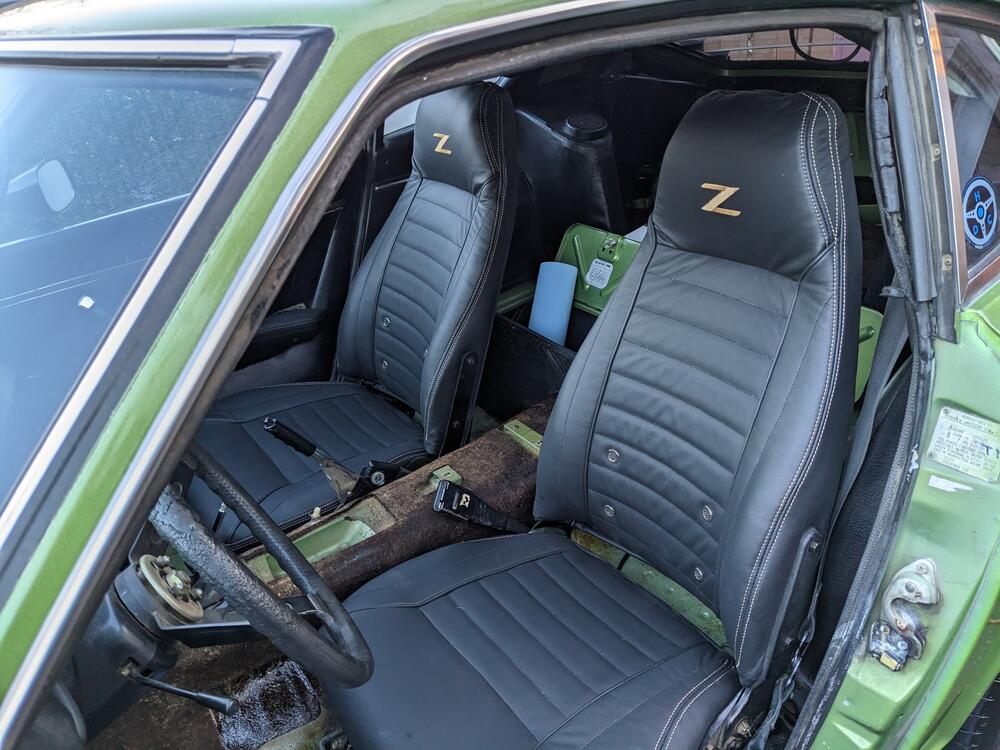
Worked on finishing the seat upholstery & re assembly today

guts of original

PXL_20230329_193240678.jpg

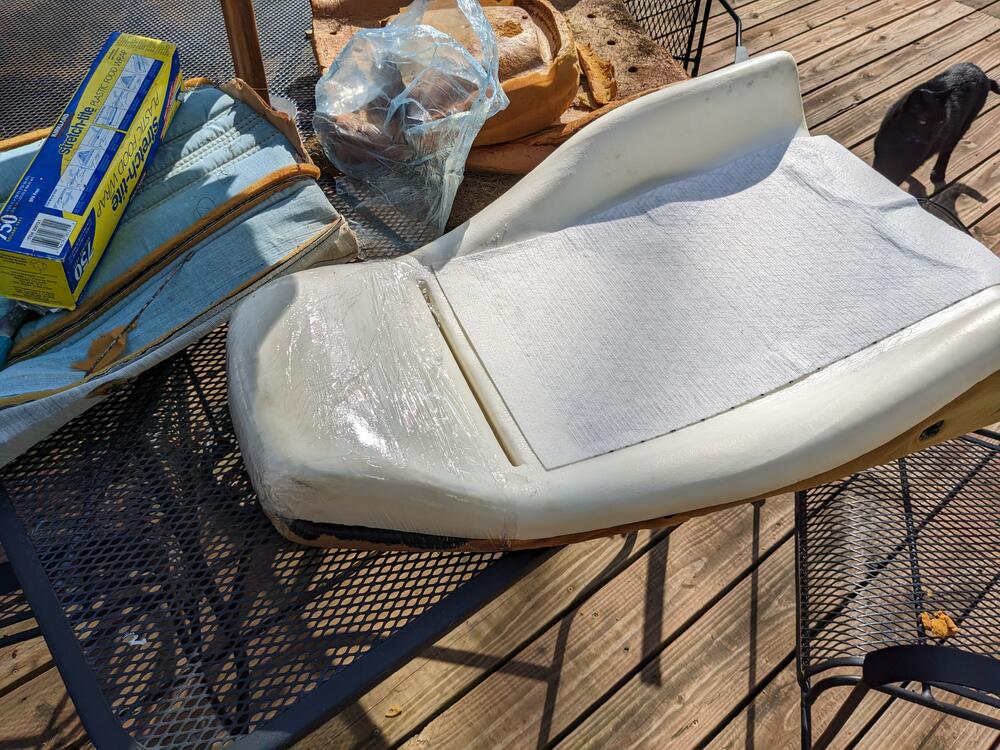
used Saran Wrap on the headrest area, made it easier to pull the cover over & align it (thanks for the suggestion, @kmead )

PXL_20230329_193848295.jpg

inserting original support wire

PXL_20230329_194510398.jpg

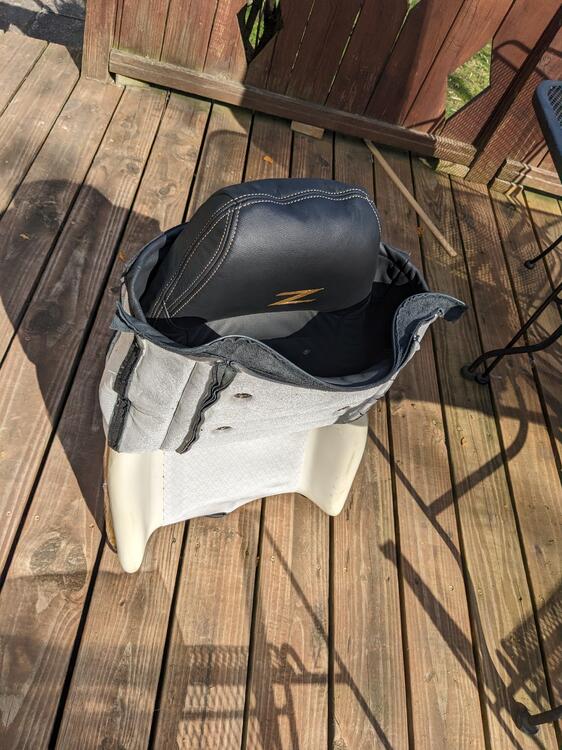
Cover going on

PXL_20230329_194941999.jpg

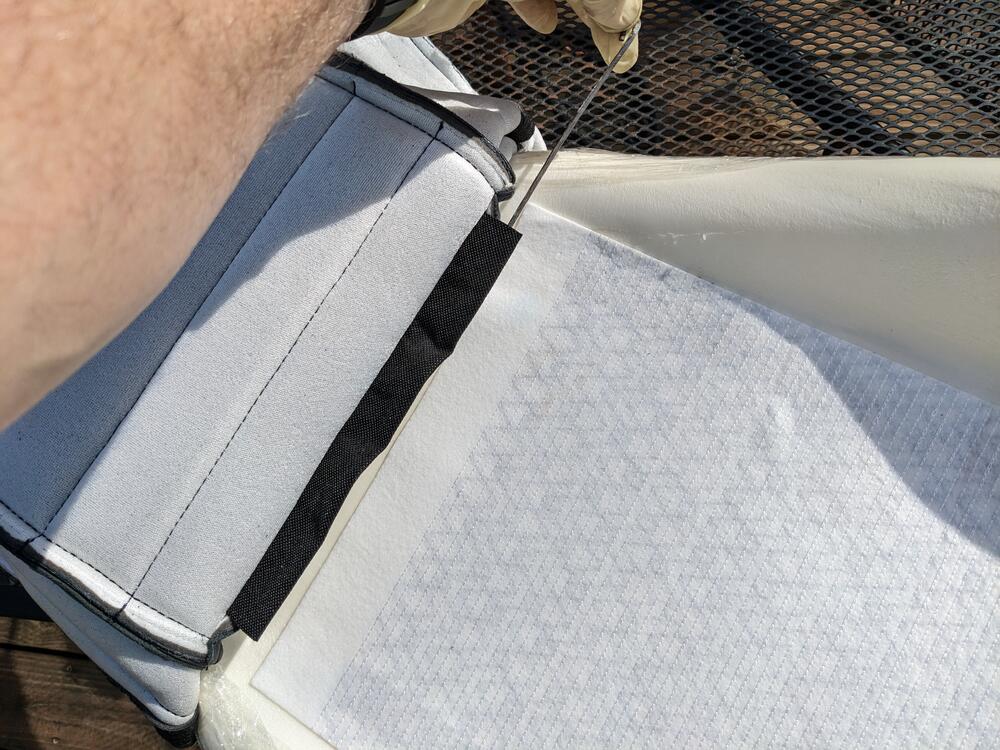
securing the bottom edge

PXL_20230329_195648440.jpg

this one is more even

PXL_20230329_200834072.jpg

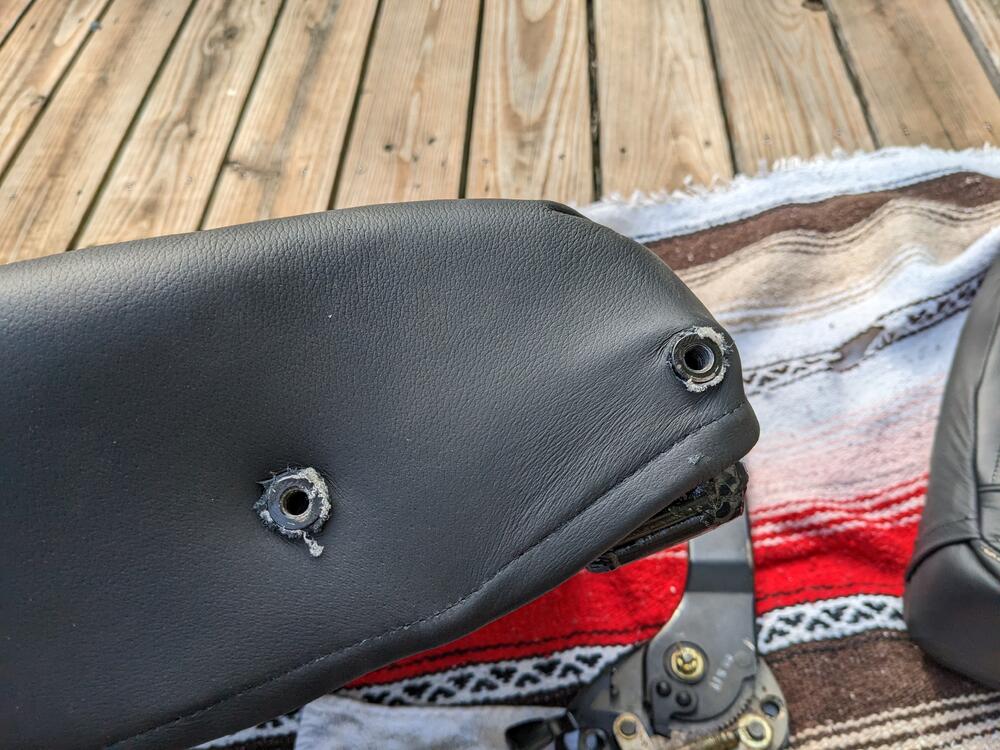
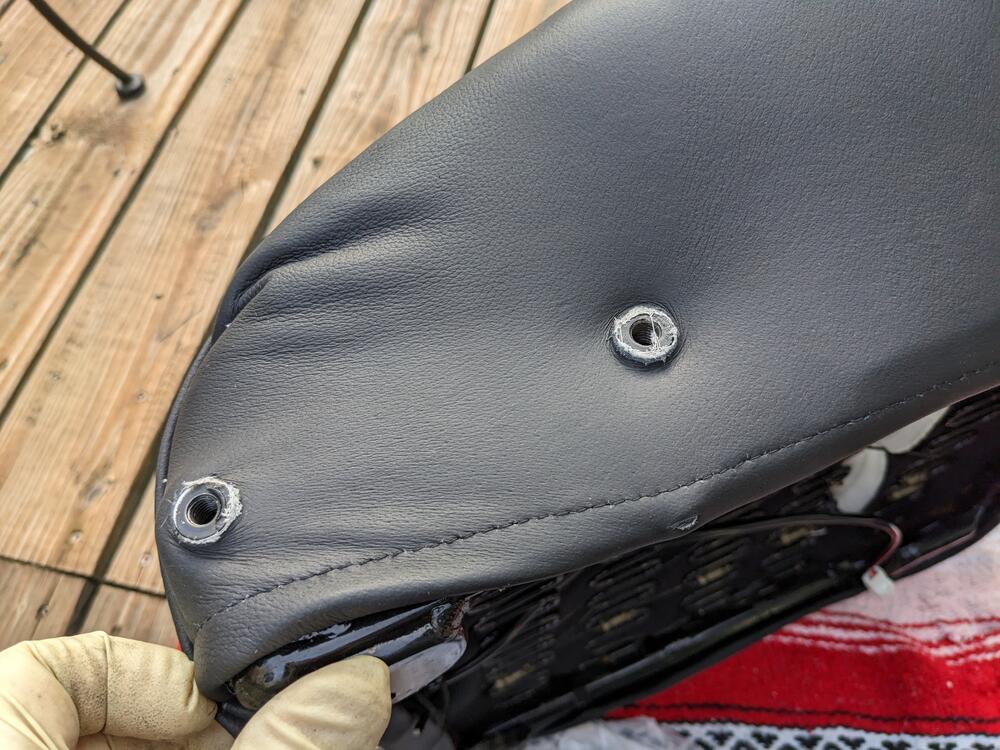
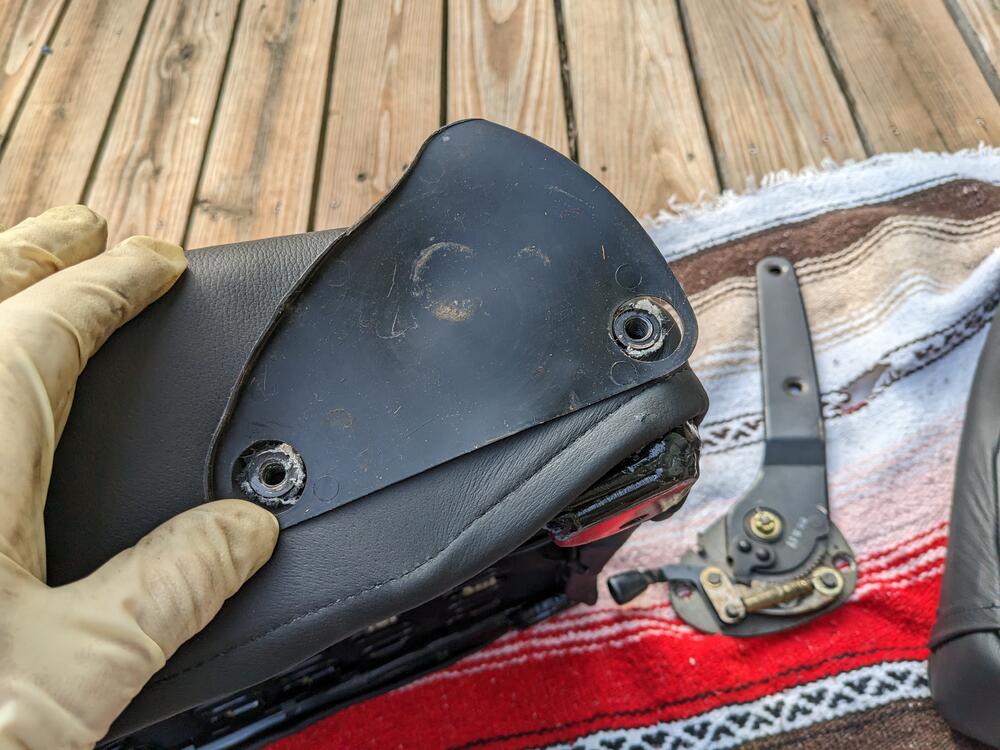
cut holes for the hinges

PXL_20230329_202930083.jpg

PXL_20230329_203329414.jpg

fit protectors behind hinges

PXL_20230329_202937605.jpg

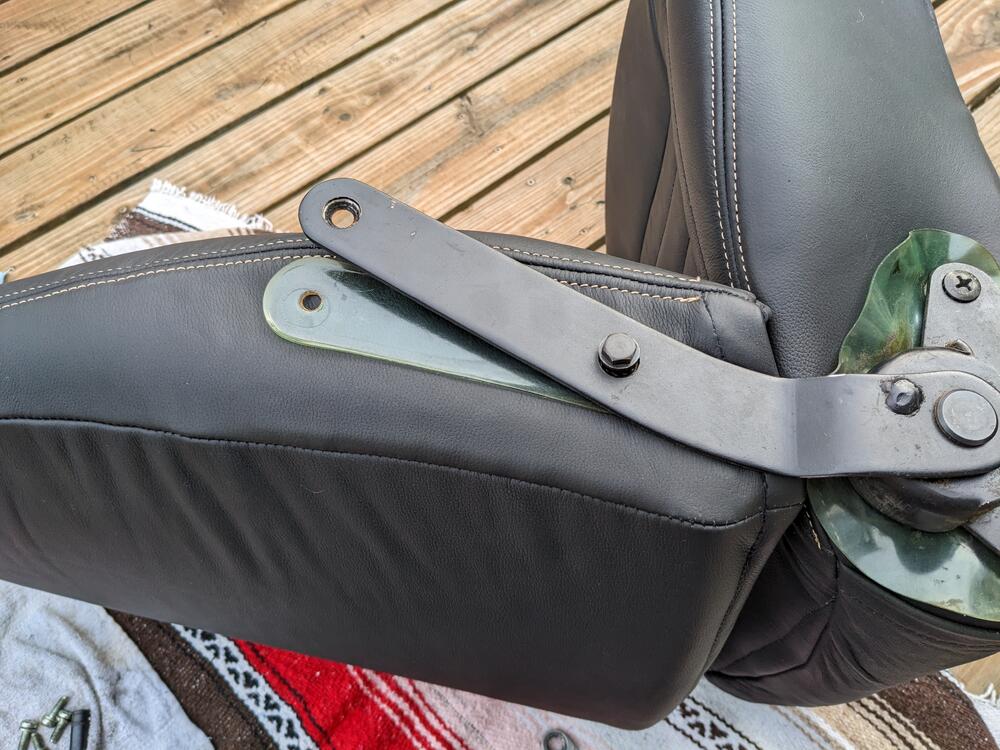
hinges in place on cushions

PXL_20230329_204229706.jpg

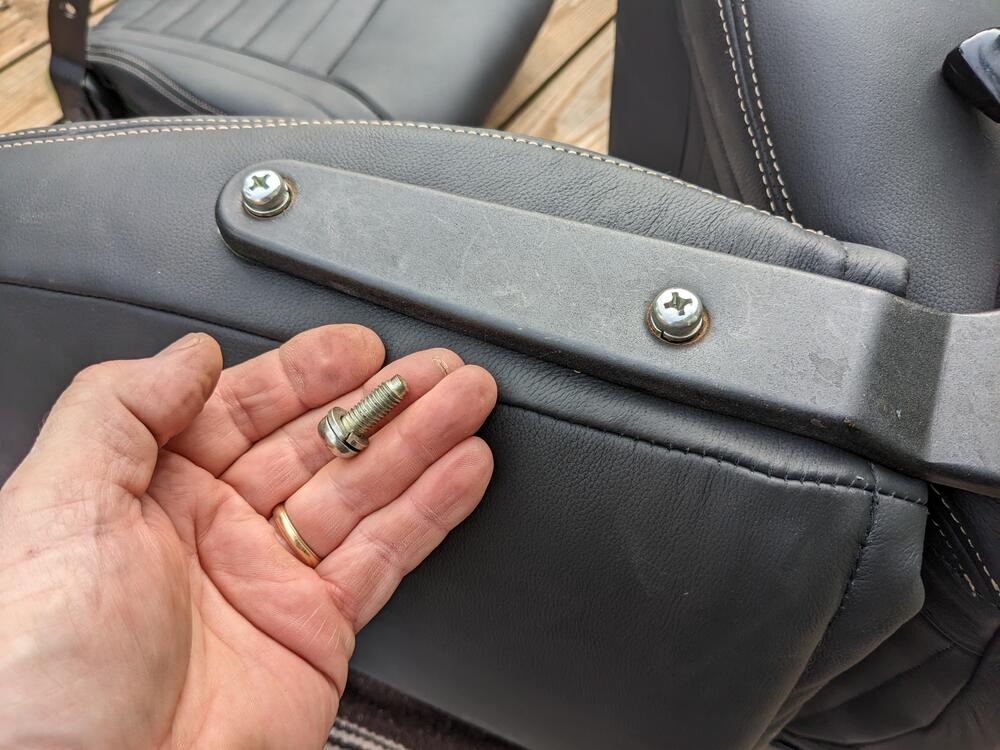
Uprights are a little tricky - the back screws don't have a taper guide tip, so I used the rail screws first to position the hinges

PXL_20230329_205911815.jpg

then swap out for the correct bolts one at a time

PXL_20230329_211004690.jpg

all together

PXL_20230329_211350354.jpg

PXL_20230329_211411370.jpg

rails back on after clean & lube

PXL_20230329_213205027.jpg

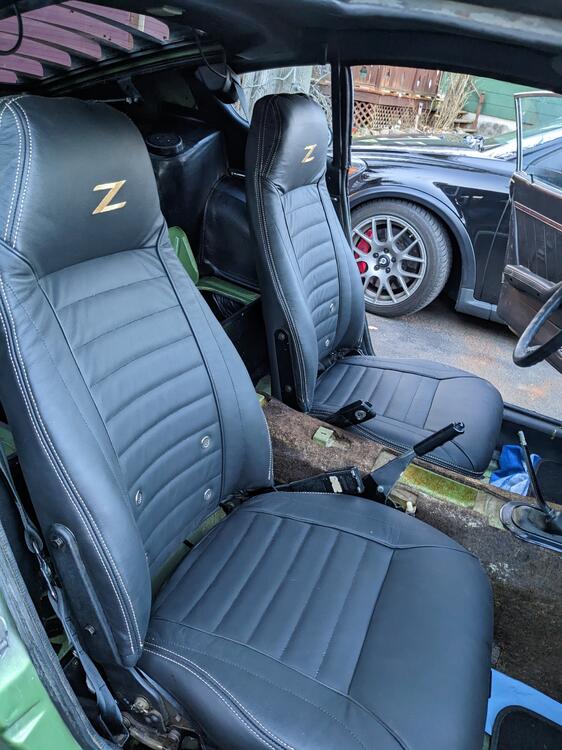
I put them back in the car for now - have to finish cleaning the floors run the heater wiring & put the carpet in before actually installing them

PXL_20230329_230343680.jpg

PXL_20230329_230400642.jpg

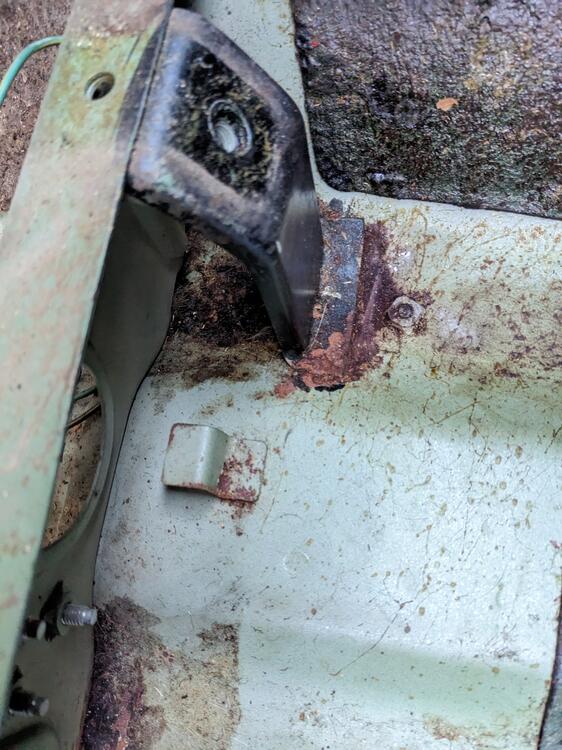
found a small area of surface rust to address on the forward passenger side seat attachment

PXL_20230329_224522787.jpg

PXL_20230329_224526915.jpg
 
Last edited:
Got some newer version 3m Rocker Schutz /Undercoat. This type uses a 'no clean' nozzle & different gun. The old version I used in the past is now over $60 a can, and is a PITA to clean up after.
PXL_20230329_215937508.jpg


figured out a couple cheap alternatives to the factory style plastic rivets used to retain the interior plastic panels
$8 for 30. instead of $ 1.50 ea
PXL_20230329_220429957.jpg

$8 for 100
PXL_20230329_220436480.jpg


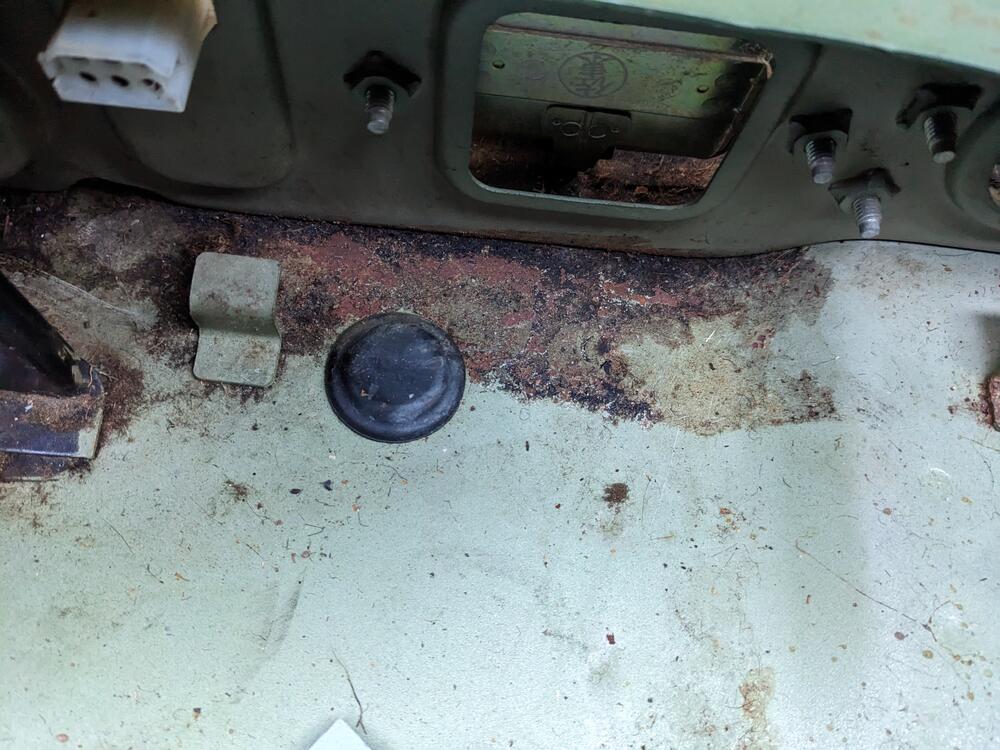
mess under the seats
PXL_20230329_220505536.jpg


removed console & center carpet
PXL_20230329_222743895.jpg


needs a new shift base boot to keep air & possible fumes out, mine is torn all around the center
PXL_20230329_223644090.jpg


PXL_20230329_224500156.jpg
 
Took the battery back out to address the tray area - wanted to at least get some rust converter on the stripped paint. Coated the brake booster as well, as that was rapidly developing surface rust
PXL_20230331_221514520.jpg


PXL_20230331_221506018.jpg


I'll need to rework all the AC lines & condenser on this car - they are all generic cut-to-fit lines, even on the compressor
PXL_20230331_221520163.jpg


PXL_20230331_221522502.jpg
 
Took the battery back out to address the tray area - wanted to at least get some rust converter on the stripped paint. Coated the brake booster as well, as that was rapidly developing surface rust
View attachment 71870

View attachment 71871

I'll need to rework all the AC lines & condenser on this car - they are all generic cut-to-fit lines, even on the compressor
View attachment 71873

View attachment 71872
Can you really make AC lines work with just hose clamps? Something I would never have thought to do. I had seen that in the engine bay previously and assumed there was no way the AC system worked.
 
Can you really make AC lines work with just hose clamps? Something I would never have thought to do. I had seen that in the engine bay previously and assumed there was no way the AC system worked.
That’s how we did it back in the ‘70s when I built ambulances.
 
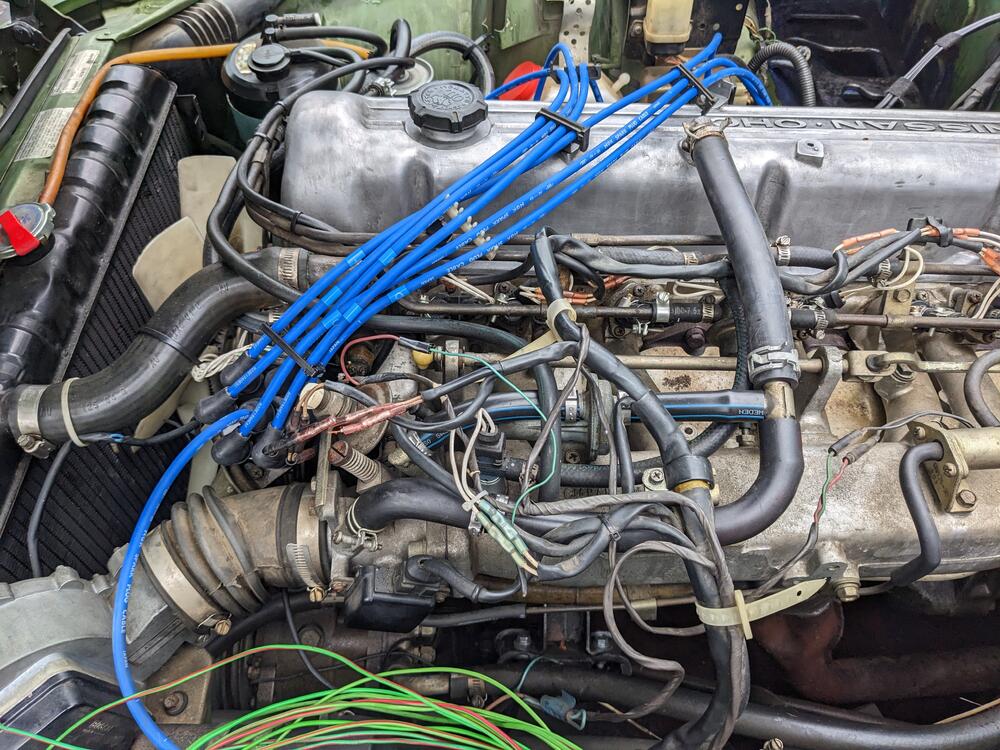
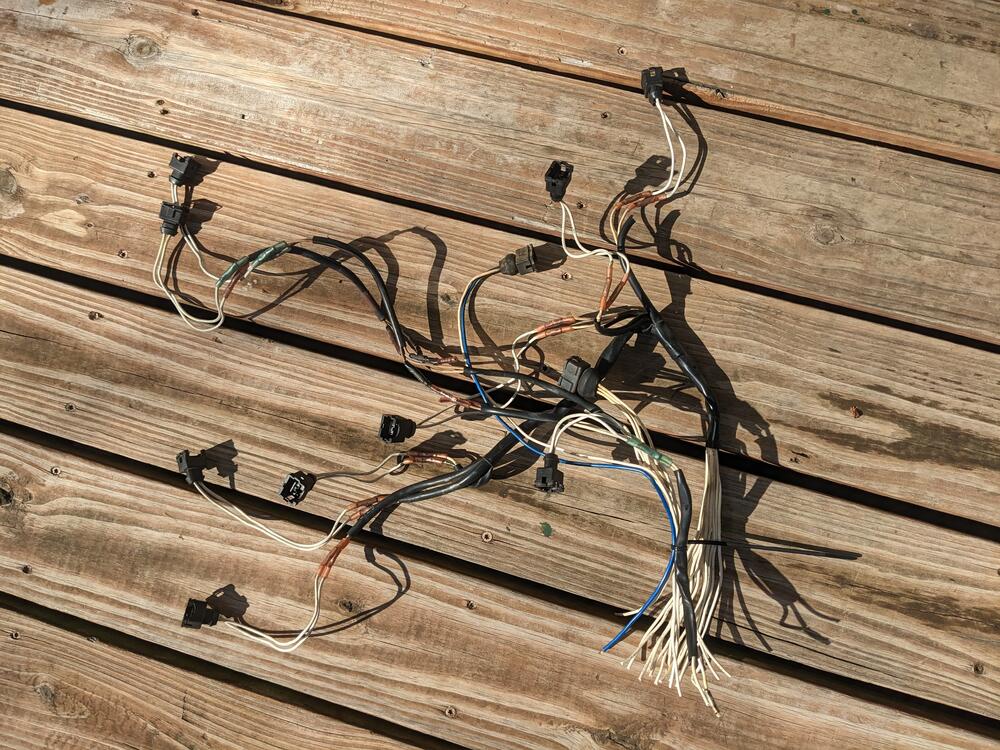
My 280Z has had all kinds of botch repairs to the EFI harness. Quite the mess. I want to get rid of the spaghetti look while I'm at it.

PXL_20230401_165408906.jpg

So, I cut the entire harness at the strut tower, and I'll put in a couple gang plugs to tie the new harness to the original.

PXL_20230401_194847935.jpg

These two were the patched thermal timer & ECT - based on the other end where I can see the cable numbers, I think they had them reversed. That would help explain the horrible starting & rough running

PXL_20230401_174518918.jpg

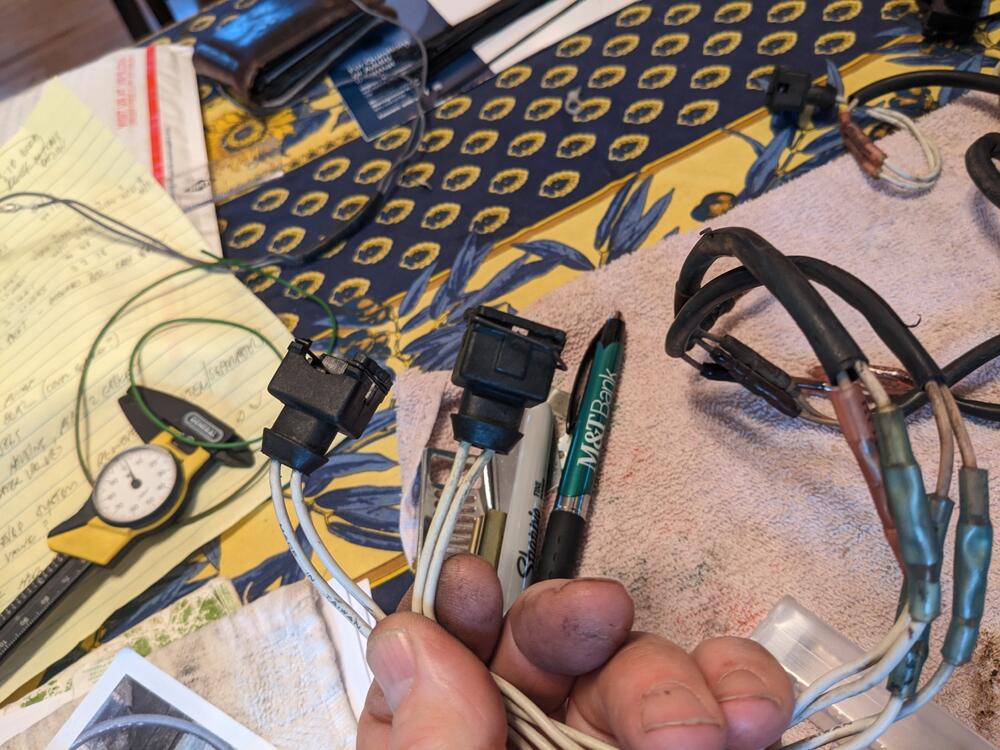
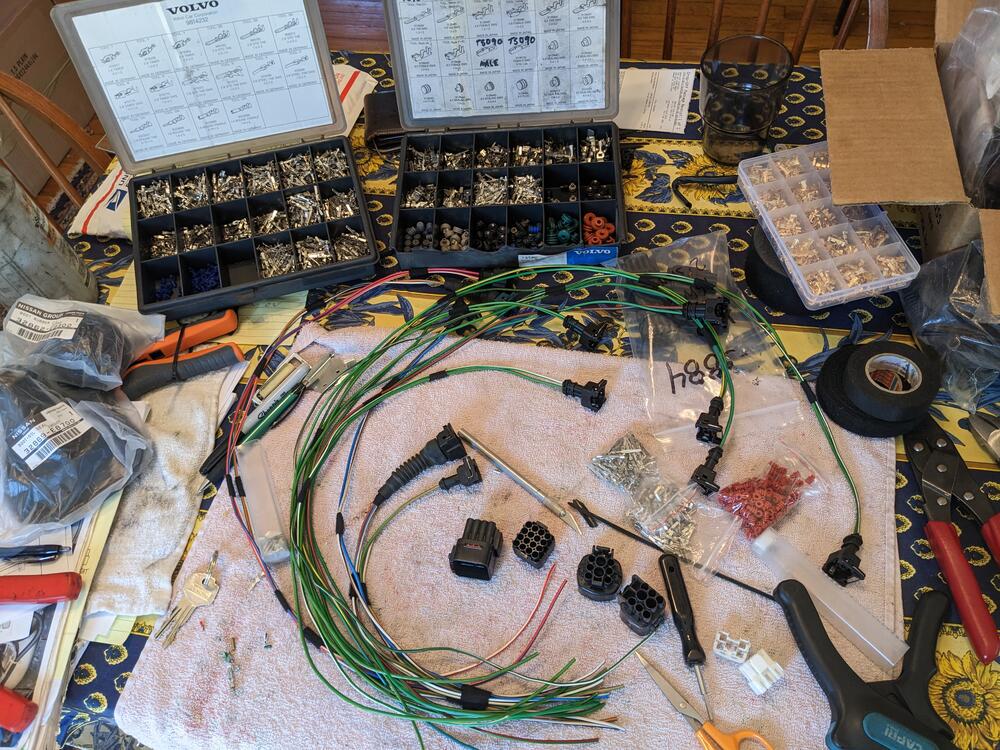
I'm using wiring colors based on Volvo conventions, since that's what I'm familiar with. I'll make a legend to translate from the white numbered harness to the colors used. Using new TE/AMP 282189-1 junior timer housings with waterproof seals for the sensors & injectors. These also have the spring release tabs, so much easier than the old style where you need to get in there with a pick to release them. The gang plugs are Deplhi 16 way and TS hybrid 090/187 8 way

PXL_20230401_194820831.jpg

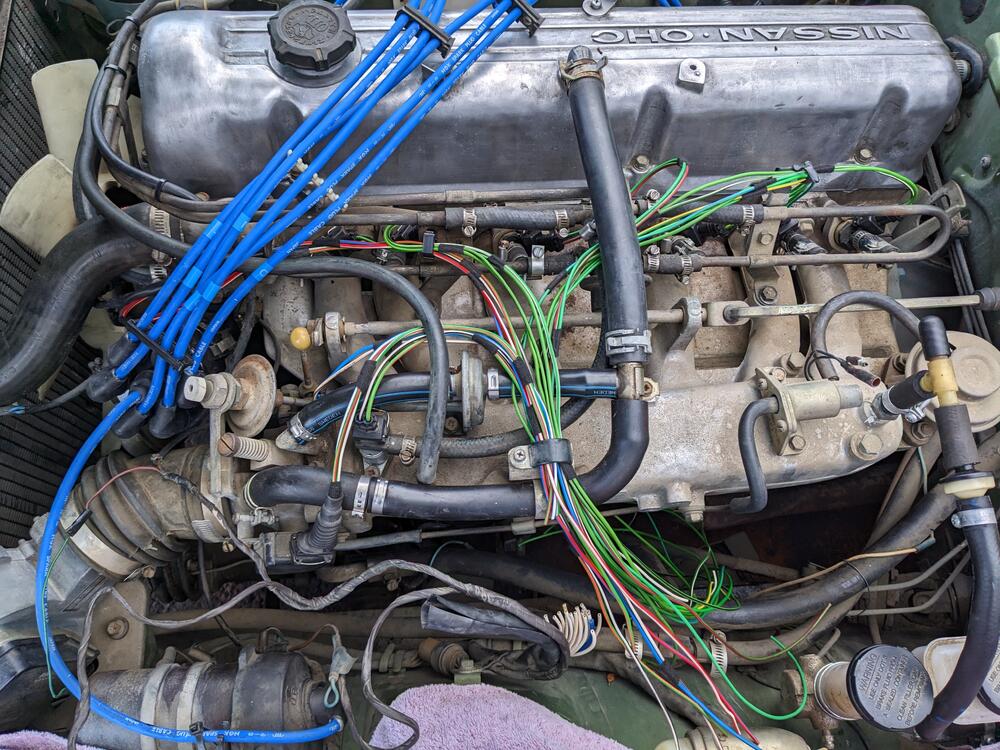
figuring out the layout on the motor before I add the gang plugs & wrap it.

PXL_20230401_221837464.jpg

Have to add in the temp gauge wire & the throttle valve, the EGR related wiring I'll dead end since I'm removing the EGR valve & solenoid.
 
Can you really make AC lines work with just hose clamps? Something I would never have thought to do. I had seen that in the engine bay previously and assumed there was no way the AC system worked.

I've seen that style barb fitting & clamps sold somewhere - so presumably it worked, for a while anyway.
 
Can you really make AC lines work with just hose clamps?
Very common repair method in the '60s & '70s. Required special fittings made for that type of repair. If you look closely at the clamp, there is a 'tail' spot welded to it that locates the clamp right at the clamping sweet spot. Manufacturers (at least the domestics at the time) frowned on using them and wanted the affected hose assembly replaced, but independent shops used them extensively.
 
Fixed the sloppy shifter today also. New bushings at the base, those were completely gone. I had bought a kit that included a new pivot pin, but mine was actually unworn
PXL_20230401_222355682.jpg


boots & shift knob
PXL_20230401_222404813.jpg


First boot in place. This actually keeps the fluid in - for whatever reason, the Nissan design has some fluid sloshing around the pivot base
PXL_20230401_222905120.jpg


Second boot installed. The outer cosmetic boot sitting on the seat in the 2nd pic above attaches to the console, so that will go back later
PXL_20230401_223202839.jpg
 
I've had my Z for over 2 years & haven't done this much work on it. You're making me feel lazy...
You're not alone. Hussein redid his accidented X19 in less time than it took me to drop the pedal box on my x. AND he was also building an AWD C30 and fixing a lot of external features on his house at the same time. I'm thinking about putting him on my "ignore" list just to keep my ego going down the drain. ☹️

On the other hand, there is not much happening now on the forum apart from Carl switching carbs... o_O
 
Got the wiring harness tidied up before I trimmed the junction area
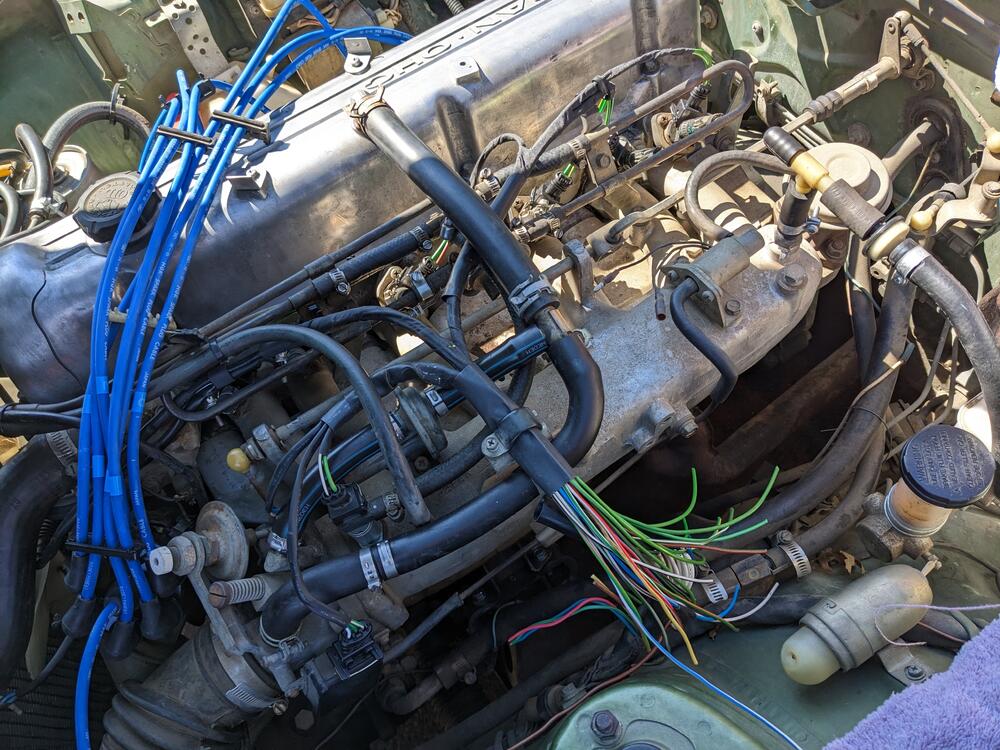
PXL_20230402_152851654.jpg

The decel bypass solenoid connector didn't look any better than this EGR one, so I cut that off & replaced it
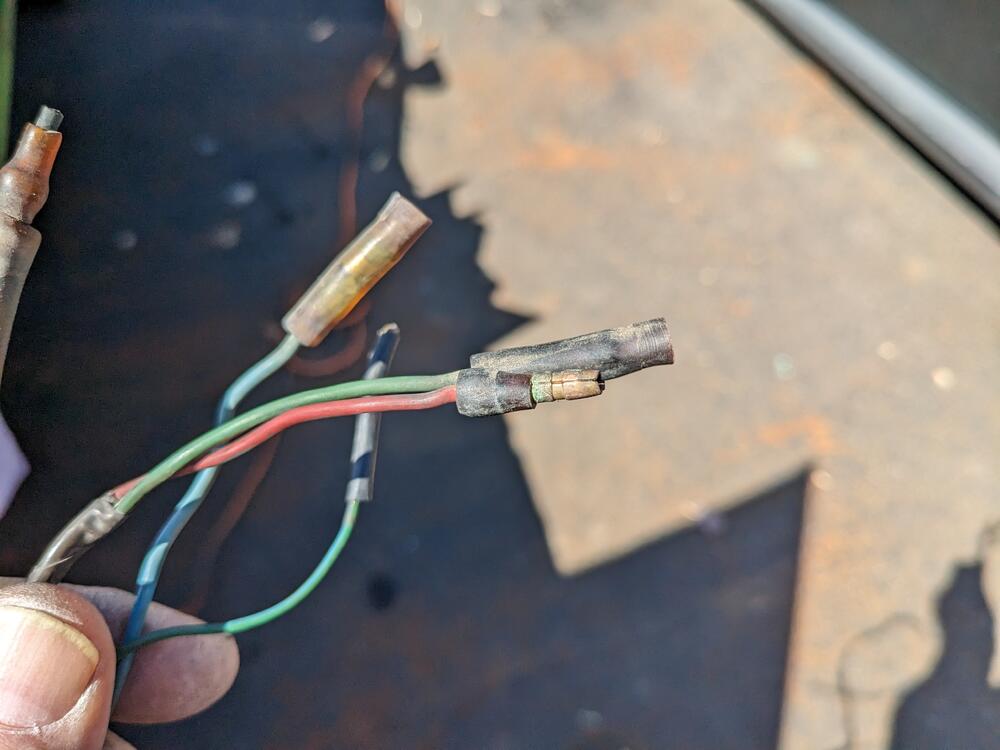
PXL_20230402_155823792.jpg

Volvo used a somewhat similar connector, with better waterproofing, through the early 90's, so I replaced it with that type
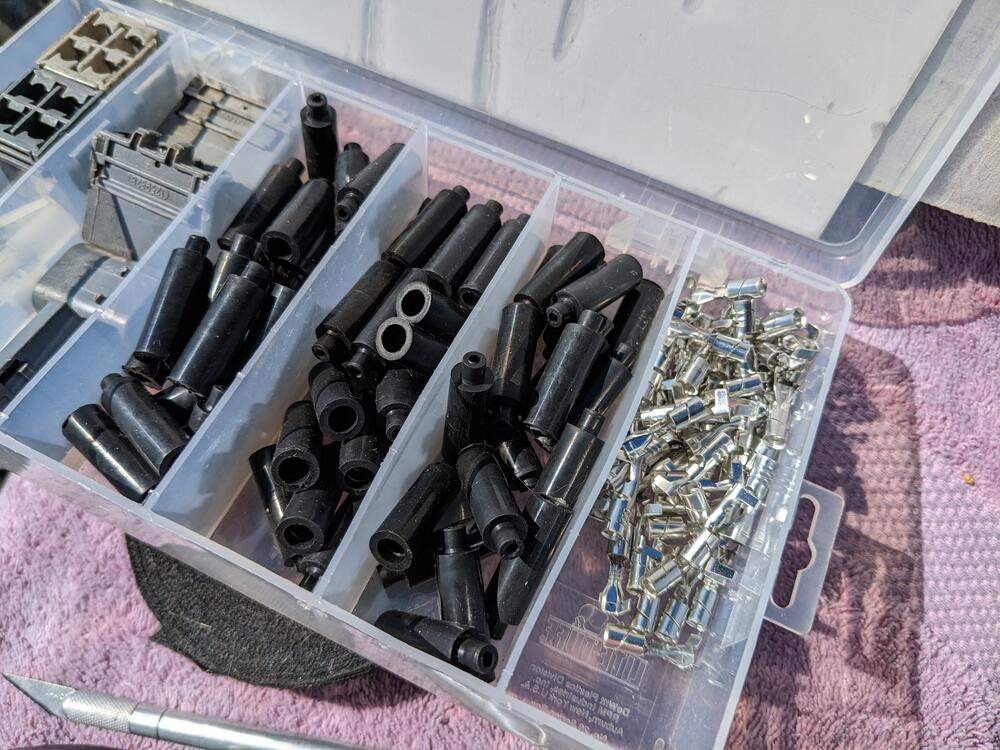
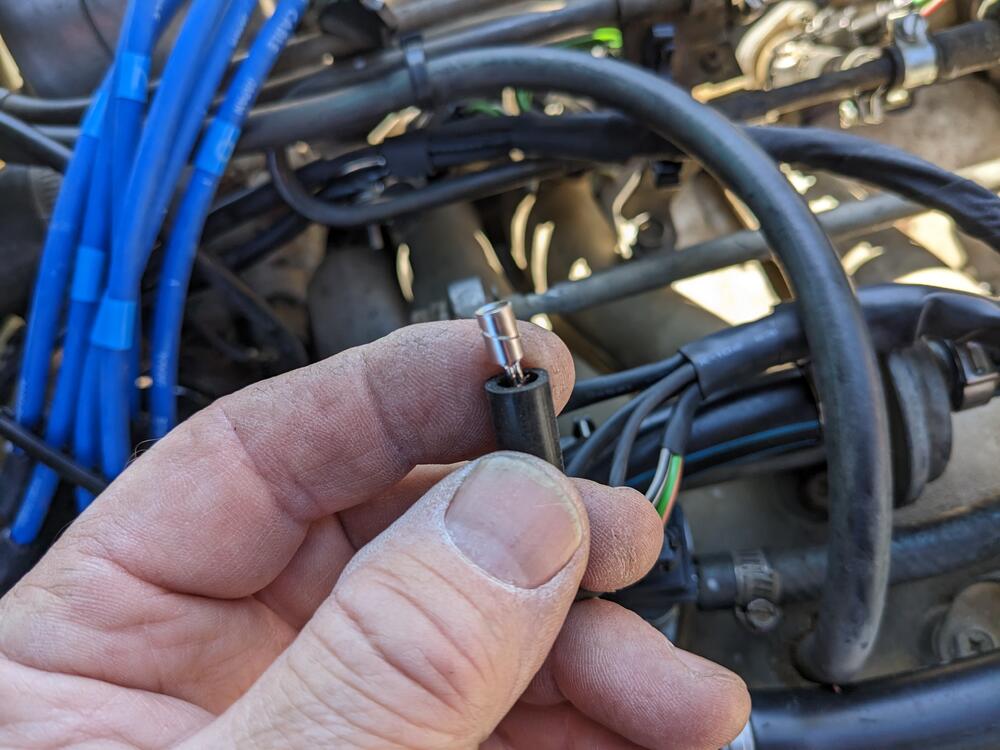
PXL_20230402_160358998.jpg

PXL_20230402_160404845.jpg

Removed the EGR solenoid, valve & vacuum & exhaust tube while I was there - had to put a helicoil in one stud location
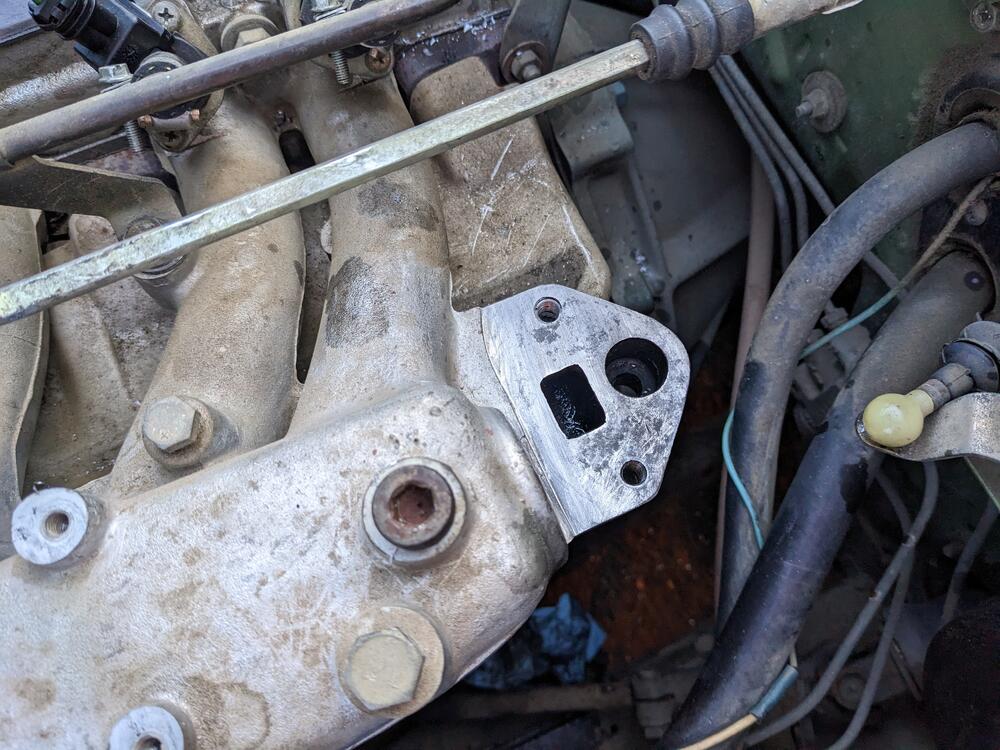
PXL_20230402_185202821.jpg

blocked off the exhaust manifold port
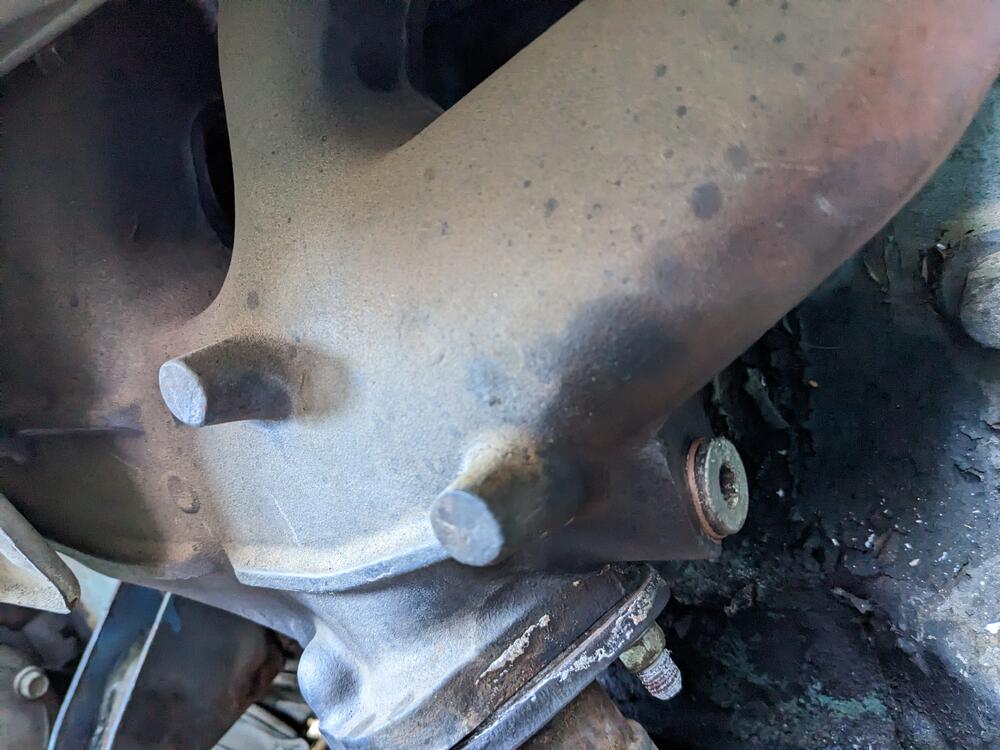
PXL_20230402_190302319.jpg

Made a blanking plate & added an elbow 10mm quick release for the booster line. I reinstalled the Datsun check valve, I found that the PO's tech had installed it backwards, with the grey side pointing at the intake. No wonder there were notes on the brake booster not feeling right.
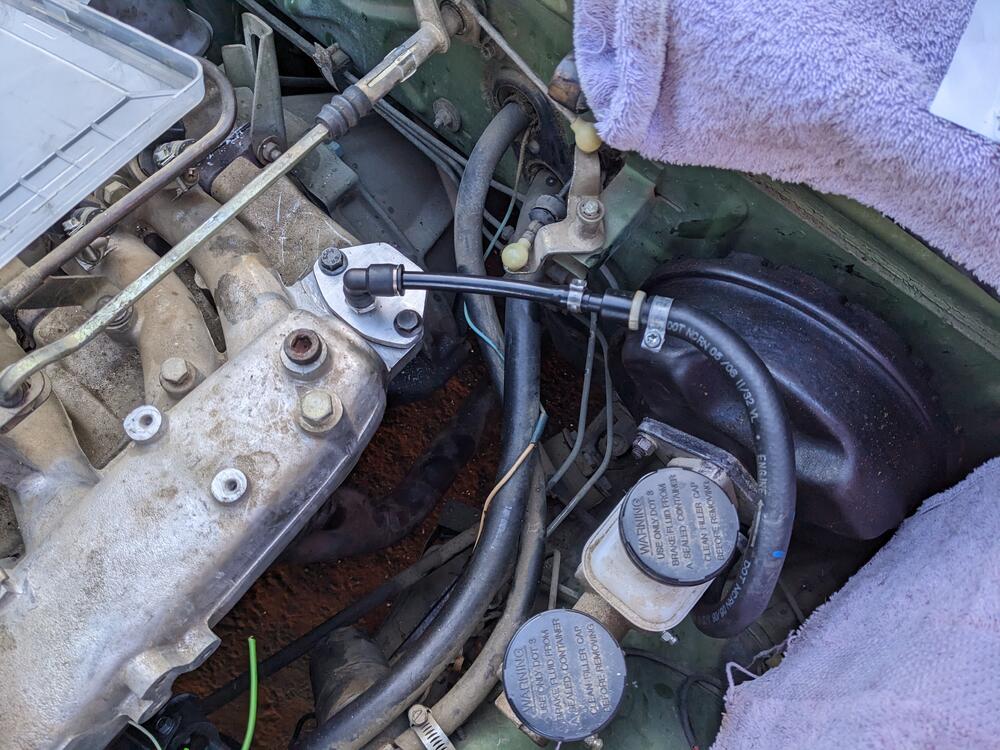
PXL_20230402_185854374.jpg

crimping all the Delphi terminals - 16way for injectors (12) Decel solenoid, Coolant gauge, and ECT
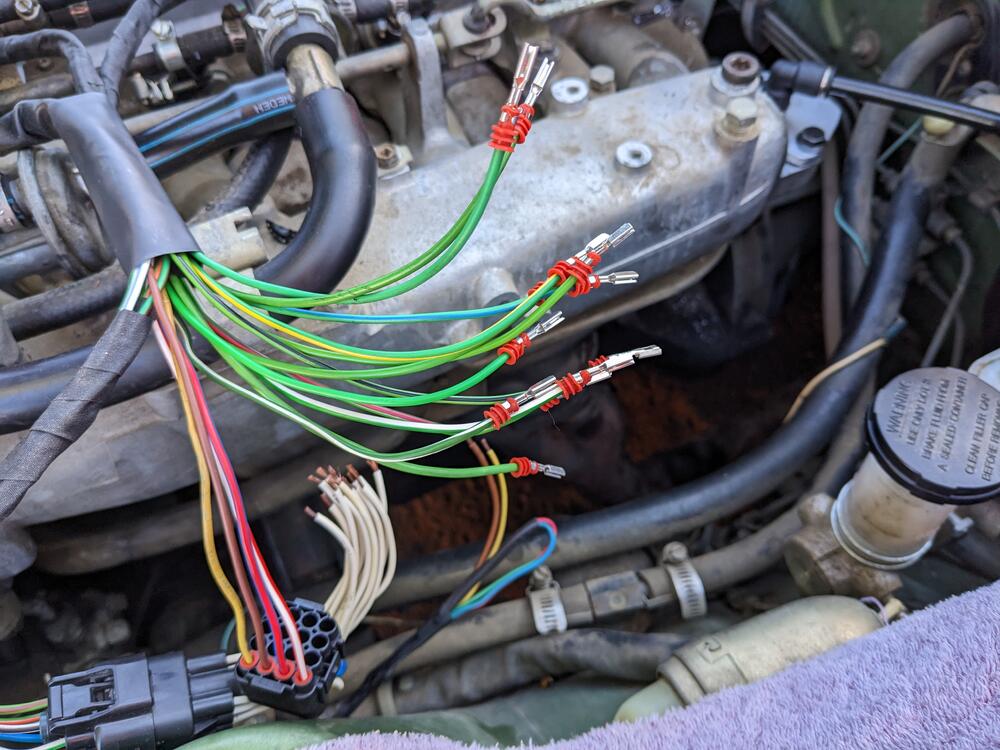
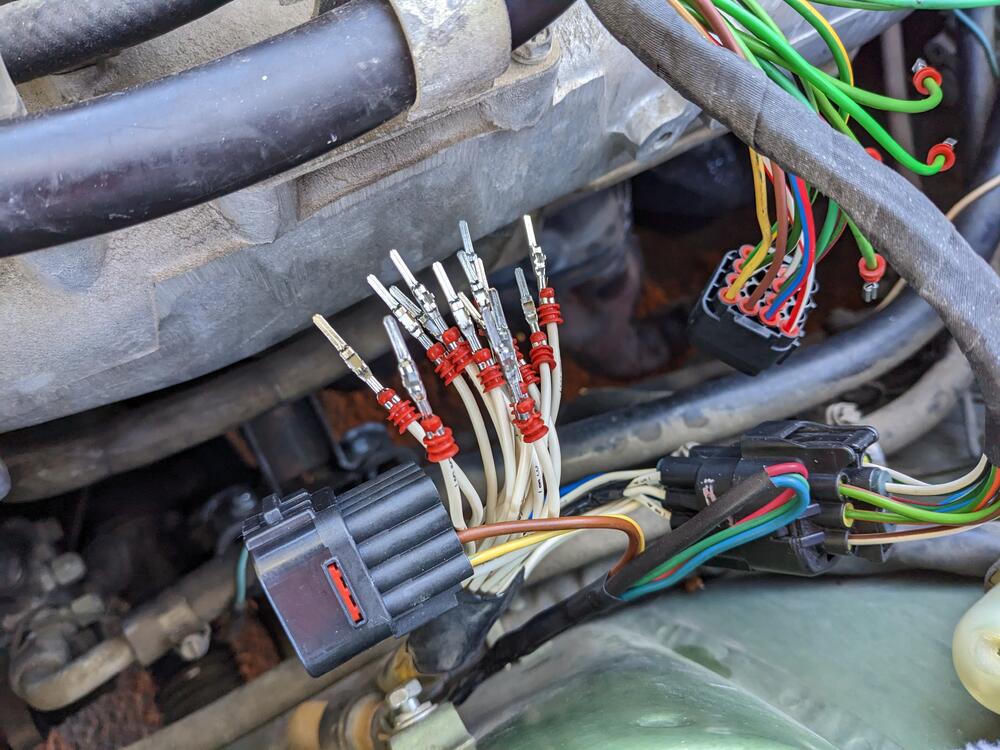
PXL_20230402_204154075.jpg

PXL_20230402_205606616.jpg

The TPS, CSV, Thermal timer, AAR are in the Sumitomo TS hybrid 090/187 housing on the right
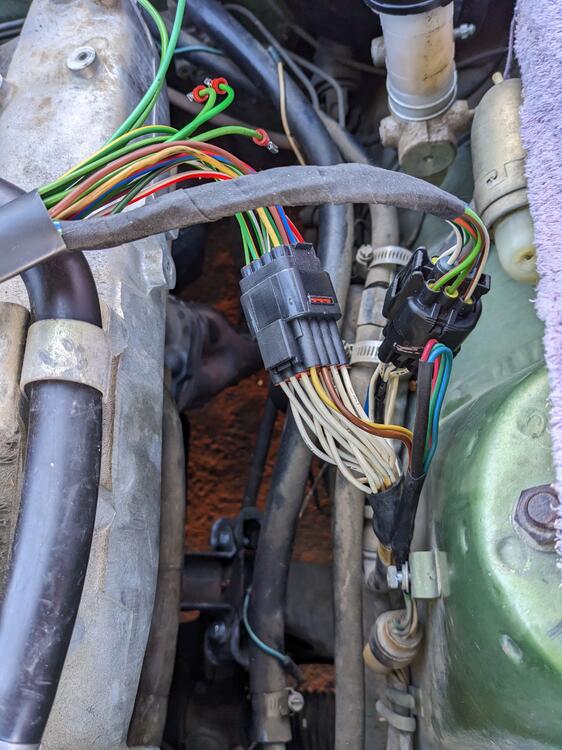
PXL_20230402_210636951.jpg

Back together & running. Didn't resolve the cold start issue entirely. I need to add a pressure gauge & see what the pump is doing, and actually function test the CSV/timer circuit
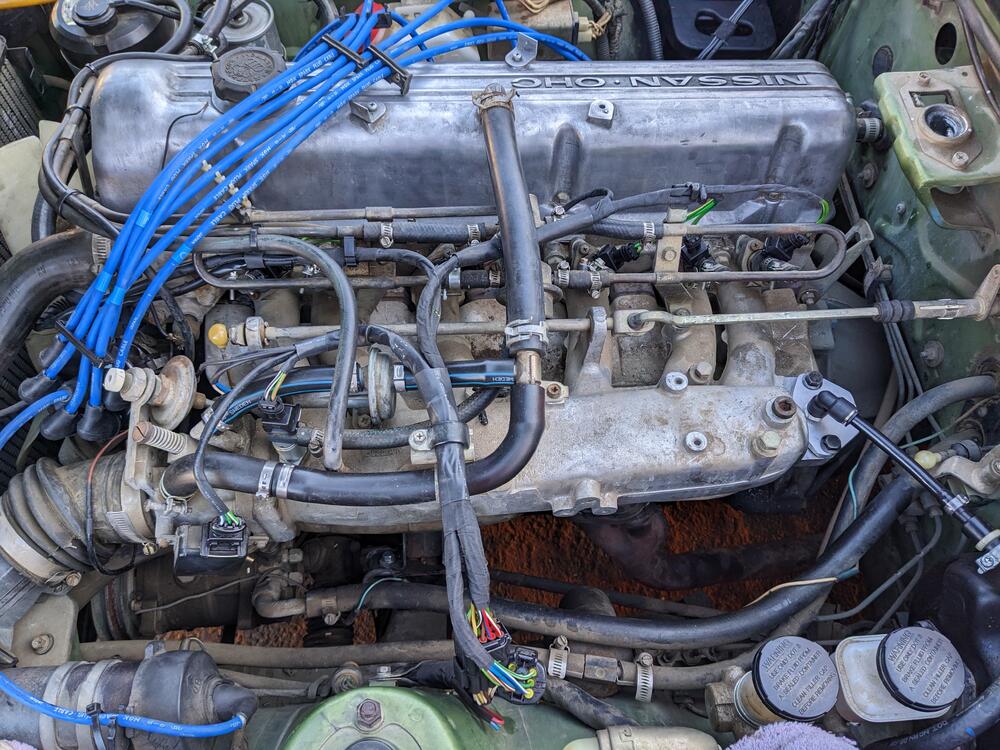
PXL_20230402_213126797.jpg

Edit- this morning I needed to move the car to a friend's garage for the coming week while we are in Iceland. It actually started on the second try, and ran much better than previously, so perhaps the wiring and possibly reversed ECT & thermal timer connections have resolved much of it.
 
Last edited:
Back
Top