You are using an out of date browser. It may not display this or other websites correctly.
You should upgrade or use an alternative browser.
You should upgrade or use an alternative browser.
Selling the X & Bought an 75 Datsun 280Z
- Thread starter lookforjoe
- Start date
lookforjoe
True Classic
Nice though. It is a 2+2, so the lines are a little off in the back quarters.
Did you take any pics of the Capri I can see 2 rows behind it in the 1st pic ?
?
Did you take any pics of the Capri I can see 2 rows behind it in the 1st pic
kmead
Old enough to know better
I always preferred the Capri II over the first series.Nice though. It is a 2+2, so the lines are a little off in the back quarters.
Did you take any pics of the Capri I can see 2 rows behind it in the 1st pic?
Zakspeed wouldn’t be too bad with the late series.
NEG
True Classic
Alas no, I did take a good look at it, Mk1 3litre GLX. It was stunning, the attention to detail was impressive. I’ll probably see it at the next show, it’s a local car and I’ve seen it before…Nice though. It is a 2+2, so the lines are a little off in the back quarters.
Did you take any pics of the Capri I can see 2 rows behind it in the 1st pic?
lookforjoe
True Classic
I always preferred the Capri II over the first series.
View attachment 73329
Zakspeed wouldn’t be too bad with the late series.
View attachment 73330
I do like the MKII. I never had one in the UK, they were out of my teenage price range. I did get one here in 1981, the V6 version, but it just didn't look the same as the UK version, details I guess.
kmead
Old enough to know better
Yeah the bumpers in particular were quite divergent. I am sure US marketing for Mercury forced other American tweaks to the cars. We never got the late version as the Fox body version took over by that time.I do like the MKII. I never had one in the UK, they were out of my teenage price range. I did get one here in 1981, the V6 version, but it just didn't look the same as the UK version, details I guess.
The Mk 1s were smaller by a bit and certainly more original in design.
KBabcock
True Classic
I had completely forgot about the Capri, I remember those goofy intakes in front of the rear wheels on the first version.I always preferred the Capri II over the first series.
View attachment 73329
Zakspeed wouldn’t be too bad with the late series.
View attachment 73330
lookforjoe
True Classic
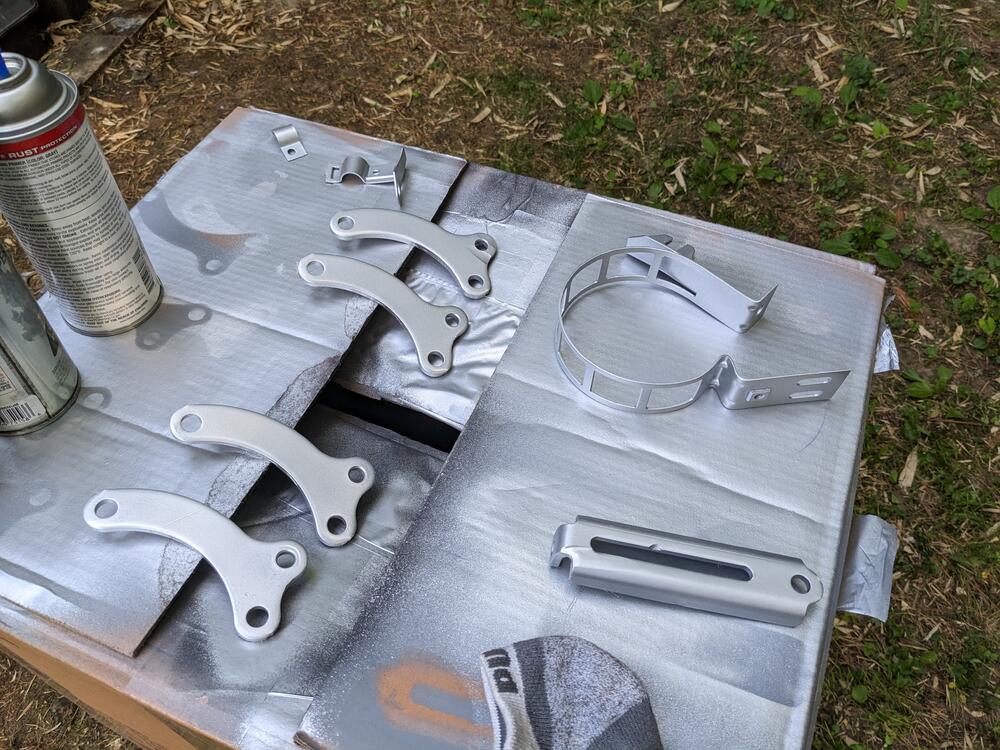
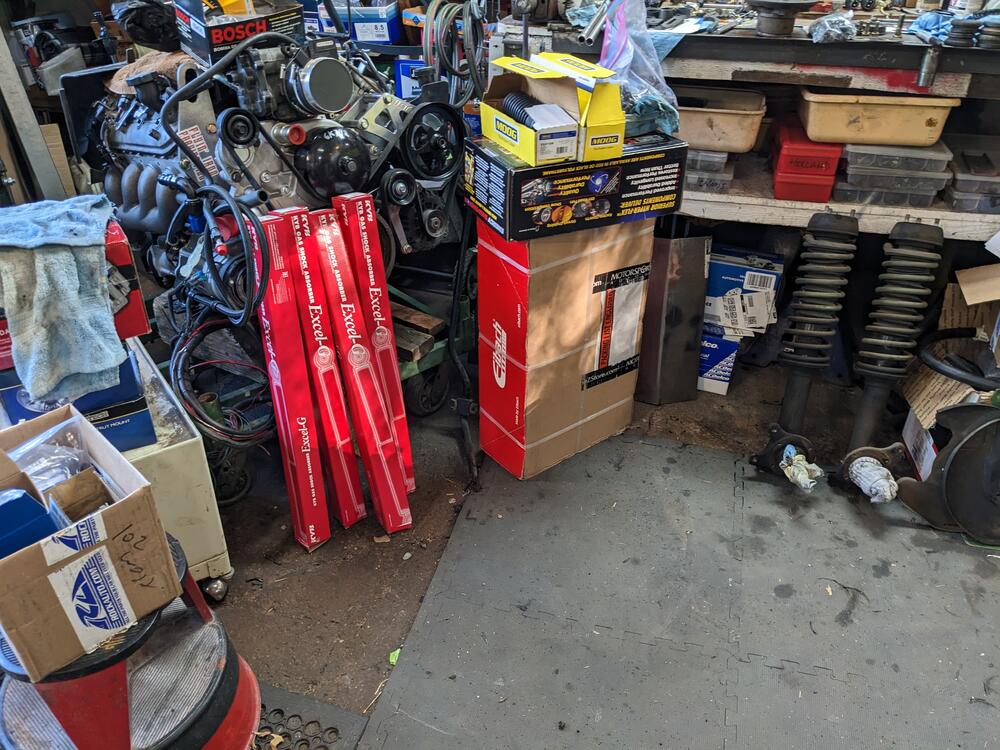
Still focused on getting things set up for my mother's change in health, so not much time for the car right now. I got about an hour to futz, so I started cleaning up the front hubs and tension rods, and acid-dipped, cleaned, primed & painted the AC compressor mount brackets (for the Volvo conversion)
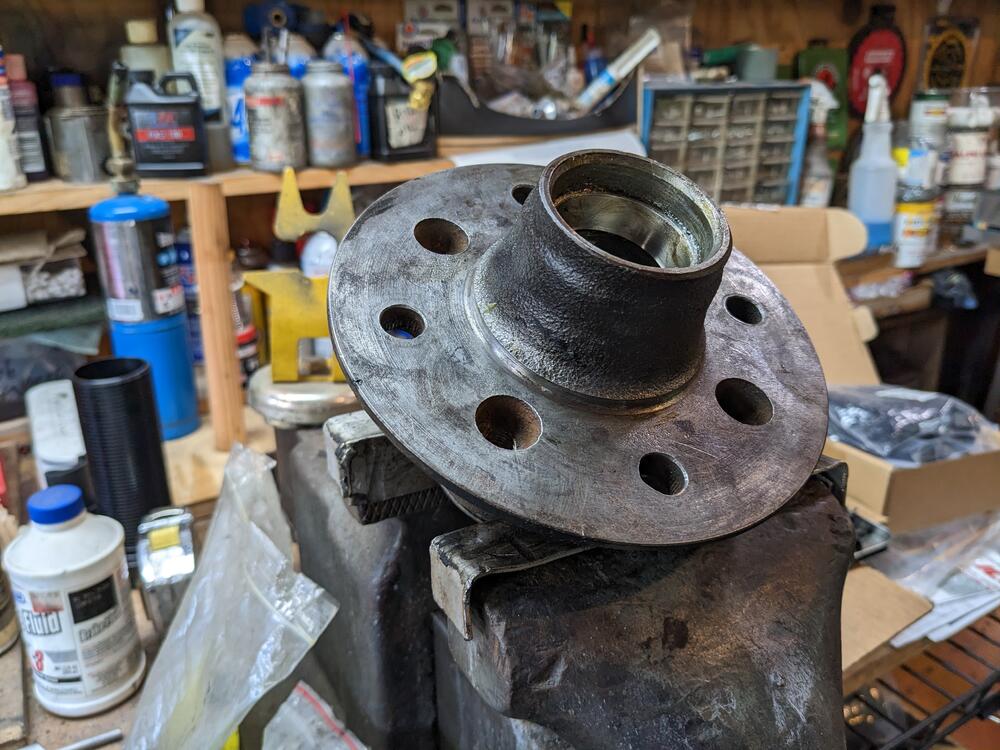
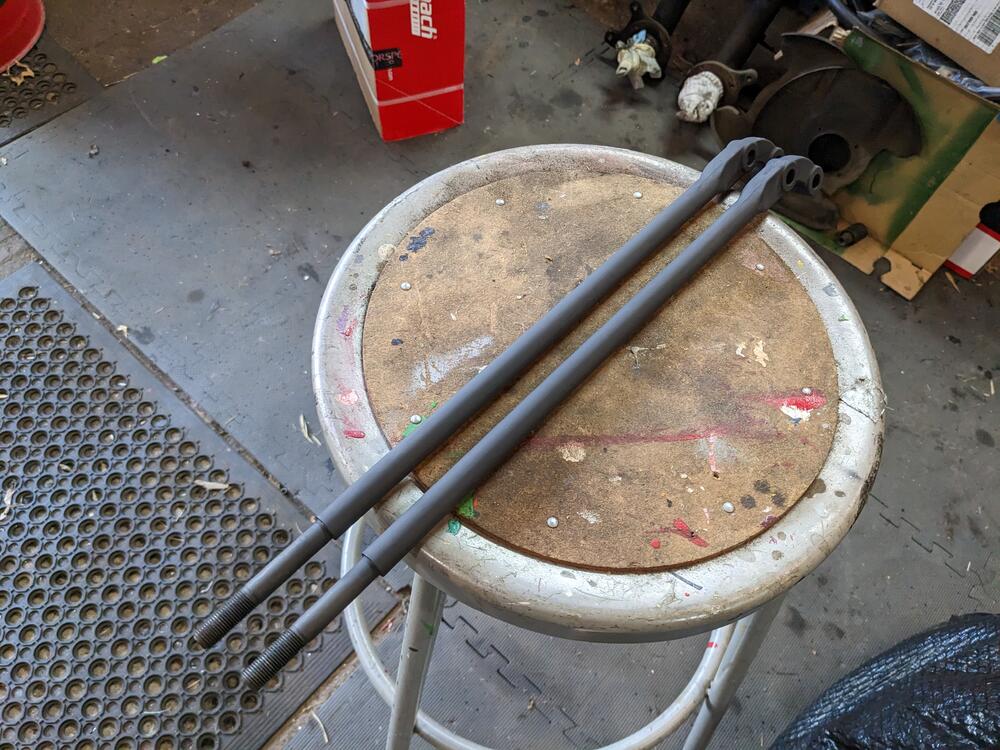
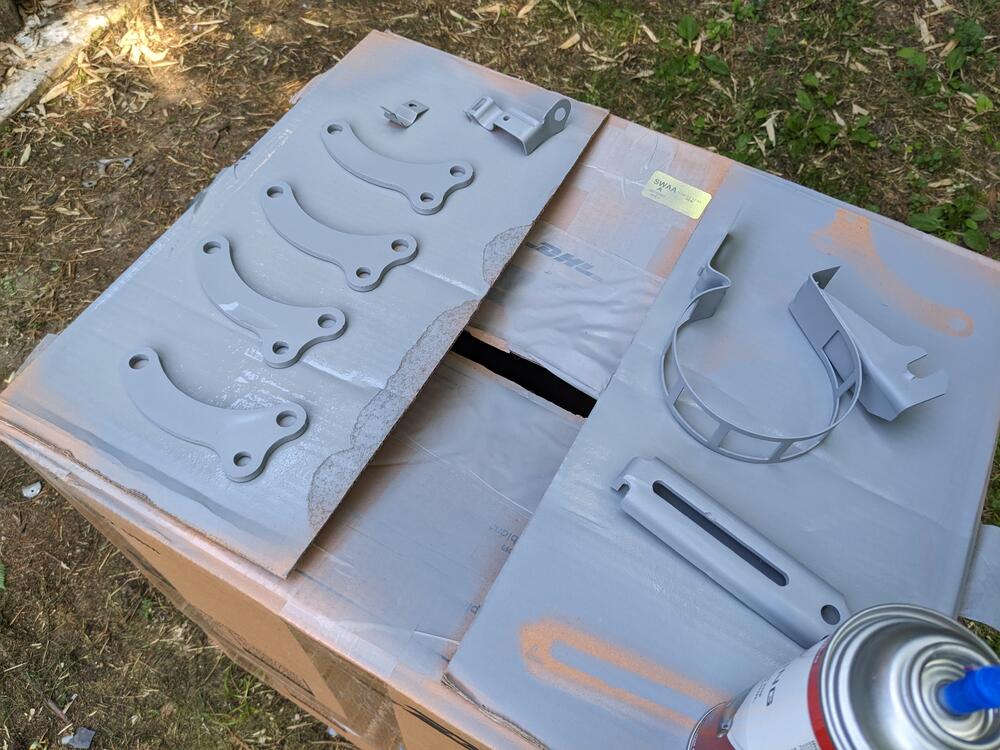
An array of suspension & brake parts


An array of suspension & brake parts

lookforjoe
True Classic
Busy with Mum & AP Art (high school) stuff, so still not back to this. I did cleaned & paint the control arms & castor rods. I didn't like them black, but this may stick out too much so they may go back to that. Easier to see leaking fluids, etc., with lighter colors though
I have a line on a 2006 350Z NA, VQ35DE/6 speed manual (CD009?), that won't pass RI inspection due to rust in the rear subframe. so, I have to figure out if I can get it for reasonable $$$$, then that will be the drivetrain going in. Much easier with a donor car to not get nickle & dimed to death over small parts needed to do the conversion

I have a line on a 2006 350Z NA, VQ35DE/6 speed manual (CD009?), that won't pass RI inspection due to rust in the rear subframe. so, I have to figure out if I can get it for reasonable $$$$, then that will be the drivetrain going in. Much easier with a donor car to not get nickle & dimed to death over small parts needed to do the conversion
Last edited:
lookforjoe
True Classic
Several additional siblings (from Texas, Luisiana & CA) are in town visits with my Mum, so I had a bit of time to work on the front end stuff.
I had acid dipped & cleaned all the front end hardware, so I primed & primed the sway bar & tension rod bushing plates
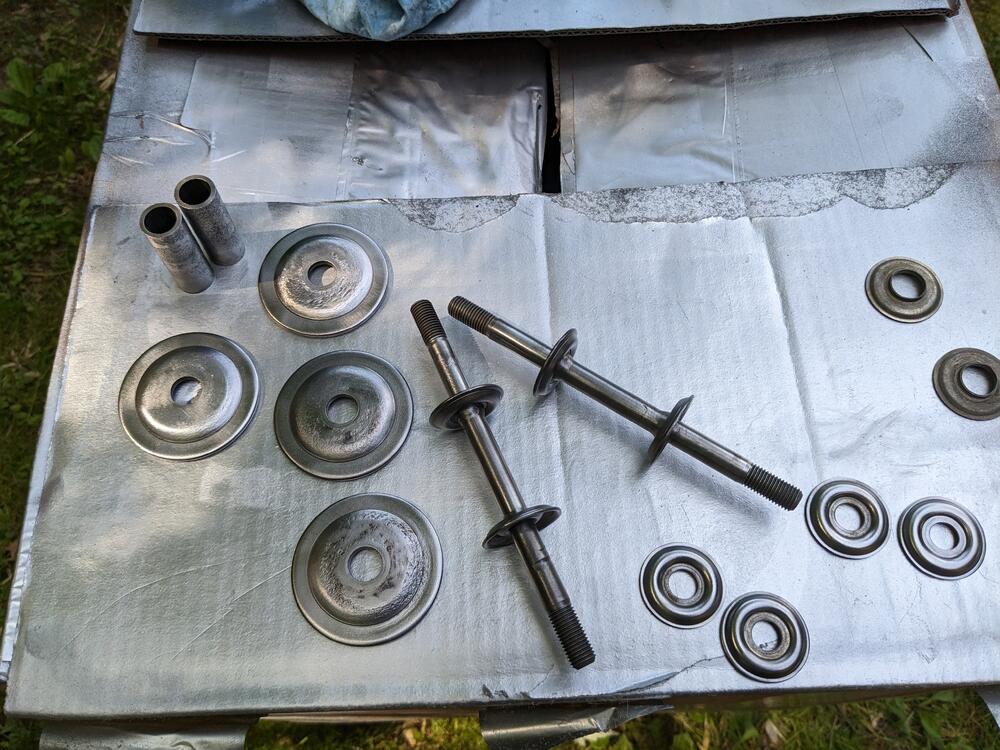
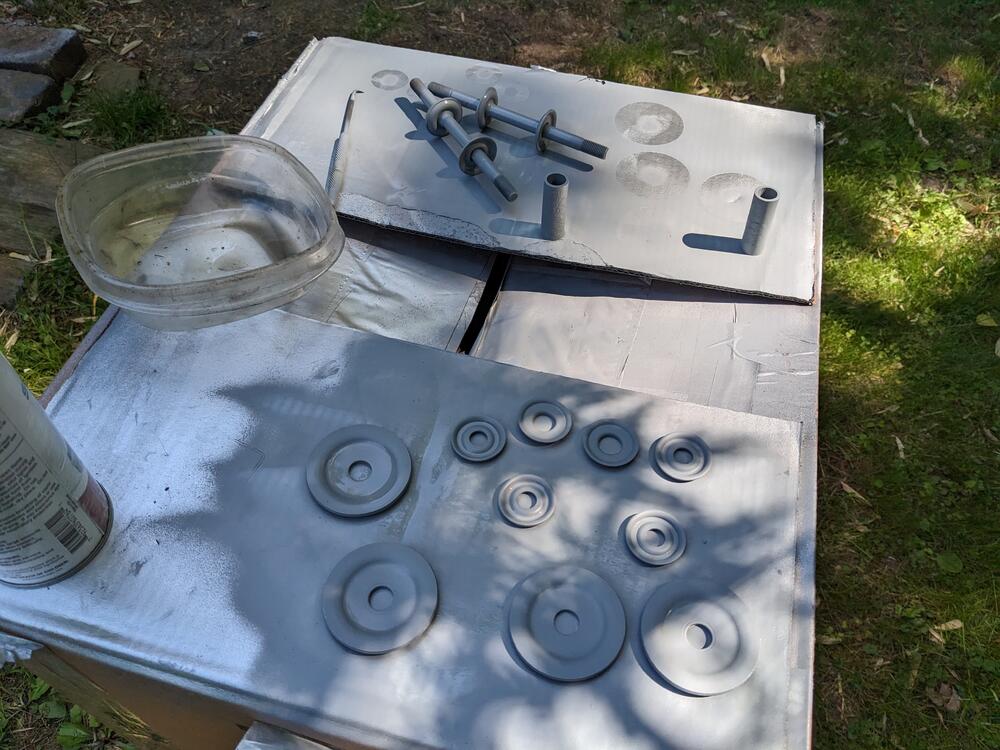
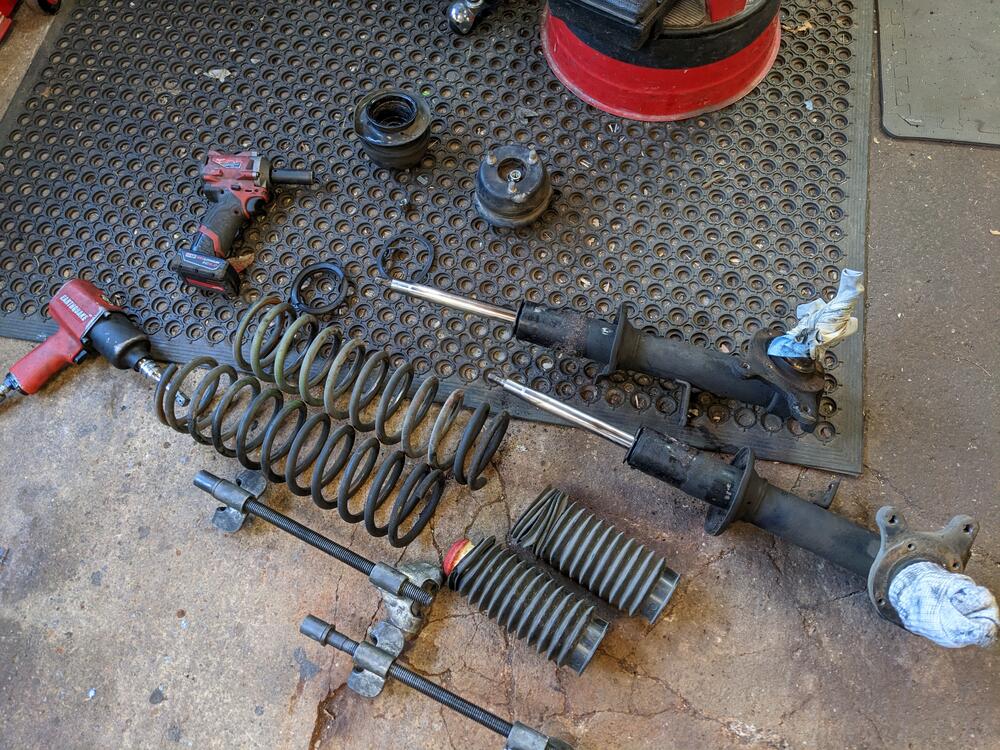
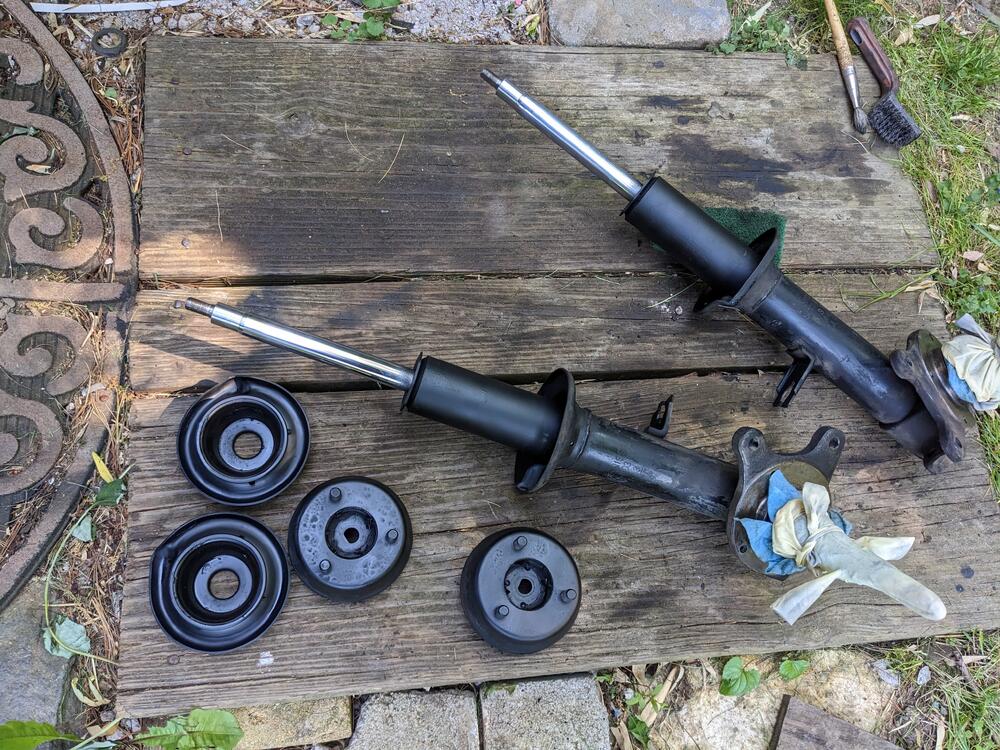
stripped the struts. everything that I'm keeping is in good shape, just had to strip the strut tubes of the crust around the upper tube
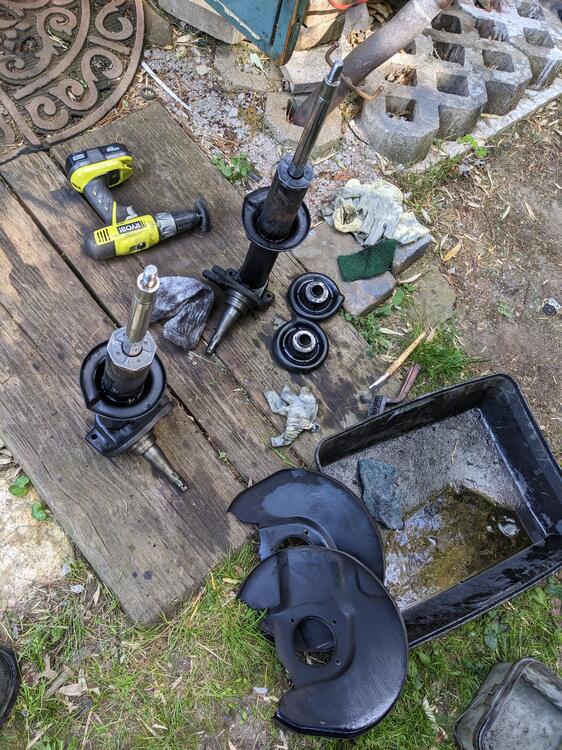
top bushings and spring seats cleaned up
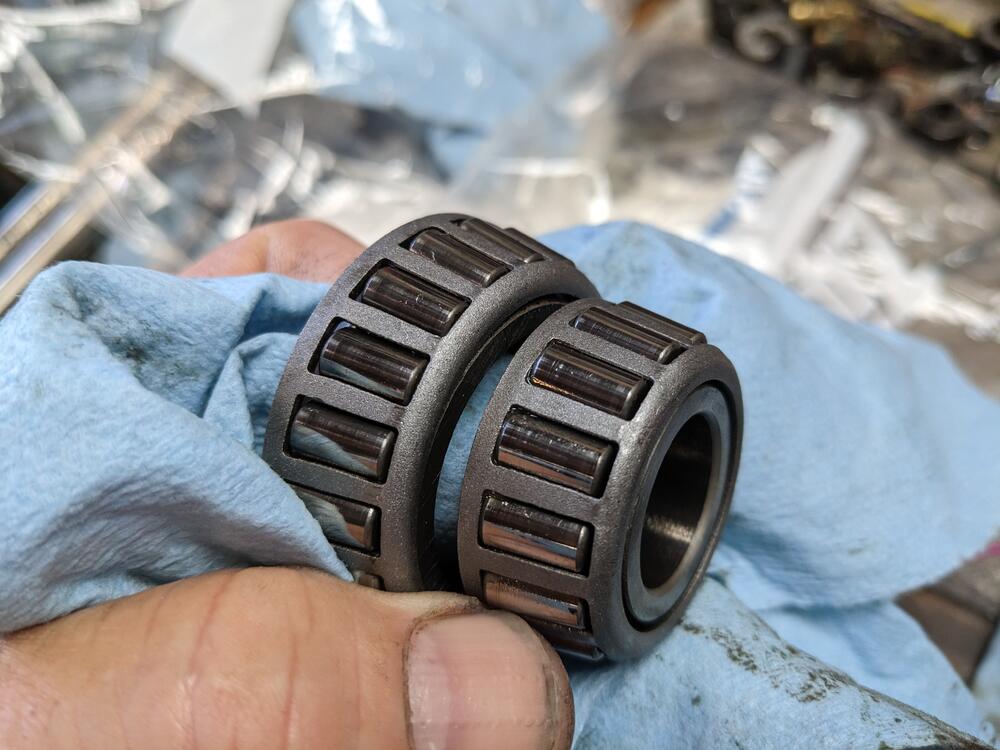
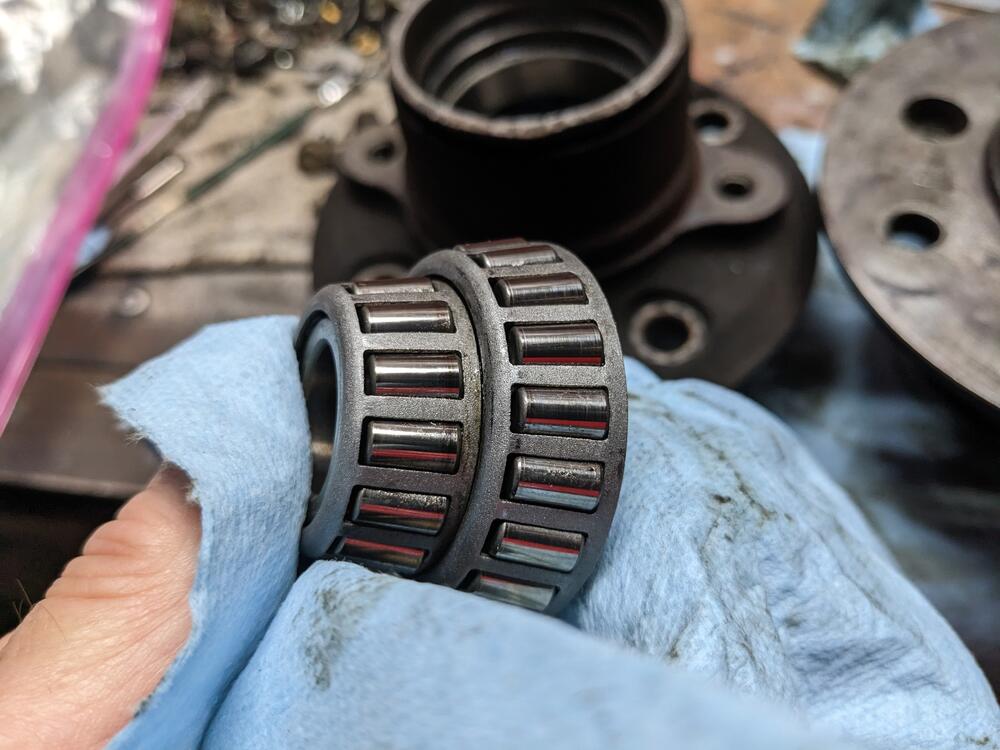
wheel bearings all flushed of old grease. The races and bearing really look good, no blueing or scoring, so I'm just going to re-grease them & pack the hub this time around. I didn't hear any bearing whine or grumble in the front end when driving.
hubs need to be cleaned up
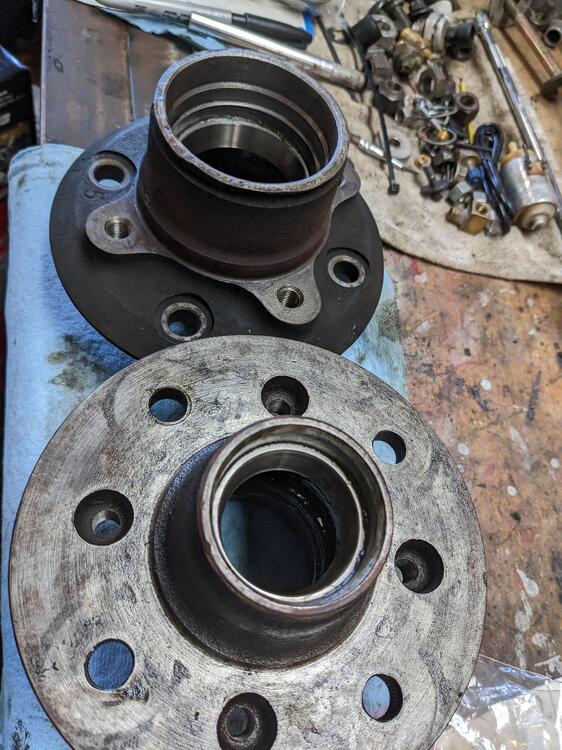
rear flange pic

I had acid dipped & cleaned all the front end hardware, so I primed & primed the sway bar & tension rod bushing plates


stripped the struts. everything that I'm keeping is in good shape, just had to strip the strut tubes of the crust around the upper tube


top bushings and spring seats cleaned up

wheel bearings all flushed of old grease. The races and bearing really look good, no blueing or scoring, so I'm just going to re-grease them & pack the hub this time around. I didn't hear any bearing whine or grumble in the front end when driving.


hubs need to be cleaned up

rear flange pic
Last edited:
JKIDD
Auto Addict
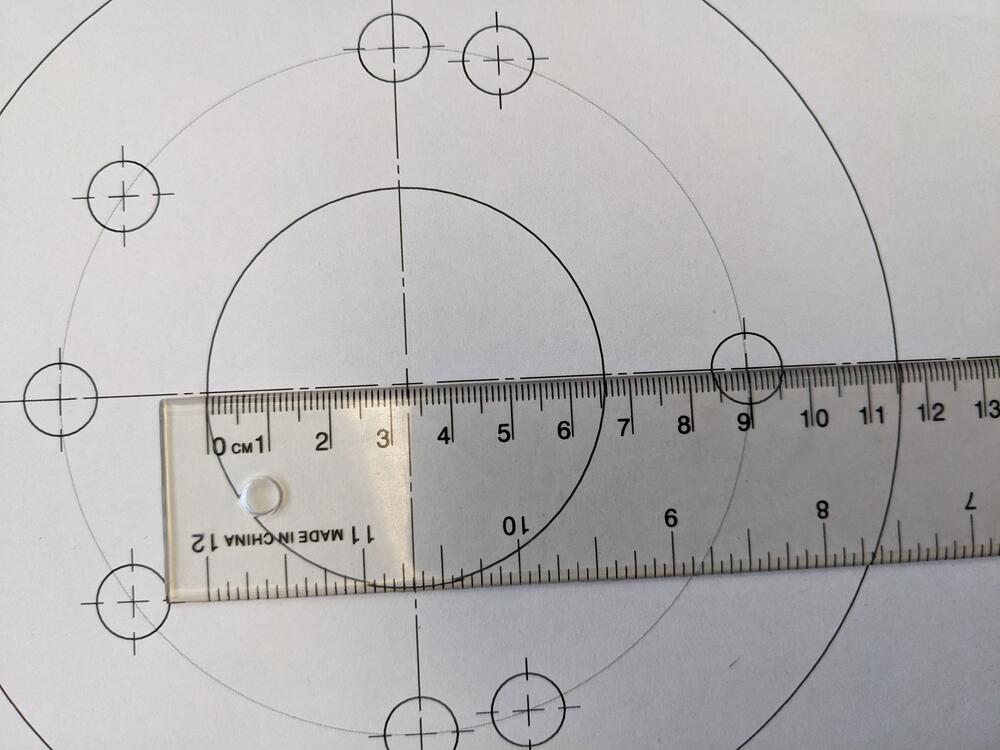
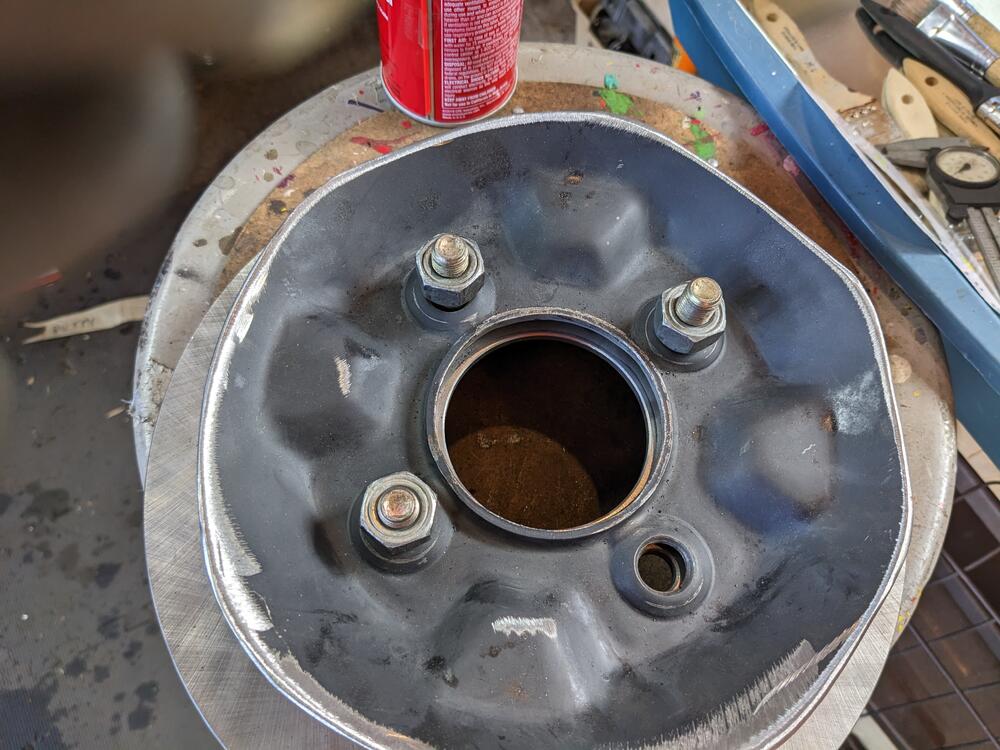
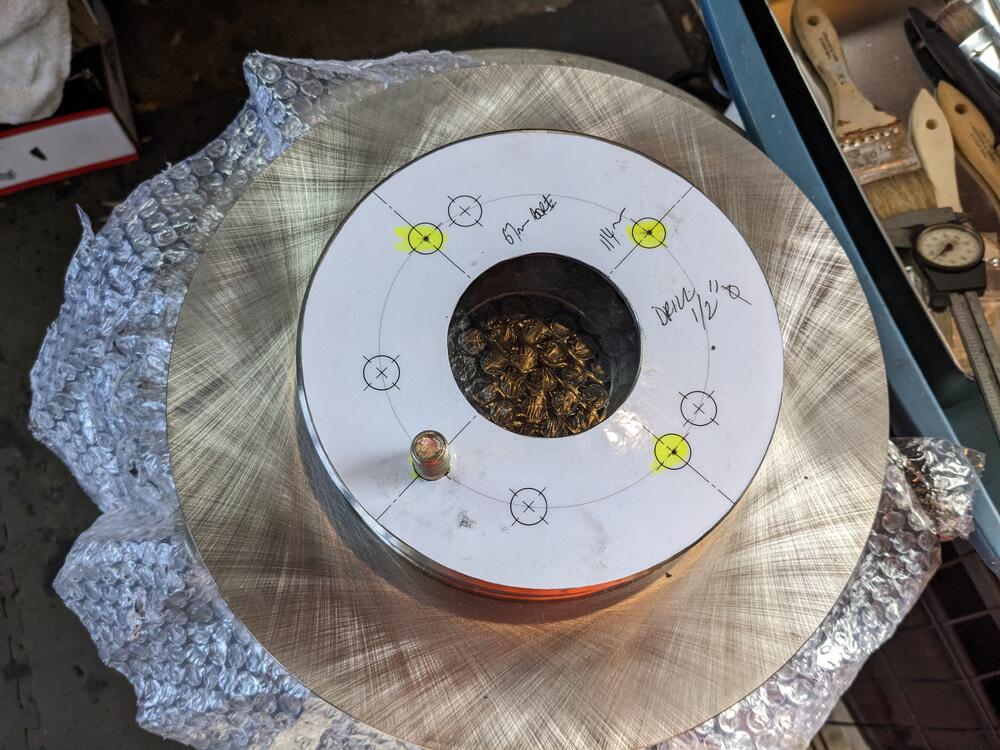
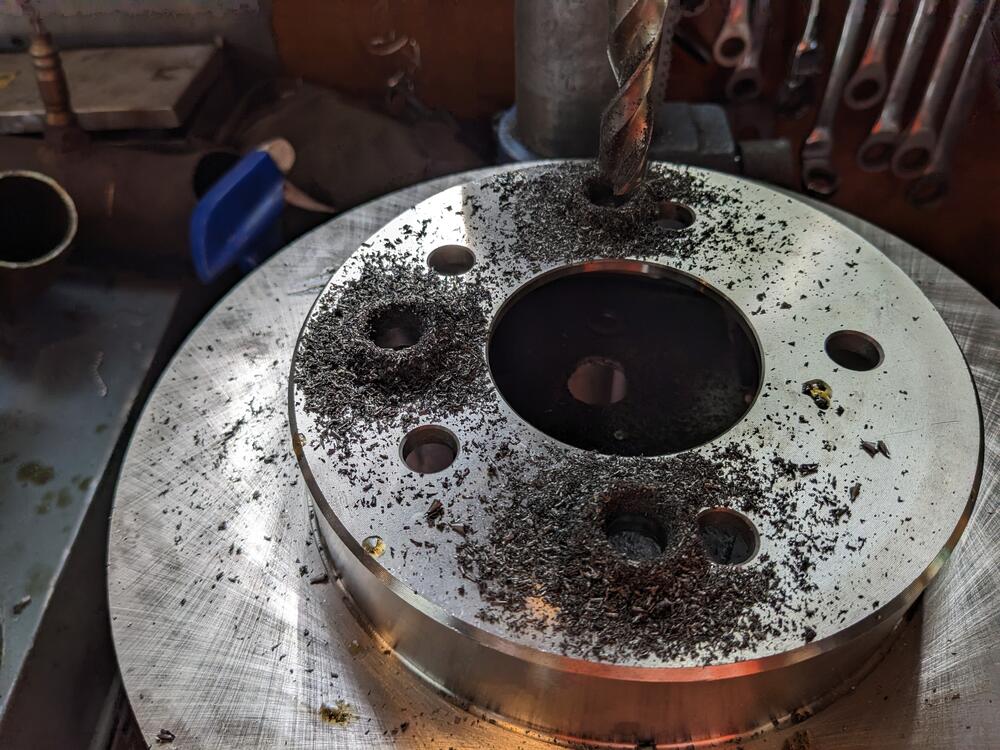
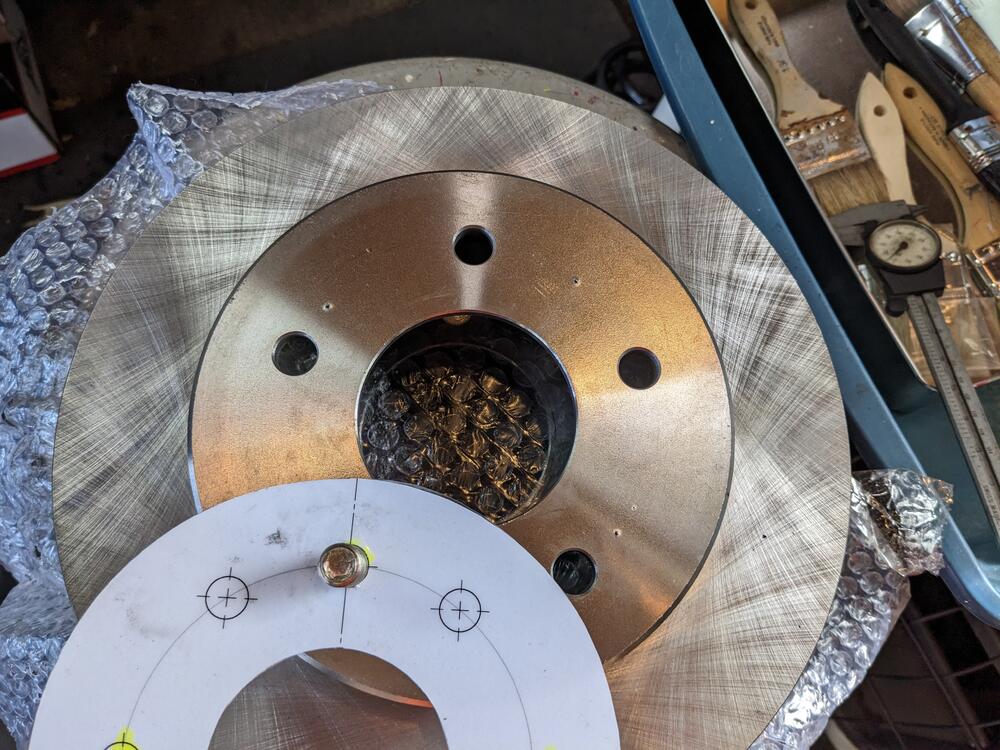
What made you choose this route for a disk conversion? Any more details on what you used? Considering a rear disk swap while I still have the 280zx parts car.I did get the 300ZX T rear rotors redrilled to 4x114.3 using the Milfab template. I had to redraw the center to 67mm, as the printed version they send was only 66mm ID. I used an xacto to carefully cut out one locating hole so that it is a snug fit on a stud, then center-punched the other 3. I also used the steel wheel center I cut off the spare wheel to test fit the rotor.
as provided:
laminated the template to make it rigid enough to be useful
Checked the spacing & offset on each relative to each other and the inner & outer hub lips before drilling
All done
lookforjoe
True Classic
What made you choose this route for a disk conversion? Any more details on what you used? Considering a rear disk swap while I still have the 280zx parts car.
Because it uses 2014 Ford Mustang rear calipers, other kits rely on older Nissan calipers that may or may not be available.
MilkFab Kit
lookforjoe
True Classic
Had time today to work on the front end. I spent a fair amount of time cleaning, scrubbing, degreasing & prepping the inner fenders & strut tower, frame reinforcements, so I could get some seam sealer in there followed by primer & paint. Not that the car will ever see winter driving, but any moisture getting into those areas will happily rot the metal I'm sure. The larger undercoated areas will get further cleaning, then I'll go back with some fresh stone chip & then undercoat. DTR, I'll remove the fenders & redo the seams back there
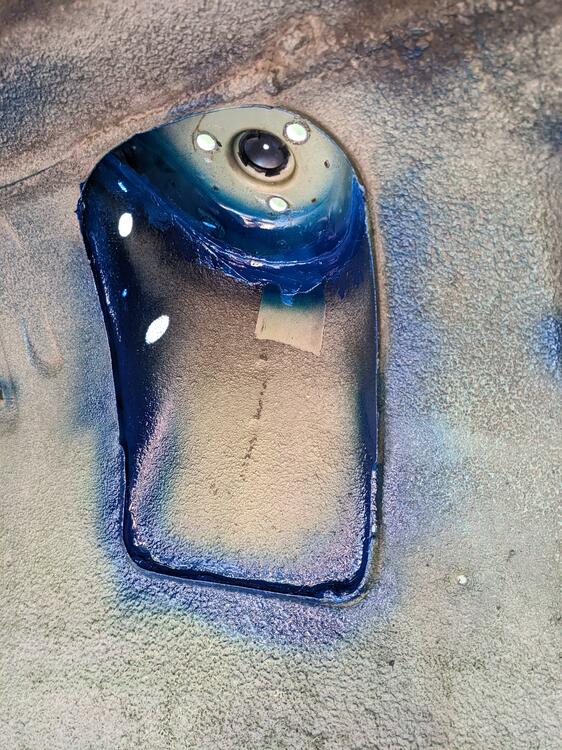
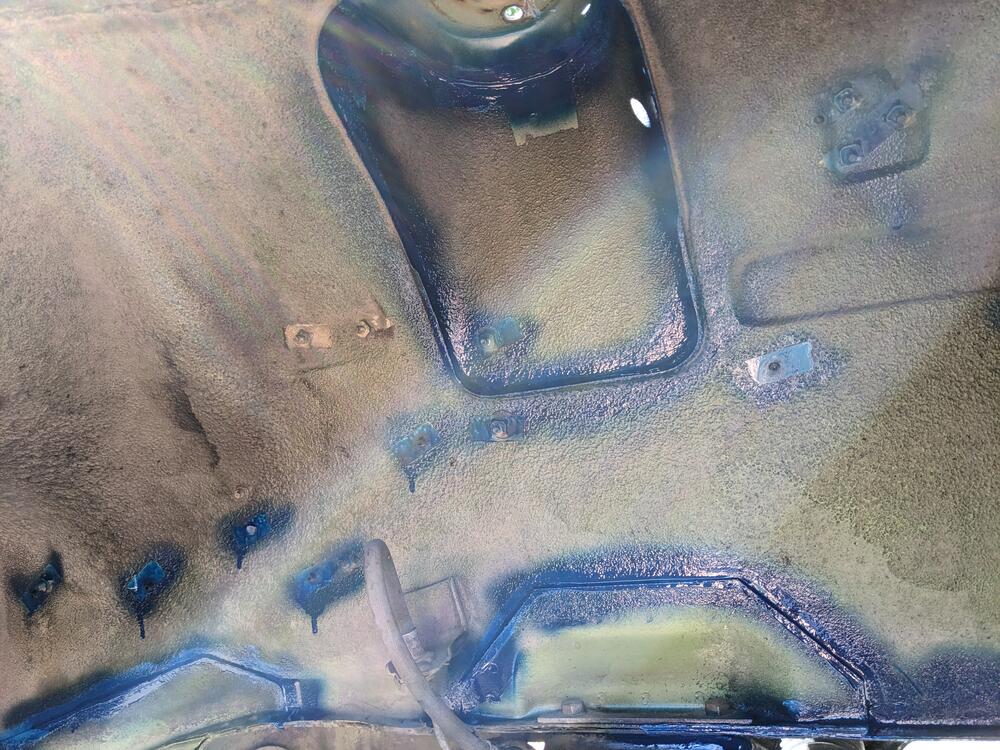
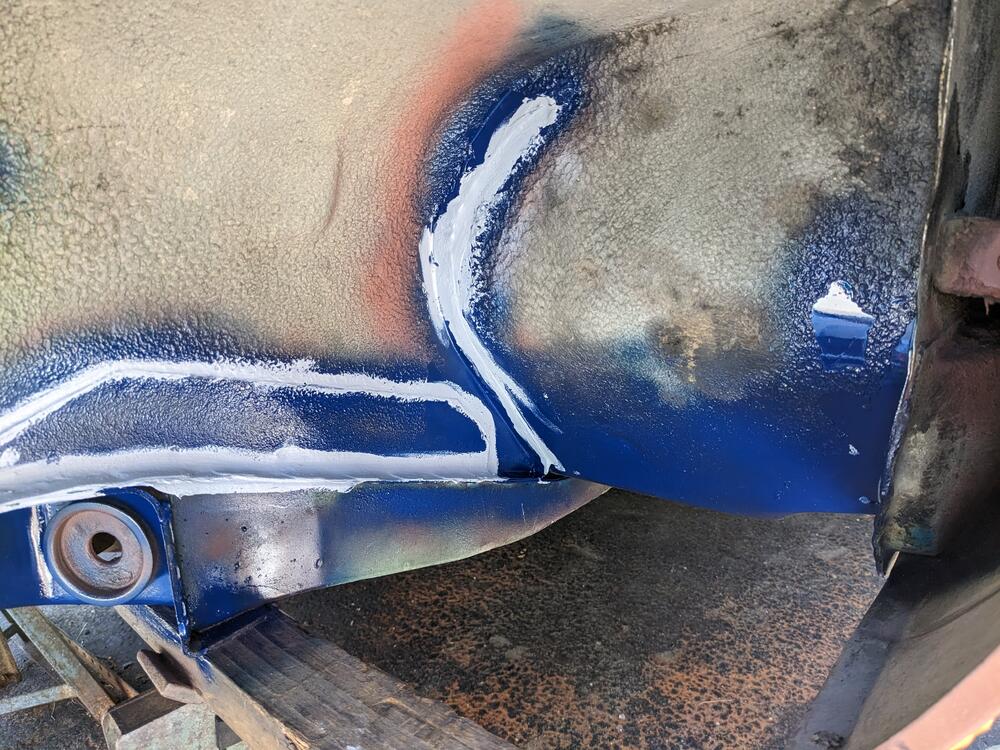
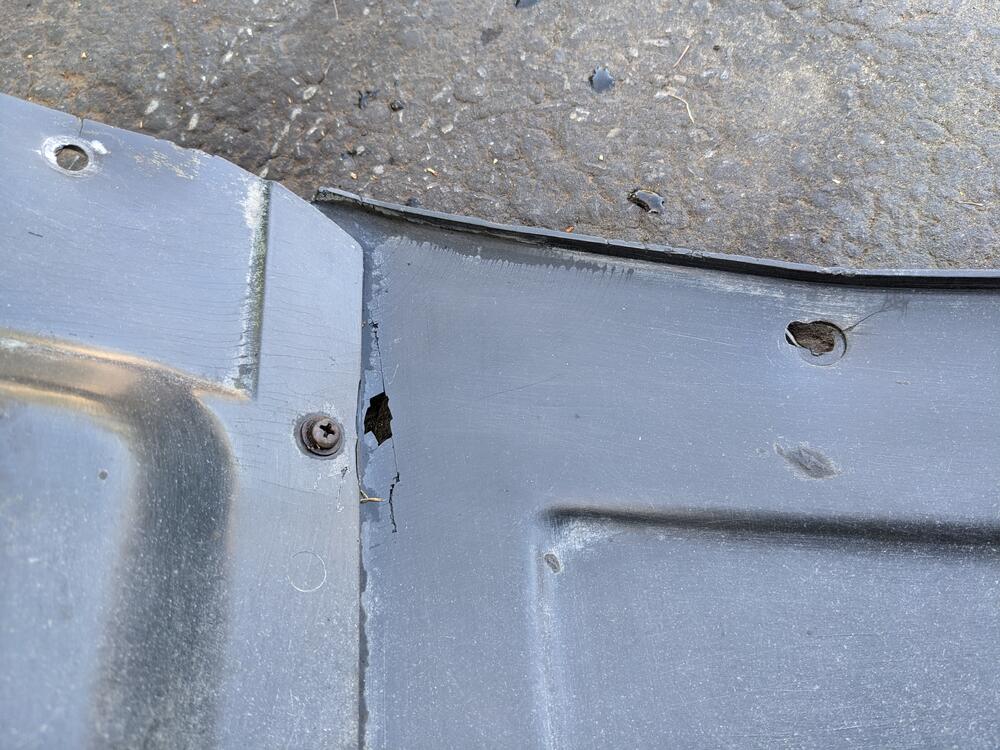
he inner fender liners need some work, and the lower right mudflap was gone. Much silt wedged between the fender & inner panel, not good for NY
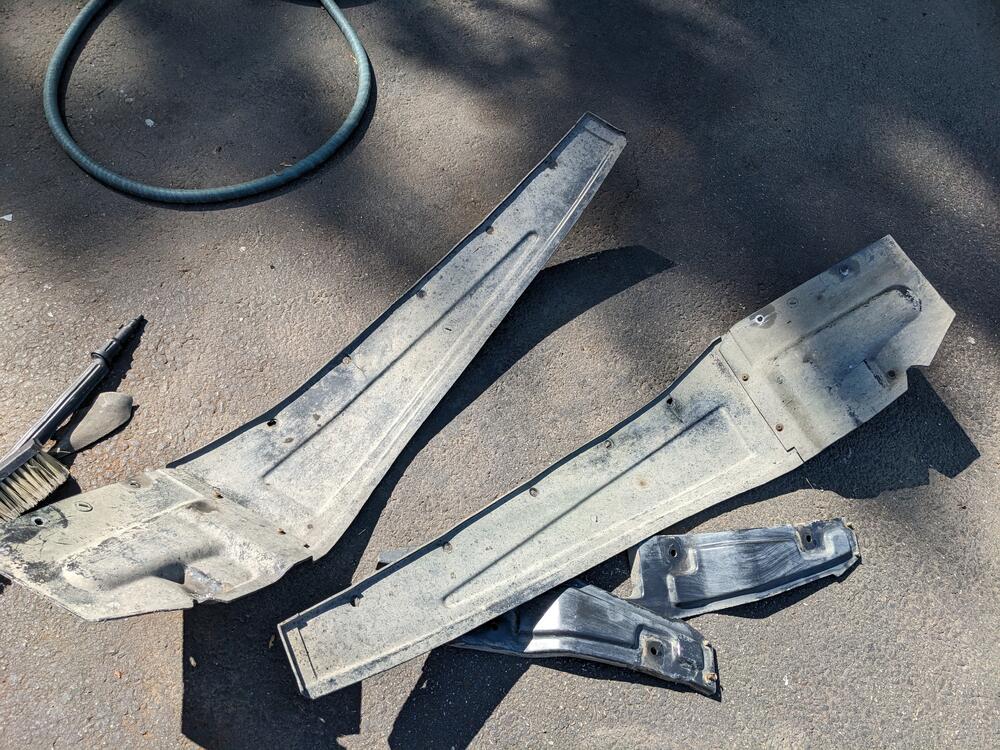
cleaned up somewhat, need to address the cracks
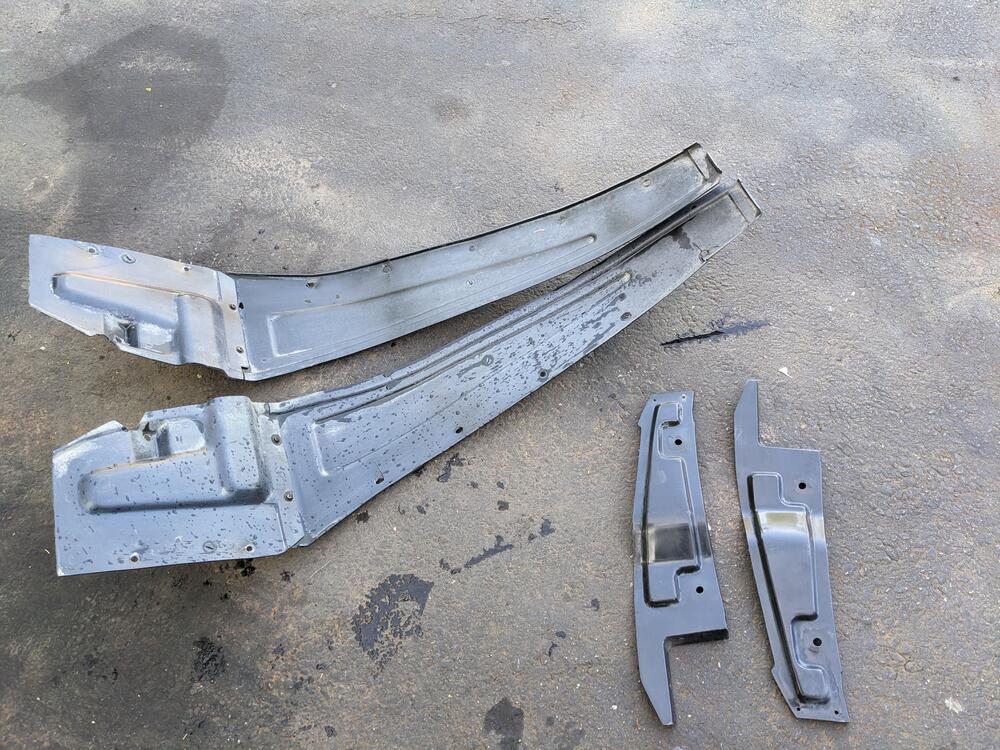
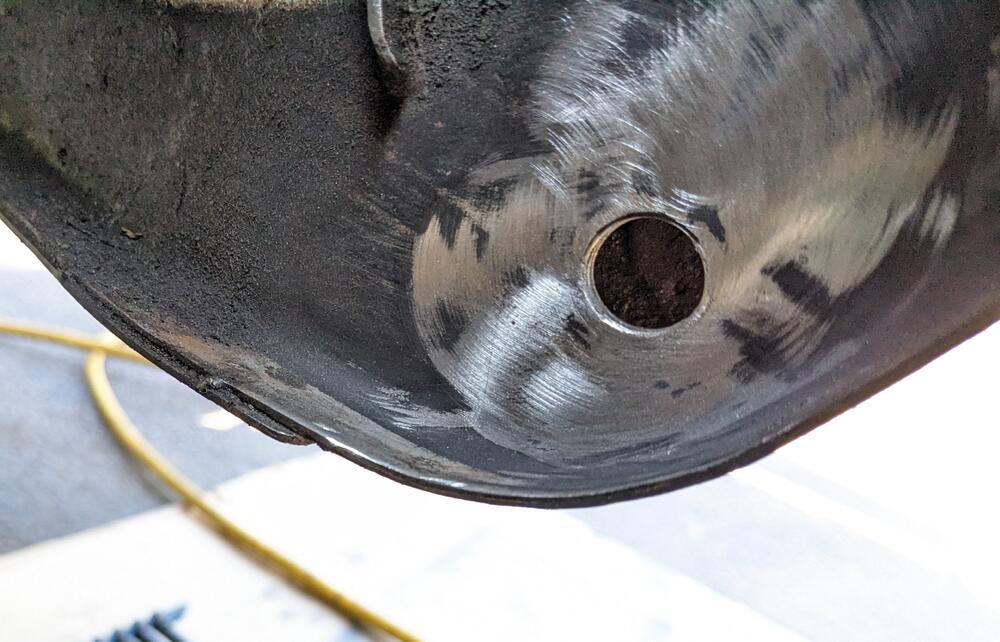
cleaned up the right control arm mount hole & welded a heavy washer in place to remove the slop from the ovaled holes
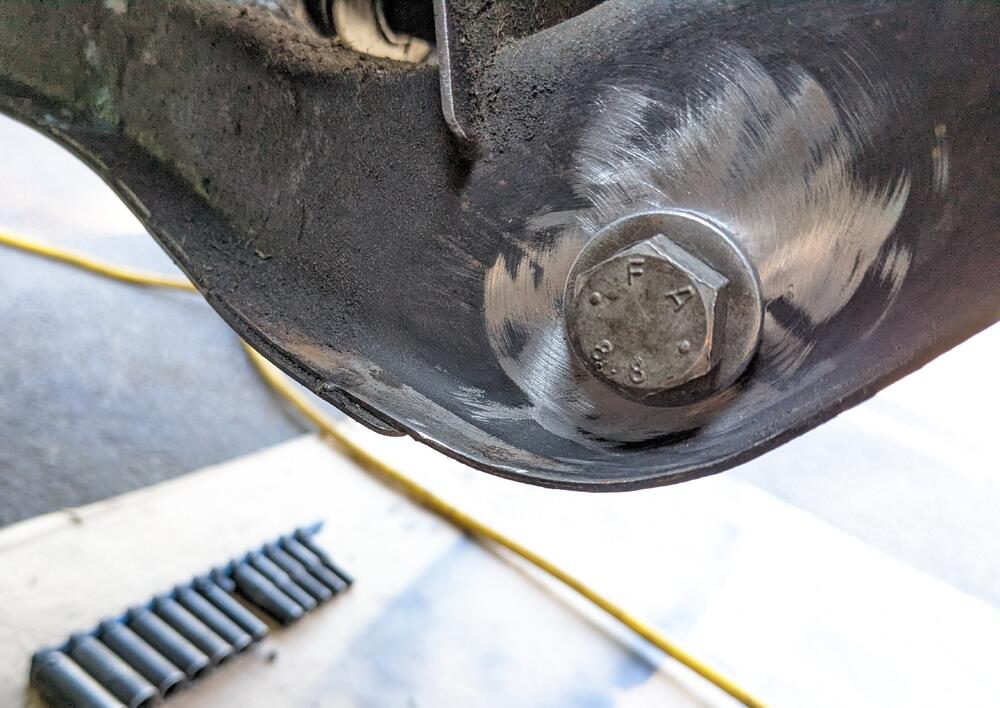
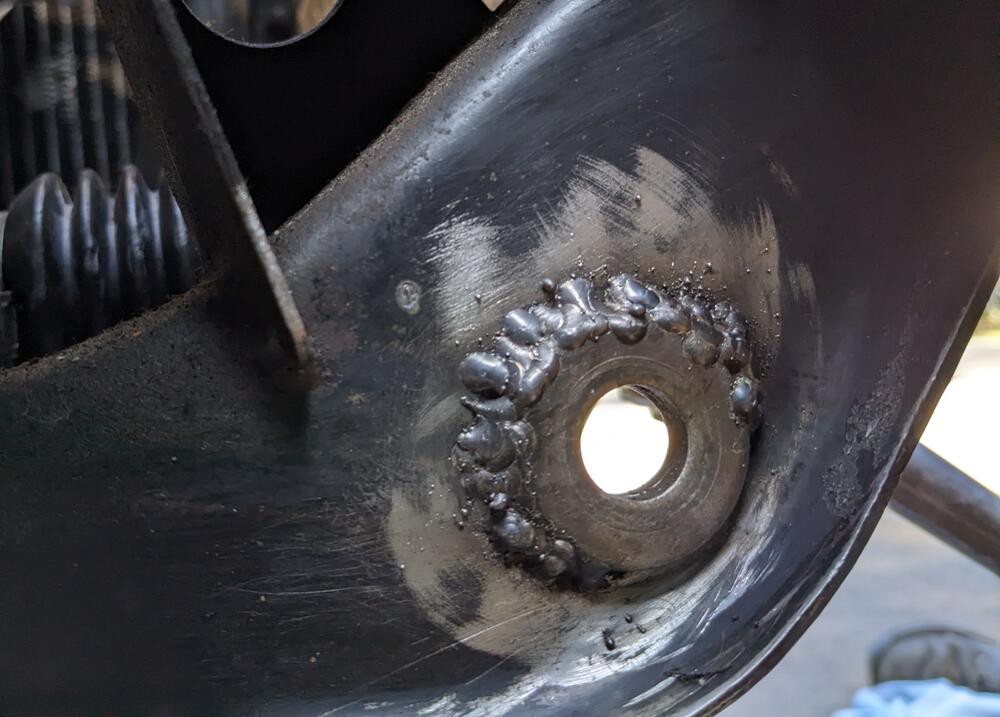
Din't bother welding all the way around, it's not going anywhere
Steering rack mounts, new boots & tie rod ends in
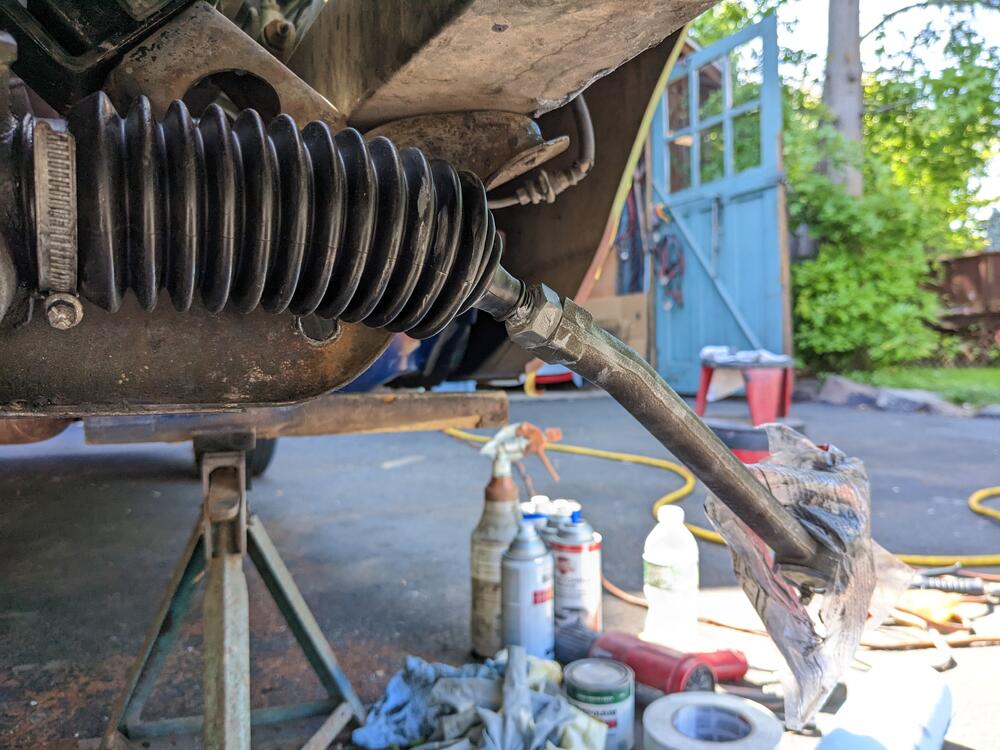
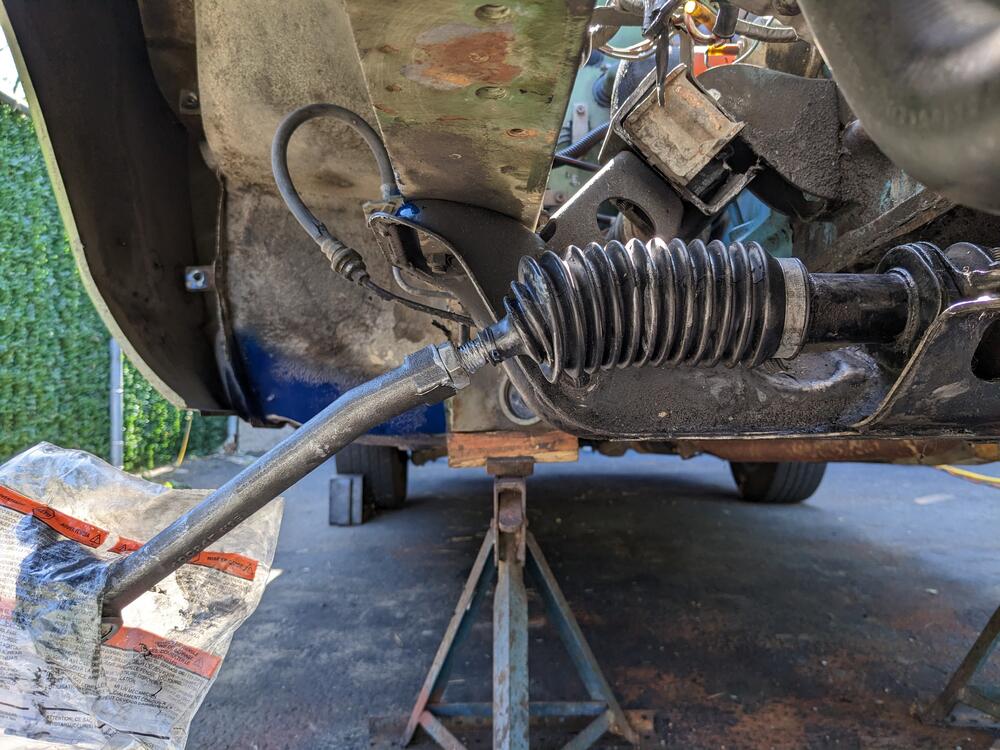
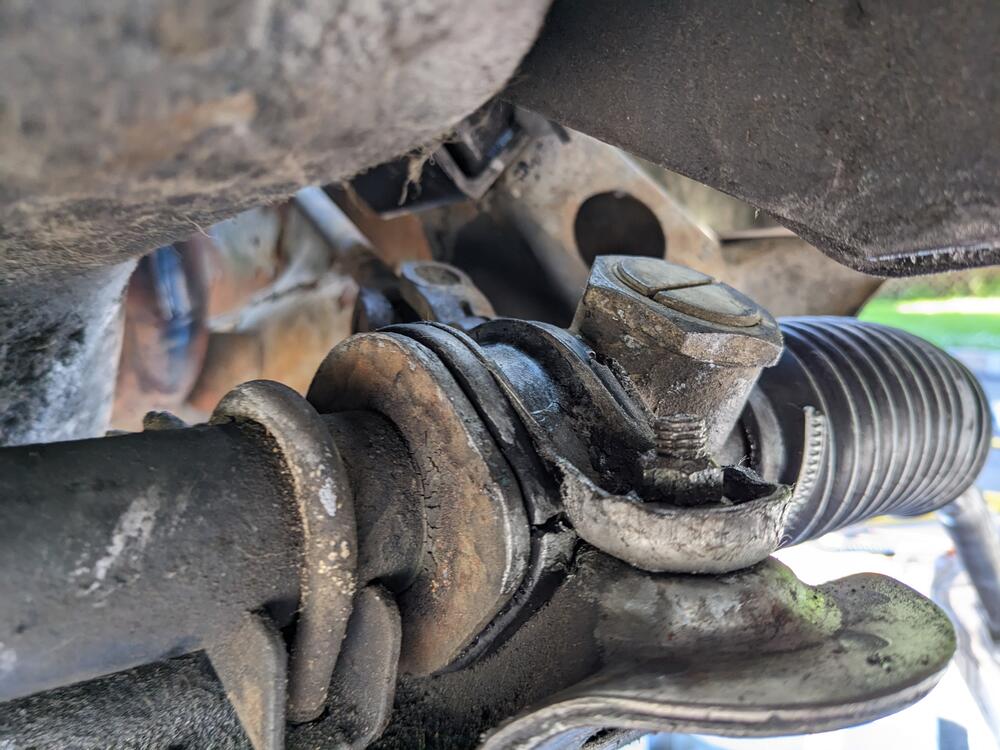
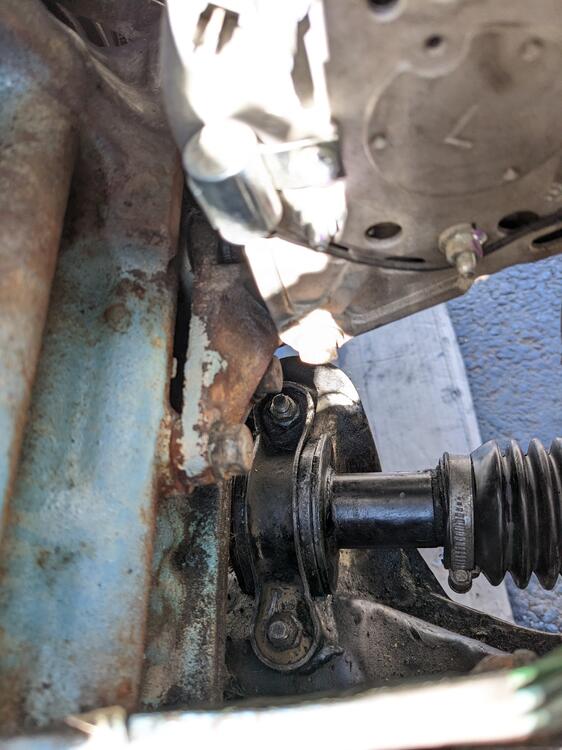
New control arm poly bushes & sleeves in place
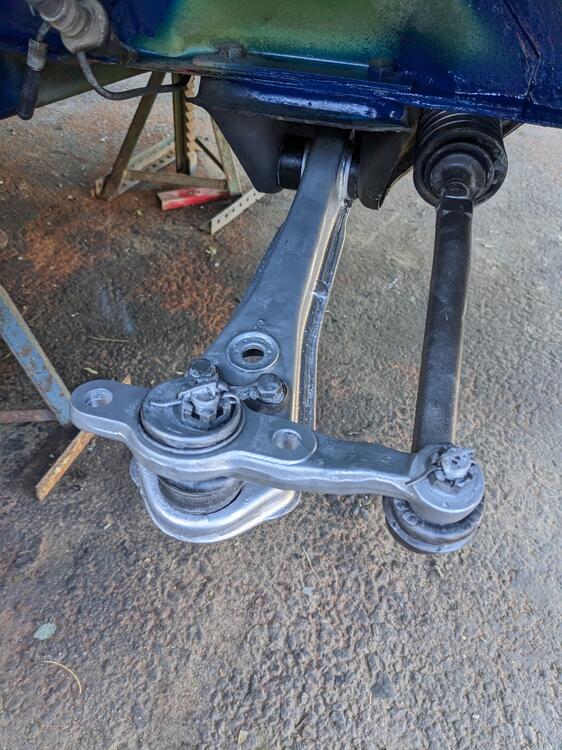
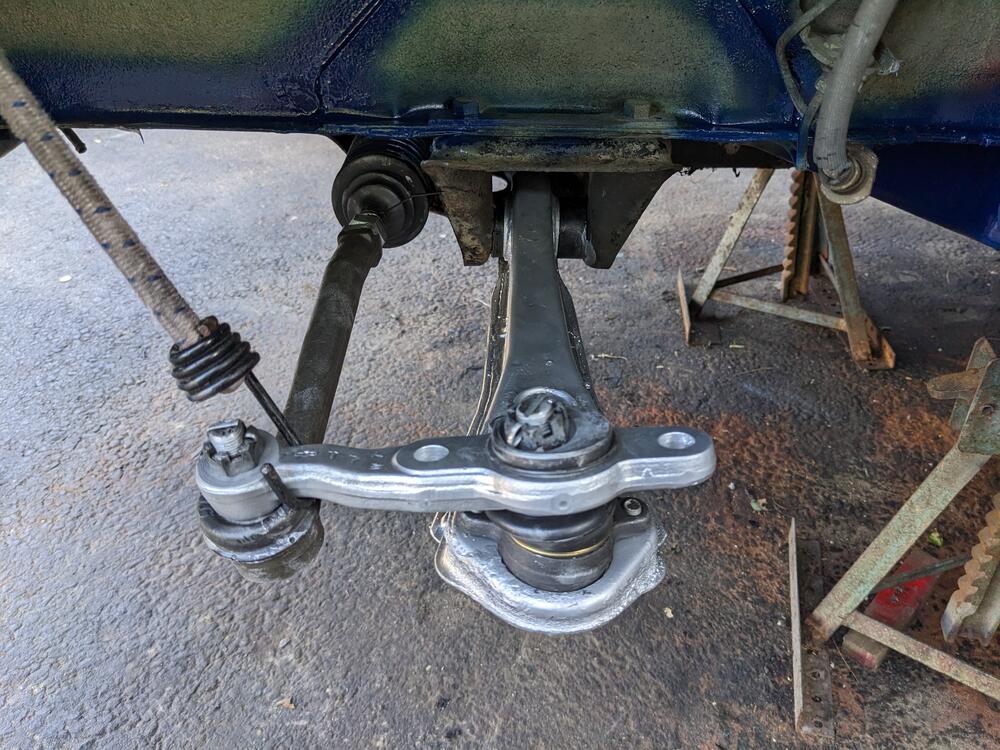
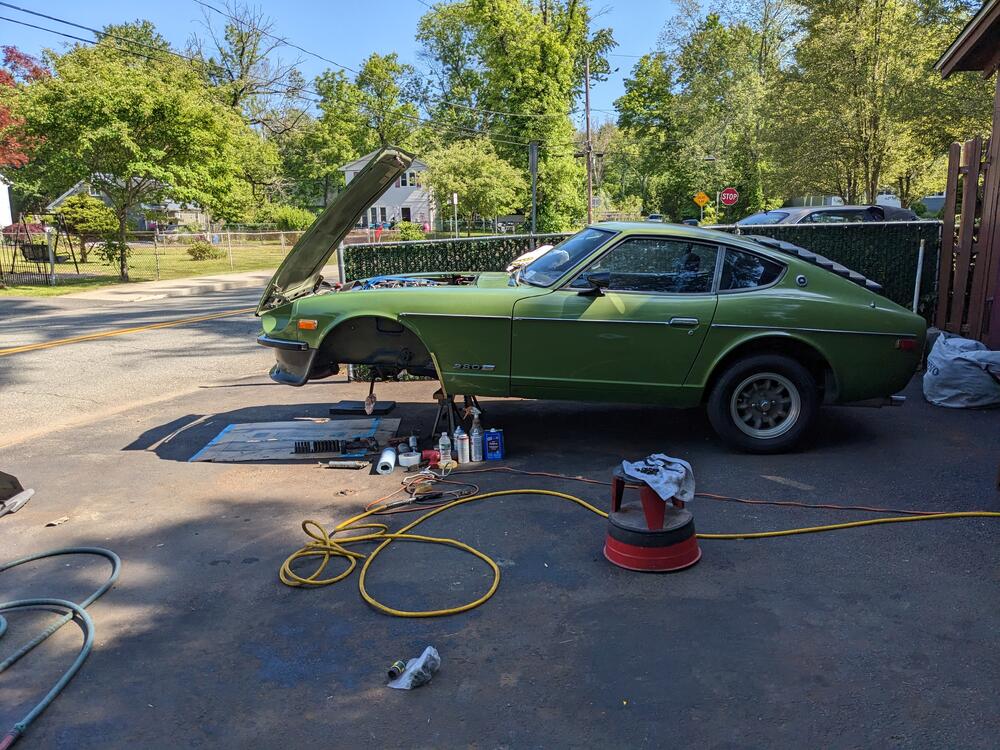


he inner fender liners need some work, and the lower right mudflap was gone. Much silt wedged between the fender & inner panel, not good for NY

cleaned up somewhat, need to address the cracks


cleaned up the right control arm mount hole & welded a heavy washer in place to remove the slop from the ovaled holes


Din't bother welding all the way around, it's not going anywhere

Steering rack mounts, new boots & tie rod ends in


New control arm poly bushes & sleeves in place


lookforjoe
True Classic
How was it getting the old bushings out? I have this job ahead of me and would appreciate any tips.
I pressed them out. The PITA is that the sleeve is welded into the arm unevenly, and the weld interferes with the flat for the bushing receiver. Besides that it was uneventful
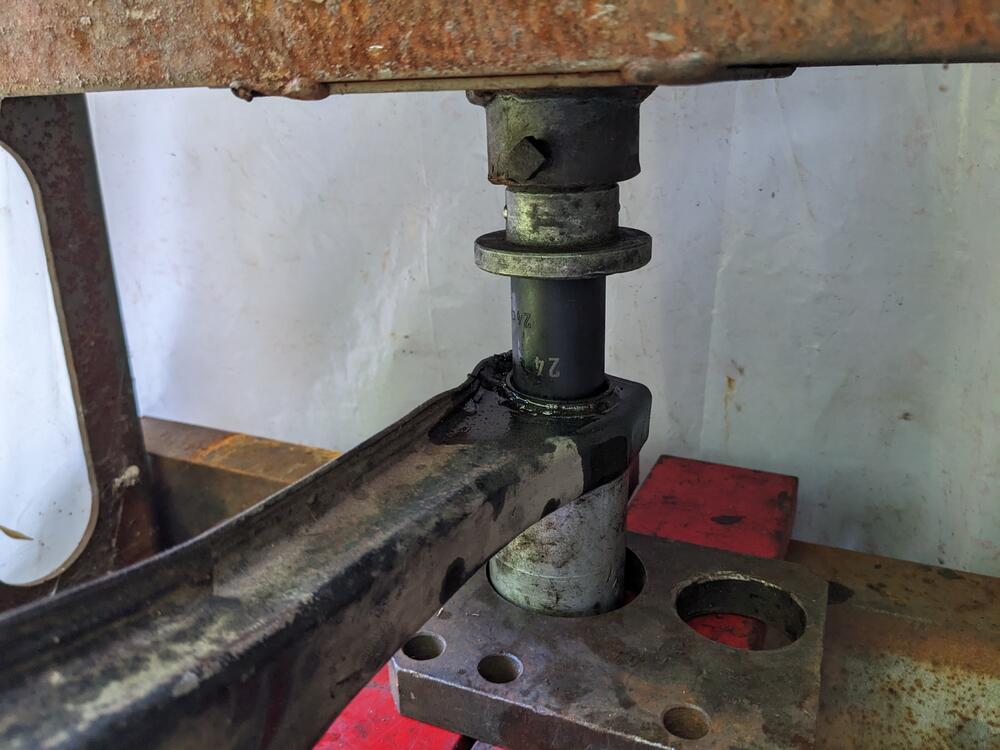
Last edited:
lookforjoe
True Classic
Put the struts, torsion rods & swayer/links back on today. That was fun. The poly kit doesn't come with the front sway bar bushings (WTF?), so I put the old ones back, and put rubber instead of poly for the links. I've ordered the poly for the 18mm sway bar pivot. The torsion rods I have heard that the poly can damage the rods, since it cannot flex & pivot through the suspension travel arc. So, I put new rubber ones in.
Hopefully get the brakes on in the AM.


Hopefully get the brakes on in the AM.
lookforjoe
True Classic
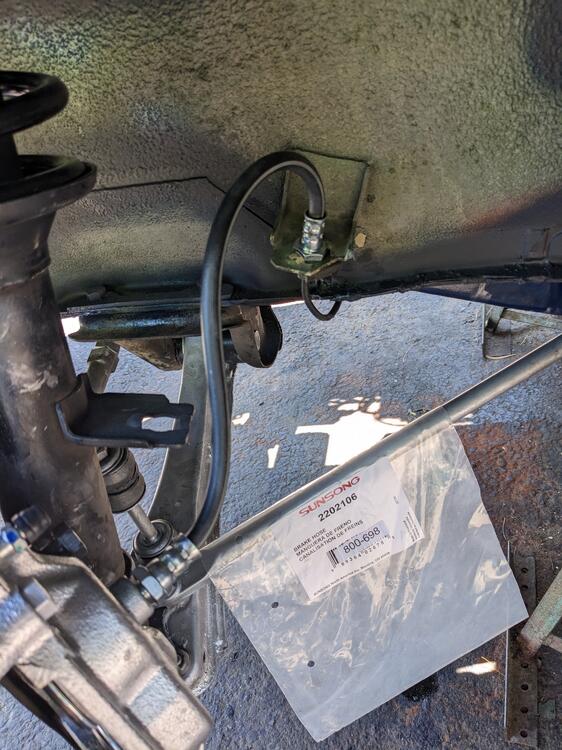
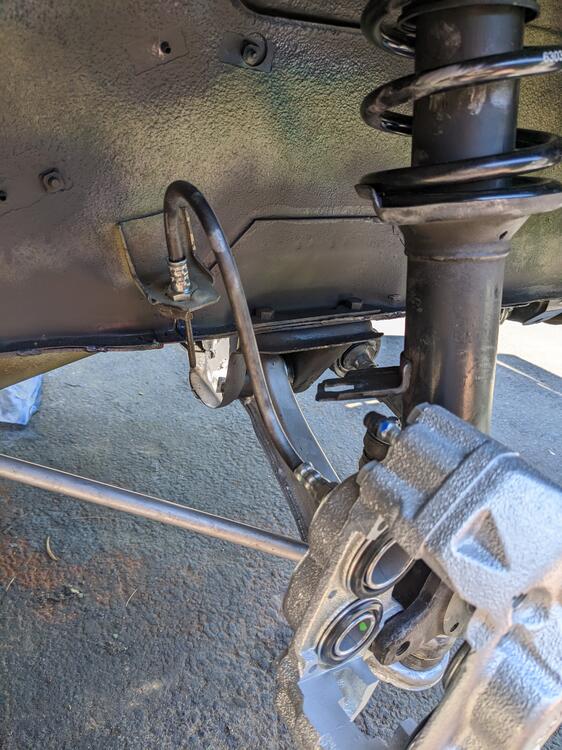
Finally got back to the brakes. I bought the ZcarDepot kit, which comes with no directions. I didn't realize that the supplied hose is intended to replace both flex & rigid lines, it didn't appear long enough. Besides that, the back plates have to be modified to clear the larger Toyota S12 caliper.
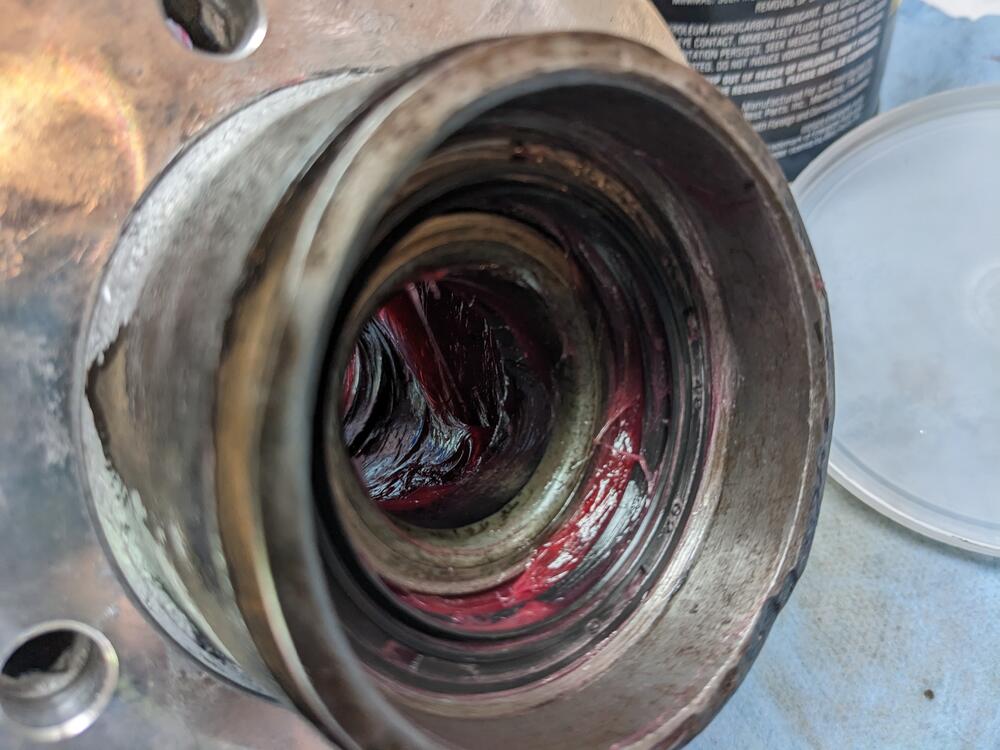
I had cleaned out the old grease from the hubs, and repacked the wheel bearings in preparation for reassembly. So, I filled the hubs with new bearing grease as per the FSM, and installed the inner bearings & grease seals.
I also found I never received the 8 longer bolts with the brake kit. Thankfully I had extra bolts from a CEIKA brake kit. Rotor spacer in place. CEIKA bolts.
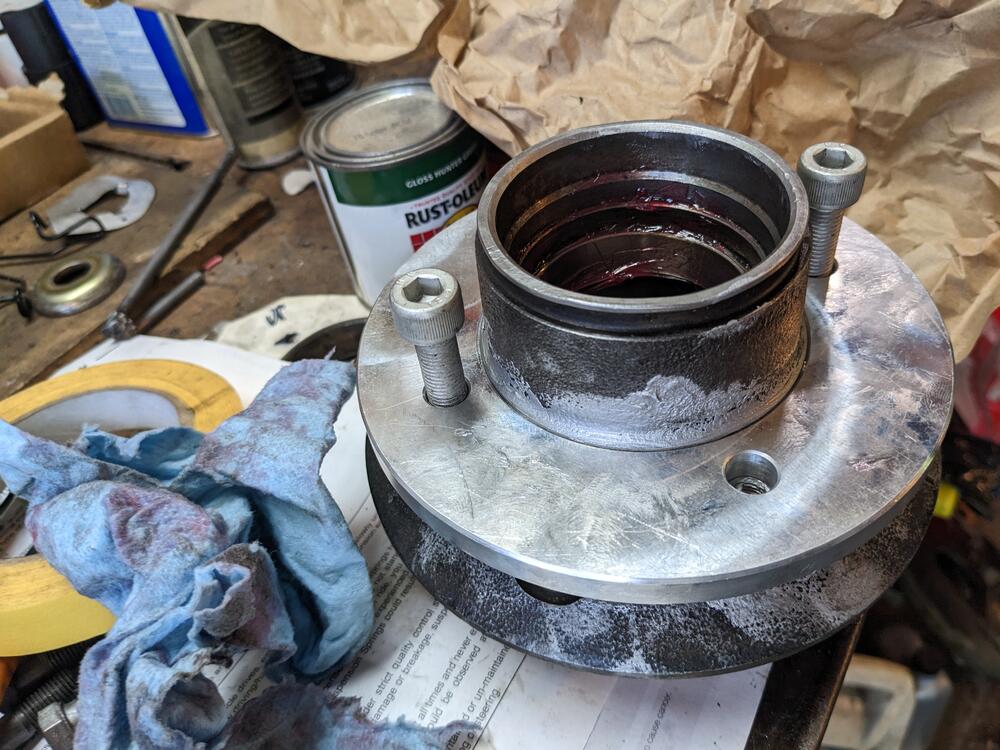
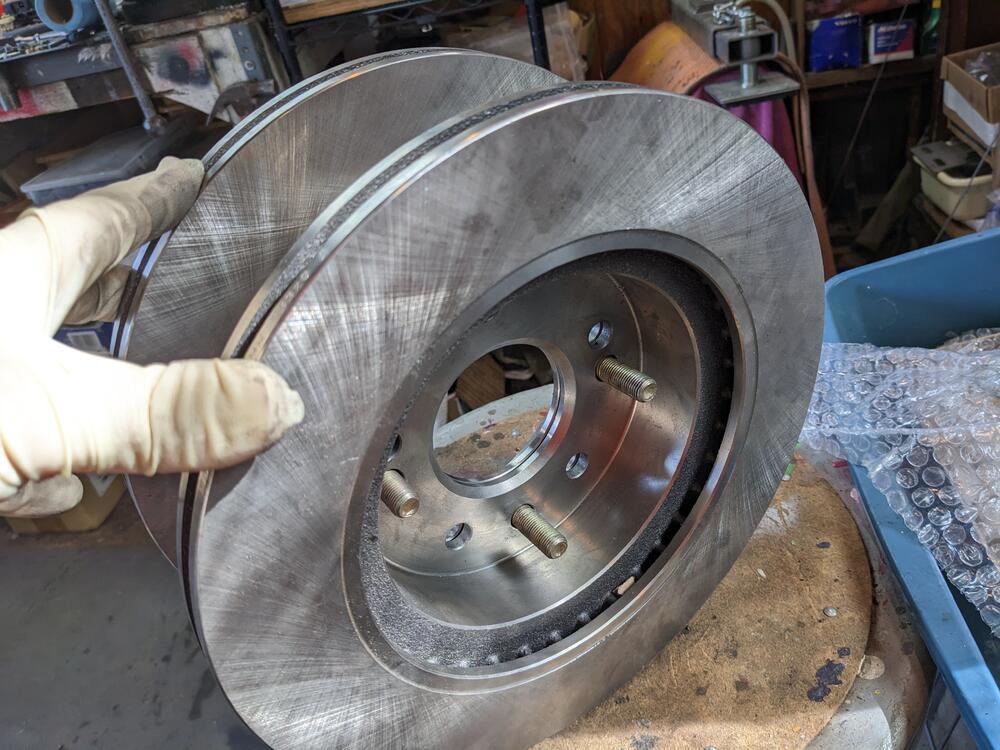
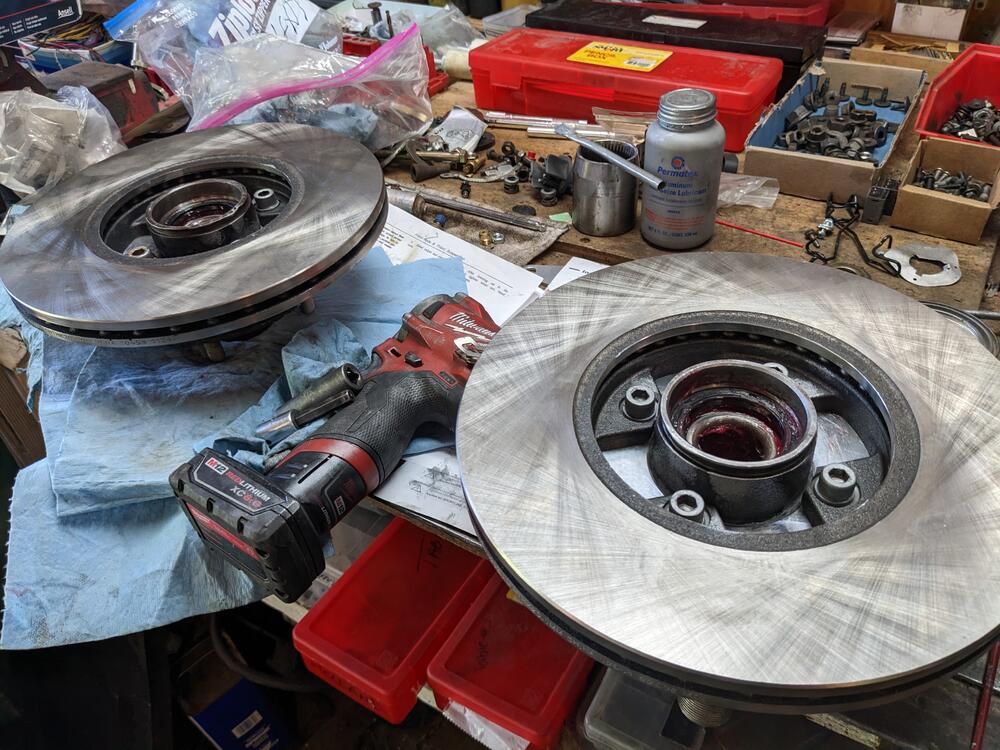
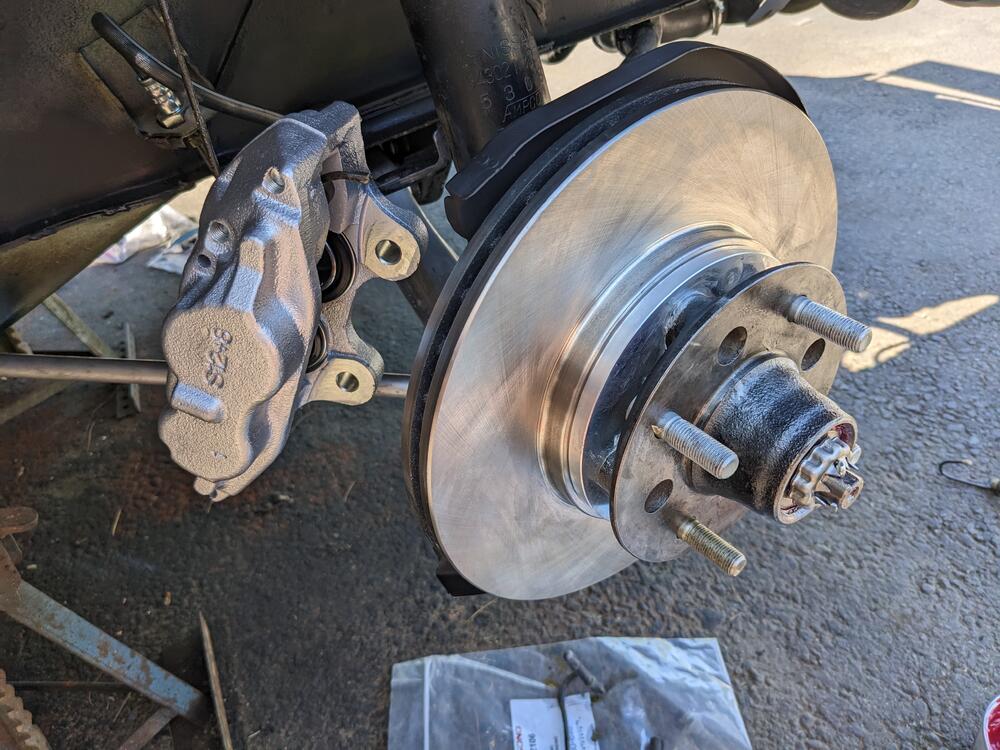
Vented rotors bolted to hubs.
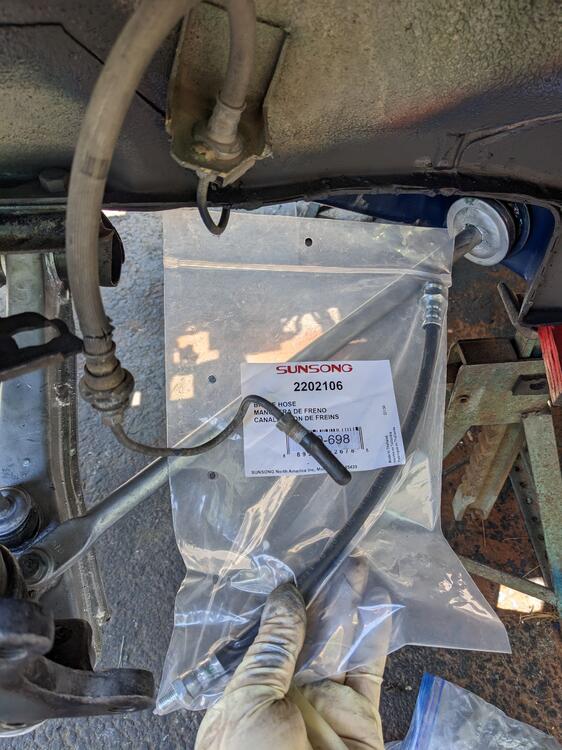
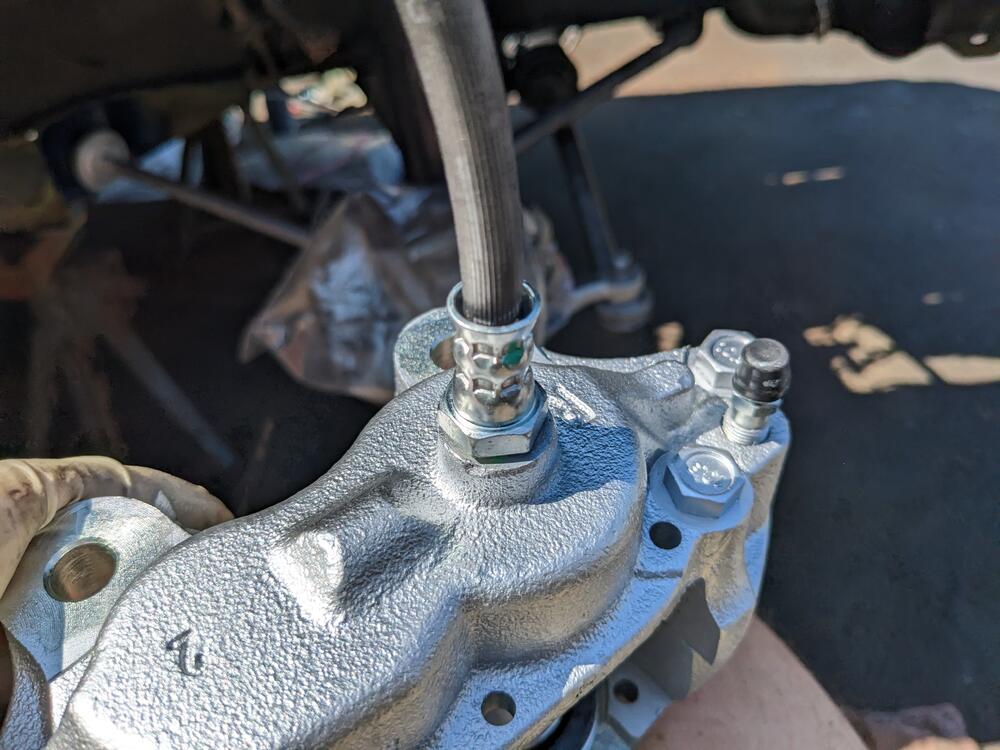
Single hose to replace original hoses
Hose installed into caliper first, to prevent twisting or binding the hose
Modifying the back plate. Sections removed
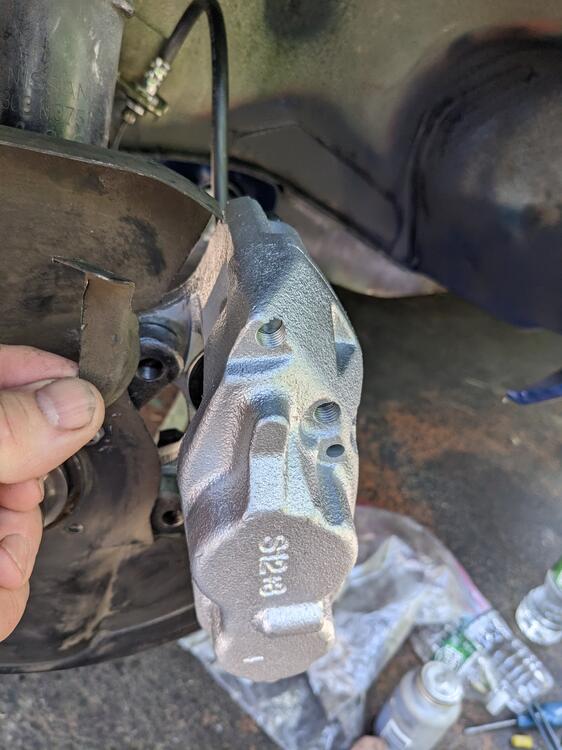
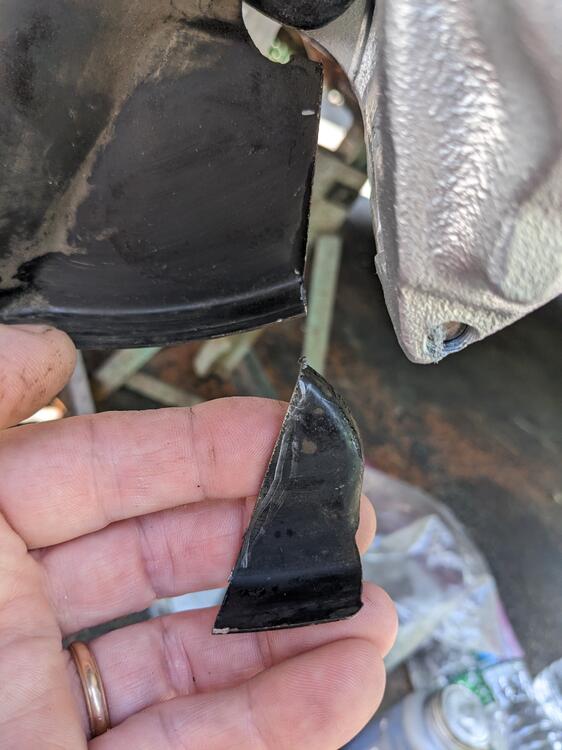
I didn't want to leave cut edges on the back plate, so I reduced & welded the folded edges back on
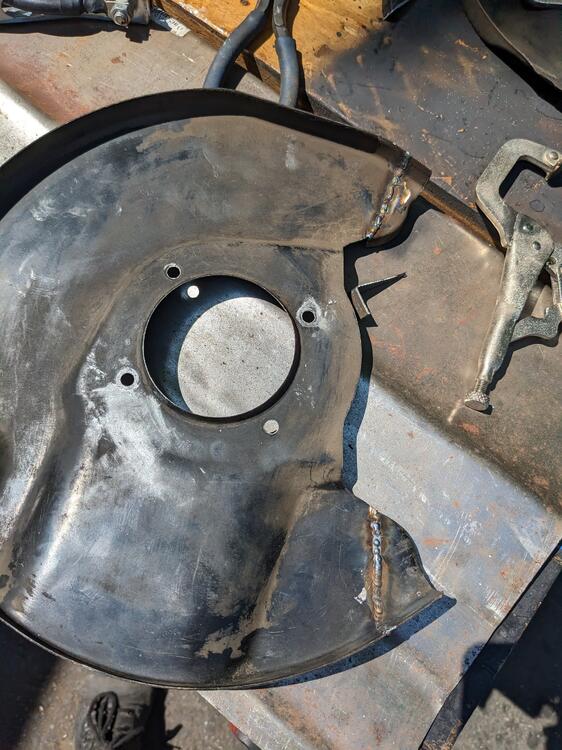
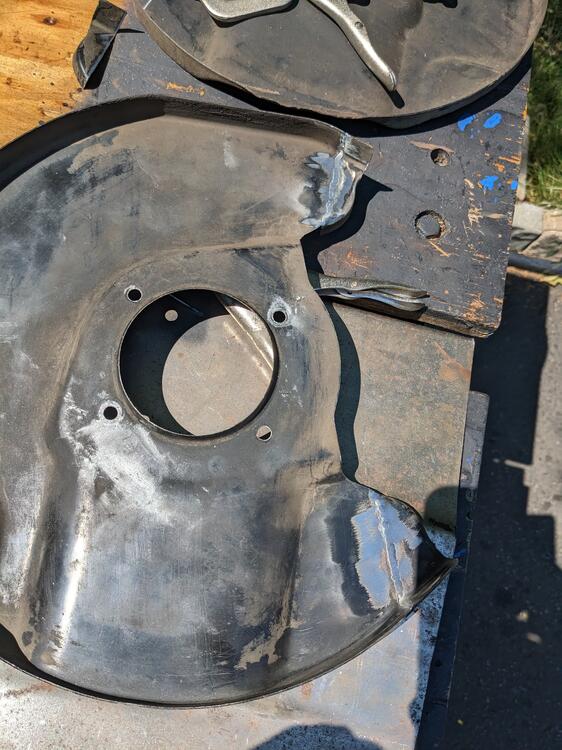
Cleaned up, primed, painted & installed
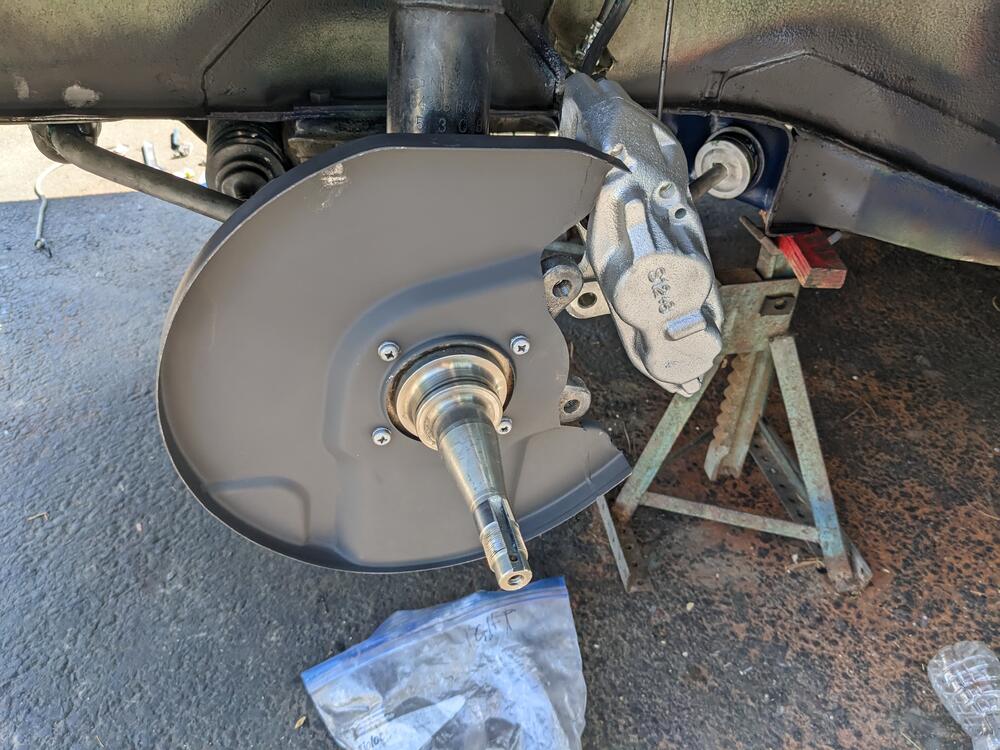
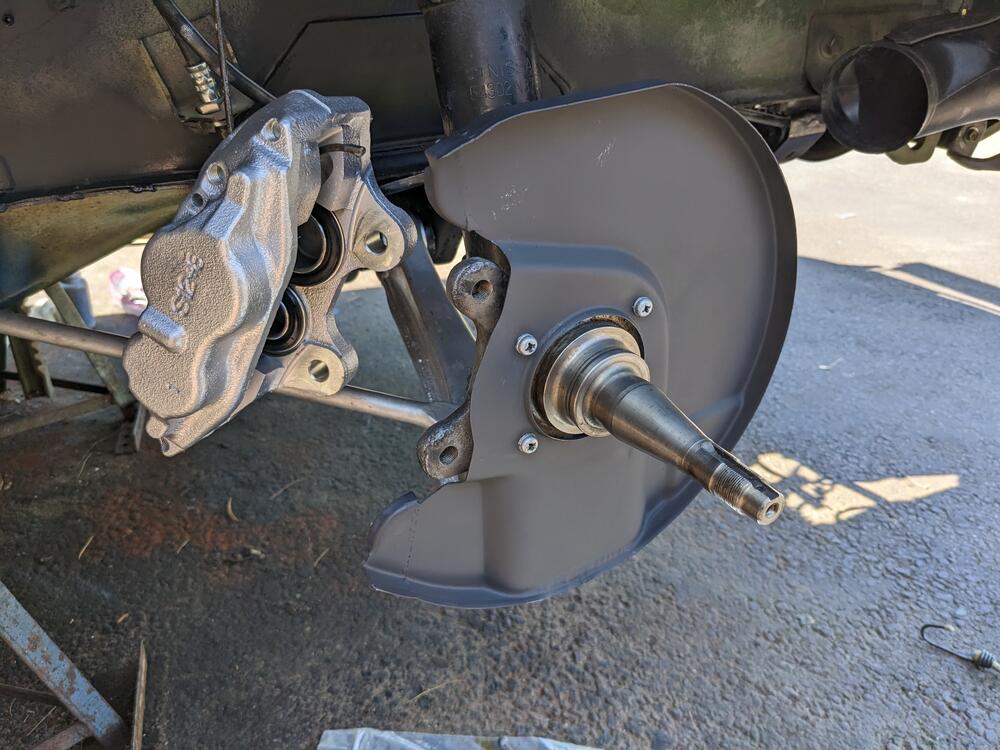
Hubs & rotors installed, bearings adjusted. Longer studs installed for the Konig wheels
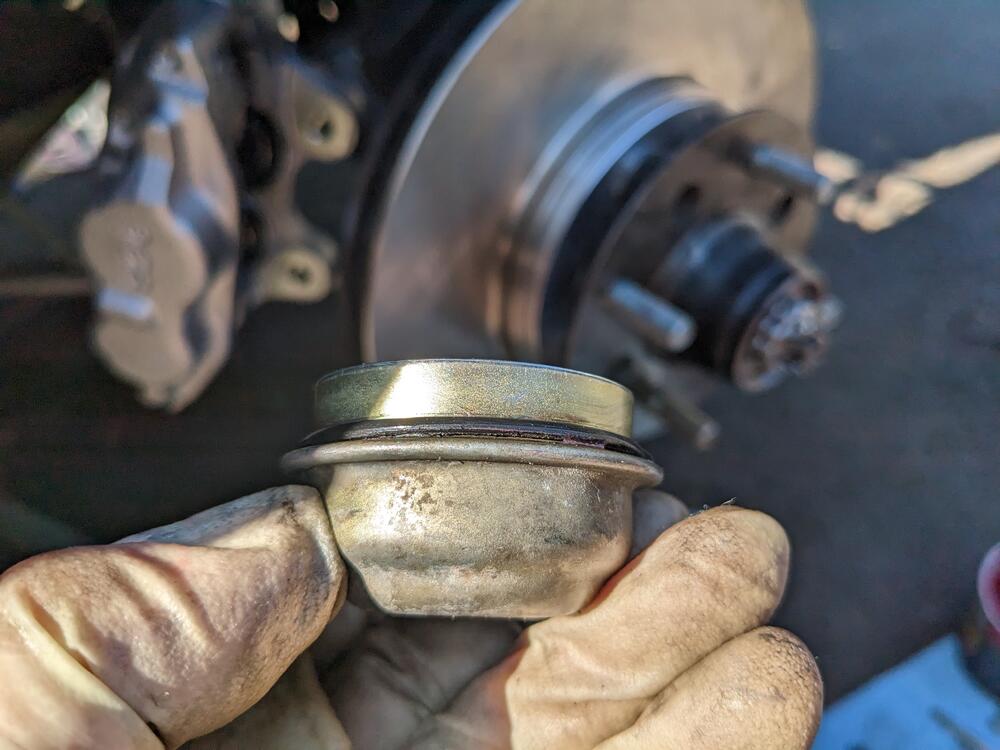
Nice touch on the grease caps, oring seal
Pads & hardware installed. The outer pad didn't have the hole for the damper spring, had to drill it out
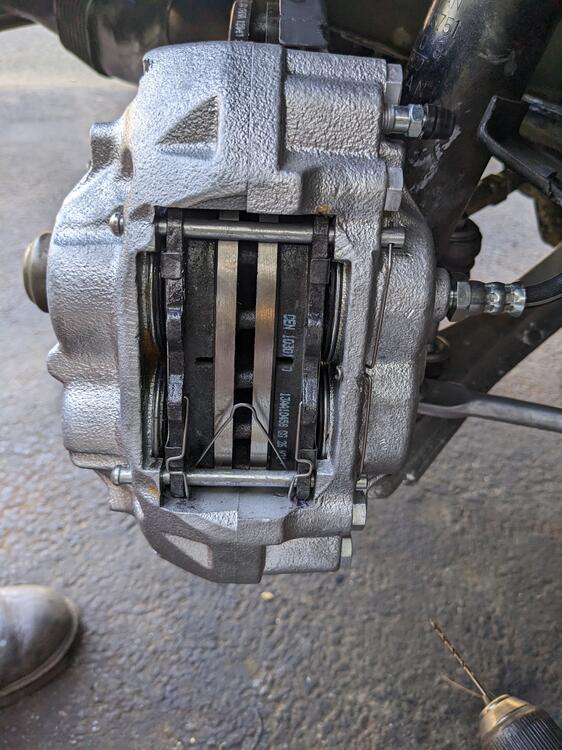
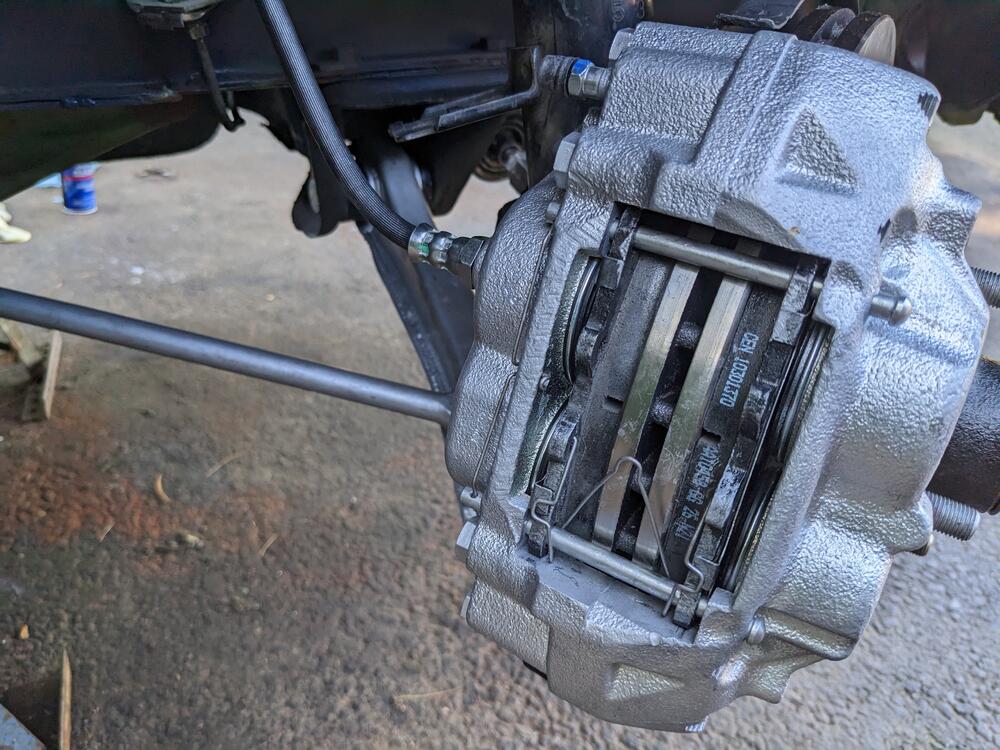
Just need to bleed the brakes
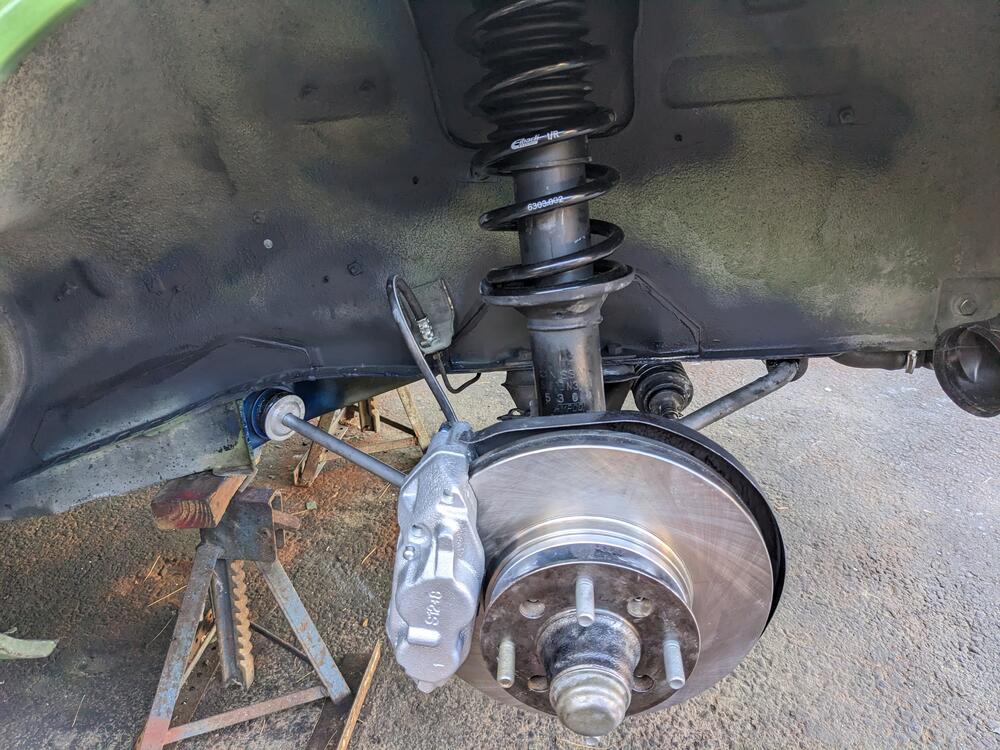
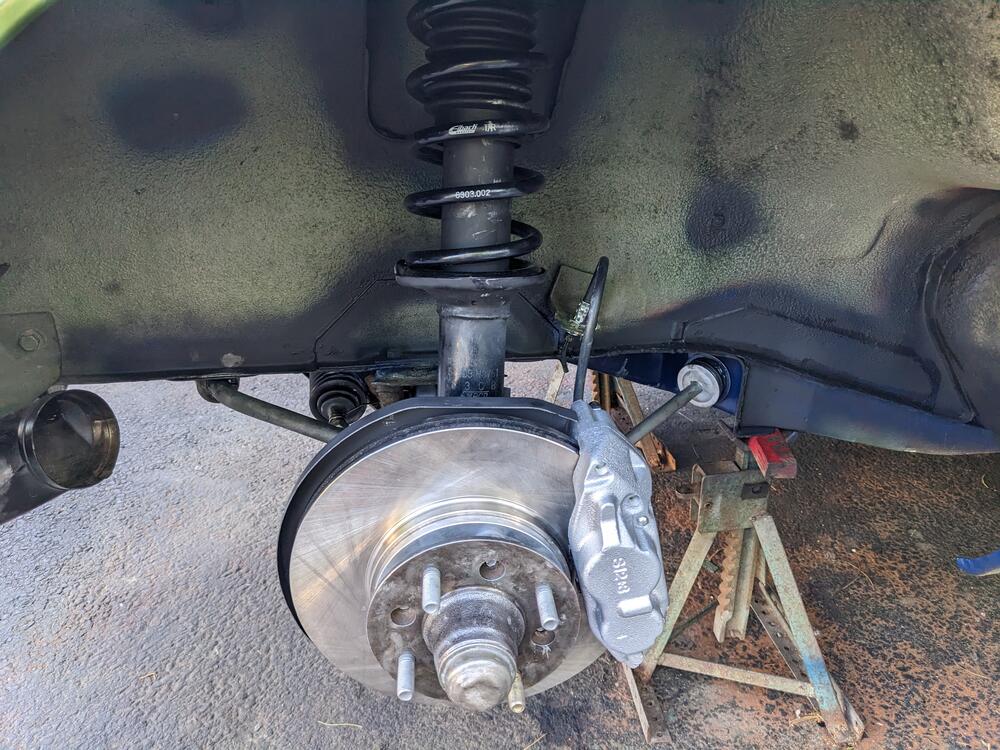
I had cleaned out the old grease from the hubs, and repacked the wheel bearings in preparation for reassembly. So, I filled the hubs with new bearing grease as per the FSM, and installed the inner bearings & grease seals.

I also found I never received the 8 longer bolts with the brake kit. Thankfully I had extra bolts from a CEIKA brake kit. Rotor spacer in place. CEIKA bolts.

Vented rotors bolted to hubs.

Single hose to replace original hoses

Hose installed into caliper first, to prevent twisting or binding the hose


Modifying the back plate. Sections removed


I didn't want to leave cut edges on the back plate, so I reduced & welded the folded edges back on


Cleaned up, primed, painted & installed


Hubs & rotors installed, bearings adjusted. Longer studs installed for the Konig wheels

Nice touch on the grease caps, oring seal

Pads & hardware installed. The outer pad didn't have the hole for the damper spring, had to drill it out


Just need to bleed the brakes


Last edited:
kmead
Old enough to know better
The old bracket for the hard line to the caliper looks to be extraneous, I presume there is no chance of the new line contacting the bracket?
Looks like a nice set up. Congrats.

