Selling the X & Bought an 75 Datsun 280Z

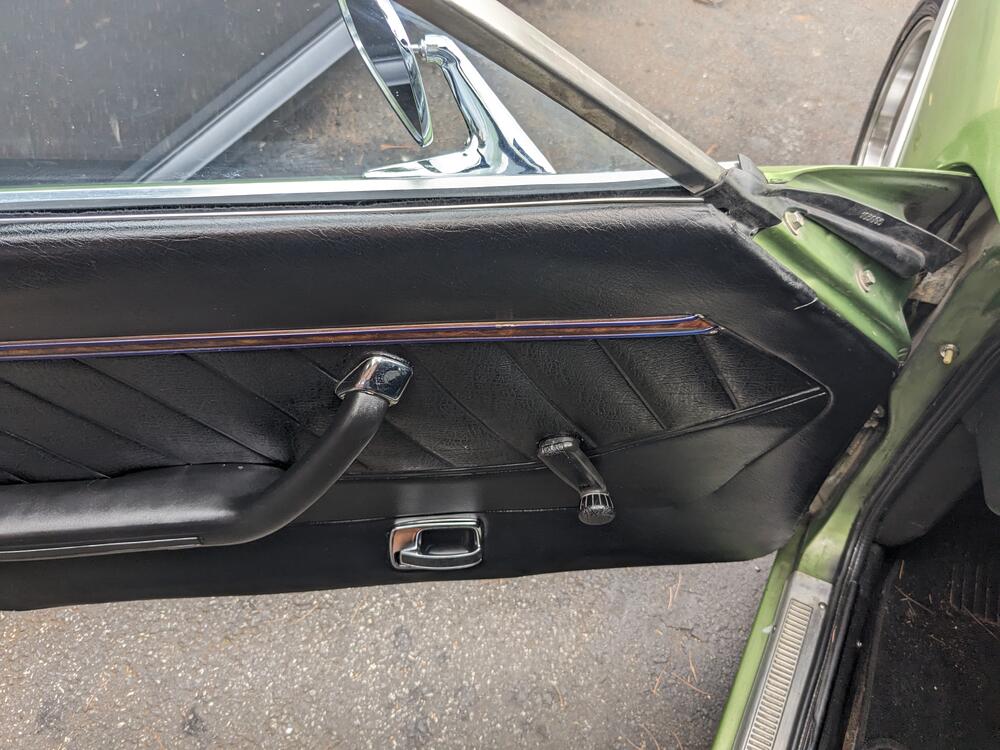
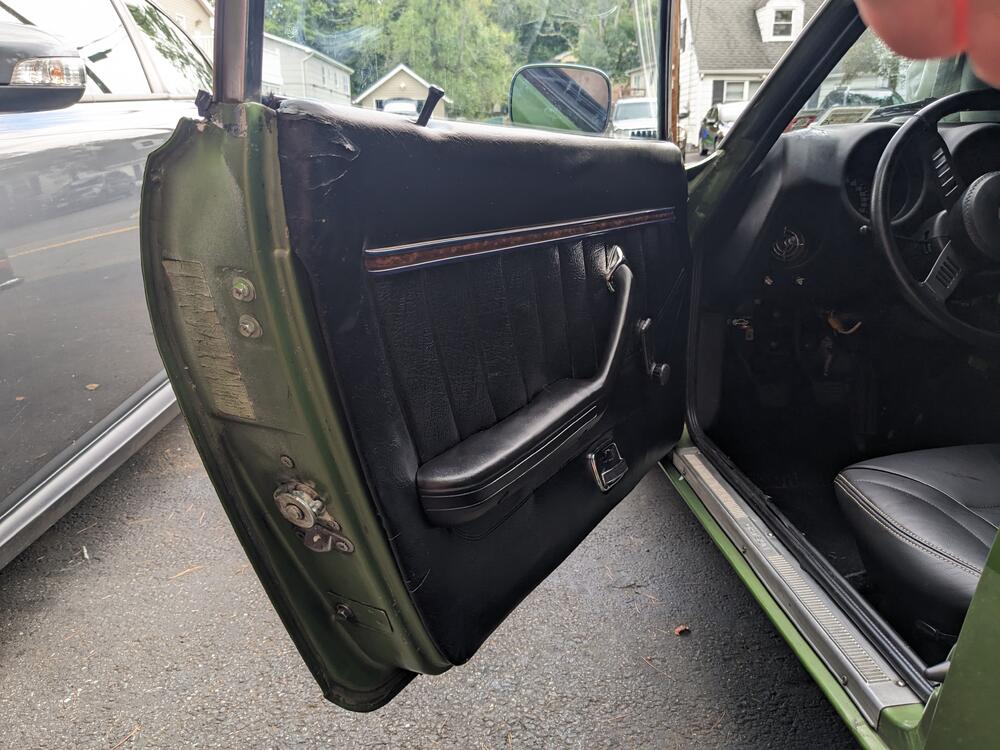
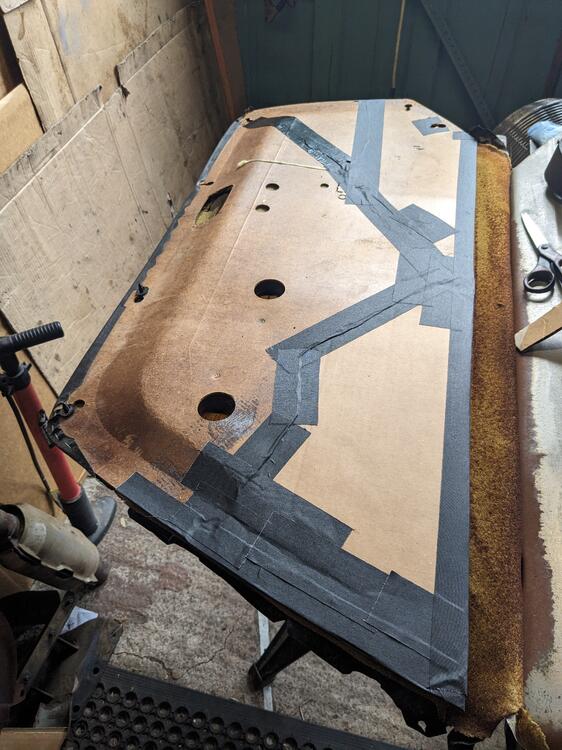
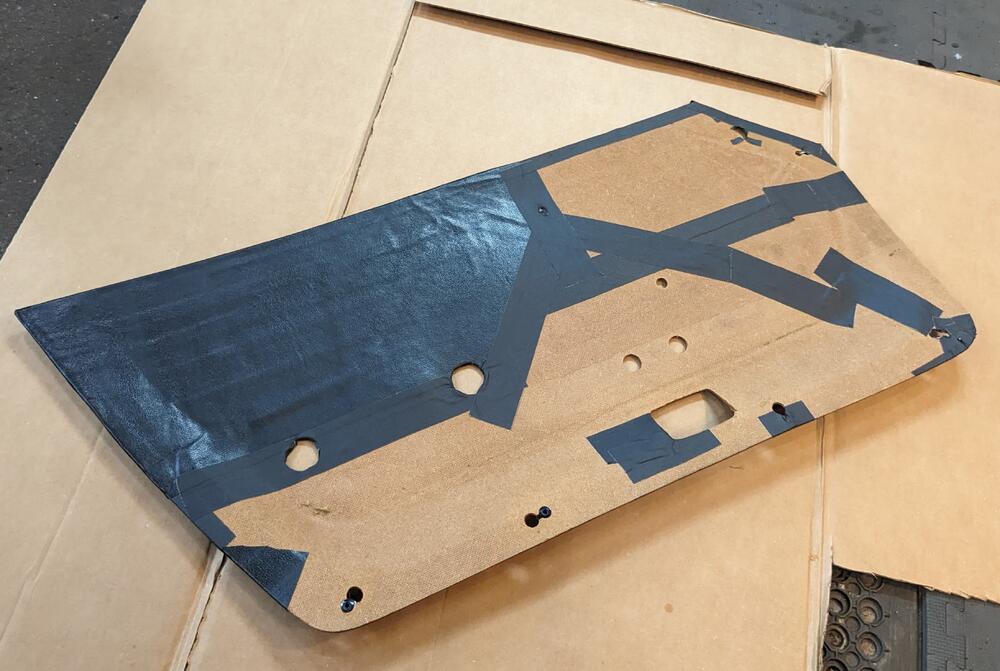
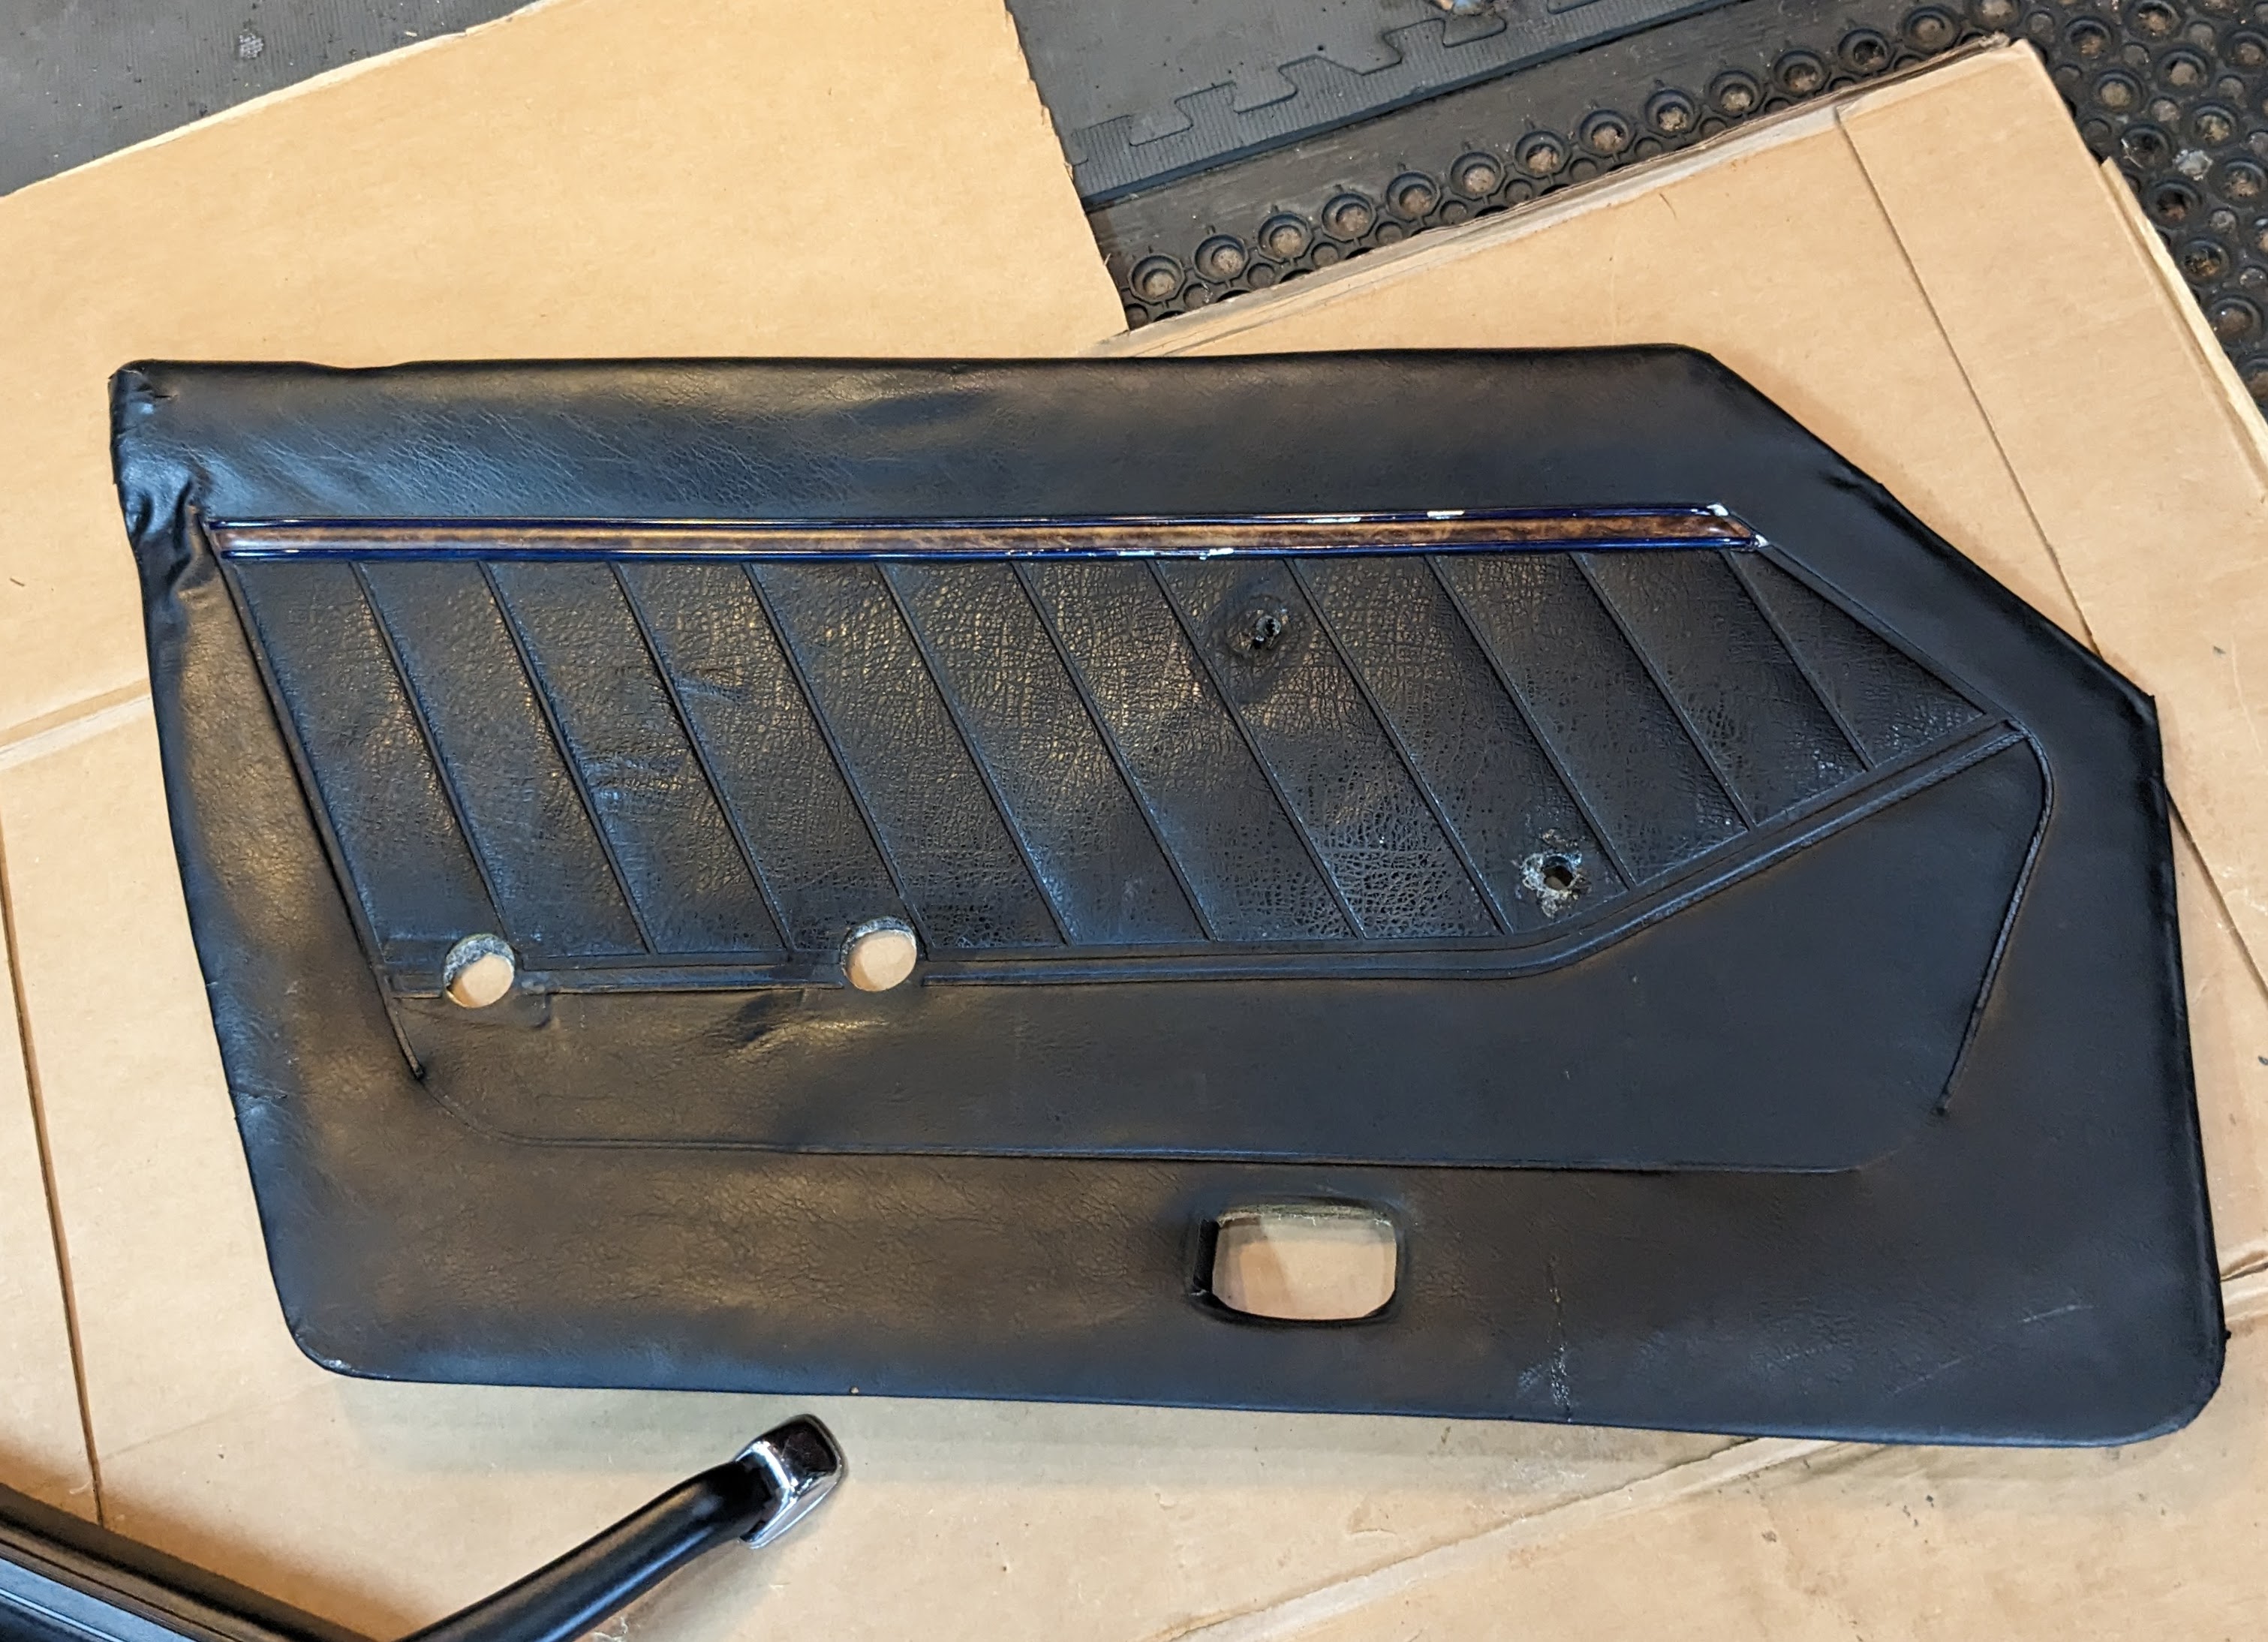
Took the driver's door apart today to change the door glass channel. I already knew the door panel was a problem, and that something funky was up with the inner release handle. As far a I can see, the only rubber in the door is the glass guide & the rear molded seal, which I have coming tomorrow.
Screenshot 2023-08-06 at 9.44.38 PM.png

Screenshot 2023-08-06 at 9.45.08 PM.png

First problem was that the window crank was epoxied to the winder

PXL_20230806_190623618.jpg

PXL_20230806_192345567.jpg

Botch repairs here

PXL_20230806_192342477.MP.jpg

Release plate is cracked & distorted.

PXL_20230806_195806341.jpg

PXL_20230806_195810116.jpg

release rod for outer handle is also a problem. I'll weld the rod.

PXL_20230806_195817845.jpg
Screenshot 2023-08-07 at 7.35.02 AM.png

release plate straightened out - have to weld the stress crack & reinforce the plate

PXL_20230806_213322842.jpg

PXL_20230806_213328570.jpg

The spline section of the winder crank was buggered, so I cut it off & prepped a replacement spline section from a 240 (Volvo) window winder

drilled both pieces & used a roll pin to join the pieces before welding, which I will do tomorrow.

PXL_20230806_211612784.jpg

Volvo crank is screwed in place once attached, no more spring clip to worry about. Crank winder plate rivets were drilled out to remove winder.

PXL_20230806_212500929.jpg
 
Last edited:
So yesterday was the first time I have put gas in the car. Drove it around to check the exhaust note after redoing the exhaust. I filled it - took about 13 gallons. Within seconds fuel started pouring down the back right side of the tank from above the seam. As an aside, getting my wife to like being in the car is getting more & more difficult 😞

In any event, looking in the manuals there are two EVAP lines on the top of the tank. So, I'm assuming the leak is either an aged hose (#28 or 29) that has ruptured, and/or one of the necks is leaking at the tank. I don't know if that's a thing with these though, so I'm hoping it's just the hoses.

Looking online, dropping the tank doesn't appear to be a major deal.

Screenshot 2023-08-06 at 9.20.15 PM.png


Screenshot 2023-08-06 at 9.13.38 PM.png


Screenshot 2023-08-06 at 9.20.15 PM.png

Screenshot 2023-08-06 at 9.13.38 PM.png
 
OK. Got the outer handle release rod welded. I looked at using other rod as the threads were damaged at one end, but it's an odd ball size - seems to be 4.5mm .75 pitch. So, I flipped it & welded the damaged end to the main rod. Forgot to take a pic.

Welded the winder spline to the shaft & put the crank back together, applied new grease to the mechanism.

PXL_20230807_184304647.jpg

original splines

PXL_20230807_190949778.jpg

Welded the inner release plate, and added a tongue that hooks over the back of the retaining plate, so the leverage load is not unsupported

PXL_20230807_163315138.jpg

PXL_20230807_190852061.jpg

welded the cracks in the plate

PXL_20230807_190847472.jpg

Before I put the door innards back in, I drilled the 3 new holes fore the all-metal chrome mirror I got from Zcardepot. I moved it as far forward as possible while still covering the existing holes. I considering welding them up, but that will have to be another day. Thunderstorms were coming in. I used M5 riv-nuts to score the mirror base, I hate sheet metal screws

PXL_20230807_203006069.jpg

PXL_20230807_235620888.MP.jpg

after that I reinstalled the glass, winder & release

PXL_20230807_224446977.jpg

PXL_20230807_224452420.jpg

for the life of me, I can't figure out where these seals are supposed to go on the outer edge of the door frame. Anyone have a pic of one installed?

PXL_20230807_231738487.jpg
Still have to figure out if I can repair the door panel

PXL_20230807_235518727.jpg
 
Last edited:
Thunderstorms on & off today, so not much time outside. I worked on repairing the door card as best possible for the time being. Going to get new door cards when they become available.

cardboard & gaffer's tape
PXL_20230808_154359355.thumb.jpg.d9f1bde9d5774ff7870004e38de19024.jpg

then I removed the cap & vinyl /foam to finish it
PXL_20230808_161626930.thumb.jpg.2a1aee64963d36a68cf5b11500a6c75f.jpg


removed the original rivets
PXL_20230808_164850840.thumb.jpg.40e829f9fd8b7a33ba124bb602f5410c.jpg


riveted in place, fender washers on the backside to prevent the rivets simply pulling out the reinforced cardboard. 3M super trim adhesive to rebound the foam to the card
PXL_20230808_171458656-2.jpg.0c2d971efc5a7fca7a08db96b4669dfd.jpg

edges done last.

PXL_20230808_181307141-2.jpg.db2706ef06bede96426cb39e3126f2a5.jpg


Back in the car. Armrest is a brown one I painted, the original was f'kd. 240 window winder crank is perfect :)

PXL_20230808_192347513.thumb.jpg.329c7916e563e709033df355e4d8f968.jpg

PXL_20230808_192344654.thumb.jpg.13af97c7cd9ab999ccba8387a479b691.jpg

Hard to photograph the damaged rear corner, the vinyl is all torn up here. They had duct taped the panel to the door skin 😞
PXL_20230808_191951236.thumb.jpg.6c9759fecaf41ec7f2f59c947490e7be.jpg


Installed the passenger mirror today

Installed M5 rivnuts after this

PXL_20230809_190901994.jpg

mount plate installed, M5 machine screws

PXL_20230809_191404888.jpg

PXL_20230809_193249711.jpg

PXL_20230809_193451690.jpg

Much better!

PXL_20230809_201953696.jpg
 
I need to do this to mine sooo bad. I cringe backing into the garage blind on the passenger side.
 
I need to do this to mine sooo bad. I cringe backing into the garage blind on the passenger side.

What style mirror in on the DS? I like these particular mirrors, they are all metal construction. The last set I tried were plastic, like the ones that came on the car. I don't know what the original DS mirror looked like, I assume it had a large spring to allow it to be pushed inward against the glass, based on the massive hole in the door
 
not sure if it's original or not. too small IMO.
 

Attachments

  • 16917041573292484814936206556827.jpg
    16917041573292484814936206556827.jpg
    102.5 KB · Views: 54
  • 16917041732689160992235008681372.jpg
    16917041732689160992235008681372.jpg
    112.5 KB · Views: 56
  • 16917041980221118769509497254869.jpg
    16917041980221118769509497254869.jpg
    142.6 KB · Views: 57
not sure if it's original or not. too small IMO.
Pretty sure all original mirror are bolted from the underside - like this
Screenshot 2023-08-10 at 5.56.39 PM.png


Pretty safe bet there are two painted holes inboard of the mirror mount that you have, like mine. The one you have now looks like it's held on with sheet metal screws, same as all the aftermarket ones
 
Took the dash out today, to deal with the AC work

Yuk 48 years of dust & dirt
PXL_20230811_163547015.jpg

PXL_20230811_163748300.jpg


Dash is actually easy to remove - entire harness unplugs on the pass side, and then just a few connections on the left side of dash. Very heavy though! I also flushed all the ductwork and tubing, however I'm going to put new tubing in. No way to get all the kaka out of the old ones, and I don't want to be blowing all that crud into the cabin.
PXL_20230811_163625293.jpg


After several go arounds with soap & water
PXL_20230811_180937754.jpg


more yuk
PXL_20230811_184104951.MP.jpg

made a left side support bracket for the housing plate - the whole thing was hanging off the right ear
PXL_20230811_194227638.jpg


Evaporator has flare fittings. I've order a #8 & #10 straight flare, and a #8 to #6 step barb
PXL_20230811_215317224.jpg


PXL_20230811_213929764.jpg


Tried fitting the existing hoses to see if I can cut them down - they only need to go to the bulkhead, but the #10 has a 90º elbow, so the routing is very untidy, and the #6 goes to the (now hollowed out) expansion valve, but it's still unwieldy so I'll just make new ones with cleaner routing
PXL_20230811_214810052.jpg


I found these were mounted under the hVAC control panel - added to control the aftermarket AC thermostat & fan(?) The left one responds to fan position, the right responds to temp setting . I don't have a wiring diagram, so I'm not sure why they added them, honestly.
PXL_20230811_183252256.jpg
 
I found these were mounted under the hVAC control panel - added to control the aftermarket AC thermostat & fan(?) The left one responds to fan position, the right responds to temp setting . I don't have a wiring diagram, so I'm not sure why they added them, honestly.
View attachment 76328
Since this is an after market A/C, could the switch linked to the fan speed lever be there to disable the A/C when the fan is off (to prevent the evaporator from freezing up from lack of air flow)?
 
Since this is an after market A/C, could the switch linked to the fan speed lever be there to disable the A/C when the fan is off (to prevent the evaporator from freezing up from lack of air flow)?

Could be - it would be more useful to override the fan switch & force the fan to run when the AC is engaged, like the factory X1/9 setup.
I'll have to research it some.
 
Another thin g that has been bothering me - the wipers sit pretty darn high - they block the view of the nose - for my height anyway. So, I've been playing with various Volvo wiper arms, as I did with the X1/9.

tried a 240 wiper arm, with a dogleg added to drop the arm relative to the windscreen
PXL_20230804_155023408.jpg


Better.
PXL_20230804_155107407.jpg


Found a set of 240 wiper arms "Made In Japan" Volvo (Trico) arms through a friend. Same design base as the OEM Datsun, so the factory retains nut works. They use an offset pin to attach the wiper blade, so the arm is even less visible
PXL_20230812_170704124.jpg

have to refinish them of course
PXL_20230812_170547221.jpg

compared to stock arm (which I also doglegged to drop it somewhat)
PXL_20230812_170553634.jpg

PXL_20230812_170806503.jpg


Definitely happier with these
PXL_20230812_170818607.jpg
 
Another thin g that has been bothering me - the wipers sit pretty darn high - they block the view of the nose - for my height anyway. So, I've been playing with various Volvo wiper arms, as I did with the X1/9.

tried a 240 wiper arm, with a dogleg added to drop the arm relative to the windscreen
View attachment 76347

Better.
View attachment 76354

Found a set of 240 wiper arms "Made In Japan" Volvo (Trico) arms through a friend. Same design base as the OEM Datsun, so the factory retains nut works. They use an offset pin to attach the wiper blade, so the arm is even less visible
View attachment 76352
have to refinish them of course
View attachment 76349
compared to stock arm (which I also doglegged to drop it somewhat)
View attachment 76350
View attachment 76351

Definitely happier with these
View attachment 76353
Details, details.

I like the black over the silver, they call less attention to a needed but unlovable visible feature.
 
Details, details.

I like the black over the silver, they call less attention to a needed but unlovable visible feature.

I agree. Also, the silver arms look bad with standard black wiper blades. Apparently one can still get the vintage OEM style wipers, but they are $100(!). I'll stick with the black arms & blades, thank you.

Worked on the AC hose routing & accumulator placement today. The bulkhead fitting was the wrong size, so I had to cut it & add a center section to space it out
PXL_20230812_184659326.jpg

after welding, cleanup & paint, adding a closed cell foam seal
PXL_20230813_182441067.MP.jpg

PXL_20230813_182616074.jpg

determined the most suitable location for the accumulator. This will likely need revision when the drivetrain swap happens
PXL_20230813_191907179.jpg

high side hose routing, with orifice tube & trinary switch
PXL_20230813_193907652.jpg

PXL_20230813_193955959.jpg

crimped the line fittings
PXL_20230813_205241390.jpg


Made the (Volvo) accumulator mount bracket work - modded the brake master heat shield (from a '78) to accept the accumulator bracket
PXL_20230813_203100413.jpg

PXL_20230813_203121827.jpg

PXL_20230813_205640614.jpg

Low side hose goes from #12 fitting to #10 line. This is I made years back for the X1/9/Honda setup
PXL_20230813_203958189.jpg

PXL_20230813_204030746.jpg


Made sure the throttle linkage clears the hose throughout it's travel arc
PXL_20230813_204026113.jpg

bracket needs another support here to prevent unwanted flexing
PXL_20230813_204507339.jpg


Have to cut up the compressor bracket & rework with Volvo rubber mount isolated ears
PXL_20230812_175238849.jpg
 
Last edited:
Made the additional support bracket for the heat shield, to account for the additional weight of the accumulator & hoses

PXL_20230814_170246226.jpg

After that I got started on the AC compressor mounting

Datsun compressor on top in stock offset position - I want the new compressor to sit back& use the outer pulley, so I set the new compressor on the inside of the existing bracket to compare offset

PXL_20230814_145752593.jpg

The belt won't align as is - so I have to move the compressor forward just about a 1/4" inch. That meant I had to cut off the existing bracketry & only made use of the back plate aspect

PXL_20230814_145653612.jpg

tack welded the Volvo bushing mounts, checking alignment as I went

PXL_20230814_204328147.jpg

PXL_20230814_204336386.jpg

4 of the five in place - the last I need to have to compressor mounted on new bushings before I weld that one in place

PXL_20230814_223257458.jpg
 
Last edited:
Finished the compressor mount . Tacked in place
PXL_20230815_173905746.jpg

PXL_20230815_192818394.jpg

Pulled my dash during the week, today I stripped the frame

PXL_20230815_211522584.jpg

PXL_20230815_211513153.jpg

The right center support was cut off - I assume due tot he aftermarket AC evaporator box. I'm going to have to figure out how to make a new one. I'll install the stripped frame over the HVAC to see how I can add one back. I'll also add some more spot welds in-between the existing welds to reinforce it. I'd like to make sure my new dash says unstressed as possible.

PXL_20230815_200710416.jpg

The construction & assembly on these Datsuns is very nice. Harnesses properly secured, everything well organised, very tidy indeed!

PXL_20230815_200648047.jpg

PXL_20230815_200651402.jpg

PXL_20230815_203919865.jpg

Cleaned up the dash vents
PXL_20230815_210807019.jpg


they use a felt layer to give the rotating vent a smooth action
PXL_20230815_211142477.jpg
 
Back
Top