Working on the House....

I was thinking maybe a French drain, but the runoff would have to go pretty far west beyond the garage, and I'd have to dig pretty deep along the property line (through the pine tree roots, etc) in order to get proper grading for that.
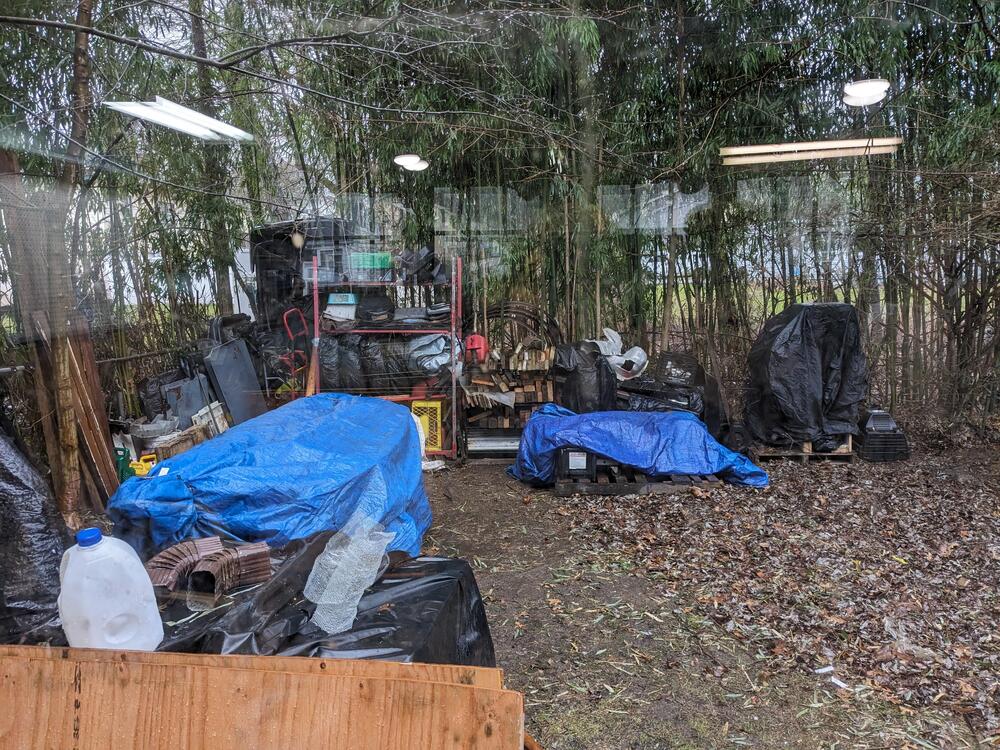
If you decide to bite the bullet and install a drain, look into renting a Ditch Witch or similar type trencher. Those make short work of digging deep channels through roots and anything else that might be in the way. Another way, if you can channel the water around the garage to flow to a low spot, you can install a poly sump well. My house was graded with the back yard lower than the street, so the yard drains have a very marginal slope and drain VERY slowly (they would have to exit under the street to work). I used a poly well, cut 5 or 6 3" holes in the sides and bottom that I covered with 1/8" hole stainless mesh and screws. Dug a hole about 6" deeper and wider than the well. Lined the hole with black cloth and poured in the gravel bottom. Dropped in the well and filled the sides with gravel. Nice high quality stainless sump pump, and whatever length of 1 1/4" corregated hose you need to lead the discharge away from the house and you're done. I have two of them in the yard. One leads into the other, and that one takes everything out to the driveway in front. It's raining right now but I snapped a pic through the window. We've had tons of rain this year and it's the first time in 35 years that I've experienced zero water issues.

IMG_6039.jpg
 
If you decide to bite the bullet and install a drain, look into renting a Ditch Witch or similar type trencher. Those make short work of digging deep channels through roots and anything else that might be in the way. Another way, if you can channel the water around the garage to flow to a low spot, you can install a poly sump well. My house was graded with the back yard lower than the street, so the yard drains have a very marginal slope and drain VERY slowly (they would have to exit under the street to work). I used a poly well, cut 5 or 6 3" holes in the sides and bottom that I covered with 1/8" hole stainless mesh and screws. Dug a hole about 6" deeper and wider than the well. Lined the hole with black cloth and poured in the gravel bottom. Dropped in the well and filled the sides with gravel. Nice high quality stainless sump pump, and whatever length of 1 1/4" corregated hose you need to lead the discharge away from the house and you're done. I have two of them in the yard. One leads into the other, and that one takes everything out to the driveway in front. It's raining right now but I snapped a pic through the window. We've had tons of rain this year and it's the first time in 35 years that I've experienced zero water issues.

View attachment 82017
Not sure this would work in the North East where it freezes.
 
Not sure this would work in the North East where it freezes.
Good point, but neither will a french drain until it warms enough for the ice to revert back to water. ;) This is strictly for water control, ice is a whole different problem - maybe install a block heater in the well?:rolleyes:
 
If you decide to bite the bullet and install a drain, look into renting a Ditch Witch or similar type trencher. Those make short work of digging deep channels through roots and anything else that might be in the way. Another way, if you can channel the water around the garage to flow to a low spot, you can install a poly sump well. My house was graded with the back yard lower than the street, so the yard drains have a very marginal slope and drain VERY slowly (they would have to exit under the street to work). I used a poly well, cut 5 or 6 3" holes in the sides and bottom that I covered with 1/8" hole stainless mesh and screws. Dug a hole about 6" deeper and wider than the well. Lined the hole with black cloth and poured in the gravel bottom. Dropped in the well and filled the sides with gravel. Nice high quality stainless sump pump, and whatever length of 1 1/4" corregated hose you need to lead the discharge away from the house and you're done. I have two of them in the yard. One leads into the other, and that one takes everything out to the driveway in front. It's raining right now but I snapped a pic through the window. We've had tons of rain this year and it's the first time in 35 years that I've experienced zero water issues.
I once rented a Ditch Witch to dig a roughly 200 foot trench for gas and electric lines to a new pool in the back yard. Unfortunately, my yard was mostly hard packed clay and the Ditch Witch would just bounce off it. Fortunately, my neighbor, who was a landscape architect, took pity on me and brought his bulldozer with a trencher on the back over to do the job. There were a few spots where there was insufficient clearance for the bulldozer so he lent me this giant Bosch electric jackhammer to cut through the clay. That was lots of fun!
 
Excavating a trench with a drain line in the bottom and then going to a drainage basin in the yard would likely help greatly. Though I do recall you having some drainage issues in the house basement as well...
 
We have a high water table - I have a sump pump that operates much of the year, just less in the July/August time frame. That was the one that died just before we went to Baltimore & partially flooded the basement main area. I'm going to have to figure out what to do about the drainage, however I don't want to get sidetracked on that right now, so I'm going to deal with the sill repair & siding, and leave the drainage until later on.

Rained all day - so I got the receptacles wired (GFCI at the start of the run) & added a waterproof housing & switch for the new exterior door lighting

PXL_20240302_205747088.jpg


PXL_20240302_205802155.jpg


Cover didn't arrive in time for me to add it before this pic
PXL_20240302_210858320.jpg


PXL_20240302_210902064.jpg
 
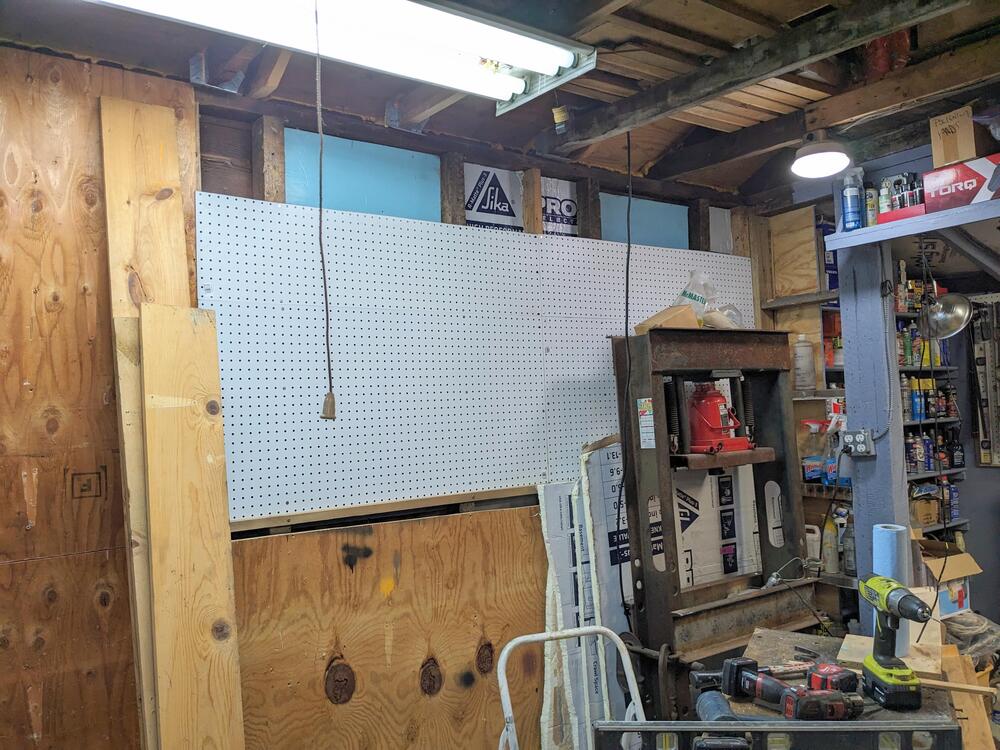
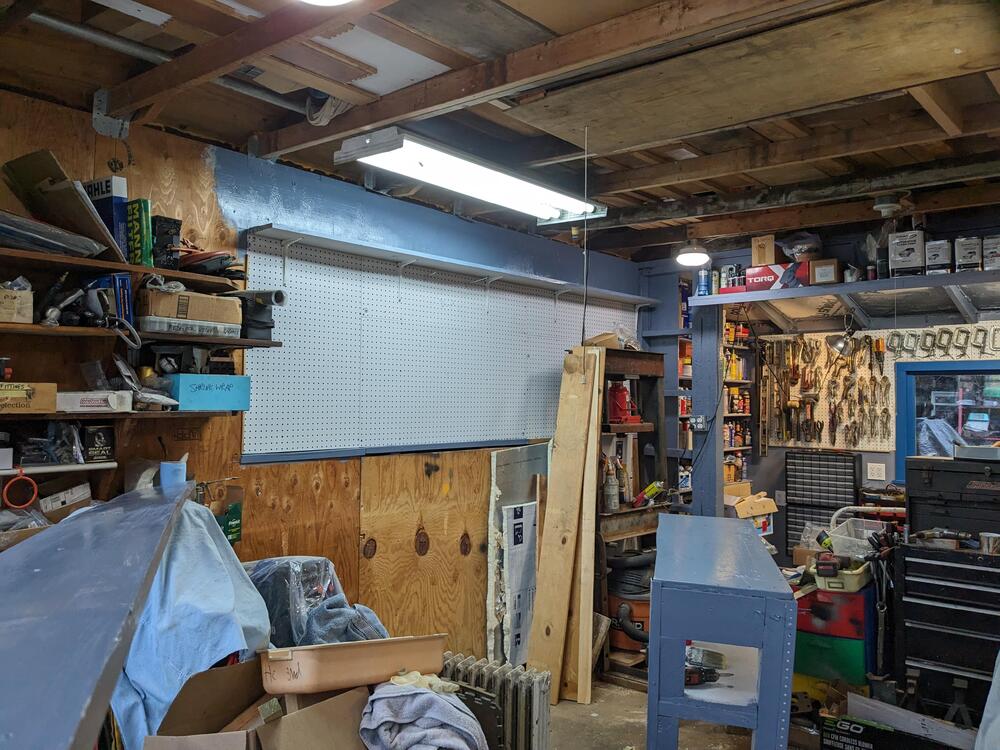
Still plugging away on the inside sheathing/insulation/shelving - I cut the 4x8's in half so I can put the top back together, and deal with the sill plate later. I've got too much stuff under my feet right now 😞. Added 3' of pegboard (H) and 10' wide

PXL_20240306_215531414.jpg

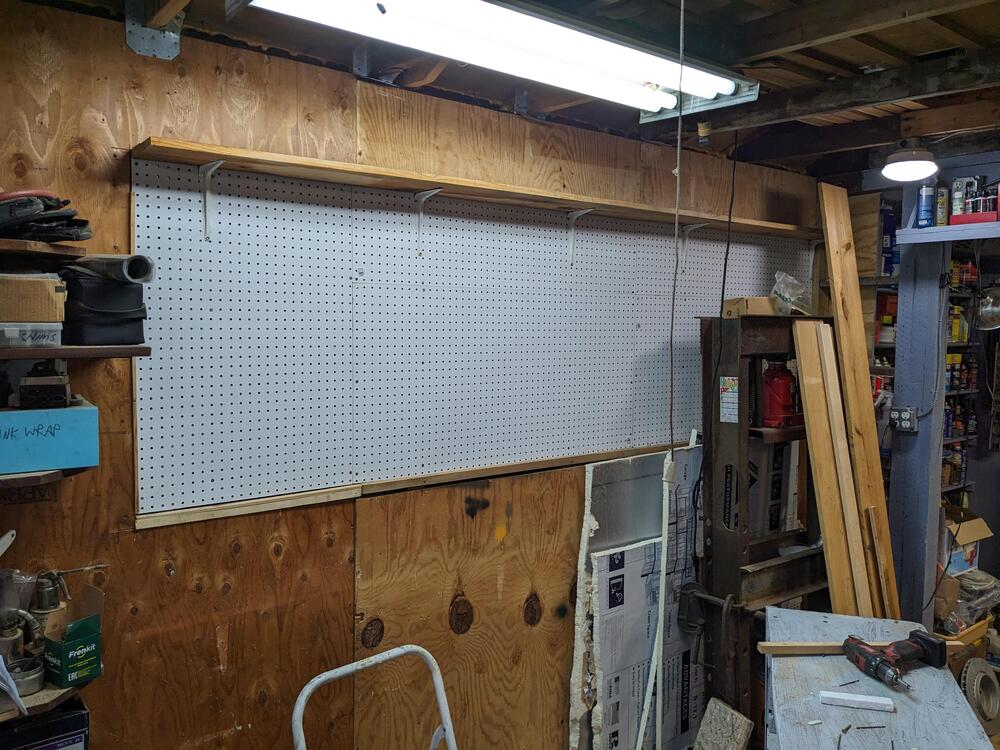
Putting a 10' shelf up high

PXL_20240307_220032212.jpg

There is a gap at the base of this 4' section (2nd in from the right/west end) where the clapboard rotted away from soil/moisture, I stuffed foam in it for now, just to try & deter critters. Raining steadily for the last couple of days, and in fact there is not a lot of water on the south side of the garage, I did add a drainage gutter just before the rains came.. I think I can get away with just putting a gravel bed to keep soil & water away from the foundation.

PXL_20240305_185225429.MP.jpg
 
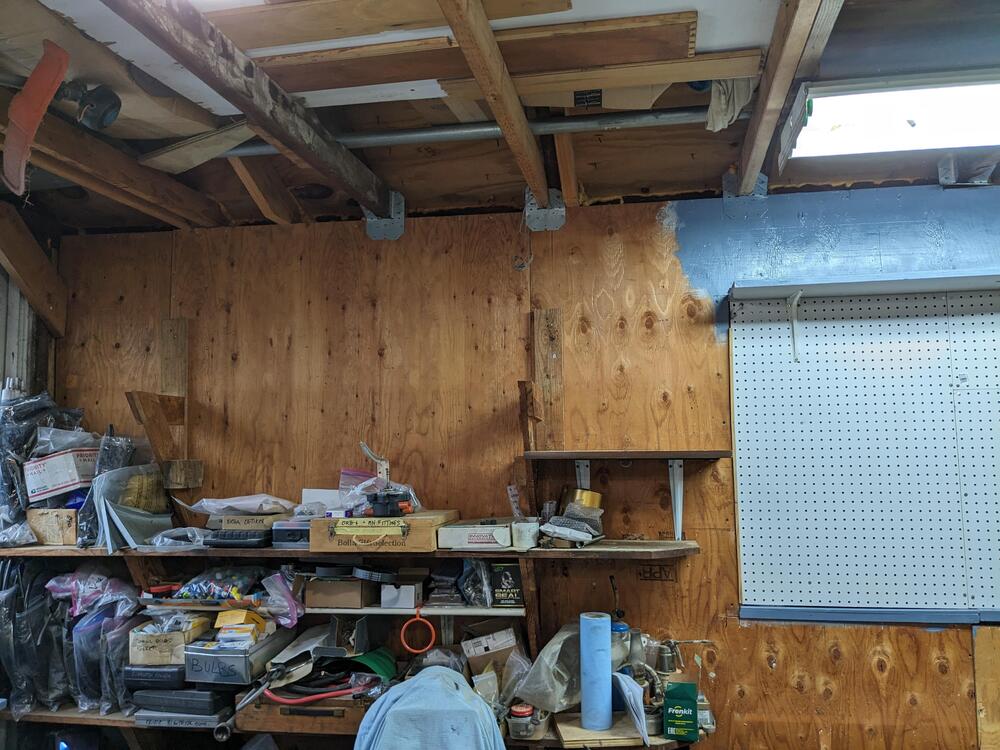
Got some primer on the upper sheathing and top shelf, I spent the day yesterday in the city at the Whitney Museum with fellow Art educators, so that was all the time I had to spend on the garage.

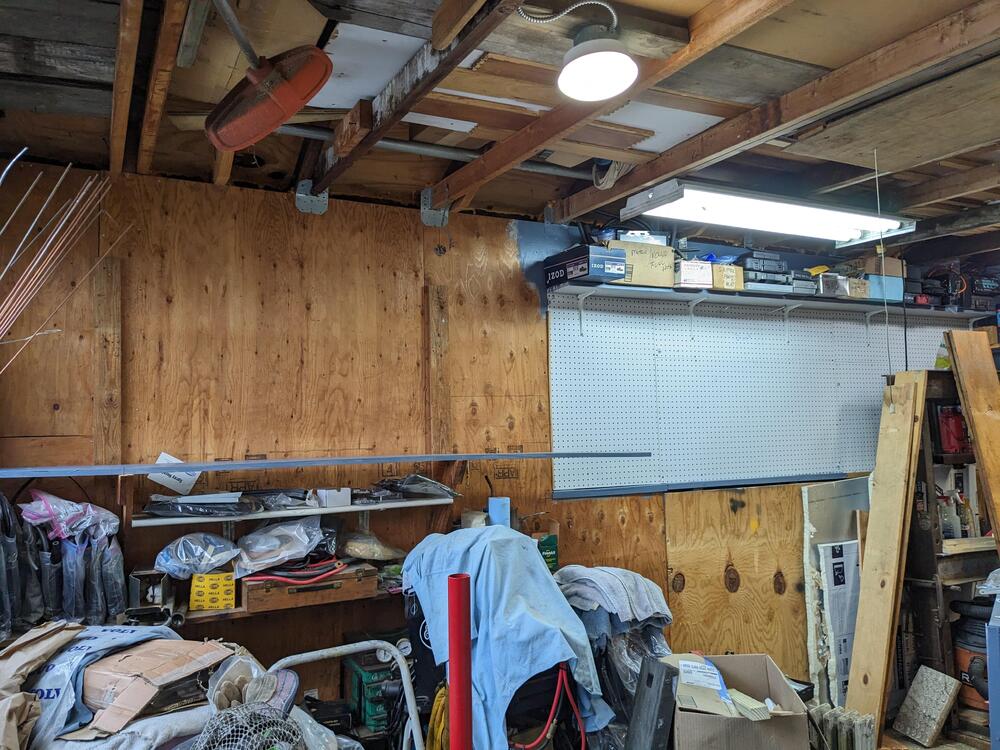
I'm going to extend that shelf all the way to the front, and remove/rework the existing shelving on the left to unify the flow on that wall. I'm not going to put any shelves over there under 4', so I can keep the carts up against the wall.
PXL_20240309_001925397.jpg
 
When you have the time to replace the sill, do your excavation etc.

I would excavate down the face of the slab, replace the sill with ground contact pressure treated, replace the first foot of siding with a cementitious board (tile backer) and then apply a foundation adhesive wrap. I would start the wrap 6” down from the top of the foundation to go up the face of the tile backer. Then back fill with drainage tubing and gravel. Run the drainage tubing to a pop up drain elsewhere.

This will keep water out and away from the wood in general.
 
Light rain (mostly) much of the day - even so I spent most of it outside, moving stuff around behind the garage. Just needed to make it a little more orderly than it has been the past couple months.

Had to cut a bunch of 25'-30' bamboo in the far left corner, so I could relocate the truck bed liner & other bulky items out of sight. One of my neighbors likes to use the bamboo poles for his veggie garden, so I cut some down to about 10'

PXL_20240309_205836994.jpg

After that I got some top coat on the shelving and upper sheathing

PXL_20240309_205817334.jpg

Still had a little time, so I cleared the top shelf on the left & removed it, so I can move forwards

PXL_20240309_212704334.jpg
 
Last edited:
When you have the time to replace the sill, do your excavation etc.

I would excavate down the face of the slab, replace the sill with ground contact pressure treated, replace the first foot of siding with a cementitious board (tile backer) and then apply a foundation adhesive wrap. I would start the wrap 6” down from the top of the foundation to go up the face of the tile backer. Then back fill with drainage tubing and gravel. Run the drainage tubing to a pop up drain elsewhere.

This will keep water out and away from the wood in general.

So a wrap like this ? The cement board you reference is the same stuff one uses for sub floor covering in bathrooms, I assume.
 
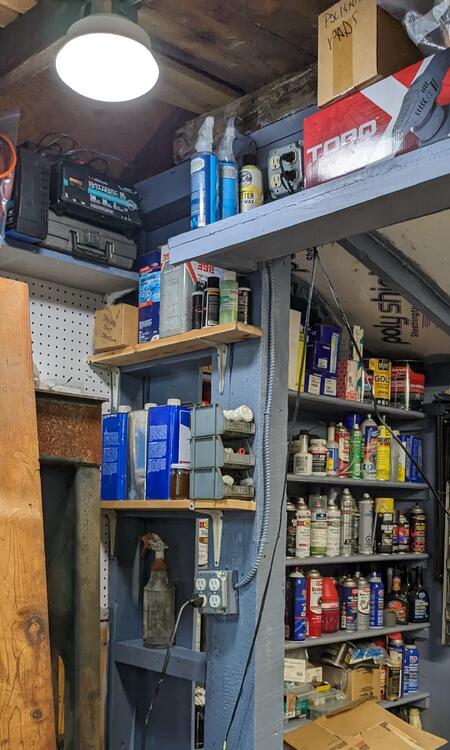
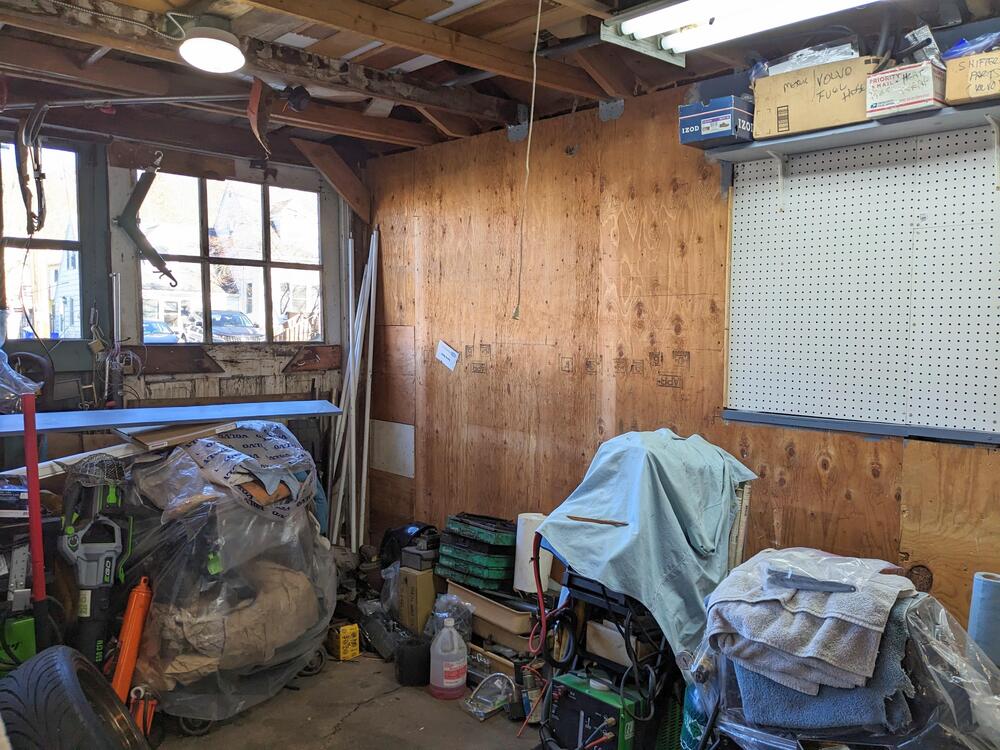
Continued with the clearing of the shelves on the south wall, which also meant I had to make some shallow shelves on the left of the back wall to store more chemicals

PXL_20240310_201705287~2.jpg

Put stuff up on the right, so slowly making way

PXL_20240310_201657273.jpg

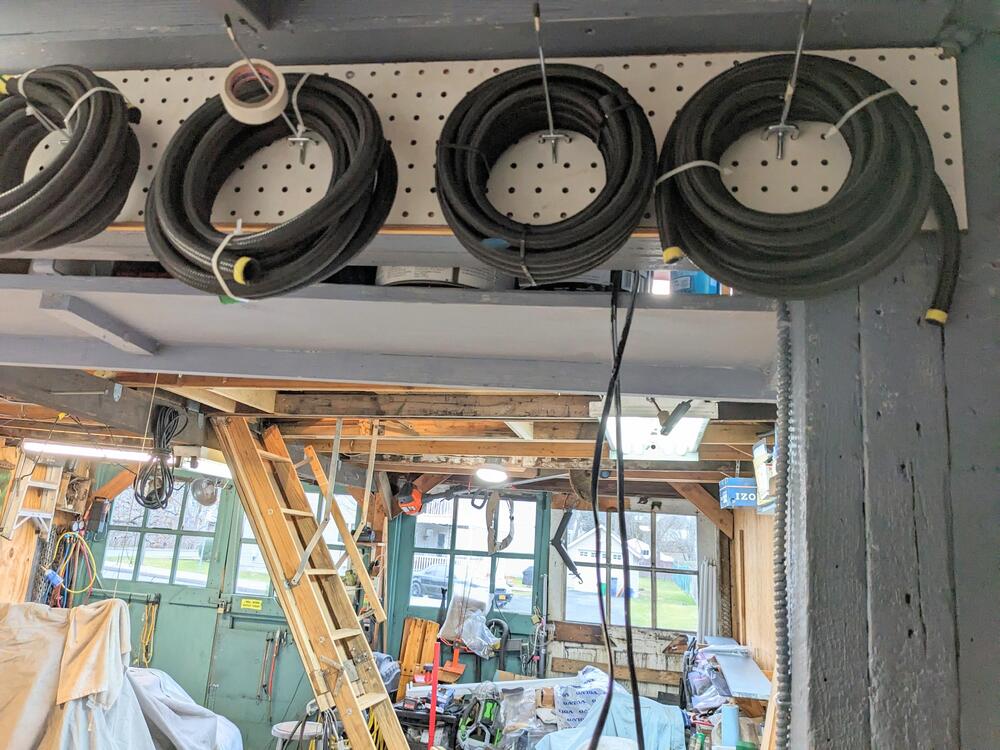
also added a 7" deep x 12' strip of pegboard on the backside of the LVL beam, to store rolls of hose that were also taking up shelf space. Much more accessible this way - and harder for me to forget I already have

PXL_20240310_211706499.jpg
In healthcare we often omit doors and drawers so patients and family won’t forget stored items. Your storage strategy is a good. Keep it visible.
 
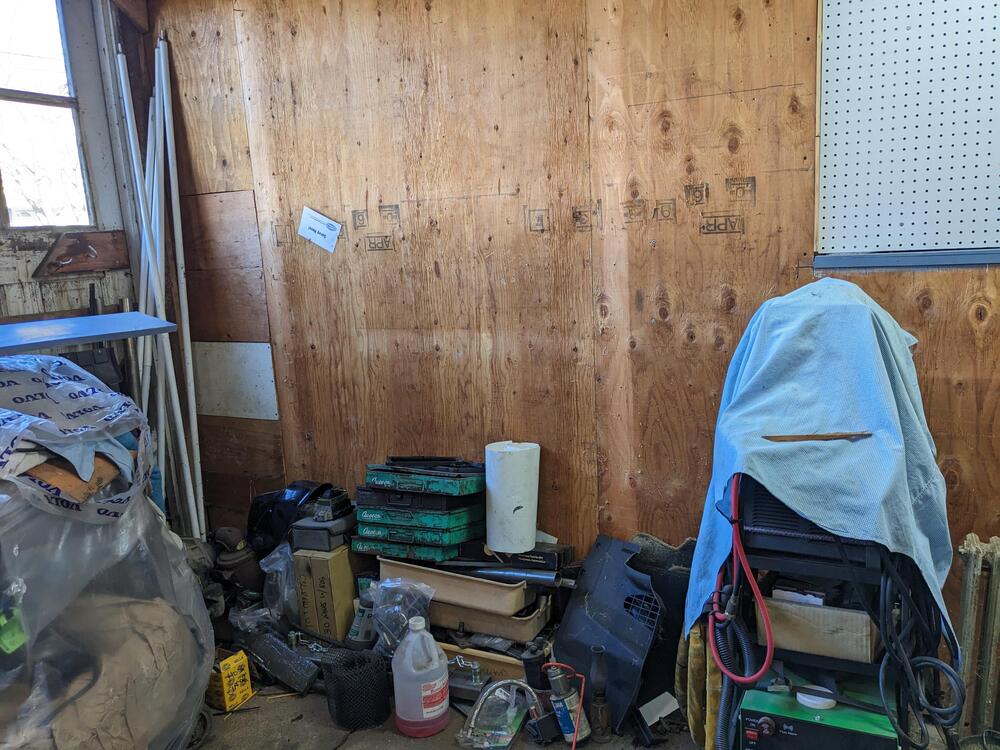
Slowly getting the south wall cleared. Need to move all the stuff at the base so I can remove the sheathing, add insulation & pegboard, then rethink the shelving for this section

PXL_20240311_210009997.jpg

PXL_20240311_205847092.jpg
 
My back has been bothering me for several weeks, so nothing going on with the garage. I felt well enough today to get a little forward movement. Good job I'm going to the chiropractor in the AM, 'cos my back is telling me I shouldn't have. Yanking the nails was what tugged on my lower back, mostly.

Anyway, cut out the sheathing, added insulation & fitted the uppermost shelf. I'll finish the shelf brackets after I do the pegboard.
PXL_20240321_205609644-2.jpg
 
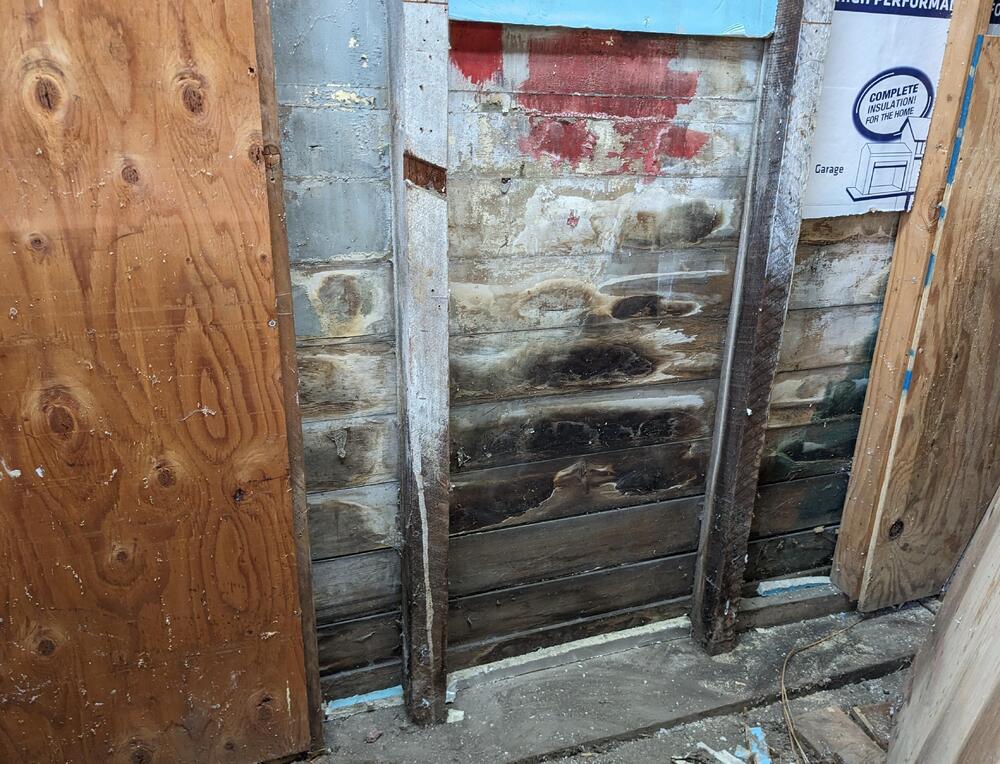
Removed the lower sheathing today. Sill plate is in really bad shape at this end

PXL_20240322_173219551.jpg


PXL_20240322_173227474.jpg


PXL_20240322_181506104.jpg


excavated more of the soil outside, made a more complete trench to keep water off the sill/wall until I get to finish the drainage and sill/wall
PXL_20240322_182425805.jpg


Added some wood to the outside, to keep the elements out. it was in the low 30's, so very cold
PXL_20240322_210908388.jpg


PXL_20240322_194913146.jpg


PXL_20240322_194919886.jpg

Have to figure out how to jack up the wall so I can get the bad sill out.

PXL_20240322_195728265.jpg


added some small shelves
PXL_20240322_203249828.jpg


Also added wheels to one of my benches

PXL_20240321_154524463.jpg
 
Last edited:
  • Like
Reactions: 86X
Back
Top