Working on the House....

Added some more trim to the exterior framing

PXL_20240219_163423755.jpg

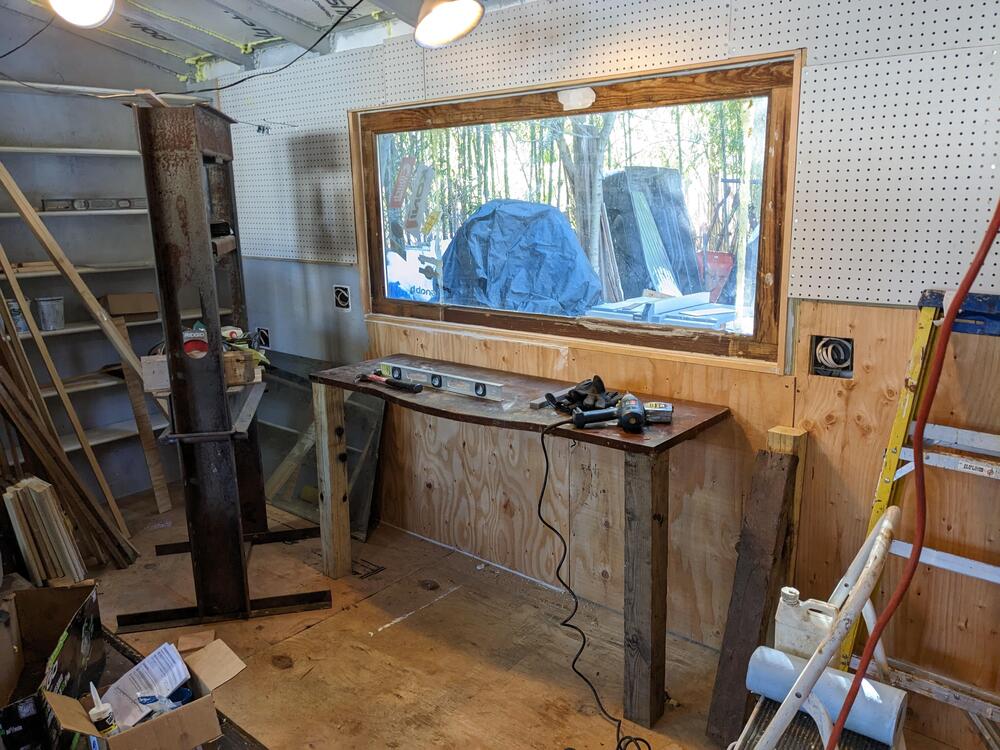
Started on making the bench. setting it at 32", so that the added vice height will be around 40" or so

PXL_20240219_191319739.jpg

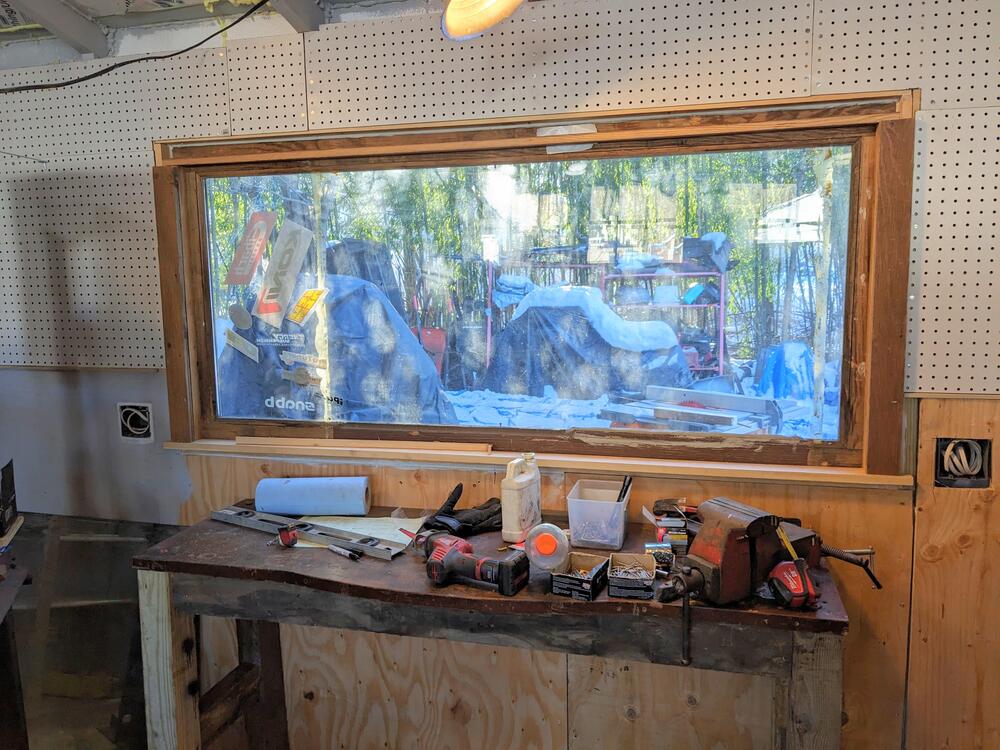
framing for the window trim, sill cut, side sections cut from old 1x3

PXL_20240219_211606226.jpg

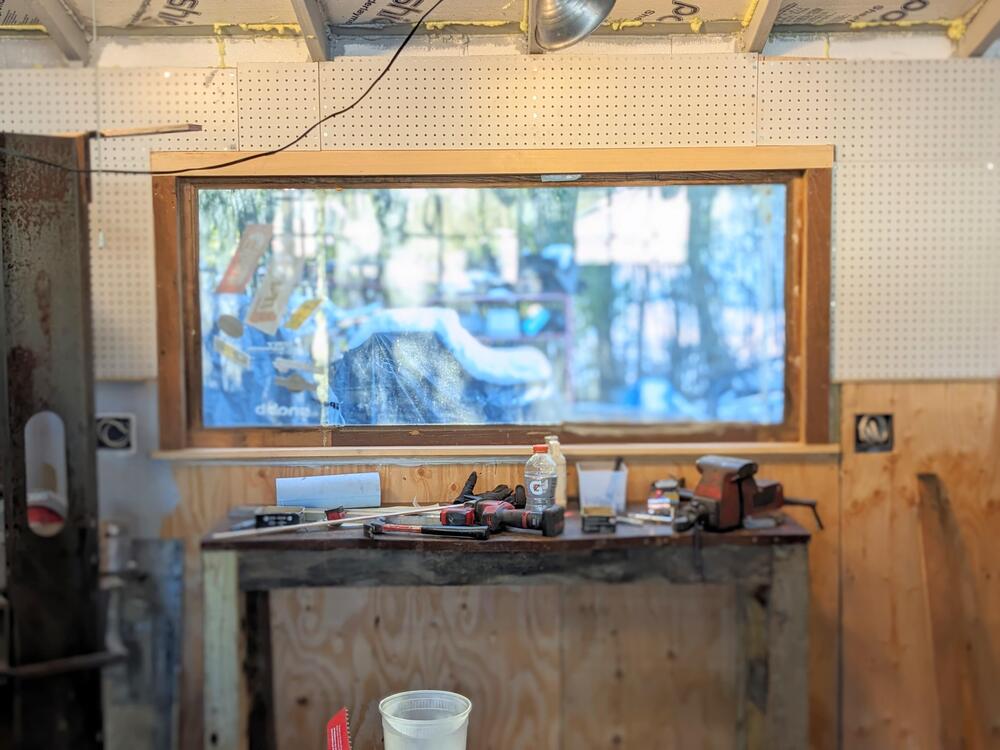
1x3 top plate installed

PXL_20240219_212813966.PORTRAIT.jpg

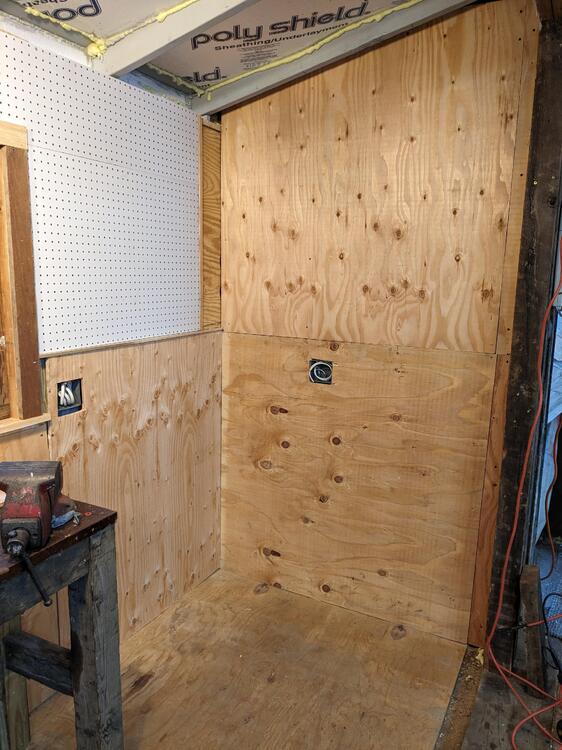
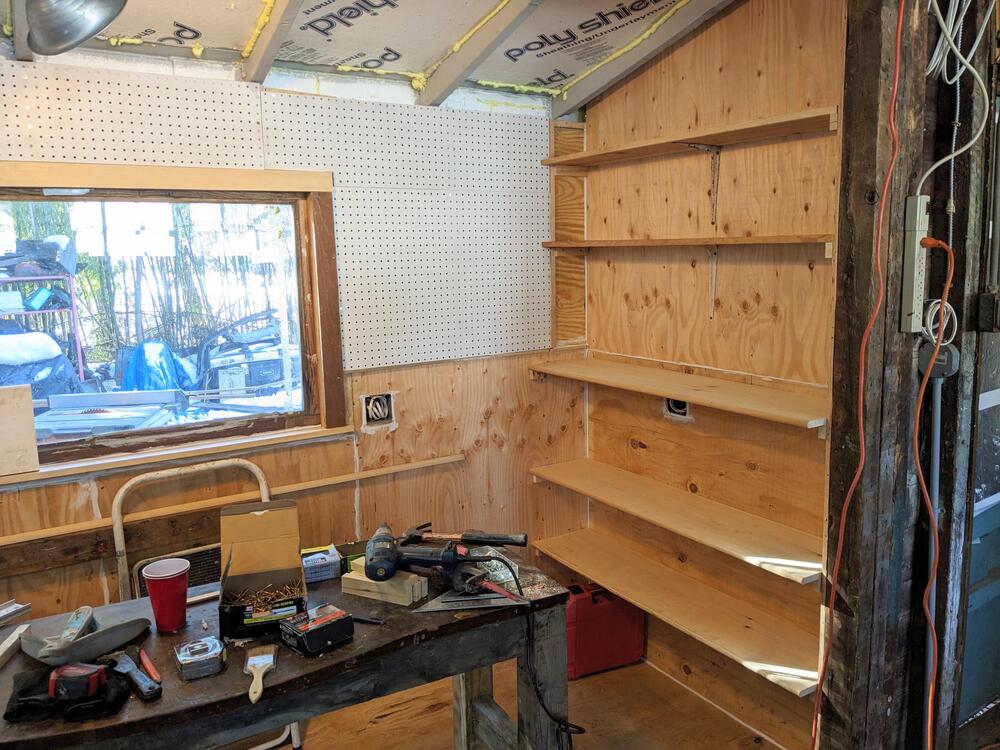
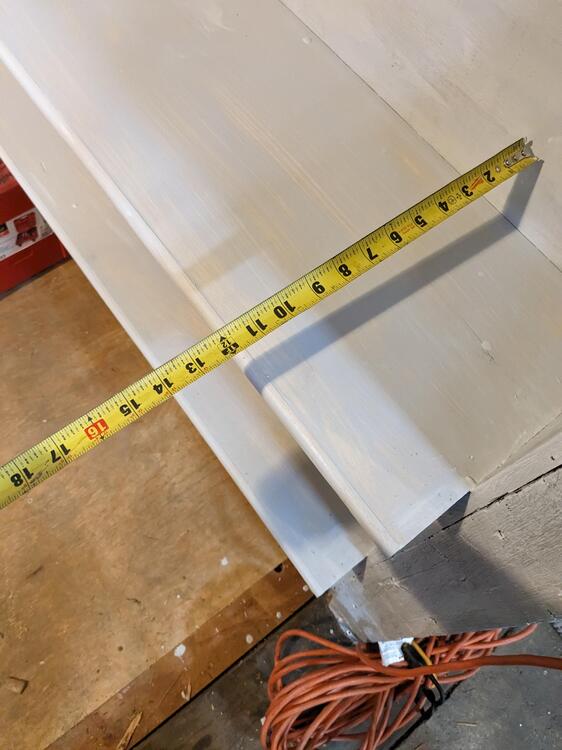
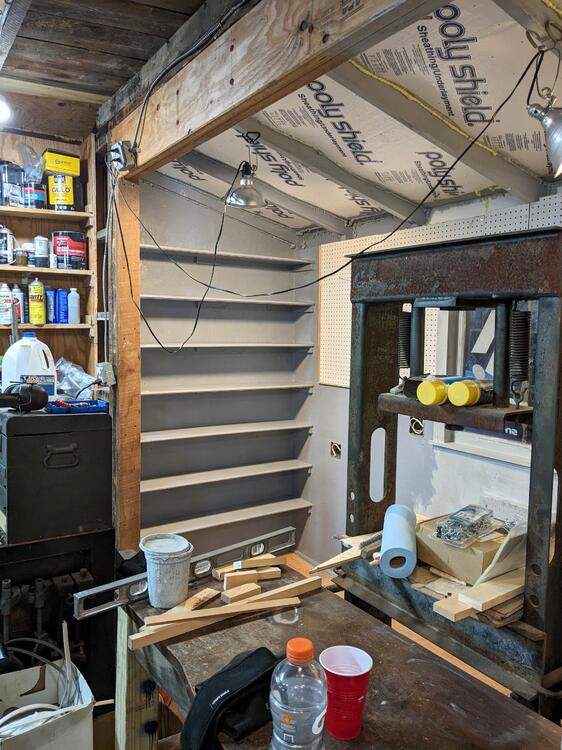
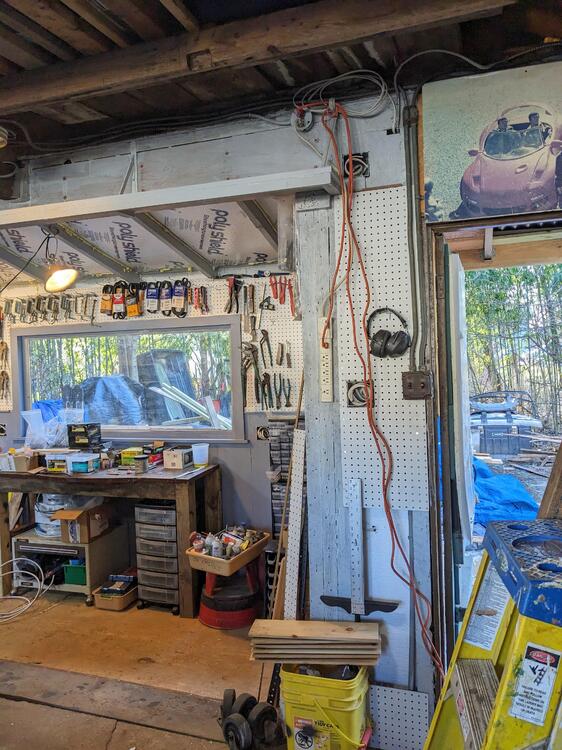
cut & fitted the north end wall plywood. I'll make shelves for this side, 9" deep to edge of pegboard

PXL_20240219_222442361.jpg

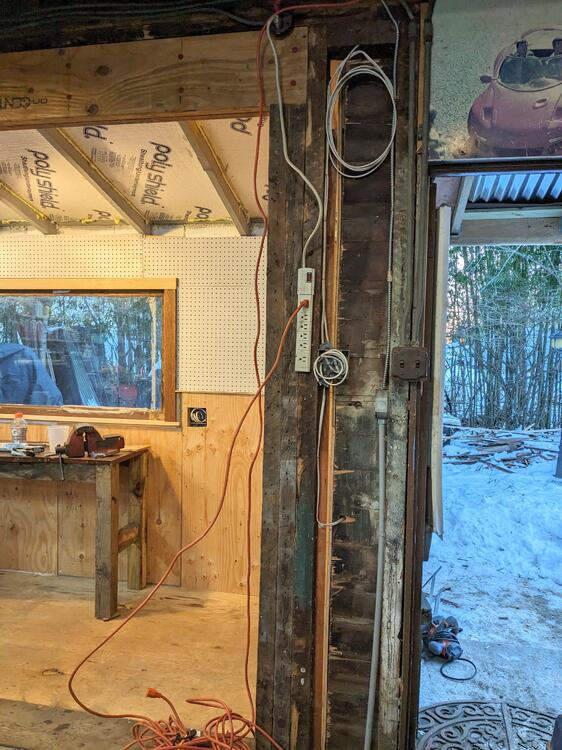
new wiring box (next to power strip) for power supply & switch that feeds the new outlets and ceiling light fixture, have to decide where to tie it into existing circuitry. At some point I need to install a new mains panel, with 240v supply.

PXL_20240219_222749716.jpg
At this rate you will be redoing the rest of the garage so its all matchie match :)

Nice work.
 
At this rate you will be redoing the rest of the garage so its all matchie match :)

Nice work.

Yes, I will need to work my way around the rest of it, insulate the walls, clean up the layout. After June, I'll have time to work on that in-between all the auto mods 😁
 
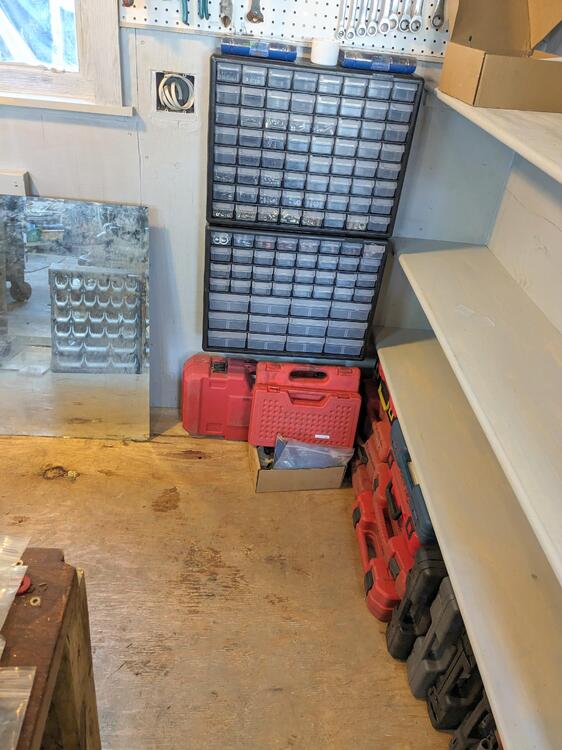
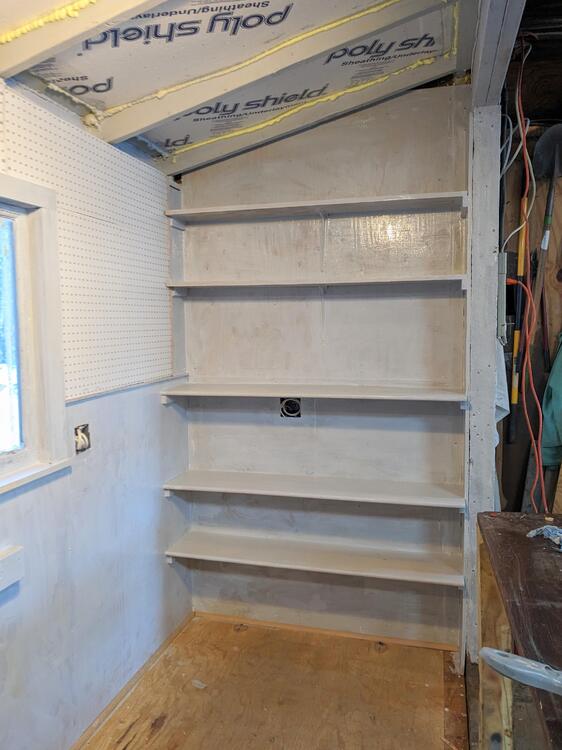
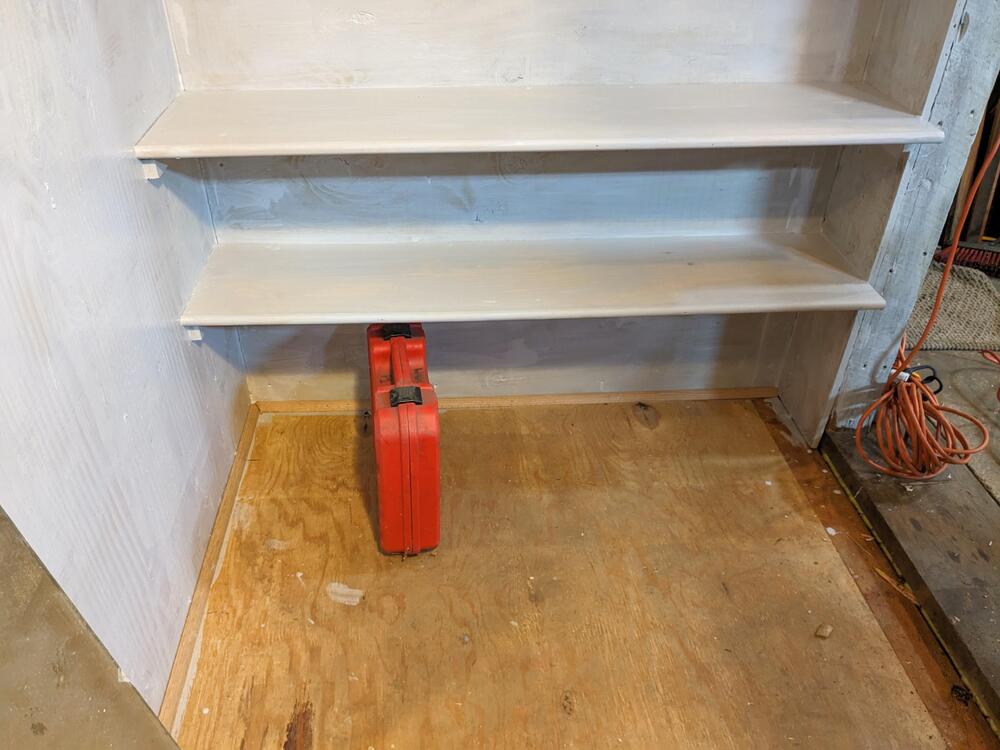
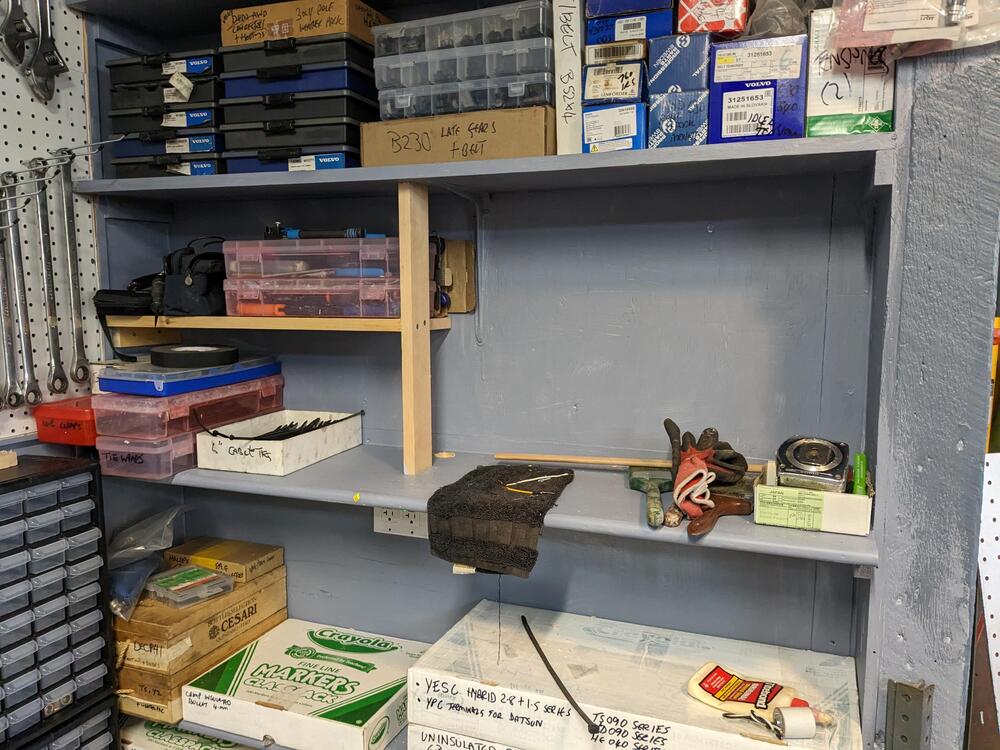
Had to buy some shelving today - the ones I have left over from previous work were not deep enough for what I wanted on this side. Bought 15' of 1x12 to make the bottom 3, then used the old shelving to make the uppers. I spaced these wide so I can fit small parts storage bins (16-18" tall) on the elbow height shelf, and large tool cases under the bottom one. Trying to plan this out as carefully as possible. I always forget to take in account something, same as working on the cars...

PXL_20240220_191545707.jpg

primed

PXL_20240220_215713193.jpg

PXL_20240220_224302345.jpg
I'm going to add a 1/4 round to protect myself from walking into these
PXL_20240220_224725080.jpg

Put the heat on in the garage so I could top coat the south wall shelving. Found I had 1/2 gallon of a medium grey left over from something. I haven't bothered with heat up to now, as I have the door open much of the time, going back & forth cutting wood, etc.,

PXL_20240220_224708232.jpg
 
Last edited:
Had to buy some shelving today - the ones I have left over from previous work were not deep enough for what I wanted on this side. Bought 15' of 1x12 to make the bottom 3, then used the old shelving to make the uppers. I spaced these wide so I can fit small parts storage bins (16-18" tall) on the elbow height shelf, and large tool cases under the bottom one. Trying to plan this out as carefully as possible. I always forget to take in account something, same as working on the cars...

PXL_20240220_191545707.jpg

primed

PXL_20240220_215713193.jpg

PXL_20240220_224302345.jpg
I'm going to add a 1/4 round to protect myself from walking into these
PXL_20240220_224725080.jpg

Put the heat on in the garage so I could top coat the south wall shelving. Found I had 1/2 gallon of a medium grey left over from something. I haven't bothered with heat up to now, as I have the door open much of the time, going back & forth cutting wood, etc.,

PXL_20240220_224708232.jpg
I would respectfully suggest buying some 1x4, ripping it in half and then gluing and screwing them to the bottom of each shelf either along the front edge or just back of the front edge. Particularly for the shelves which will have a heavy constant load ie buckets of fasteners etc.
 
I would respectfully suggest buying some 1x4, ripping it in half and then gluing and screwing them to the bottom of each shelf either along the front edge or just back of the front edge. Particularly for the shelves which will have a heavy constant load ie buckets of fasteners etc.

Thank you for the suggestion Karl. I'll add that to the two widely spaced shelves.
 
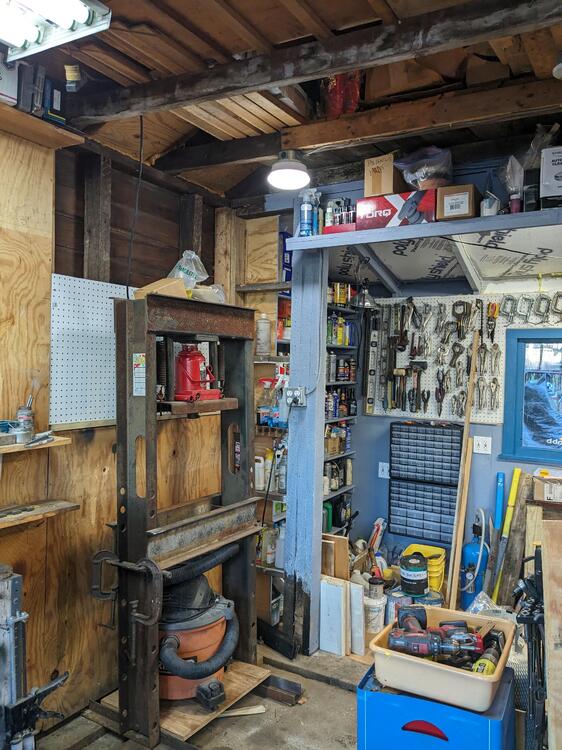
Slow going today. I had to start hanging tools & moving chemicals, I just had no floor space to move around in. I wanted to get the press moved into the main floor, and I did eventually, however I had to juggle a whole bunch of crap to make the space, just to be able to maneuver it.

I got side tracked figuring out the storage bin ideas for all the small stuff current dispersed in individual plastic trays in multiple locations. I bought 2 containers to try - and decided that instead of wasting shelf space it made more sense to suspend them on the West wall, where I was vacillating on adding additional shelves in line with the ones I already added. The conundrum for me was that the shelves would not be the same height on either side of the window, and that would bug the crap out of me DTR.

Put a bunch of M3, M4, M5 & M6 riv-nuts, and screws of different types (counter sunk, pan head Phillips and Allen in rows from L-R. That calmed me down a bit 🤪
1708562395083.gif


I've ordered another matching pair to put on the other side of the window. I will make sure the spacing and offset matches 😁
1708562395103.gif


PXL_20240221_201944868.jpg

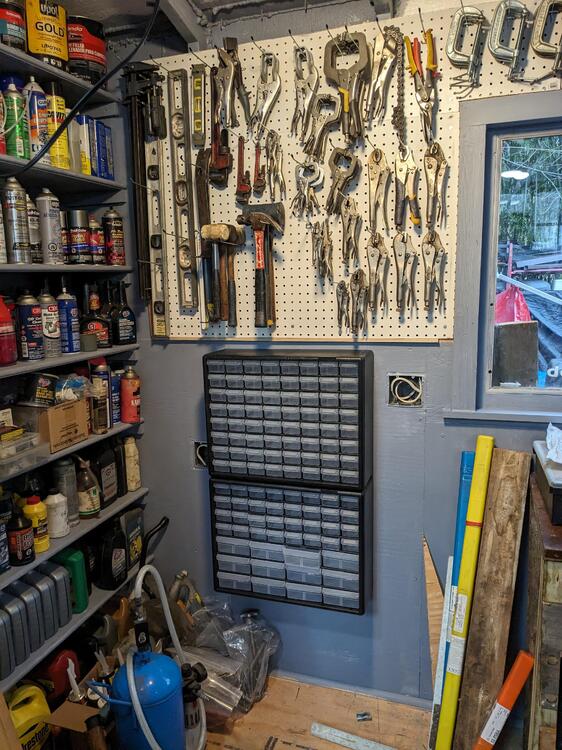
Chemicals and tools I had moved earlier in the day. Probably not their final testing place. These were all hanging on nails in the old West wall, along with about 15 pairs of pliers that I need to find the correct pegboard holder for. Many of these hangers are too long - it was cheaper to buy 100 6" than 3". I'll just cut down the ones that need to be shorter.
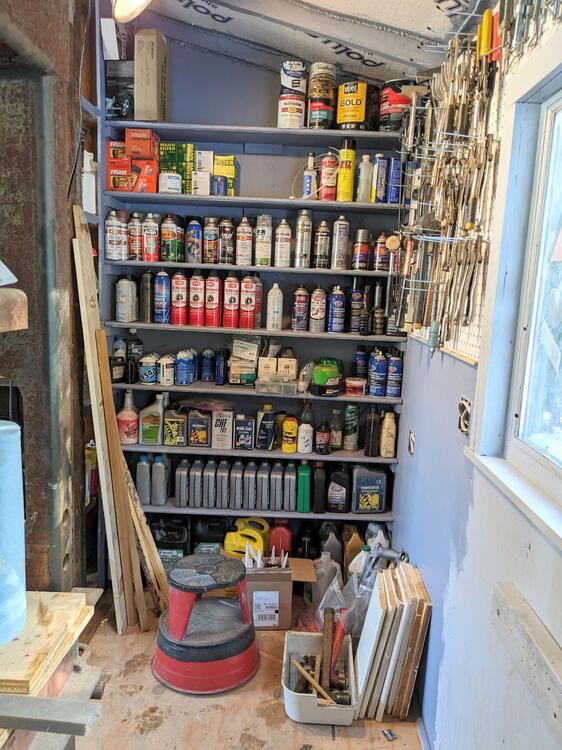
PXL_20240221_201955088.jpg

Finally clearing the shelves where the press needs to go
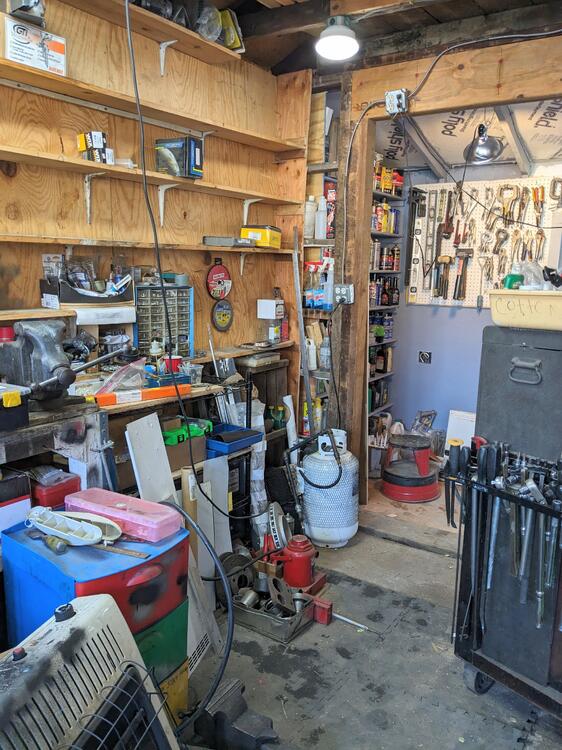
PXL_20240221_202005317.jpg

Cut the shelving, cleaned up the area, moved & levelled the press
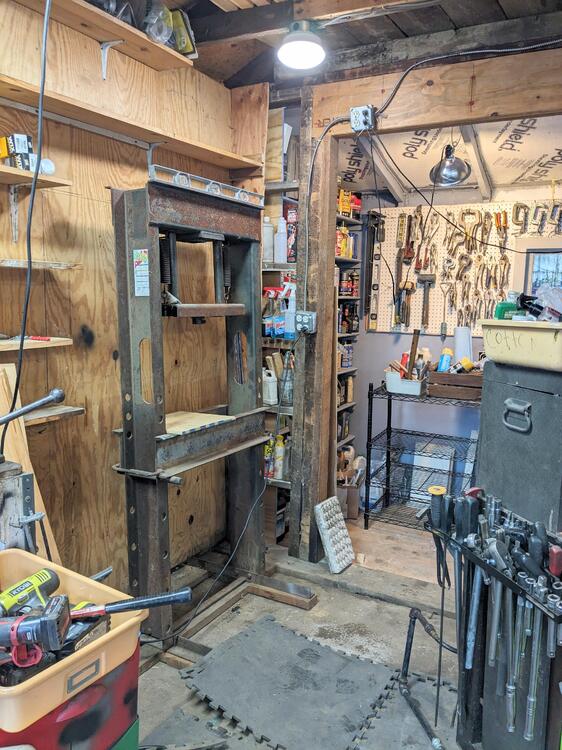
PXL_20240221_220343765.jpg

After that I wrapped up with top coat on the west & north wall of the area
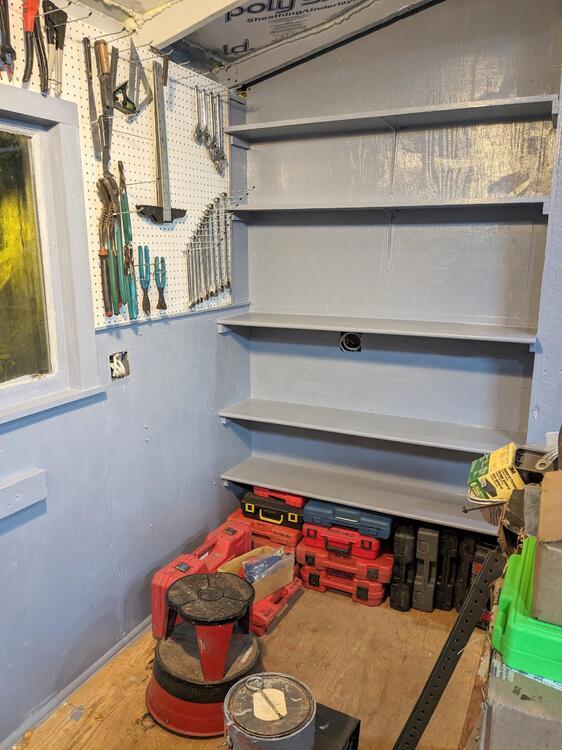
PXL_20240221_231551238.jpg

Feeling better now about how the day went by.PXL_20240221_231607986.jpg
 
Slow going today. I had to start hanging tools & moving chemicals, I just had no floor space to move around in. I wanted to get the press moved into the main floor, and I did eventually, however I had to juggle a whole bunch of crap to make the space, just to be able to maneuver it.
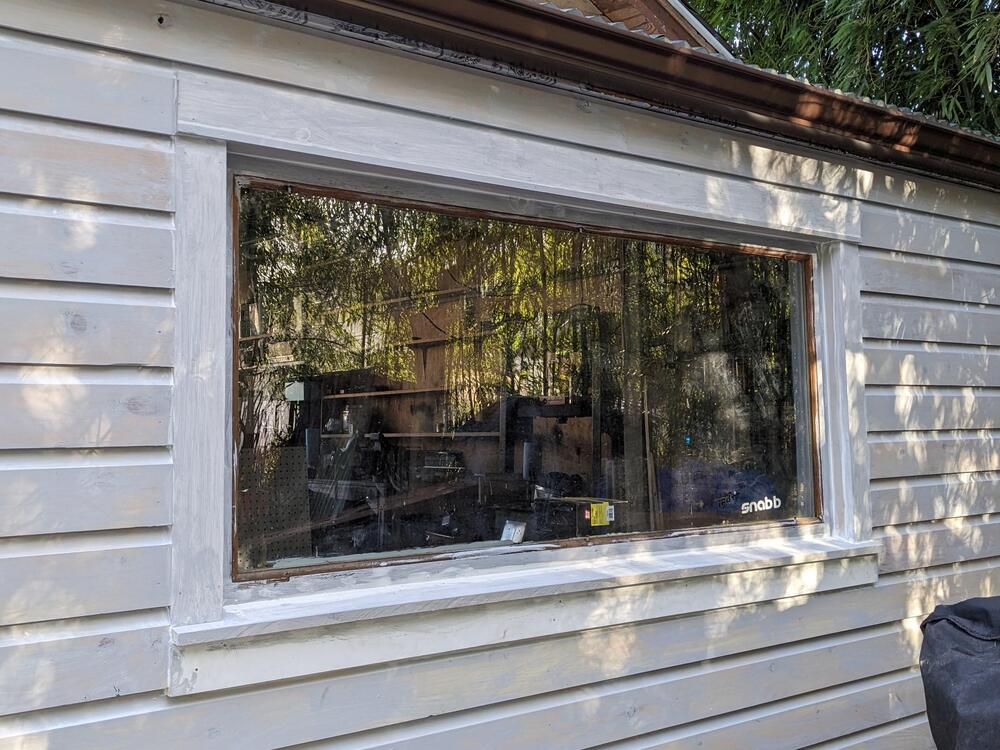
I got side tracked figuring out the storage bin ideas for all the small stuff current dispersed in individual plastic trays in multiple locations. I bought 2 containers to try - and decided that instead of wasting shelf space it made more sense to suspend them on the West wall, where I was vacillating on adding additional shelves in line with the ones I already added. The conundrum for me was that the shelves would not be the same height on either side of the window, and that would bug the crap out of me DTR.

Put a bunch of M3, M4, M5 & M6 riv-nuts, and screws of different types (counter sunk, pan head Phillips and Allen in rows from L-R. That calmed me down a bit 🤪View attachment 81818

I've ordered another matching pair to put on the other side of the window. I will make sure the spacing and offset matches 😁View attachment 81817

PXL_20240221_201944868.jpg

Chemicals and tools I had moved earlier in the day. Probably not their final testing place. These were all hanging on nails in the old West wall, along with about 15 pairs of pliers that I need to find the correct pegboard holder for. Many of these hangers are too long - it was cheaper to buy 100 6" than 3". I'll just cut down the ones that need to be shorter.

PXL_20240221_201955088.jpg

Finally clearing the shelves where the press needs to go

PXL_20240221_202005317.jpg

Cut the shelving, cleaned up the area, moved & levelled the press

PXL_20240221_220343765.jpg

After that I wrapped up with top coat on the west & north wall of the area

PXL_20240221_231551238.jpg

Feeling better now about how the day went by.PXL_20240221_231607986.jpg
I feel your pain :)

My basement work took a break after our California trip as Sherri had the same operation on her right hand as was done last June.

Planning how to store all the things has been a big part of the why of the solution and what will be done. I am moving to a standardized bin and standardized box so the shelves can be the same distance apart etc.

In our other storeroom we use Rubbermaid 18 gallon tubs as it is clothes and other large format things, for my work area I will be using a small tote from Costco which fits tools and smaller parts. The boxes will be a type of ‘bankers’ box which folds together, we had noticed the oldest boxes we have were all of that type (we have some boxes which are from @1986 o_O ) and our newer boxes which require tape are all suffering tape failure.

Modularity in everything :)
 
Last edited:
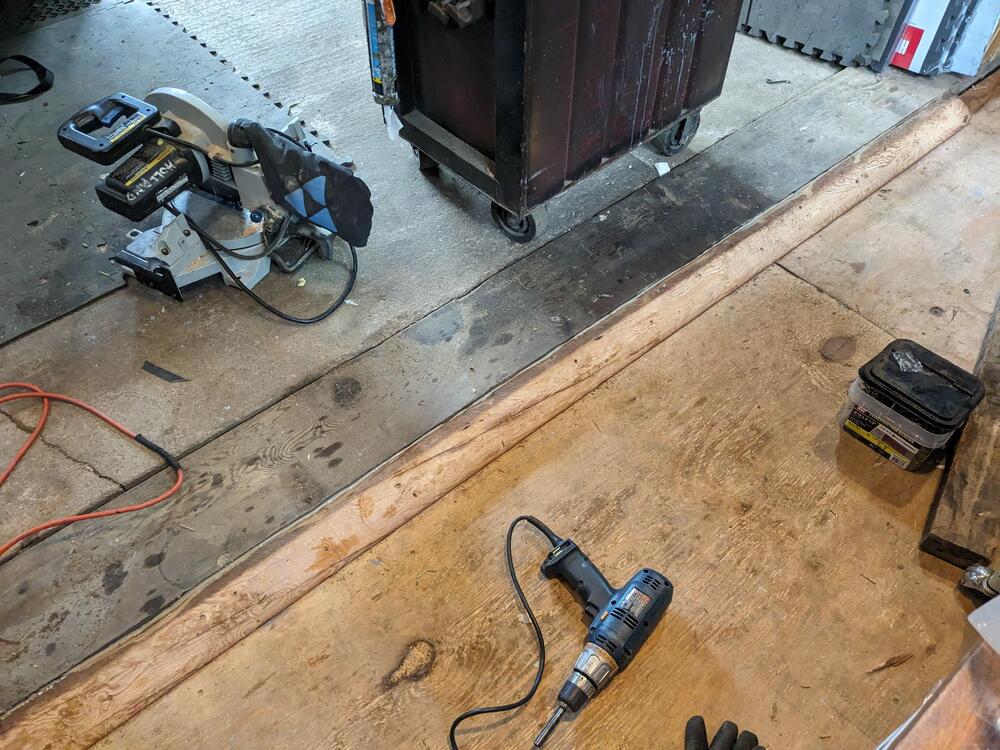
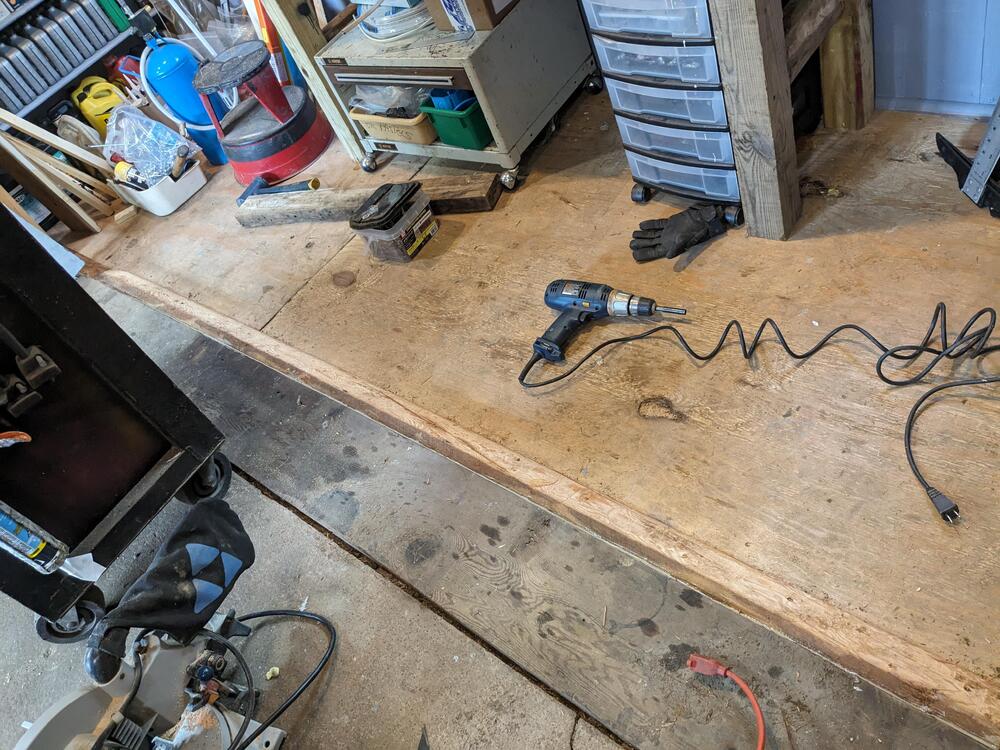
Only odds & ends today, moving stuff around & made a ramp to offset the 2" step for wheeling stuff in & out

PXL_20240222_162642485.jpg

PXL_20240222_162651875.jpg

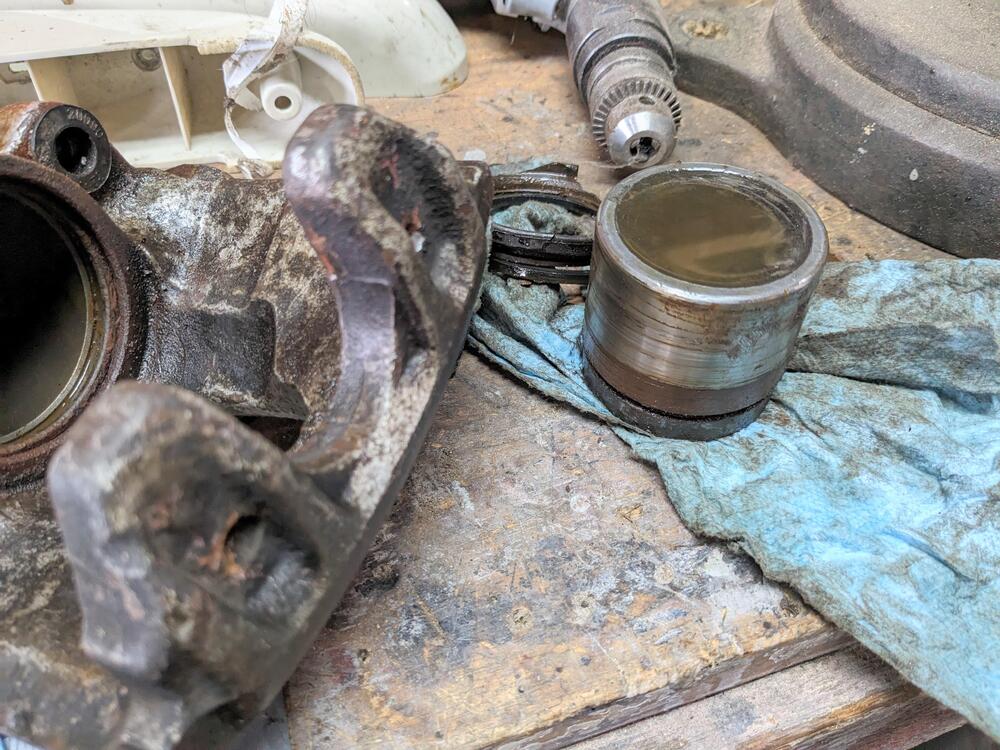
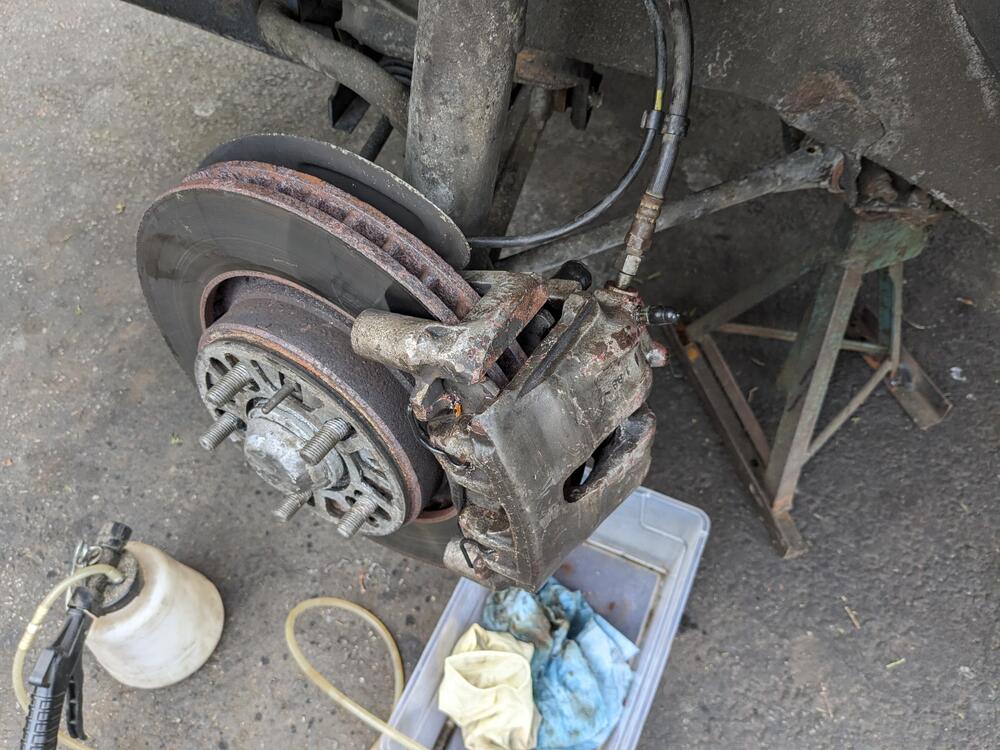
Besides that I had to rebuild a caliper on my old Volvo. It was a reman I bought a couple years ago

PXL_20240222_184924071.jpg

PXL_20240222_210359888.jpg
 
  • Like
Reactions: 86X
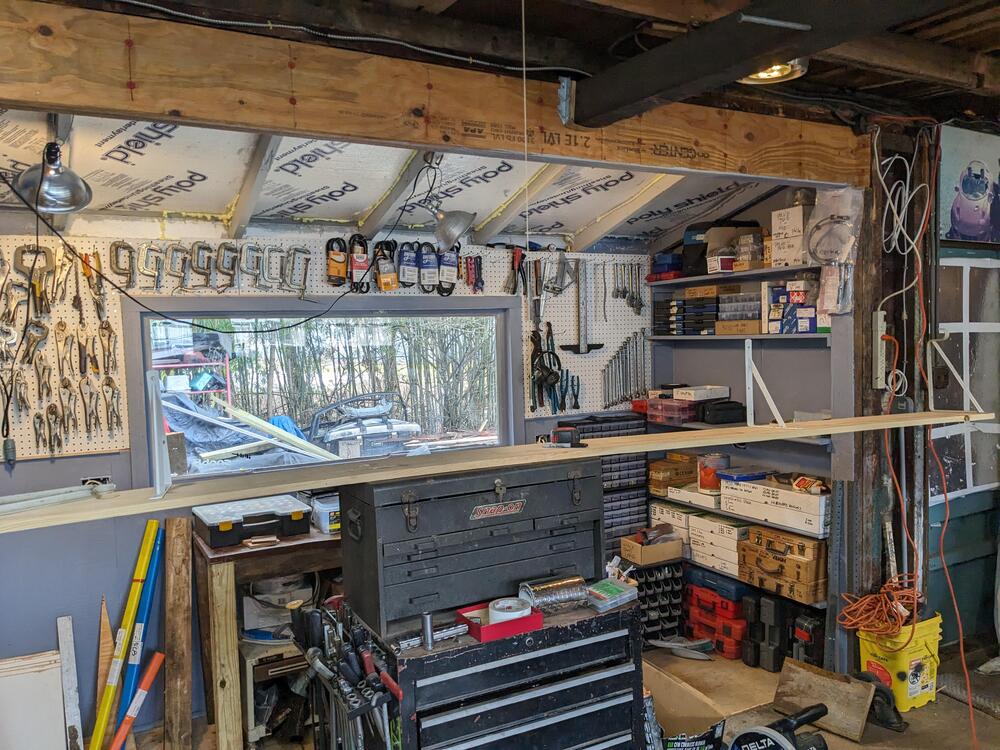
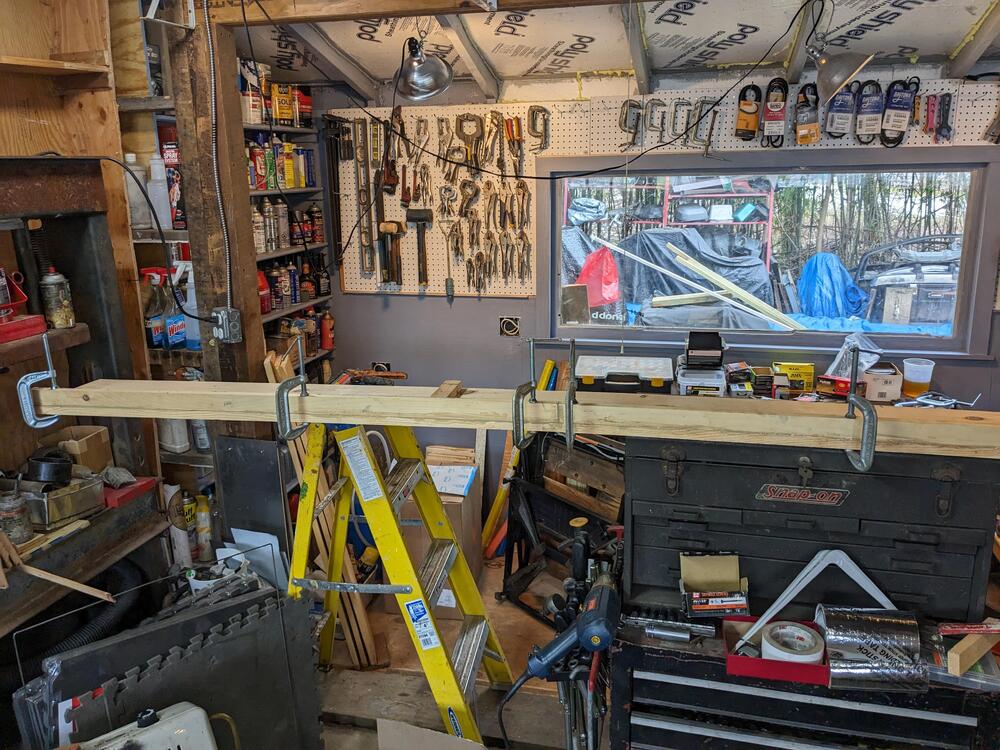
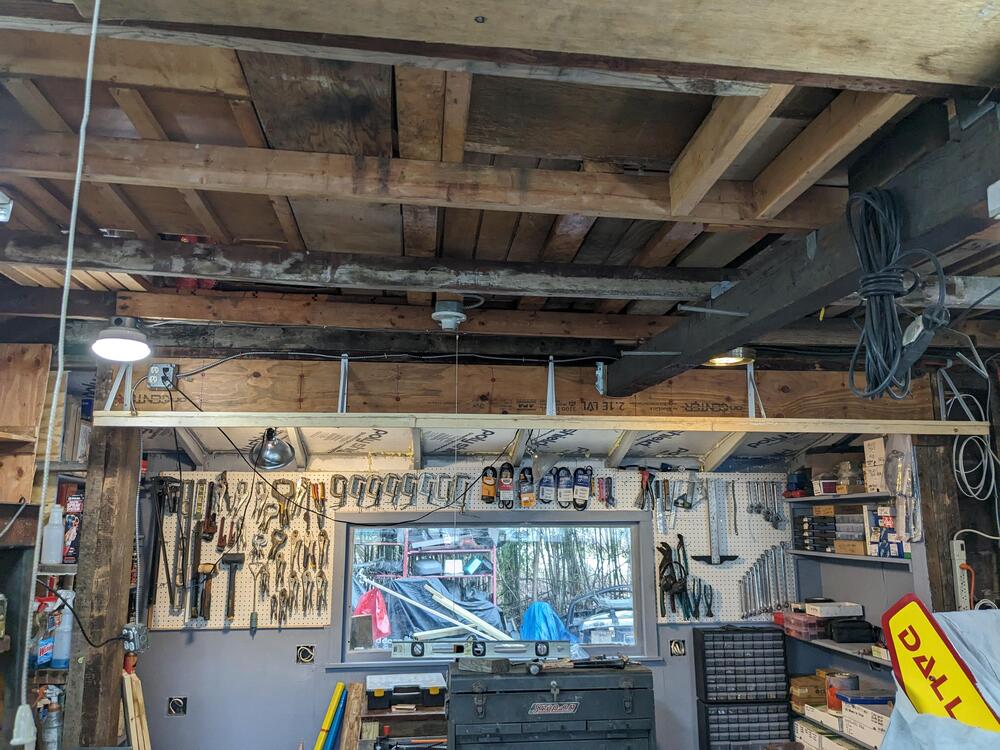
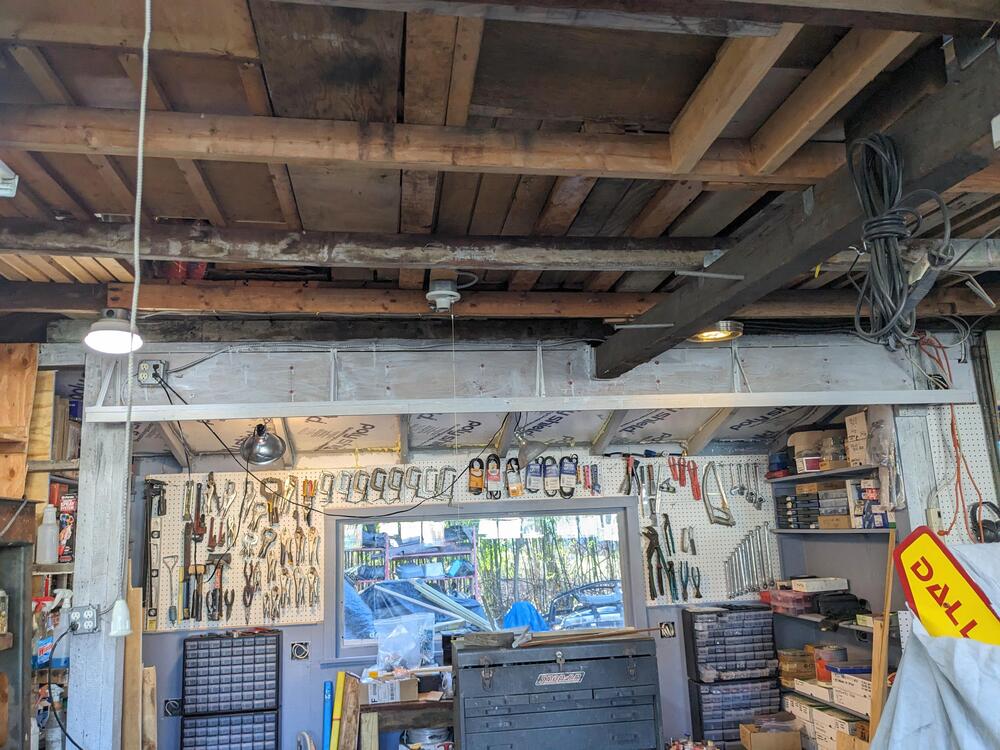
Only had a short time today, so I bought a 12' 1x10 board & made a storage shelf on the beam, so I have somewhere to stow the less used items I still need keep track of, vs. the stuff I put up above in storage & subsequently forget I own...

PXL_20240223_191027321.jpg

Took Karls' advice & added a support ledge before I hung this one.

PXL_20240223_201713955.jpg

PXL_20240223_210227246.jpg

All of the boxes on the lower half contain electrical connectors and terminals. No point putting them in the storage bins, there are too many variants

PXL_20240223_213542156.jpg

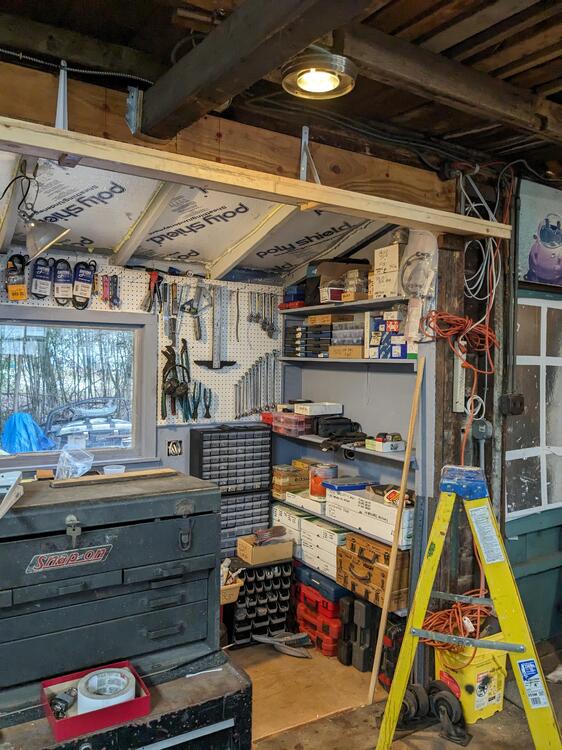
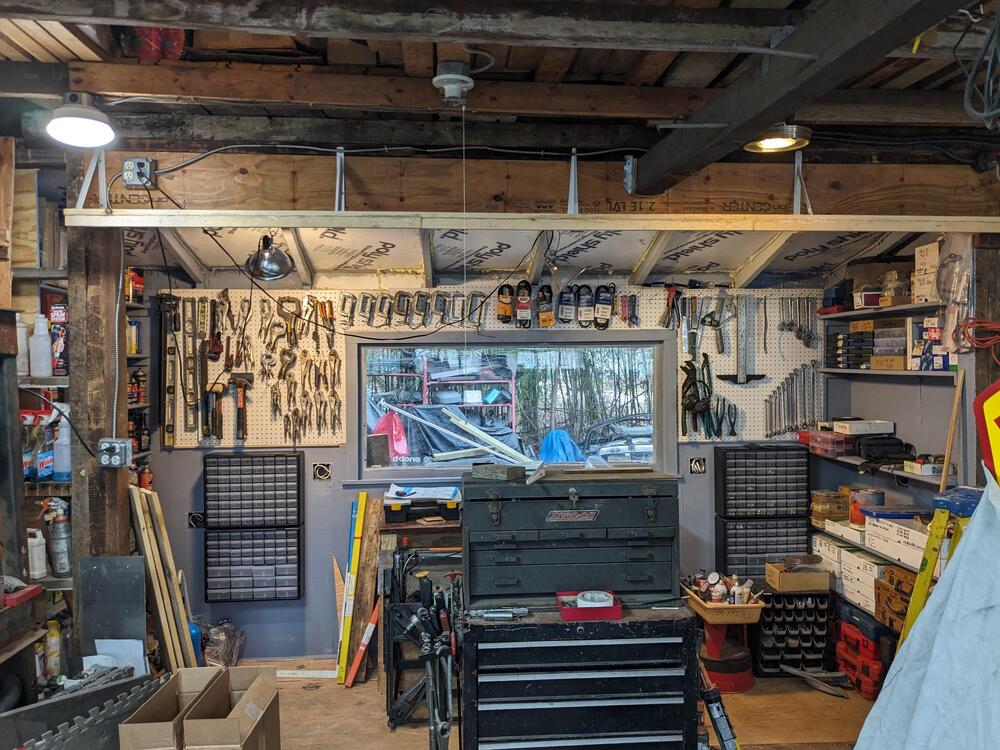
Put up the storage bins on the left

PXL_20240223_213527797.jpg

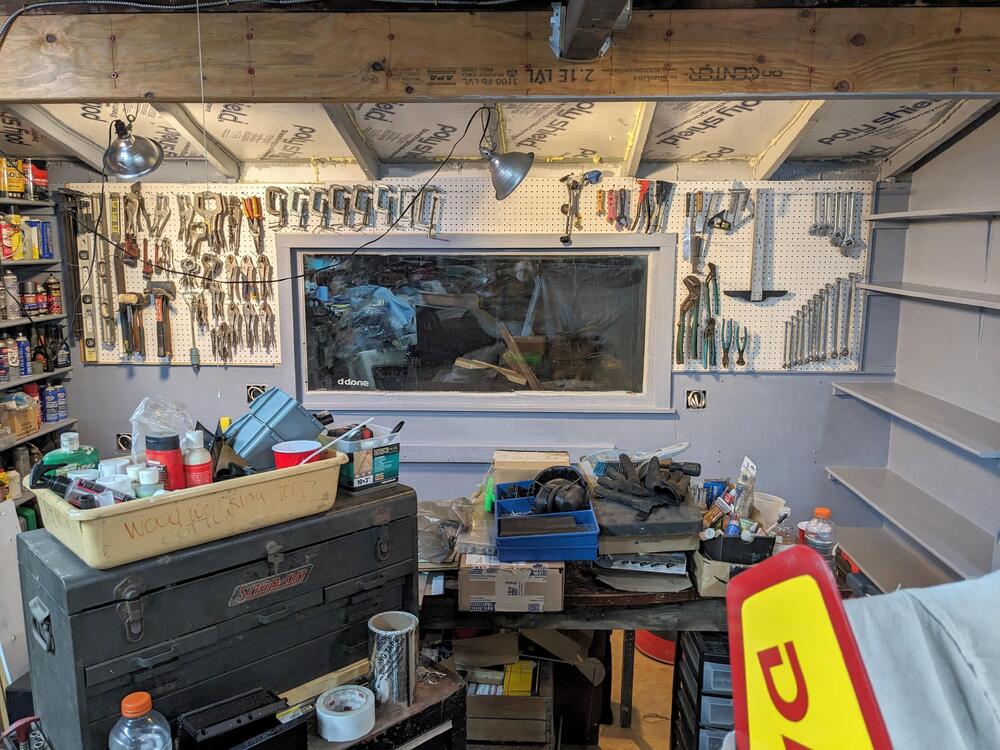
So happy I got the pegboard

PXL_20240223_213554523.MP.jpg

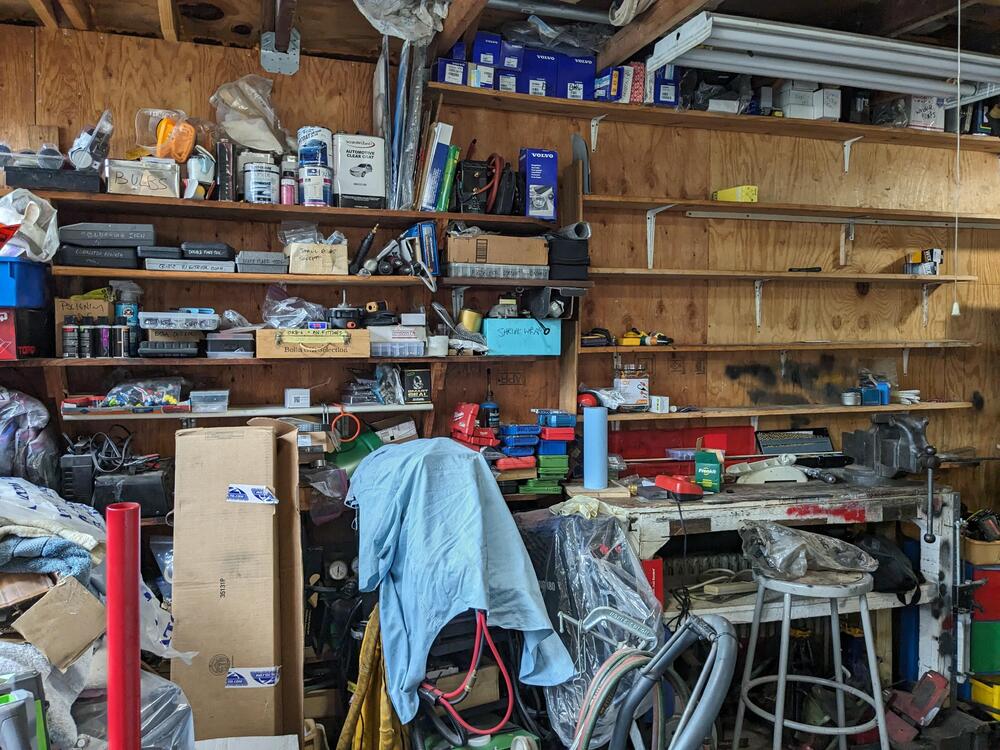
Next I want to clear this wall, so I can make shelving more uniform, and maybe some more pegboard - I'm loving that stuff. It's already been useful. I feel like a kid in a candy store, can't believe it's taken me so many years to start properly organizing my tools & supplies. Much of what was here, is now in the back ,at least temporarily.

PXL_20240223_143130392.jpg

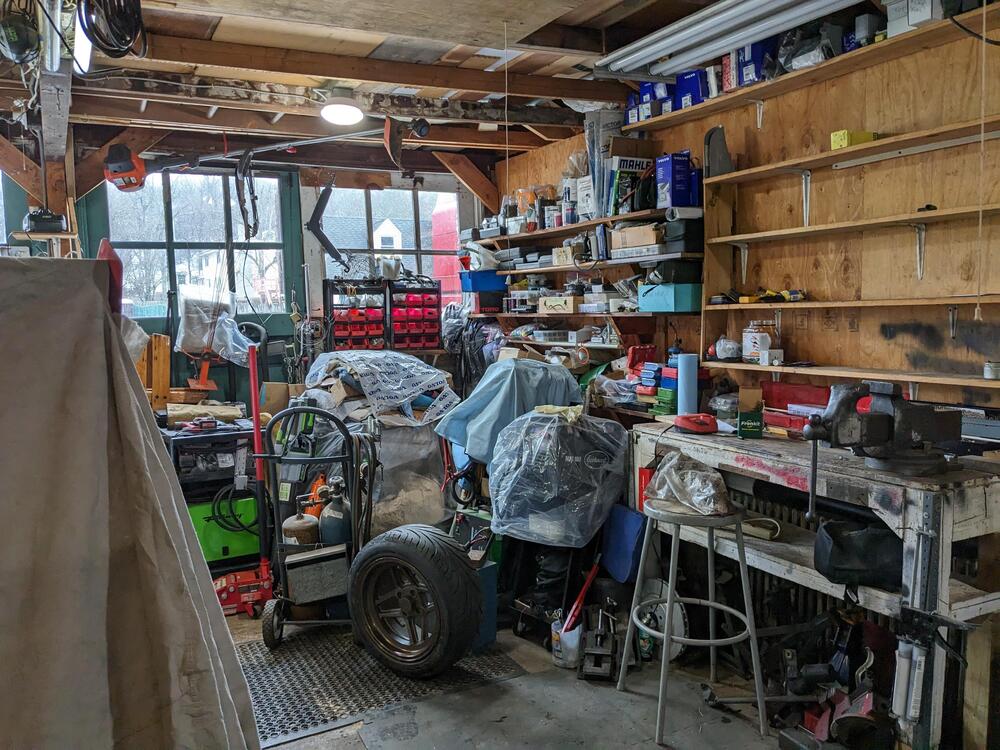
There is also all this mess in the front to figure out - MIG, TIG, Plasma, Spot welder, Oxy/Acetylene, and the V8 drivetrain that needs to get installed in the pickup truck..

PXL_20240223_143147905.jpg

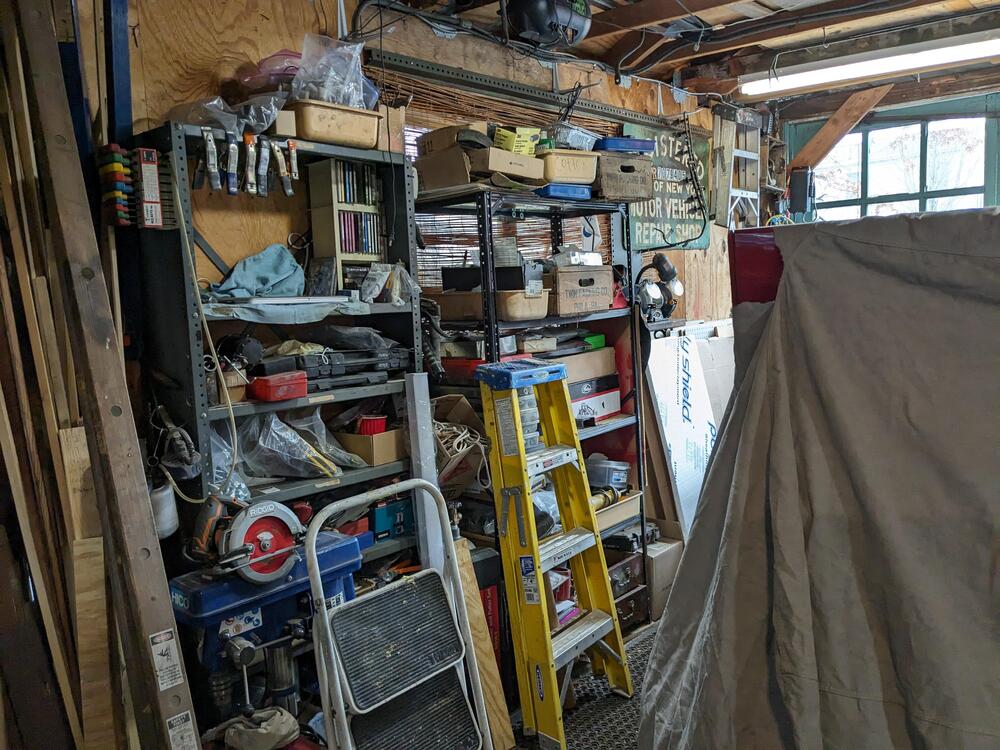
I also want to get rid of these shelving units (currently loaded with stuff that was on the other side) to make it easier to move the car in & out without occupying quite so much floorspace

PXL_20240223_143151550.jpg
 
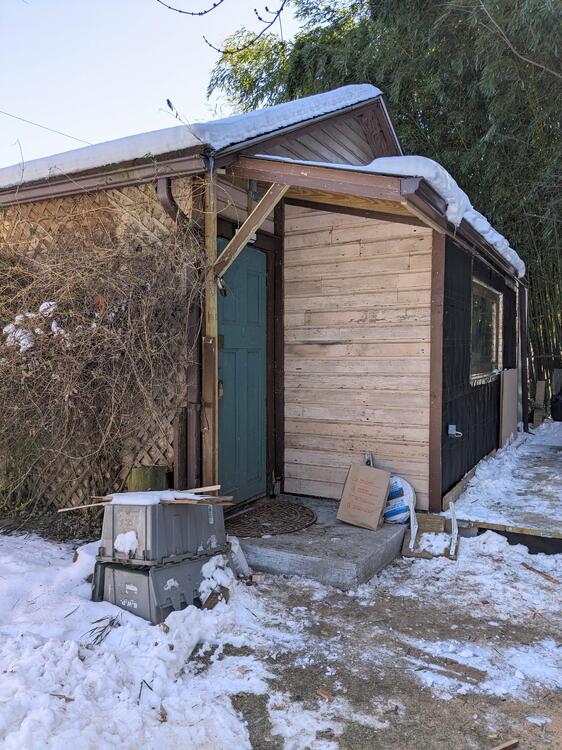
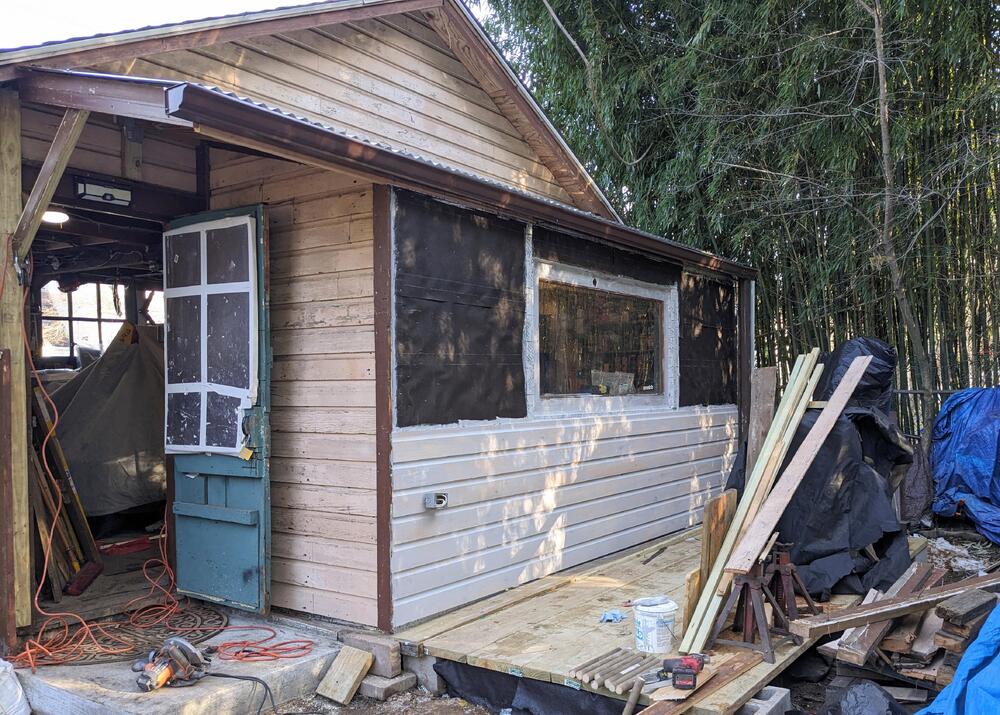
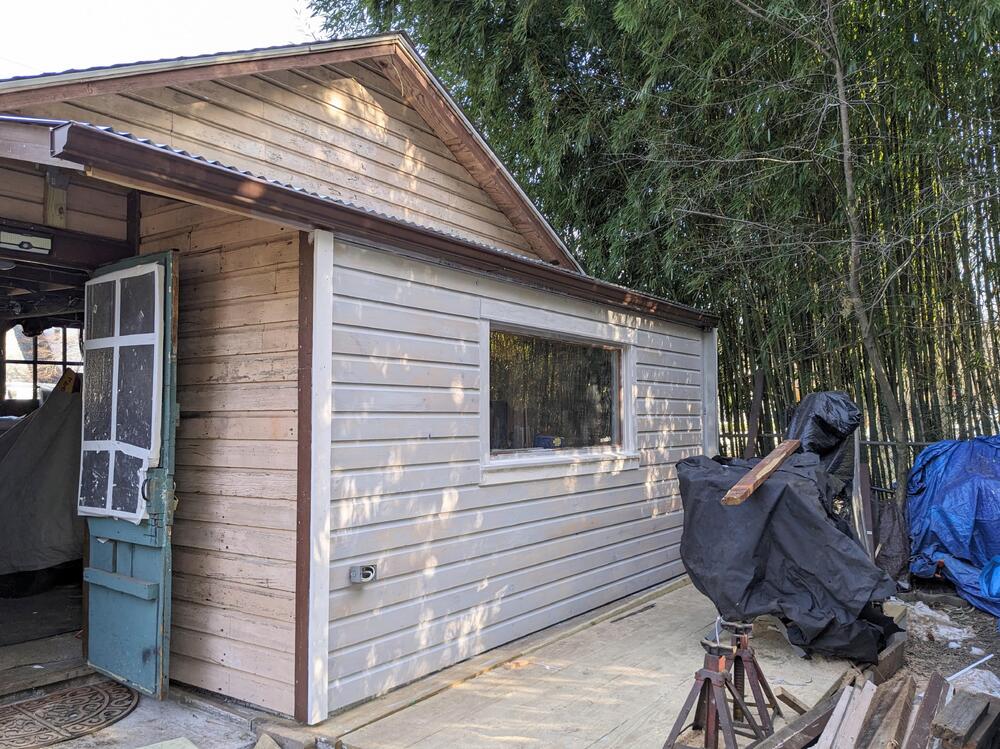
Small things again today. Primed some stuff inside, added some pegboard near the door, and since the sun was out the past couple days, the snow cleared outside. I started putting the siding up while I can, even if it was only 30ºF in the sun. Supposed to rain later in the week, so I'd like to get it done before then

PXL_20240224_204320425.jpg

PXL_20240224_204306964.jpg

PXL_20240224_204334636.jpg
 
I have started using mobile storage so I can move stuff around without unloading. Costco (and many others) sell a Metro type wire rack that is 6’ tall and 4’ wide. I also have some that are 3’ wide and can fold (Healsmart or similar).
 
I have started using mobile storage so I can move stuff around without unloading. Costco (and many others) sell a Metro type wire rack that is 6’ tall and 4’ wide. I also have some that are 3’ wide and can fold (Healsmart or similar).
I may have to look into that. The issue I have with anything tall is that the garage floor is cracked & far from level. Another thing I need to address at some point.

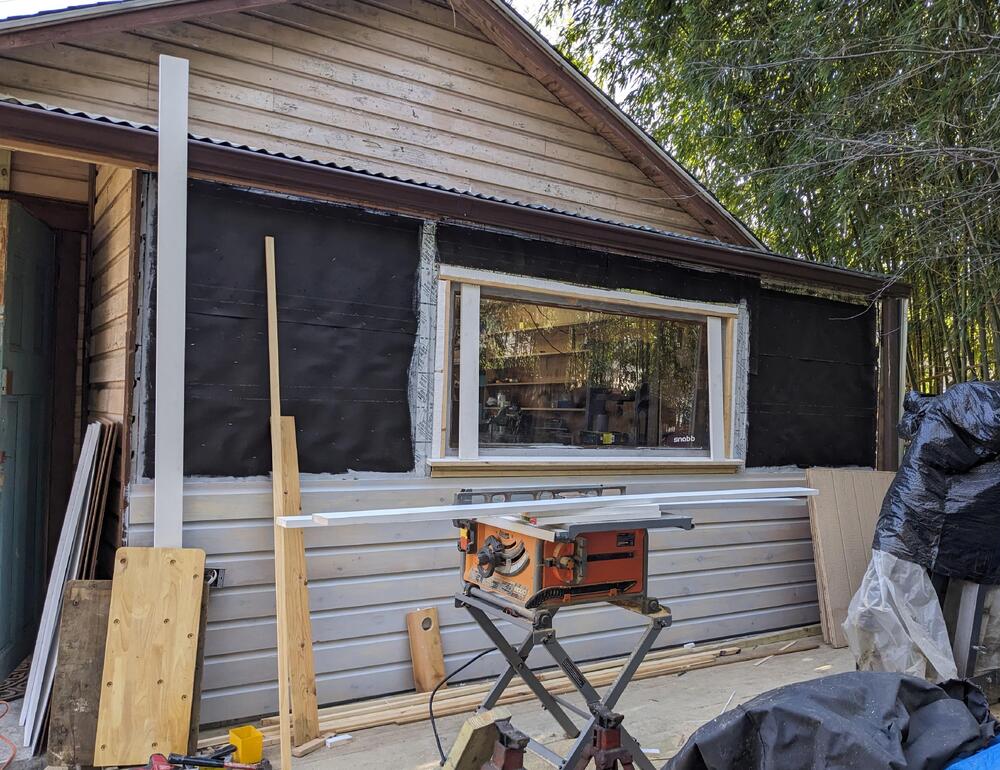
It was in the 20's this morning, but the sun was out. I framed out the casing on the window with 1x4's, and got the rest of the siding up & primed before it was time to clean up for the day.

I cut the sill, vertical case molding & apron to 12º, and back-caulked everything.

PXL_20240225_154413908.MP.jpg

PXL_20240225_201904613.MP.jpg

PXL_20240225_201914480.MP.jpg

Have to get done with the exterior soon, I'm tired of looking at the tarped wood pile

PXL_20240225_233159970.jpg
 
Hey! Just curious... What is that on the inside of your door? Pic 2...
It's thick insulation. It makes the door seal better in the frame for winter months (I know, why didn't I add it the whole length) and allows me to bang the door open with my shoulder when I'm carrying too much **** at one time out of the doorway 🤪

Mixed up some more grey from pint leftovers of off white, Navy & medium blues, and a red with pink accent. Came out a tad darker & bluer than the original leftovers, but it will do. Didn't take a pic. Spent the rest of the hour I had shelving stuff up on the ledge, and put a blue-green top coat on the window frame. Undecided on that, may not be subdued enough. I'll know tomorrow
PXL_20240227_220835988.jpg


Also noted that the new bins I bought are the same brand (Akro Mils) as one I've had for 20+years, from a garage sale at the time
PXL_20240227_214345406.jpg
 
Last edited:
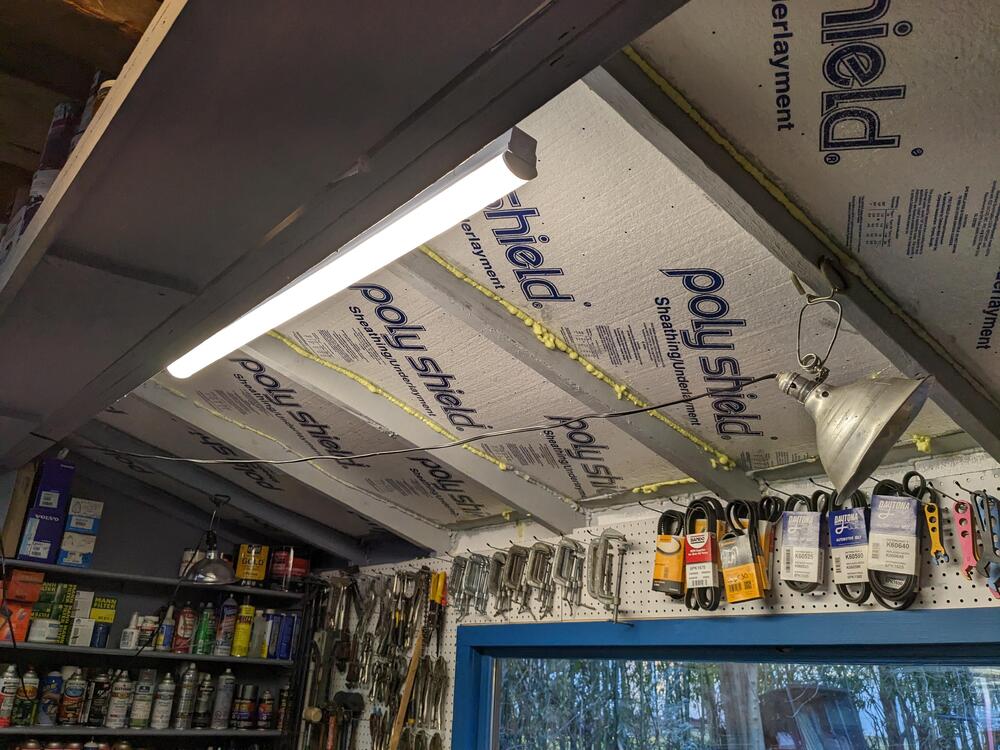
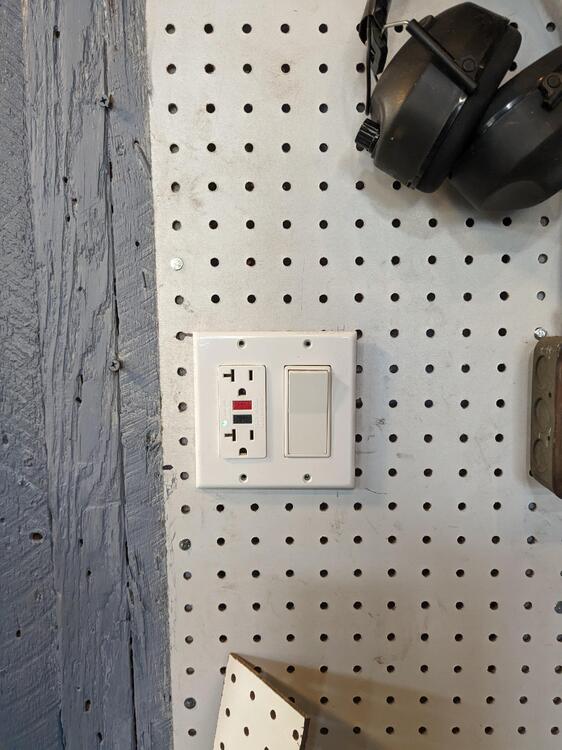
Wired the overhead LED for the new space

PXL_20240229_220132999.jpg

Added a GFCI receptacle & switch for the light. The other receptacles will be fed from this one

PXL_20240229_220124513.jpg

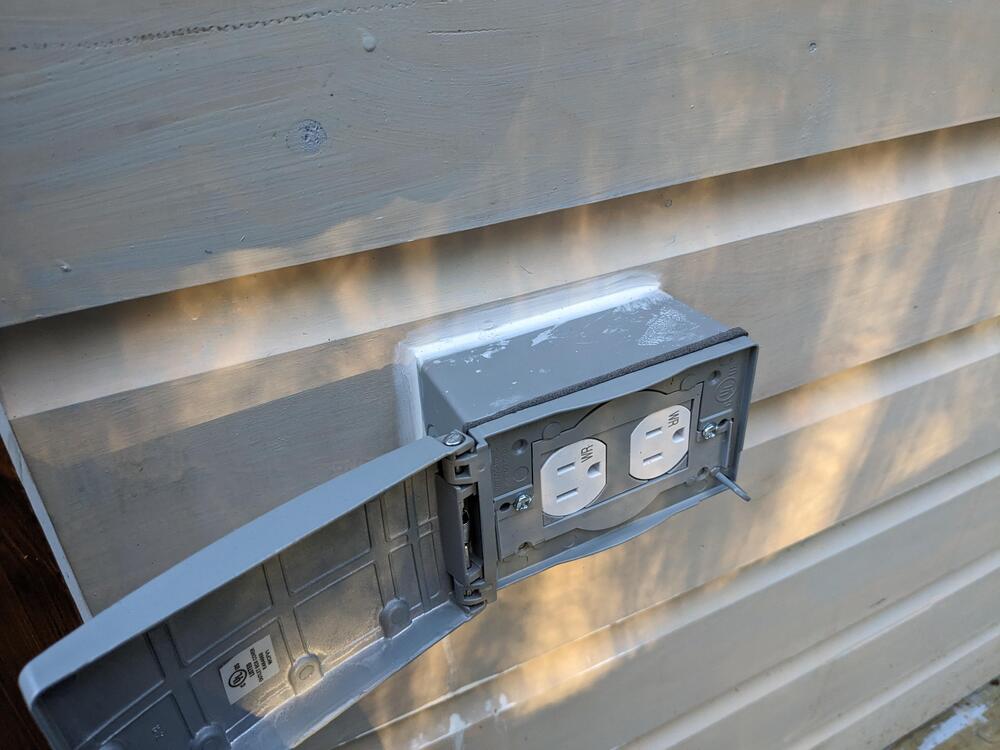
Wired the outside receptacles

PXL_20240229_220847736.jpg

Added a shelf here - I'm going to use the right side for my laptop

PXL_20240229_215835778.jpg

removed the 4x8 sheet of plywood behind the press - cut in half, I'll be adding pegboard above. I'll have to address this mess from the outside, so I won't screw the plywood back in place for now

PXL_20240229_213247676.jpg

PXL_20240229_215558706.jpg

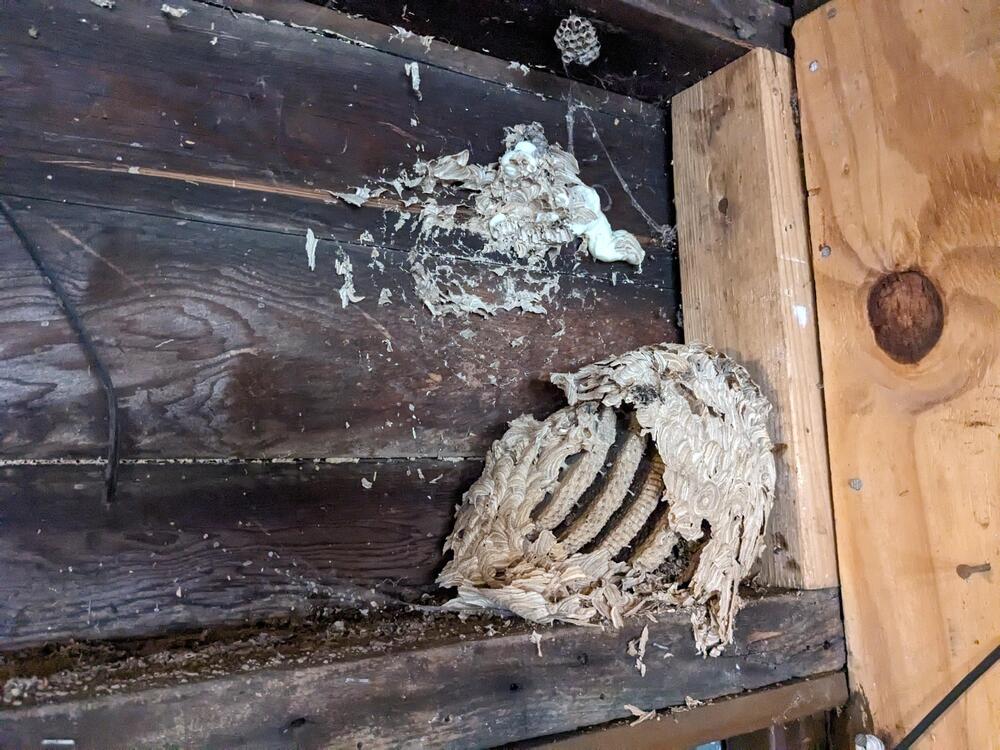
found this above the door when I removed the plywood to run conduit for an outside light fixture above the doorway

PXL_20240229_175718329.jpg

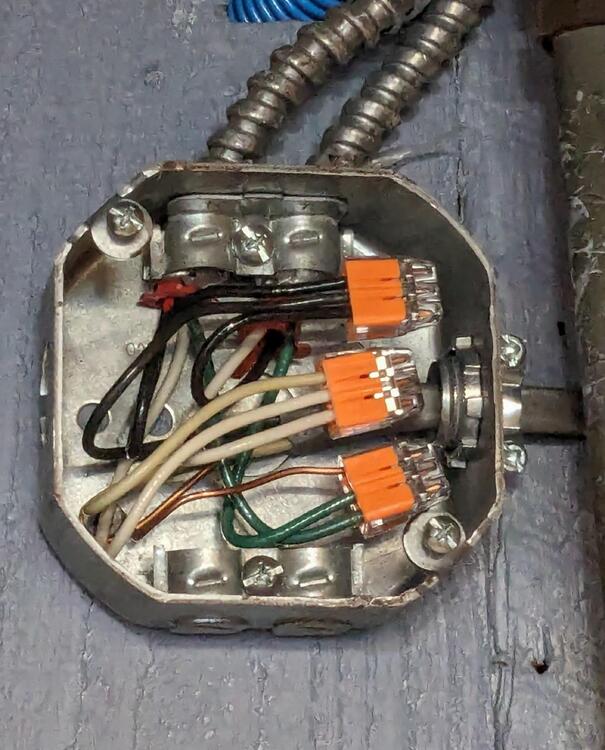
I like these push-lok connectors - so much easier to confirm connection than the old twist nuts

PXL_20240229_215855032.MP.jpg
 
  • Like
Reactions: 86X
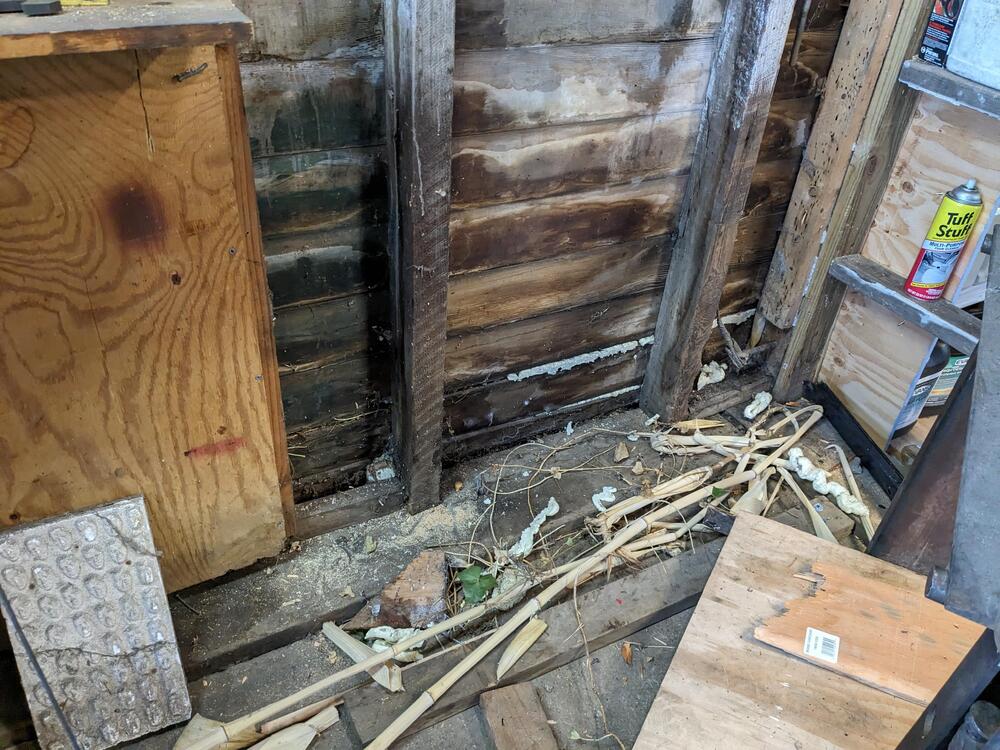
Since rain is in the forecast, I decided to dig off the south side of the garage, where I had just removed that plywood. So that I could figure out how bad it is.

This is as far as I got before my back said that was enough.
PXL_20240301_193032570.jpg

PXL_20240301_193039746.jpg

PXL_20240301_194533050.MP.jpg

PXL_20240301_205343215.jpg

PXL_20240301_205351012.jpg
 
Wood and soil is never a good combination. Good that you are removing it. Consider lining the trench with some plastic and then fill with gravel to carry the water away?

Would you mind putting some GFCI on that? Or at least on the first one in the circuit?

1709352338091.jpeg
 
Wood and soil is never a good combination. Good that you are removing it. Consider lining the trench with some plastic and then fill with gravel to carry the water away?

Would you mind putting some GFCI on that? Or at least on the first one in the circuit?
I'm going to have to figure out what to do about the sill & foundation . My neighbor banked his side many years ago when he rebuilt the stream banks along his property, so the ground level is higher than my foundation. At the very least I need to cut out some of the sill & replace it with new wood. I've seen examples where they raise the foundation using cinderblock, add a new sill on top, and shorten the studs accordingly. I don't want to do that, as the blocks will intrude on the floor space. At the very least, new treated wood for the damaged sill, and keep the soil away from the top of the foundation & sill. At the east end that isn't dug out yet, my neighbor blacktopped all the way up to my garage wall long before we bought the house in 2000. He had a basketball hoop set there for his then young children. After we moved in, I reinstated the fencing along the property line, but didn't think to remove the tarmac that touches the garage. That clearly isn't helping as the runoff is channeled up against the garage for that length. I'm going to cut the tarmac & continue the trench to the east end of the garage.
I was thinking maybe a French drain, but the runoff would have to go pretty far west beyond the garage, and I'd have to dig pretty deep along the property line (through the pine tree roots, etc) in order to get proper grading for that. So, at a minimum, fill the trench with gravel over a barrier cloth. I'm going to add a gutter on that south roof line, which should help with water management also.

I thought that the GFCI shown in yesterday's post was connected to this outside box.

😁
 
Back
Top