Disassembly and Spring Removal: Difference between revisions
No edit summary |
No edit summary |
||
| (One intermediate revision by the same user not shown) | |||
| Line 23: | Line 23: | ||
[[File:Cover.jpg|400px]] | [[File:Cover.jpg|400px]] | ||
This lockplate bolt always gives me trouble. I tried using a wrench and | This lockplate bolt always gives me trouble. On the driver side I tried using a socket wrench and failed. This time I tried an impact. PLEASE NOTE, using an extension with an impact is dangerous and even though it's shown in the picture, I don't recommend using an impact wrench for this bolt. | ||
One trick a friend told me about was to slightly tighten the bolt with a wrench before removing it. I haven't had much luck with this. You should replace the control arm or drill out the bolt and tap it. An easy-out probably won't work and didn't in this case. | |||
[[File:Lockplate.jpg|400px]] | [[File:Lockplate.jpg|400px]] | ||
| Line 31: | Line 33: | ||
[[File:BrokenLockplateBolt.jpg|400px]] | [[File:BrokenLockplateBolt.jpg|400px]] | ||
Removed the strut bar nut. It's under the radiator, so you need to use a socket wrench. Be sure to spray all threads with liquid wrench or something similar. | Removed the strut bar nut. It's under the radiator, so you need to use a socket wrench. Be sure to spray all threads with liquid wrench or something similar. (The foot isn't necessary unless you do this step last.) | ||
[[File:RemoveStrutBar.jpg|300px]] | [[File:RemoveStrutBar.jpg|300px]] | ||
| Line 39: | Line 41: | ||
[[File:ControlArm.jpg|400px]] | [[File:ControlArm.jpg|400px]] | ||
Remove the nut attaching the strut bar to the control arm and lock plate. | Remove the nut attaching the strut bar to the control arm and lock plate. | ||
[[File:StrutBarLockplate.jpg|400px]] | [[File:StrutBarLockplate.jpg|400px]] | ||
Latest revision as of 12:03, 22 February 2011
Here's a pictorial of removing the front suspension.
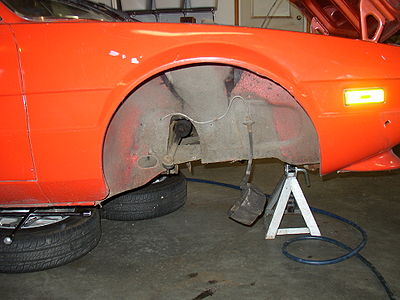
Remove the wheel.
Remove the caliper cotter pins from the locking blocks.
Remove the locking blocks with a hammer and screwdriver.
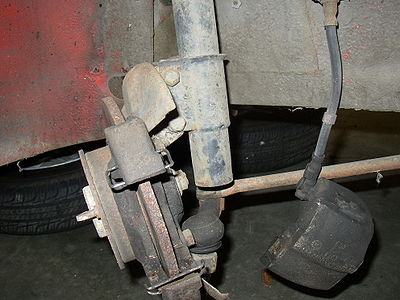
Remove the Caliper by pulling it straight out.
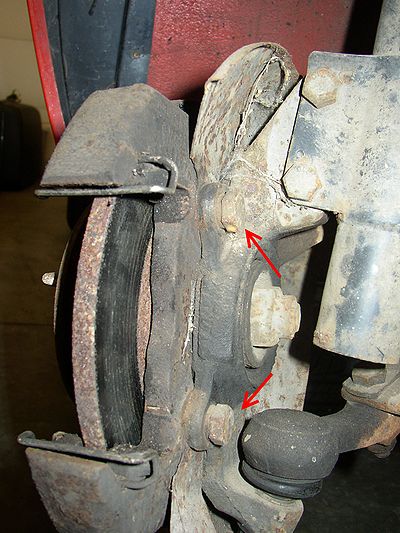
Remove the support bracket by removing these bolts.
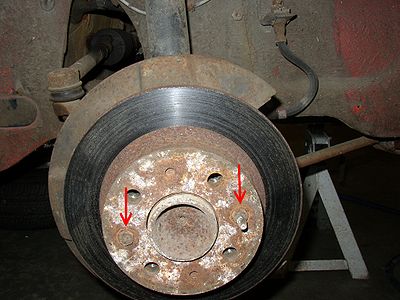
Remove the disc retaining bolts, ring and disc. You may have to hit it lightly with a rubber mallet.
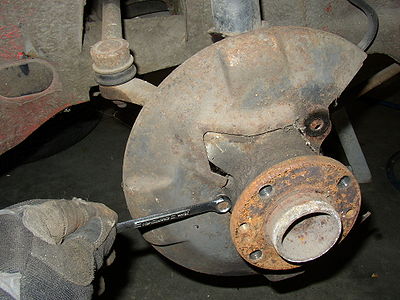
Remove the dust cover.
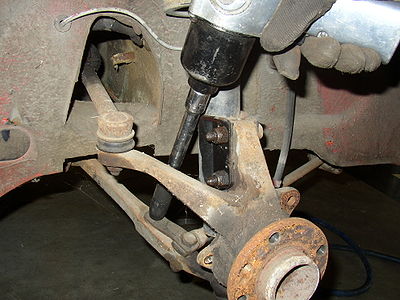
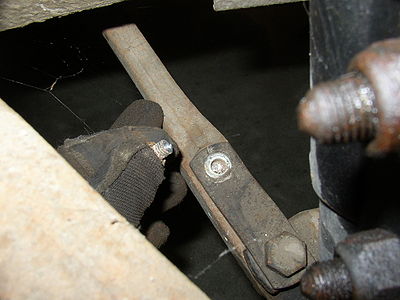
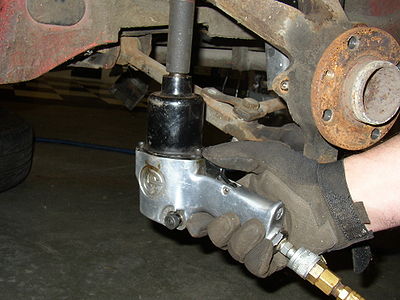
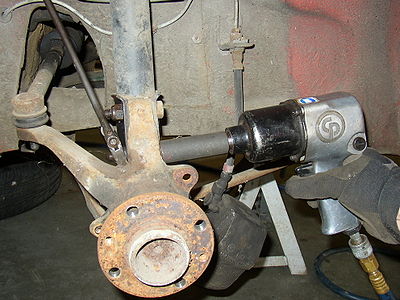
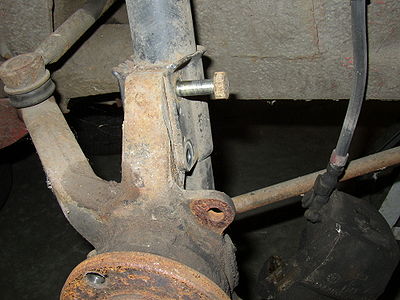
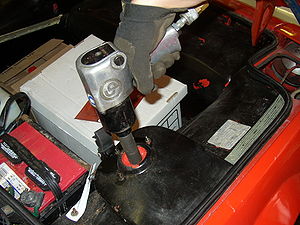
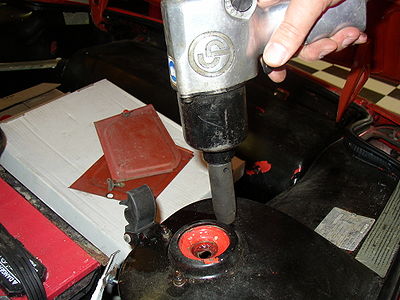
This lockplate bolt always gives me trouble. On the driver side I tried using a socket wrench and failed. This time I tried an impact. PLEASE NOTE, using an extension with an impact is dangerous and even though it's shown in the picture, I don't recommend using an impact wrench for this bolt.
One trick a friend told me about was to slightly tighten the bolt with a wrench before removing it. I haven't had much luck with this. You should replace the control arm or drill out the bolt and tap it. An easy-out probably won't work and didn't in this case.
It probably will break. It's the nature of the beast.
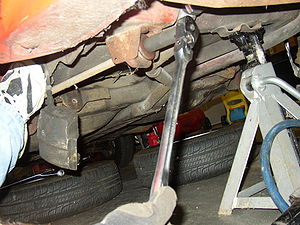
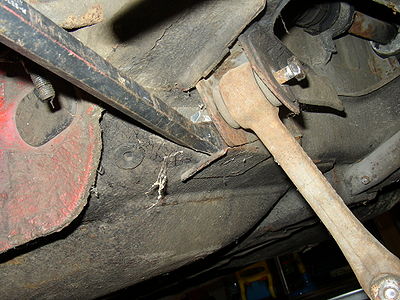
Removed the strut bar nut. It's under the radiator, so you need to use a socket wrench. Be sure to spray all threads with liquid wrench or something similar. (The foot isn't necessary unless you do this step last.)
Remove the nut attaching the control arm to the pillar.
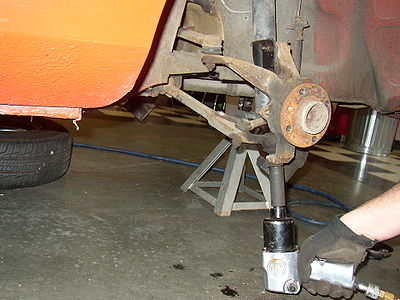
Remove the nut attaching the strut bar to the control arm and lock plate.
Remove the nut attaching the steering arm to the pillar.
Remove the nuts holding the strut to the pillar.
Leave one of the bolts in to hold the pillar in place until it's ready to be removed.
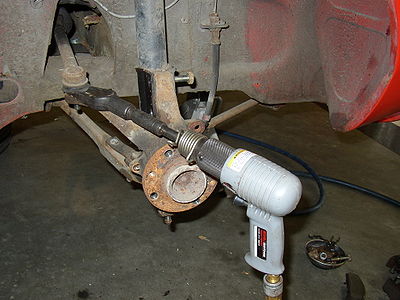
Use a fork and hammer or an air hammer to remove the steering arm.
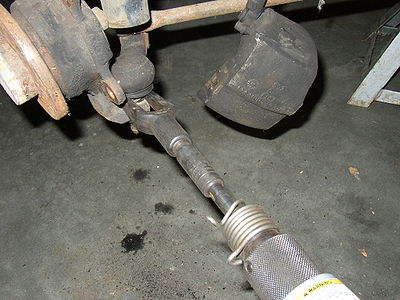
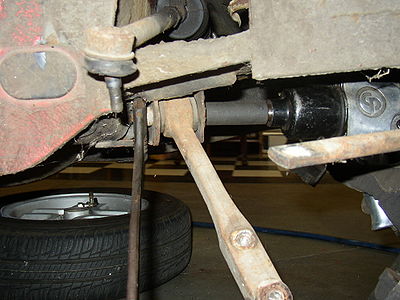
Use a fork and hammer or an air hammer to remove the control arm.
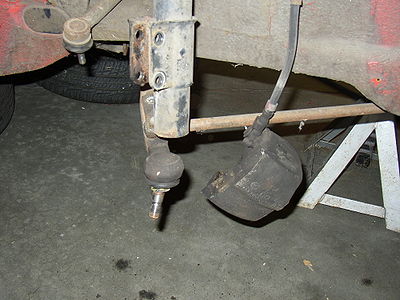
Remove the pillar.
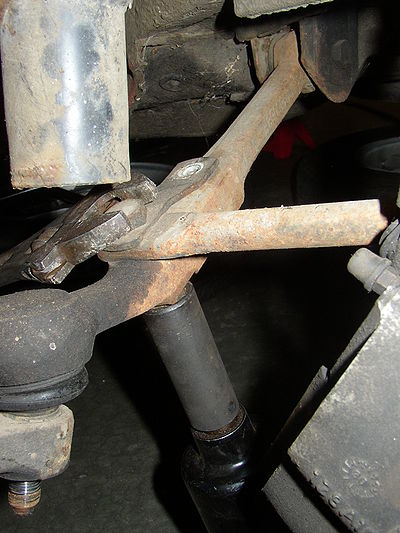
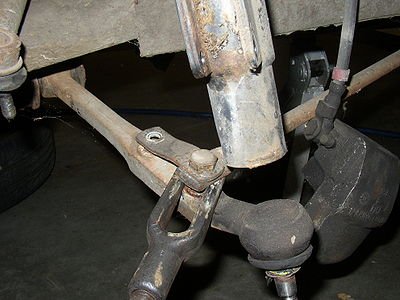
Use a fork and hammer or an air hammer to remove the strut bar and lockplate from the tontrol arm.
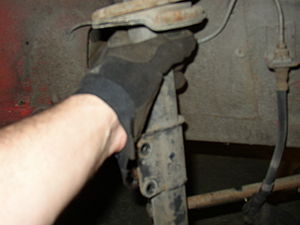
Use an impact wrench while holding the strut with one hand to remove the shock retaining nut.
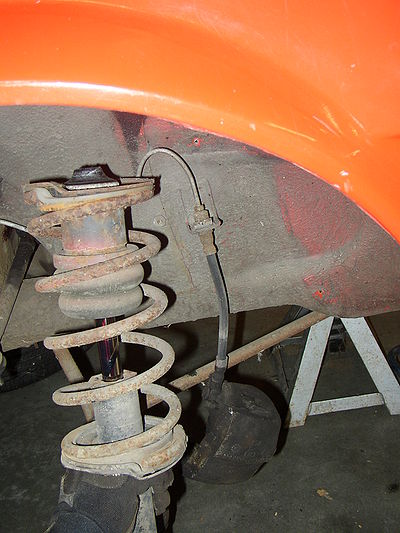
Carefully remove the strut assembly and disassemble.
Remove the nut retaining the control arm to the body.
You probably will need to use a crow bar to remove the bolt.
Remove the 3 nuts holding the camber plate to the shock tower.
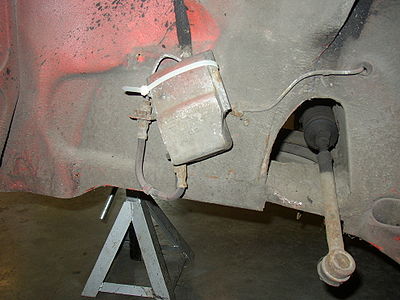
I didn't remove the caliper completely, but if you do, make sure you plug the reservoir before removing the brake line.
In this case, I used a zip tie to hold the caliper up while I worked on the suspension.
