CoolantPipeReplacement: Difference between revisions
Dcioccarelli (talk | contribs) |
Dcioccarelli (talk | contribs) |
||
| Line 33: | Line 33: | ||
'''''Tony Natoli, June 2017''''' | '''''Tony Natoli, June 2017''''' | ||
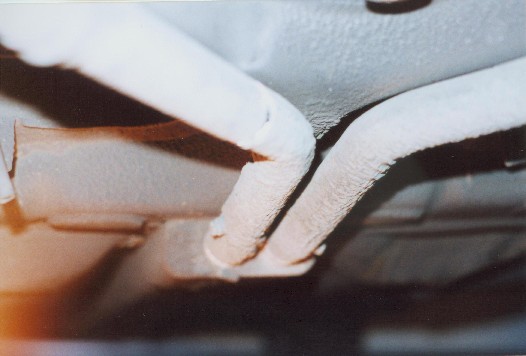
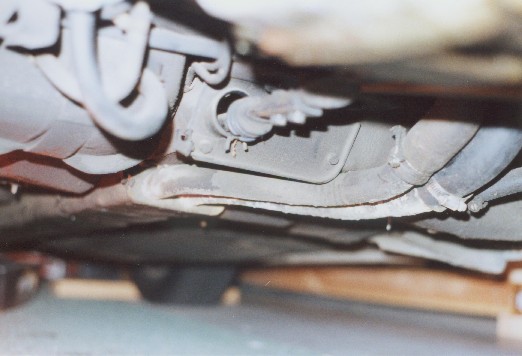
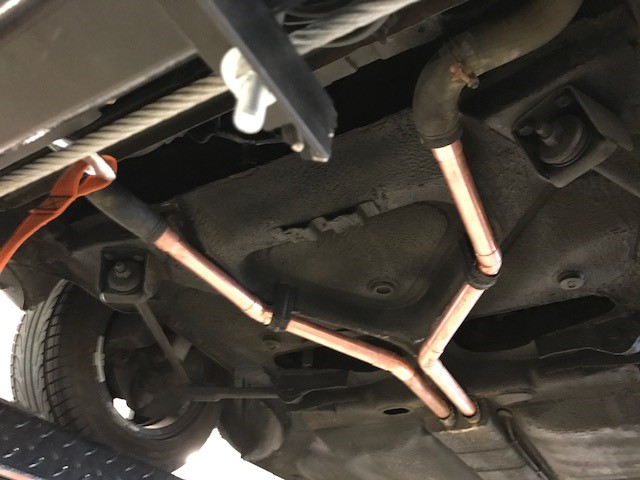
[[File:FrontToBack.jpg|frame|Looking from the front towards the back…]] | [[File:FrontToBack.jpg|frame|center|Looking from the front towards the back…]] | ||
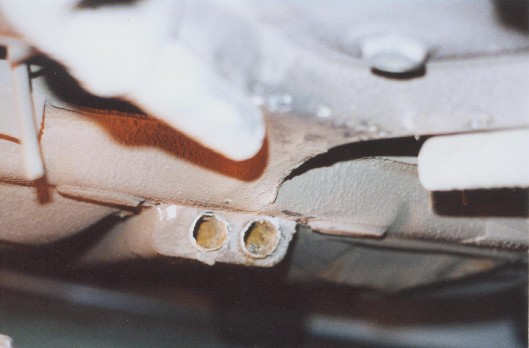
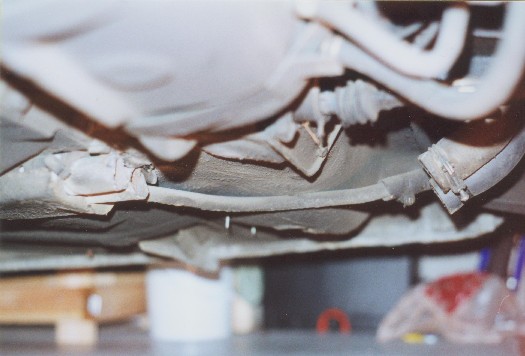
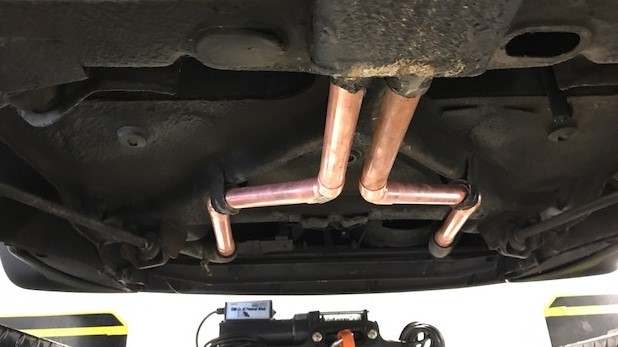
[[File:BackToFront.jpg|frame|Looking forward from the back towards the radiator…]] | [[File:BackToFront.jpg|frame|center|Looking forward from the back towards the radiator…]] | ||
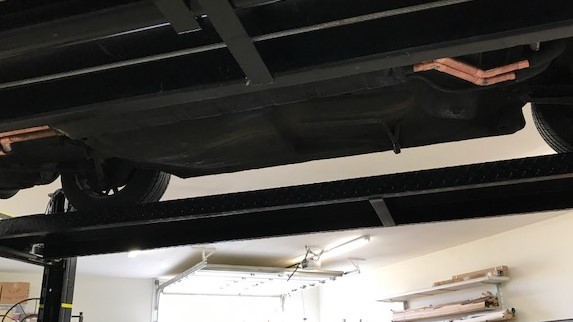
[[File:Left.jpg|frame|Left side view…]] | [[File:Left.jpg|frame|center|Left side view…]] | ||
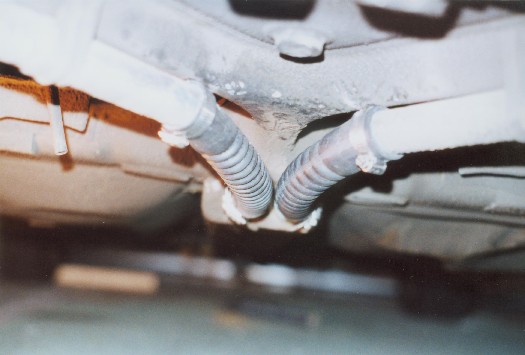
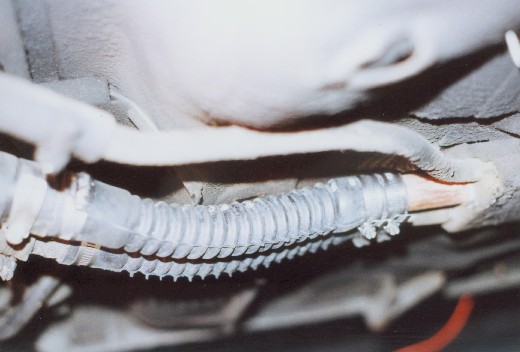
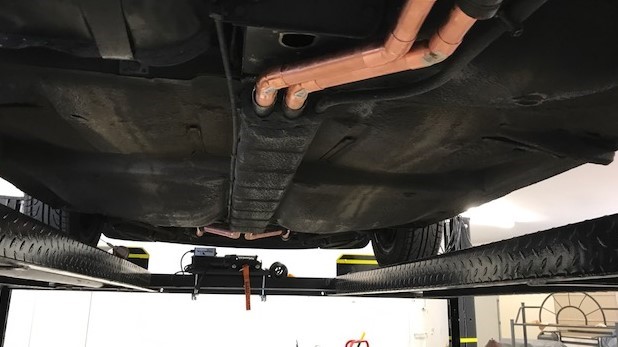
[[File:ForwardFromEngine.jpg|frame|Looking forward from the engine.]] | [[File:ForwardFromEngine.jpg|frame|Looking forward from the engine.]] | ||
Revision as of 05:51, 14 June 2017
Coolant Pipe Replacement
As the cars get older, the issue of corroded coolant pipes becomes more prevalent. Various people have come up with various solutions to address what can be a notorously difficult repair due to the fact that the pipes are routed through the box section under the car.
This page attempts to consolidate the various methods.
Papa Tony's Solution
Materials List
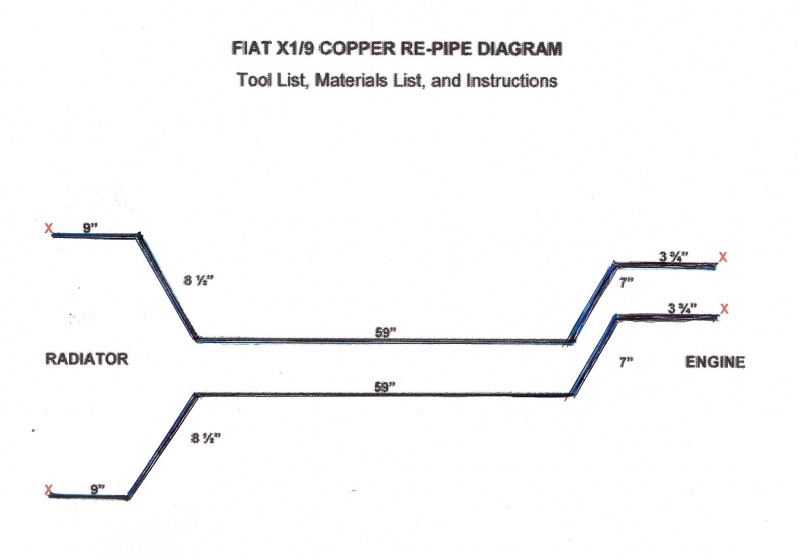
- 174.5” of 1” Type L or Type M Copper Pipe get at least 16 feet. (One standard 10’ section and one 6” section = 1’ 5” to spare. Purchasing two 10 foot sections would make it really easy. ~$75.00 - $85.00)
- 8 - 1” 45 degree Slip Fittings (~$28.00)
- 4 - 1” to 1 ¼” Slip Adapters (~$15.00, for a better fit to the radiator hose ID at each end. See X’s on diagram)
Tool List
- Hack Saw or Cut-off Wheel
- Propane Torch with MAPP Gas for a hotter flame, Flux and a small roll of Silver Solder
- Pipe Cutter
- Files and/or Emory Paper and/or Scotch-Brite pads
Method
- Using a cutoff wheel or Hack Saw, cut off old pipe as close to the “trough” as possible and practical. Use caution near the Speedo Cable and your surroundings. Cut in sections at the radiator end so that supports can be reused for the new pipe, if desired.
- Cut the pipe… cutting the one 6 foot section to 59” and 59” out of the 10 foot section for 2 lengths.
- Then cut 2 lengths each measuring 3 ¾”, 7”, 8 ½” and 9”.
- Mock up the pipe by first sliding the two 59” sections INSIDE the old pipe in the trough. Use WD40 to ease the fittings in place sliding them to the hilt.
- Position all the fittings and adapters to emulate the old pipe. They will APPEAR to hang a bit lower in the front as of this design, but if you wish you can better follow the curvature UP against the pan by using 4 more 45 degree fittings. I didn’t feel it was worth the bother. If you do not wish to NOT use the stock hangers for a “better fit”, then you will need to experiment with the 8 and 9 inch sections lengths. Another option is one can use 4 adapters and just the straight length of pipe through the trough… and then use long flexible radiator hoses (and 1” to 1 ¼” slip joint adapters) and be done.
- Remove everything, clean, add plenty of flux and then reassemble. Check again and realign. Solder by heating each joint separately and flowing the completely around each joint. Wear glasses and gloves and have fun.
Tony Natoli, June 2017
Lake Elsinore's Solution
I don't really know who to give proper credit to for this fix - it was emailed to me from someone who saw my post on xweb. The original email was a scan of a document that looks like it was produced in the UK, entitled "Piece Pipe". Here is my version of that document - It's easy - "Beginner Level" type of stuff
-- Lake Elsinore
The Problem
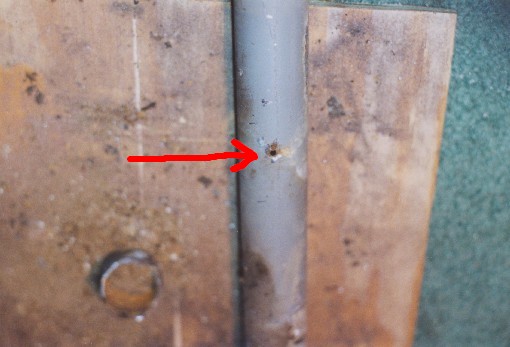
corrosion to a coolant pipe inside the protective housing underneath was causing slow leakage and severe overheating.
the solution
cut the pipes and slide new ones in!
materials needed
(2) 5 ft. sections of "H" rated copper pipe 1" dia. Home Depot sells these in 10ft lengths, have them cut one in half for you (or buy the tool and do it yourself). The final length of pipe will end up around 4ft and change for proper fit.
(4) Flex hoses 1.25 diameter - to connect the 1.25 OE pipe with the 1.0 copper pipe.
(12) Hose clamps - to double clamp the copper pipe
The Front Section
after gathering the right amount of courage, i powered up the rotary tool and began slicing. i elected to cut the front section of the pipes right at the protective housing and about an inch after the angle - to be replaced with flexible radiator hoses.
The Rear Section
cutting through the rear pipes proved to be slightly challenging. since i could not cut all the way through to the top of the pipe, I grabbed the pipe and while twisting, it actually rotated inside the housing. this despite the fact that there should have been some sort of brackets holding the pipes in place (no speculation on what happened with those). this meant that the pipes could be completely removed and replaced with new pipes. i elected to leave the old pipes in place as added support and protection for the new copper pipe replacement.
good/solid sections of the old pipe that had been cut served as a connecting mechanism between the new pipe, flex hoses and hoses that lead up to the block.
total shop time: approx 5 hours
and the cause of all this work:
