CompressingBumperShocks: Difference between revisions
No edit summary |
|||
| Line 3: | Line 3: | ||
On "compressible" shocks it is simply a matter of drilling a small hole near where the inner strut enters the outer strut assembly. '''Warning:''' ''some'' struts are filled with oil, so wear some protective glasses and be prepared. Other struts are gas filled, while some (particularly) non US are not shocks at all. These are identifiable as they have no "inner" and "outer" strut sections. See below: | On "compressible" shocks it is simply a matter of drilling a small hole near where the inner strut enters the outer strut assembly. '''Warning:''' ''some'' struts are filled with oil, so wear some protective glasses and be prepared. Other struts are gas filled, while some (particularly) non US are not shocks at all. These are identifiable as they have no "inner" and "outer" strut sections. See below: | ||
[[File:IMG_1230.JPG|800px|center]] | |||
'''Compressible shock absorber''' | '''Compressible shock absorber''' | ||
[[File:IMG_1227.JPG|800px|center]] | |||
'''Non Compressible shock absorber''' | '''Non Compressible shock absorber''' | ||
| Line 13: | Line 13: | ||
I recommend removing the plastic trim first (by unscrewing the bolts inside the car) as it gives you more room to work and allows you to work from above the car rather than below: | I recommend removing the plastic trim first (by unscrewing the bolts inside the car) as it gives you more room to work and allows you to work from above the car rather than below: | ||
[[File:IMG_1229.JPG|800px|center]] | |||
After full compression, this is what you should end up with (at the back, in this photo): | After full compression, this is what you should end up with (at the back, in this photo): | ||
[[File:IMG_1214.JPG|800px|center]] | |||
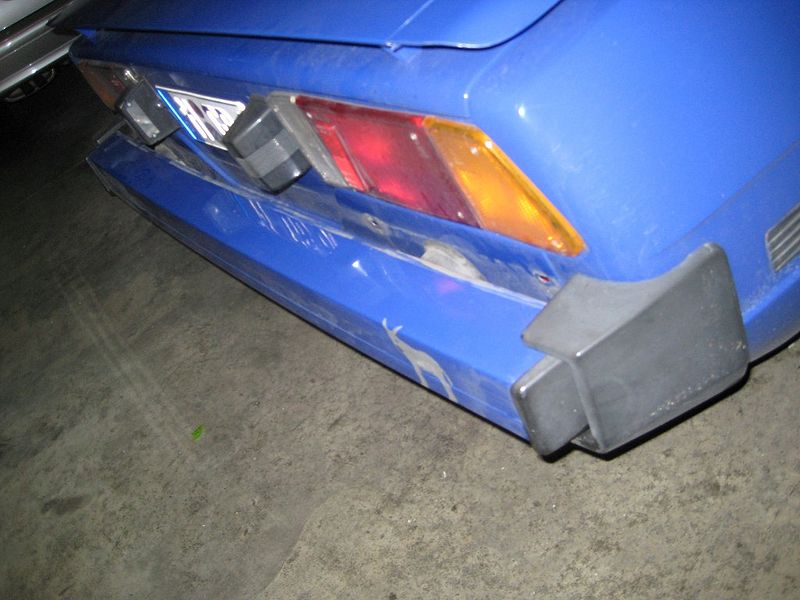
There is still a small gap, but nothing as substantial as before. You can trim back the black plastic trim section to just cover the small remaining gap, particularly if you have body coloured bumpers as is the case here. | There is still a small gap, but nothing as substantial as before. You can trim back the black plastic trim section to just cover the small remaining gap, particularly if you have body coloured bumpers as is the case here. | ||
[[File:IMG_1216.JPG|800px|center]] | |||
- Dom | - Dom | ||
Latest revision as of 02:44, 15 May 2013
Compressing Bumper Shocks
On "compressible" shocks it is simply a matter of drilling a small hole near where the inner strut enters the outer strut assembly. Warning: some struts are filled with oil, so wear some protective glasses and be prepared. Other struts are gas filled, while some (particularly) non US are not shocks at all. These are identifiable as they have no "inner" and "outer" strut sections. See below:
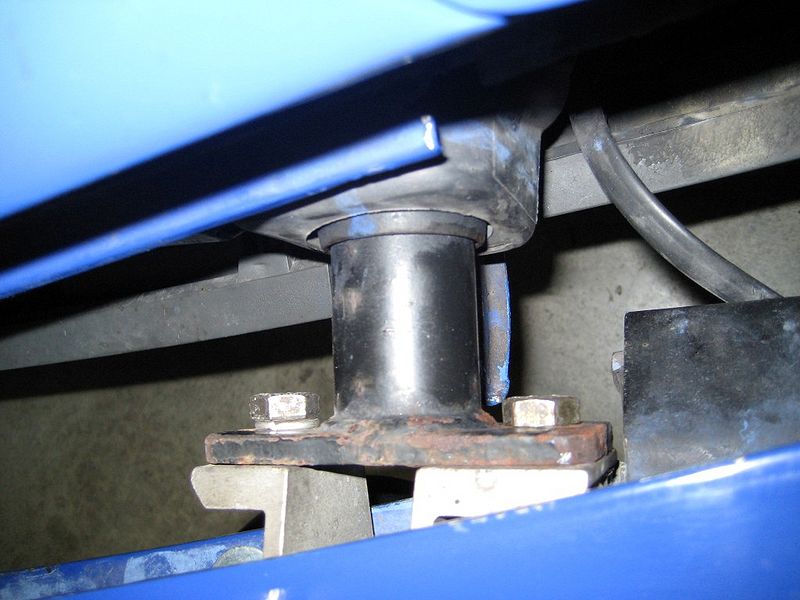
Compressible shock absorber
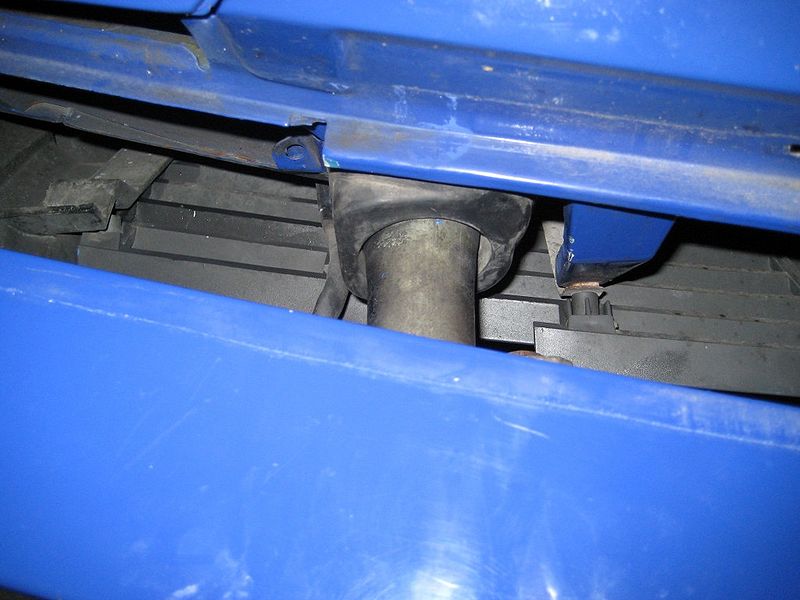
Non Compressible shock absorber
I recommend removing the plastic trim first (by unscrewing the bolts inside the car) as it gives you more room to work and allows you to work from above the car rather than below:
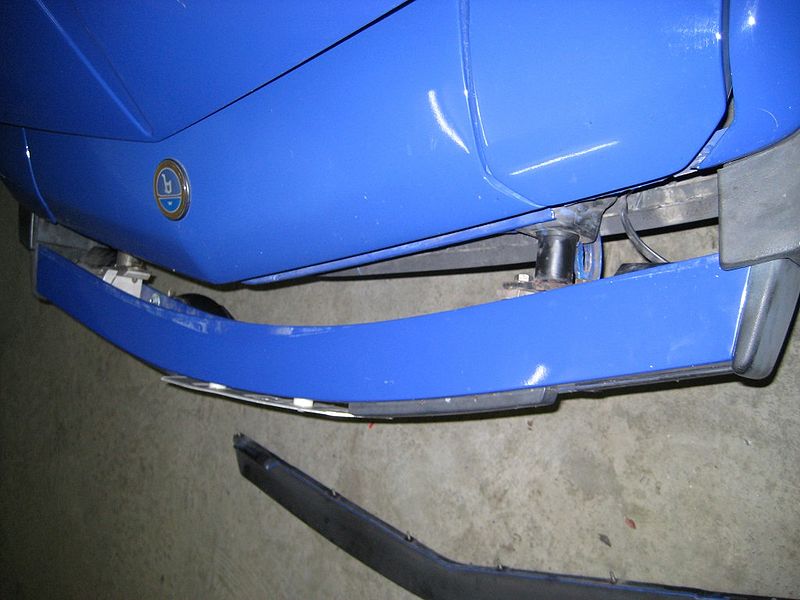
After full compression, this is what you should end up with (at the back, in this photo):
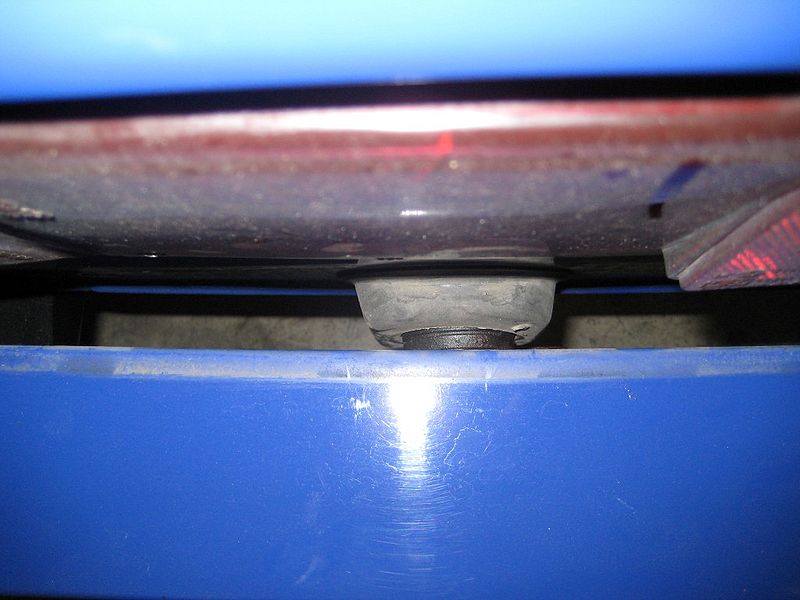
There is still a small gap, but nothing as substantial as before. You can trim back the black plastic trim section to just cover the small remaining gap, particularly if you have body coloured bumpers as is the case here.
- Dom